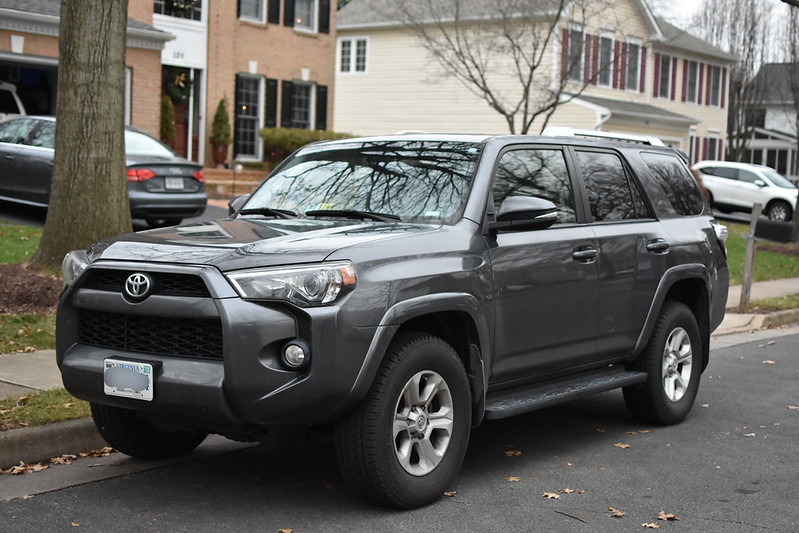
I have this issue and since I live a long way from a dealer I ended up trying to mitigate this issue best I could.
I realize this will be laughed at, sneered at, poked-fun of. Yes its kind of chicken shit especially for a 45k vehicle.
However there isn't an easy solution. The bumper cover and bracket will have to be redesigned. For folks who aren't master fabricators with tig machines, water jets, sheet metal benders, etc...this method can offer some help.
If you are a few miles from a dealer or dealers you are probably best working with them. However if you are frustrated with the progress, and don't want a crappy dealer paint job, this could help you as well.
Apologies for no pictures but I was in a huge hurry to get into this.
Here is what I am finding as the cause of this:
#1. The bumper cover has the smallest, paltry, "nubs" that snap into a larger bracket. These things would not hold the weight of a fly much less road force, vibration, and air flow.
#2. The bumper cover bracket issue 1...this part bolts to the head light and the quarter panel sheet metal. This thing flexes like crazy. not rigid at all.
The mounting bolt hole for the headlight is sandwiched between a sheet metal bracket and the bumper cover bracket. the bracket easily pops in and out of this position.
This creates the phenomenon where you can push on the corner of the bumper cover where it pops out of position and it snaps into place.
What is happening is-- the pushing force snaps the bracket back into its position inside the sheet metal.
#3. Bumper cover bracket issue #2. The bracket's mechanism that holds onto the "nubs" of the bumper cover are huge relative to the bumper cover nubs and won't hold anything.
The rest of the snap-in mechanism along the bumper cover to bumper cover bracket are very strong.
This area is way way under designed.
Repair attempt
I wanted to stiffen the bracket. I also needed to add to the retention of the bracket and bumper cover at the corners.
There isn't much to work with.
Overall: I used zip ties to increase stiffness of the bracket. I used black #11 zip ties. Its just what I had laying around.
To increase retention of the bracket and bumper cover: I squeezed copious amounts of grey rtv into the bracket area that corresponds to the bumper cover corner. Basically right where these two components snap together.
I add additional RTV to the backside of this joint. The sheet metal creates a small trough that I somewhat filled up.
This should dry and create additional surface area for the bracket and bumper cover to hold together.
For both sides, I used about 75% of a tube of silicone...
Steps
Overall--take out headlights, un snap from bumper cover from near the wheel well mounting area.
take off pins for radiator cover. I used a mechanics pick.
Take off the 'Toyota emblem' bumper component.
Used a flat tip screw driver to pry off pins. There are two small 10mm bolts near the latch. 1 upper 1 lower. The lower is a machine screw for some reason.
Once these are out the assembly pulls out of position directly towards front of vehicle. A little tugging un snaps the remaining retention.
Take off headlight.
Un bolt 2 visible bolts. There is a hidden bolt under the small cover that runs along the top of the quarter panel mounting from front of vehicle to back.
There is another hidden bolt in the bumper cover bracket. Its accessible when the cover is pried off.
Un plug the head light white connector and black connector.
Un snap and un bolt bumper cover near corners.
take off 5 wheel well bolts that are on the outer edges of the wheel well. The bolt that holds the bumper cover is different from the others. make note of this.
The bumper cover corner pulls off by prying it away from the bracket that is behind it. the best way to do this is to pull the area near its bolt hole out radially towards the tire. Then pull it out towards you. The rest unsnaps easily.
Finish removing headlight.
Take out the front most bolt for the head light.
Fish the headlight out of position and lay aside. The turn signal connectors have extra length to allow to move headlight out of way.
Bracket stiffening
Drill a small hole about 1/2" above headlight bolt. Make the hole about slightly less than the size of the zip tie.
Locate another hole down from the headlight bolt. Its down and slightly to left or right (drivers vs passenger's side).
strap the lower hole to bottom sheet metal using 1 zip tie. Make sure the buckle of the zip tie is not going to impede installation of headlight or bumper cover.
Then using your best judgement and zip tie McGuivering, utilize the drilled hole and zip ties to strap the upper bracket to the sheet metal.
I combined two zip ties and wrapped them around the sheet metal and pulled them tight.
it takes finesse because there isn't a natural anchoring point.
Once the zip ties are on firmly move on to the silicone.
Improved retention for bumper cover.
Get the RTV ready. Also have shop towels handy.
Locate the area on the bracket where the cover snaps into position at the corner. Its the upper 1.5-2" of the bracket.
Wipe off any major dirt and debris.
squeeze RTV into the bracket. I essentially "filled" up the bracket 'female' areas that correspond to the cover's retention nubs.
I then squeeze a large amount into the trough that is visible from the headlight space...its formed between the sheet metal and bracket.
I then applied a small amount to the bumper cover area where the corners snap into bracket. I applied it to the "top" and ' bottom" underside. Ai applied enough that I could barely see the nubs.
The goal here is that when it dries, it will create additional retention for the cover without gluing it.
Reassembly
Important!
1. Resintall the head light and remember the lower bolt. Do this while the RTV is drying.
Snap cover back into place.
Bolt up wheel well
Wipe off any excess RTV.
Reinstall everything else.
Important: I put a small ladder leaning on the front bumper cover corner while RTV was drying. I used a wad of shop rags to avoid scratching the paint. I let it sit for several hours while it dried. This is to help position the cover while the rtv dries.
I noticed that the cover would still pull out of position while drying.
Once it was dry it felt very very solid and there was no squishy motion like before.
I haven't road tested yet. I'll update more later.