jmt2404
New member
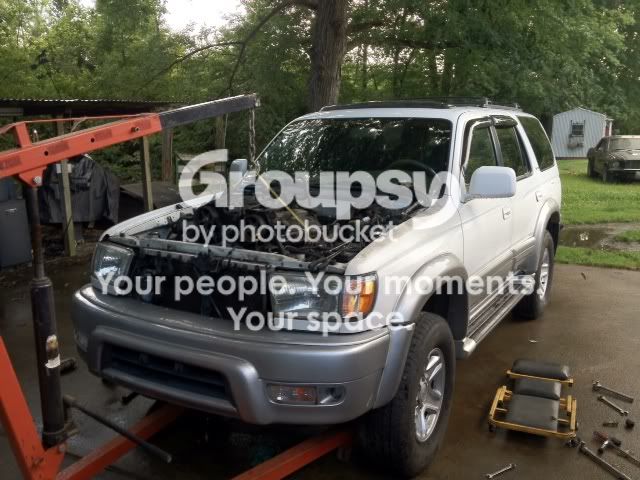
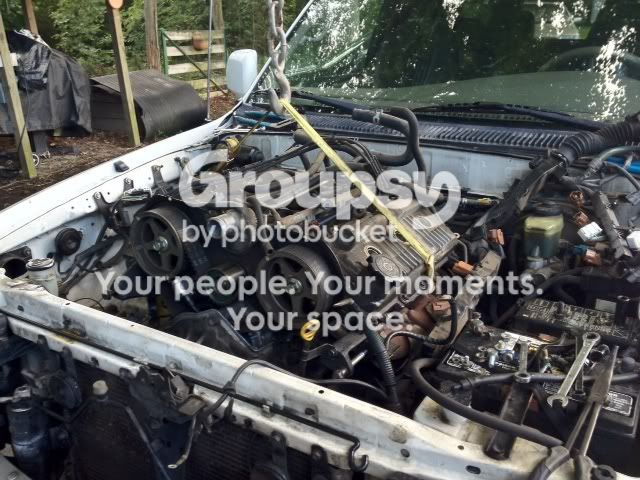
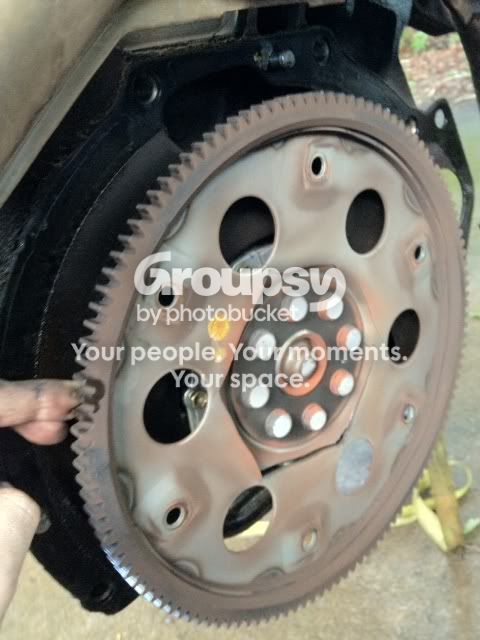
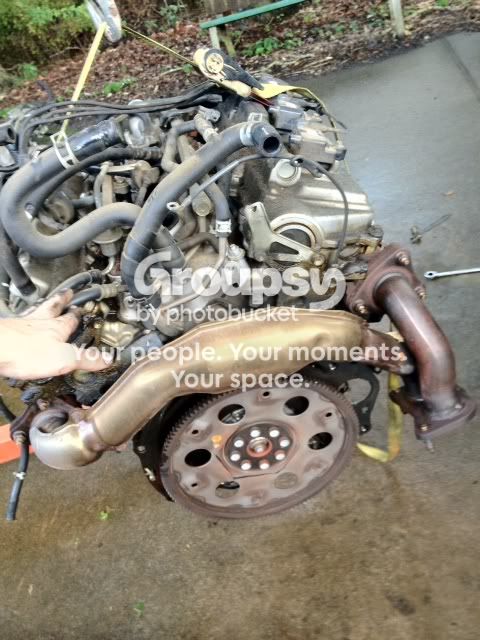
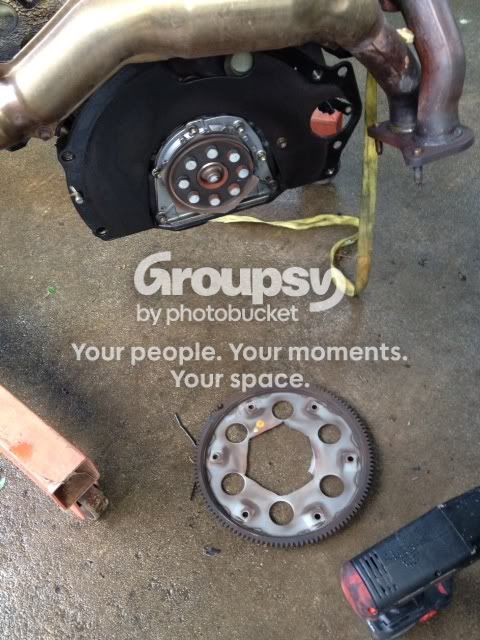
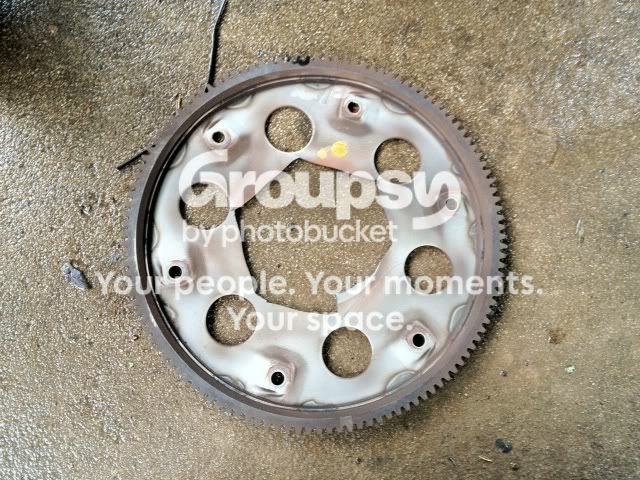
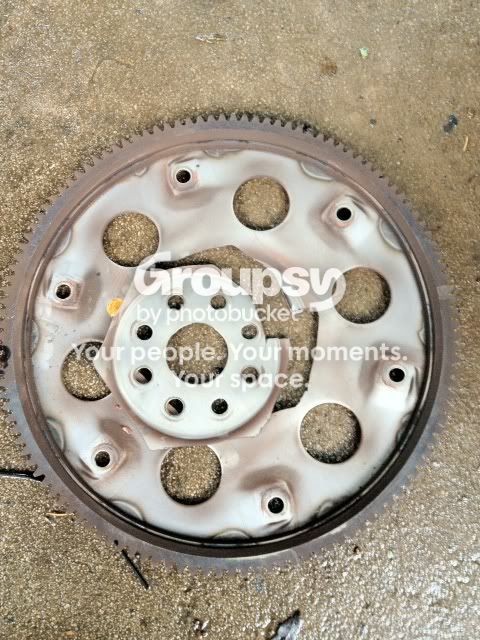
OK here is how I remove my engine. Not sure if there is a more efficient way or an easier way , this is just how I did it. I couldn’t find another write up anywhere else so I figured its time to make one. I tried to take pictures along the way of everything and every step but its pretty hard to get good pictures in the tight spaces around the engine. So I took pictures of the engine out of the engine bay, so at the very least you can see what your working with and what you have to do. Hope this helps.
Disclaimer"" This is not an official how-to guide to removing your engine. Always have the help of a professional or at least some one experienced help you. I am not responsible for mistakes that result in injury or damage to your engine or vehicle.
Ok now to the meat and potatoes..
Tools required:
Ratchet 3/8" and 1/2" drive
Breaker bars of both sizes
Sockets 10, 12, 14, 17, 19 (both deep well and shallow)
Socket extensions long and longer
Elbow sockets for both size drives
Open and box end wrenches (ratcheting wrenches are helpful)
Chain wrench
pry bar or pickle fork
Needle nose pliers (long ones help allot)
Vise grips for clamping hoses
Drain pans for coolant, oil, tranny fluid, and power steering.
Cherry picker
Floor jack for raising and lowering the transmission
I'm sure there are more that I'm forgetting.
Now time to get to work. I like to work methodically I.E. working from top to bottom, or work on one side the move to the next removing the wiring then bolts. Also if anyone needs more details on a step just ask.
Step 1:
Drain the coolant and oil. While you’re waiting remove hood and battery. If you’re worried about damaging your radiator during the lifting process now is a good time to take it out. Make sure you clamp off or plug smaller lines coming off the radiator.
Step 2:
remove intake, Throttle body w/ intake manifolds
*I didn't take a picture of this so if anyone has a pic can you send it to me?
Step 3:
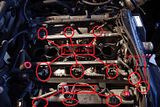
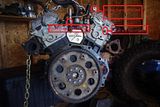
Now that your down to the wiring you can start unplugging the wiring harness and moving it out of the way. I took care of most of the wiring during this step just to make it easier. So unplug the connectors going into the fuel injectors (6 grey), unplug the connectors going into the coil packs (3 black), Unplug the connectors going to the knock sensors and sensor in the intake (2 grey) (*note: you can't mix up the last to because one is a 3 prong and one is a 2 prong*) Unclip the harness from the mounting prong on the back side of the engine. Unbolt the ground wire from the firewall (10mm). (Note: the plastic on my harness was broken, but if yours isn’t you may have to unbolt the harness from the valve covers (4 x 10mm).
Step 4:
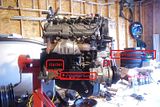
Trace the wire harness down the passenger side of the engine to the camshaft position sensor attached to the timing cover ( 1 black) and further down to the A/C compressor (1 small grey). Now locate the starter and disconnect the connectors on the starter (1 bolt on connection 12mm, 1 black plug connection) Easier to access them through the wheel well or from underneath the truck.
Step 5:
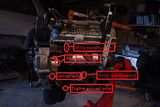
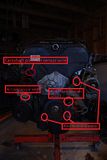
Move to the driver’s side of the engine and trace the wiring harness down the front corner of the engine, underneath the timing cover and unplug the crankshaft position sensor (1 black) and then unplug the grey sensor connector on the side of the engine (1 grey). While you’re on the driver’s side unplug the alternator wires. (2, 1 grey plug, 1 bolt on connector 12mm)
Step 6:
Ok with everything disconnected you can pretty much pull the wiring harness off the engine and secure it out of the way. Make sure you unclip the harness from any remaining prongs that there may be.
Step 7:
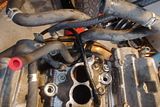
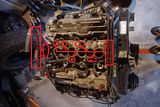
With all the wiring taken care of and out of the way as best as possible, move back to the top of the engine. Now starts the real hard work. Hoses are the next project. There are 2 hoses coming out of the back of the engine that need to be unplugged. They have some hard to get to hose clamps on them and can be frustrating but be careful the aluminum pipe they are connected to is fragile and will crack! You have 2 options with the fuel rail, Leave it connected to the intake, or remove it off the intake port. I had to take mine off the intake since I couldn't disconnect the hose. So here is how I did it. There are 2 x 12mm bolts and 1 x 10mm bolt holding the fuel rail onto the intake. Take those out. Be careful with the injectors they may or may not come out with the rail, just give them a wiggle and they should come loose. If you do decide to take them out check the O-rings for damage before you re-use them. With this done you can pull the rail out of the way and secure it with the wiring harness.
Step 8:
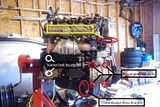
Moving down the engine you have a couple options with your power steering pump and the A/c Compressor. You can leave them attached to your engine or take them off the engine and leave the hoses connected. The pros to removing them is that you won't have to re-fill any fluids or get your a/c system refilled the cons are, you will have to deal with taking all the belts off inside the bay, which can be a pain. I suggest taking them off the engine and letting them hang in your engine bay. It won’t hurt them as long as you secure them away from the engine. Here is how you take them off. There is one long bolt (14mm) going through your PS pump much like your alternator. After taking the belt off you can move the pulley to access it. There are 4 bolts holding your ac compressor on (12mm). They are on the passenger side of the engine. If you need more details on how to take the belts off let me know. Trying not to get too long with this. Before you take off all the belts remove the fan so you don’t damage it too.(4 x 12mm bolts) you will need either a chain wrench or a pry bar to wedge in between the bolts to keep the fan from spinning. The fan shroud comes out with 4 x 12mm bolts as well if you want to take it out. there is a piece on the bottom portion of the shroud the unclips to help with just pulling it out the top.
Step 9:
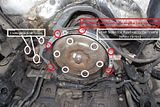
Now the part I hate. Unbolting the cross pipe and the starter.......
First unbolt the cross pipe to give you more wiggle room for the starter. 3 x 14mm nuts for the pipe and take out the bracket the that hold the exhaust steady (2 x 14mm bolts) For me it helped allot. With that free you can start on the starter. It’s held on by 2 long 14mm bolts. You have to take out the starter in order to remove the engine from the bell housing.
Step 10:
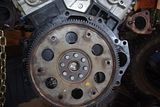
Unbolting the flywheel from the tranny. There are 6x 14mm bolts holding flywheel to the tranny. To access them you will need to take off the access plate underneath the truck. It’s located on the bottom side of the bell housing underneath the engine. It has 4 bolts in it 14mm I believe. With that plate off you can rotate your engine using a 19mm socket with a breaker bar and turning the crankshaft bolt righty tighty, (clockwise) to see the bolts on the flywheel. They are pretty hard to get to but do-able with a ratchet and shallow socket.
Step 11:
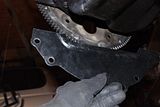
Unbolting the Bell housing from the engine. There are 6 x 17mm bolts that hold them together and very hard to reach. Try using shallow and deep well sockets, box wrenches and extensions to make things easier. while your under their unbolt the transmission lines running to the radiator from the engine. There are 2 different brackets with a 12mm bolt in each. Note that there is a seperator plate in between the flywheel and the engine, don't forget to put it back on if you take it out.. you'll be kicking yourself if you do.. ask me how I know.
Step 12:
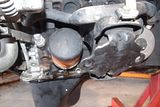
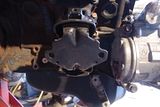
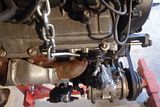
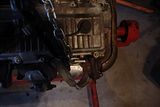
Almost there. Next is the engine mounts. They are located at the bottom of the engine right above the differential. They have 2 x 14mm bolts holding them in. make sure you pull your cherry picker/ engine lift in and secure the engine to prevent the engine from falling if the mounts fail. Here is a pic of where I attached my lift points.
Step 13:
Lift the engine out.... Make sure nothing is still attached in the process, and nothing is getting caught. You will have to get under the truck and pry the engine and tranny loose from each other because there are 2 pins to help line the 2 together for installation.
Hope this helps and isn't to confussing. If anyone has anything to add or questions feel free to hit me up. Thanks and enjoy.
Disclaimer"" This is not an official how-to guide to removing your engine. Always have the help of a professional or at least some one experienced help you. I am not responsible for mistakes that result in injury or damage to your engine or vehicle.
Ok now to the meat and potatoes..
Tools required:
Ratchet 3/8" and 1/2" drive
Breaker bars of both sizes
Sockets 10, 12, 14, 17, 19 (both deep well and shallow)
Socket extensions long and longer
Elbow sockets for both size drives
Open and box end wrenches (ratcheting wrenches are helpful)
Chain wrench
pry bar or pickle fork
Needle nose pliers (long ones help allot)
Vise grips for clamping hoses
Drain pans for coolant, oil, tranny fluid, and power steering.
Cherry picker
Floor jack for raising and lowering the transmission
I'm sure there are more that I'm forgetting.
Now time to get to work. I like to work methodically I.E. working from top to bottom, or work on one side the move to the next removing the wiring then bolts. Also if anyone needs more details on a step just ask.
Step 1:
Drain the coolant and oil. While you’re waiting remove hood and battery. If you’re worried about damaging your radiator during the lifting process now is a good time to take it out. Make sure you clamp off or plug smaller lines coming off the radiator.
Step 2:
remove intake, Throttle body w/ intake manifolds
*I didn't take a picture of this so if anyone has a pic can you send it to me?
Step 3:
Now that your down to the wiring you can start unplugging the wiring harness and moving it out of the way. I took care of most of the wiring during this step just to make it easier. So unplug the connectors going into the fuel injectors (6 grey), unplug the connectors going into the coil packs (3 black), Unplug the connectors going to the knock sensors and sensor in the intake (2 grey) (*note: you can't mix up the last to because one is a 3 prong and one is a 2 prong*) Unclip the harness from the mounting prong on the back side of the engine. Unbolt the ground wire from the firewall (10mm). (Note: the plastic on my harness was broken, but if yours isn’t you may have to unbolt the harness from the valve covers (4 x 10mm).


Step 4:
Trace the wire harness down the passenger side of the engine to the camshaft position sensor attached to the timing cover ( 1 black) and further down to the A/C compressor (1 small grey). Now locate the starter and disconnect the connectors on the starter (1 bolt on connection 12mm, 1 black plug connection) Easier to access them through the wheel well or from underneath the truck.

Step 5:
Move to the driver’s side of the engine and trace the wiring harness down the front corner of the engine, underneath the timing cover and unplug the crankshaft position sensor (1 black) and then unplug the grey sensor connector on the side of the engine (1 grey). While you’re on the driver’s side unplug the alternator wires. (2, 1 grey plug, 1 bolt on connector 12mm)


Step 6:
Ok with everything disconnected you can pretty much pull the wiring harness off the engine and secure it out of the way. Make sure you unclip the harness from any remaining prongs that there may be.
Step 7:
With all the wiring taken care of and out of the way as best as possible, move back to the top of the engine. Now starts the real hard work. Hoses are the next project. There are 2 hoses coming out of the back of the engine that need to be unplugged. They have some hard to get to hose clamps on them and can be frustrating but be careful the aluminum pipe they are connected to is fragile and will crack! You have 2 options with the fuel rail, Leave it connected to the intake, or remove it off the intake port. I had to take mine off the intake since I couldn't disconnect the hose. So here is how I did it. There are 2 x 12mm bolts and 1 x 10mm bolt holding the fuel rail onto the intake. Take those out. Be careful with the injectors they may or may not come out with the rail, just give them a wiggle and they should come loose. If you do decide to take them out check the O-rings for damage before you re-use them. With this done you can pull the rail out of the way and secure it with the wiring harness.


Step 8:
Moving down the engine you have a couple options with your power steering pump and the A/c Compressor. You can leave them attached to your engine or take them off the engine and leave the hoses connected. The pros to removing them is that you won't have to re-fill any fluids or get your a/c system refilled the cons are, you will have to deal with taking all the belts off inside the bay, which can be a pain. I suggest taking them off the engine and letting them hang in your engine bay. It won’t hurt them as long as you secure them away from the engine. Here is how you take them off. There is one long bolt (14mm) going through your PS pump much like your alternator. After taking the belt off you can move the pulley to access it. There are 4 bolts holding your ac compressor on (12mm). They are on the passenger side of the engine. If you need more details on how to take the belts off let me know. Trying not to get too long with this. Before you take off all the belts remove the fan so you don’t damage it too.(4 x 12mm bolts) you will need either a chain wrench or a pry bar to wedge in between the bolts to keep the fan from spinning. The fan shroud comes out with 4 x 12mm bolts as well if you want to take it out. there is a piece on the bottom portion of the shroud the unclips to help with just pulling it out the top.

Step 9:
Now the part I hate. Unbolting the cross pipe and the starter.......
First unbolt the cross pipe to give you more wiggle room for the starter. 3 x 14mm nuts for the pipe and take out the bracket the that hold the exhaust steady (2 x 14mm bolts) For me it helped allot. With that free you can start on the starter. It’s held on by 2 long 14mm bolts. You have to take out the starter in order to remove the engine from the bell housing.

Step 10:
Unbolting the flywheel from the tranny. There are 6x 14mm bolts holding flywheel to the tranny. To access them you will need to take off the access plate underneath the truck. It’s located on the bottom side of the bell housing underneath the engine. It has 4 bolts in it 14mm I believe. With that plate off you can rotate your engine using a 19mm socket with a breaker bar and turning the crankshaft bolt righty tighty, (clockwise) to see the bolts on the flywheel. They are pretty hard to get to but do-able with a ratchet and shallow socket.

Step 11:
Unbolting the Bell housing from the engine. There are 6 x 17mm bolts that hold them together and very hard to reach. Try using shallow and deep well sockets, box wrenches and extensions to make things easier. while your under their unbolt the transmission lines running to the radiator from the engine. There are 2 different brackets with a 12mm bolt in each. Note that there is a seperator plate in between the flywheel and the engine, don't forget to put it back on if you take it out.. you'll be kicking yourself if you do.. ask me how I know.

Step 12:
Almost there. Next is the engine mounts. They are located at the bottom of the engine right above the differential. They have 2 x 14mm bolts holding them in. make sure you pull your cherry picker/ engine lift in and secure the engine to prevent the engine from falling if the mounts fail. Here is a pic of where I attached my lift points.


Step 13:
Lift the engine out.... Make sure nothing is still attached in the process, and nothing is getting caught. You will have to get under the truck and pry the engine and tranny loose from each other because there are 2 pins to help line the 2 together for installation.
Hope this helps and isn't to confussing. If anyone has anything to add or questions feel free to hit me up. Thanks and enjoy.

 arty:
arty: