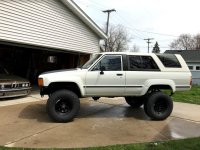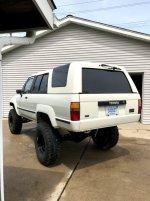
86 4Runner build "El Chapo"

IMG_5866.jpg


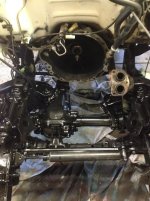
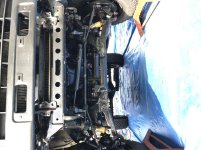
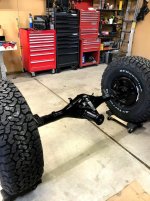
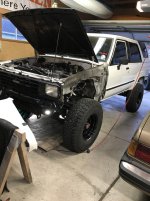
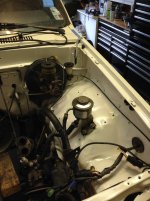
cleaned up the front end too.


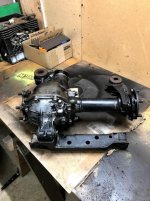
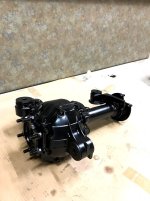
front diff.jpg


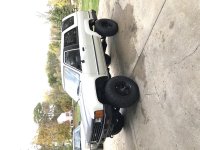
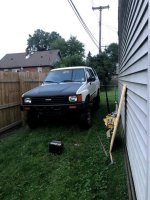
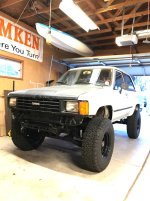
finally, the before and after shot...

86 4Runner (9).jpg


IMG_6068.jpg


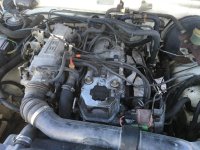
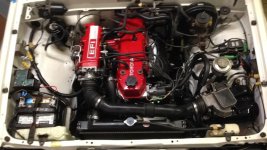
Other than losing about 3 qts of oil in about 30 seconds on initial start up because the machine shop forgot to replace one of the oil galley plugs, the whole rebuild went pretty smooth, and she is running great! Unfortunately I have one small leak from the rear main seal housing, but ill address that a little later.
 

Attachments

  • IMG_5866.jpg
    IMG_5866.jpg
    129.2 KB · Views: 599
  • IMG_6068.jpg
    IMG_6068.jpg
    99.7 KB · Views: 604
  • front diff.jpg
    front diff.jpg
    44.9 KB · Views: 595
  • 86 4Runner (9).jpg
    86 4Runner (9).jpg
    134.7 KB · Views: 631
View attachment 256730


cleaned up the front end too.


View attachment 256733


finally, the before and after shot...

View attachment 256735


View attachment 256732


Other than losing about 3 qts of oil in about 30 seconds on initial start up because the machine shop forgot to replace one of the oil galley plugs, the whole rebuild went pretty smooth, and she is running great! Unfortunately I have one small leak from the rear main seal housing, but ill address that a little later.


Looks awesome!
 
any updates i really like your build . just picked up a 89 in the same color


Thanks man! I haven't done too much. I've put about 5,000 miles on since the rebuild. It's developed an idling issue when the engine is warm. If the engine is cold, or hot, it idles fine, but sometimes has really low idle when it's warm.

Just applied some fluid film to protect the undercarriage from these Ohio winters.


IMG_0576.jpg

IMG_0591.jpg
 

Attachments

  • IMG_0591.jpg
    IMG_0591.jpg
    136 KB · Views: 645
  • IMG_0576.jpg
    IMG_0576.jpg
    136.6 KB · Views: 636
Wow, I haven't been on here for quite some time.

I moved from Ohio to Michigan and bought a house. All of my free time was spent renovating that... So the 4runner got put behind the garage and hibernated...
 

Attachments

  • IMG_1706.jpg
    IMG_1706.jpg
    98.1 KB · Views: 387
Last edited:
Finally pulled the 4Runner out from behind the garage after a little over a year.

Sold the wheels and tires that were on it with a '91 4Runner I had bought for cheap, planned to rebuild the engine and sell... Ended up taking the engine completely apart, realized I didn't have time to rebuild the engine, and sold it.

With no tires and wheels, I needed to get some...

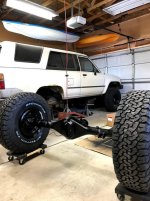
I've always wanted 33's, so I got some. 33x10.5r15 mounted on cheapy 15x8 steel d windows.

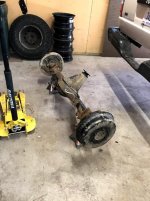
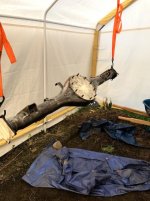
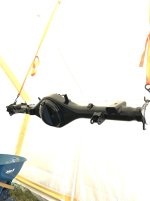
It was a dog with the 31's, so a regear was a necessity with the 33's. Went with 4.88s and threw a Yukon Grizzly locker in the rear while I was at it.

Replaced wheel, diff, and pinion bearings, all seals, and brakes while I was in there.
Oh and a fresh paint job too.
 

Attachments

  • IMG_3760.jpg
    IMG_3760.jpg
    84.4 KB · Views: 367
  • IMG_3784.jpg
    IMG_3784.jpg
    75.7 KB · Views: 384
  • IMG_3785.jpg
    IMG_3785.jpg
    48.5 KB · Views: 370
  • IMG_4078.jpg
    IMG_4078.jpg
    87.4 KB · Views: 377
  • IMG_4080.jpg
    IMG_4080.jpg
    91.6 KB · Views: 386
  • IMG_3798.jpg
    IMG_3798.jpg
    94.6 KB · Views: 382
  • IMG_4147.jpg
    IMG_4147.jpg
    119.2 KB · Views: 382
Sitting nice and purty.

Rides great! I can actually accelerate up hill going 75mph. With some mixed driving, a tiny bit of trail riding, but mostly highway I averaged 20.3 on my last fill. Not too shabby!

First time setting diff bearings/backlash and pinion bearing preload. Ive put about 1200 miles on since the rebuild and all as been good.
 

Attachments

  • IMG_4560.jpg
    IMG_4560.jpg
    130.5 KB · Views: 386
  • IMG_5197.jpg
    IMG_5197.jpg
    133.8 KB · Views: 382
  • IMG_5195.jpg
    IMG_5195.jpg
    80.5 KB · Views: 393
Last edited:
This fall/winter I plan on fixing the rust, dents, and other body imperfections and giving it a fresh paint job.

I plan on doing all the work myself in my garage. I will makeshift a paint booth when it comes time to spray.

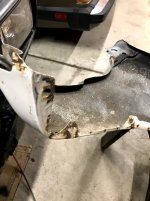
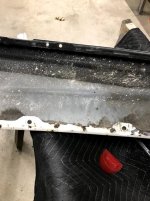
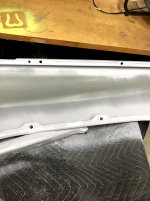
I have started on the driver front fender. A few dents/creases as well as about 15 holes on the inner lip from the PO using self tapping screws to screw in rubber molding as fender flares (the cause of rust on my rear fenders)
 

Attachments

  • 60972435289__F57F2670-20ED-456E-9AE1-1A1582B3FDA1.JPG
    60972435289__F57F2670-20ED-456E-9AE1-1A1582B3FDA1.JPG
    135.3 KB · Views: 377
  • IMG_5205.jpg
    IMG_5205.jpg
    98.5 KB · Views: 361
  • IMG_5206.jpg
    IMG_5206.jpg
    85.4 KB · Views: 364
  • IMG_5227.jpg
    IMG_5227.jpg
    131.6 KB · Views: 373
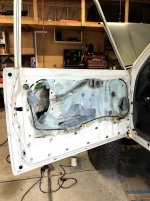
Onto the driver door...

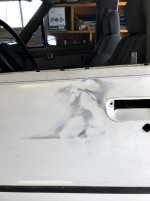
There was a cluster of small dents near the handle. First pic below highlights these dents. Pounding these out from inside was quite the pain. Going to try to use as little body filler as possible.

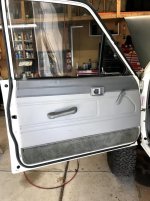
The PO also used self tapping screws to screw in some carpet on the interior of the door... welded in those holes. Still need to grind them smooth
 

Attachments

  • IMG_5229.jpg
    IMG_5229.jpg
    68.9 KB · Views: 363
  • IMG_5228.jpg
    IMG_5228.jpg
    82.2 KB · Views: 413
  • IMG_5235.jpg
    IMG_5235.jpg
    84.4 KB · Views: 361
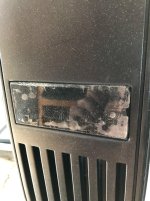
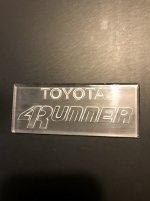
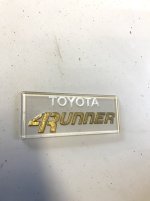
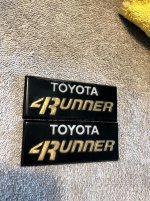
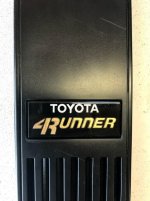
Restored the B pillar badges. They were in pretty rough shape...

Scraped off all the old paint. What a pain...

Used some gel type, t shirt paint for the letters.

black spray paint on the backs.

Not perfect, but much better than before.
 

Attachments

  • IMG_5245.jpg
    IMG_5245.jpg
    95.3 KB · Views: 374
  • IMG_5257.jpg
    IMG_5257.jpg
    96.3 KB · Views: 366
  • IMG_5259.jpg
    IMG_5259.jpg
    75.3 KB · Views: 377
  • IMG_5261.jpg
    IMG_5261.jpg
    136.8 KB · Views: 362
  • IMG_5264.jpg
    IMG_5264.jpg
    85.8 KB · Views: 359

Members online

Forum statistics

Threads
278,312
Messages
3,554,083
Members
248,016
Latest member
Advally Service

Trending content

Back
Top