Ace's 1998 4Runner Build Thread

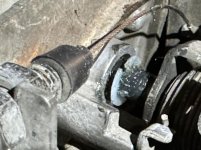
Another repair that was required was the broken antenna mast.

I purchased this kit and it worked well.

I pulled the antenna assembly from the wheel well and after taking the cover off the old broken bits were removed and the bail area cleaned. Then I lubed the bail area and reinstalled the assembly. After it was secure I installed the new mast and it works great.

A few youtube videos on this were watched beforehand, lots of wisdom out there.
 
Last edited:
Next I decided to replace the upper & lower radiator hoses and flush & fill the cooling system. The hoses appeared to be original as the upper had a 97 number on it so I think they were due.

I ordered an aftermarket set from Amazon but they were way off on shape so I returned them and picked up a pair of OEM hoses from a local Toyota dealer.

In preparation I watched Tim's video on the procedure -

<iframe width="560" height="315" src="https://www.youtube.com/embed/oQsxmi-CNng?si=DbIBkt1n7cbVOcQ2" title="YouTube video player" frameborder="0" allow="accelerometer; autoplay; clipboard-write; encrypted-media; gyroscope; picture-in-picture; web-share" allowfullscreen></iframe>

I ordered this funnel kit and it worked like a charm -

618EGUmg3IL._SL1336_.jpg


After flushing the system 4 times with distilled water I drained it for the final time and filled with Red Asian Peak coolant-

iu
 
Last edited:
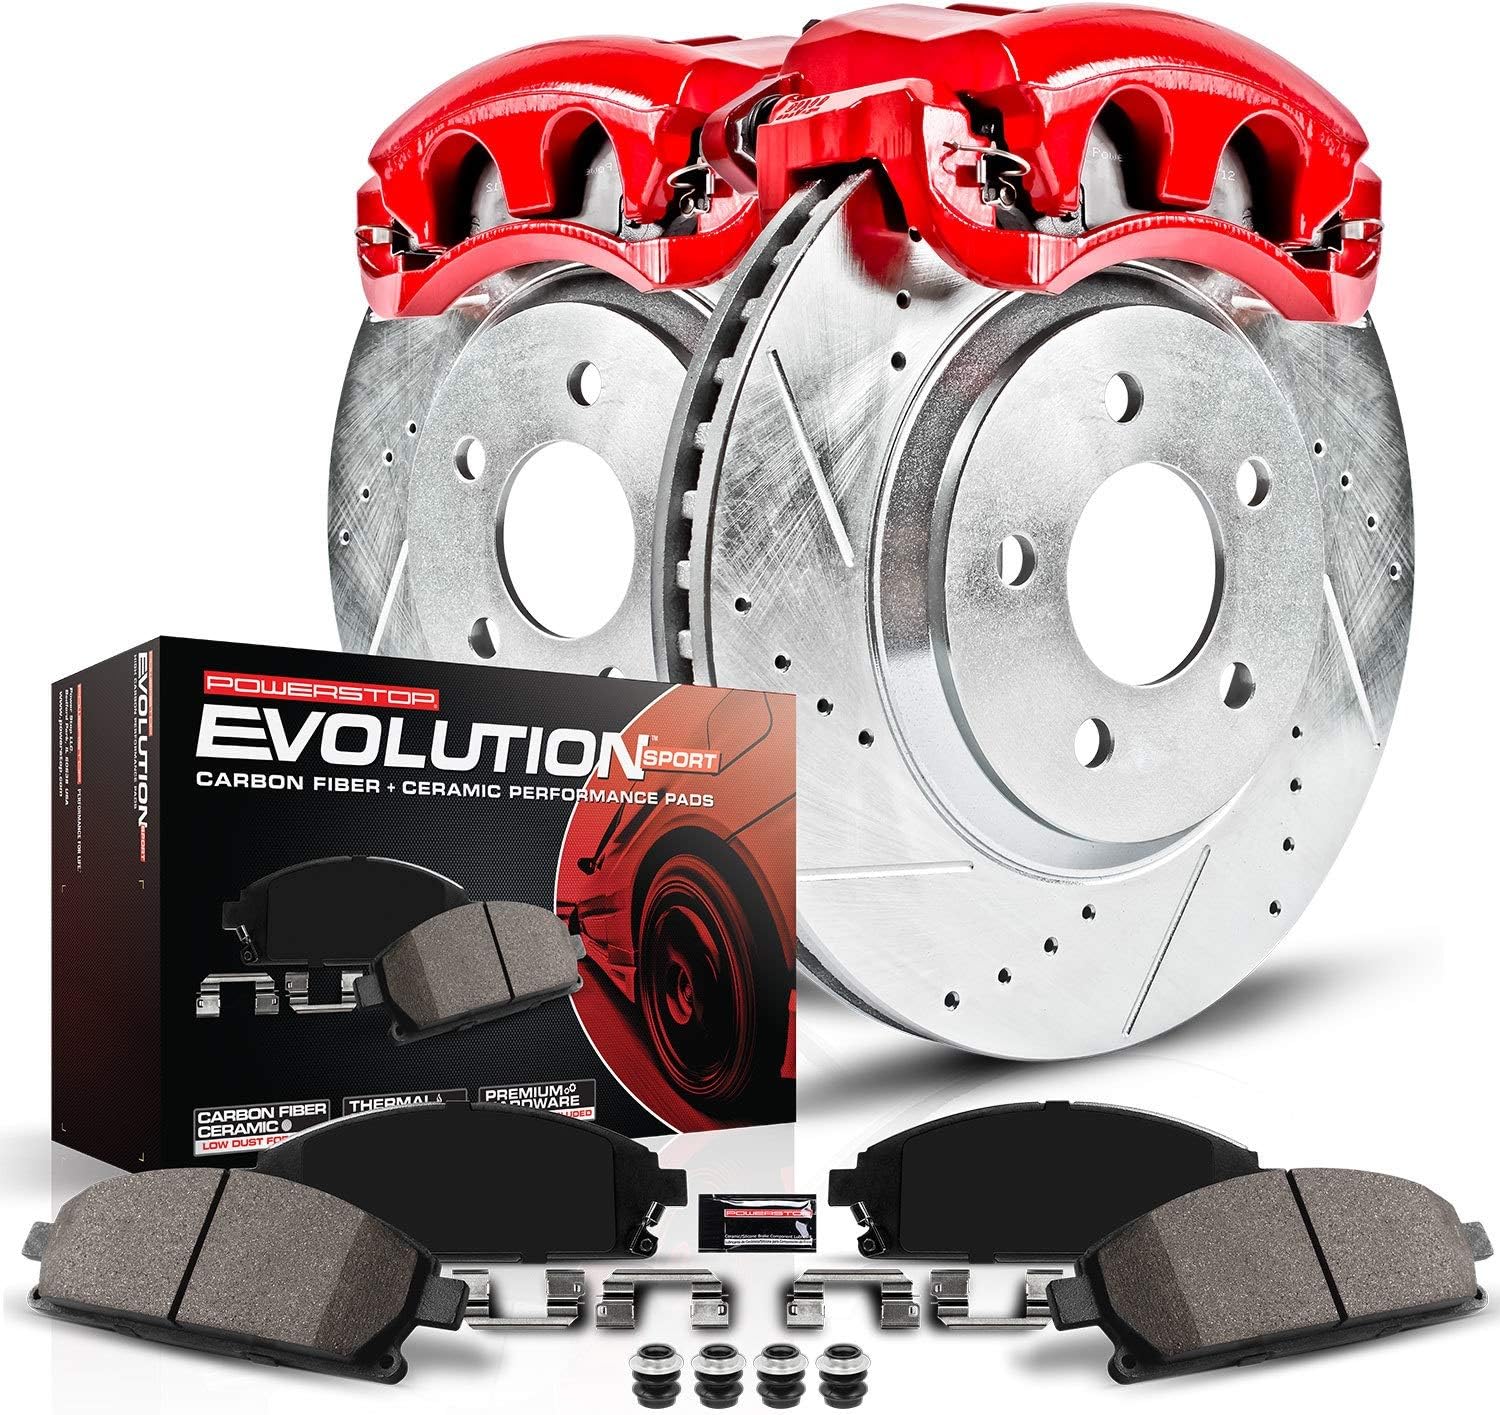
The next job was the 13WL Tundra brake upgrade.

I ordered this Powerstop KC2324 Z23 Kit from Amazon

81FsA6jlJjL._AC_SL1500_.jpg


I also ordered these stainless steel brake lines -

619TpsIwBdL._AC_SL1500_.jpg


Installation was straightforward after trimming the brake shields. Again, Tim's video tutorial was a big help -

<iframe width="560" height="315" src="https://www.youtube.com/embed/P8zy-j4UBUo?si=2CVosp-LEvorFpOq" title="YouTube video player" frameborder="0" allow="accelerometer; autoplay; clipboard-write; encrypted-media; gyroscope; picture-in-picture; web-share" allowfullscreen></iframe>

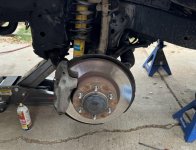
Before -
 

Attachments

  • IMG_8879.jpg
    IMG_8879.jpg
    107.4 KB · Views: 650
Last edited:
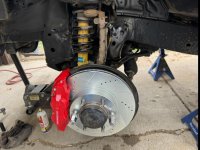
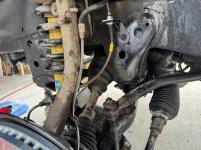
After, second pic is the new brake line-
 

Attachments

  • IMG_8884.jpg
    IMG_8884.jpg
    103.1 KB · Views: 617
  • IMG_8882.jpg
    IMG_8882.jpg
    118.4 KB · Views: 604
Powerstop offers an $82 core return after you ship the originals back to them.

I used this Allstar brake bleeder, worked like a charm -

51WdWAT9rmL._AC_SL1500_.jpg


PhoRunner's video & bleeder recommendation -

<iframe width="560" height="315" src="https://www.youtube.com/embed/ahEv1GDQ7kw?si=i6YrWCSu6HxcNEfT" title="YouTube video player" frameborder="0" allow="accelerometer; autoplay; clipboard-write; encrypted-media; gyroscope; picture-in-picture; web-share" allowfullscreen></iframe>


I also bled/flushed the clutch system- easy!
 
Last edited:
Another upgrade that I did was to replace the 1998 center console with one from a 1999-2002 T4R.

I bought one at a salvage yard and per the video below I also bought the rear bracket, floor pan cable plate and the hand brake-

<iframe width="560" height="315" src="https://www.youtube.com/embed/QWN0klxawaE?si=6fcGEfFDSXGgQNFz" title="YouTube video player" frameborder="0" allow="accelerometer; autoplay; clipboard-write; encrypted-media; gyroscope; picture-in-picture; web-share" allowfullscreen></iframe>


I did have to widen the opening in the floorpan a little bit for the cable plate.

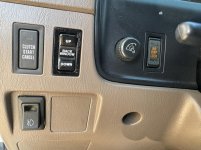
Then I moved the rear window switch from the center console to the switch panel to the left of the steering wheel. After I unwrapped some of the electrical tape the wiring harness for the switch reached easily.

The problem I found afterwards was that the switch labeling/action was reversed at the new switch location, DOWN was on the top of the switch and UP was on the bottom, not intuitive at all.

So I first reversed two of the wires on the back of the switch so that pushing the top of the switch put the window UP and the bottom of the switch moved the window down.

Then I relabeled the switch using plastic Dymo labels (white lettering, black background) and then clear coated the switch after cleaning.

It makes sense now -
 

Attachments

  • IMG_8891.jpg
    IMG_8891.jpg
    129.1 KB · Views: 614
Last edited:
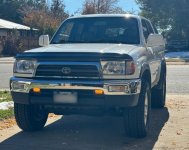
Next mod was to add some LED lights to the front bumper as running lights.

I used these-

71hytHolOAL._AC_SX679_.jpg


I connected them to the the accessory outlet fuse location (engine compartment fuse box) using a Add-A-circuit fuse holder & a 2.5 amp fuse. This circuit is switched Hot so the lights illuminate when the key is turned to the ON position.

Installation into the bumper grille did require making an opening/slit in the plastic bumper grille for the top of the light bezel to slide into. These will definitely get your attention but being mounted low on the bumper they are not obnoxious-
 

Attachments

  • IMG_8999.jpg
    IMG_8999.jpg
    108.4 KB · Views: 644
Last edited:
those OEM front mud flaps are the star of the build thread so far!

thanks for posting, i just picked up a 2000 and will be doing a similar list of PM & upgrades to it. appreciate the pics, info and helpful links!
 
Ordered a replacement Toyota fog lights rocker switch #00550-35976 from Toyota online, $9.62 shipped to my nearby dealer :bounce:

The switch that I have now is missing the lens and while not connected to a set of driving lights I plan on doing that in the future.
 
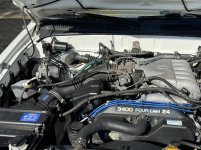
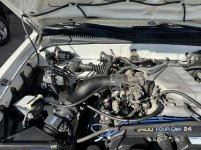
Installed an Airaid intake tube also. Eliminates the baffles and cleans up the engine compartment.

I've had good luck with one on my Suburban 5.3L with it's proven dyno results to a stock engine.

Before & after -
 

Attachments

  • IMG_8898.jpg
    IMG_8898.jpg
    130.9 KB · Views: 701
  • IMG_8903.jpg
    IMG_8903.jpg
    132.9 KB · Views: 717
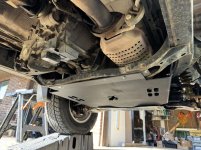
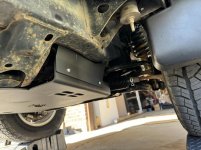
Catalytic converter theft in my area is pretty bad so I installed a Talons Garage transmission /Catalytic Converter Skidplate to protect my T4R-

Toyota 4Runner | Transmission & Cat Shield | 1996-2002
– Talons Garage


I bought the steel version and installation was easy.

It protects the forward area of the cat so that they can't cut off that end. I may install a DIY extension with steel mesh to stop a thief from mistakenly cutting the other end.

Another option is buying their transfer case skidplate.

A few pics -
 

Attachments

  • IMG_8895.jpg
    IMG_8895.jpg
    133.2 KB · Views: 938
  • IMG_8896.jpg
    IMG_8896.jpg
    104.4 KB · Views: 920
Last edited:
Installed an Airaid intake tube also. Eliminates the baffles and cleans up the engine compartment.

I've had good luck with one on my Suburban 5.3L with it's proven dyno results to a stock engine.

Before & after -


Looks beautiful!! Your build is coming along super sweet


Sent from my iPhone using Tapatalk
 
Forgot to mention -

Before I installed the Airaid intake tube I removed and cleaned the Idle Air Control and the throttle body. The IAC was a bit sticky but it cleaned up well with some carb cleaner.

I ordered an IAC gasket ahead of time from Toyota parts online and picked it up at my local dealer. I knew my 26 year old gasket would be stiff so I planned on replacing it. It did break when removed.

My idle is still sticky so I'll be trying this throttle bail washer mod today (my throttle body sticks like the YouTuber's did) -

<iframe width="560" height="315" src="https://www.youtube.com/embed/IIbTvxR1TQk?si=EqbnUeh4F21g6RFm" title="YouTube video player" frameborder="0" allow="accelerometer; autoplay; clipboard-write; encrypted-media; gyroscope; picture-in-picture; web-share" allowfullscreen></iframe>
 
Last edited:
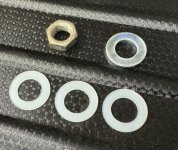
I went to my local Ace hardware with the nut that holds the throttle body bail onto the shaft and found that the nut fit on a M8 -150 fine thread bolt. I used that bolt to find some washers and bought one steel and 3 thinner nylon washers.

I figured that I could cut a nylon washer with a razor knife and put it over the shaft without taking the bail off.

The washers & the nut-
 

Attachments

  • IMG_8923.jpg
    IMG_8923.jpg
    137.5 KB · Views: 702
Last edited:
I split one washer, greased it and put it onto the throttle body shaft the reinstalled the bail , nut , lock washer & cables.
 

Attachments

  • IMG_8925.jpg
    IMG_8925.jpg
    91.2 KB · Views: 684
Last edited:
as you can see in the pic the shaft was a little larger than the inside diameter of the nylon washer.

There was still some play in the throttle body so I installed a second nylon washer and the play was gone, idle sticking resolved.
 
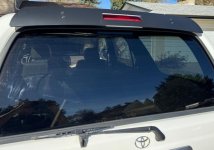
Removed, cleaned and painted the rear spoiler, it's brackets and the rear wiper assy with SEM Trim Black paint this afternoon -
 

Attachments

  • IMG_8928.jpg
    IMG_8928.jpg
    50.2 KB · Views: 677
Last edited:
Since my 1998 has no imobilizer/chip key I bought this Viper 3505V 2 way alarm at Amazon-

https://www.amazon.com/gp/product/B006W9WDOY/ref=ppx_yo_dt_b_search_asin_title?ie=UTF8&th=1

51v-pIpEwIL._AC_SL1000_.jpg


Had Best Buy install it.

Range is excellent and it works great. Since my T4R is a 5 speed manual I chose not to have remote start enabled.

This model has the feature that will disable the ignition when the alarm is going off to stop a thief from starting & driving away after attacking the ignition switch. That requires a separate starter interrupt relay to be installed.
 

Members online

Forum statistics

Threads
278,309
Messages
3,554,066
Members
248,016
Latest member
Advally Service

Trending content

Back
Top