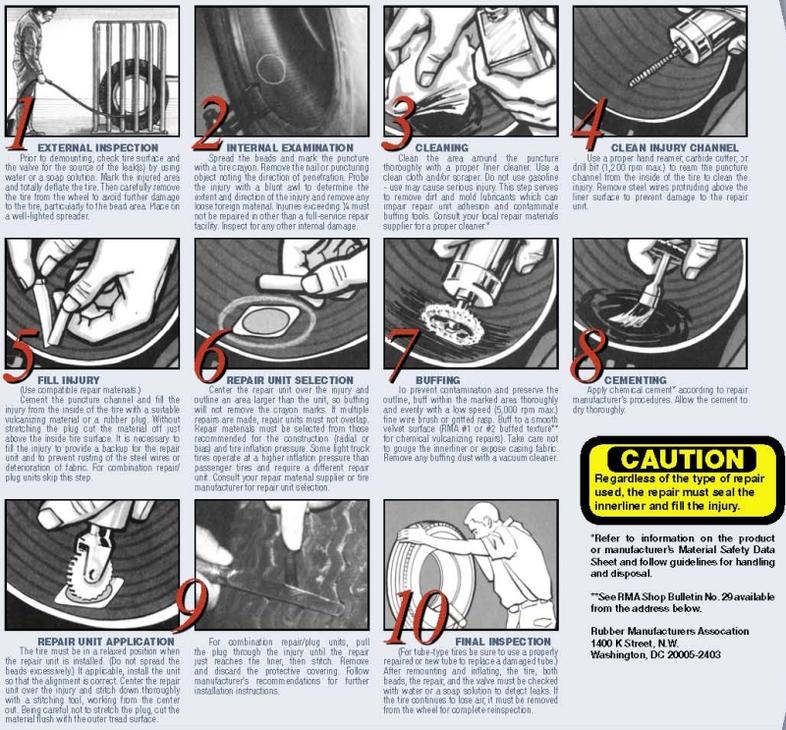
To help others and to solicit improvements to the process, here are the steps I used (where the steps & tools are fair game for comment).
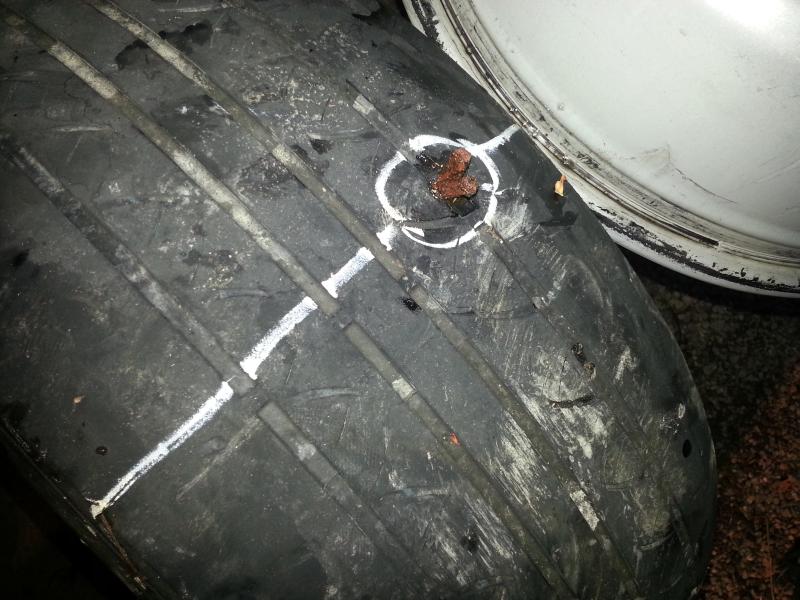
The first thing I did was remove the offending object which had punctured the tire.
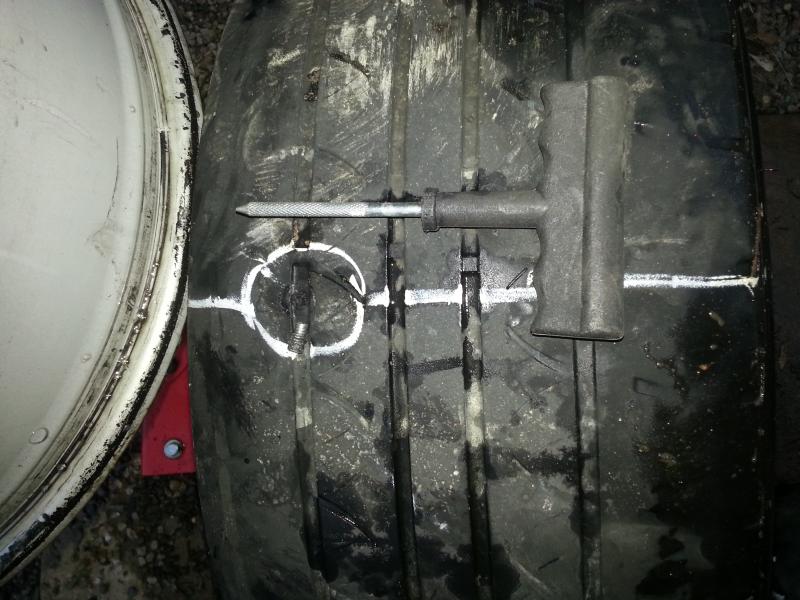
Then I grabbed this tire reamer tool which is apparently designed to be slightly less than 1/4 inch (about 1/16th or 1/8th smaller than a quarter of an inch in diameter).
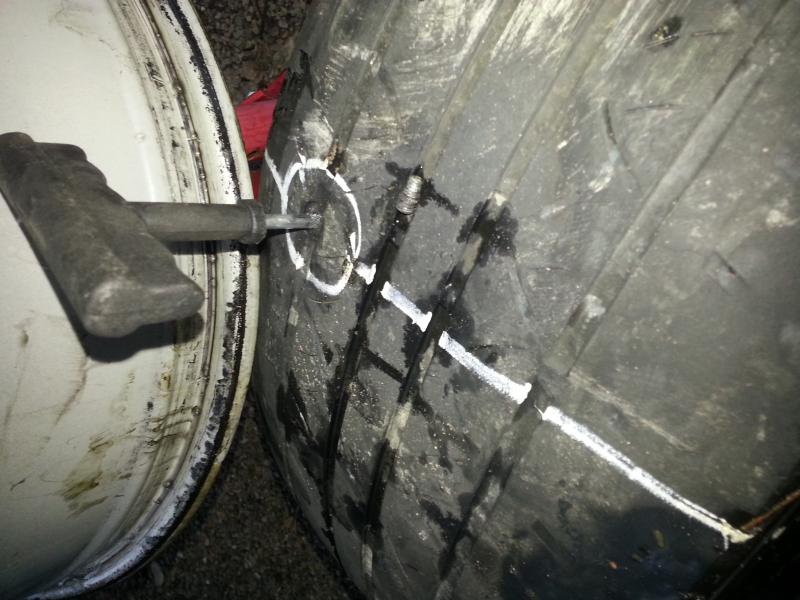
While reaming the hole, I took note of the direction of the hole, which, in this case, seems to have been from a blunt bolt that wedged between the treads and eventually worked its way straight through the carcass:
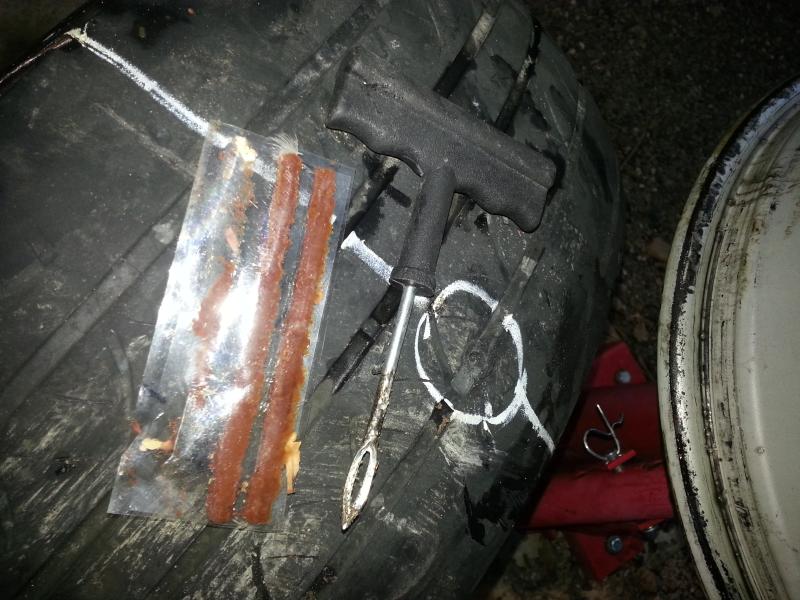
Then I slathered the vulcanizing cement on the yarn covered with vulcanizable goopy rubber and inserted it into the hole from the outside, twisted, and pulled the tool out:
Since that plug went on soaking wet with the vulcanizing cement, I let it set for about a quarter of an hour.
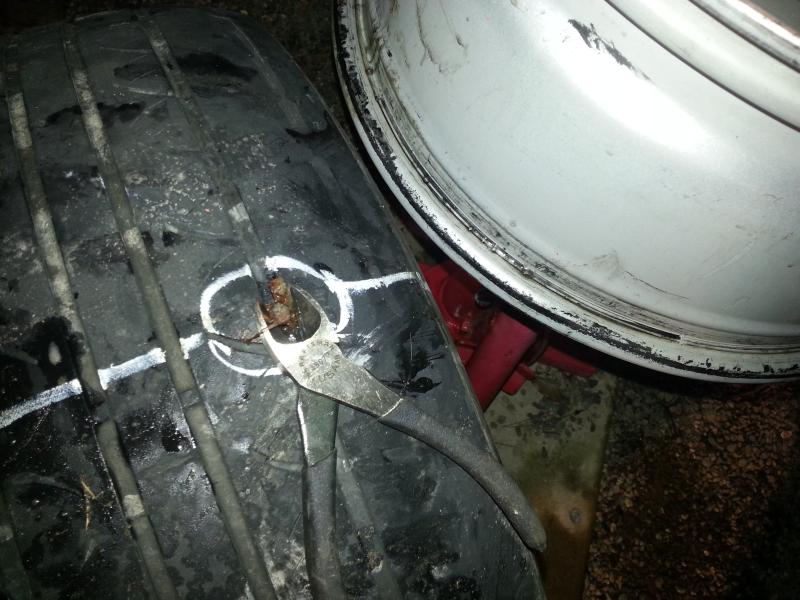
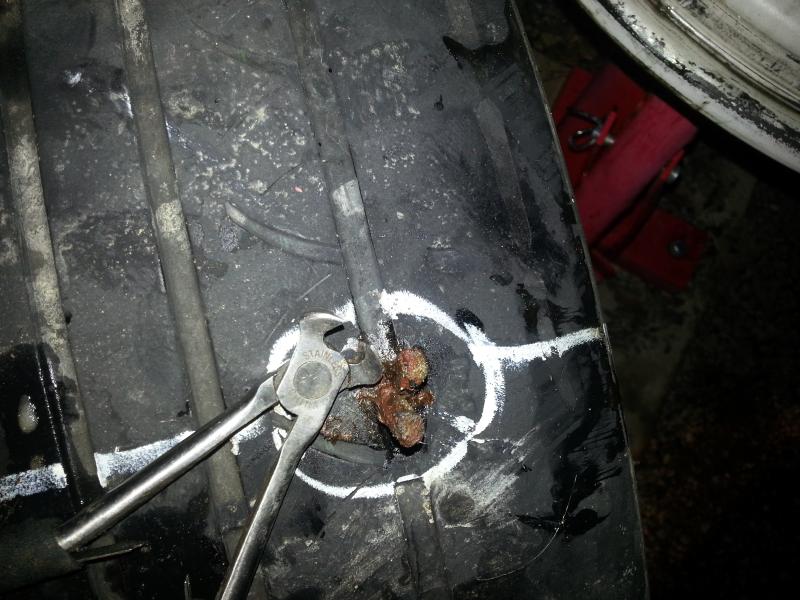
After the external plug set, I tried to cut off the excess with diagonal pliers, but there was no way that was going to work:
I grabbed every tool in my toolbox, but none would cut that goopy thing flush other than a utility knife:
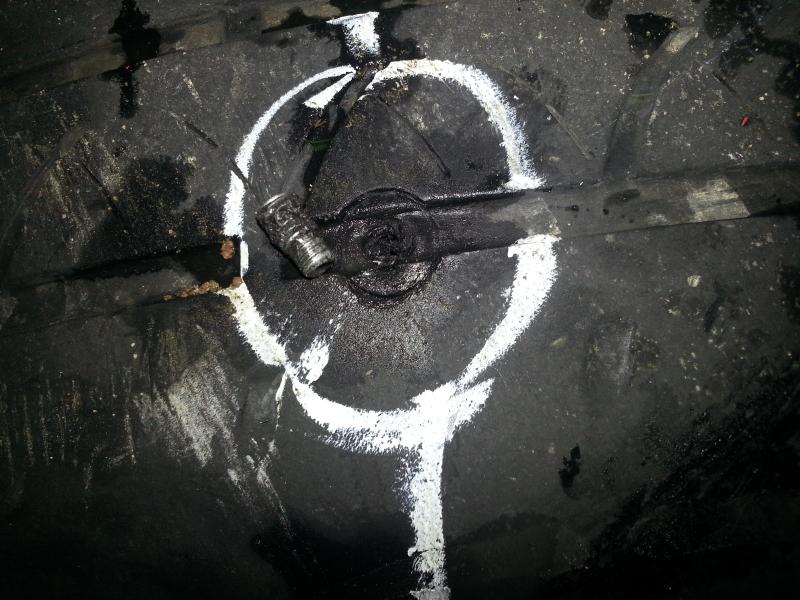
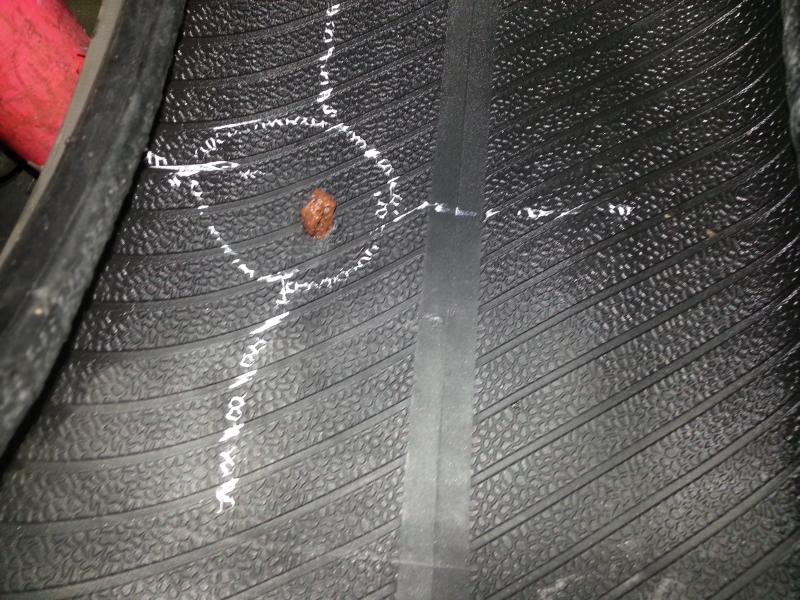
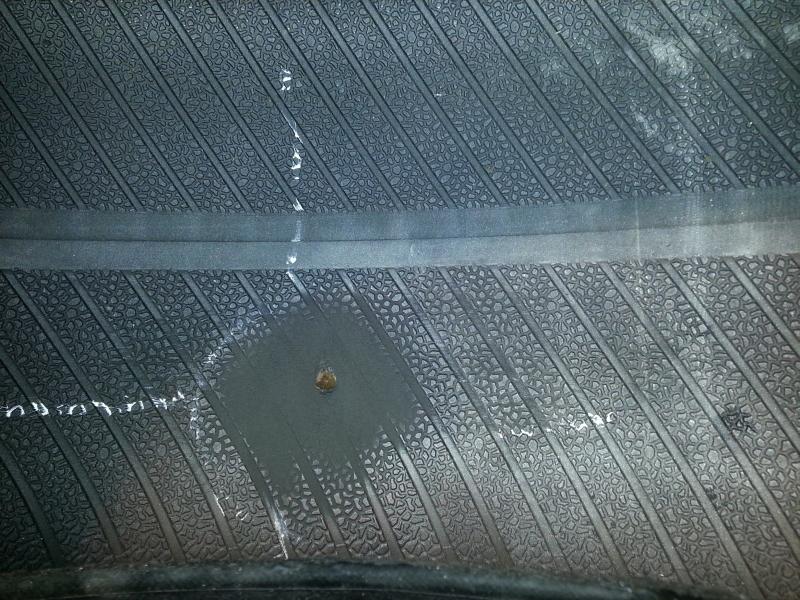
Here is what the inside of the carcass looks like after letting the vulcanizing plug set for a while:
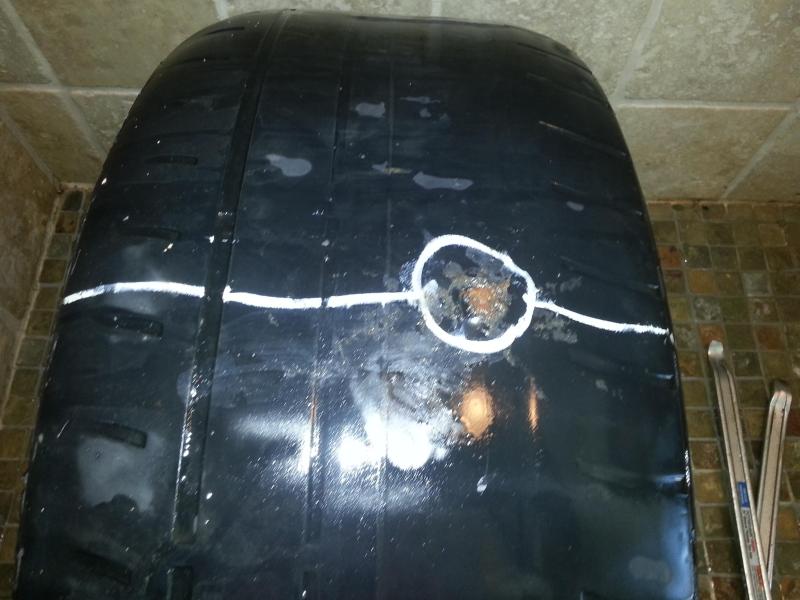
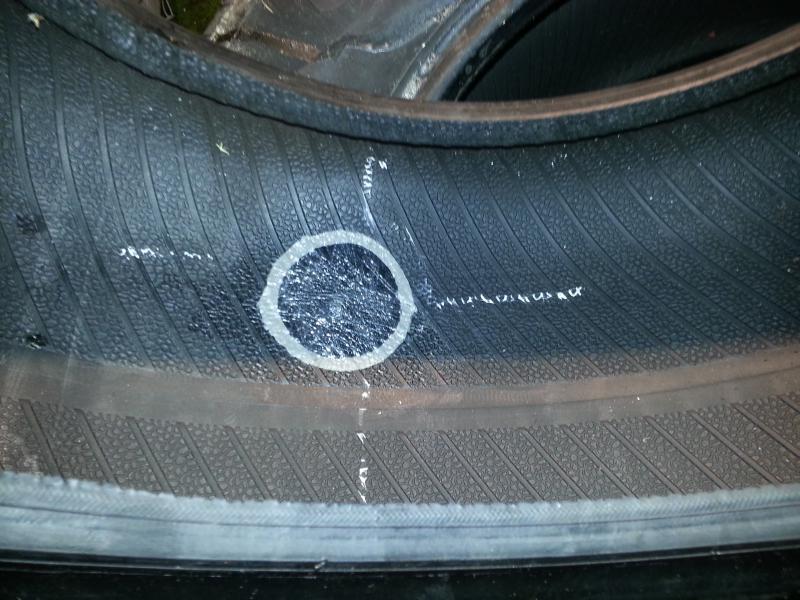
I then clearly marked a circle and cross that was greater than the buffing area:
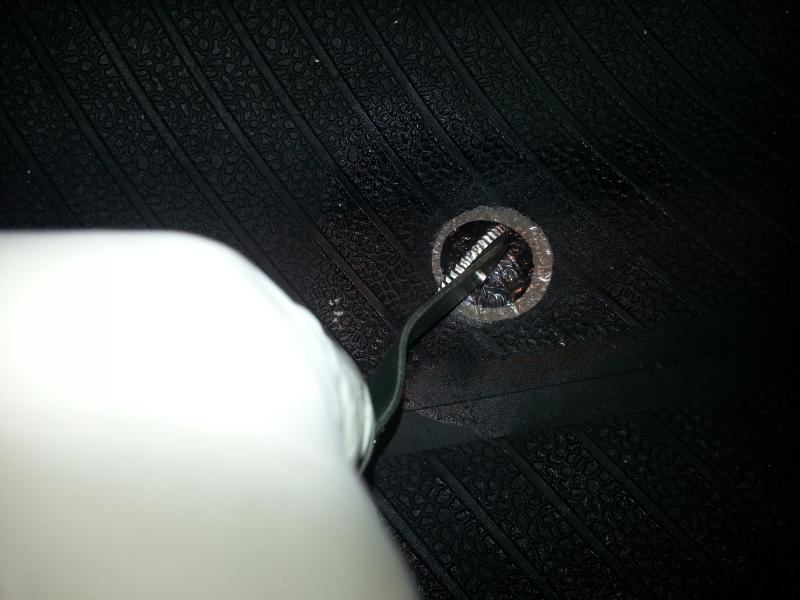
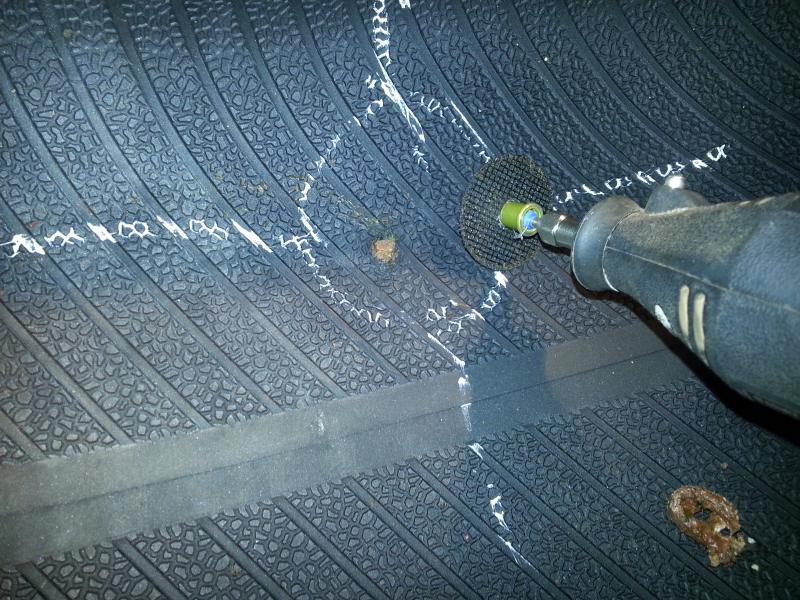
On the inside of the carcass, it's much more critical to cut the protruding part of the plug flush so I got out the Dremel tool,. which worked well enough (but if you have better ideas for a common tool in a typical garage other than a utility knife or Dremel tool, let me know).
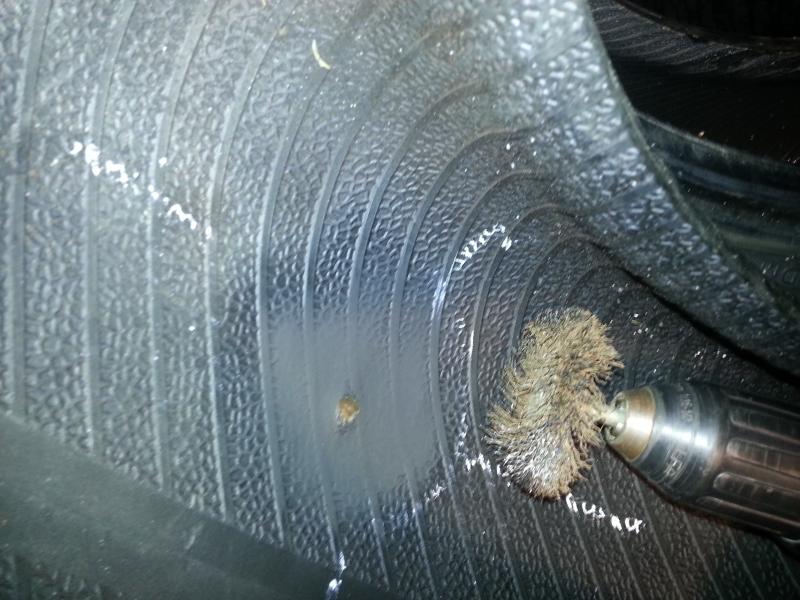
The stitching tool has a scraper end, but it would take forever to scrape that carcass using that tool so I resorted to power tools, spun at below 1,200 RPM.
They make a specially shaped buffing cone but I didn't have one so a wire brush sufficed as a poor man's buffing cone:
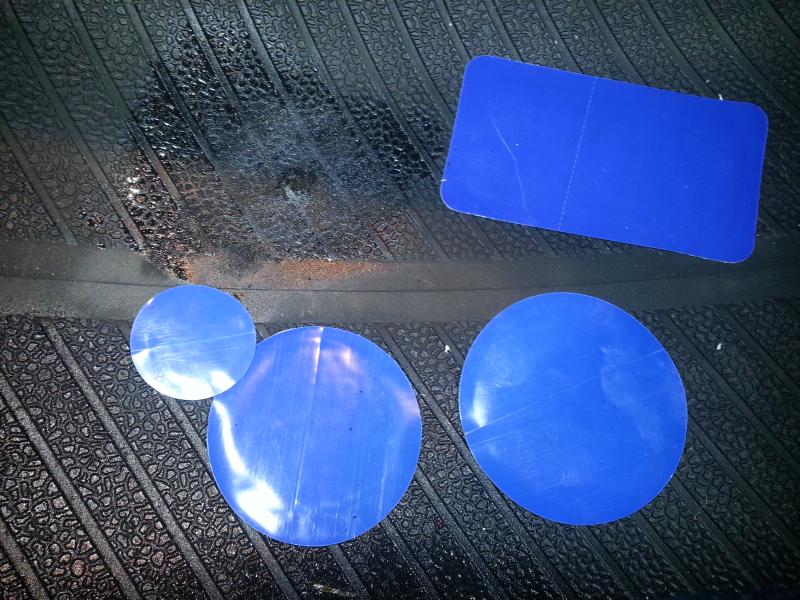
I then vacuumed out the debris in preparation for slathering on the vulcanizing cement and then letting that cement try to a tacky state over about five or ten minutes time:
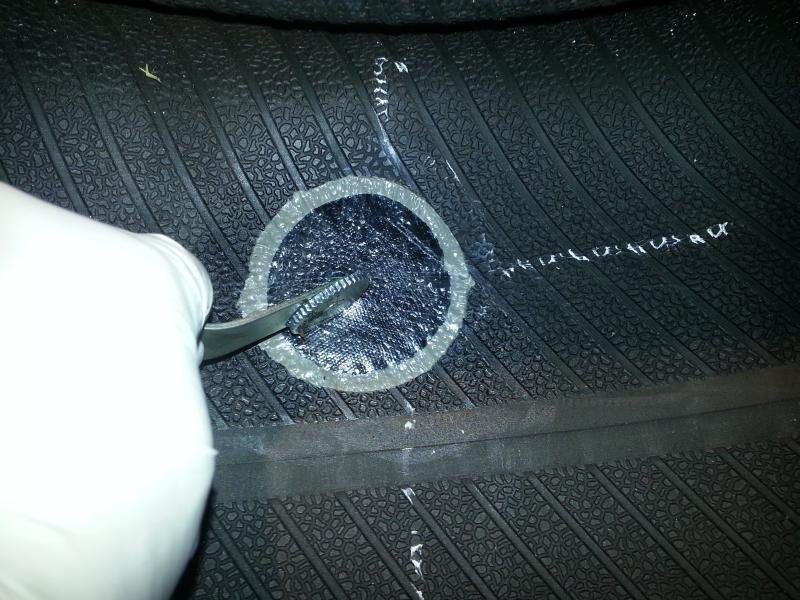
I then stitched the patch down, using short half-diameter radial strokes from the center outward and let the patch sit for about an hour before mounting.
Here is what the repair looks like from the inside after everything set for about an hour:
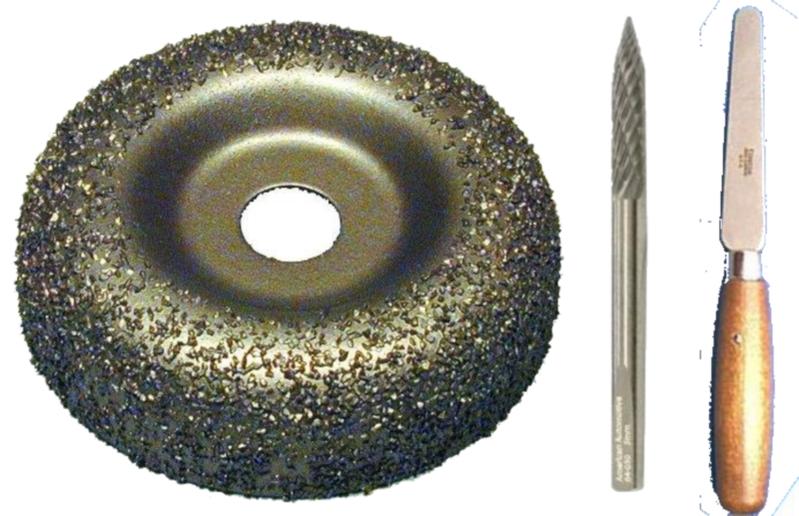
In hindsight, these are 3 tools that aren't critical, but which would have made the job easier and more fun:
- Carbide drill bit (which cuts the steel belt and body cables flush)
- Cone grinder bit (which has a better shape than a wire brush)
- Flexible knife (which is better than the dremel disc cutter)
One lesson learned is that it's generally easy to ream the hole, but one of the holes was made by a staple-sized nail, which was nearly impossible to ream with the hand tool, simply because it wouldn't penetrate the thick rubber. For that hole, I just patched it from the inside; but in 20/20 hindsight, a reamer bit on a 1,200 RPM drill would have been what is needed for such a tiny hole if a plug was also to be used (which should be the case in all repairs).
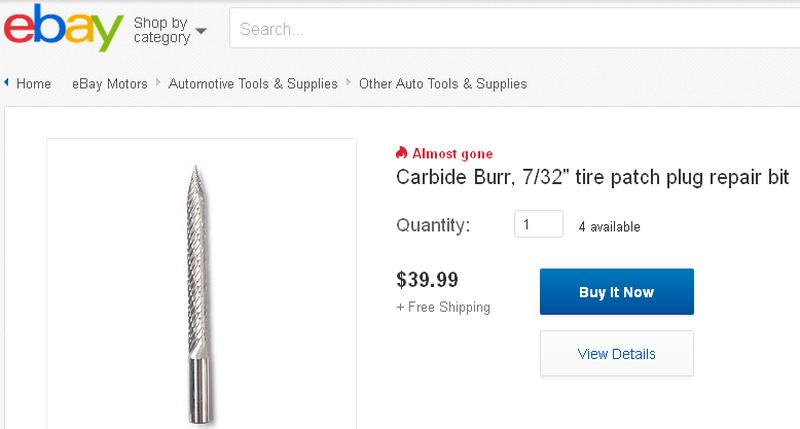
These reamer bits are surprisingly expensive (often thirty and forty bucks each), compared to what a drill bit would cost, for example, so there must be some reason for that unknown to me at the moment for the expensive ones:
But
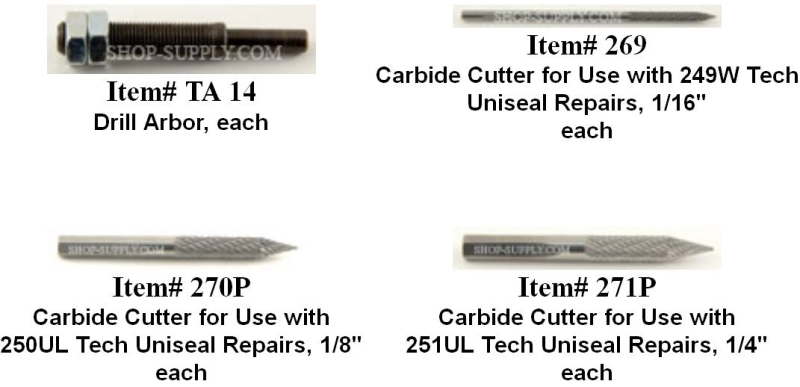
I can also find cheap bits for about five or ten bucks (dunno how different they are though) where it seems you may need these four different sizes (just a smidgen under 1/16th inch, a smidgen under 1/8th inch, and a smidgen under 1/4 inch):