
AntleredRuin
New member
OK well I'm making this page because I've had a fair few people ask me about my interior 'mods' and I don't want to clutter up other people's threads. This will be my dumping ground!!!
I guess it's a build thread, but as I have a 2wd (only for now, hopefully) there won't be much actual modding. It'll all be mostly cosmetic.
Well I bought Archie in August of 2015 with 132k miles on the clock and he currently sits with 155k right at a year later. 1999 Limited 2wd 3.4 V6. Of course I don't have any pictures of him when I bought him, but here he is a few months later (with the running boards removed).
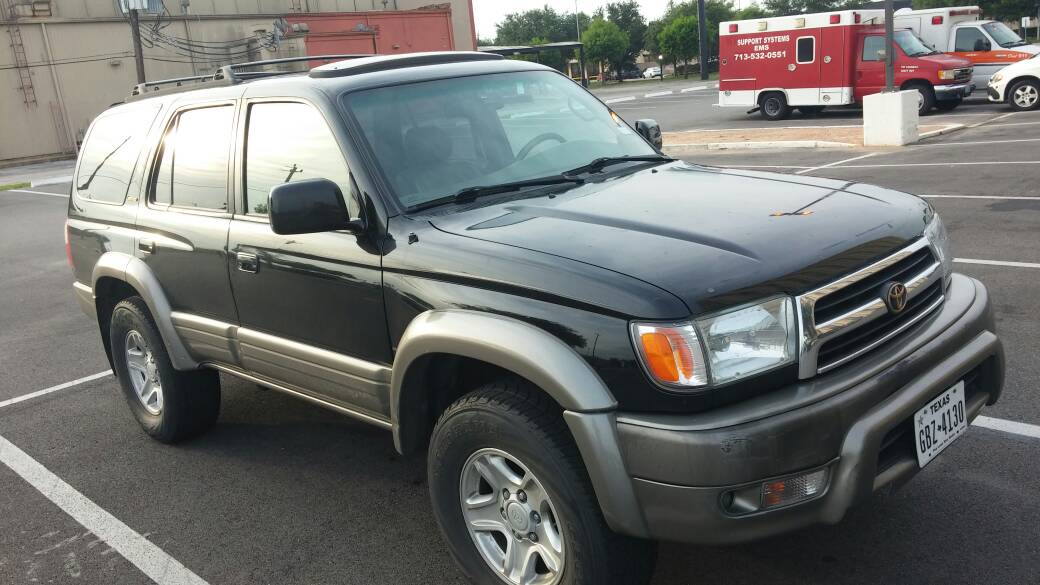
A few dings, but the history was good and the price was right
About a week after I brought him home, I started experiencing some stalling issues and found out it was the FPR. Ended tearing the top of the engine apart because I did this to a fuel injector while replacing the FPR:
 :roadkill:
I've installed a tranny cooler bypass as well.
My Interior mods started for 3 reasons;
#1 is I destroyed the radio bezel removing it to replace my dead radio. I taped it back together with electrical tape and painted it black. I also Plastidipped the gear shift and gauge bezel to match.
I had to glue it back together and then tape it. I know I have a destroyed bezel picture somewhere... Here it is:

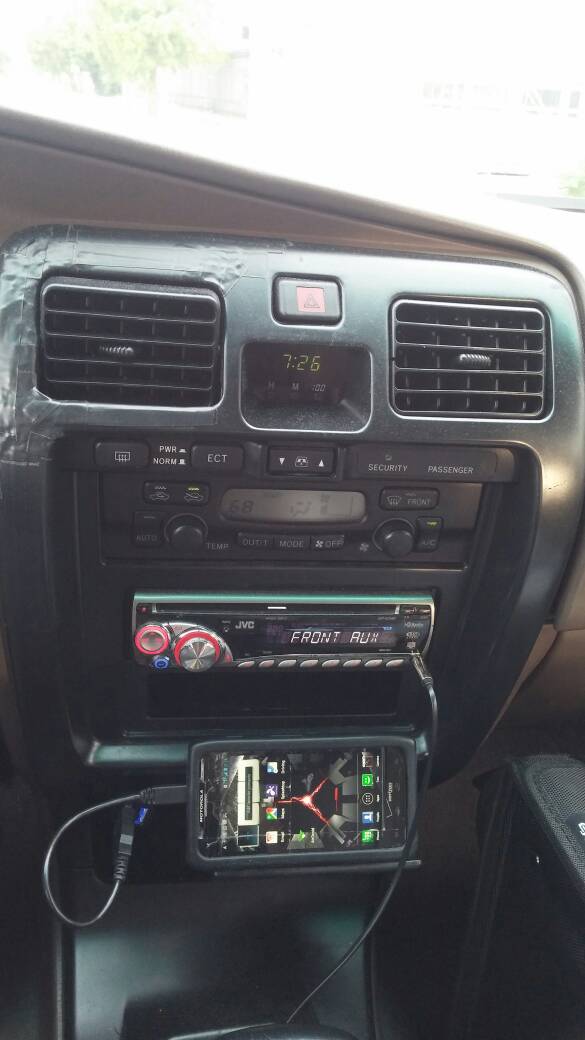
This is just temporary…for the past 9 months…
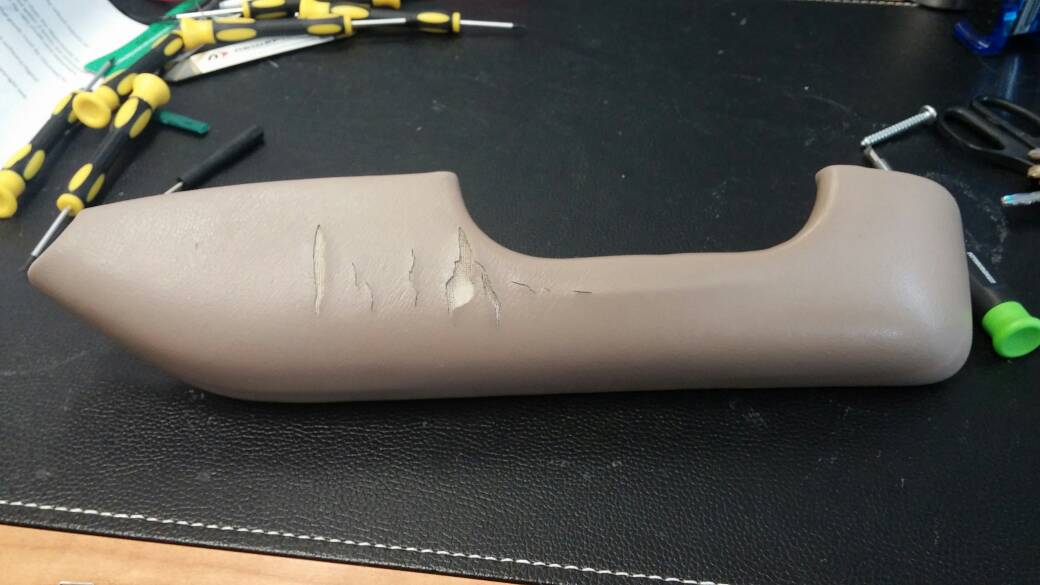
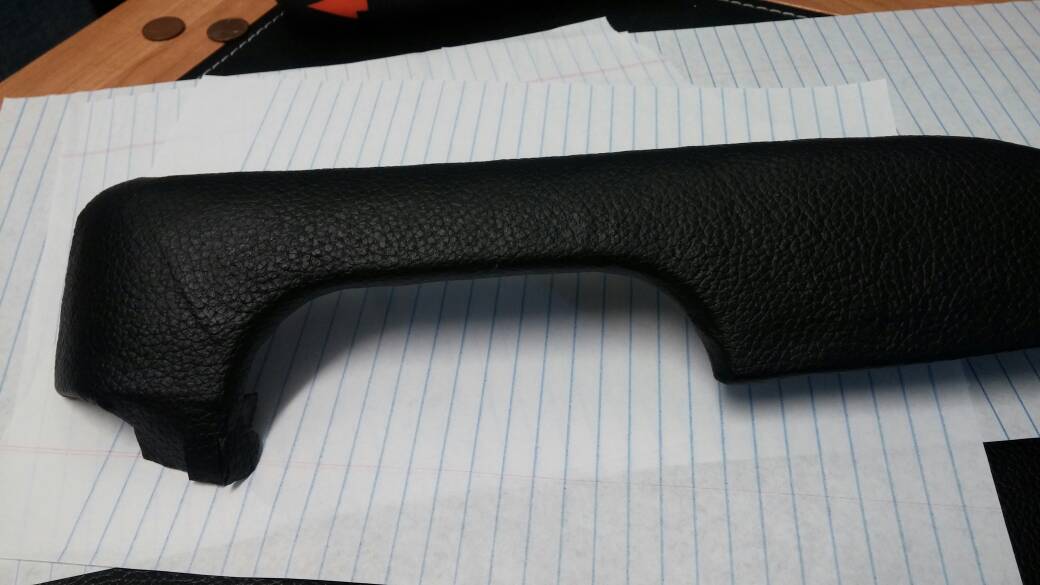
Reason #2 was the split armrest on the driver door. I had several yards of black leather laying around from a previous project, so I reupholstered the armrest just to see. I used some 3M spray adhesive and a staple gun. Turned out pretty good, I think.


Reason #3 was the giant elbow hole in the center console lid:

Restuffed and recovered it and turned it into this:

Not perfect and I'll probably go back with more stuffing, but a whole lot better. The plastic for the console lid is like 10x harder than the plastic for the door armrests; my staple gun could barely penetrate it, which made for shoddy stapling and loose covering.
I Plastidipped the wood grain door bezel and handle:

I then figured that I had gone this far; I might as well see how the rest of the door turns out:
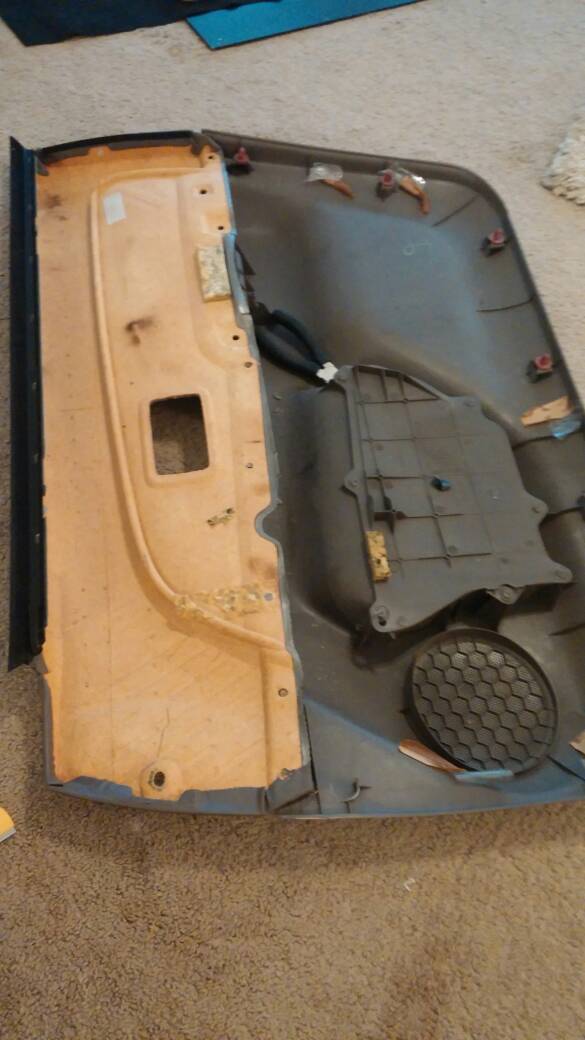
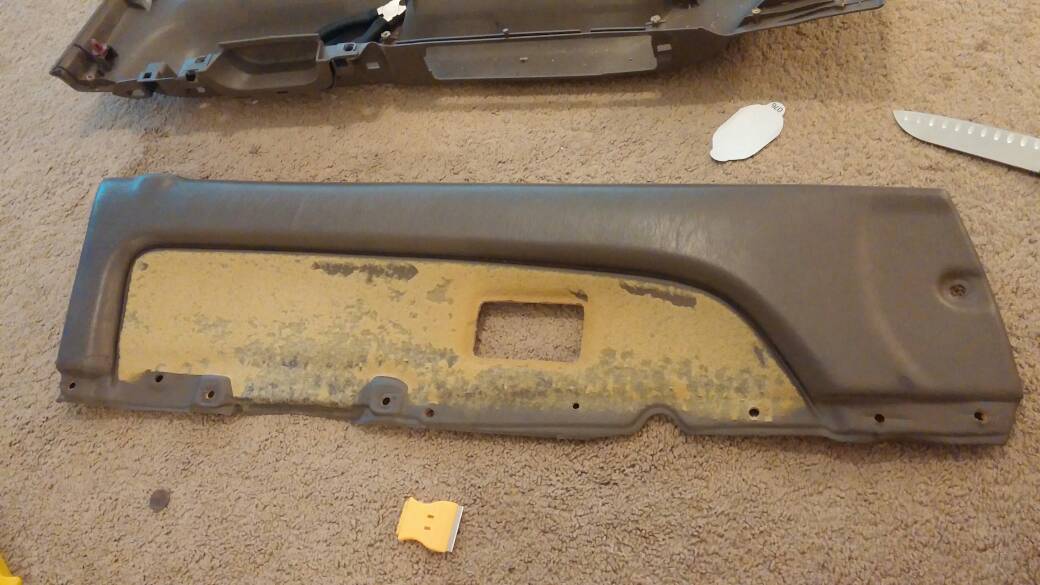
There are several meltpoints (plastic rivets) holding the panels together. A very sharp knife (like my wife's santoku knife) or a small pair of wire cutters makes quick work of them.


The cat (aptly named 'Beef') was of course eager to help.

I cut it out and sprayed 3M adhesive and stuck it down carefully. I used self tapping screws and stacks of washers to replace the melt points to put the door back together.
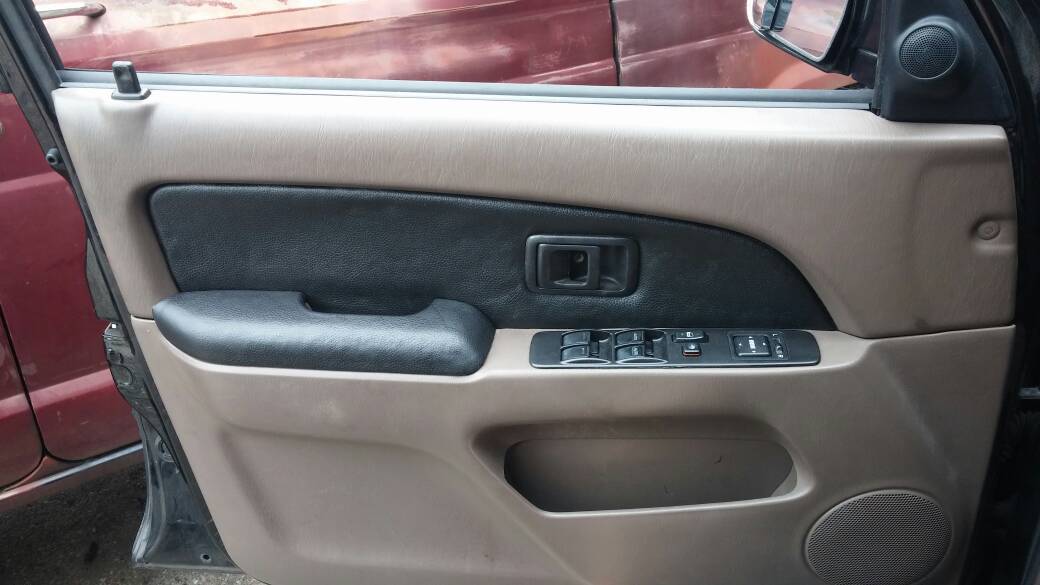
And that's why Plastidip is amazing; I did not like the black bezel, so I peeled it off to make it this:

More to come…
I guess it's a build thread, but as I have a 2wd (only for now, hopefully) there won't be much actual modding. It'll all be mostly cosmetic.
Well I bought Archie in August of 2015 with 132k miles on the clock and he currently sits with 155k right at a year later. 1999 Limited 2wd 3.4 V6. Of course I don't have any pictures of him when I bought him, but here he is a few months later (with the running boards removed).
A few dings, but the history was good and the price was right
About a week after I brought him home, I started experiencing some stalling issues and found out it was the FPR. Ended tearing the top of the engine apart because I did this to a fuel injector while replacing the FPR:
I've installed a tranny cooler bypass as well.
My Interior mods started for 3 reasons;
#1 is I destroyed the radio bezel removing it to replace my dead radio. I taped it back together with electrical tape and painted it black. I also Plastidipped the gear shift and gauge bezel to match.
I had to glue it back together and then tape it. I know I have a destroyed bezel picture somewhere... Here it is:
This is just temporary…for the past 9 months…
Reason #2 was the split armrest on the driver door. I had several yards of black leather laying around from a previous project, so I reupholstered the armrest just to see. I used some 3M spray adhesive and a staple gun. Turned out pretty good, I think.
Reason #3 was the giant elbow hole in the center console lid:
Restuffed and recovered it and turned it into this:
Not perfect and I'll probably go back with more stuffing, but a whole lot better. The plastic for the console lid is like 10x harder than the plastic for the door armrests; my staple gun could barely penetrate it, which made for shoddy stapling and loose covering.
I Plastidipped the wood grain door bezel and handle:
I then figured that I had gone this far; I might as well see how the rest of the door turns out:
There are several meltpoints (plastic rivets) holding the panels together. A very sharp knife (like my wife's santoku knife) or a small pair of wire cutters makes quick work of them.
The cat (aptly named 'Beef') was of course eager to help.
I cut it out and sprayed 3M adhesive and stuck it down carefully. I used self tapping screws and stacks of washers to replace the melt points to put the door back together.
And that's why Plastidip is amazing; I did not like the black bezel, so I peeled it off to make it this:
More to come…
Last edited:


