AssBurns 2000 Limited Build Thread

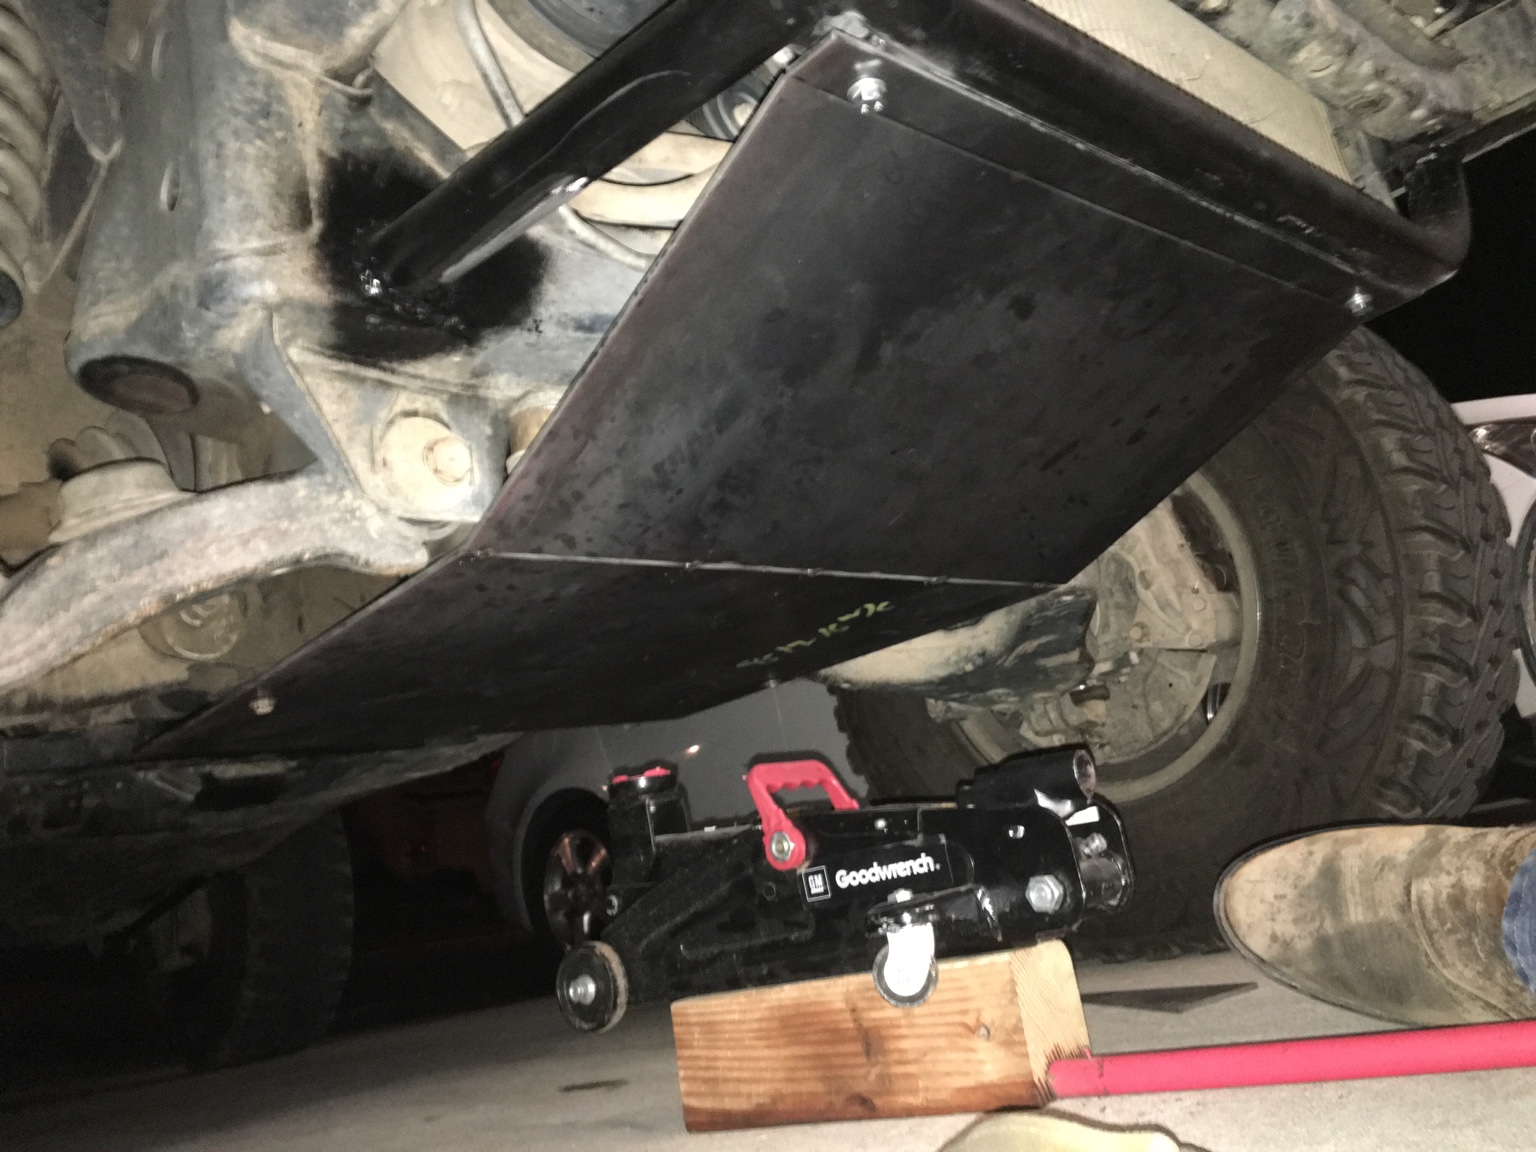
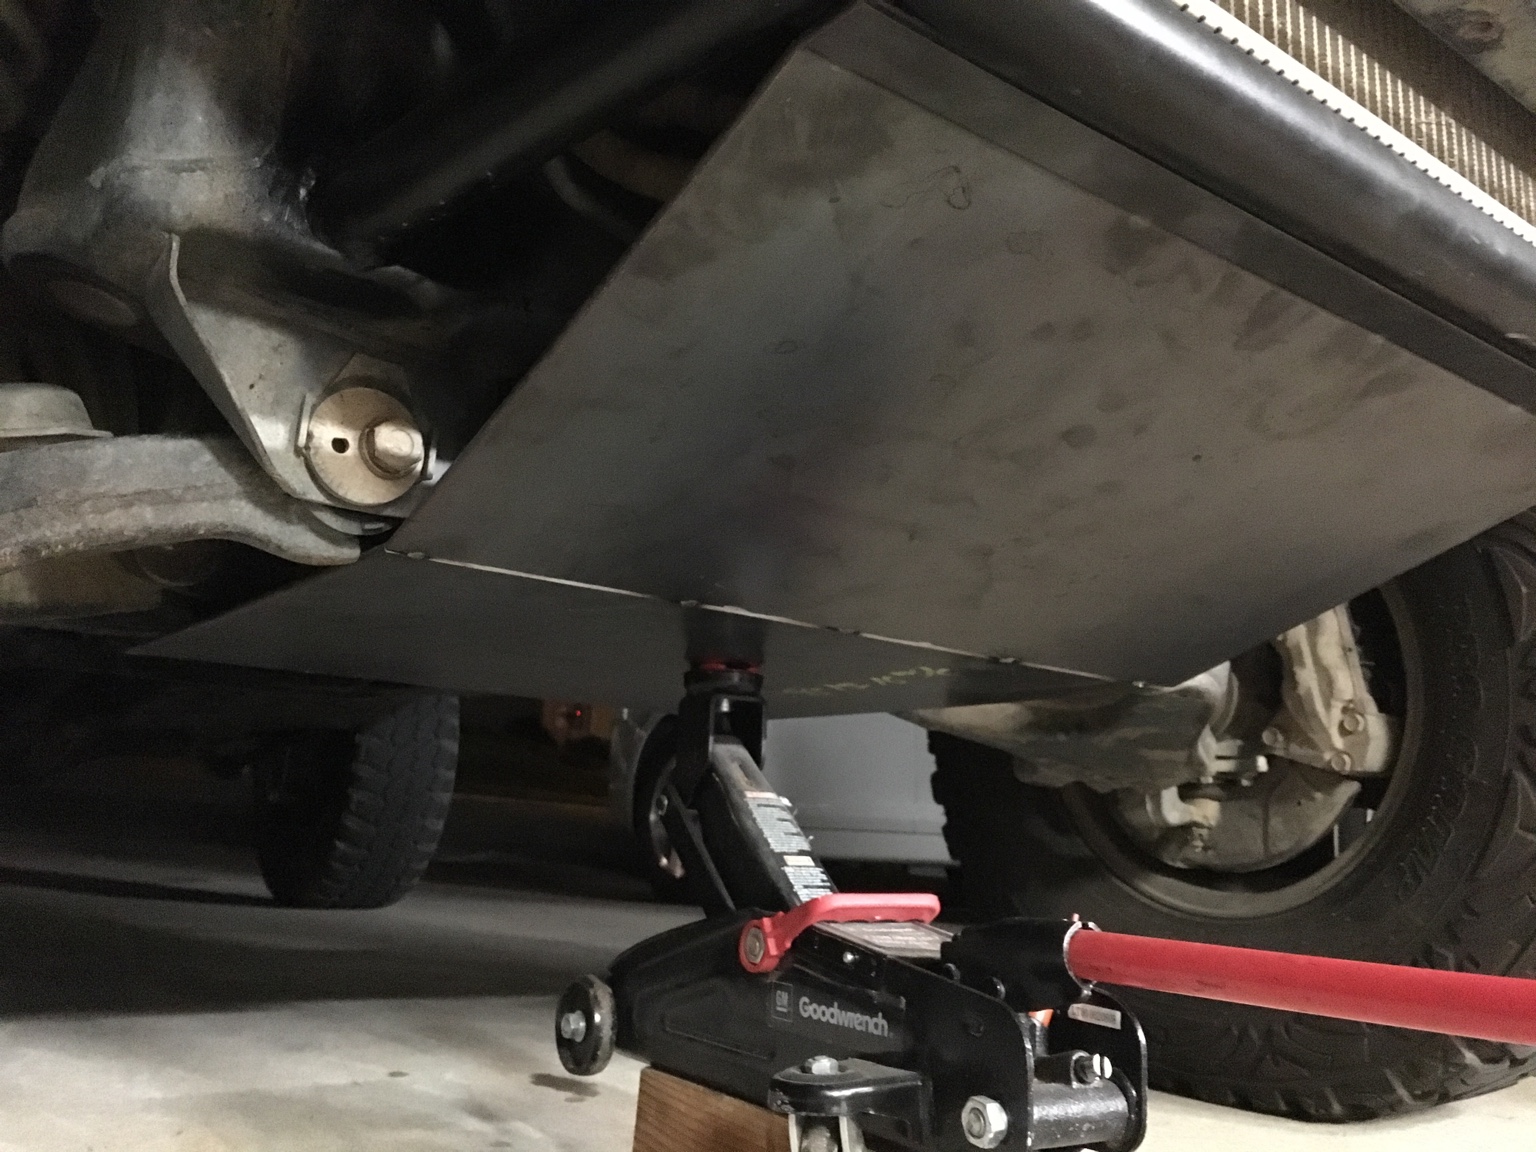
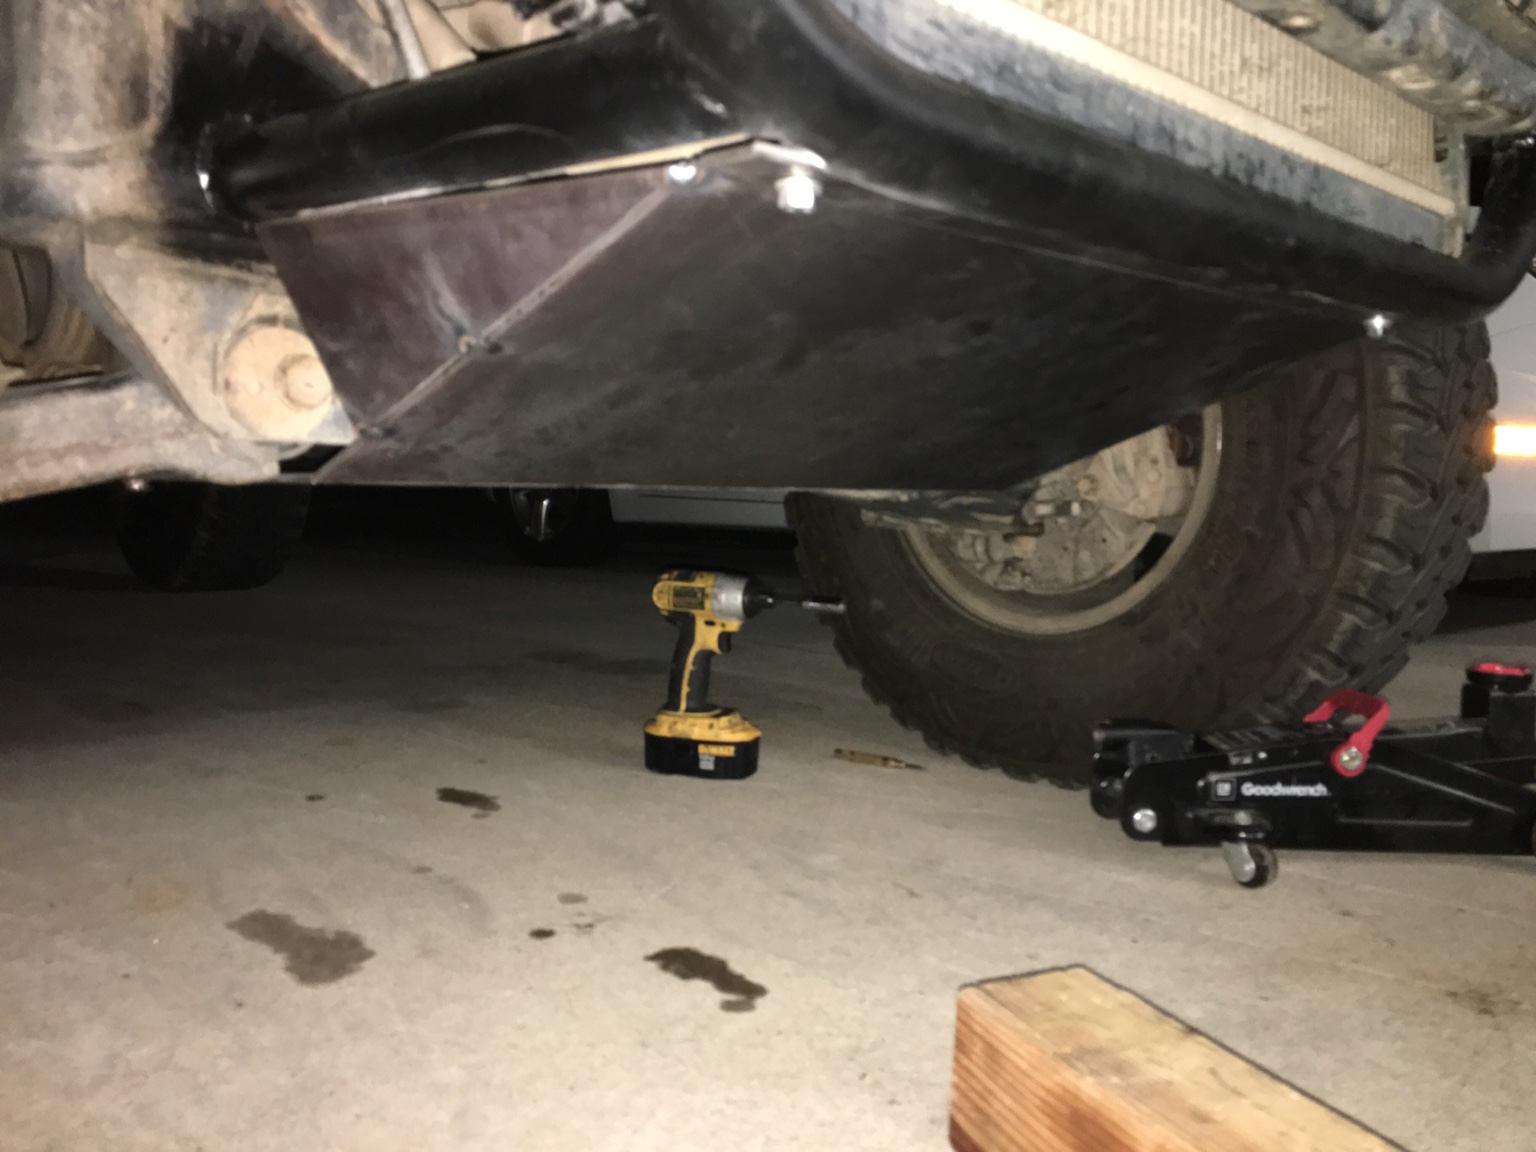
Started working on a skid plate tonight. I got most of the big stuff done. Still gotta make a couple more tabs for it to bolt up to in the front and middle. I'm using the stock two bolts on the crossmember by the LCA's. The other 5 or so bolts will obviously be fabbed up. Still need to add a few gussets and mounting tabs before I decide to weld it up. Here is the progress so far.
Initial mock up.

Things already looked like expected.
861c6369ed146494398fc8e49ca754f0.jpg

Holding itself up by the bolts.
ec8e7670660c2ba776b7d887407bbfcb.jpg

Got the wings tacked on. I plan to add another bolt from the wing to the tube for more strength.
03b055c259a8dfbd517fb00c7648357c.jpg

21f1f9107472f3e0776edce8a8e6d740.jpg
a0822c6984603fcf64f4b14f872d1f19.jpg


Sent from my iPhone using Tapatalk
 
I don't know how I missed your thread. Great to see someone else wheeling and upgrading their 3rd gen. Love it. Keep up the great work.:dancin::dancin:
 
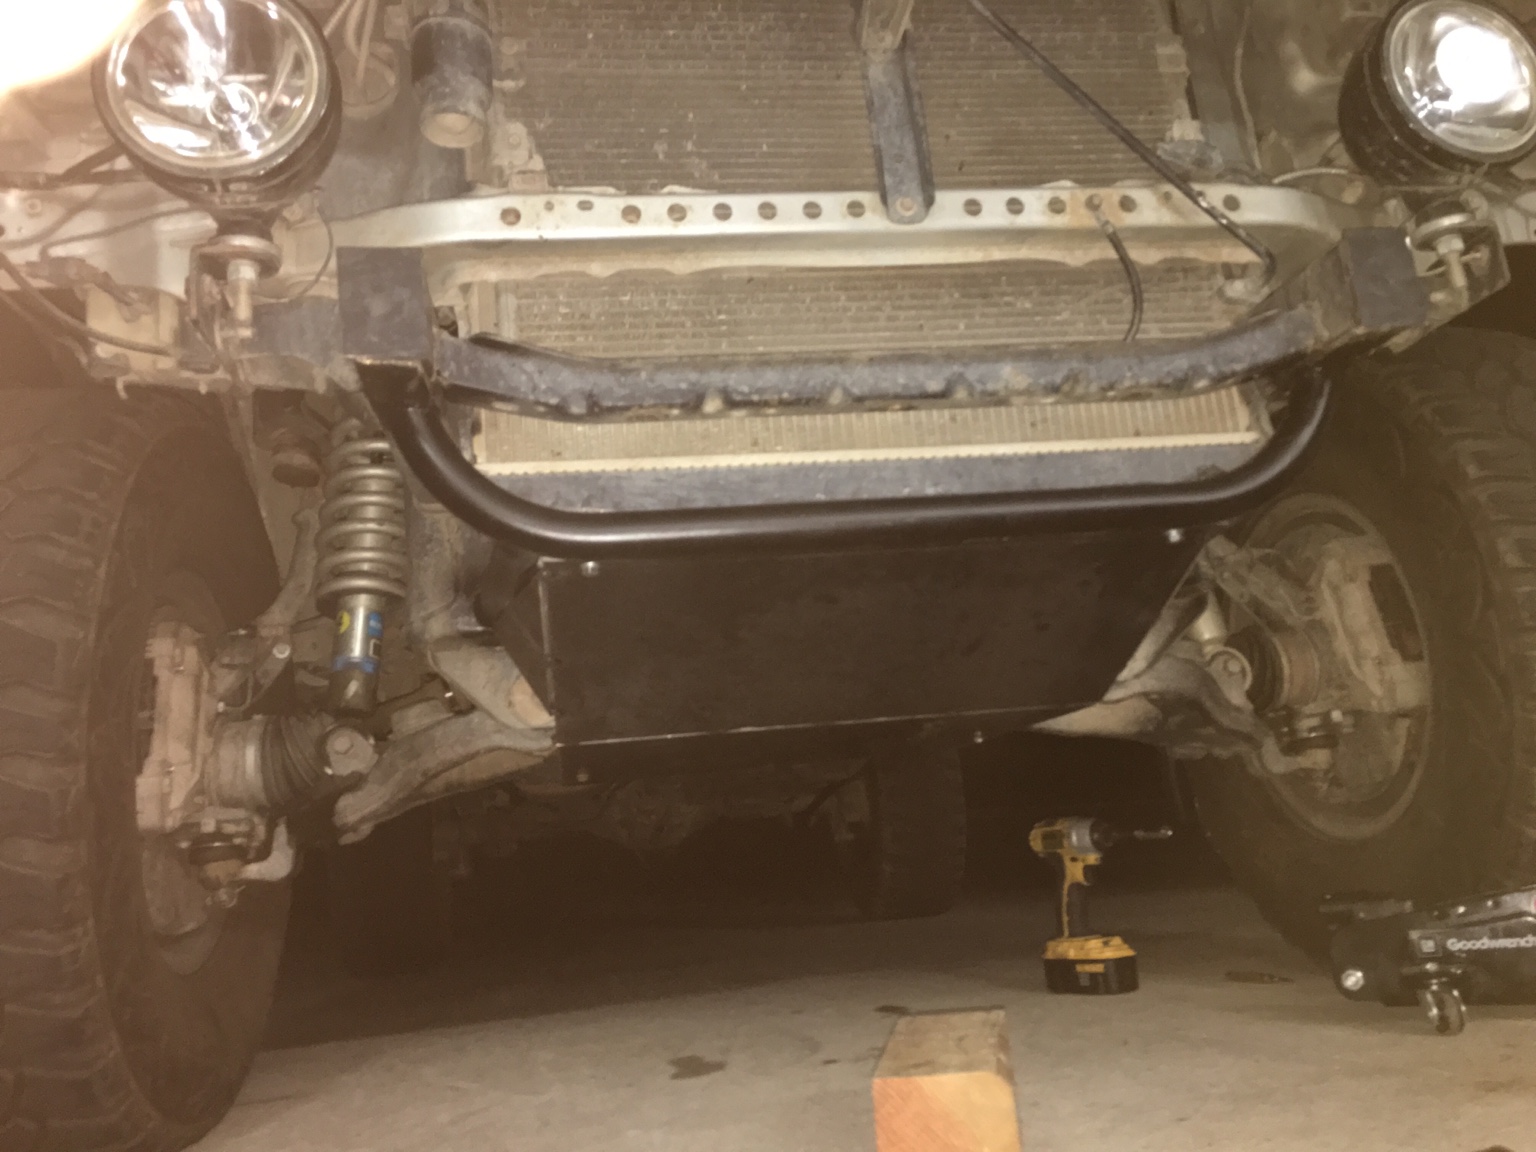
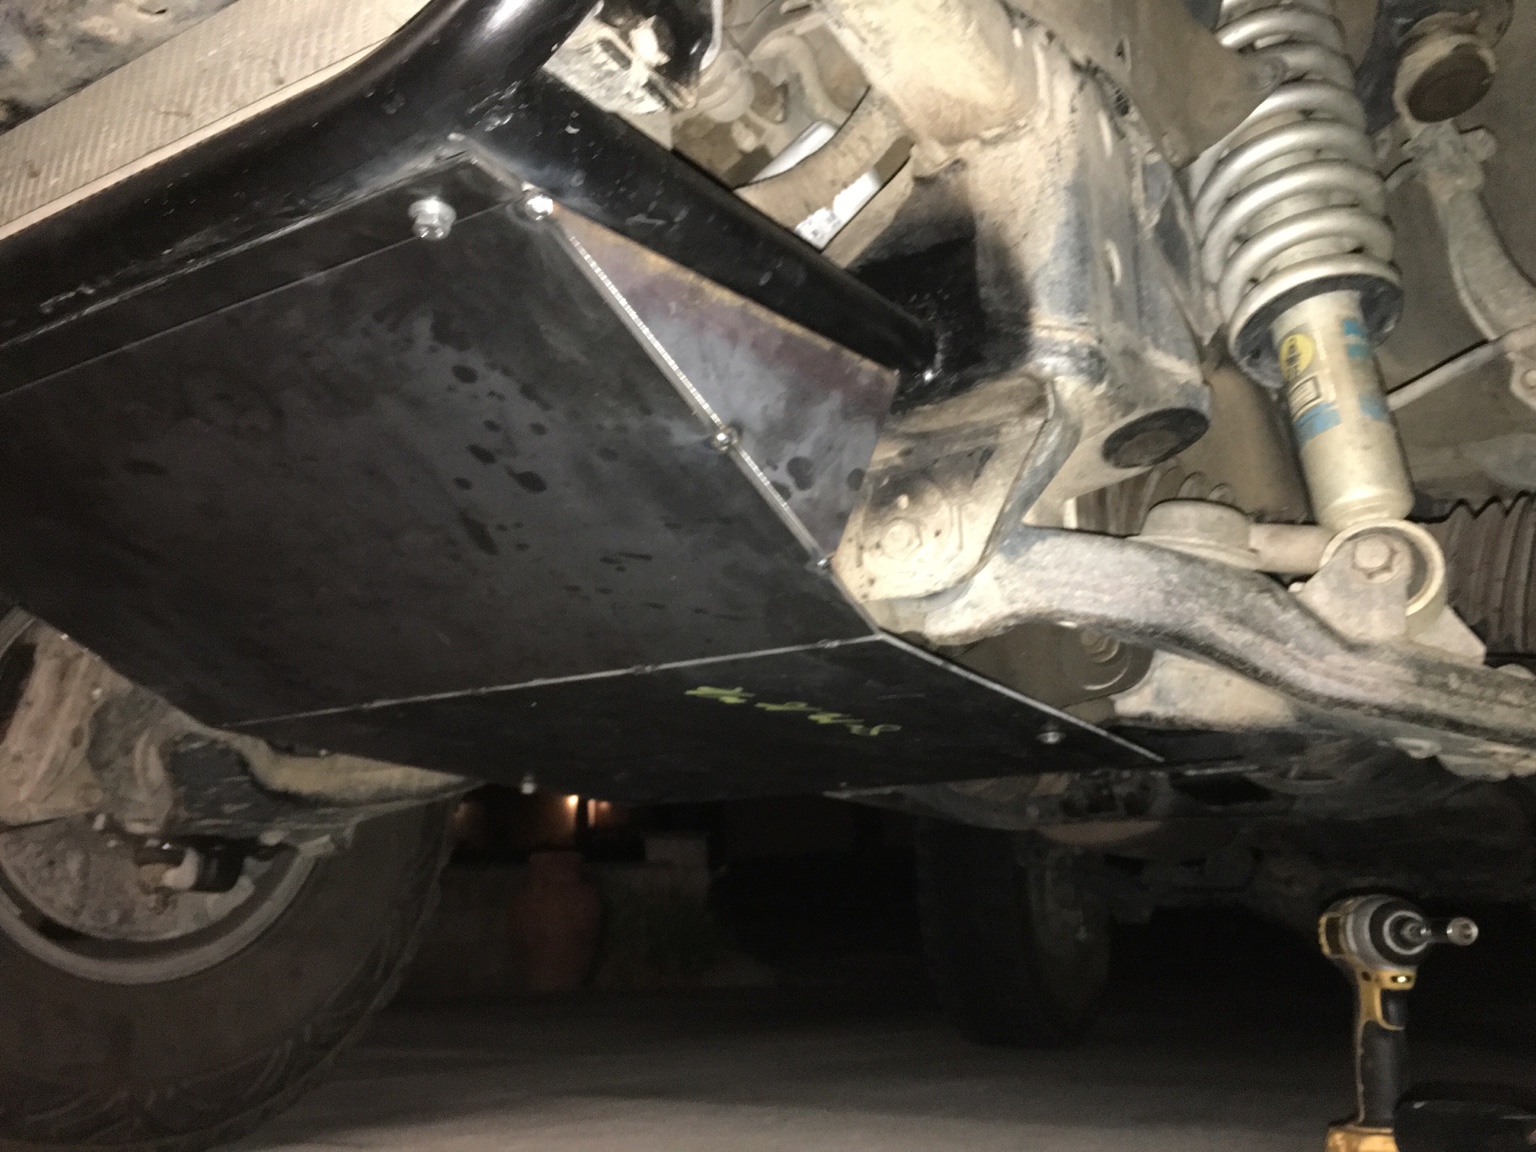
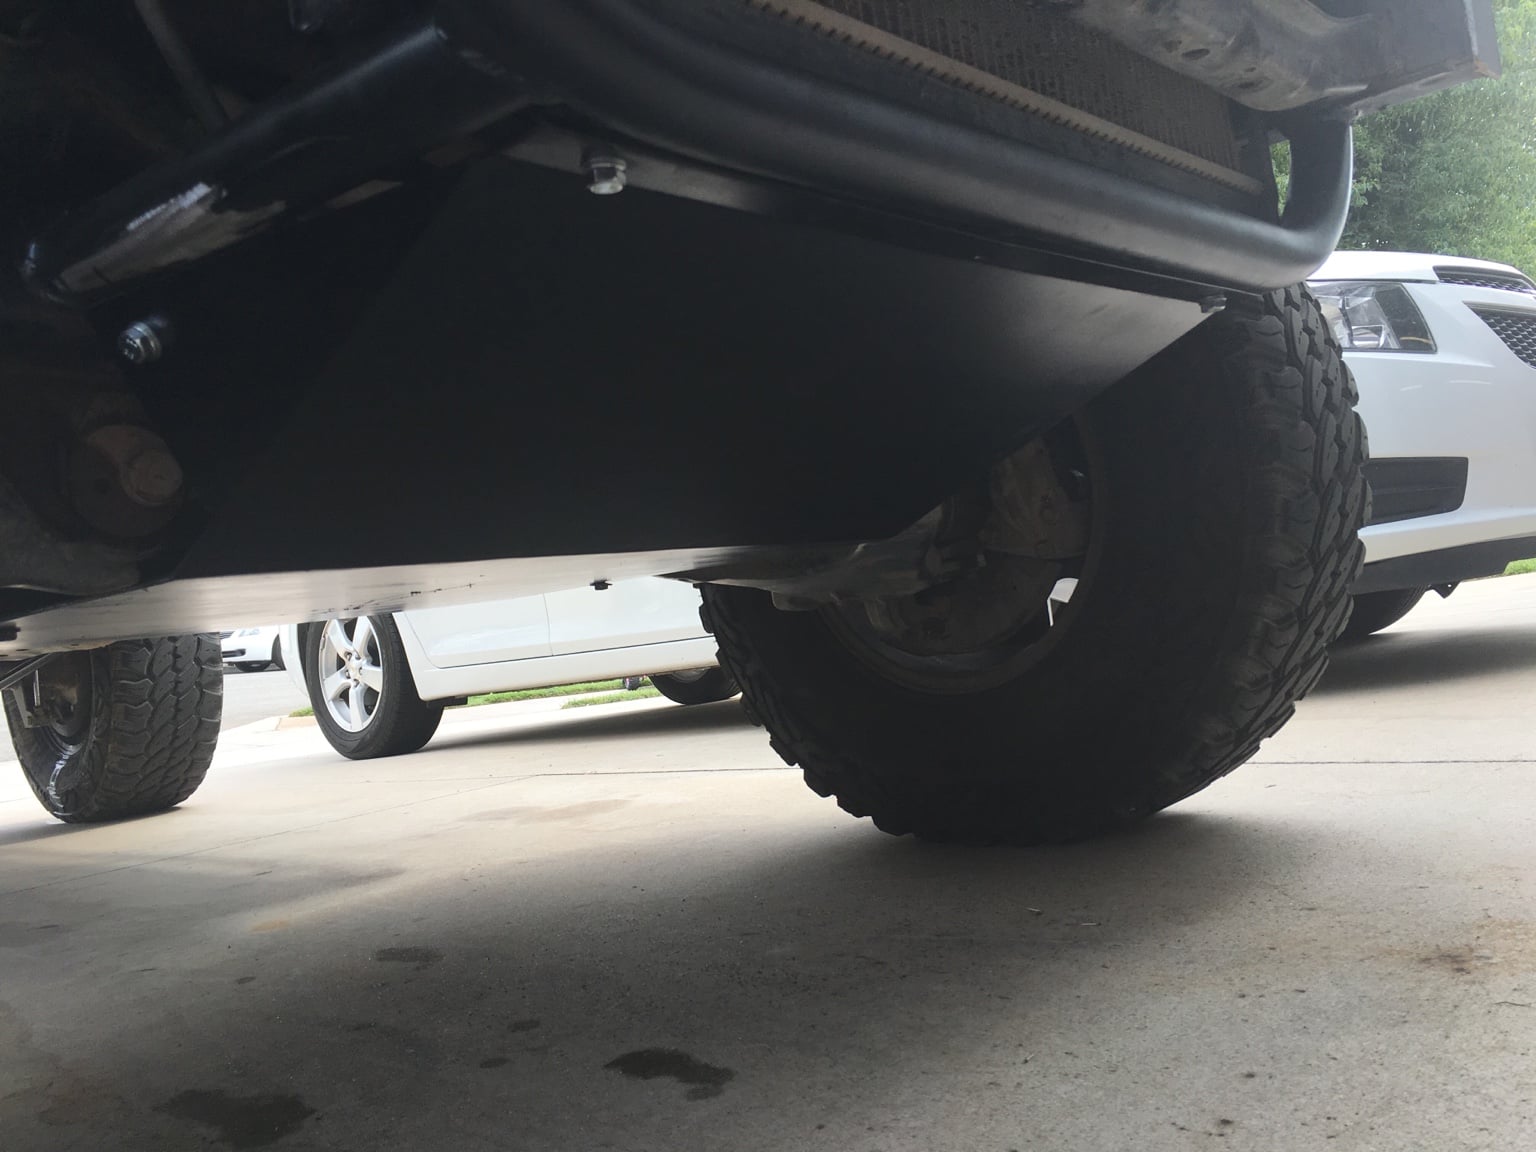
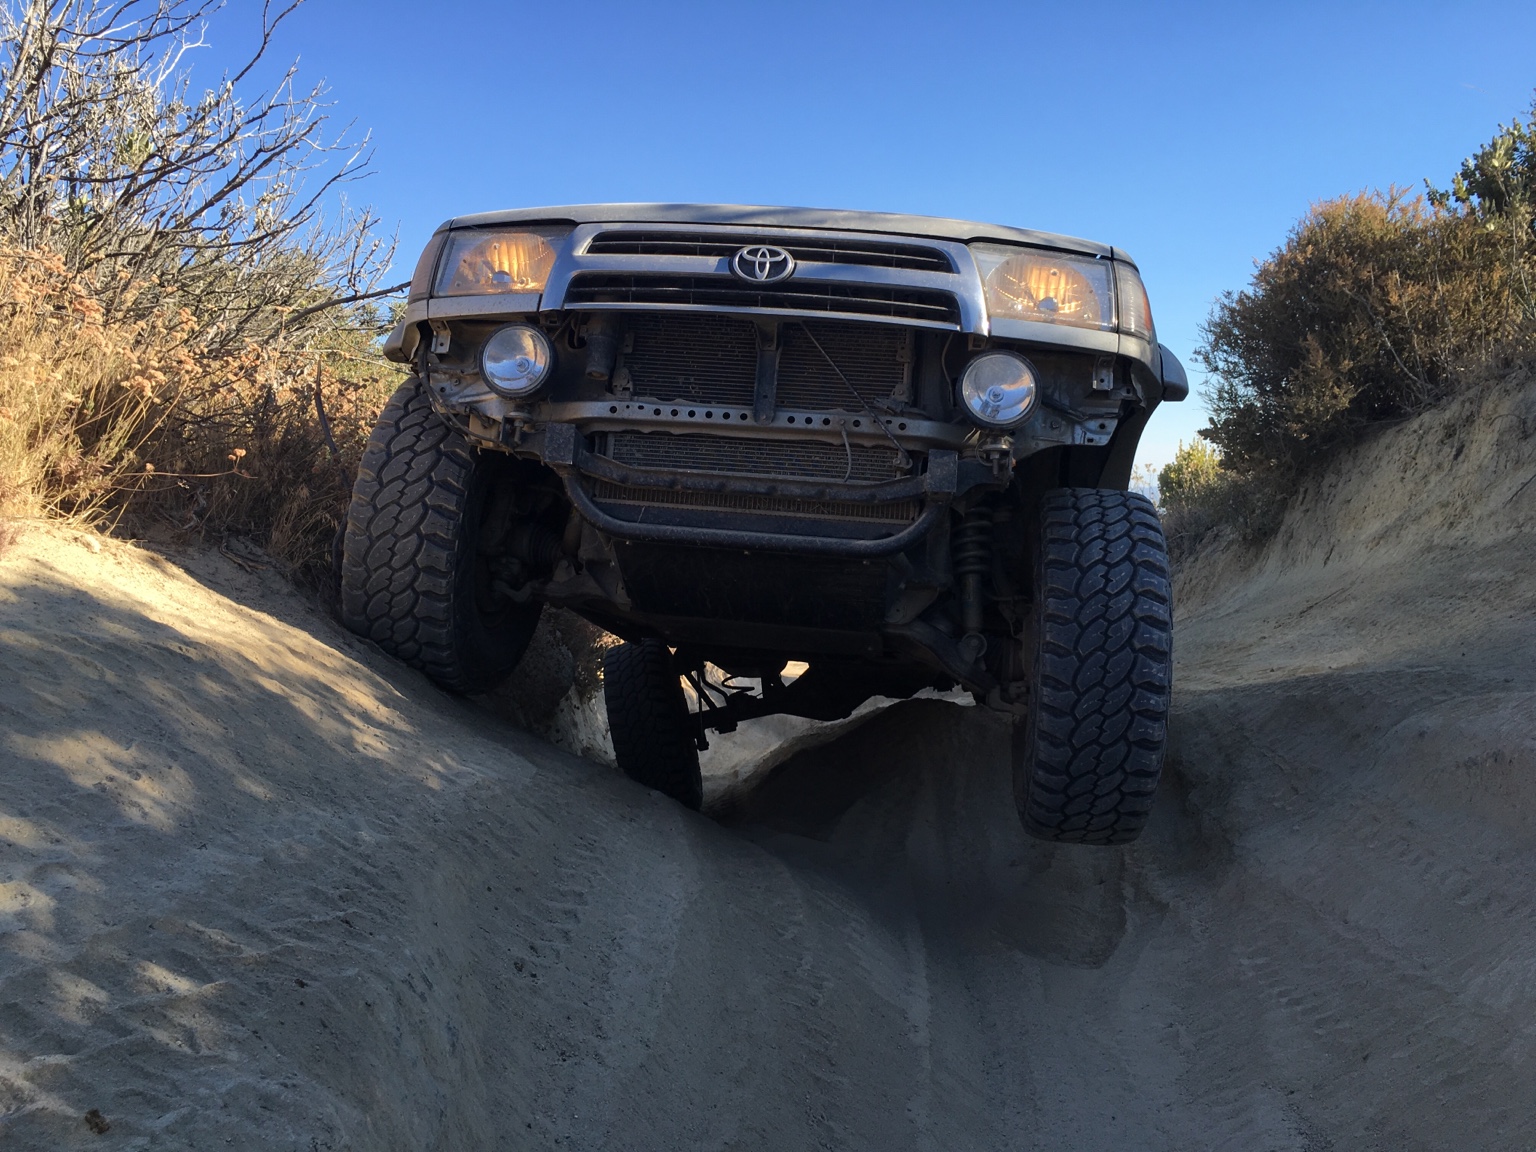
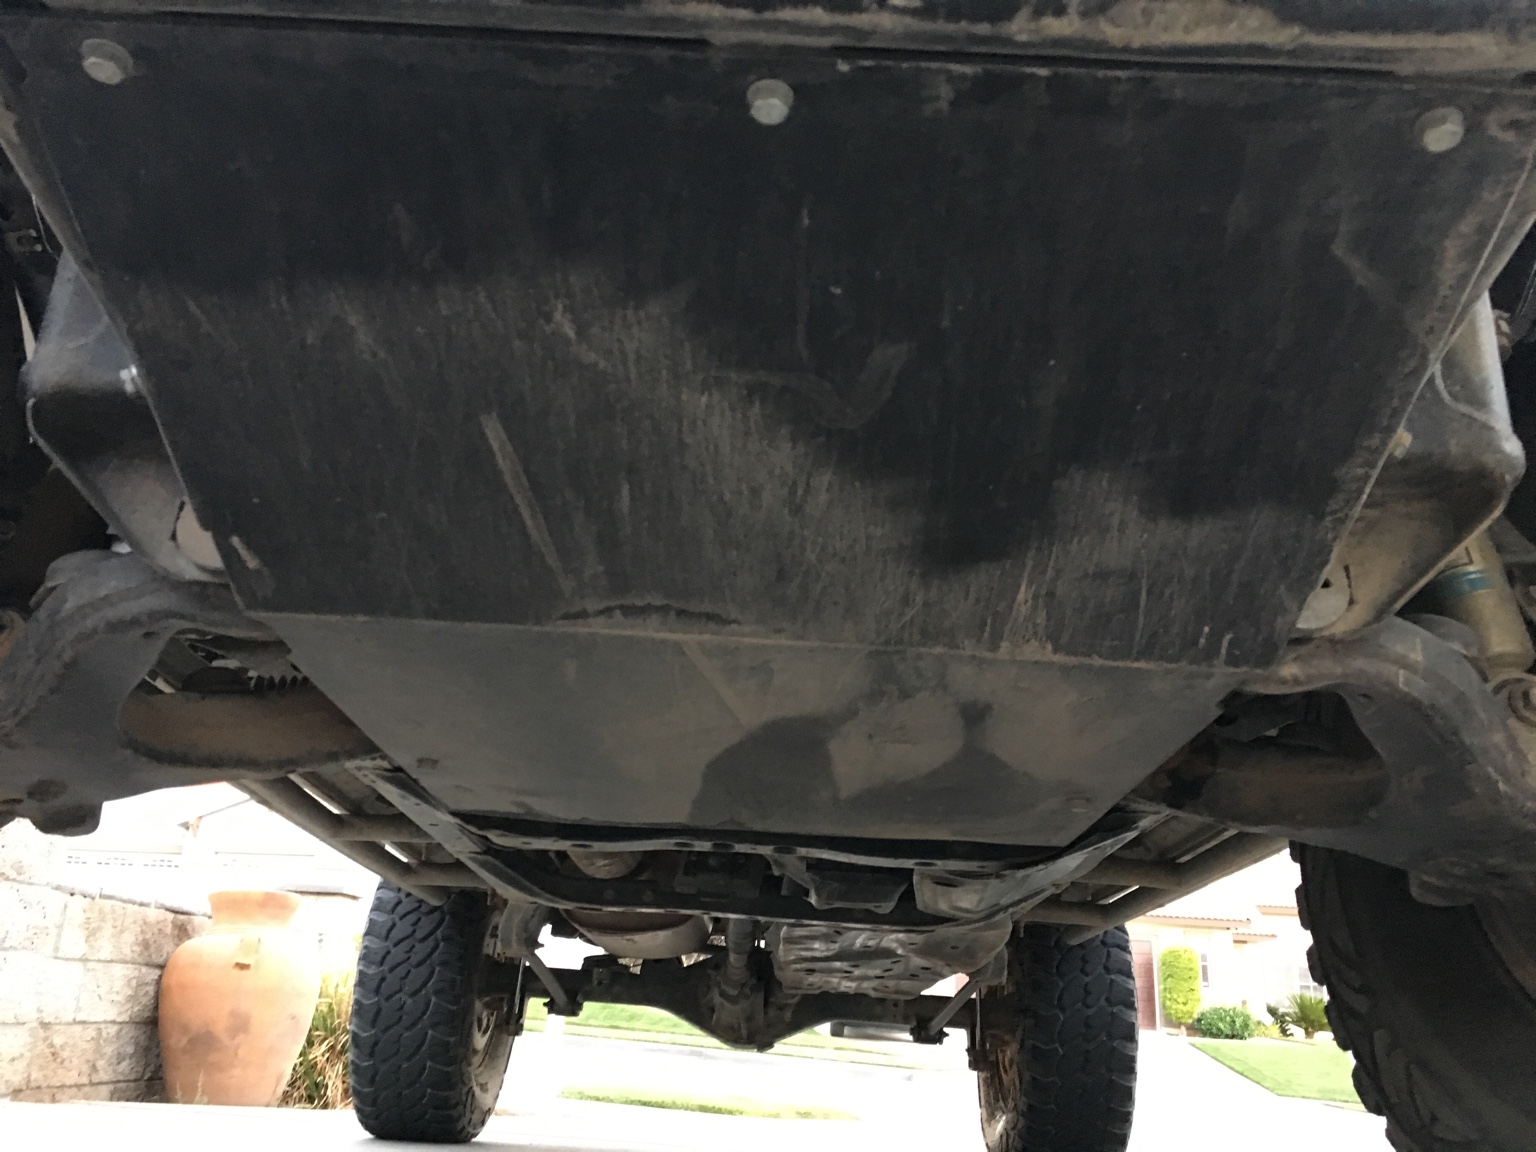
Got the skid plate all finished up. Turned out really well. I should be able to bash it pretty hard with no issues now. I was always nervous about smashing my radiator and front diff on the harder trails. Planning to go up to Big Bear in a couple weeks to do John Bull and Holcolm trails. This makes me feel a little better about not destroying important things. Didn't get any pics of the top side, but I have a few gussets welded in to stiffen things up.
7b1d2782d156ddf8823f01e520876da0.jpg

fc6a3e5a5bd589564be5478179f26549.jpg
19a984e5b5c9c1588691c01a63da771b.jpg

Hopefully I can get started on a full bumper soon. I need to get my hands on a 1-3/4" die for my buddies tube bender. I may have to suck it up and just buy the die myself or negotiate a split price with him. Either way, I plan to build a bumper in the next month or two.


Sent from my iPhone using Tapatalk
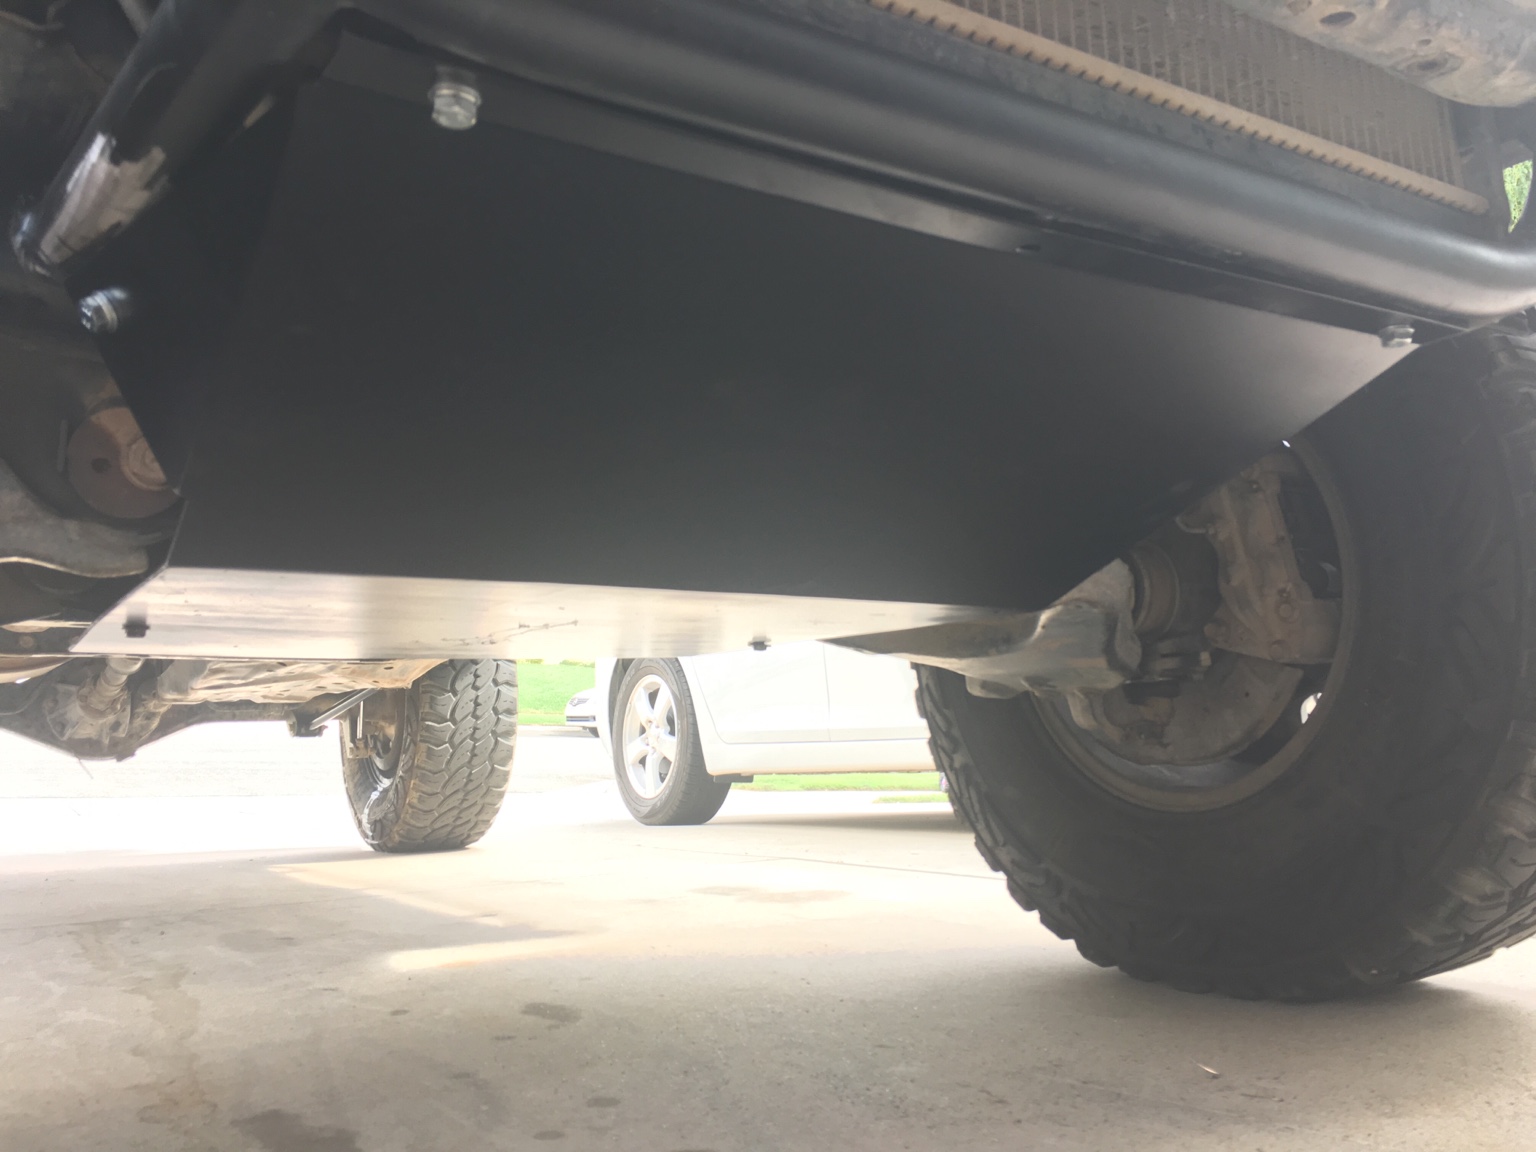
 
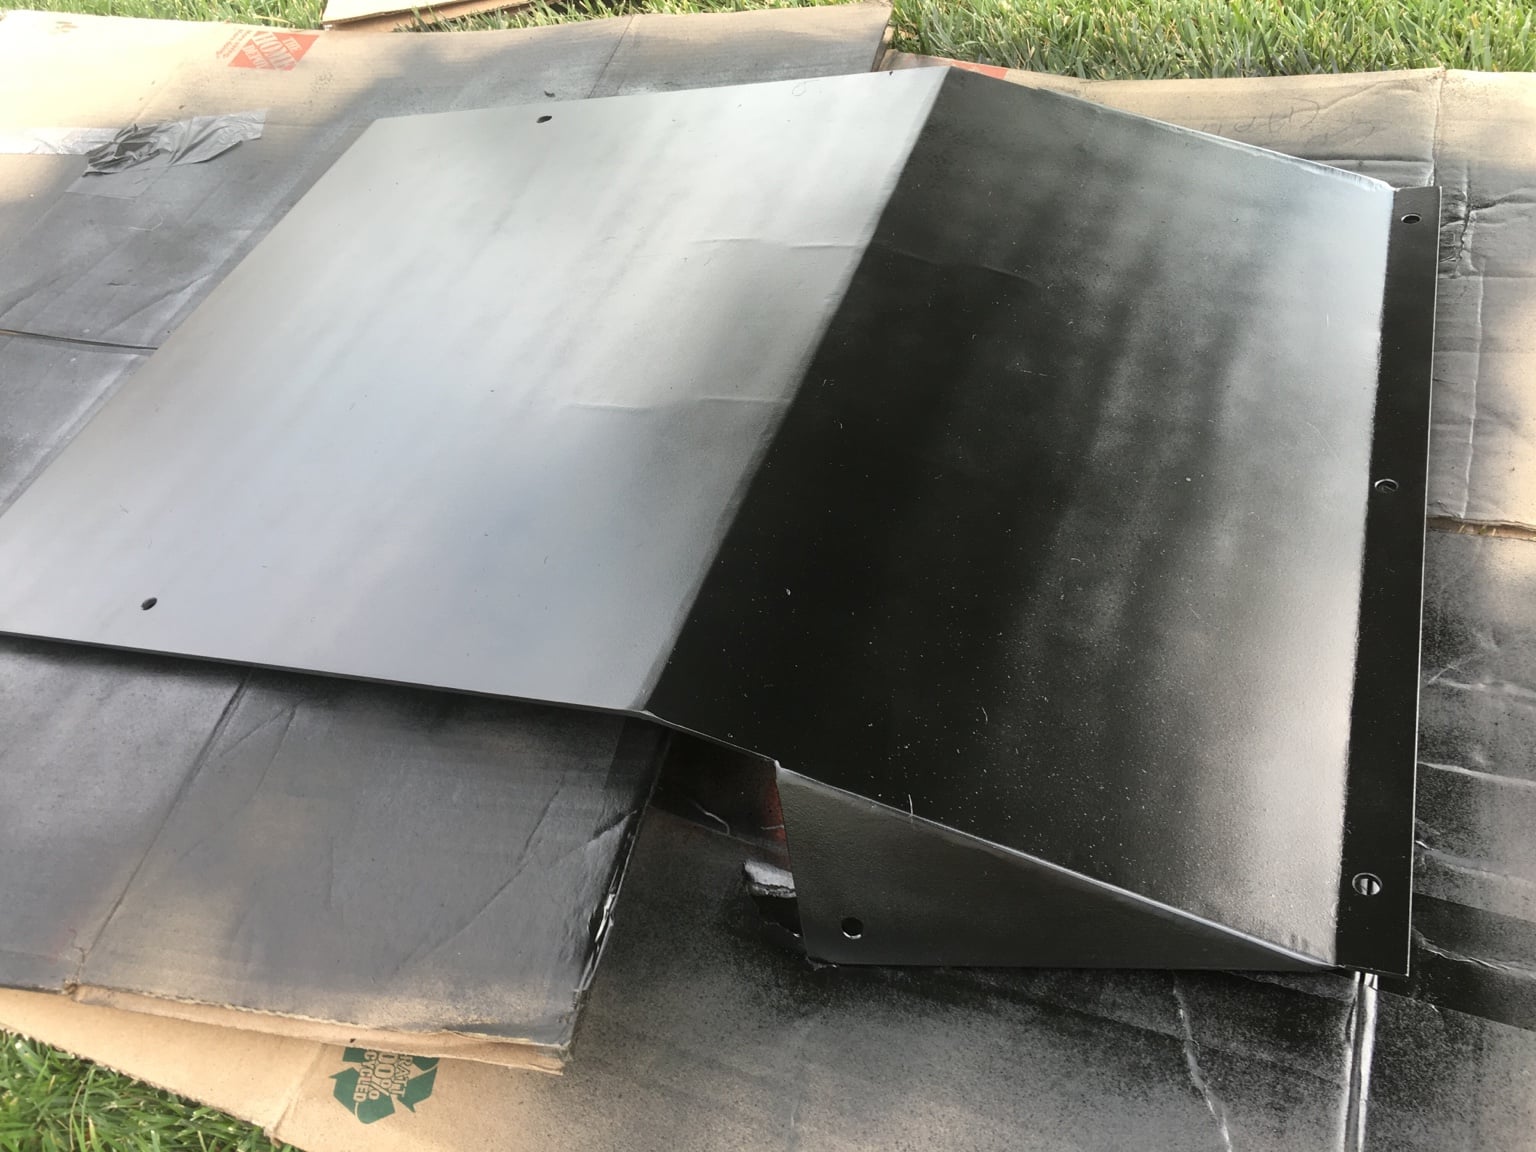
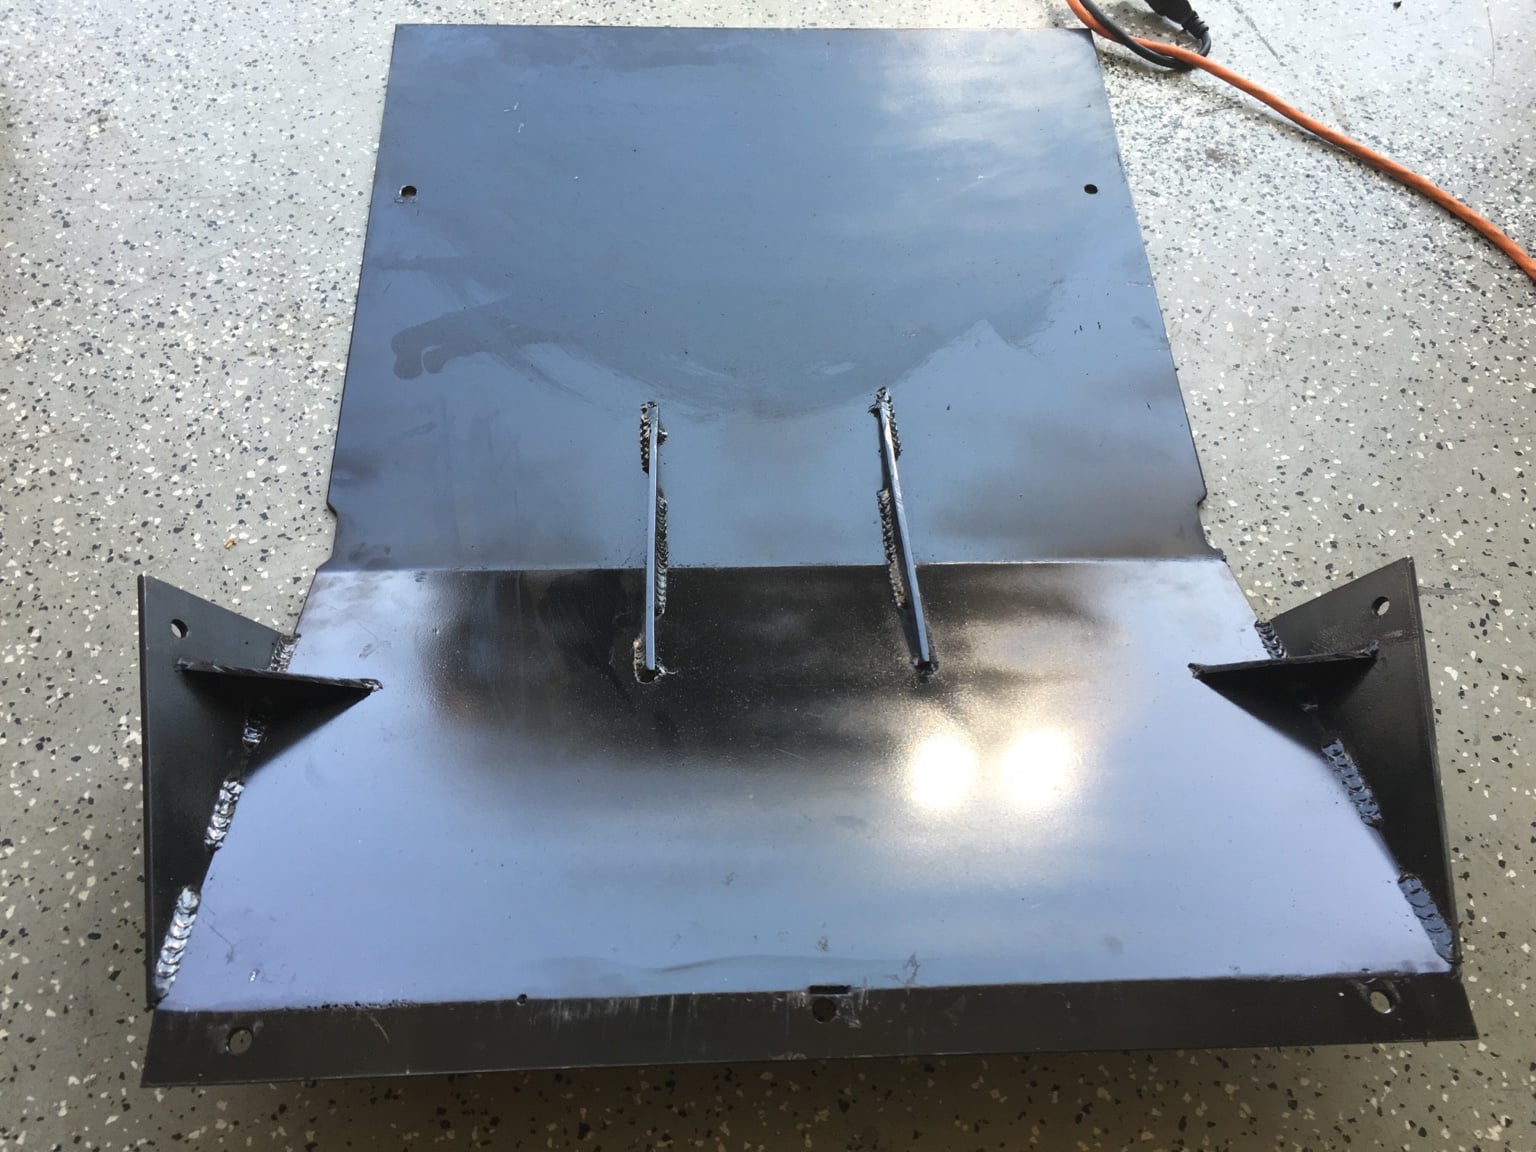
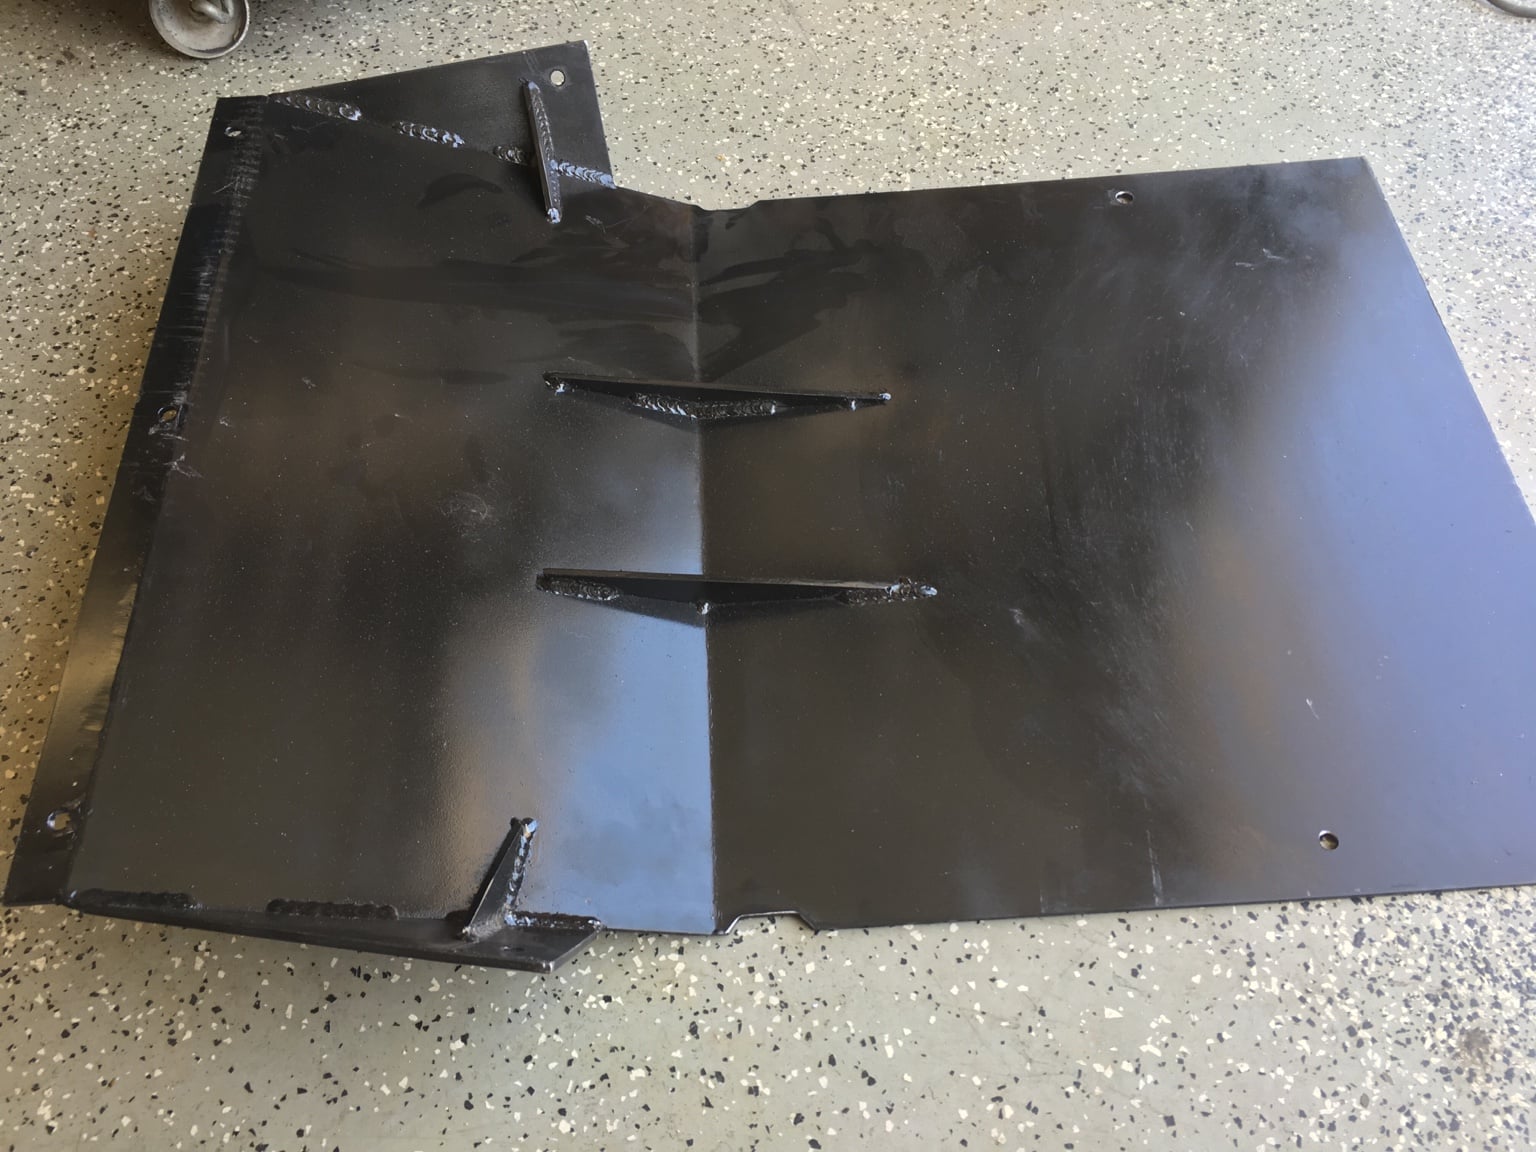
Skid is actually 100% done. I had to fix a tab that was off a little bit and grind out a little material so that the front of the LCAs don't smash into the skid. Finished painting the tabs and bare metal areas. Also got some pics of the top side while it was off.
7bac6dec2f38d596e9b64ccacc8eca31.jpg
c196991160612eab3057a775459cb276.jpg


Sent from my iPhone using Tapatalk
 
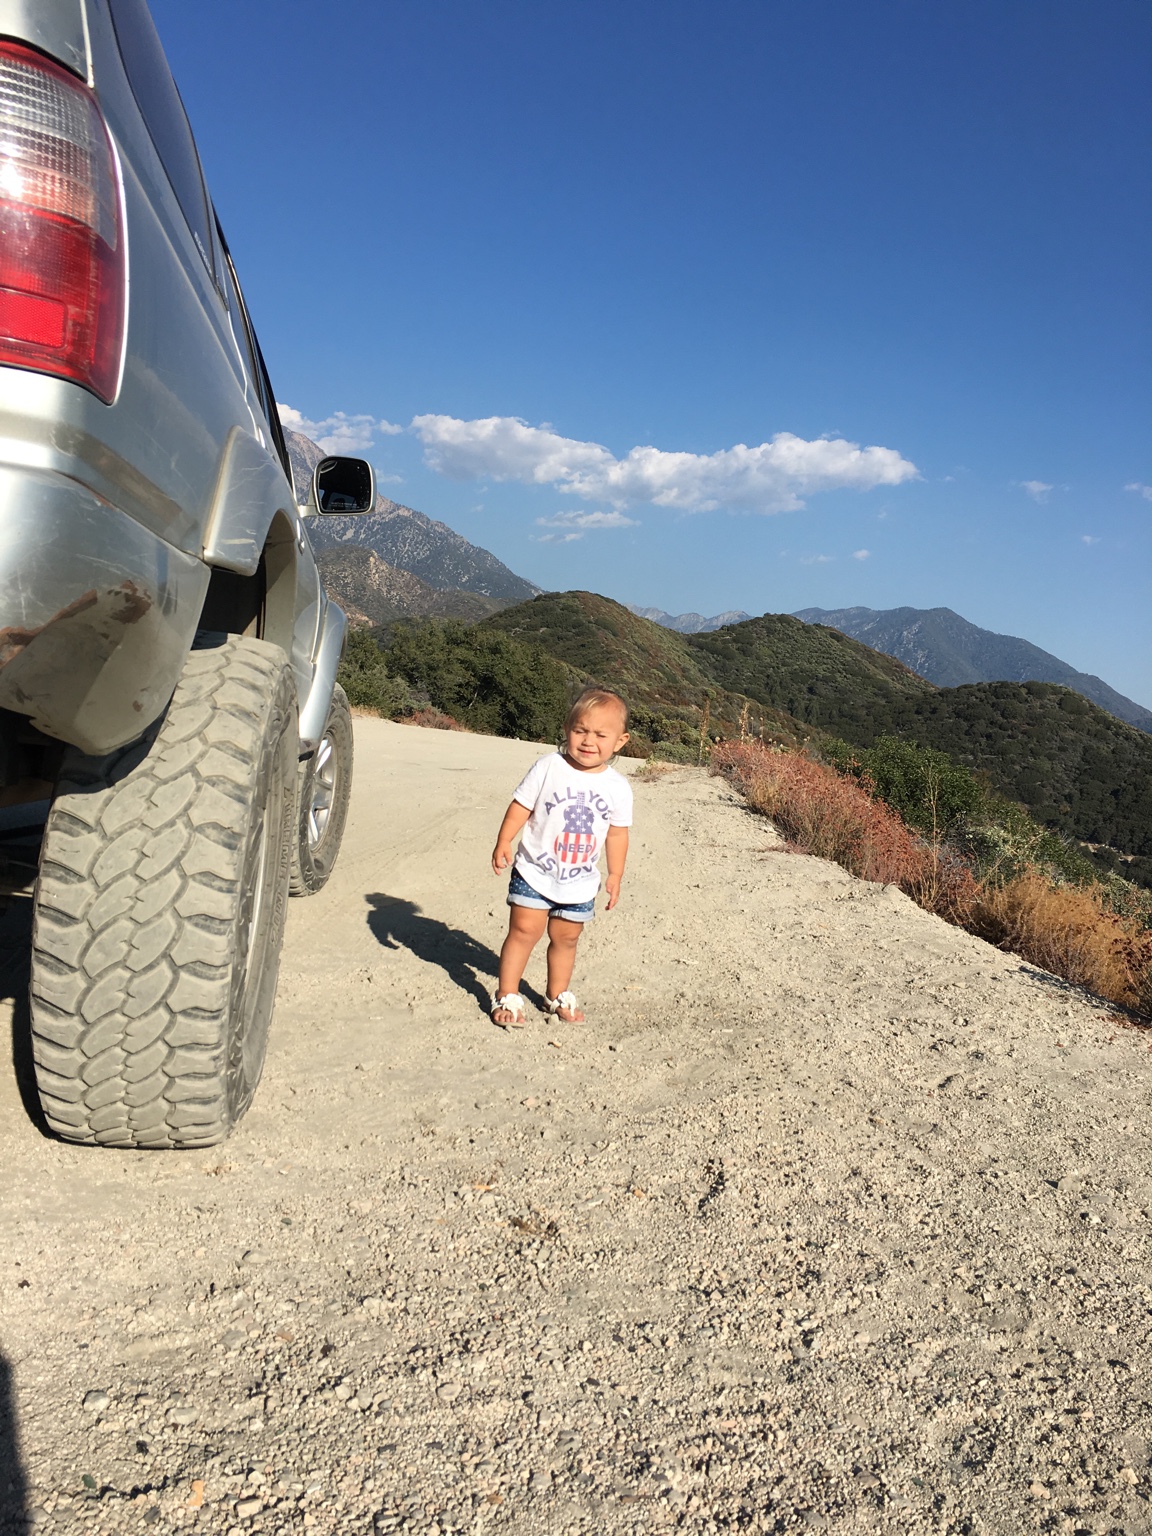
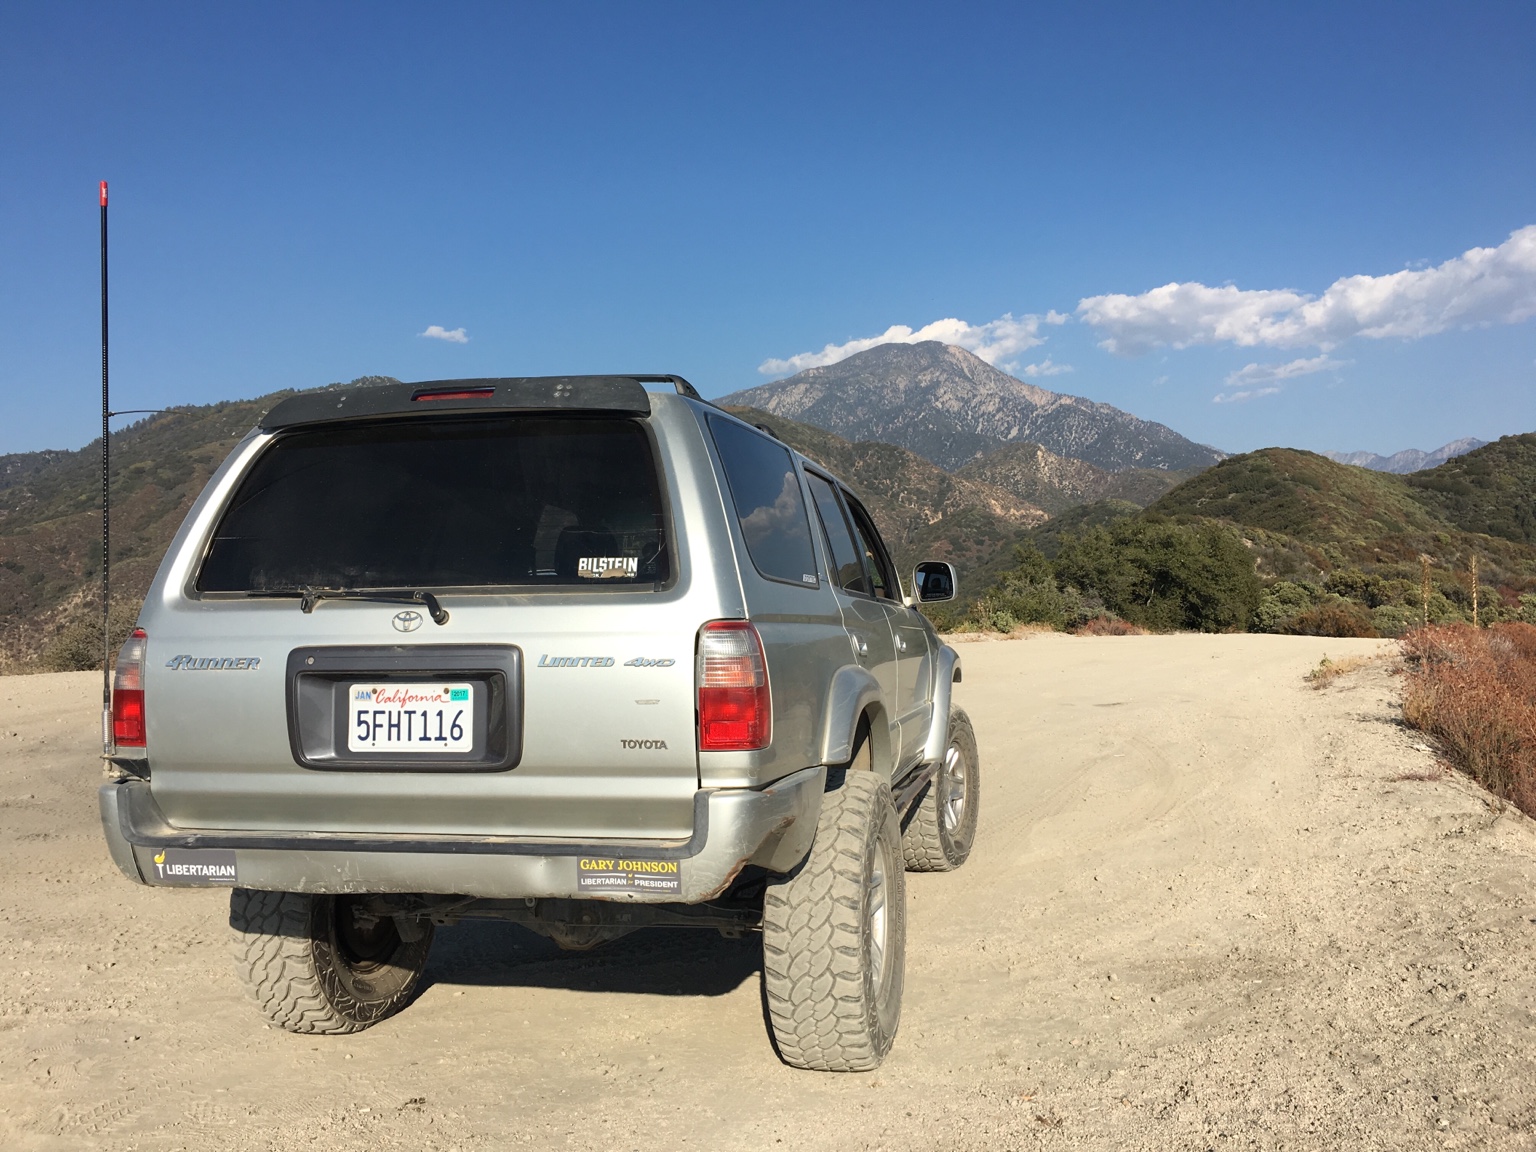
Decided to go for a little offroad adventure with my fiancé and daughter just to kill some some and get them out of the house.
d1220052fa9aab98f5cc4e7213f393d3.jpg

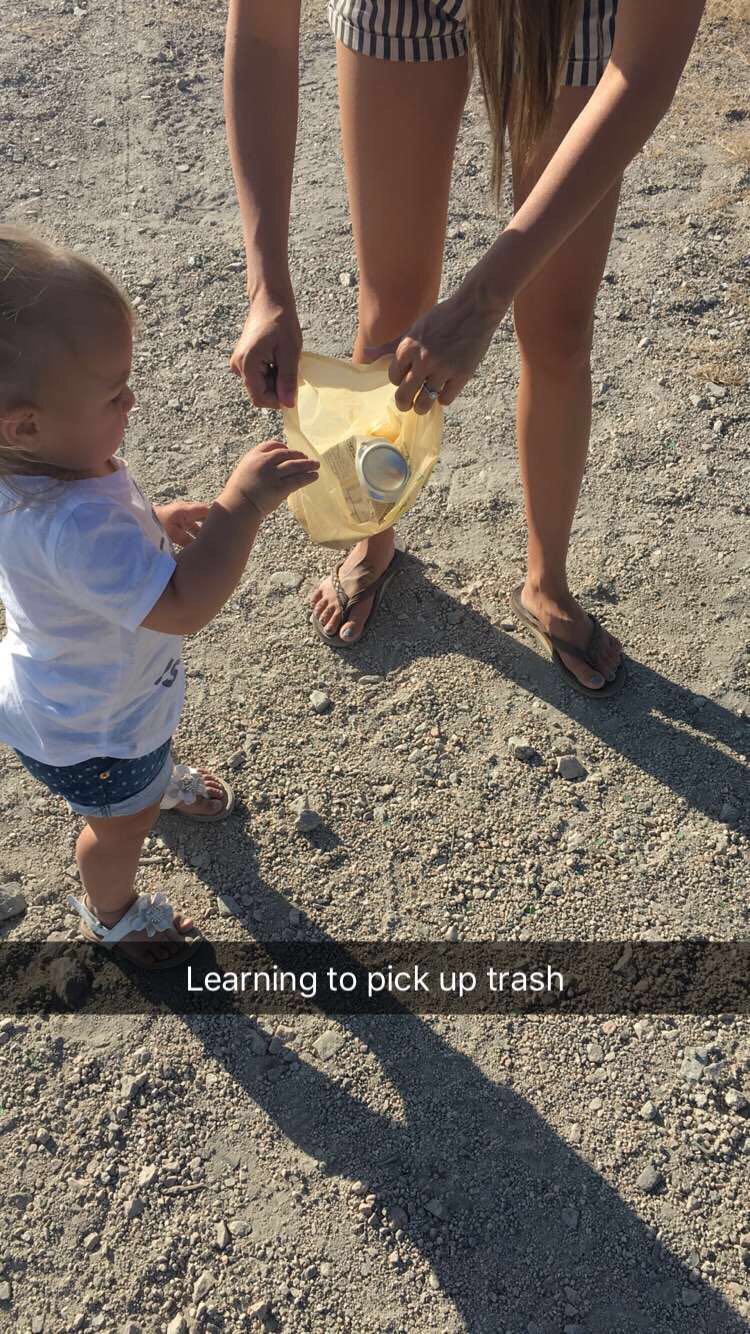
Teaching her to tread lightly and leave our spots better than we found them
62283ab9b44c4a48e4c8bd971755e567.jpg

71efe7a4fac3b26905f713b9772d4560.jpg

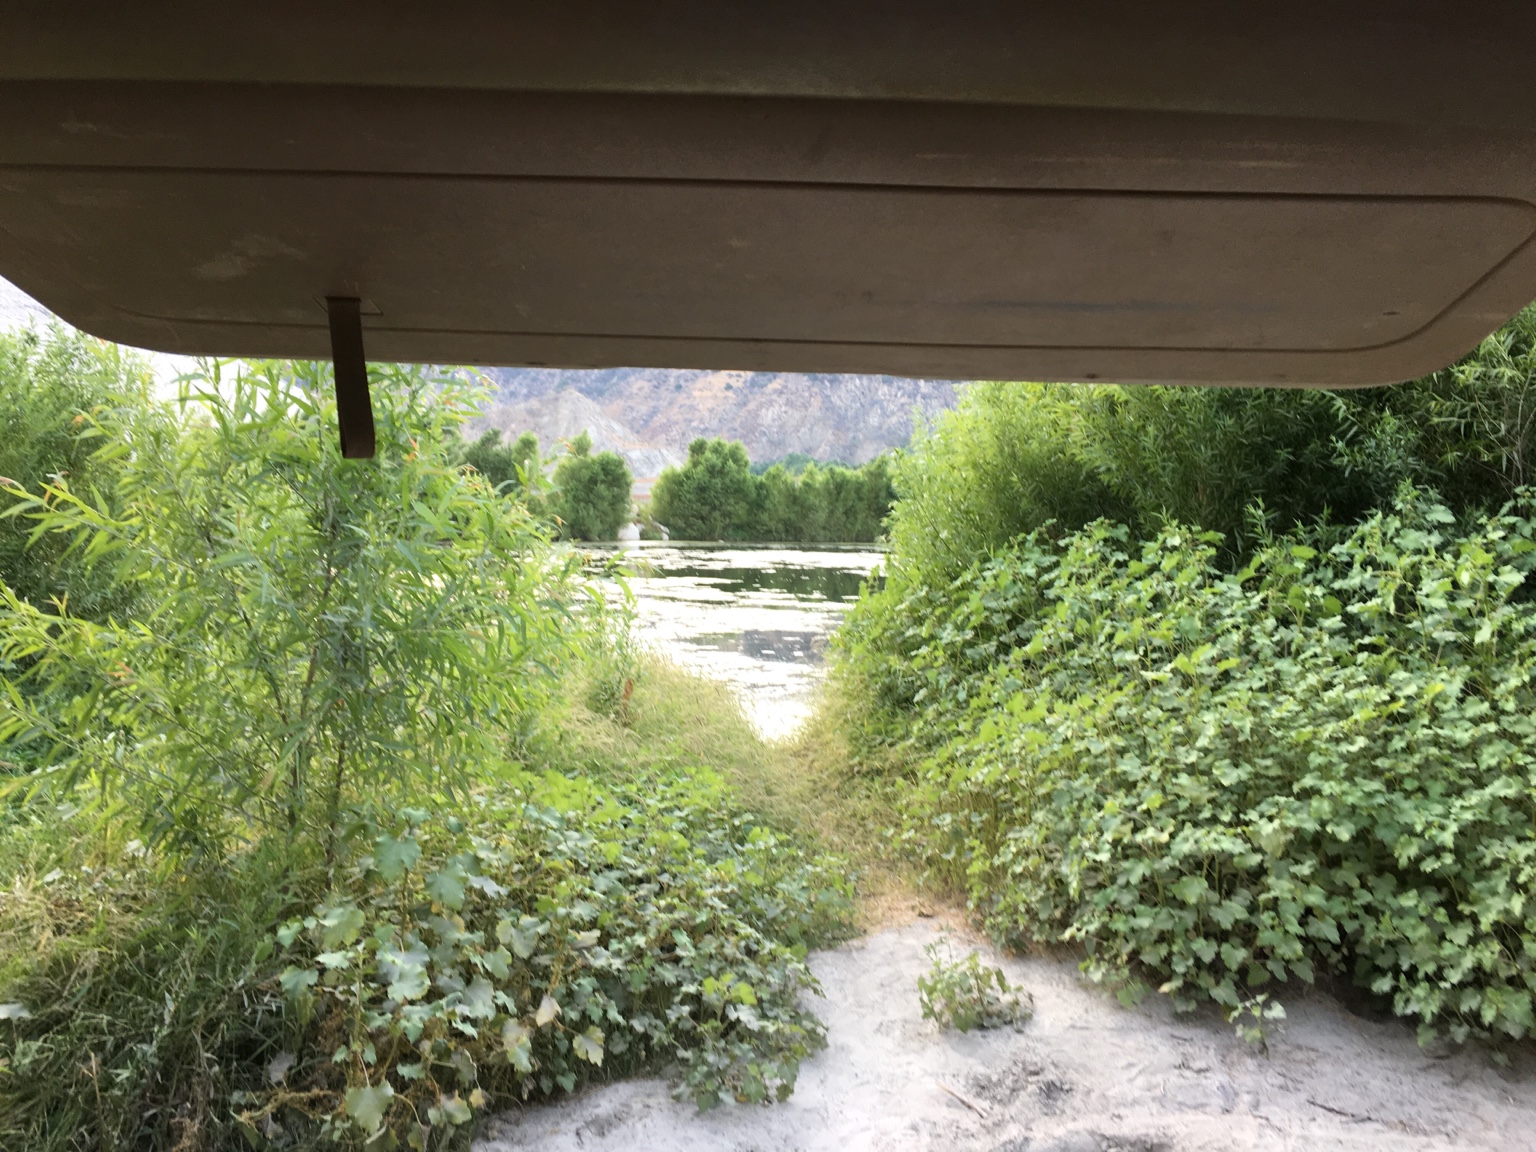
Nice view while we stopped to have a beer and relax behind the Seven Oaks Dam
0f23a8c938f90ea36ac9c2dc3056cb51.jpg


Sent from my iPhone using Tapatalk
 
Last edited:
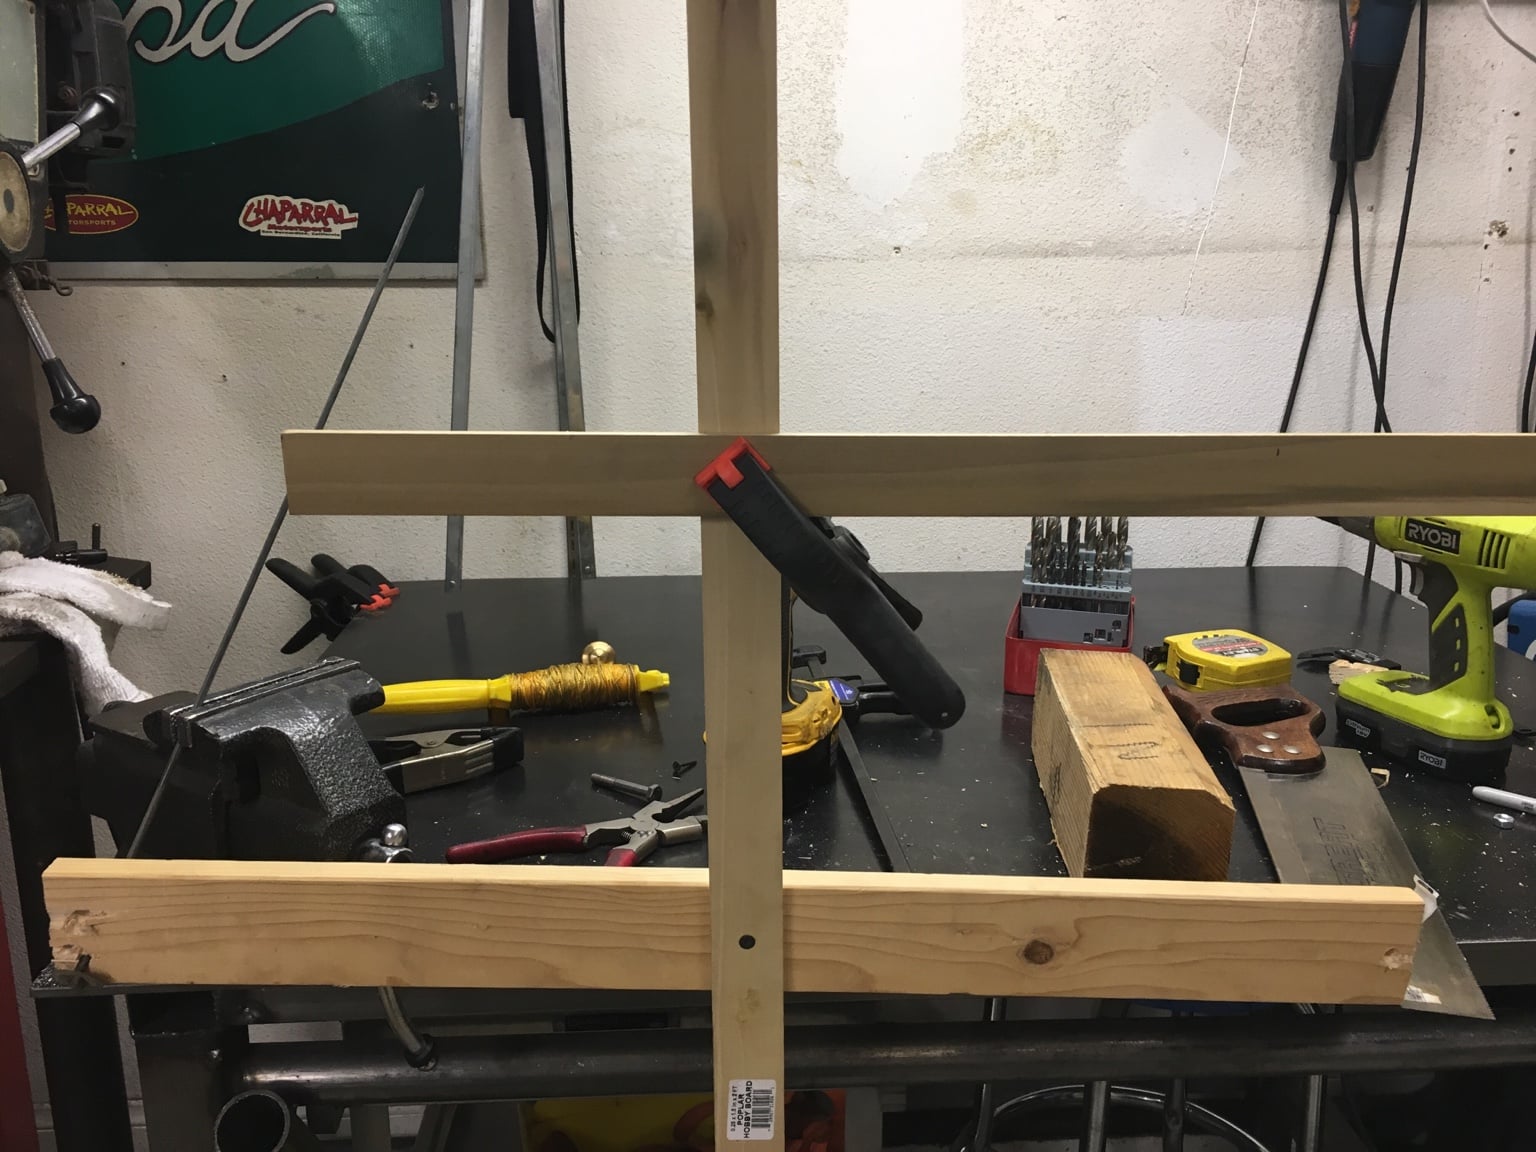
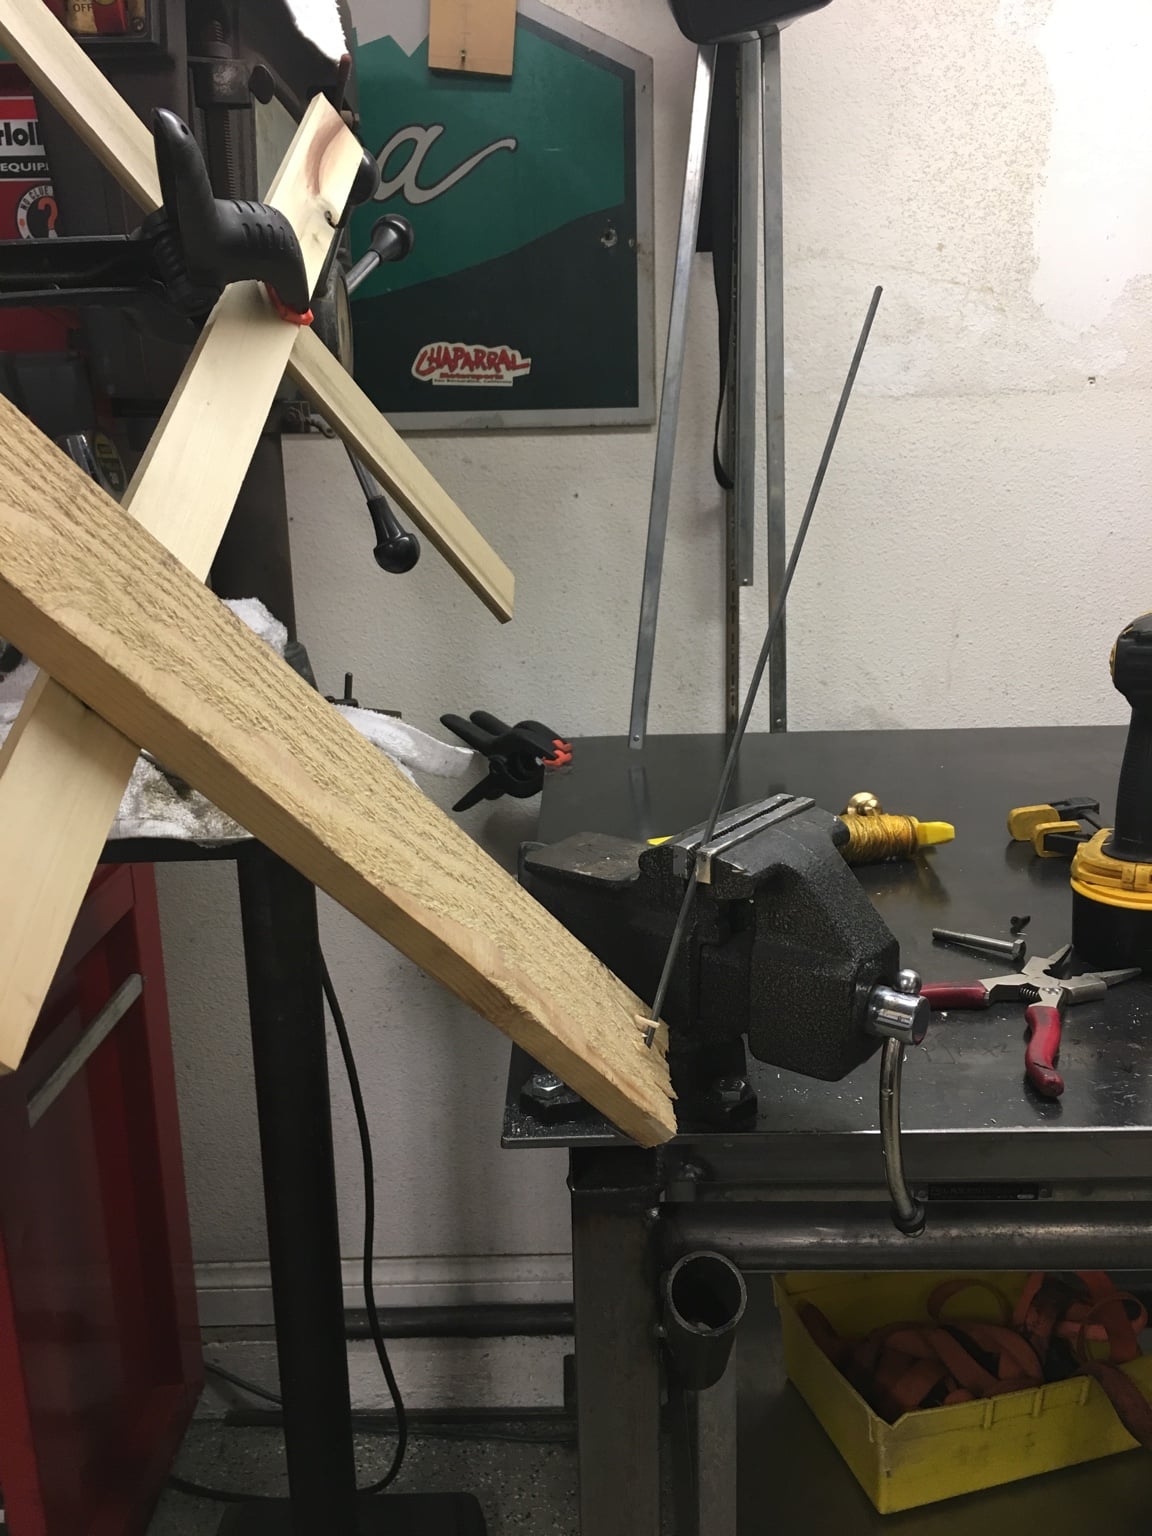
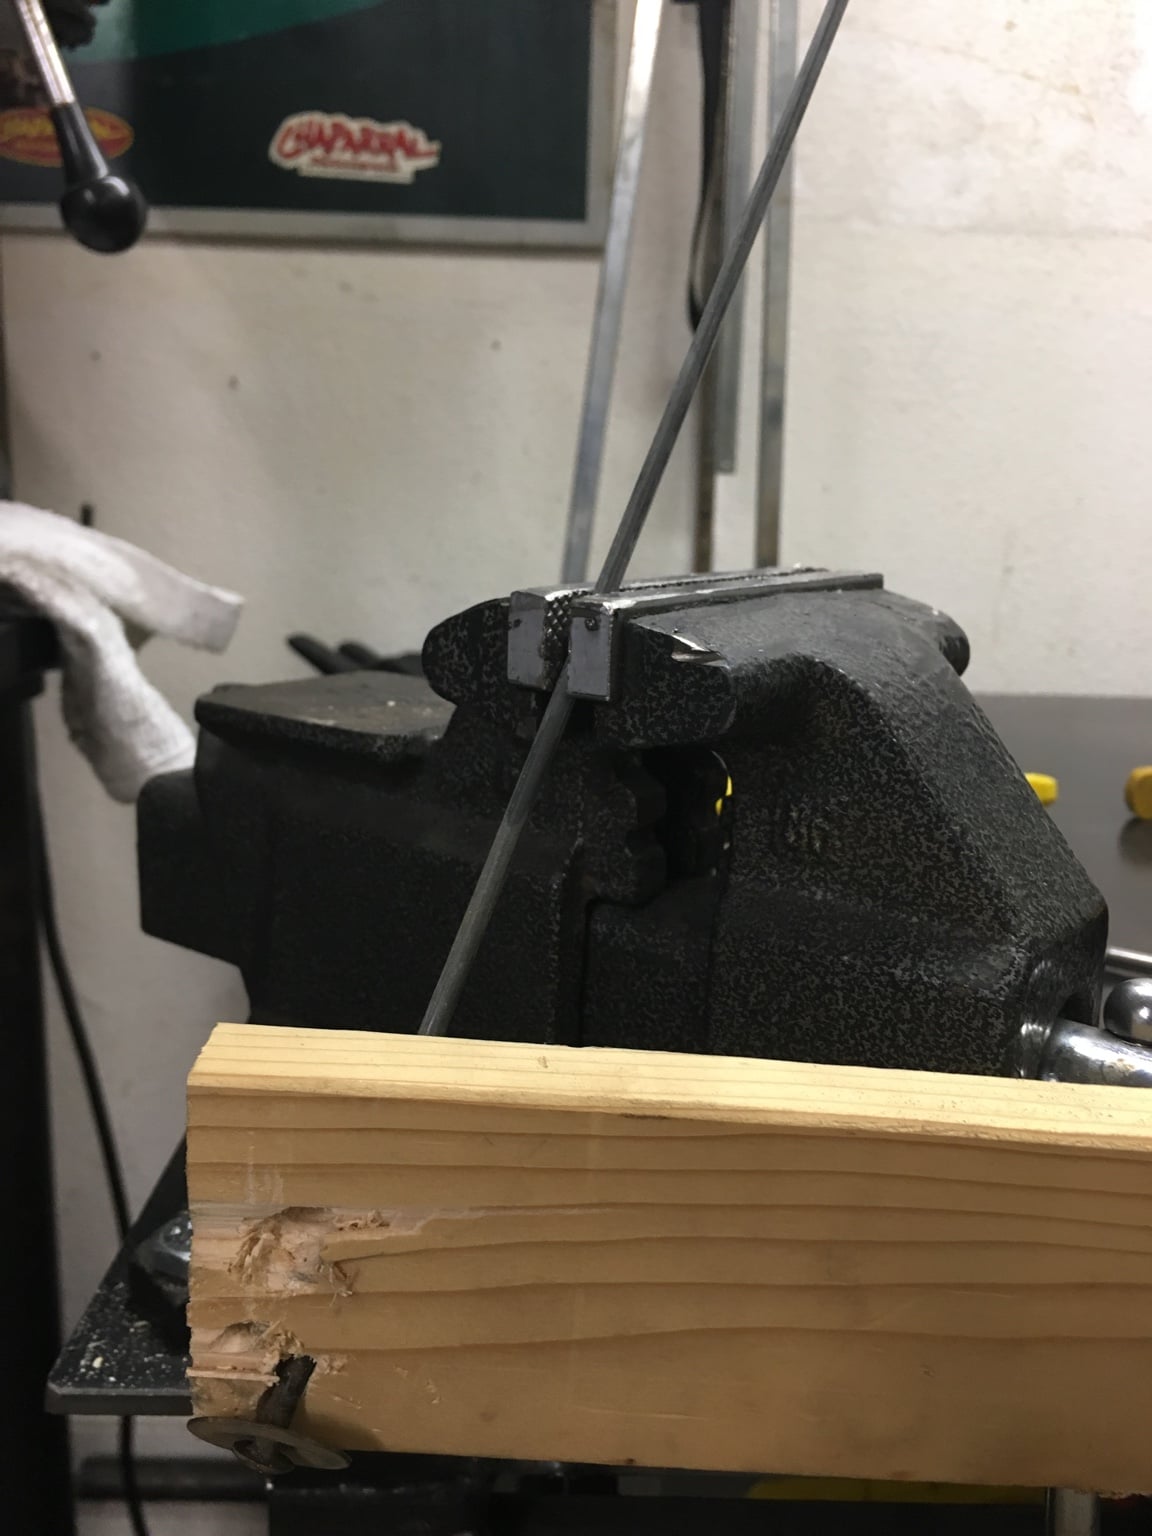
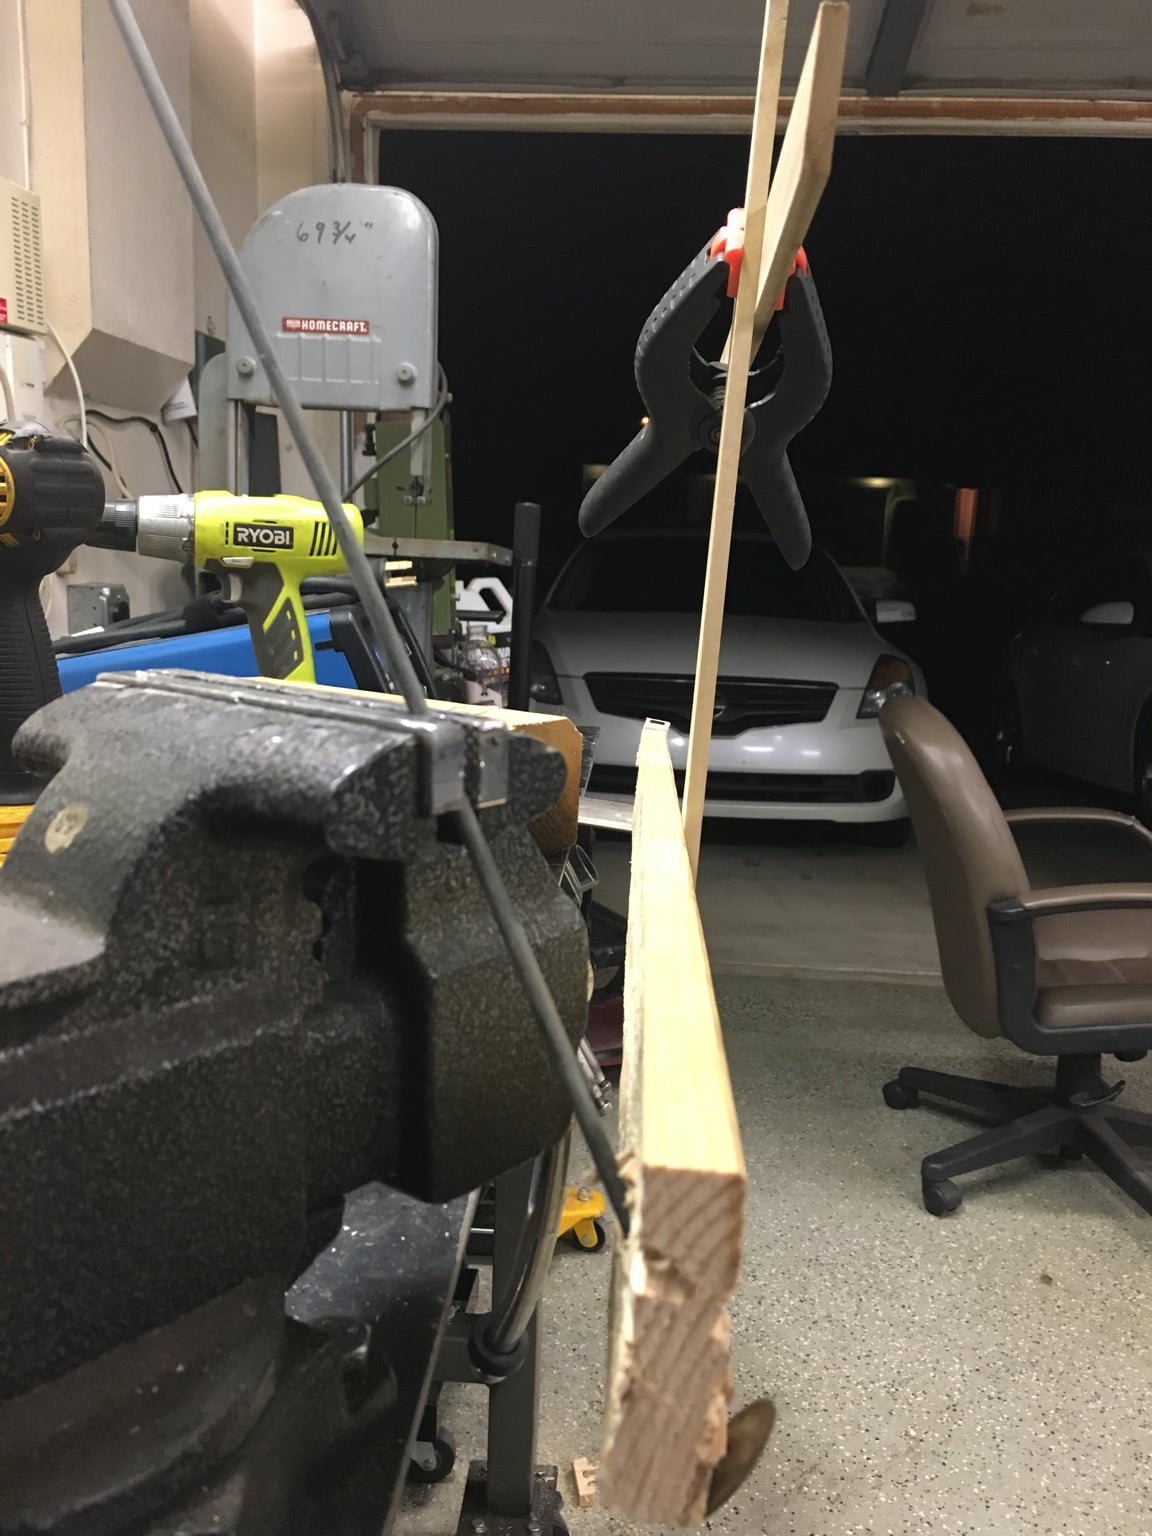
So after seeing [MENTION=118207]midcoma[/MENTION]'s tire swing that he created, it motivated me to actually put the idea that I had in my head for a while into a physical form to see if it will even work. I made a little fixture out of some scrap wood I had laying around the garage. I made it semi-close to spec (scaled down of course) if the swing went the whole width of the bumper 5' and a 33" tire mounted. You can see the cross section up top that is supposed to represent the width of the tire to see if it would clear. The way the "spindle" is set up at the moment is, it is angled in toward the passenger side about 15-20° and back toward the front of the vehicle about 30°.
The idea behind this design was for a couple reasons:
1) It doesn't swing out very far back so that if someone is parked close behind you, you can still open the hatch
2) When parked on an incline or off camber, the tire swing doesn't want to swing open or closed super hard with gravity
3) Gravity actually helps keep the tire swing closed, if for some reason the latch ever fails
4) Saves space when opened without being in the way like a few other designs.
5) Should be easier to lift that the swing down or swing up (lambo style) designs

I took a couple photos and a video of the VERY Rough draft that I created tonight. I may try to make a bit more accurate model out of some tubing sometime soon, but at least I know my idea should be able to work. I wish I know how to use CAD programs to get things really accurate but for now, it will be old fashioned trail and error.

Let me know what you all think and if you have any suggestions for the design.

7dac9e6e5826b1b72123e12bee44c5aa.jpg

96af3a14decd3b00a23fc8cb8e65f206.jpg

a97a87233af278fc5566de56518ed1f3.jpg

2e123862ab0f472bf51c980c4ffa42d1.jpg


Sent from my iPhone using Tapatalk
 
Last edited:
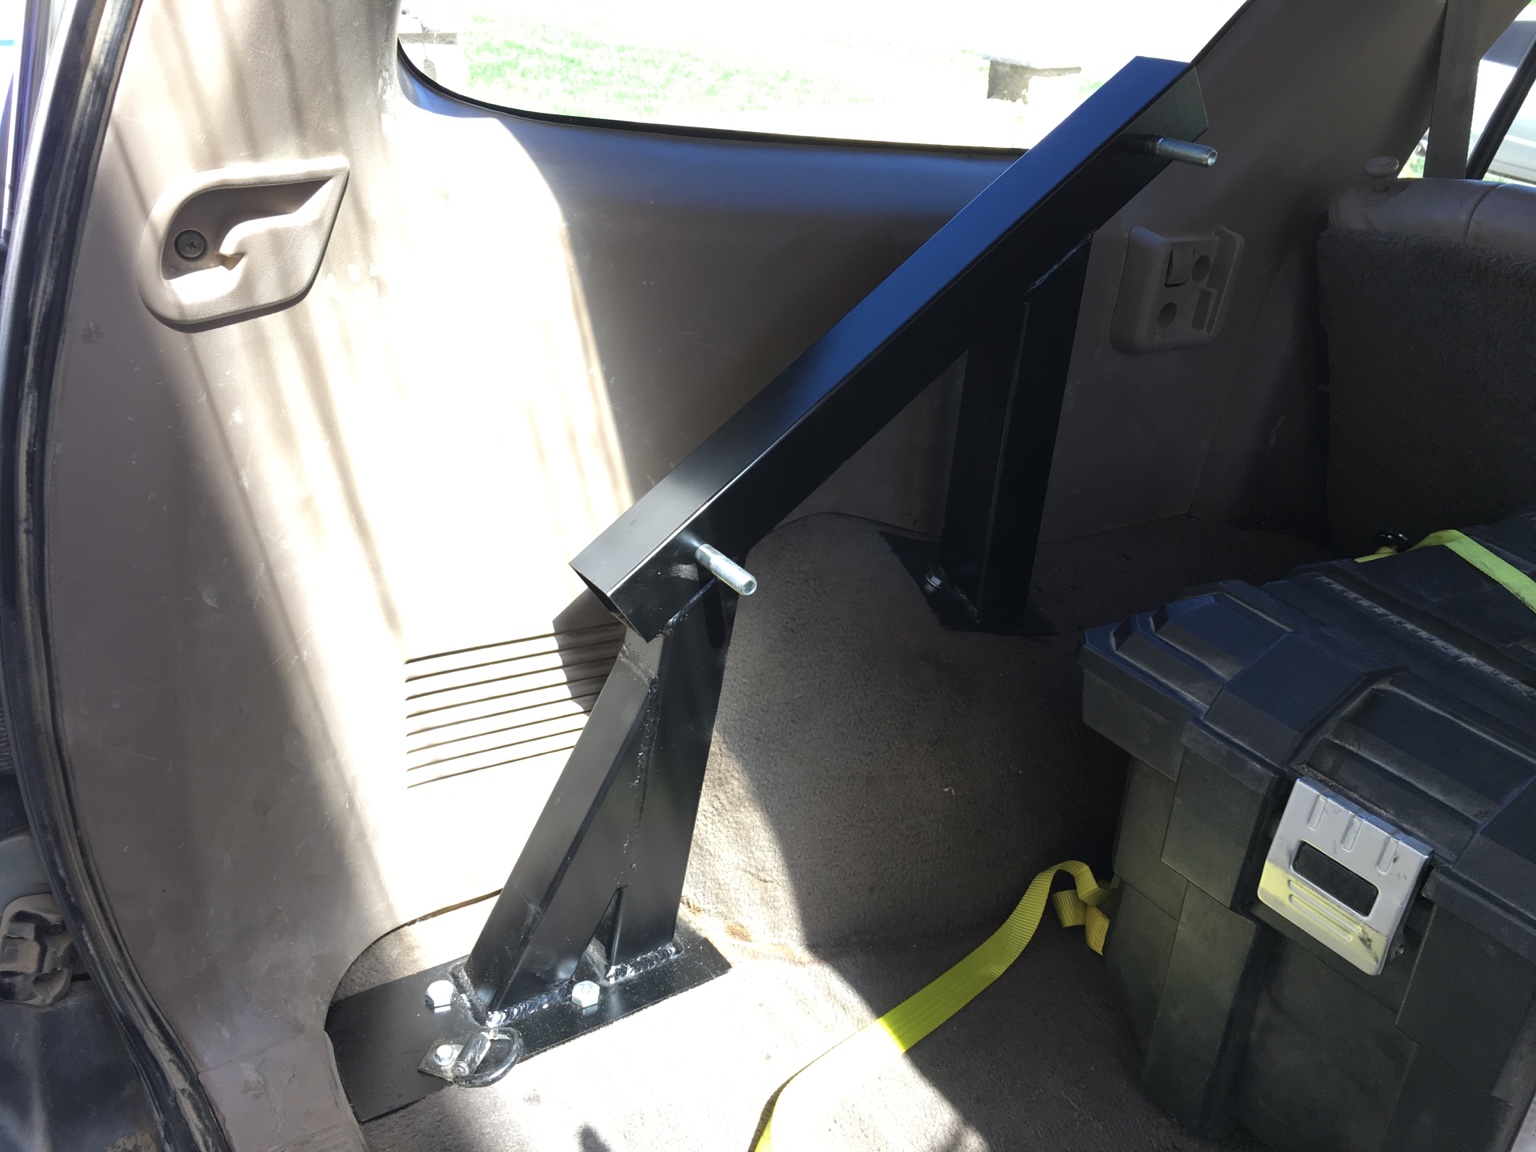
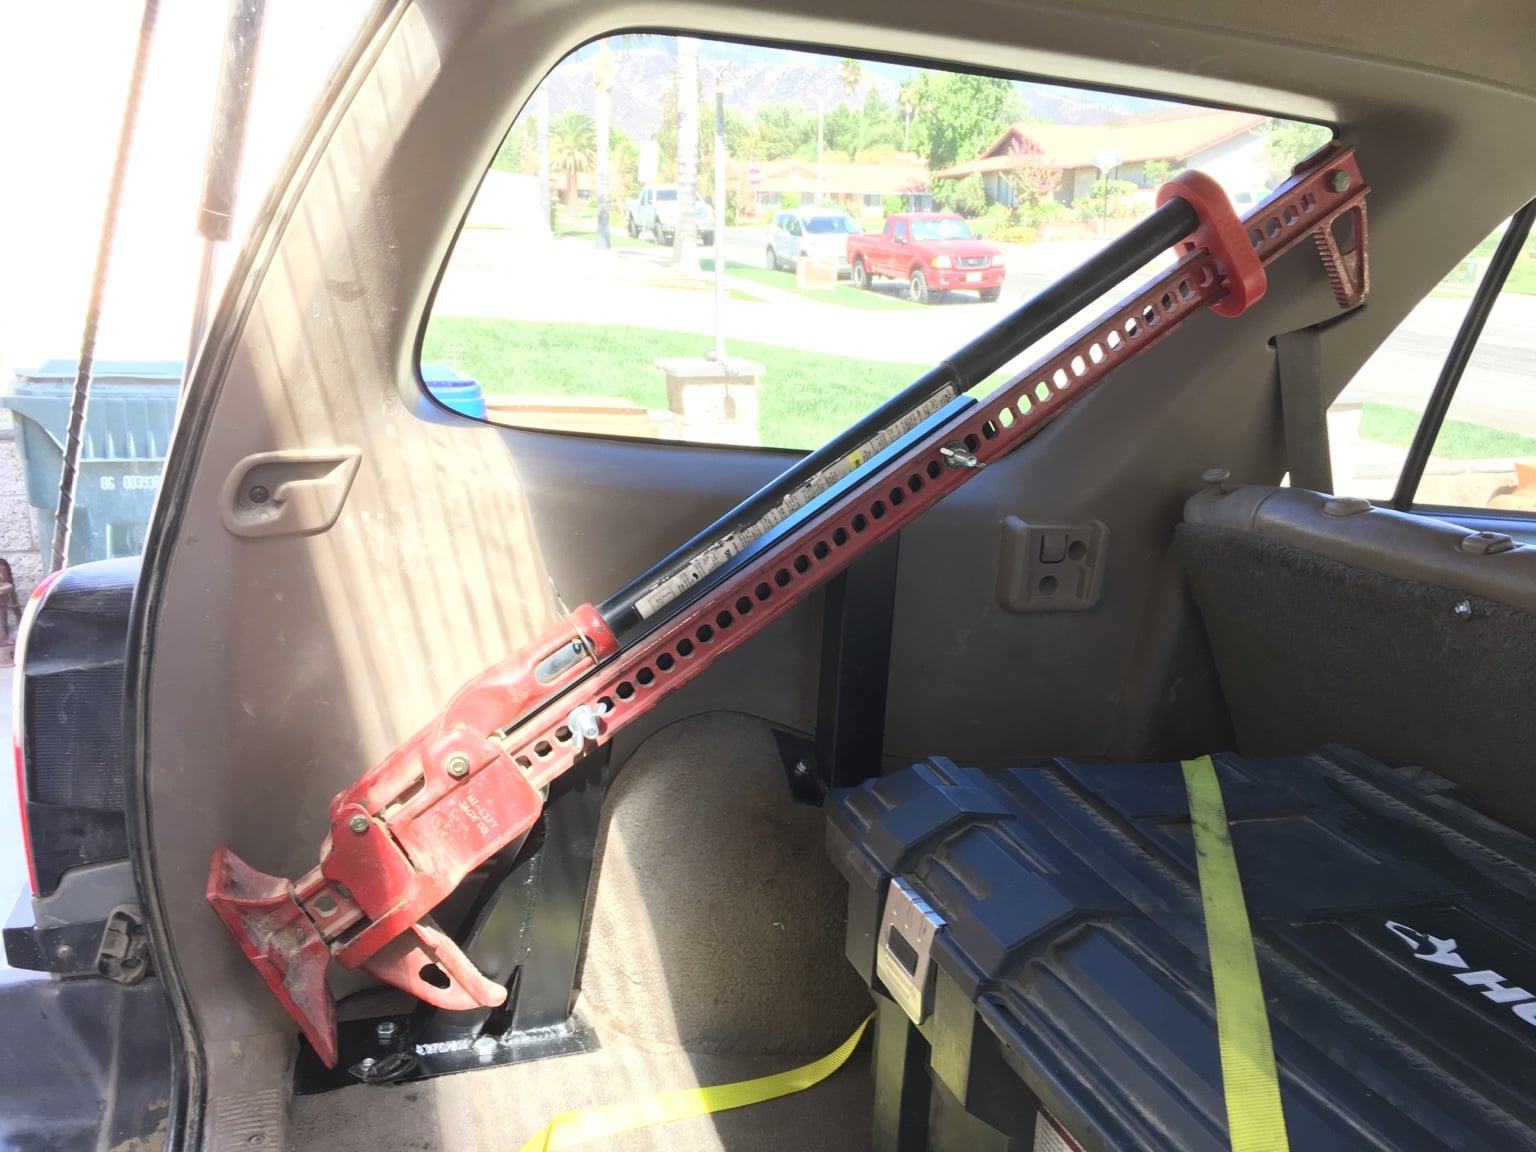
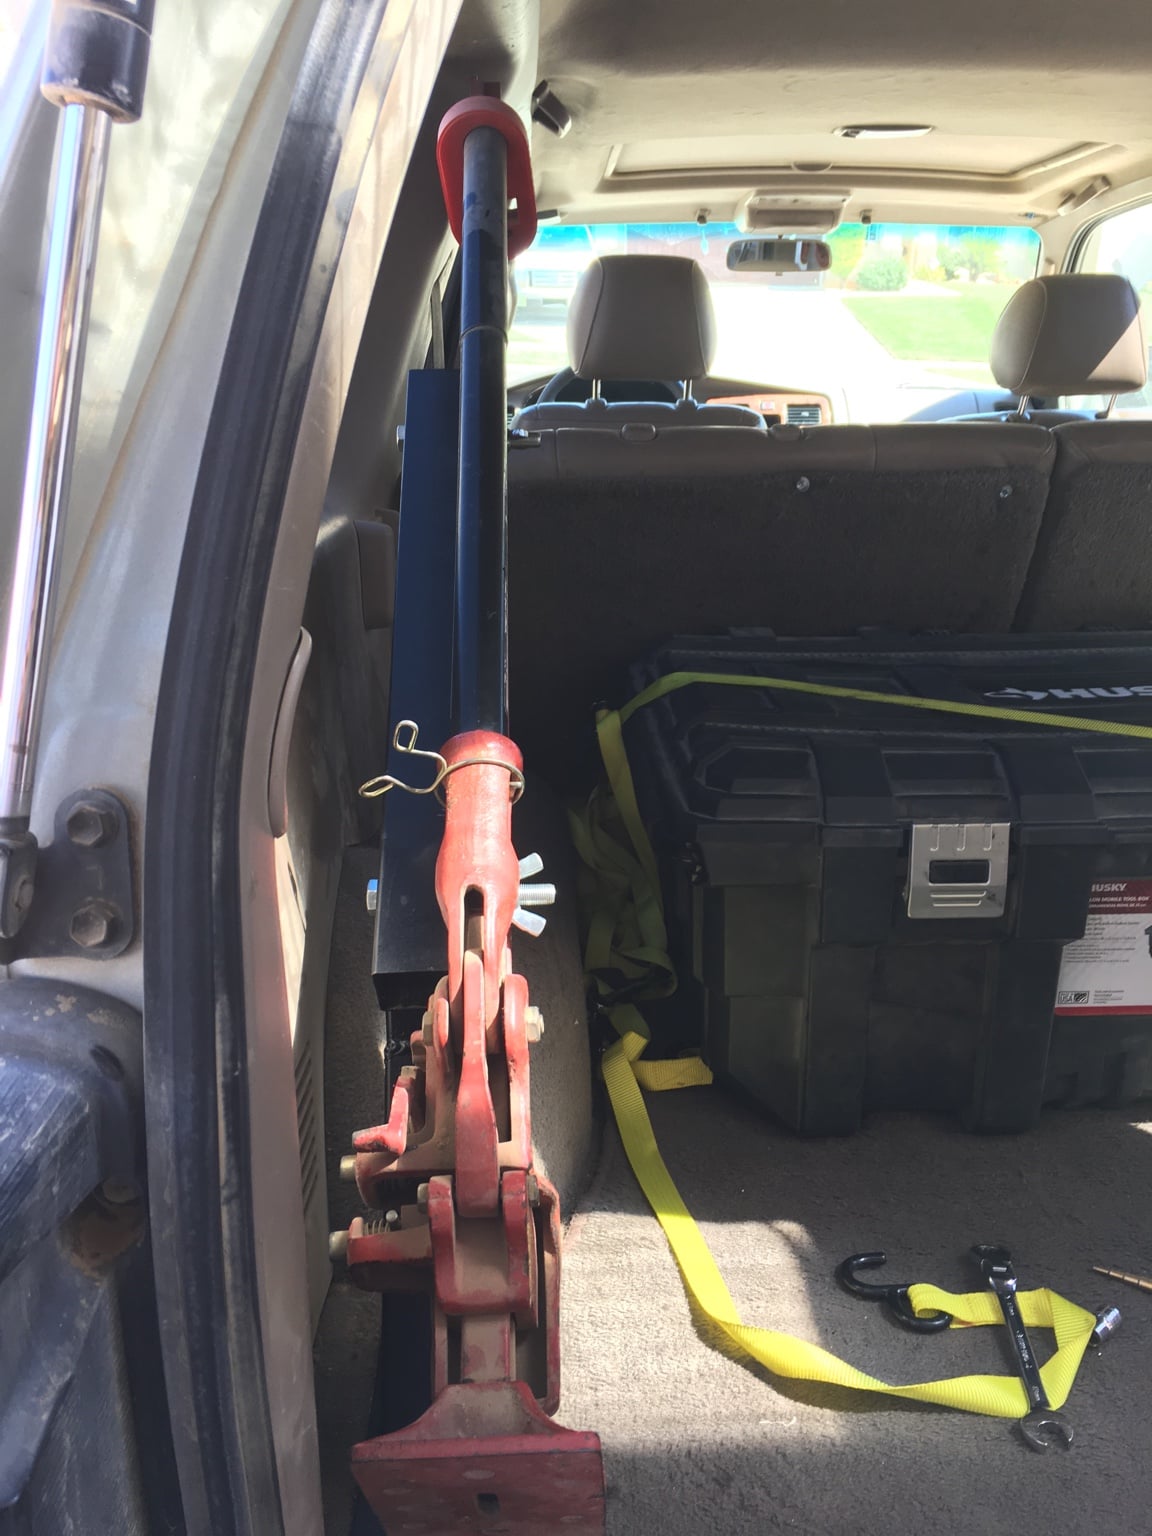
Finally got around to completely finishing my Hi-Lift mount that I made a few months ago. I didn't like how much play it had at the very top and I was nervous if I got in a bad accident that it would rip out and hit myself or someone else. I added another mounting point on the wheel well to add some rigidity to the whole thing. Also finally painted it.
b5e93f4d615267dfb39edf8460fbd5d5.jpg

538722a40caa2c8865f1b49a04d2568c.jpg

14d886d47da7a3691ee4bab1d157fb22.jpg


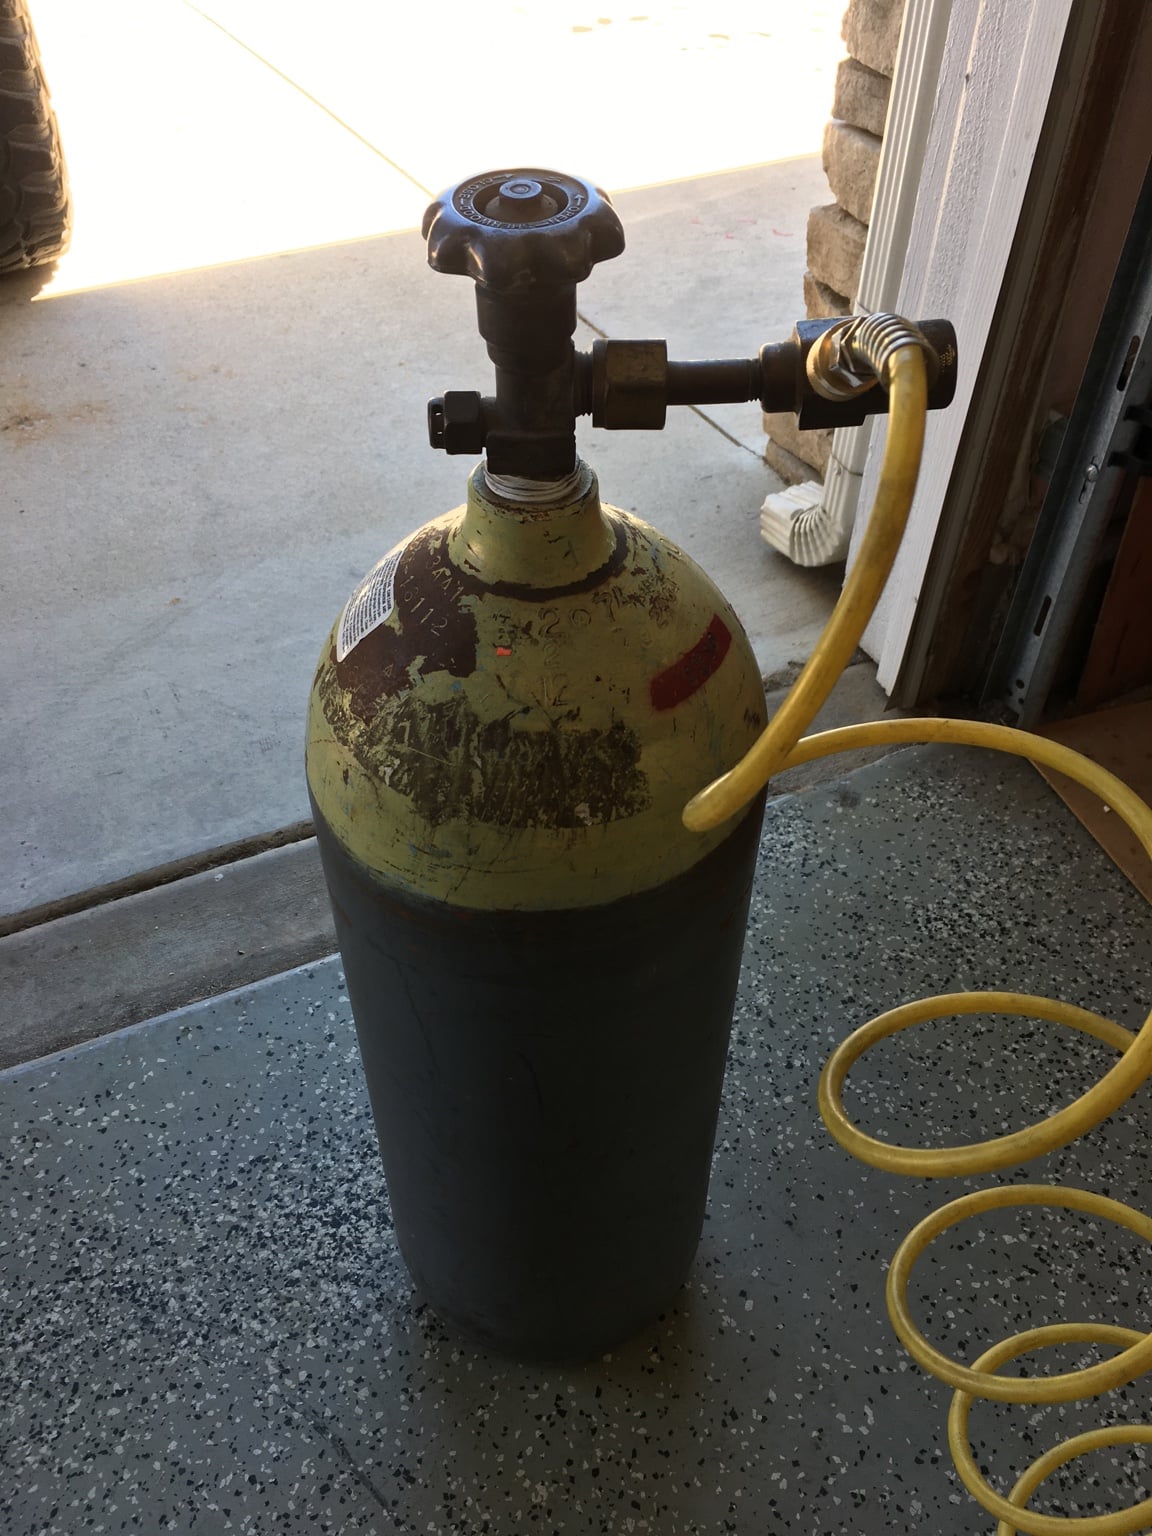
My neighbor was having a yard sale and noticed that he had a 20lb CO2 tank for sale so I stopped by to ask about it. He sold it to me for $10. Pretty stoked to have a good source of compressed air now. I almost always air down when off-roading to at least 25psi just for comfort reasons and much lower if I'm actually doing a difficult trail. It will be nice to have something that is easily accessible to do quick air ups. Now I need to decide where to mount it. Any ideas? I've read that they need to be mounted at least a 45° angle because it's liquid CO2.
6d8950dd467fb4296ef4019d13270349.jpg


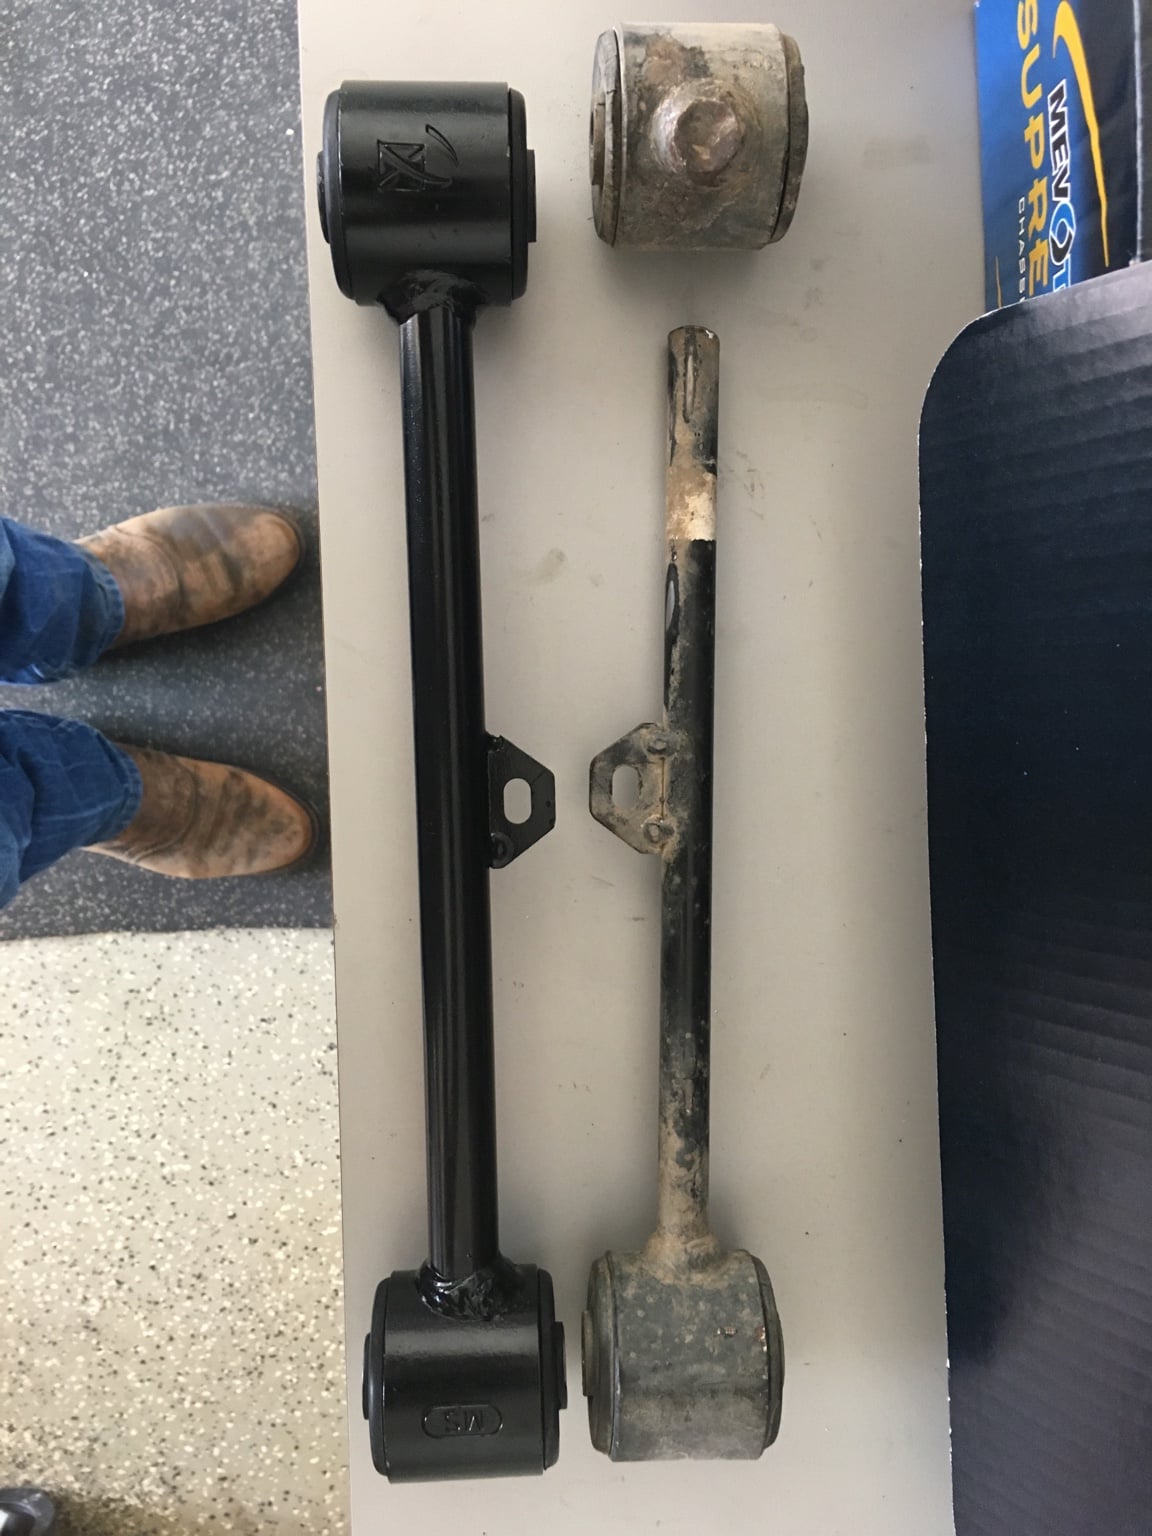
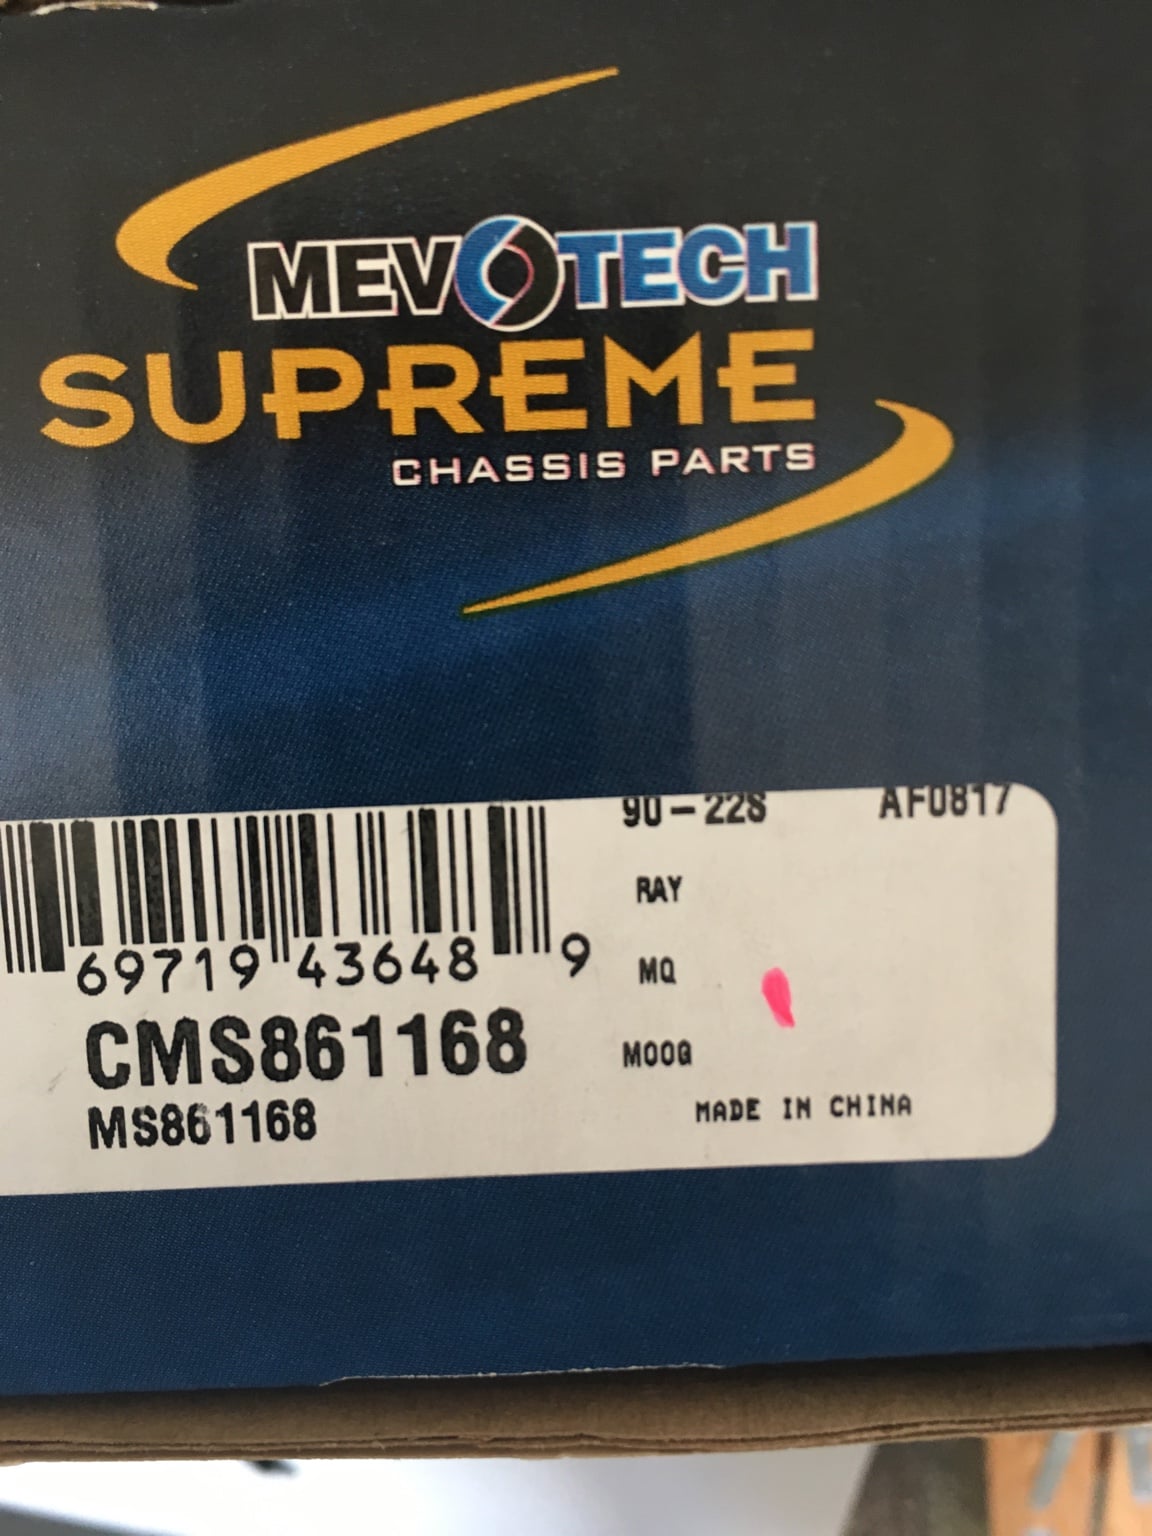
Finally got around to replacing my broken rear UCA. I decided to save some dough for the moment and just get a stock part since it was almost free with my discount. I went with Mevotech control arm since they are supposed to be well made. The stock UCA is .55" diameter and the Mevotech is .75", so that should hold up for another few months till I build some new ones.
f9118cc5f5c91cb8ca0e2c14364fff8c.jpg

50c85b4b0e6ecef06891621b9b450888.jpg


Sent from my iPhone using Tapatalk
 
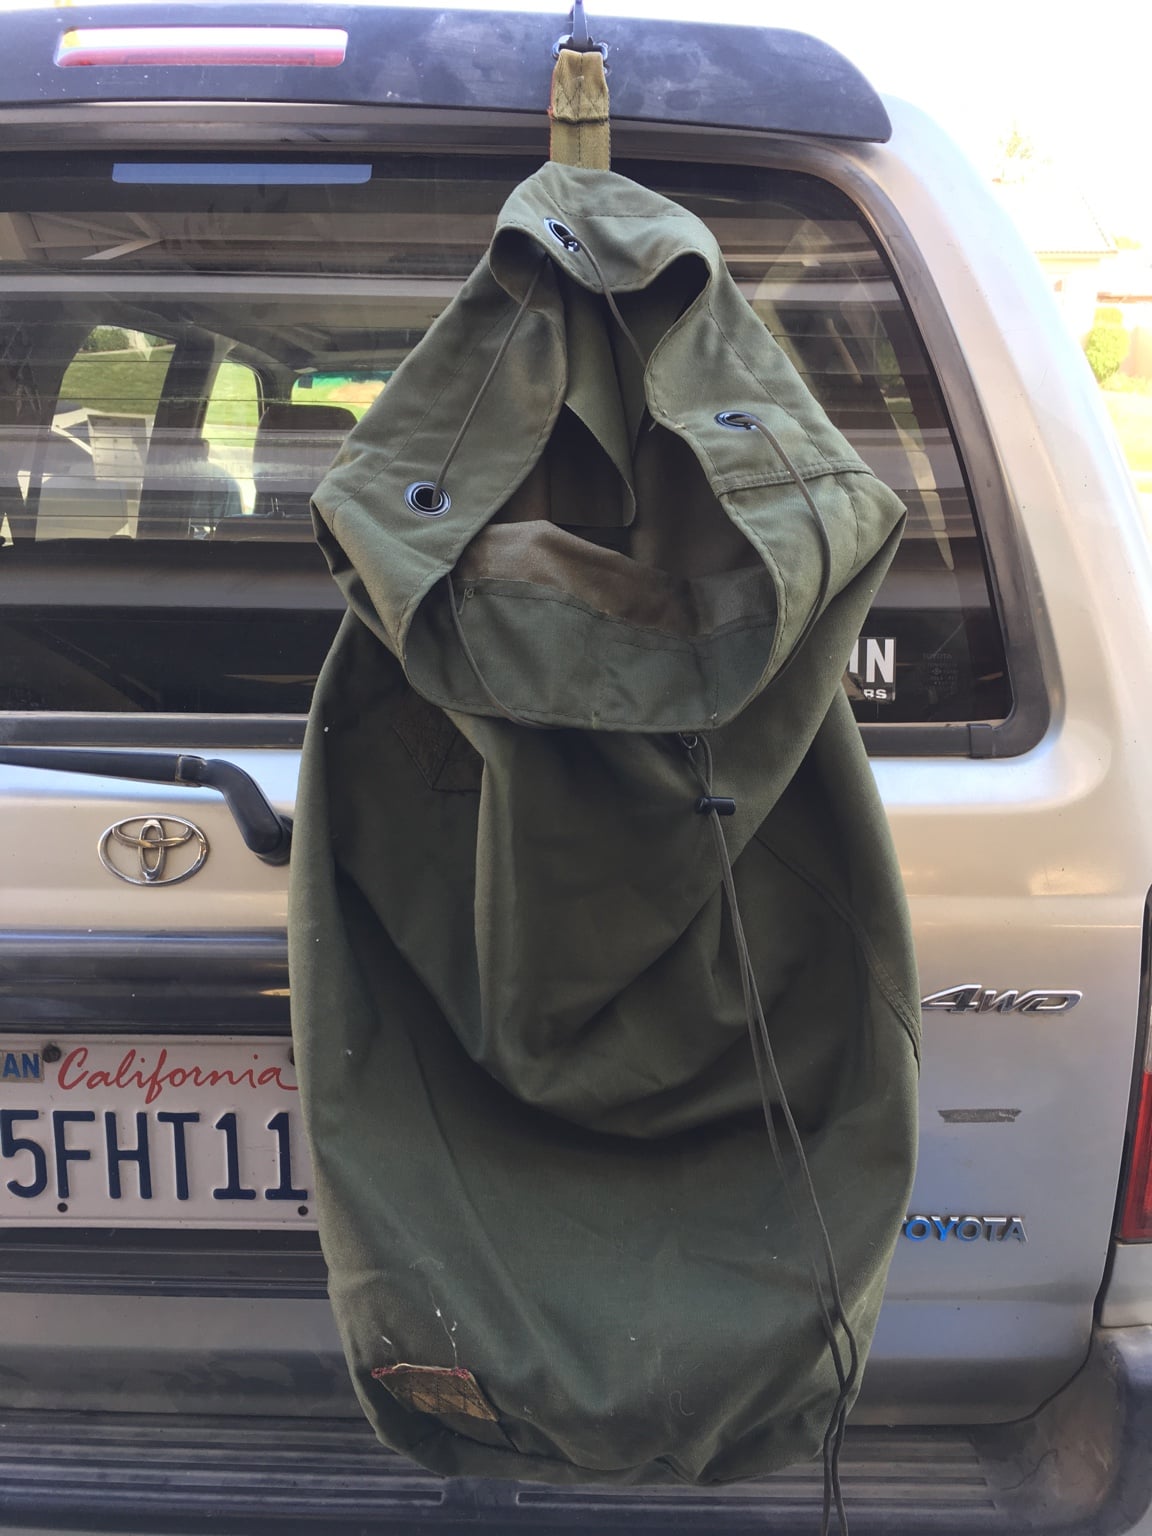
My grandpa gave me this old canvas army bag and the first thing that came to mind was a Trasharoo bag. I just used some extra paracord a had laying around to fix the drawstring then tied it to the whip mount I made on the rear spoiler. I know this won't hold all that much weight but a few empty beer cans and miscellaneous trash won't hurt anything. Once I build a tire carrier I will mount it on that.
d8f1850827f31bf10f64a8fe2a97103c.jpg


Sent from my iPhone using Tapatalk
 
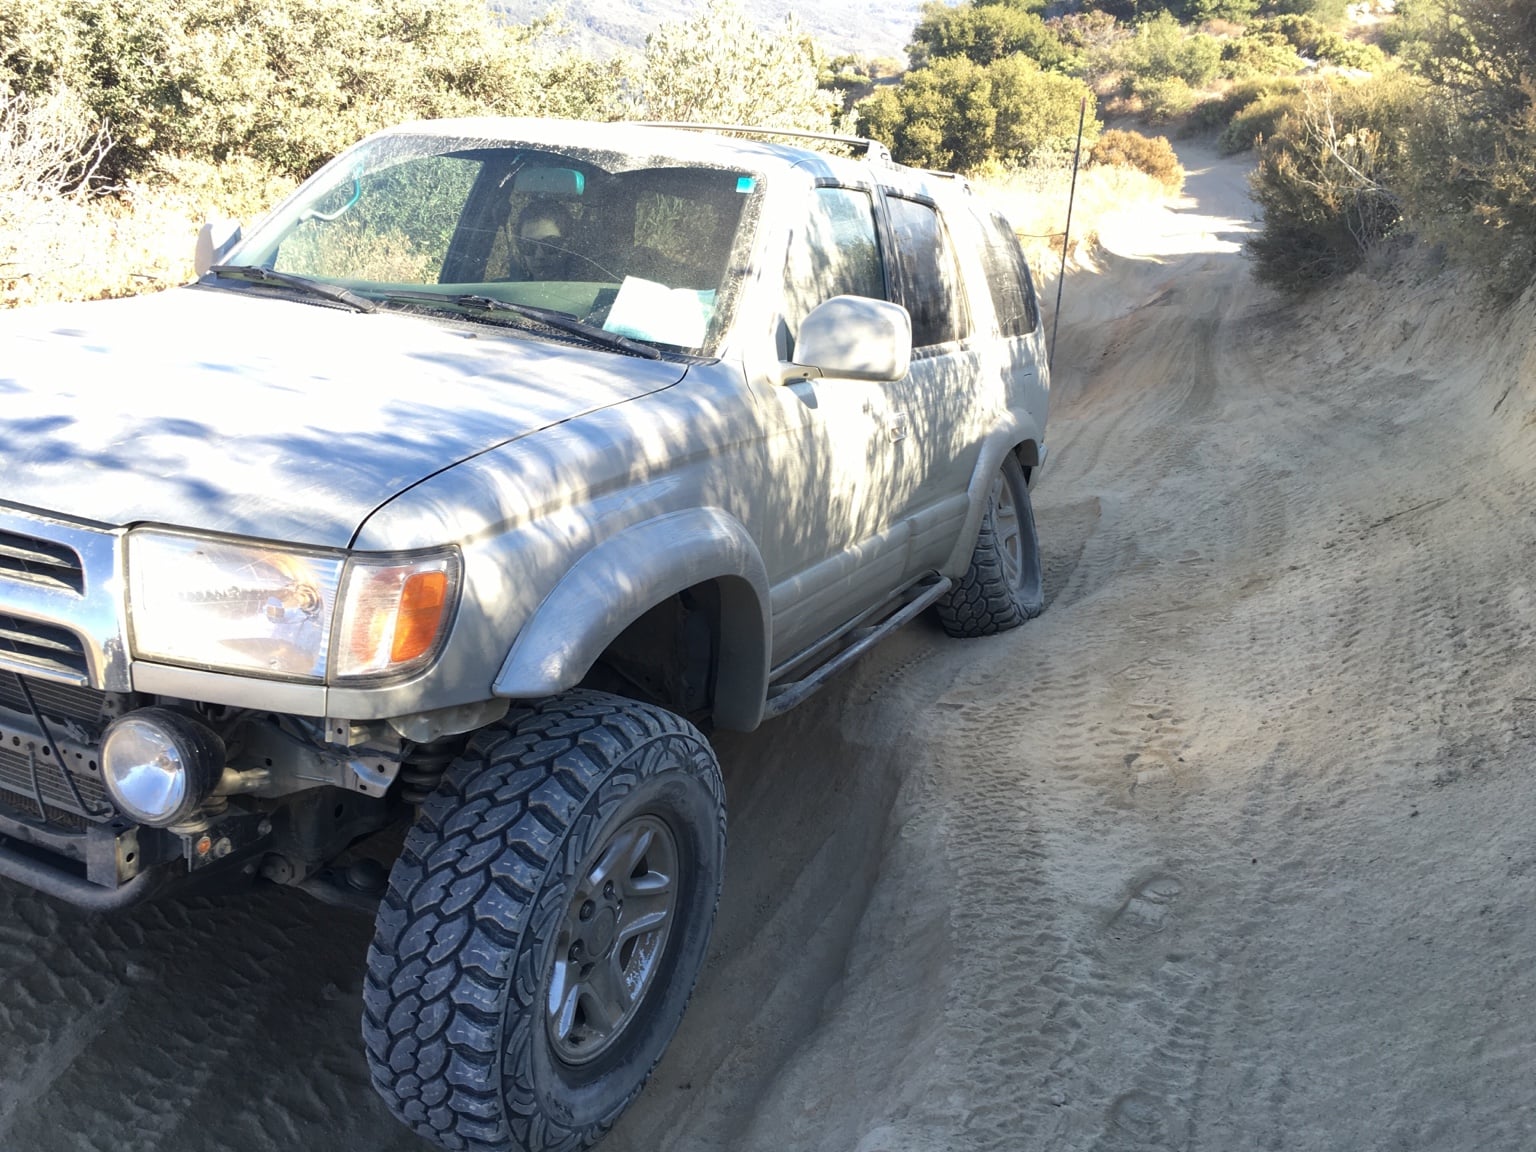
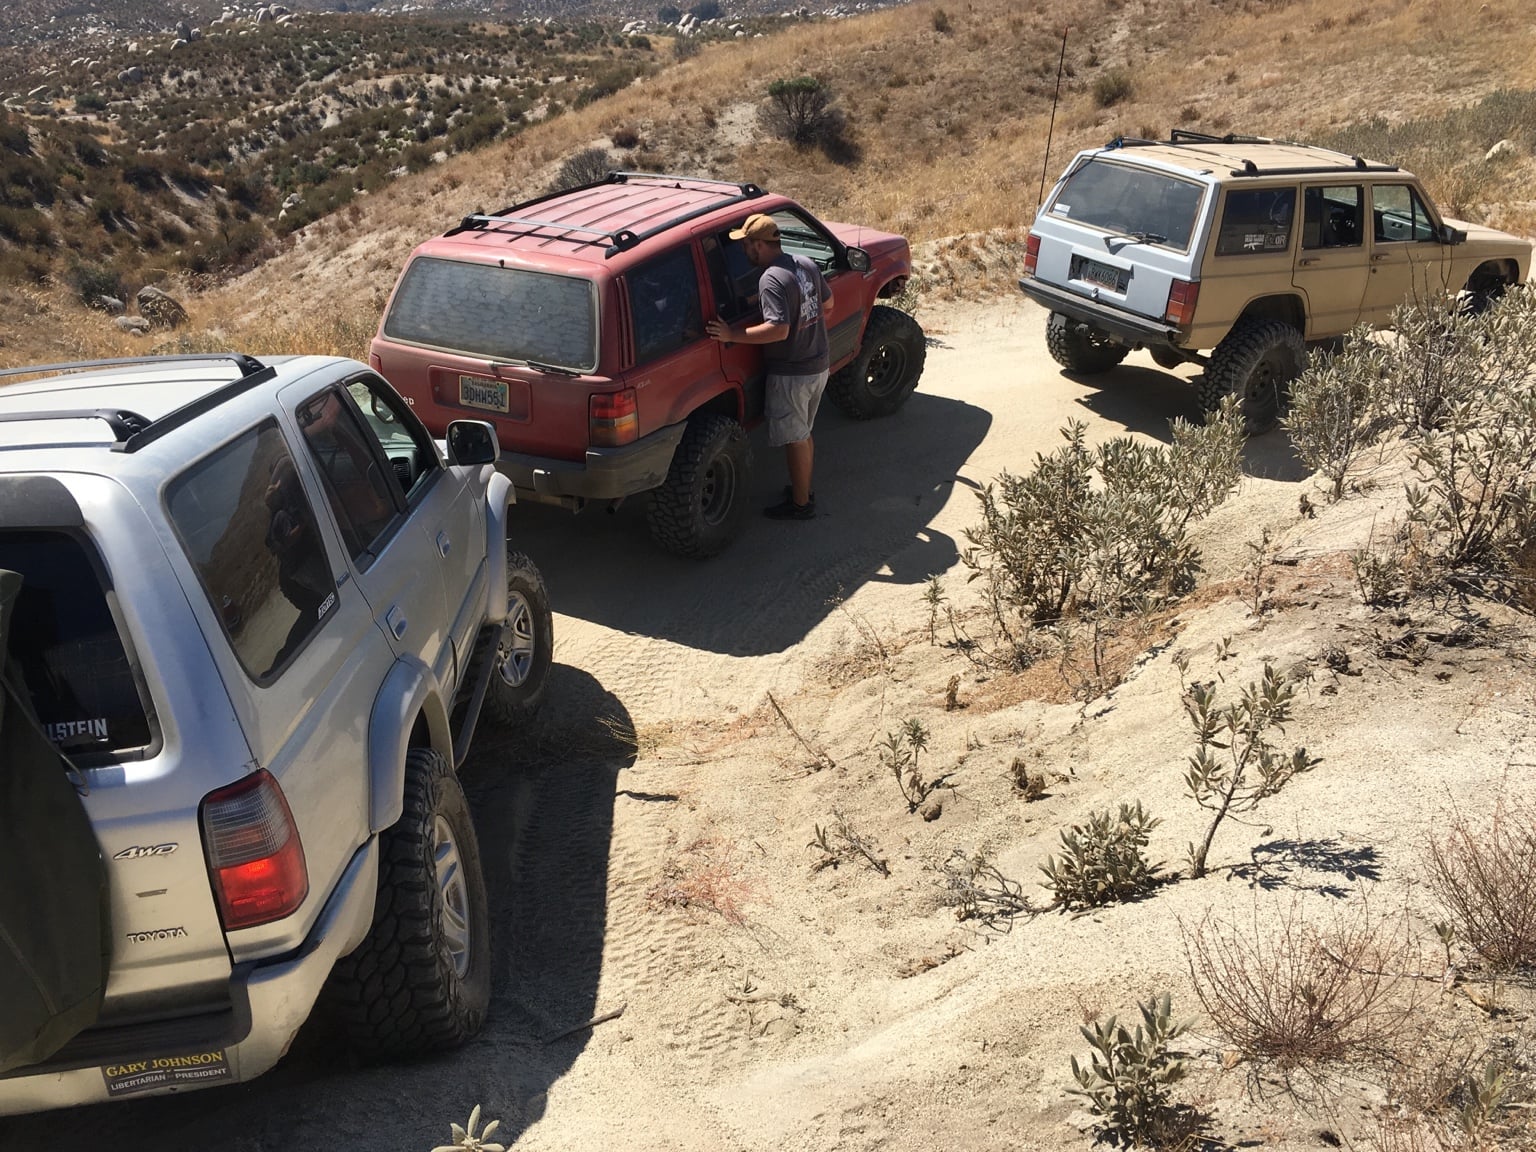
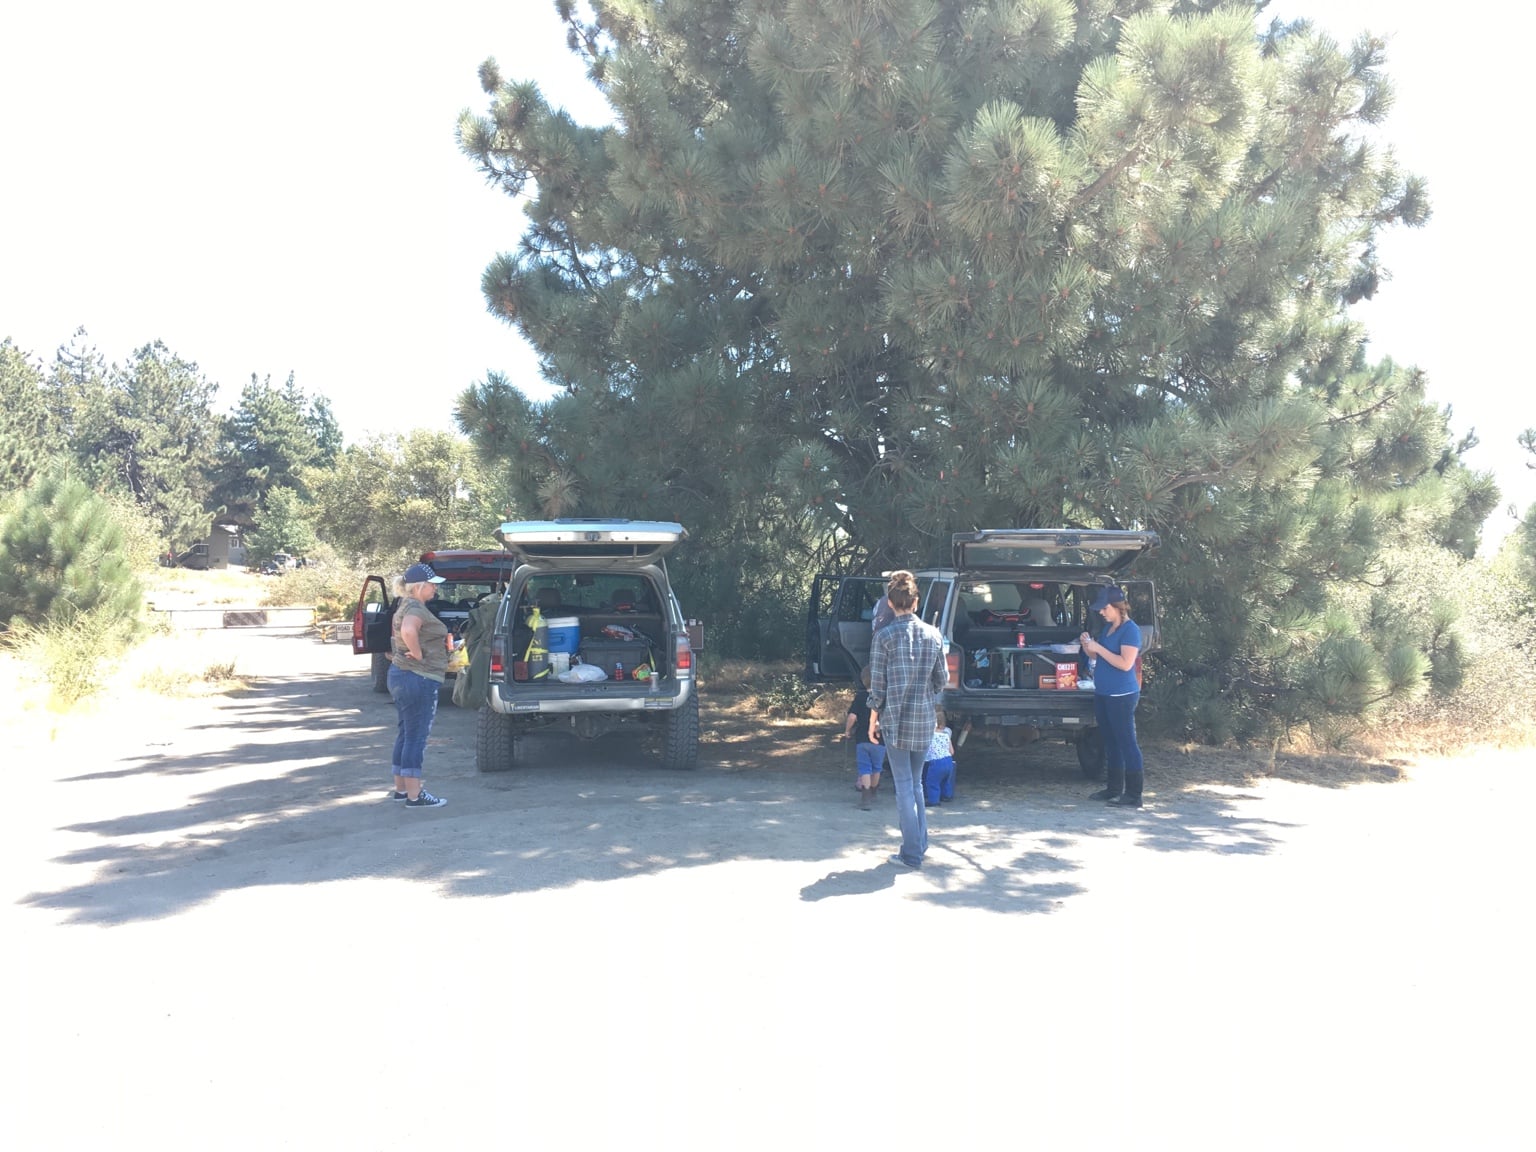
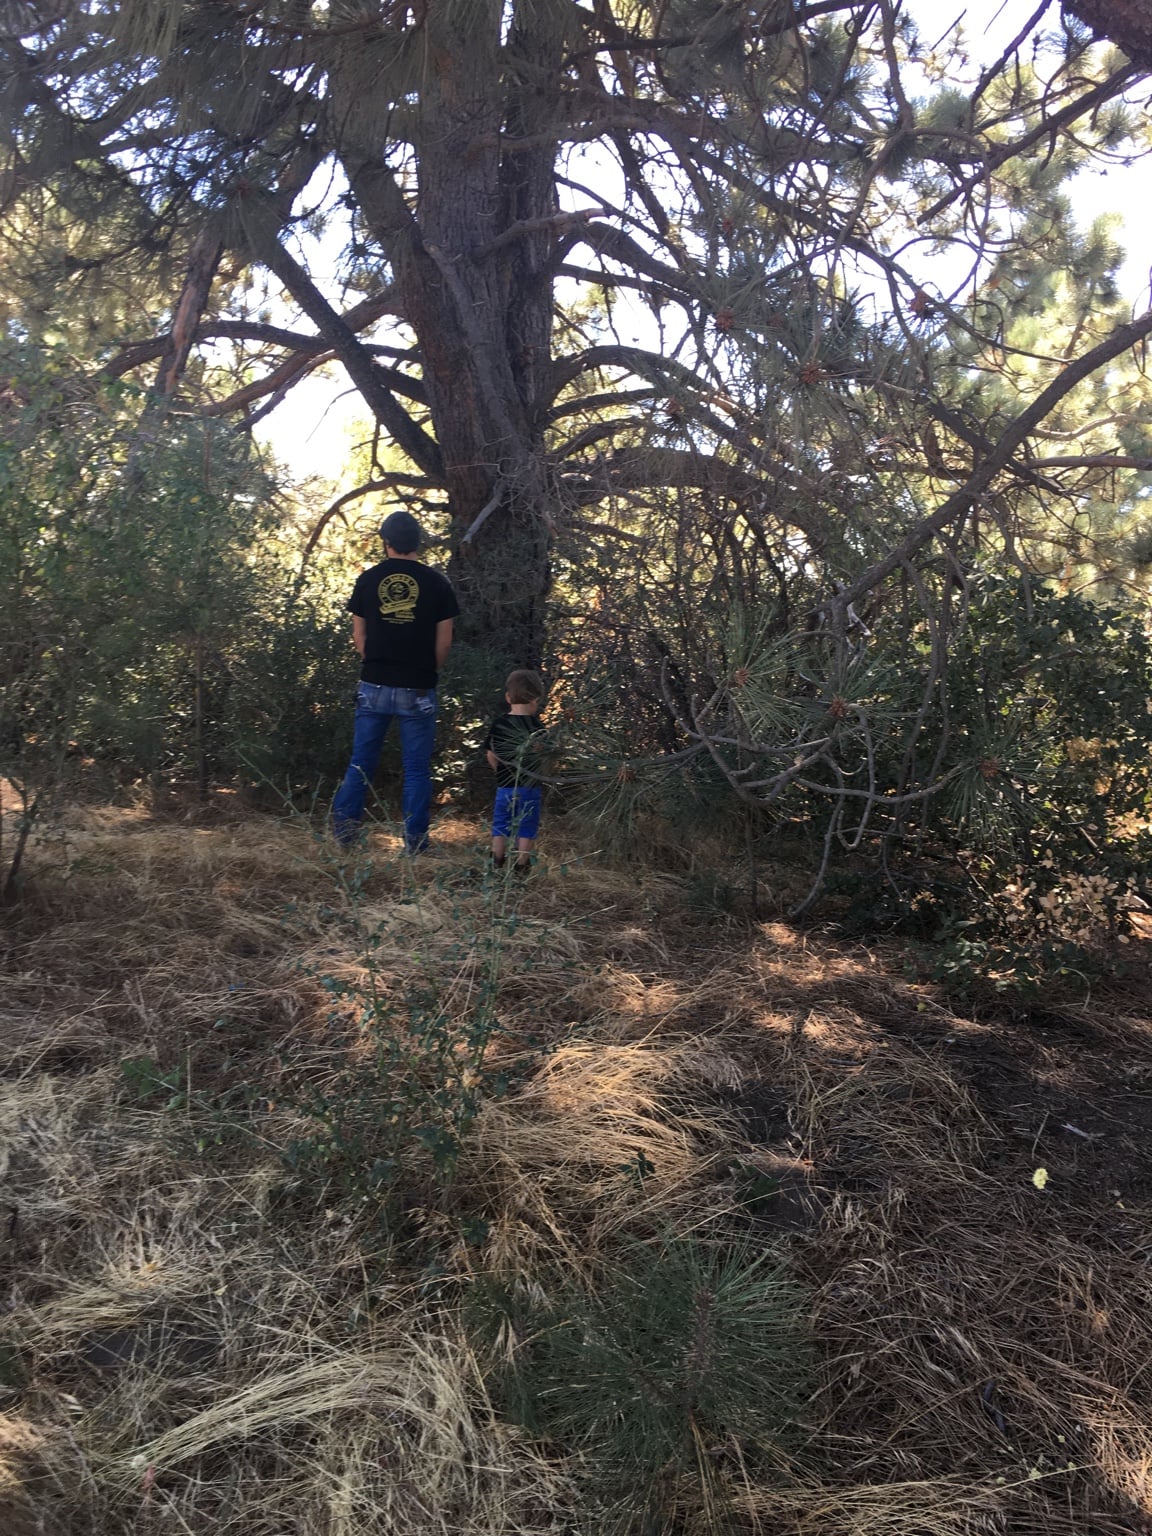
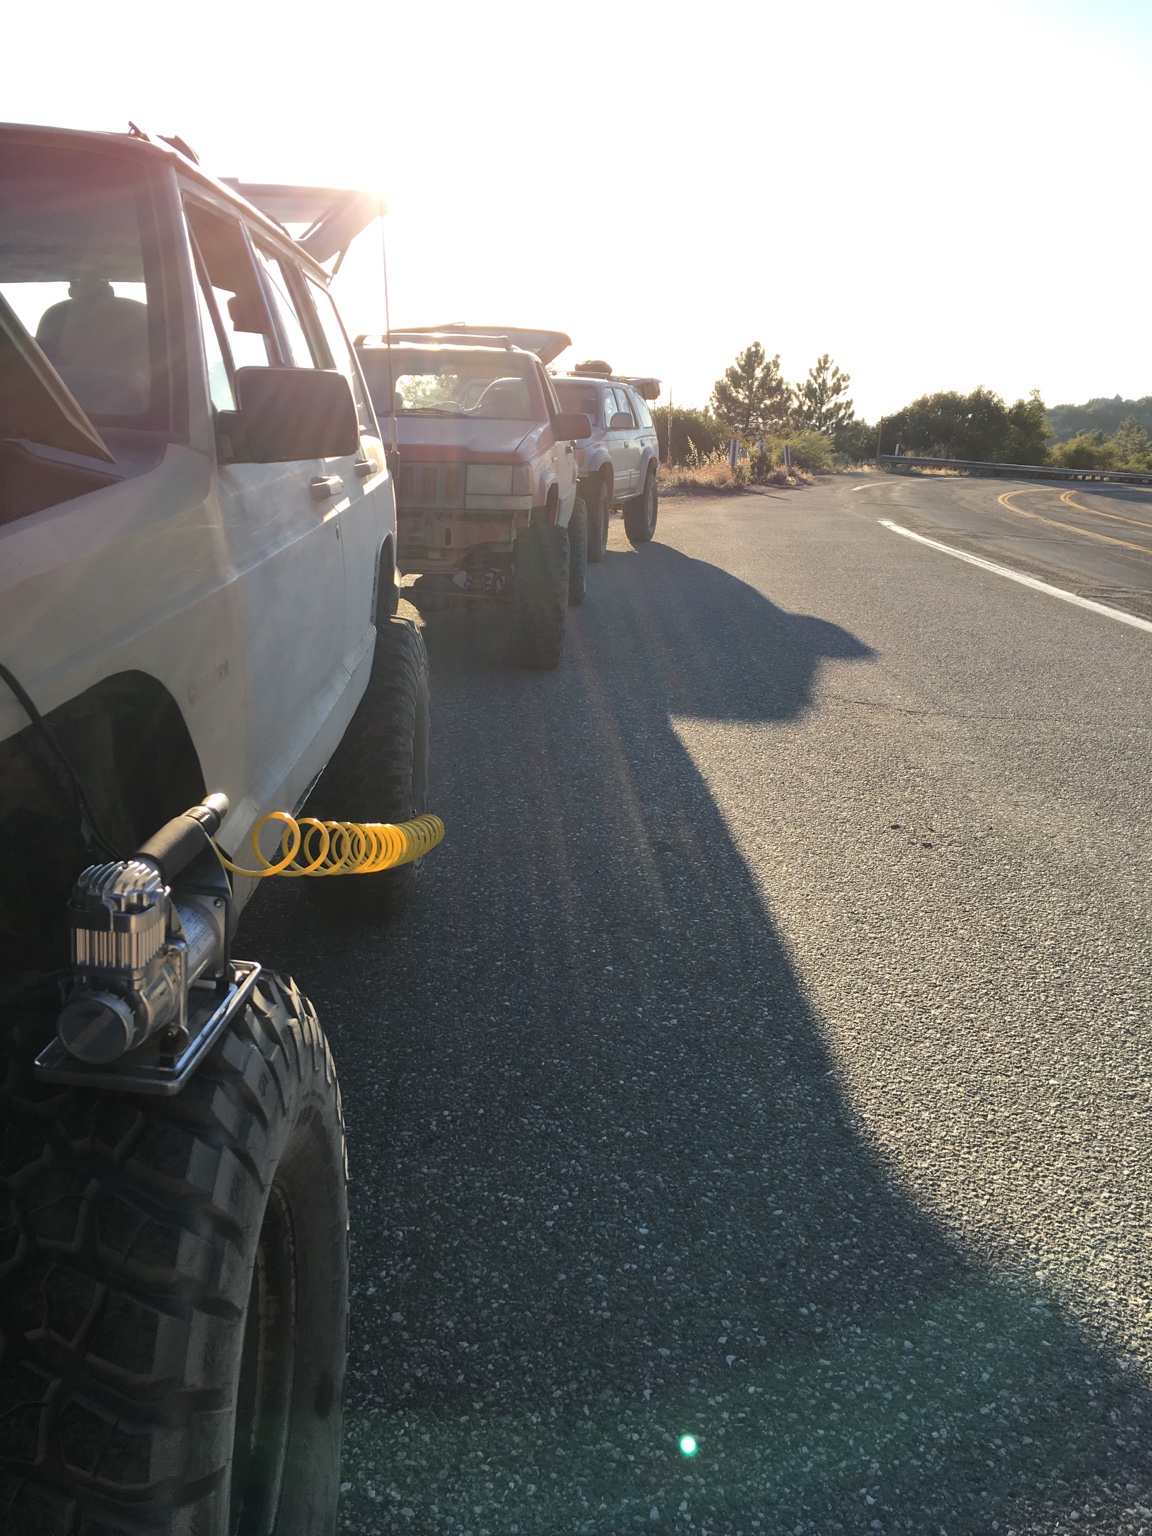
Went for a last minute offroad trip on Labor Day. My brother and I took our family and a friend and his family up to the San Jacinto mountains by Idyllwild to go offroading for the day. We covered about 40 miles of dirt roads and trails. The best trail was forsure 4S21 - Indian Mountain. It's rated Black Diamond (most difficult). We saw an XJ at the trail head, and he was saying that our rigs would have a real tough time on this trail. It ended up being pretty easy compared to the way he made it sound but it was still a whole lot of fun. Our buddy with the ZJ doesn't have a locker and he didn't really have any issues, he just had to pick his lines more wisely. Overall we had a blast and the kids had even more fun playing every time we stopped. This was our first time offroading in this area and we plan to explore more trails soon.
Of course some pictures of the trip..
f4362d06c41ebfc26a20a0531170fd7c.jpg
38042f970f6580ea11c0b73bd5ff748c.jpg
d233a2fb20635db6f7841aa0992d35bd.jpg
86c6f4f0b49fe71423a7adbc1471824d.jpg
289e2c92be0472e71e82698cc1d7e630.jpg
ce0c61024c9f6b15e7f95231ab4a6240.jpg
a2fb1fdc3f357386decfba9b38b807b5.jpg
f29f740ea4d0217b6cd2c9d0f6b62b39.jpg


Sent from my iPhone using Tapatalk
 
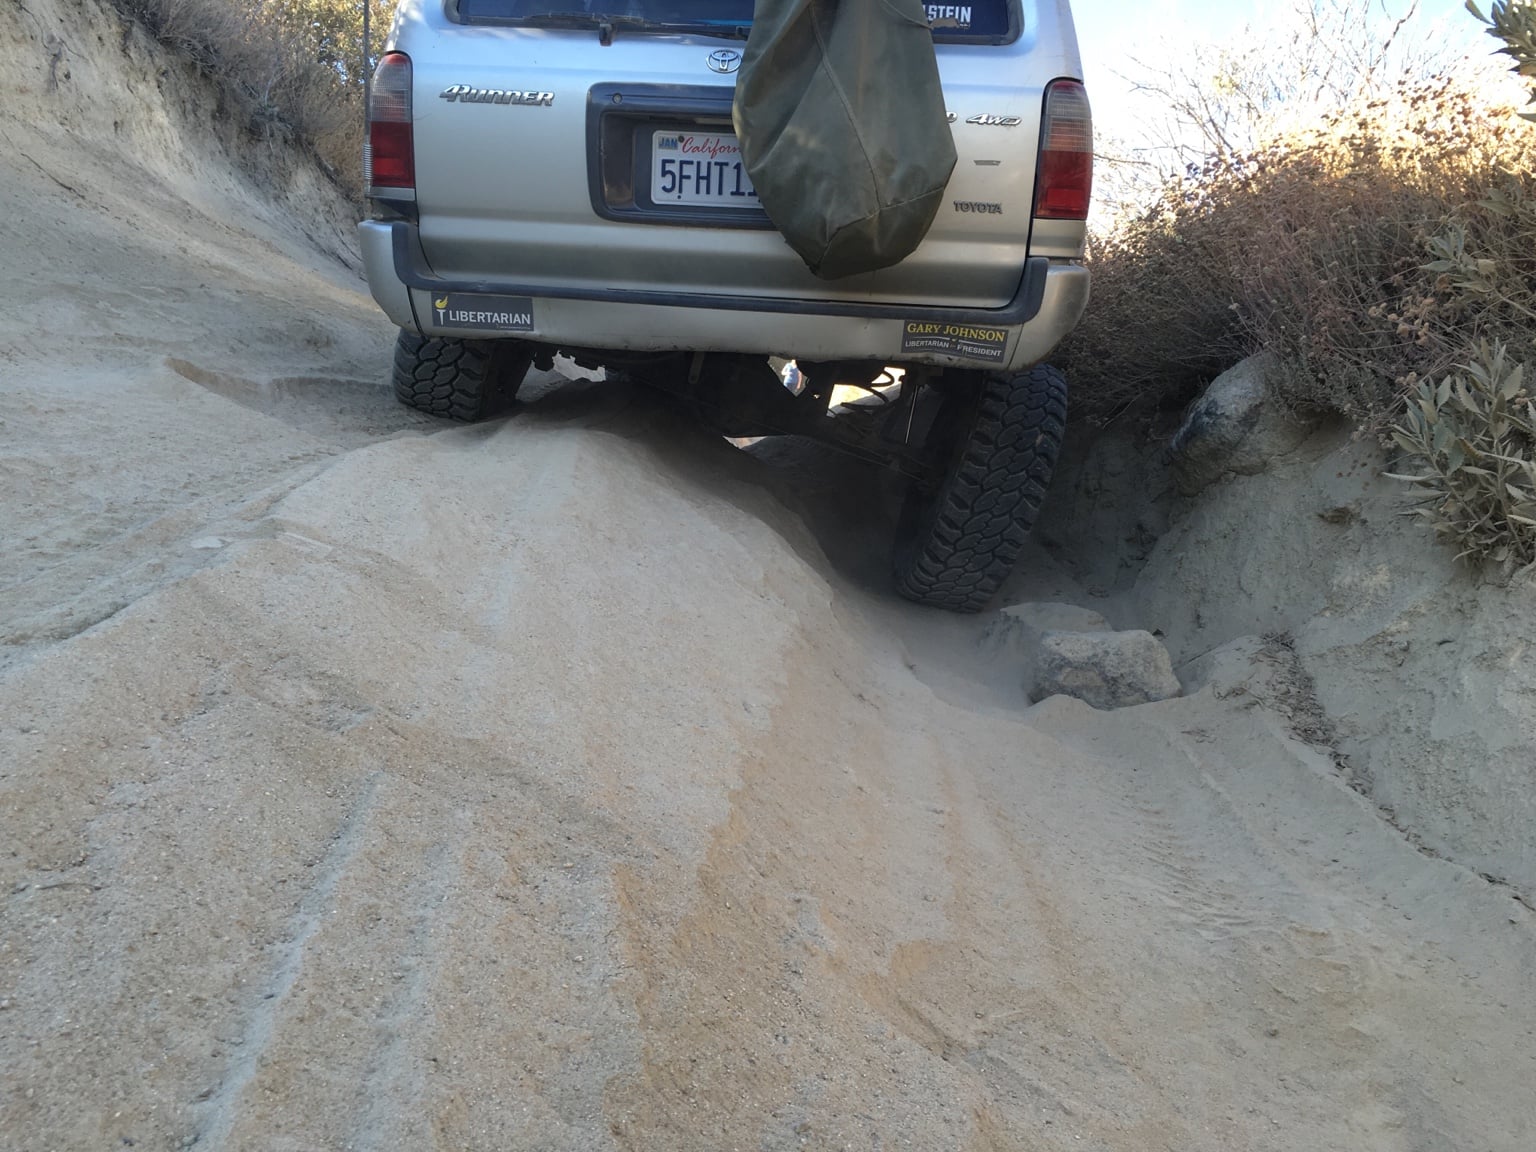
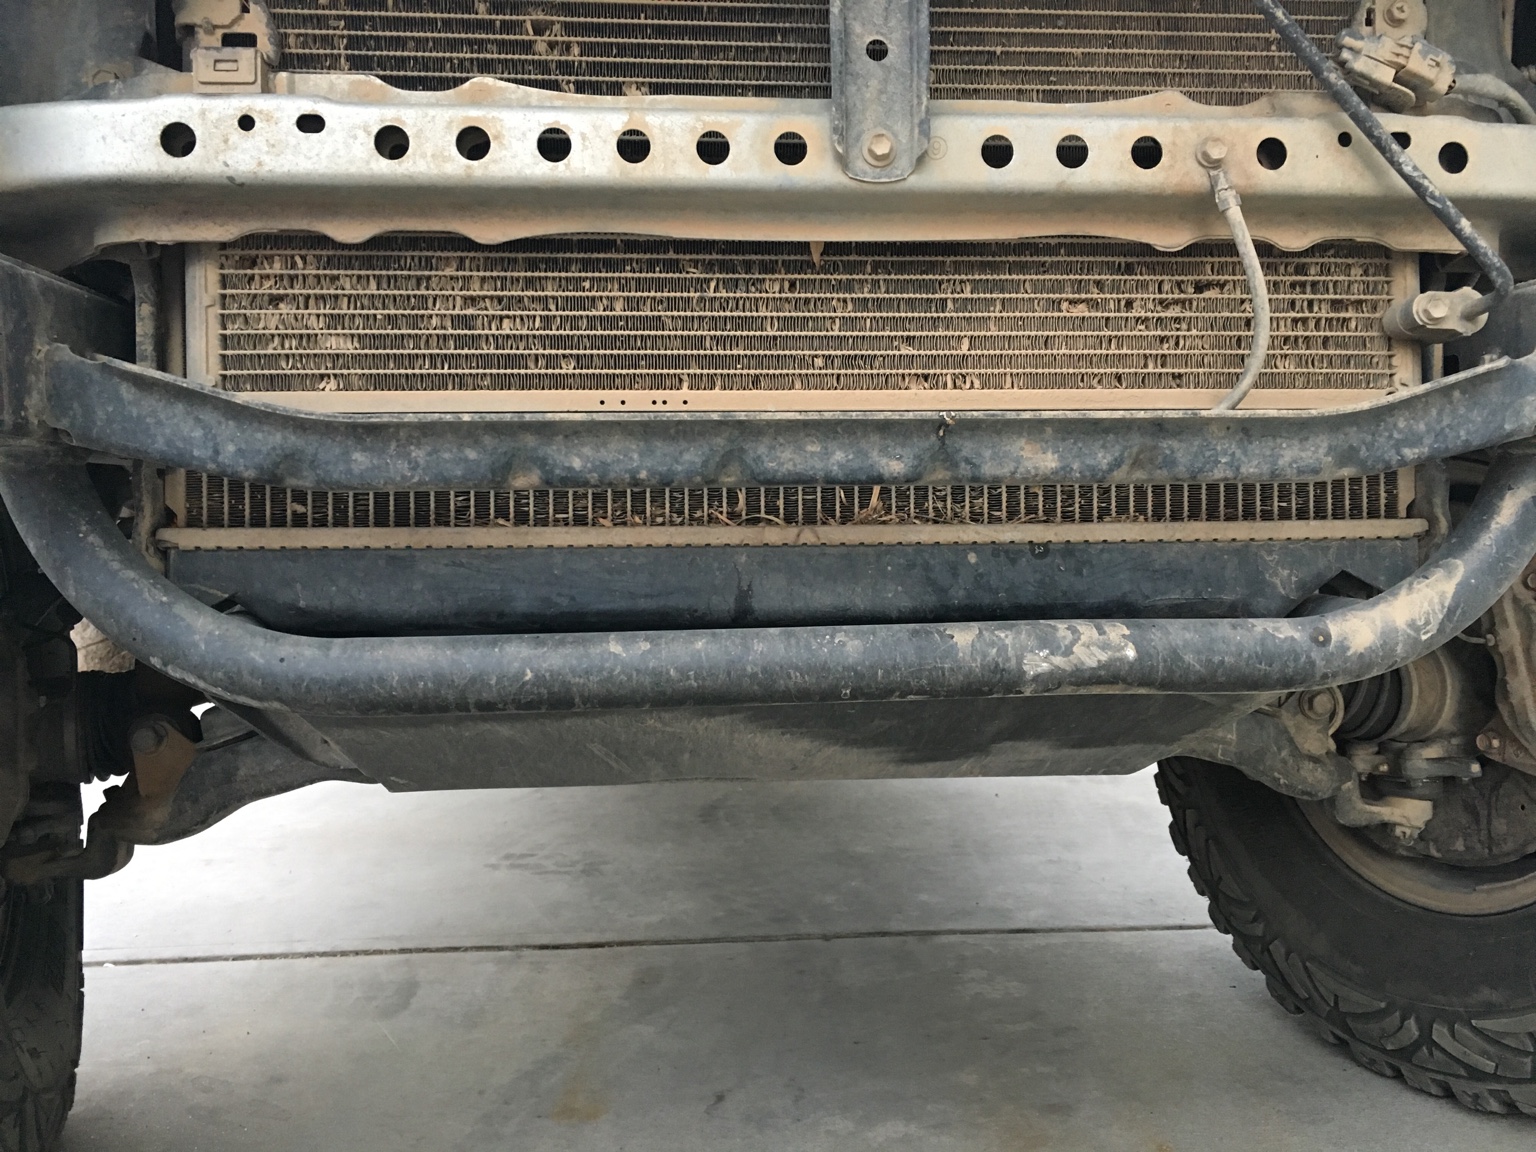
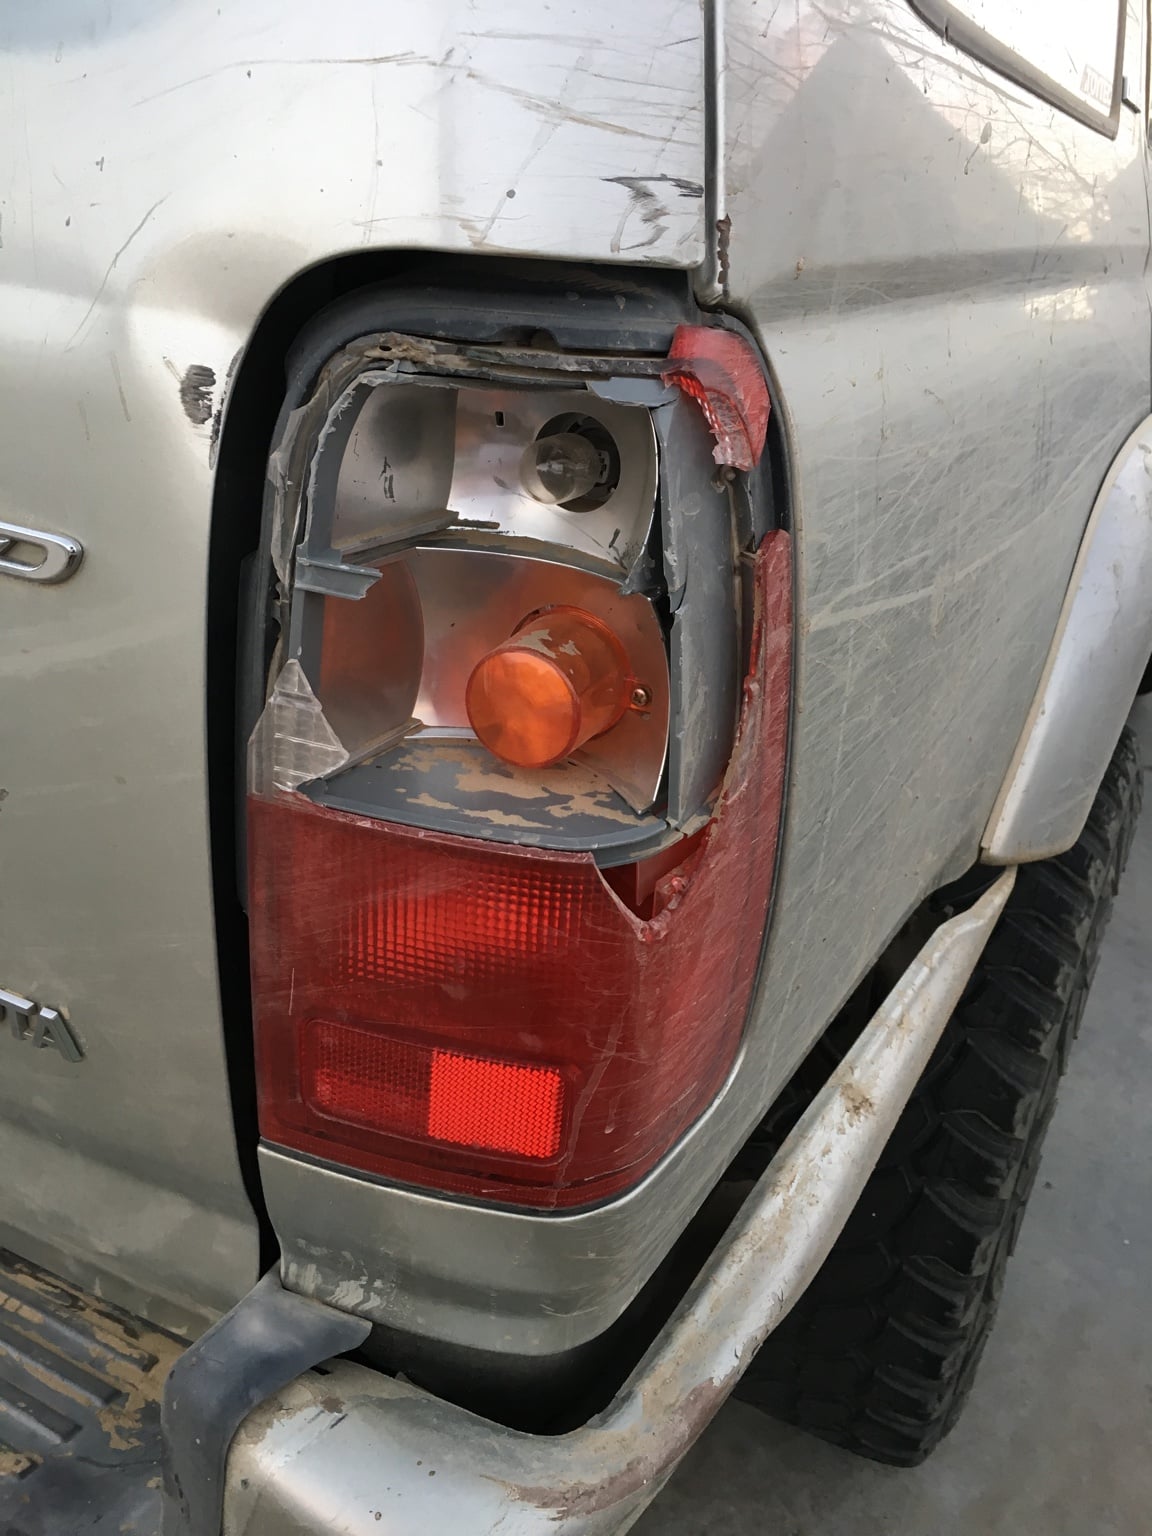
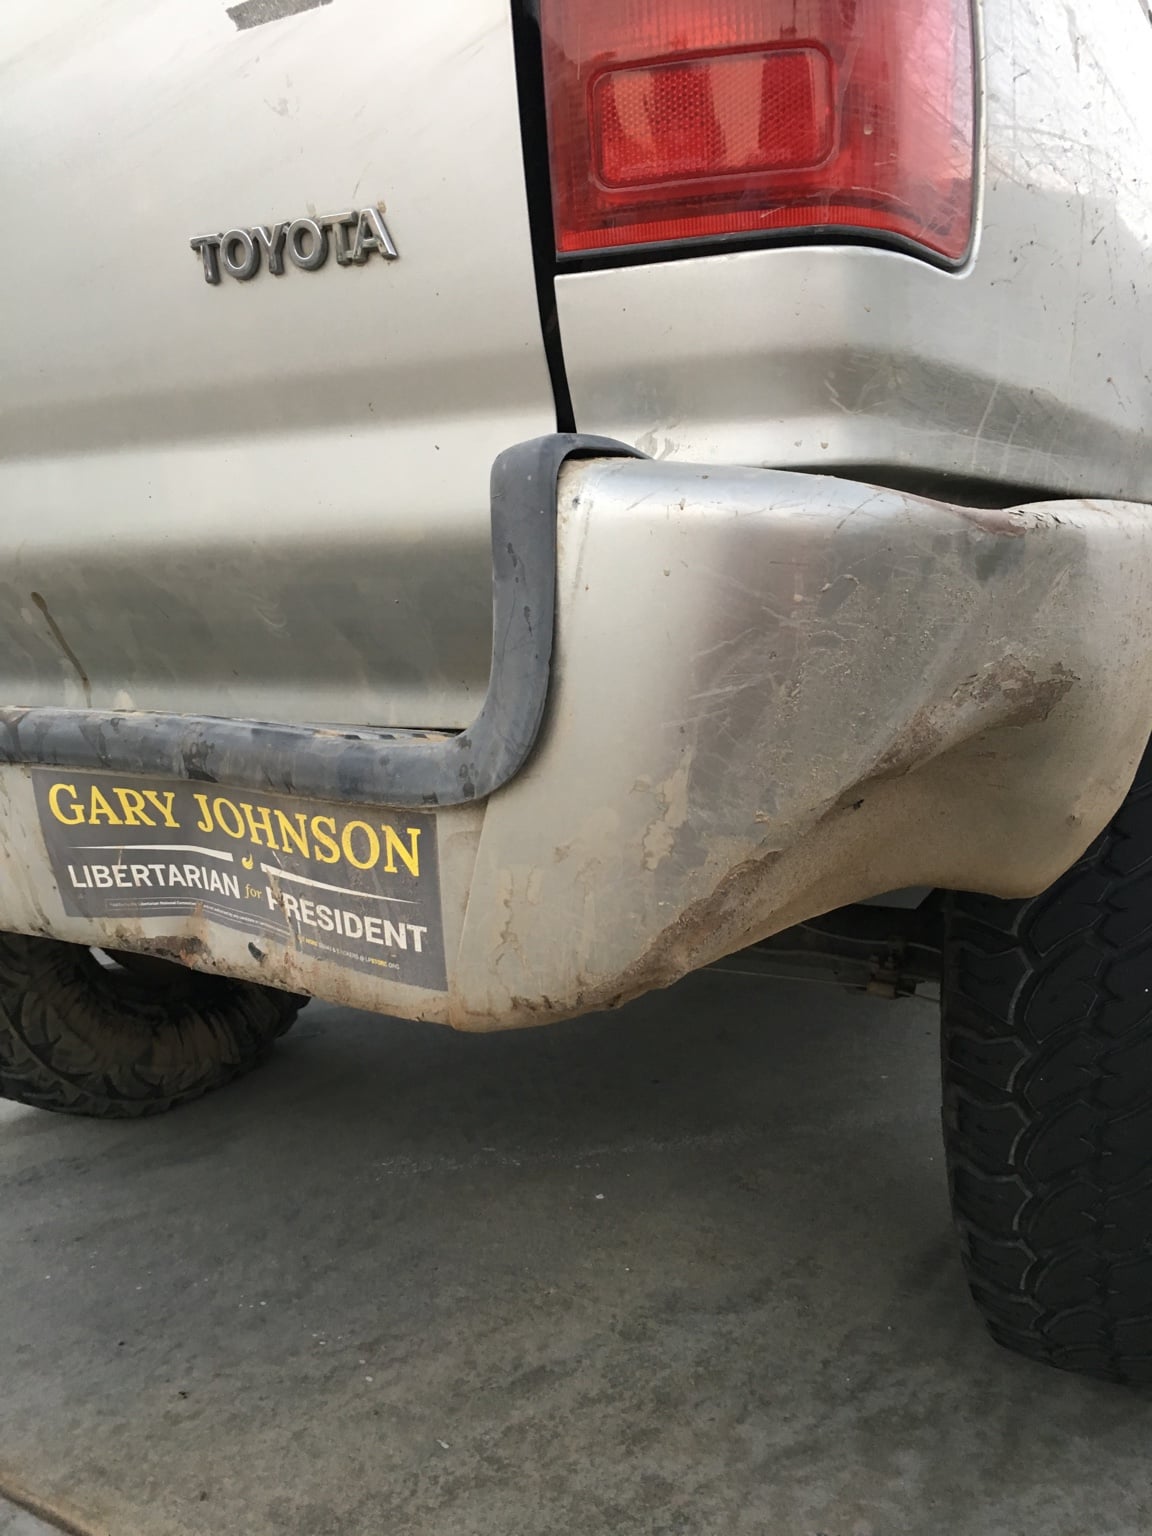
Went up to Big Bear over the weekend and ran a few trails with my brother, dad and a bunch of friends that just came along for the ride for my bachelor party. It was only the BeerRunner, and my brothers and dads XJ's with all 12 of us. We rented a badass cabin up there and partied all Friday and Saturday night until we couldn't function anymore then woke up at super early to go off-roading. We ran John Bull Trail and Holcomb Creek Trail and a few easy side trails that we could go fast on. On the fast trails I was bottoming out like crazy with 4-5 grown ass men, all my tools and a few cases of beer in the back. I should have aired up my shocks more in the rear for the trip. The front did alright since I put my 5100's on the second perch and all the weight towards the rear. John Bull was pretty damn fun since it was tough enough to need a spotter and Holcomb Creek was pretty awesome because we were able to just cruise right through everything without any spotters. I'm super glad I finished the skid plate and radiator guard before this trip because it saved my ass more than once on the trails. I didn't get any pics from the trip and haven't gotten any from my buddies but if I do, I will post em up. Here is some of the trail damage from the trip though.

25b261560bbb732b70c97c749425cec9.jpg

454f8afa187c1bebd918db0ad156fc94.jpg

My brother wouldn't move his jeep out of my way so I ended up backing into him, kind of on purpose, kind of on accident. I lost this battle. He had no damage at all.
beeef63316a94477237f21f3a007de05.jpg

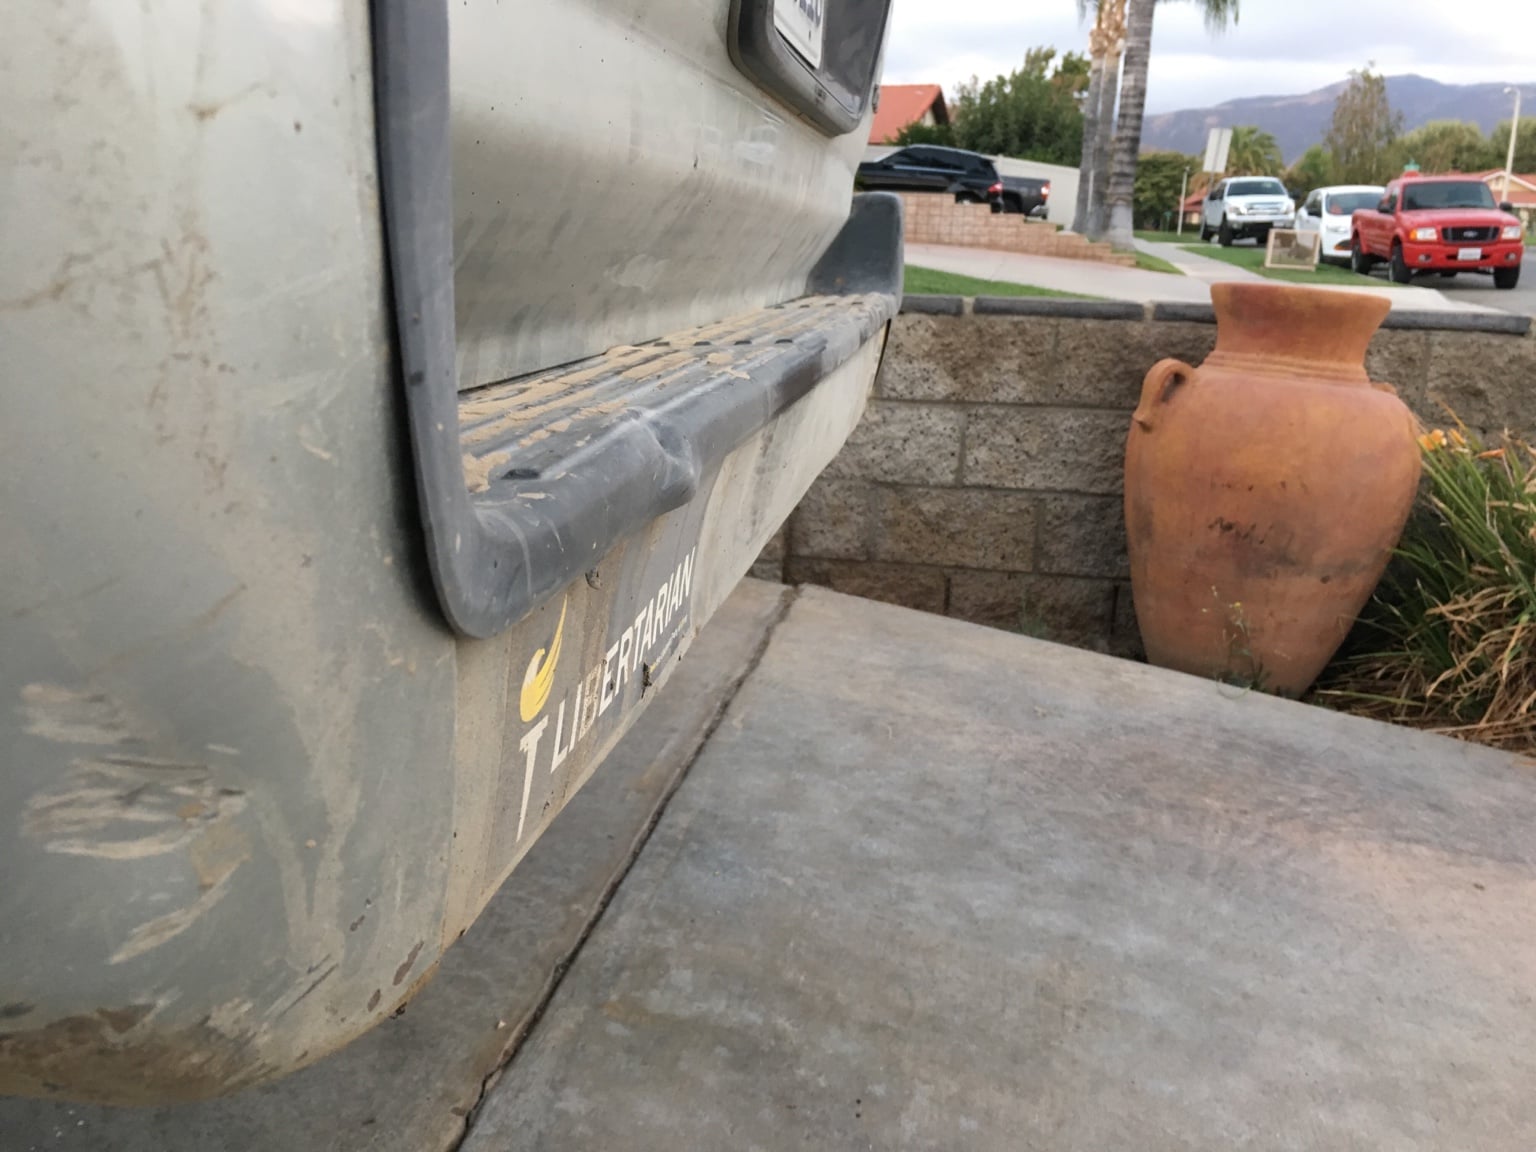
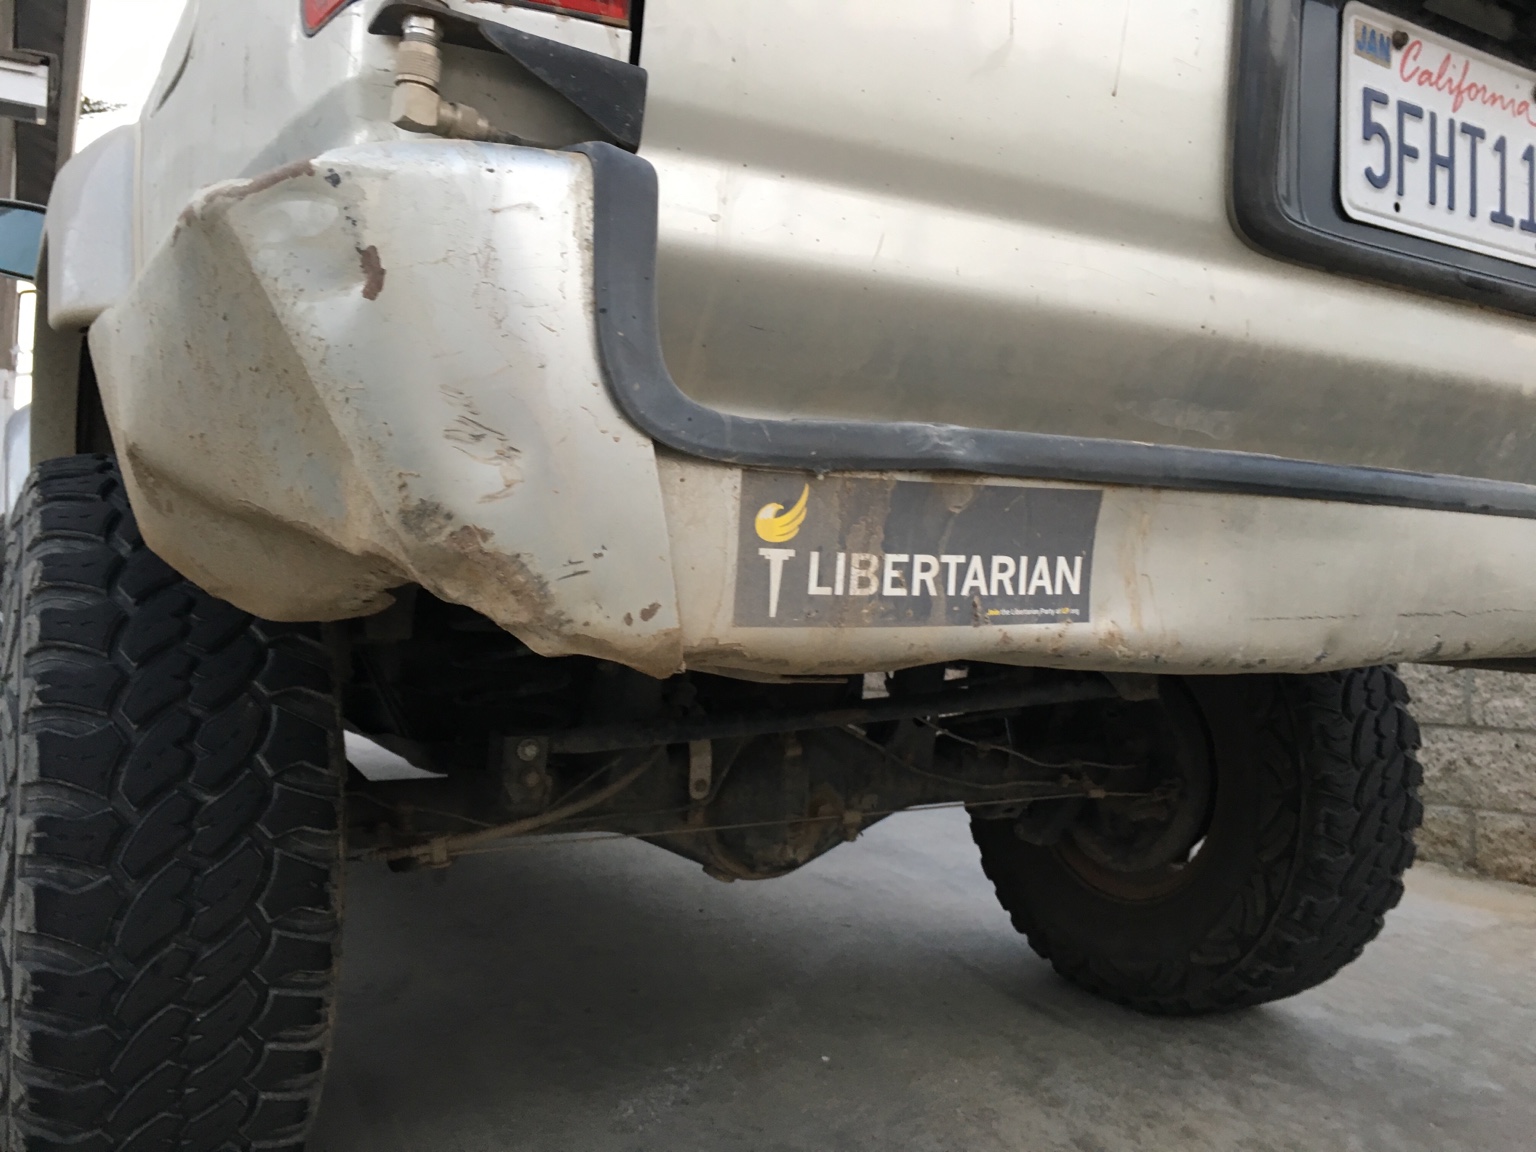
Bumper is way more trashed than before with all that weight coming down off of ledges. I smashed it on everything it felt like. Can't open the hatch at the moment so I guess I'll ditch the bumper and try to come up with a new one soon
bc9a275d86d96e6f12d5d3e98d1ee4f0.jpg

Gary Johnson got a little banged up this weekend hahah
bf426daeae579ec96067b435666c4574.jpg

9719ef43757b08e48ab463d6fe3f800d.jpg


Overall we had an absolute blast this weekend. Can't wait to go out on another good trip again.
 
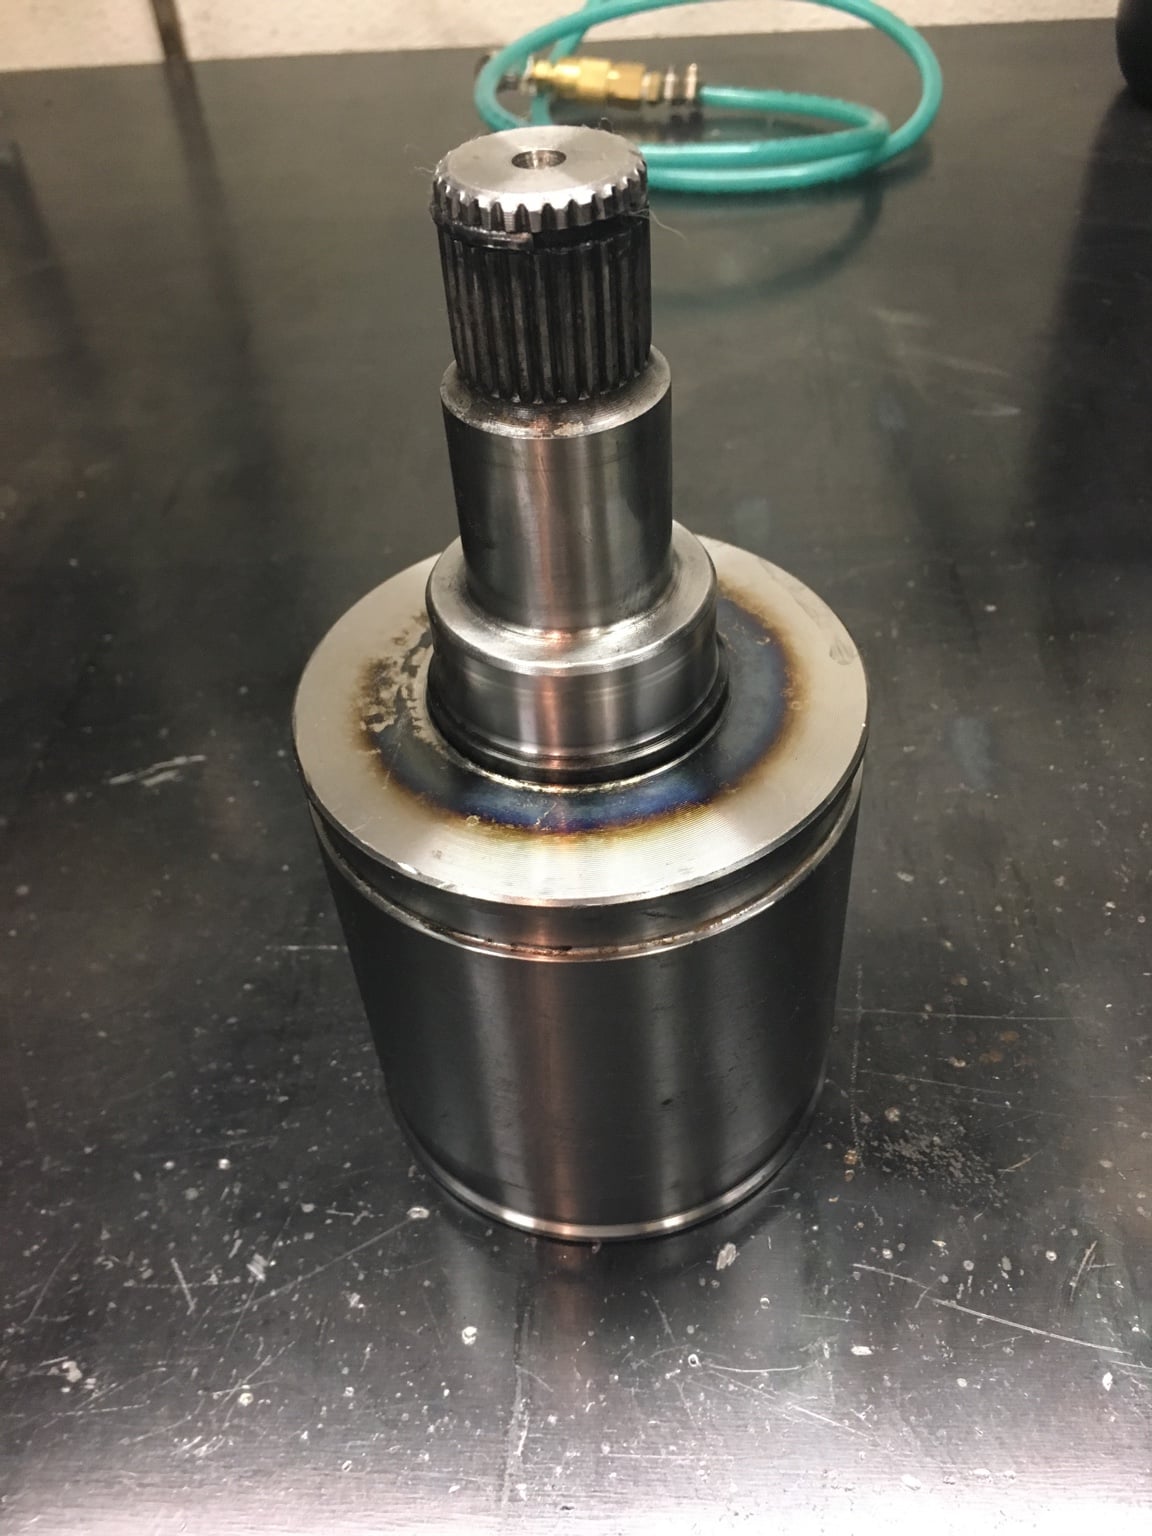
Decided to take apart the CV Axle that I broke last year to pull the inner part of the axle off. This way if 2 axles break while on the trail I can just slap this in without having to tear apart an axle to get back on the trail without leaking fluid out of the front diff. I always carry at least one spare CV axle while on the trail so if I break a second I'm not stuck covered in grease trying to repair the problem.
88b667ea7225d57dc4446d41c6720ae7.jpg


Sent from my iPhone using Tapatalk
 
This was a fun read. I like how you haven't bought much of anything. You wheel and you build what you need to make it better and safer. I like it. I wish I were as handy and creative as you are. That's really awesome


Sent from my iPhone using Tapatalk
 
So the cv axle part is just to plug it up ?

Yes it's just the inner CV just to plug it up and make it home with an easy trail repair. This way I don't necessarily need to carry the weight of 2 spare cv axles.


Sent from my iPhone using Tapatalk
 
Last edited:
My middle name is Burns, named after a great grandpa. Maybe we are distant cousins lol. Sweet start to your build
 
This was a fun read. I like how you haven't bought much of anything. You wheel and you build what you need to make it better and safer. I like it. I wish I were as handy and creative as you are. That's really awesome


Sent from my iPhone using Tapatalk

Thanks PWD4R! I've been on a real tight budget for the past year, trying to pay for a wedding. Wedding will be over with in a few weeks so my budget will open up a bit for the build. I have a few bucks saved for a plasma cutter (hopefully next month I can pull it off), so keep an eye out for bumpers and skids over the next couple months


Sent from my iPhone using Tapatalk
 

Members online

No members online now.

Forum statistics

Threads
278,312
Messages
3,554,083
Members
248,016
Latest member
Advally Service

Trending content

Back
Top