AssBurns 2000 Limited Build Thread

cdn.com/15/11/16/4470371984791848f0551cf39d759085.jpg[/IMG]
4ba1b57559567f82319dd58c51a08486.jpg

a8ba115b5338986204a37bfa12274923.jpg


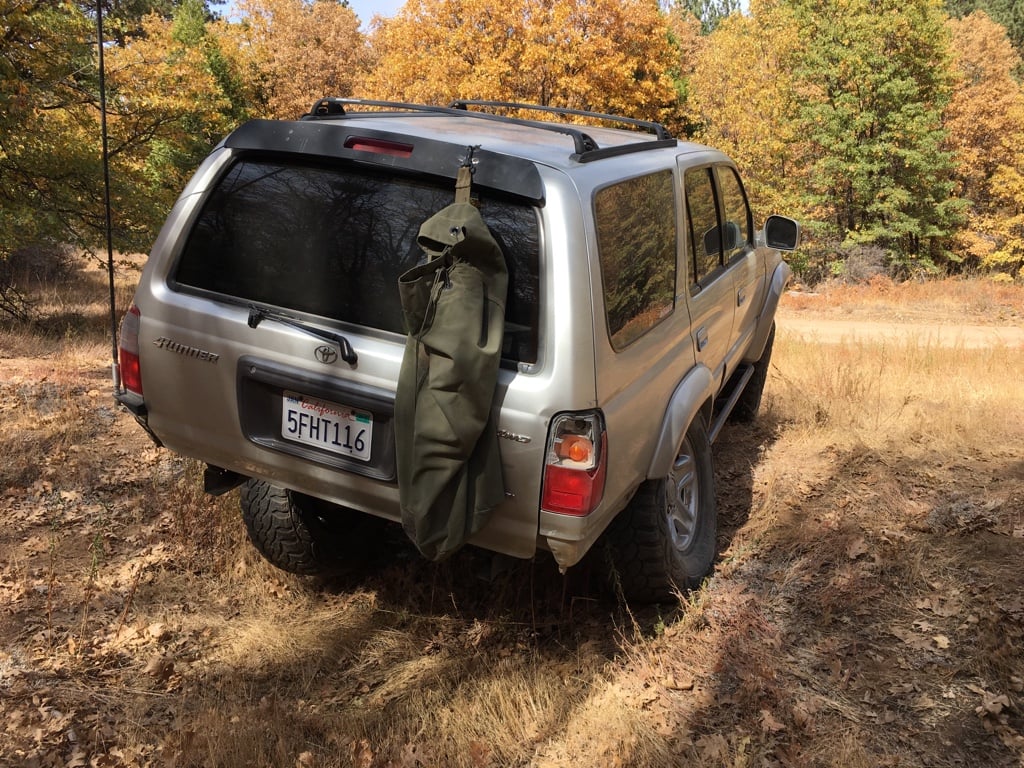
Clean rear set up!
 
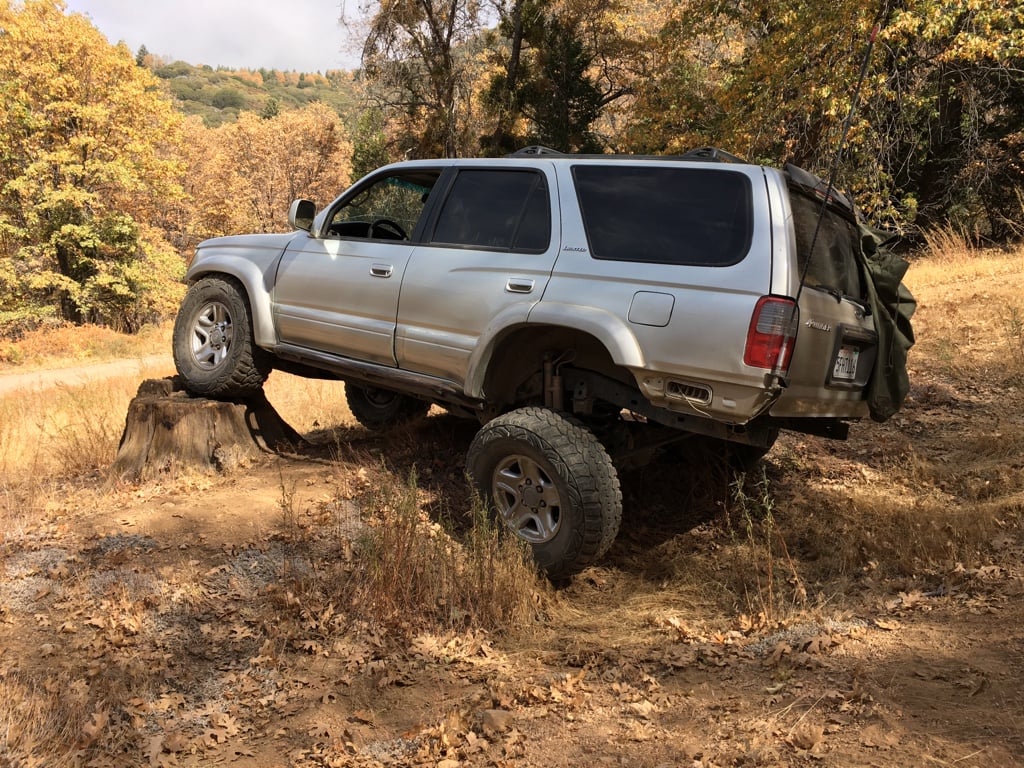
Weather was perfect yesterday so we decided to go up the mountain and have lunch and let our daughter ride her little electric quad around. Only 1-1/2 years old and she is starting to figure it out. Hopefully I can get her on a dirt bike in the next year or two.
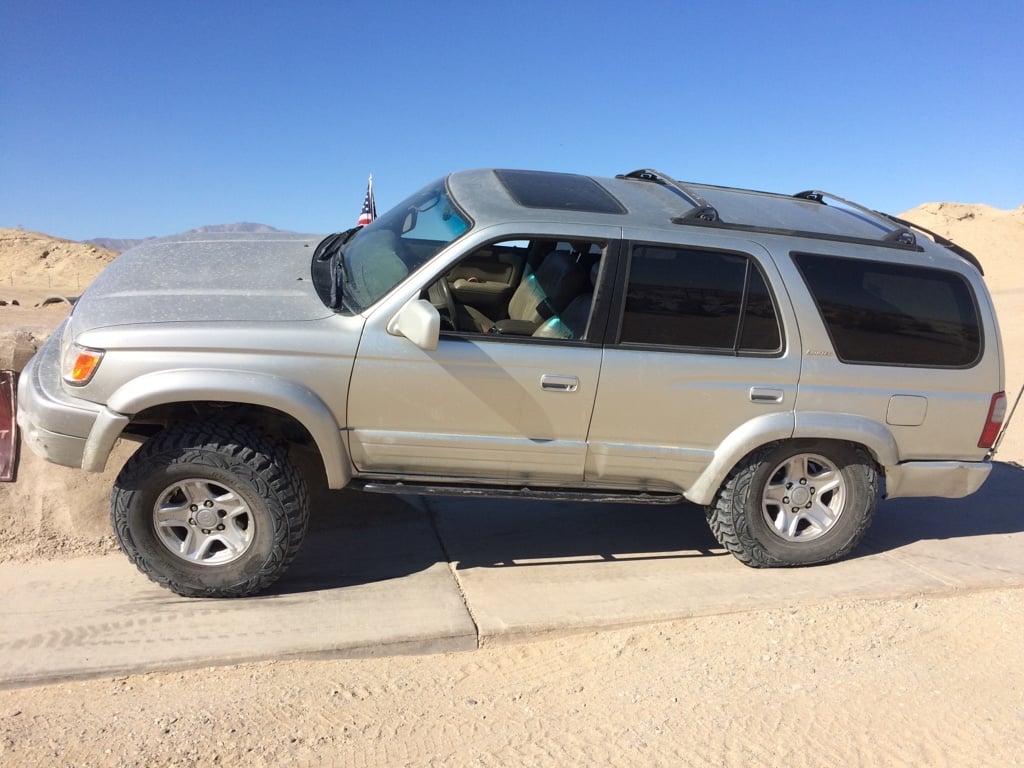
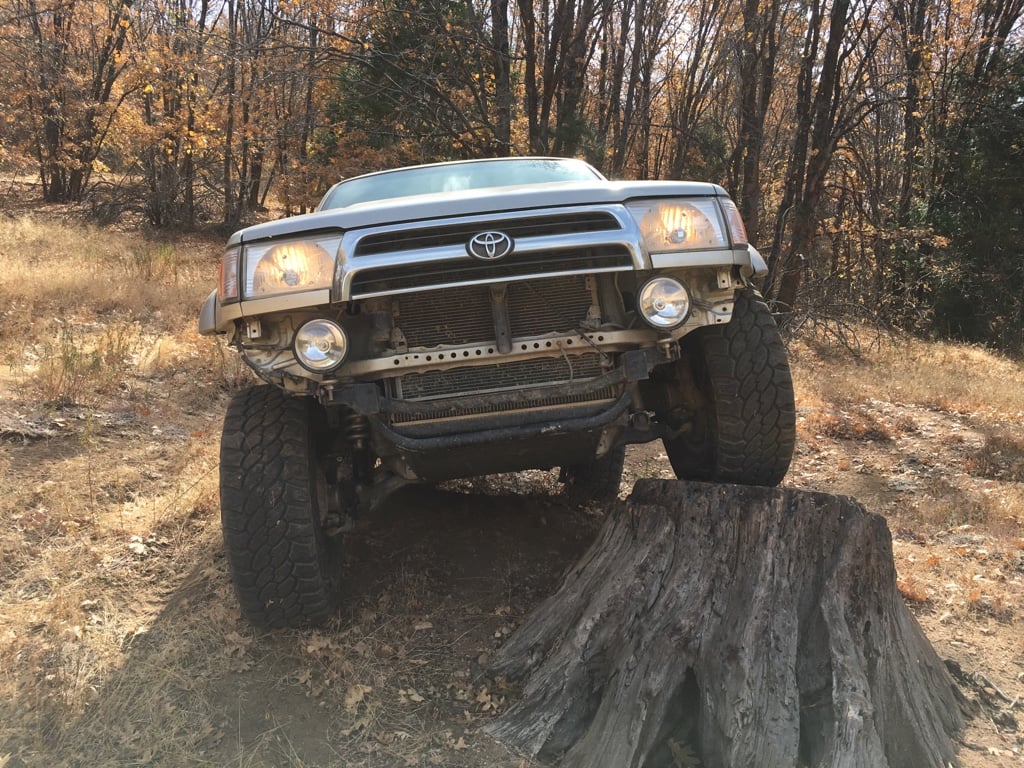
Decided to take a few poser shots while we were up there.
9fa8290c5a262deb3aef334936fb8577.jpg

9d3edebff59edfa8f6cf04914cf14aa2.jpg

add74f08f70697f02358bb4e7252d22b.jpg


Sent from my iPhone using Tapatalk
 
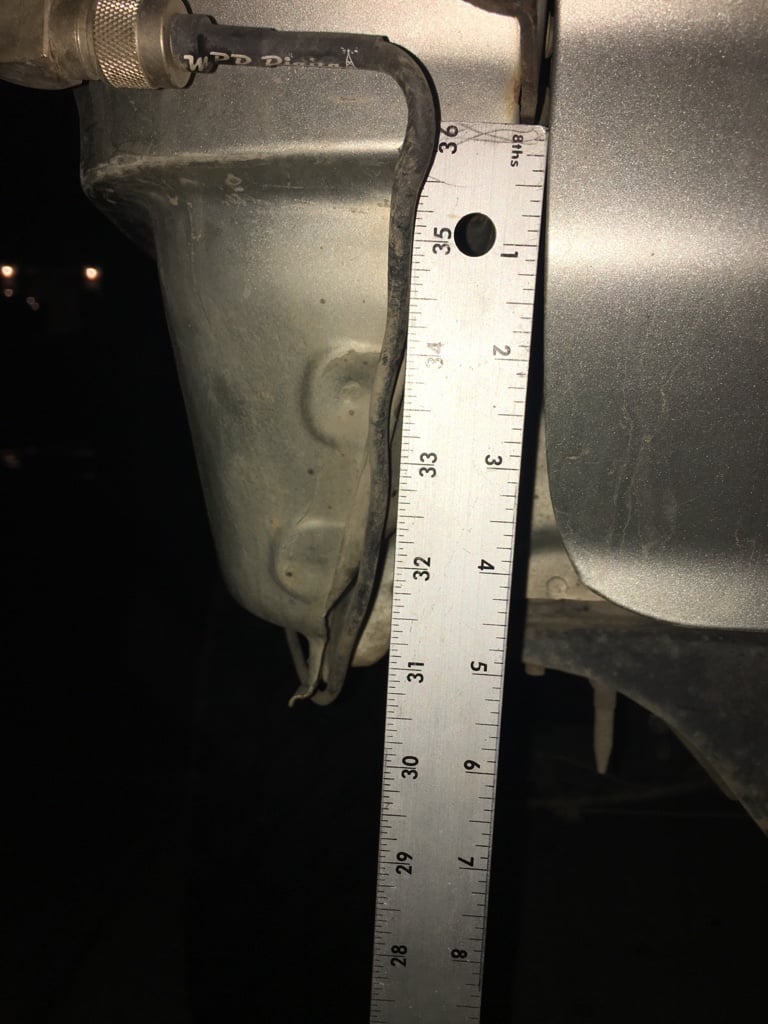
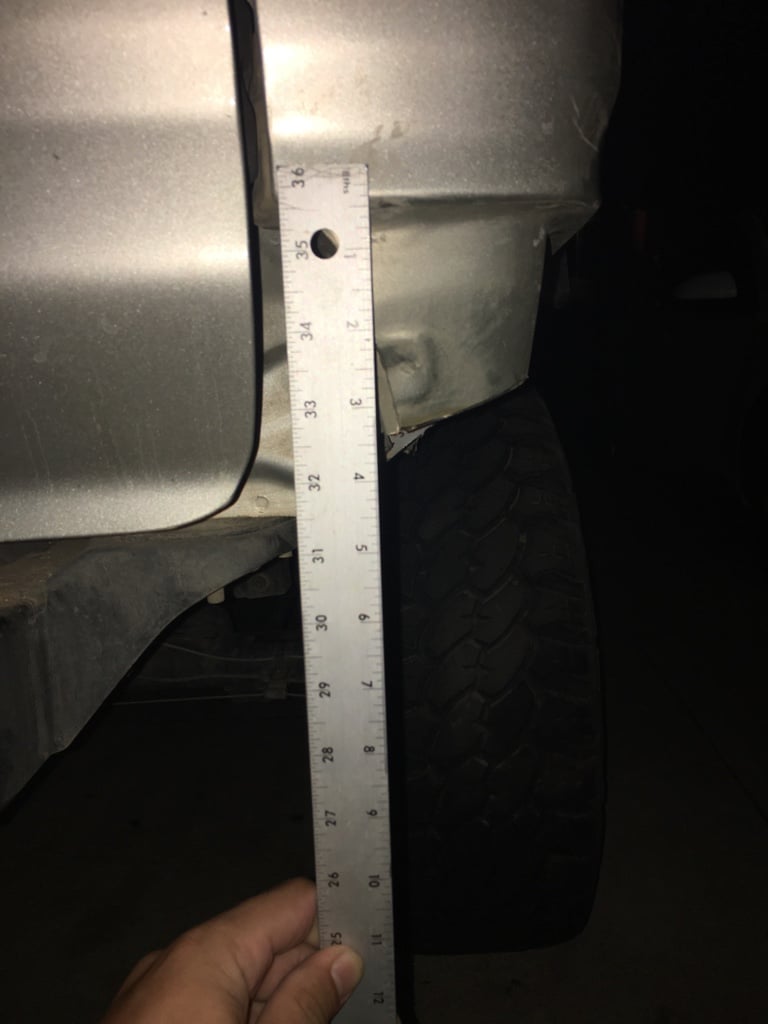
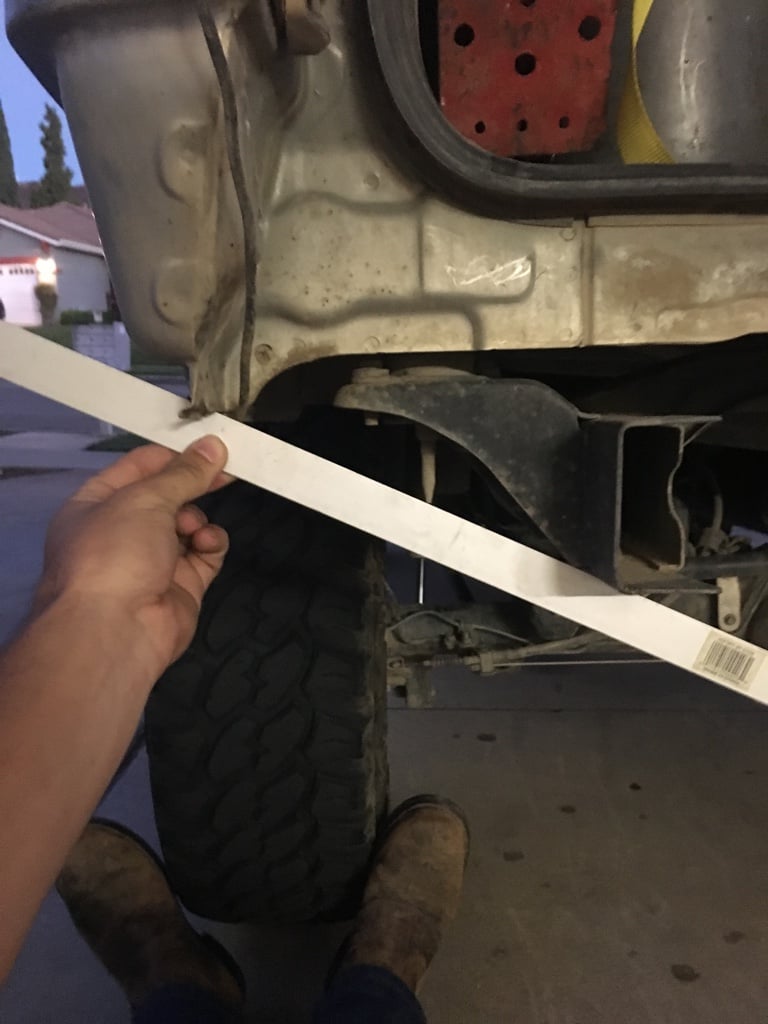
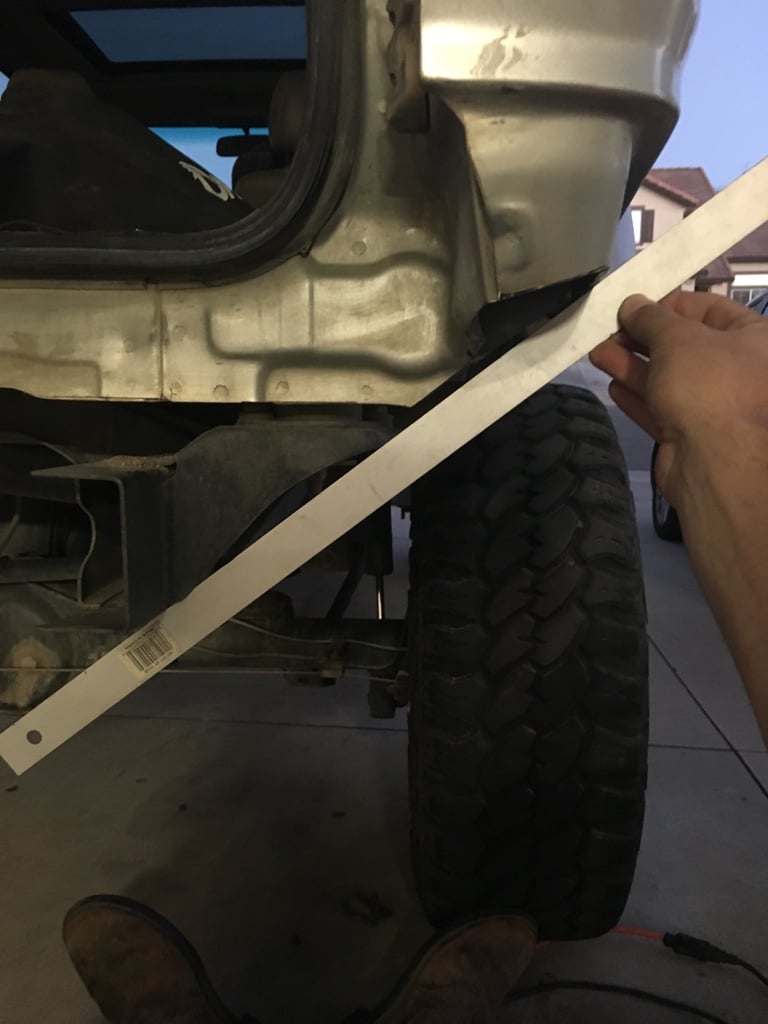
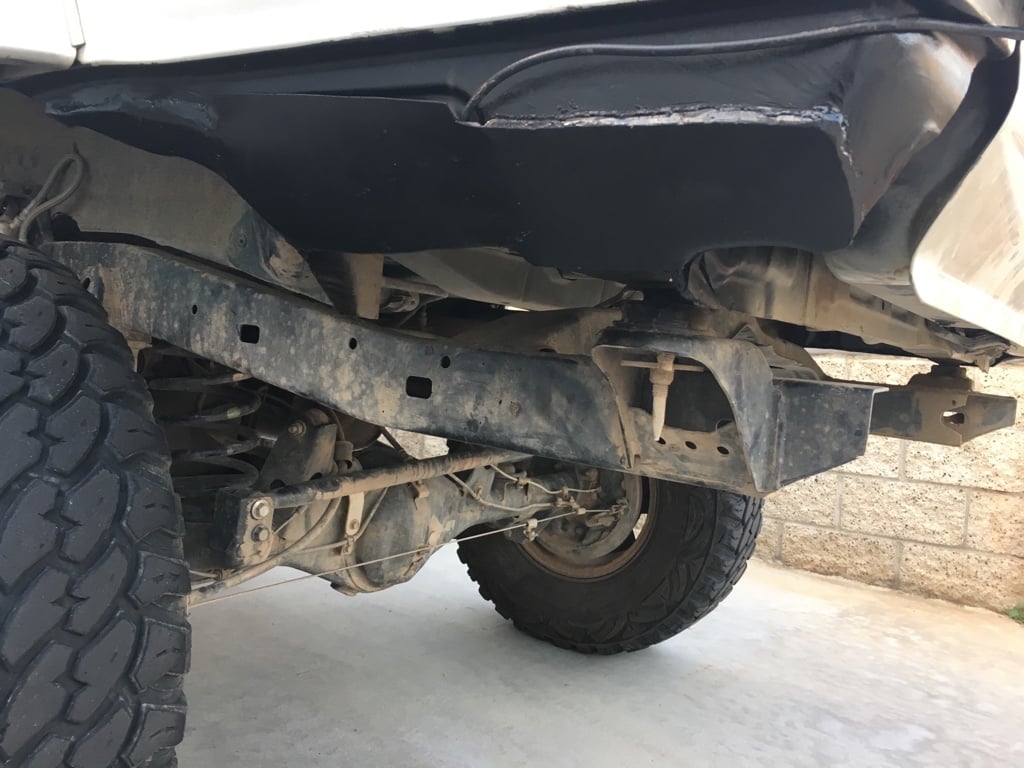
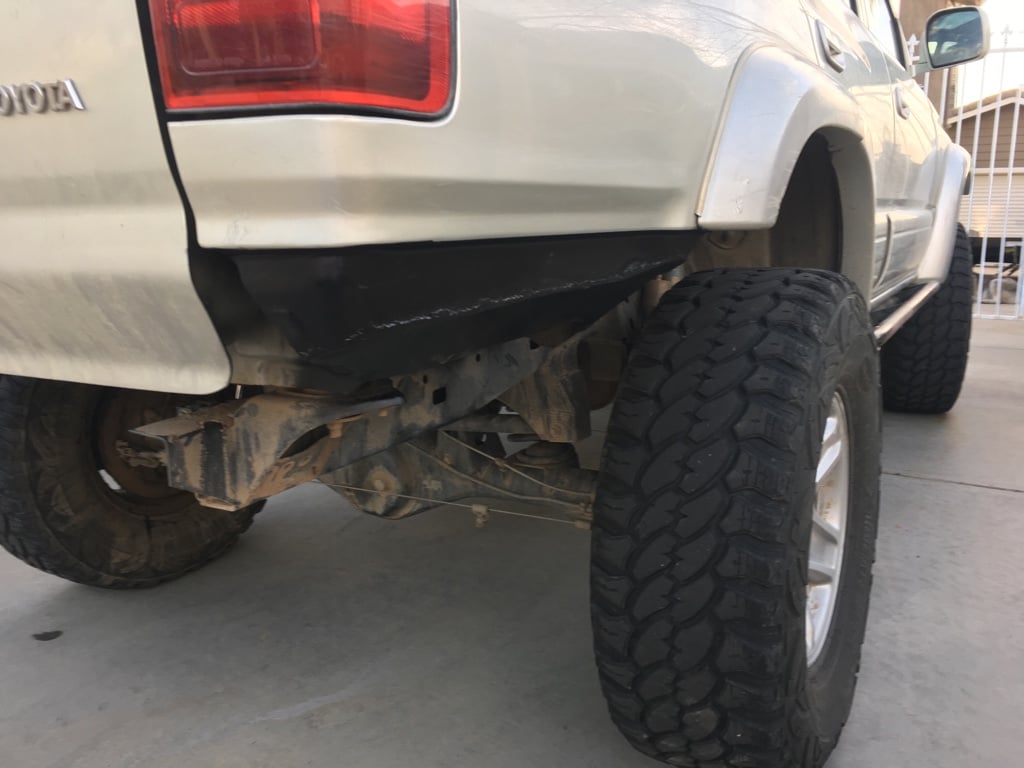
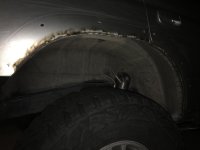
Hopefully I can start building a new bumper in the next few weeks and decided I'd like to try to get as much clearance and departure angle as possible. So I went ahead and cut the bottom of the rear quarter panel to gain a few inches and tuck the bumper as far up as possible. I will end up patching it hopefully this Saturday with some 18 gauge sheet metal that I bought today. I've never been too good at welding on sheet metal so this will be a great opportunity to practice on something that will be covered up by a bumper soon.
Drivers side uncut
13b3f94d185331f1def62abb3e53d496.jpg

Passenger side cut
1c7dd20d38ca42658c42bf3e99d0d068.jpg

You can see I gained about 3" from the lowest point.
05b9643db36a8e0827ec8a963ed9f3bc.jpg

b00cd437513b9849ff9d7ada56bead67.jpg


Sent from my iPhone using Tapatalk
 
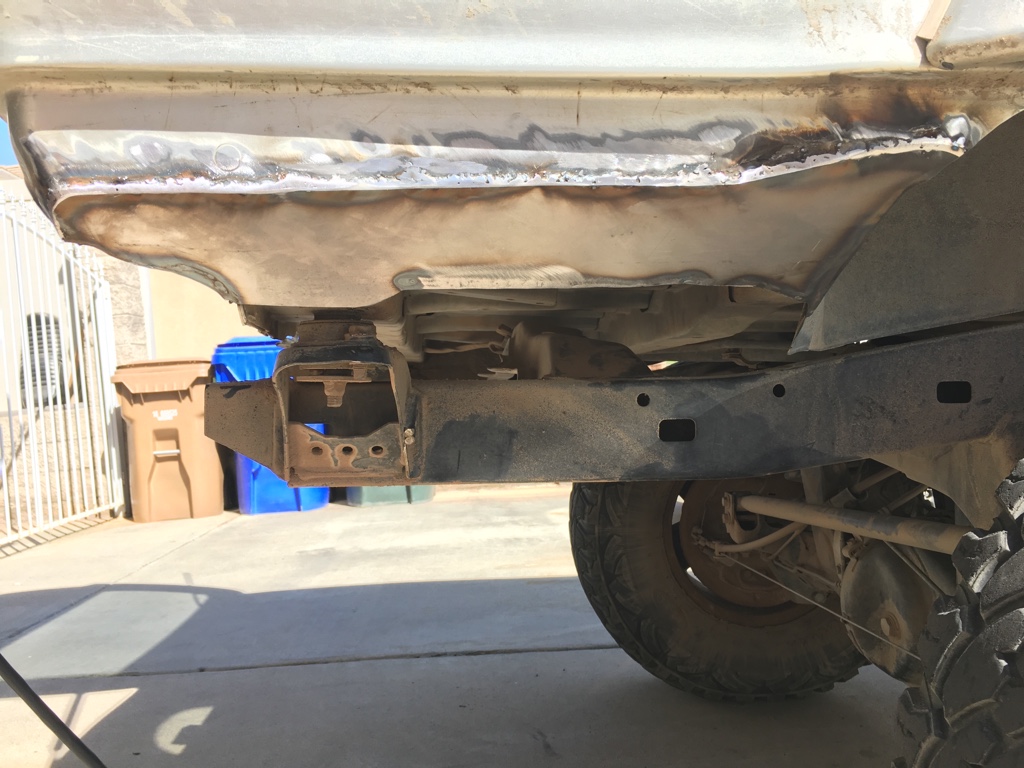
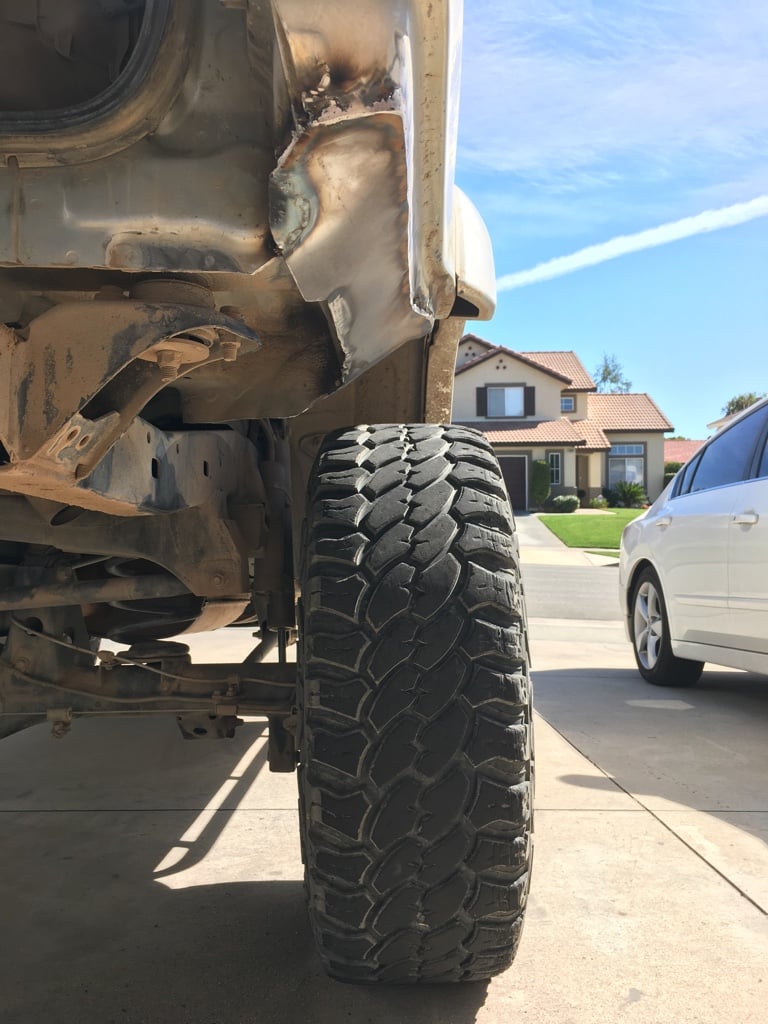
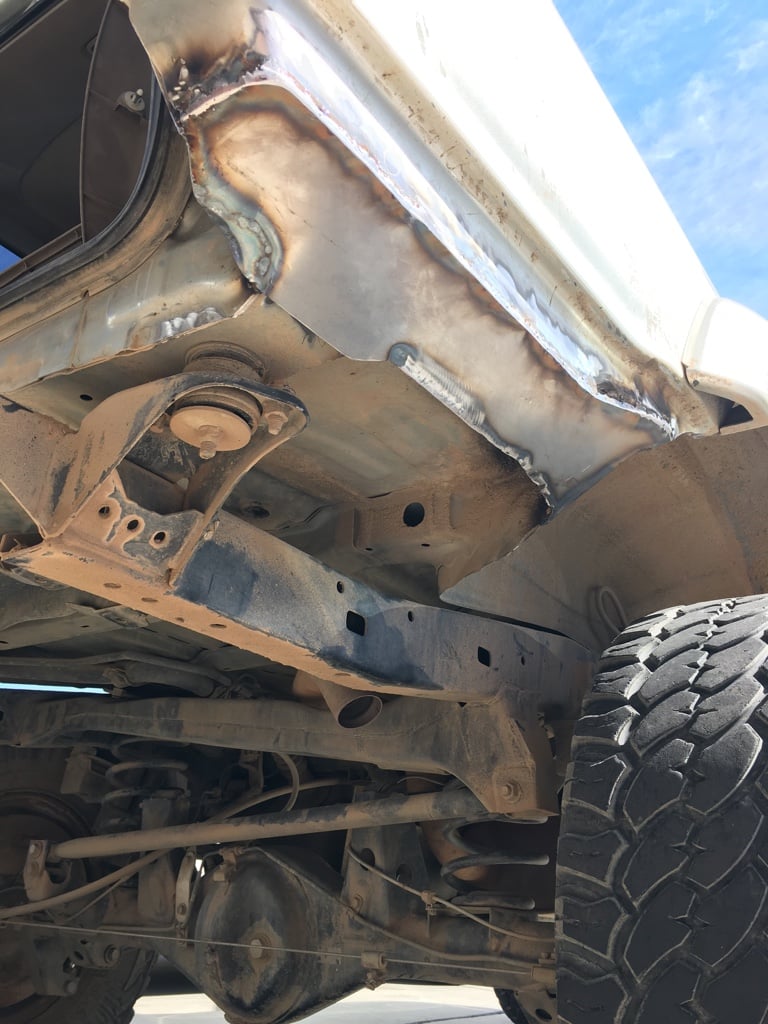
Got the passenger side all patched and welded up. Now I remember why I never did much with sheet metal work. It's a complete pain in the ass to make it look good. Good thing this will be covered by a bumper soon because it doesn't look all that pretty. I thought I caught my 4Runner on fire too. It started smoking really bad and started coming into the cab behind the panels. I ran and grabbed the fire extinguisher and my keys incase it was a fire, so I can move it into the street away from everything else. Then I grabbed all my ammo in there. I started pulling all the panels off trying to find the source. By the time I was able to get to it, it was already out. It ended up being the rubber hose that was touching the hot metal. It could have really ruined my day. Luckily it was just a lot of smoke and not a lot of fire.

Overall I'm pretty happy how it turned out. Now on to the drivers side.
ff6cfd8c6e79698af4b82e2ebb300e4f.jpg

d8158d1f8381bf7c0a45632f9a0f5feb.jpg

a420fbc2be46479565c68bba41af20bc.jpg


Sent from my iPhone using Tapatalk
 
Got the rear patches done. Drivers side didn't come out quite as well as expected but still does the job just fine. I wanted to keep the opening for the air pressure to escape when opening and closing the doors so I left a small portion of the original opening. I sprayed some rustoleum bed liner to cover it that I had laying around. Overall pretty happy with how it turned out. It will help add clearance in spots that I was constantly smashing on in the past. If you look at pictures of my bumper before I pulled it off, you'll see what I'm taking about.

af722e3e76995f7ca4e088d222e41ff0.jpg

df2c90761ecc71ee342b721a3207b3c4.jpg


Project BeerRunner - http://www.toyota-4runner.org/3rd-gen-t4rs/206385-assburns-2000-limited-build-thread.html
 
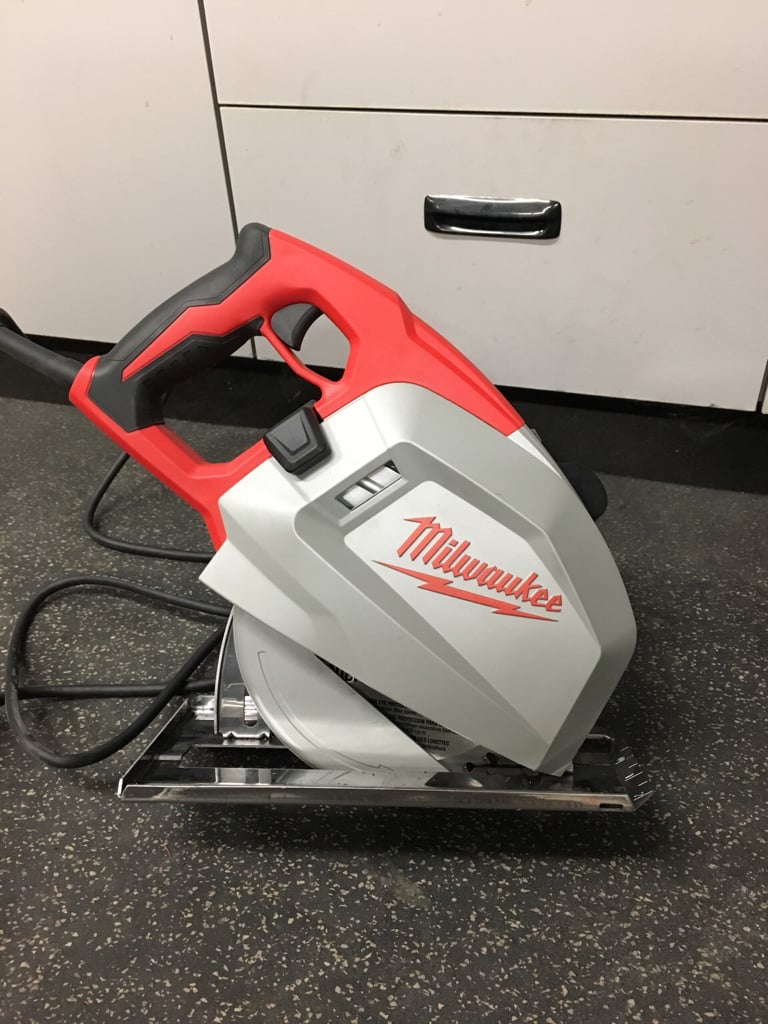
Got some new toys this week to start my bumpers. Going to build the rear first so I don't destroy my hatch on the next trip. Front will be coming soon though. Me and a buddy are going in on a 1-3/4" tube die to build my front bumper and he can finish caging his build. Now that this wedding is over I will have a few extra bucks to spend on tools...
Starting with this Milwaukee metal cutting circular saw. Jesus Christ this thing is cool! I've only made a few cuts so far but it cuts 3/16" plate like butter with super clean cuts. Doesn't get the material hot either. I'm really digging it so far.
319fdbacf2ff54c01bc6f09336402ce7.jpg

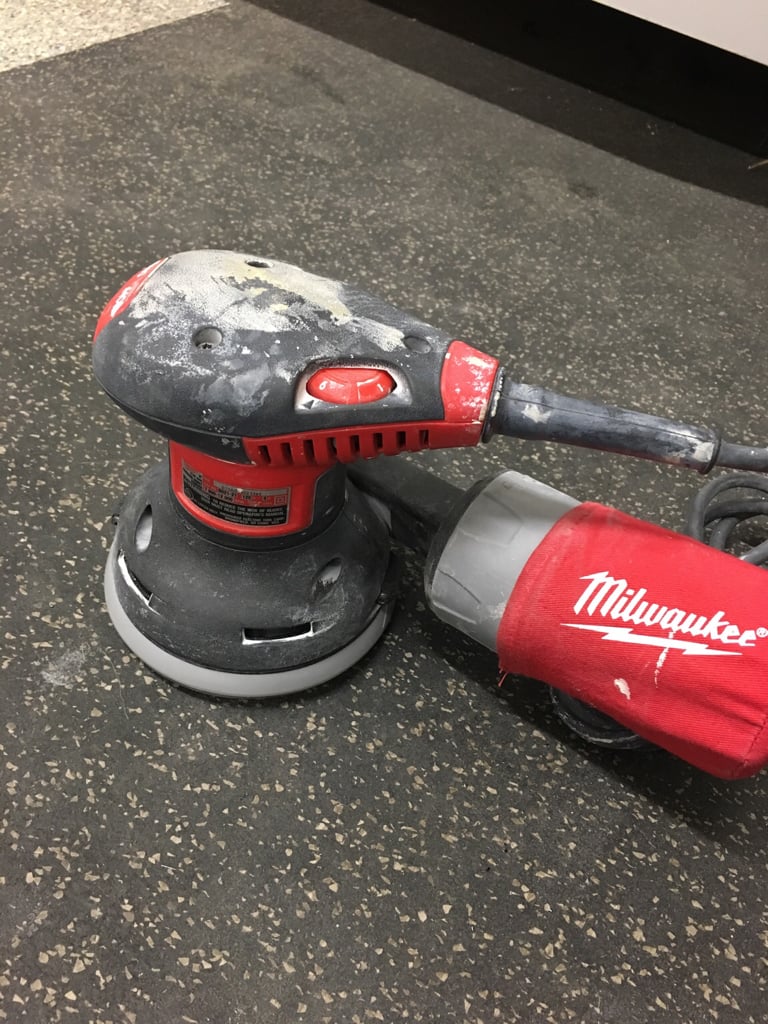
Next I needed a random orbital sander to clean up the bumper for a nice smooth finish before painting. Got this used Milwaukee sander for $40. Not too bad of a deal.
e4a6941e0d3cfbb1702c72a92d6018da.jpg

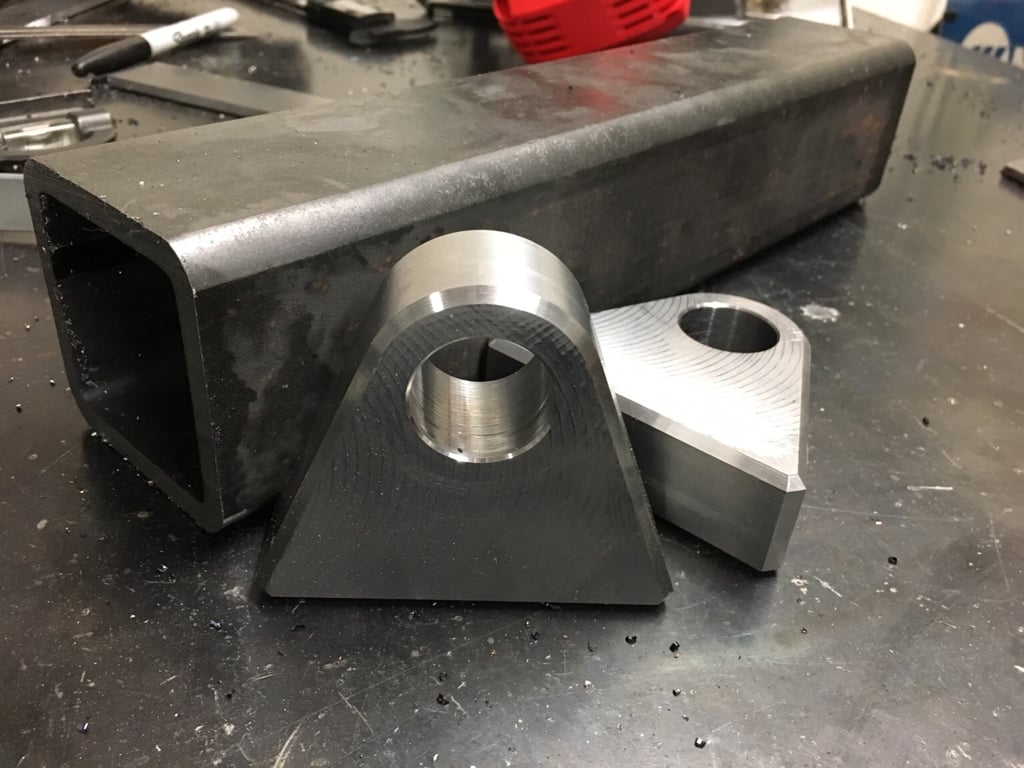
Picked up a sheet of 3/16" plate and and 1' of hitch receiver tube to start the build. Also needed a set of shackle tabs for obvious reasons.
3b86f834e5dc9b4e5b4998ca21c94c35.jpg

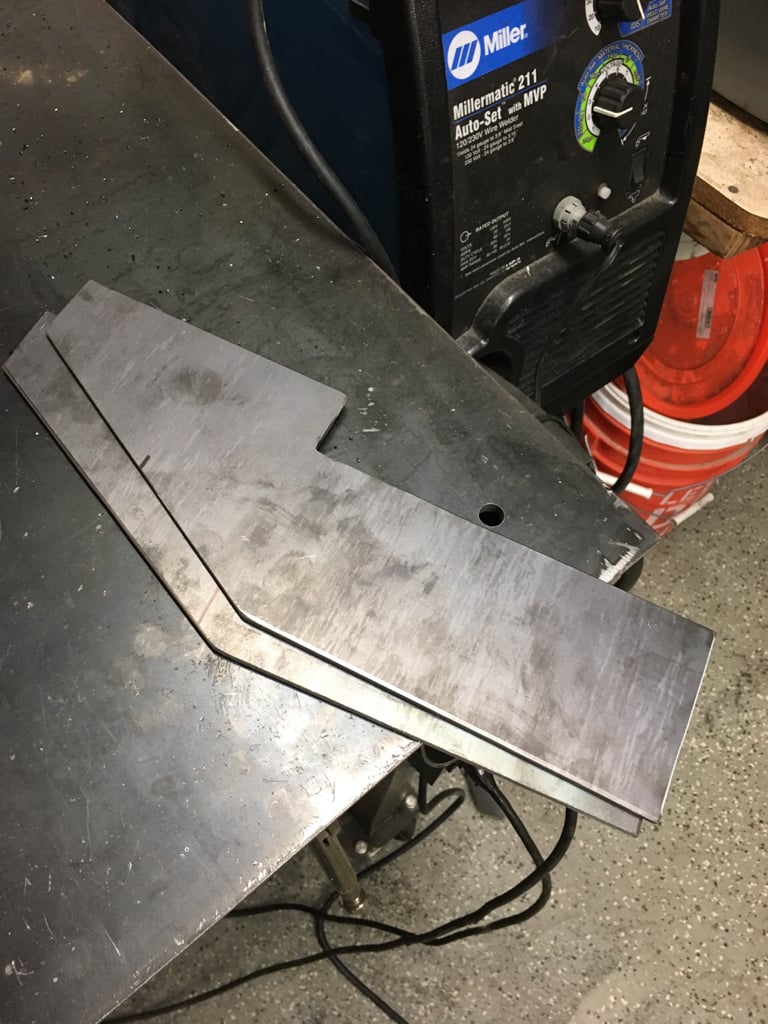
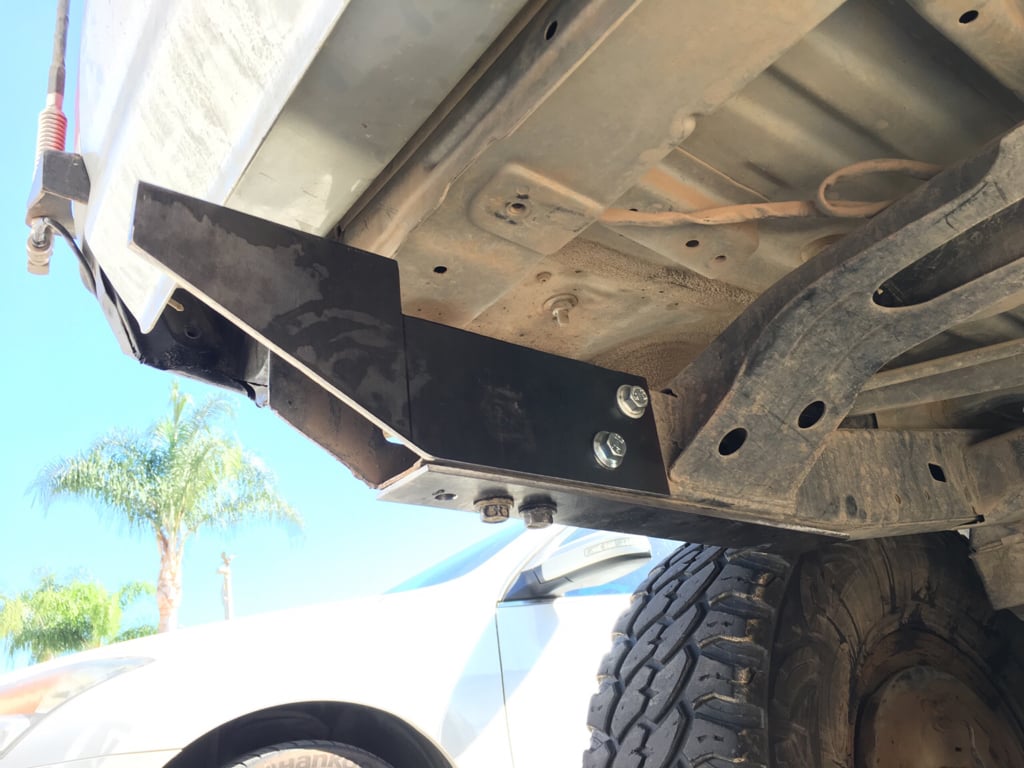
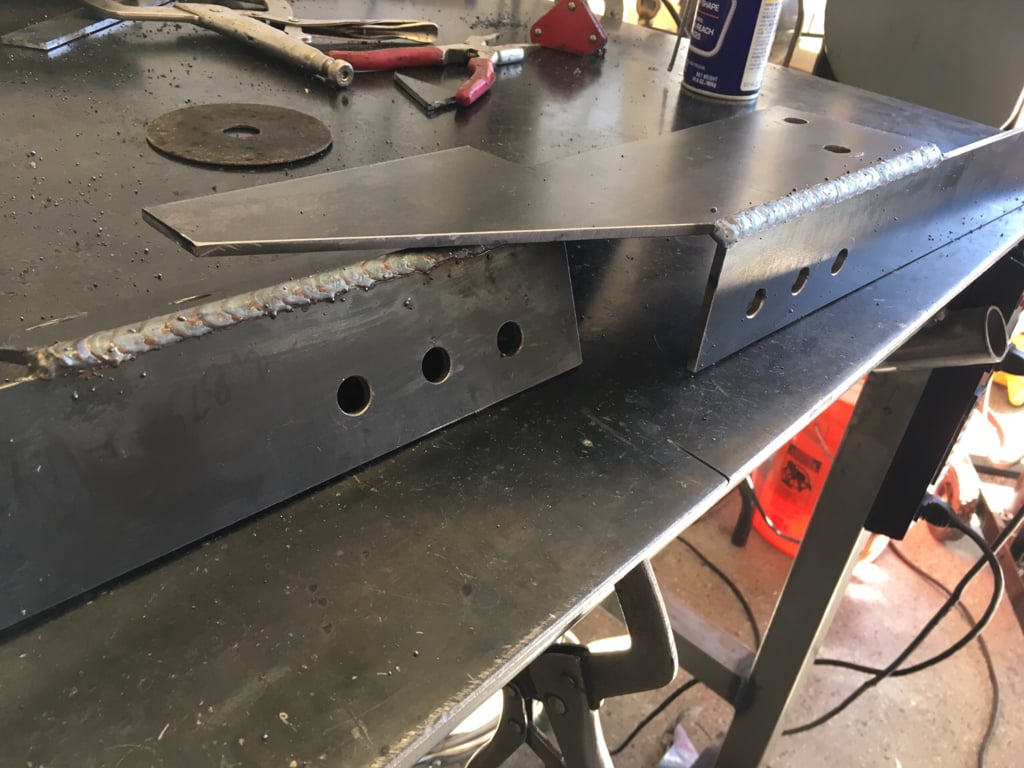
Got the first parts of the bumper cut. These will be what mounts the bumper to the frame. I will be adding some plate to make it mount in an 'L' shape to bolt from the bottom also. It will have 4 bolts per side. 2 in the stock hitch receiver mount and 2 horizontally through the frame. Not sure how much time I will have this weekend to make more progress but I am hoping to have most of it done next weekend if I can pull off nobody asking me to do shit.
b941cd626af12c88475ff246cd5d4f55.jpg

88a556313dbb4a8feaccaa9ed8534825.jpg


Project BeerRunner - http://www.toyota-4runner.org/3rd-gen-t4rs/206385-assburns-2000-limited-build-thread.html
 
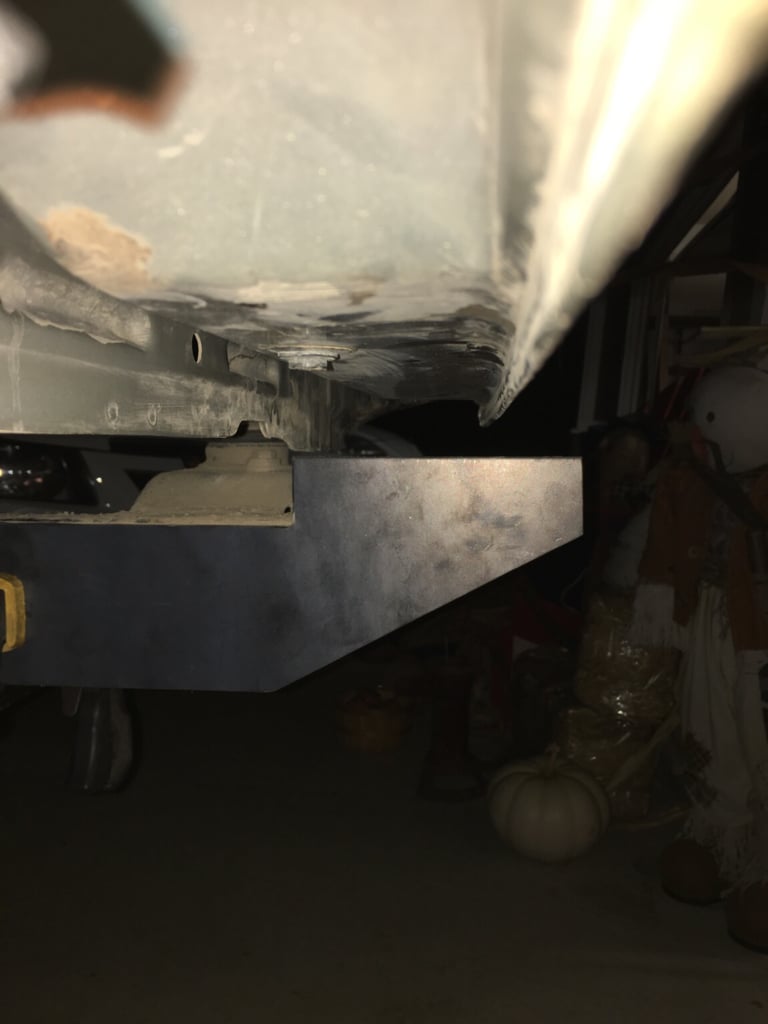
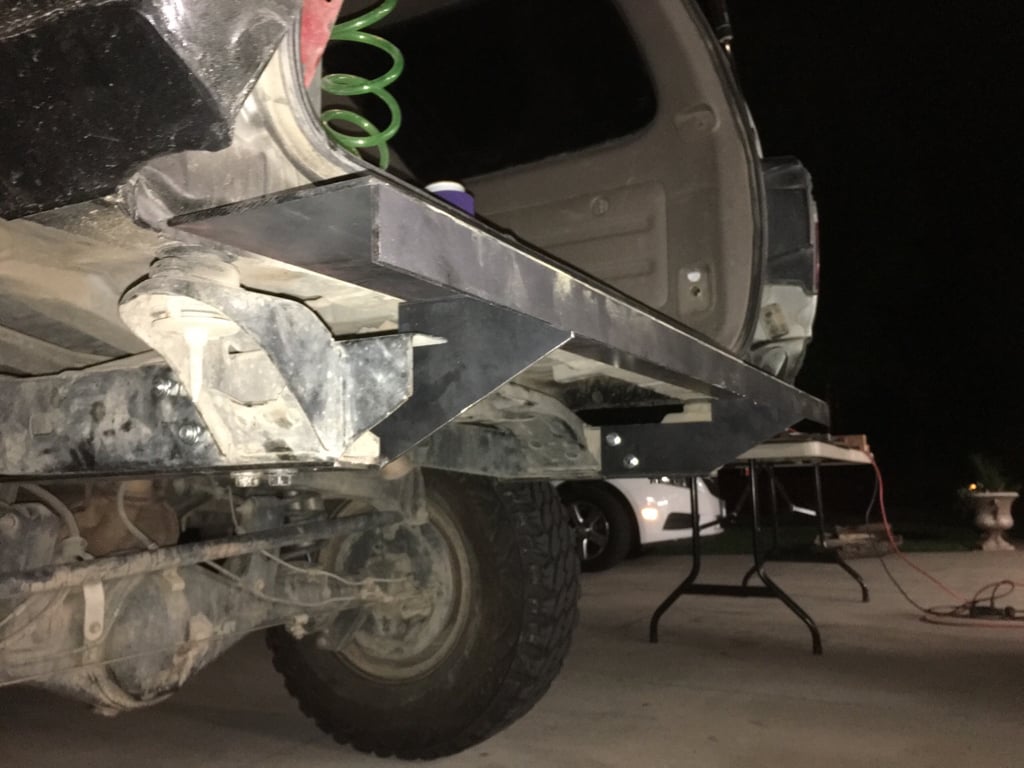
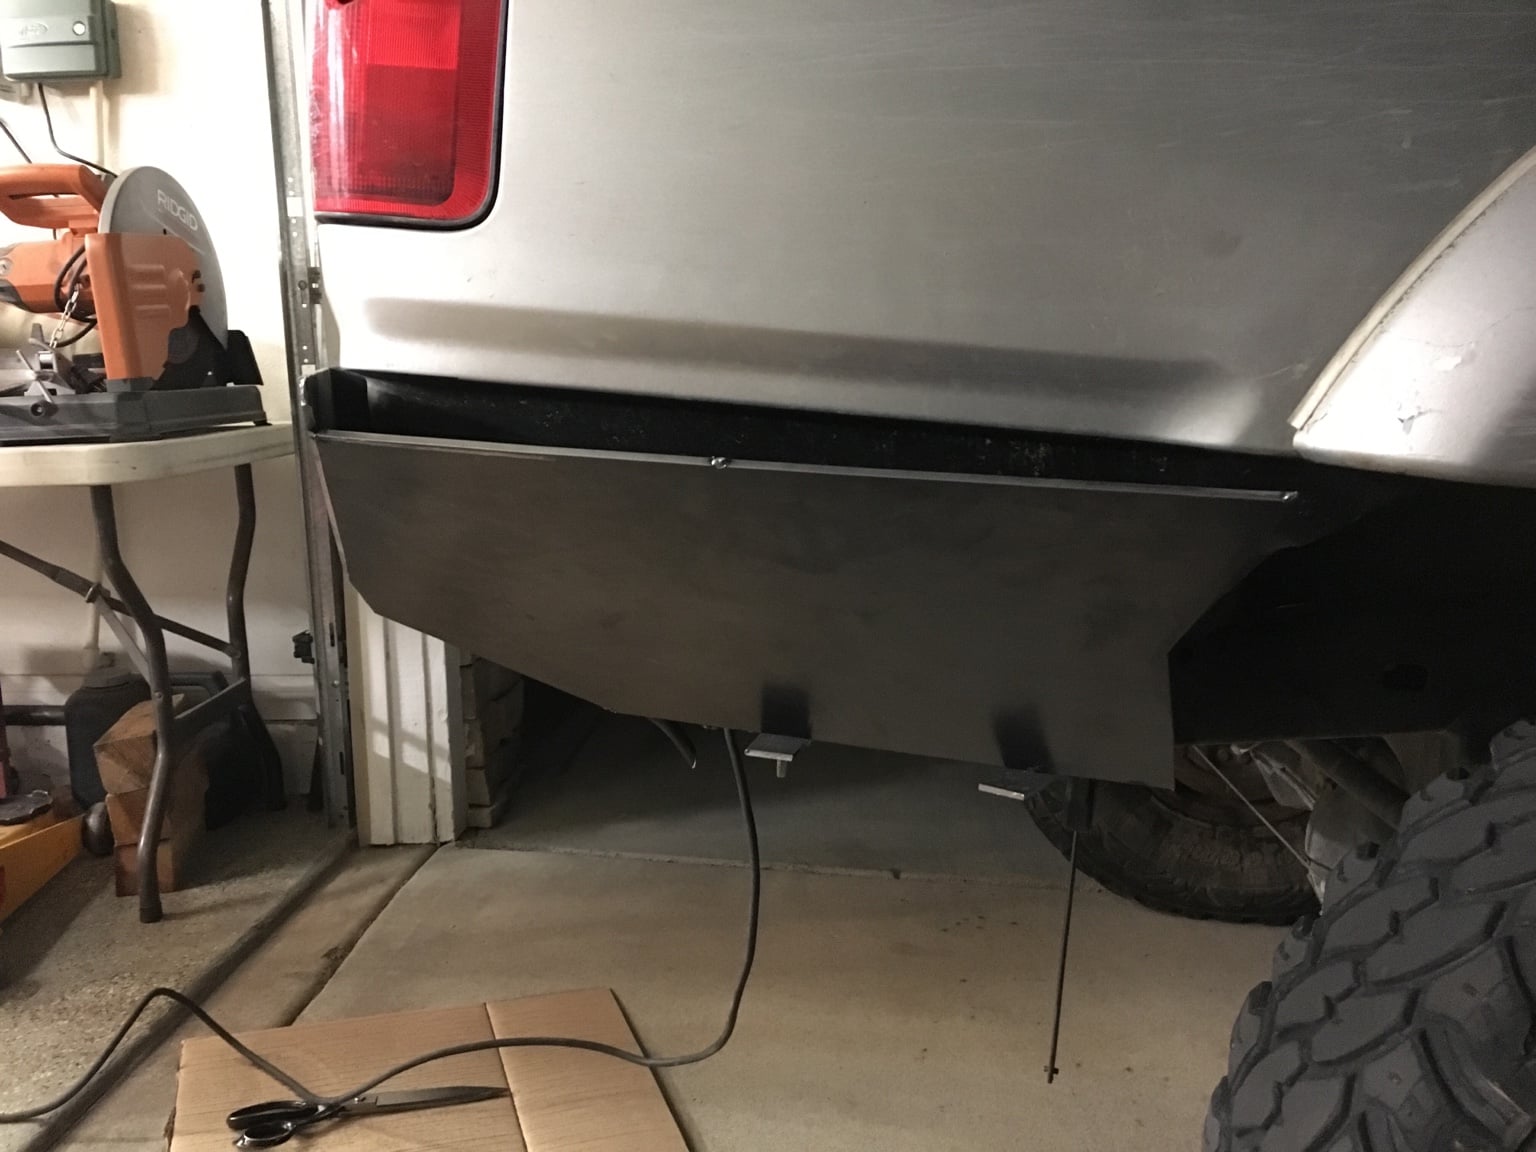
Found out that what I thought was planned for this Sunday was actually planned for next Sunday, so I was able to spend a few hours on the bumper today. Got one side almost completely tacked together for initial test fit. Still need to make the plate to fill the gap between the bumper and the body but that will be last. Things are coming together pretty smoothly so far.
e36de45ededd5b7590ca33a1650beeea.jpg

b8855fe9fdf862035832dd9ec3f5c6c9.jpg

624690d53e75b67dd5c3c892b9b4f7d7.jpg

44e14b6d78176609c55f7699bcc439d0.jpg

I may end up trimming the corners to get a little tighter fit and to break up the long straight pieces but haven't decided on the angle to cut it yet.
4cbcab8d2da8402f319f6aaa80293df8.jpg


Project BeerRunner - http://www.toyota-4runner.org/3rd-gen-t4rs/206385-assburns-2000-limited-build-thread.html
 
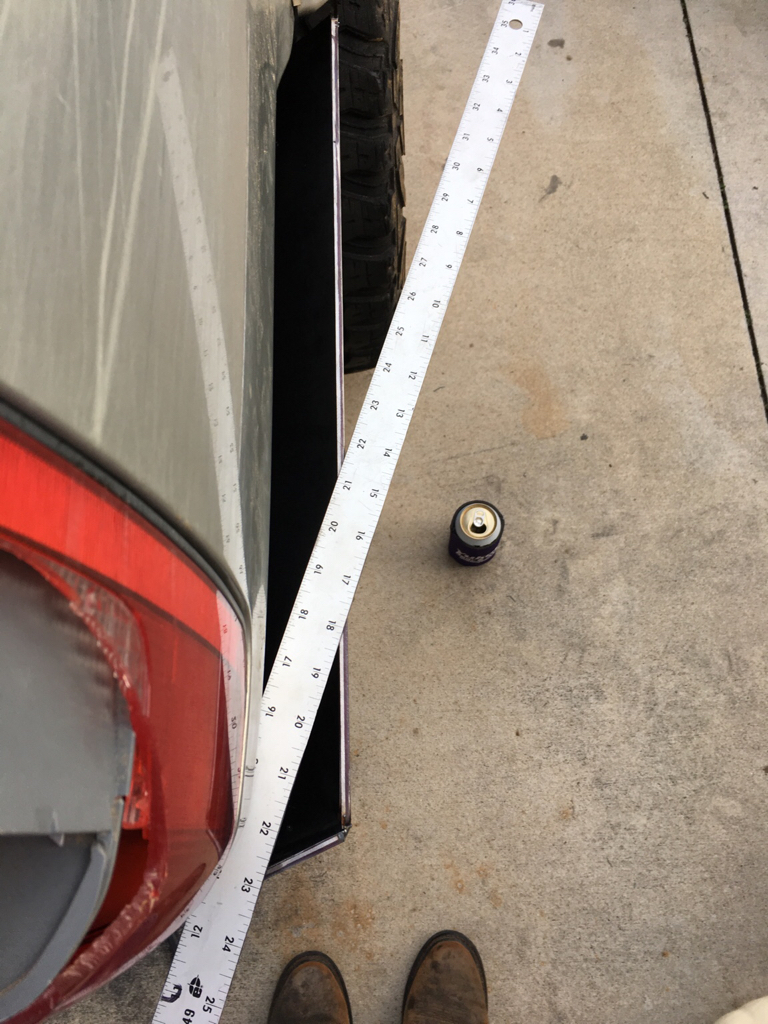
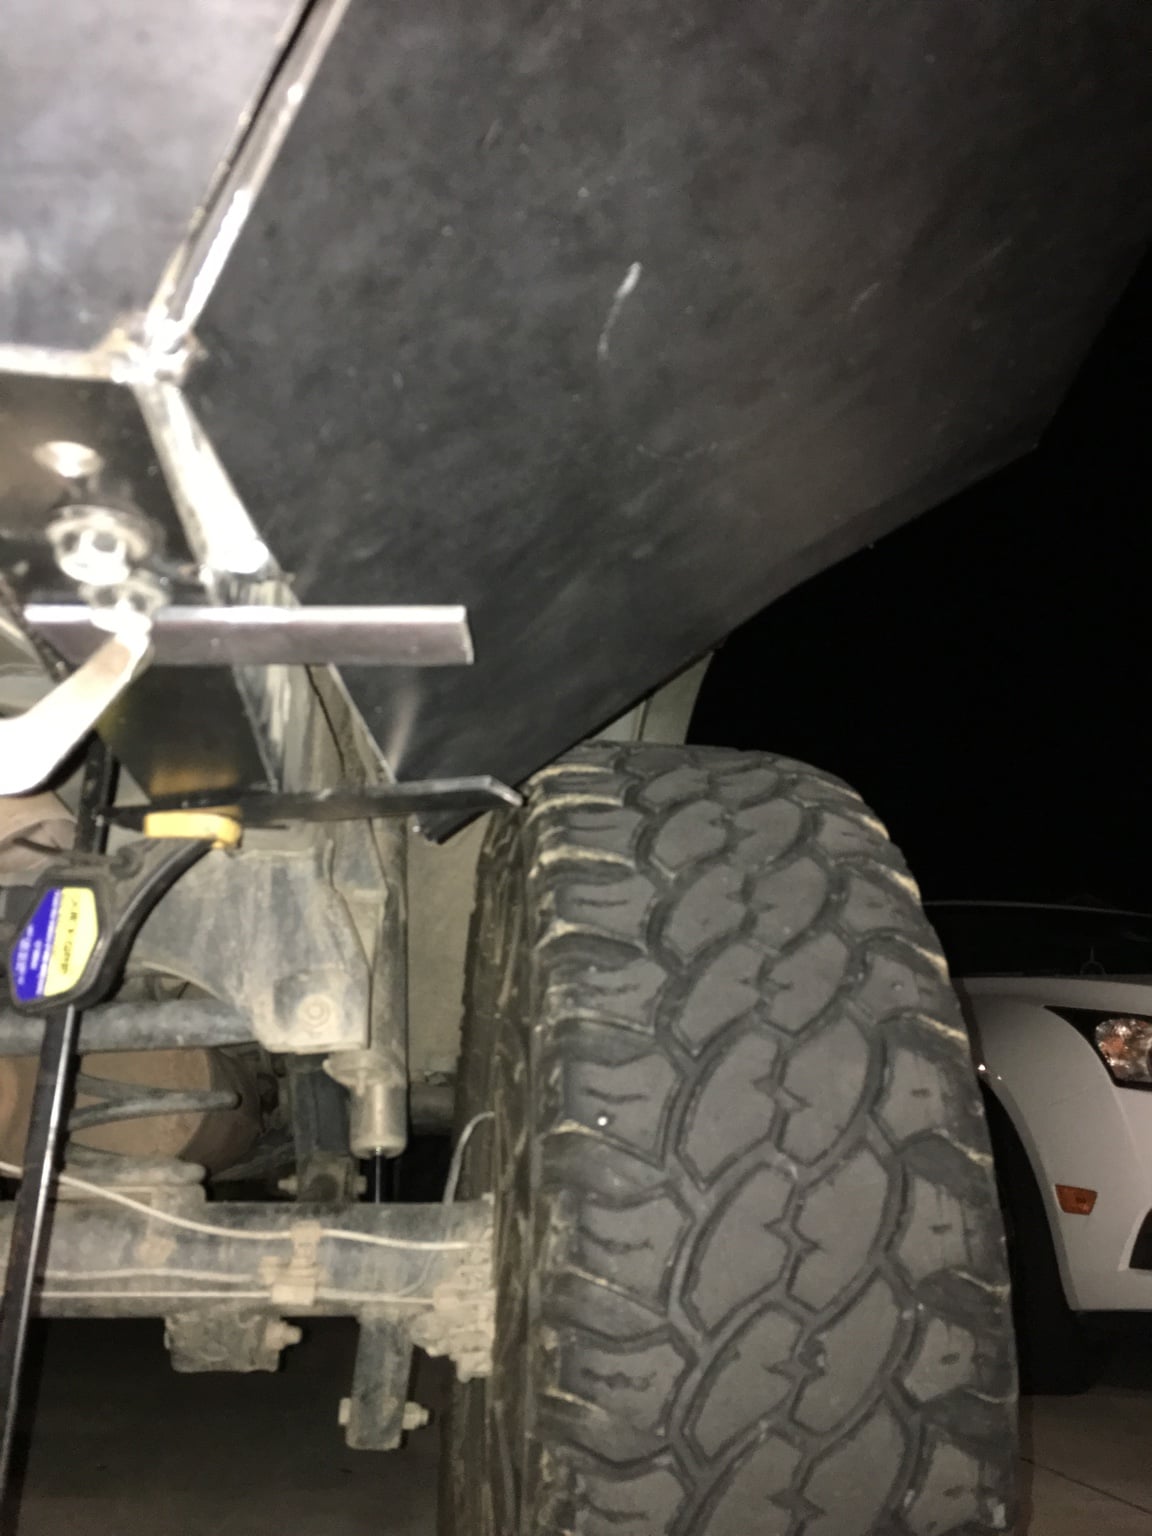
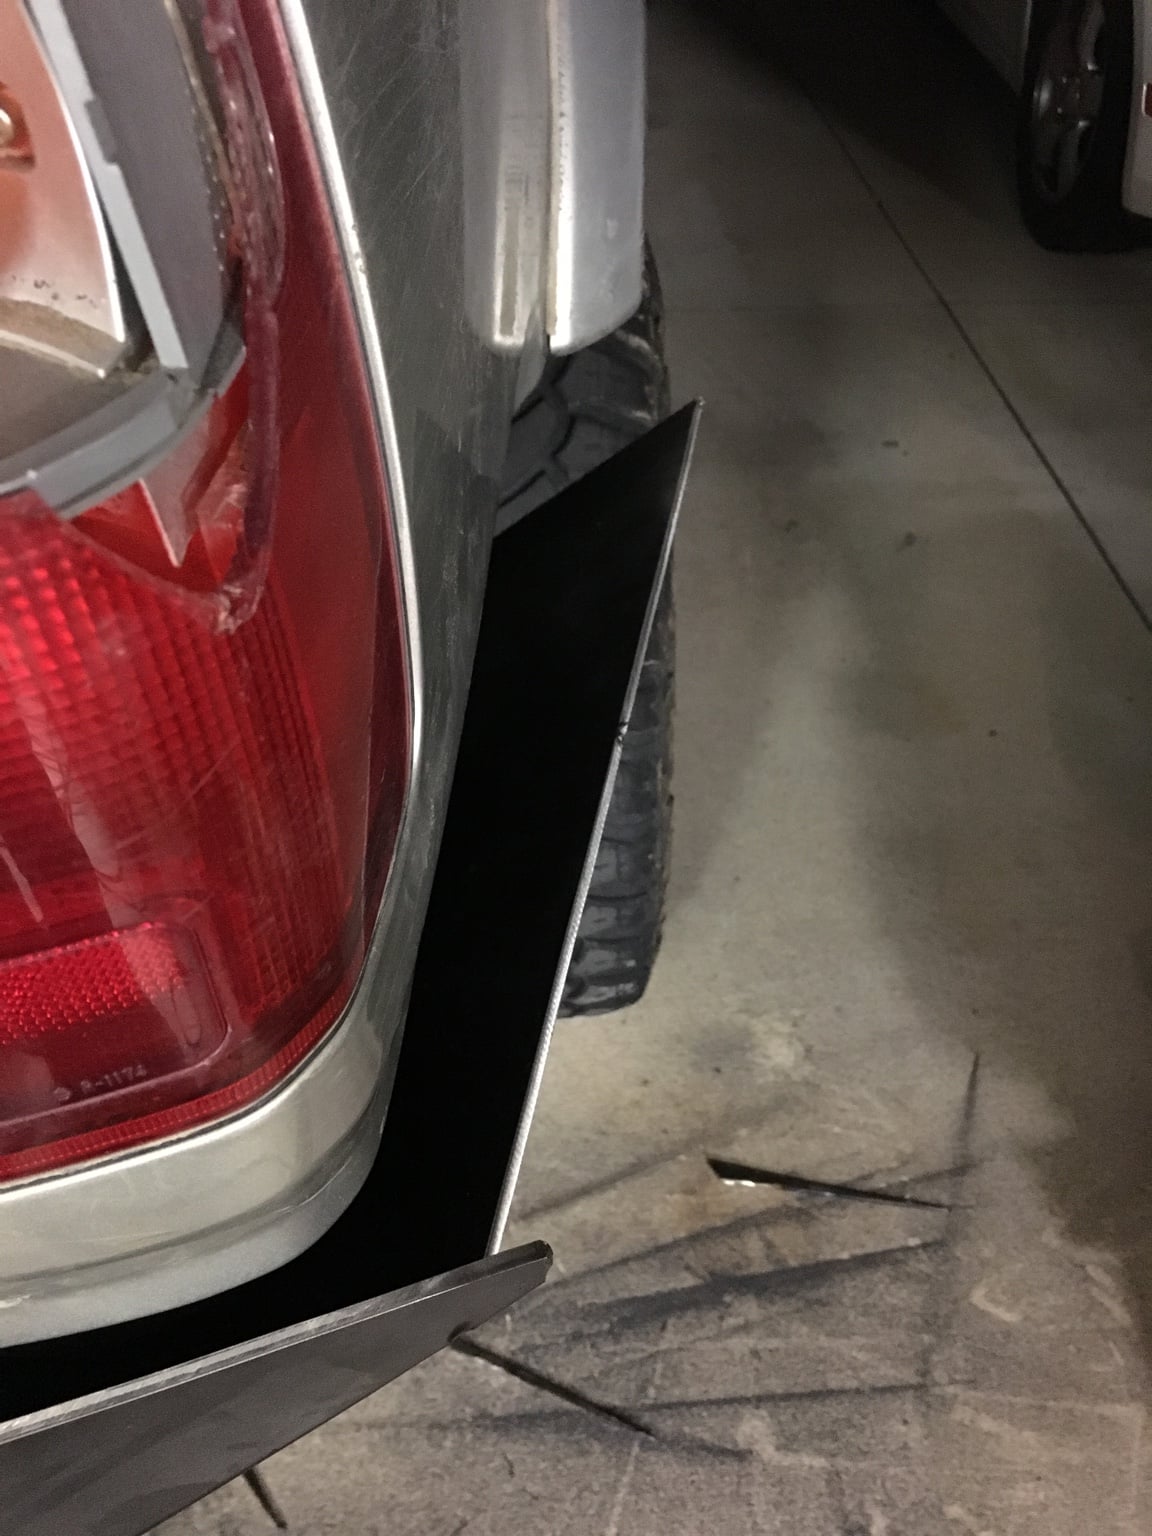
The lines on the sides of the bumper just weren't looking right, so I knew I needed to change things to get it to follow the body lines more smoothly. I didn't like how the side pieces got thinner as they went forward. I'd rather them be even or get wider as they went more forward. Ended up pulling the side plates off and starting mocking up some new lines. I think I got it figured out now. Things aren't cut to exact lines on the side plate but it's looking better.
fb214b24bc9e413a2ecc5798693ada48.jpg

d2305693d838c0aaf6d7c1cdc4b43ffb.jpg

dbe08f71173b4a8115963c3864e36491.jpg

f3dbeddaf132f37b20b74810aaebee2b.jpg


Project BeerRunner - http://www.toyota-4runner.org/3rd-gen-t4rs/206385-assburns-2000-limited-build-thread.html
 
How does it feel isnt it to hard on compression


Sent from my iPhone using Tapatalk


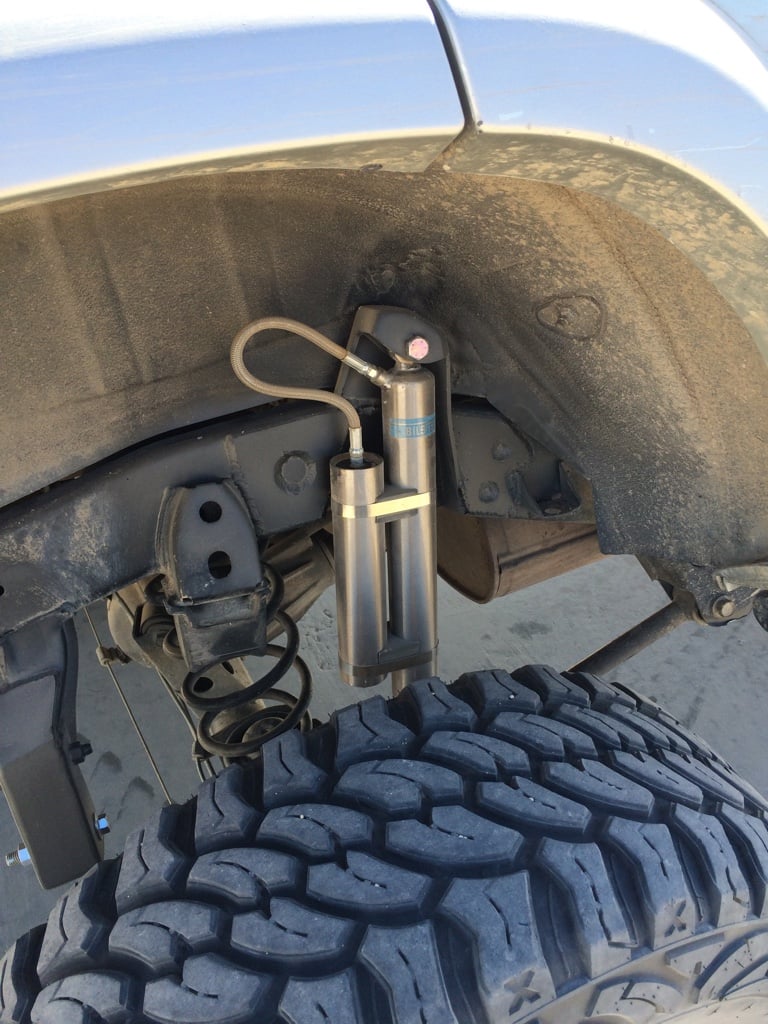
It's actually valved pretty well for the weight that I have. I've played with the gas pressure from 160-250 psi and right now I have it at 220psi. I still hit bump stops on the real big stuff when I have all my tools, ice chest and stuff but it feels really good for 95% of what I do. I'd like to get hydro bumps to help control the last 2" or so of compression. Once I finish my bumper and add a tire swing, I'll probably have to consider revalving if raising the pressure back up to 250psi doesn't cut it.


Project BeerRunner - http://www.toyota-4runner.org/3rd-gen-t4rs/206385-assburns-2000-limited-build-thread.html
 
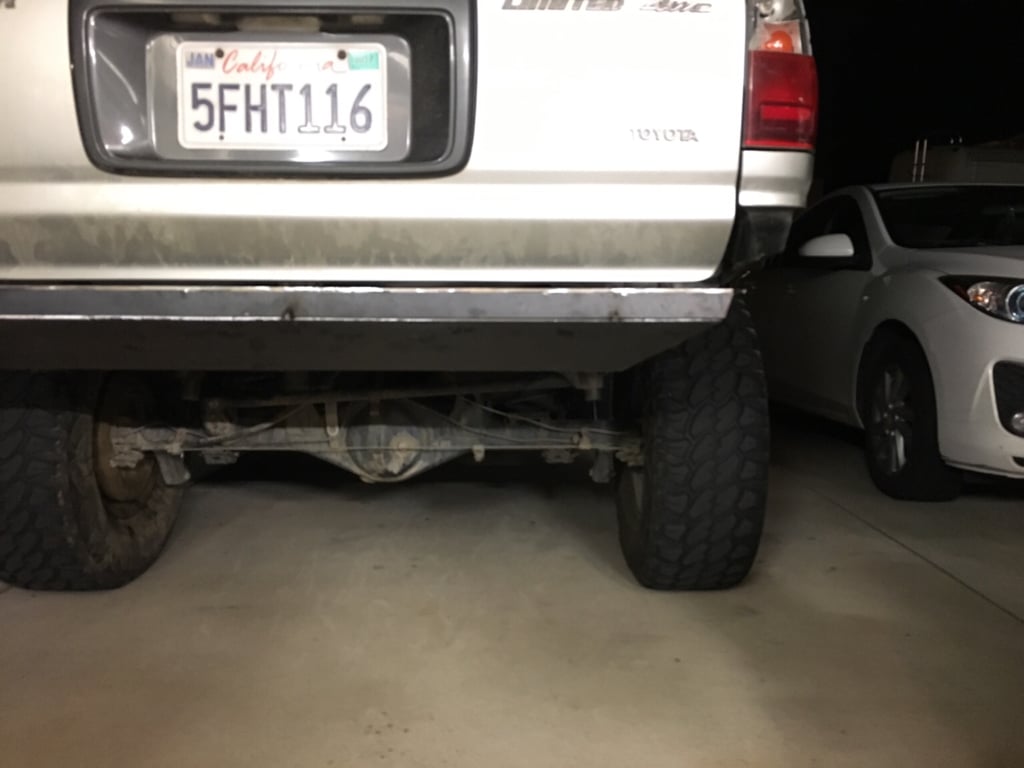
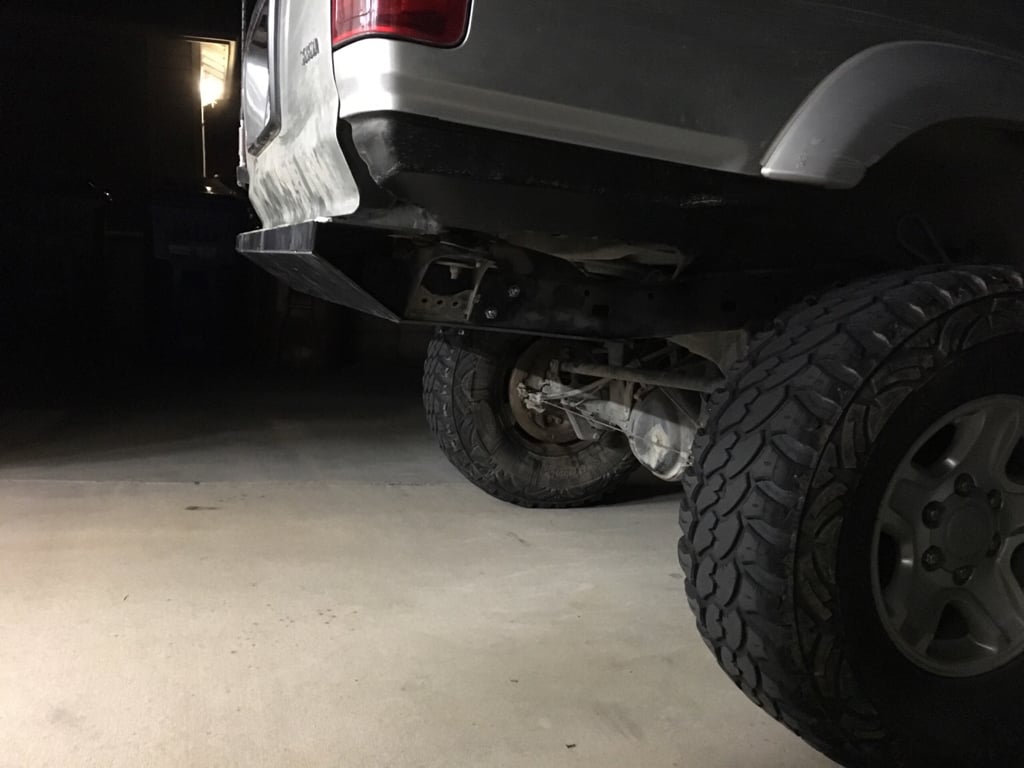
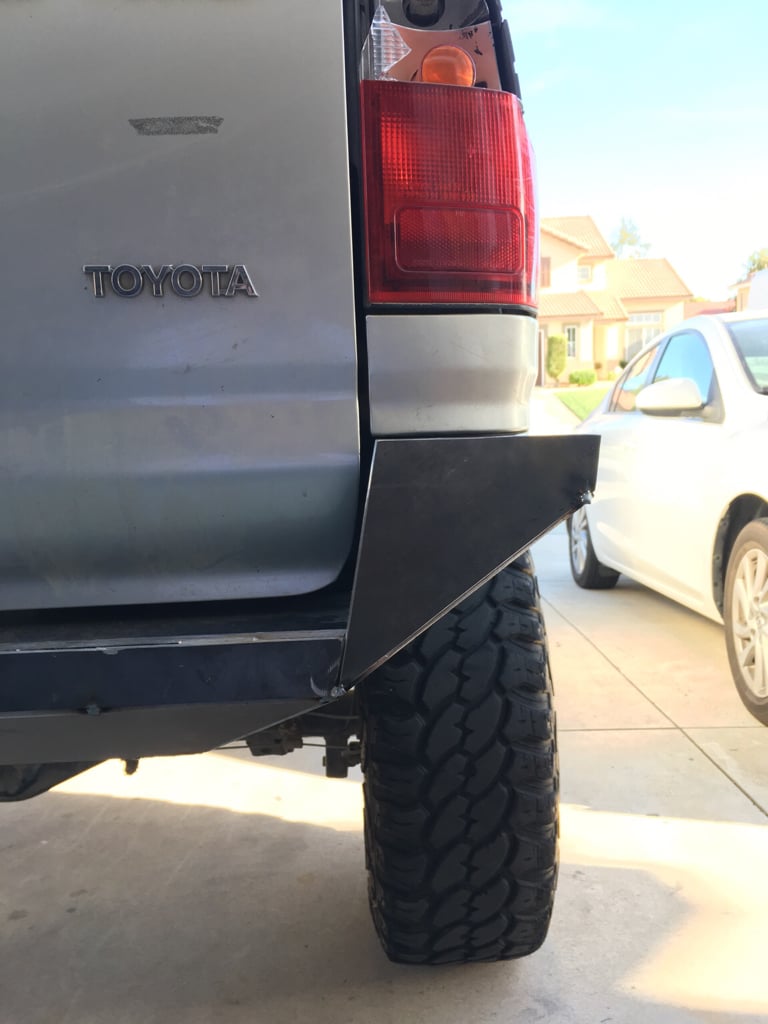
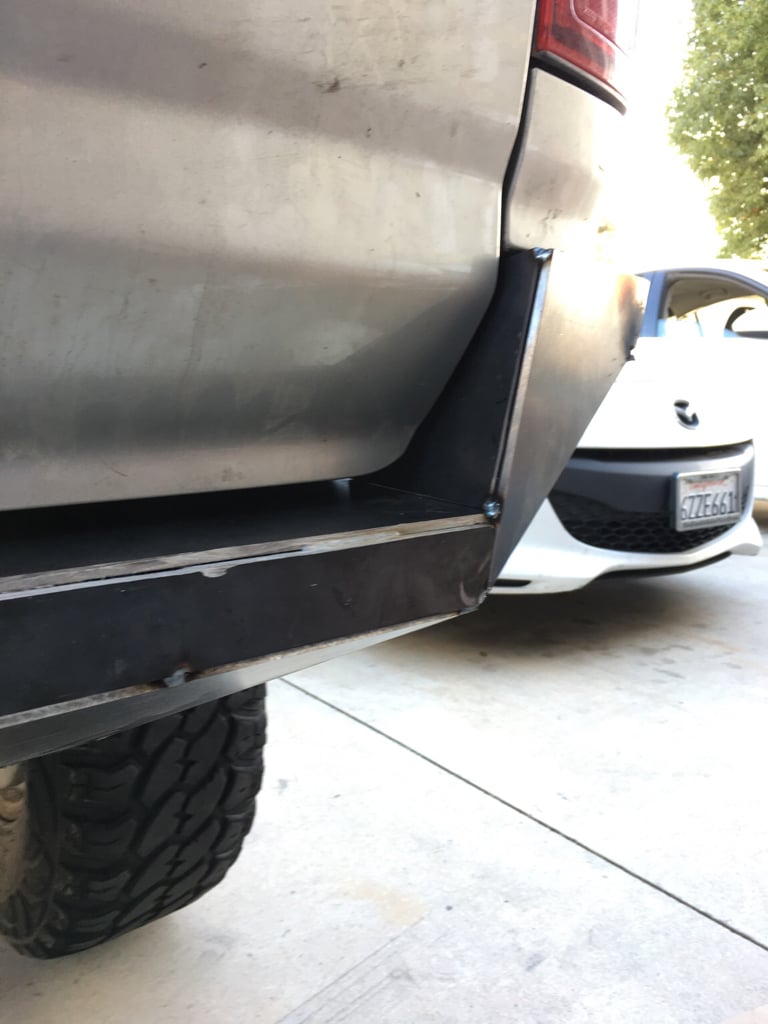
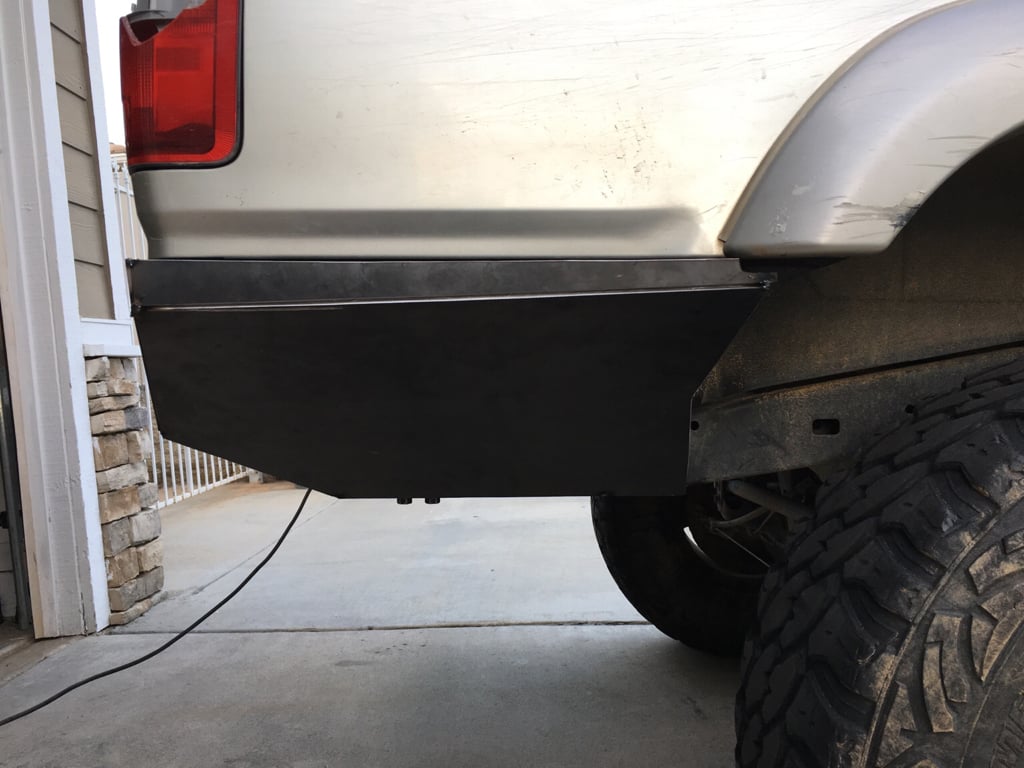
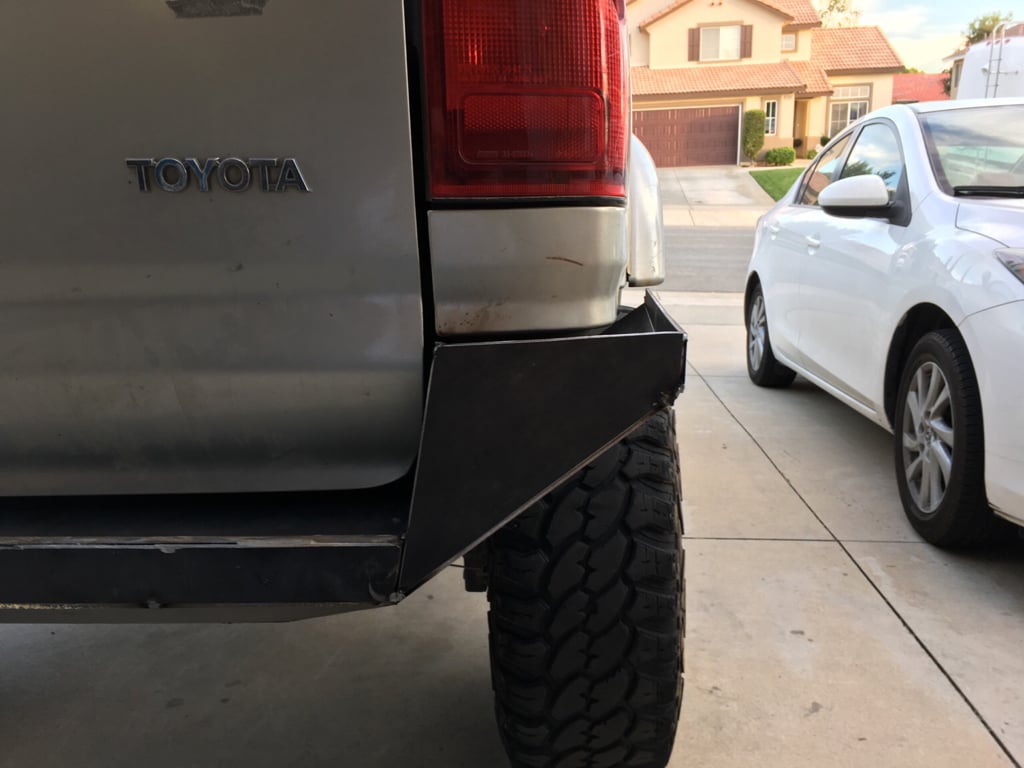
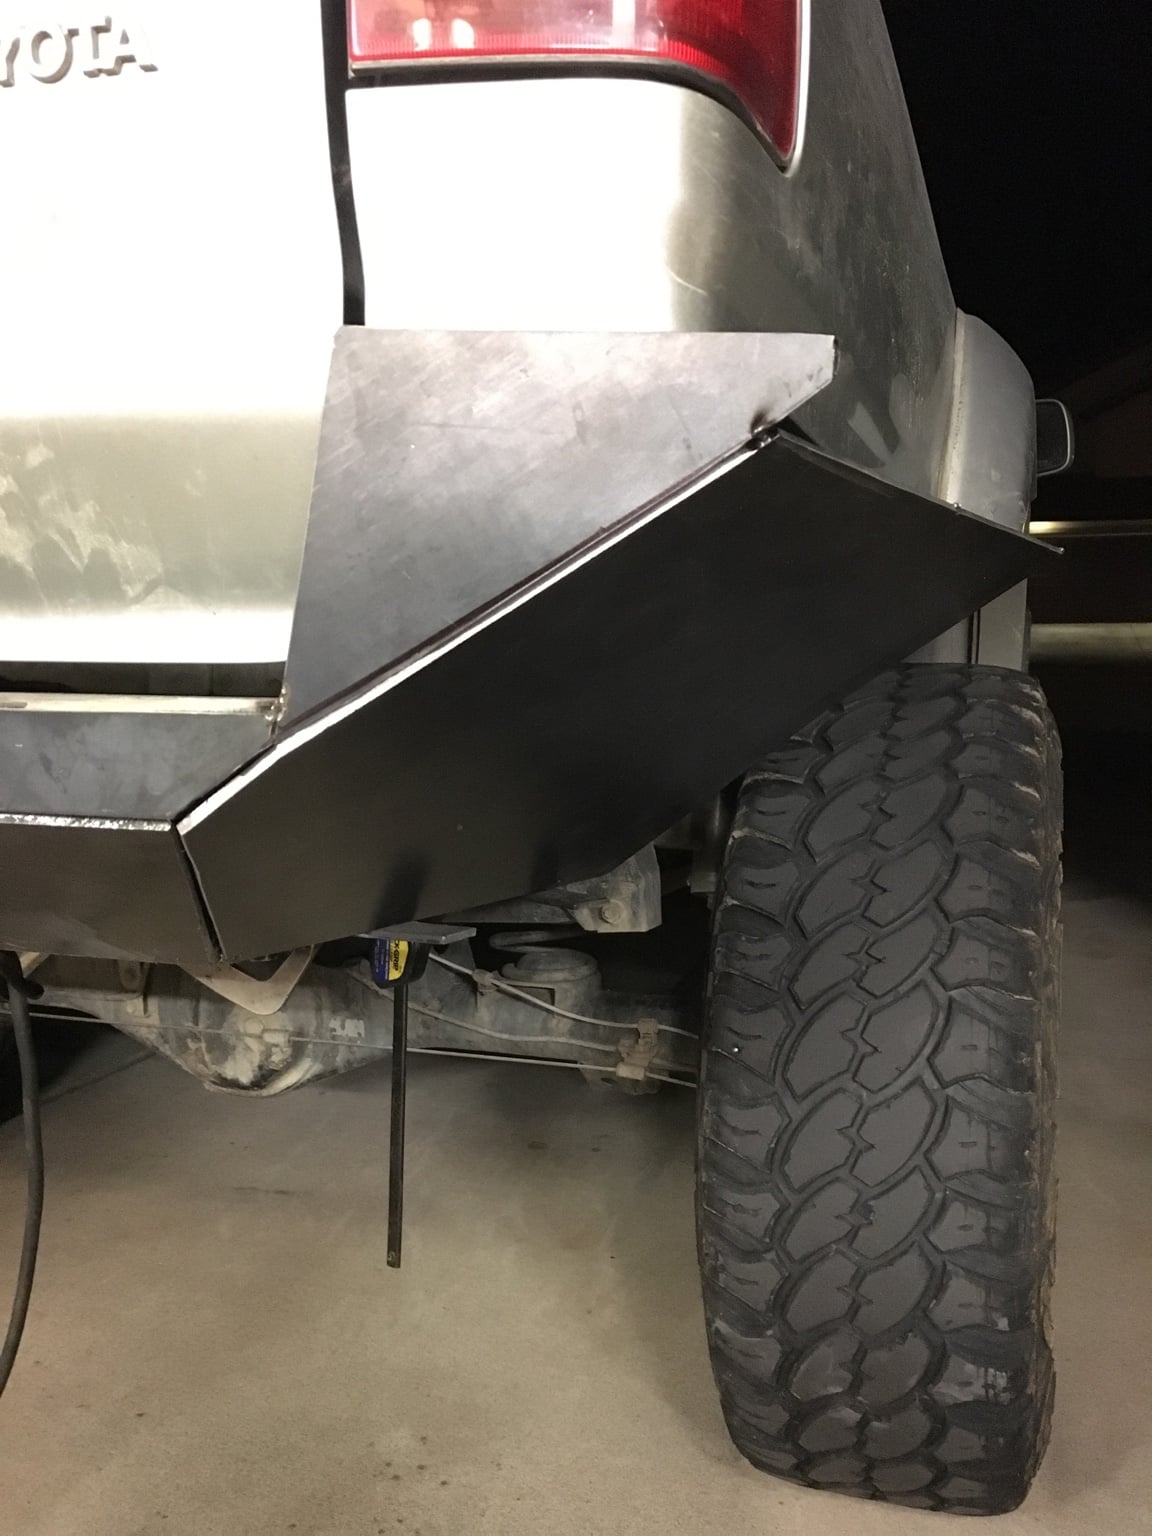
I've gotten a lot more progress on the BeerRunner over the last week. Rear bumper is ALMOST done. Just a couple gussets and the top plate to follow the body lines. I've also really been itching to make the switch to 35's since my 33's are less than 50% life left on them. I'm deciding between MTR's, KM2's or Trepador Radials. Most likely going with MTR's unless something talks me into one of the other two. The plan is still to not mess with bump stops and keep them at stock location. This means trimming fenders and tubbing wheel wells and firewall. So on Sunday, I got tired of working on the bumper and decided to rip off all the plastic Limited fender flares and cladding. Brought out the cut off wheel and trimmed the rear fenders back 1.5" all around to match the door line. Shouldn't have too much of an issue in the rear but will need to figure out how much rubbing I will have on the top of the wheel well. I rub there now with 33's, so I know I will have to do something about that once I get 35's. I welded the seam for a smooth/flush finish so there isn't any sharp edges. The front is obviously going to take much more work to get no rubbing with stock bumps and no BL. Fenders will be trimmed about 1.5", firewall tubbed, inner wheel well will need to be tubbed where needed, Battery moved over to make clearance for tubbing, and washer fluid relocation, ADD canister relocation. I bought a new battery hold down tray and a universal washer fluid reservoir off amazon to get started. Unfortunately I broke my phone, so no new pics of the progress but eventually when I decide to get a new phone I will post pics of the progress.

 
think that could be configured to incorporate a spare tire mount?

I've been seriously considering making a mount for a spare but I really don't want to lose too much cargo room. Maybe if I end up building a cargo box to store my tools and spare parts while still being able to access an ice chest and random items. It would work though. I'd just want to make sure the high-lift stays very easy to get to without moving anything out of the way.
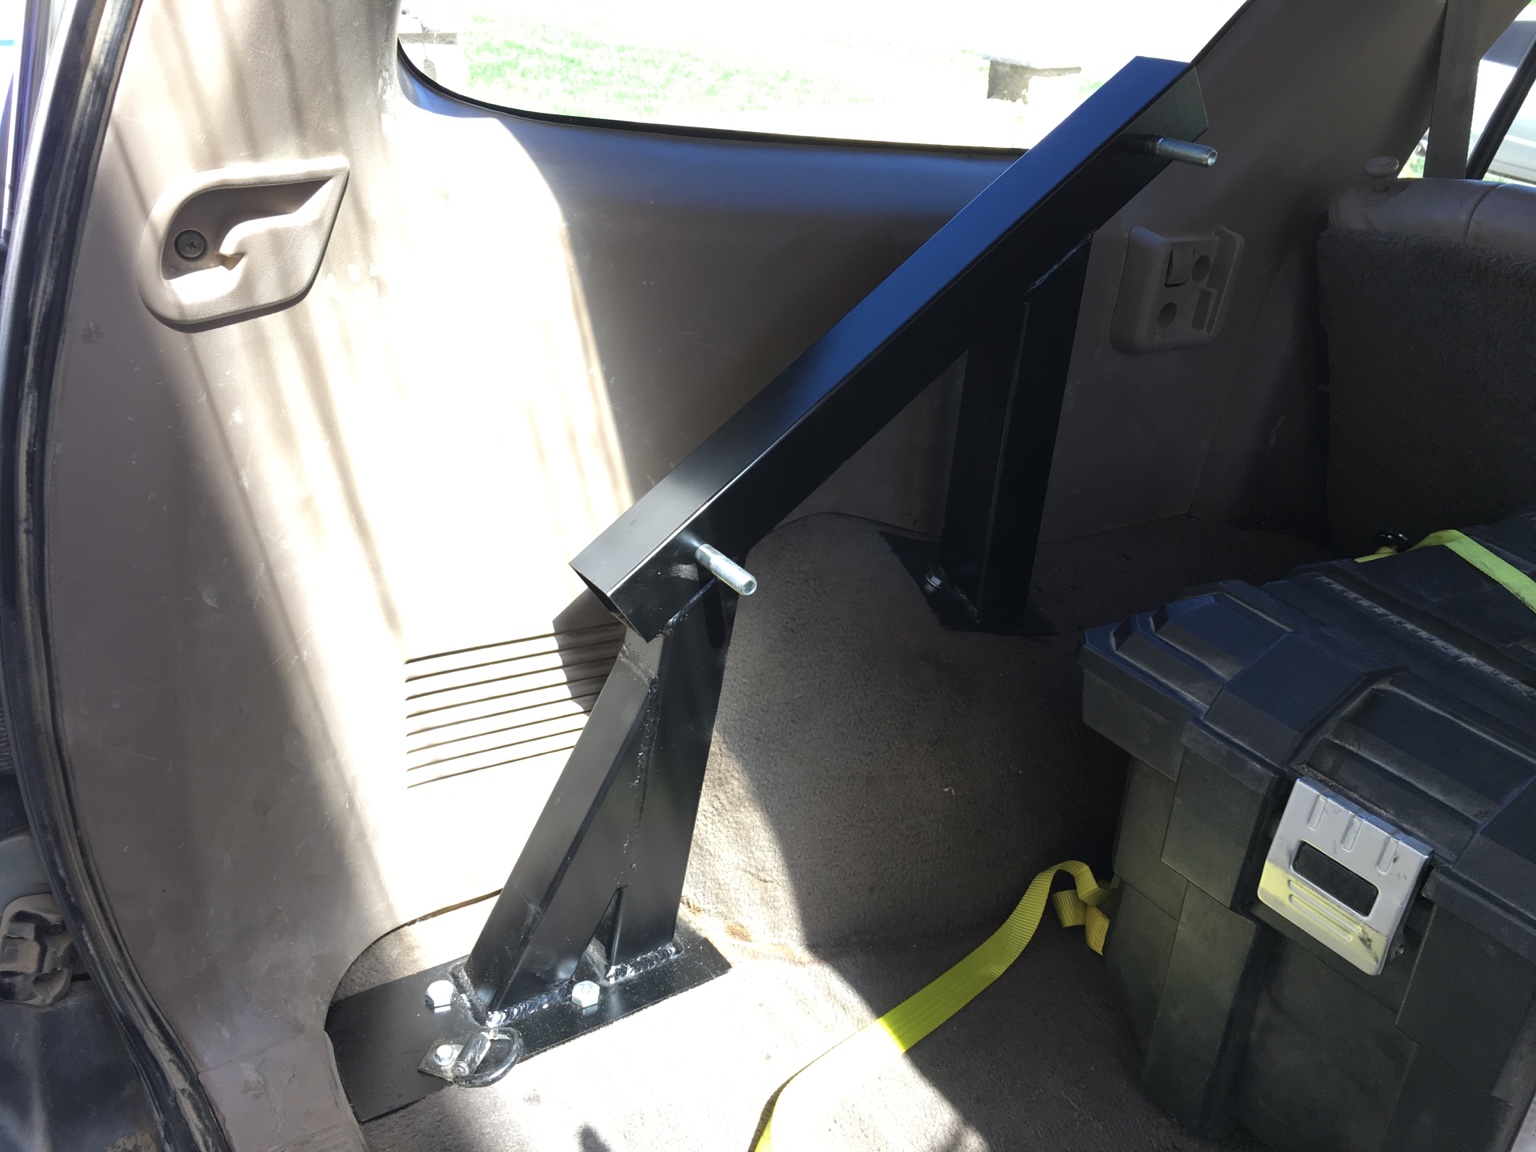
 
I was able to steal my wife phone to snap a few pics of the progress tonight. I probably won't be able to get anything done for about a week since I will be out in Ocotillo Wells for the weekend then getting everything cleaned up once we get back. The bumper got a little rust on it from the rare Southern California rain we got the other night. Nothing a sander can't fix though.
 

Attachments

  • IMG_5865.jpg
    IMG_5865.jpg
    134.3 KB · Views: 1,031
  • IMG_5868.jpg
    IMG_5868.jpg
    126.6 KB · Views: 1,029
  • IMG_5872.jpg
    IMG_5872.jpg
    138.5 KB · Views: 1,037
  • IMG_5870.jpg
    IMG_5870.jpg
    122.3 KB · Views: 1,026

Members online

Forum statistics

Threads
278,311
Messages
3,554,082
Members
248,016
Latest member
Advally Service

Trending content

Back
Top