AssBurns 2000 Limited Build Thread

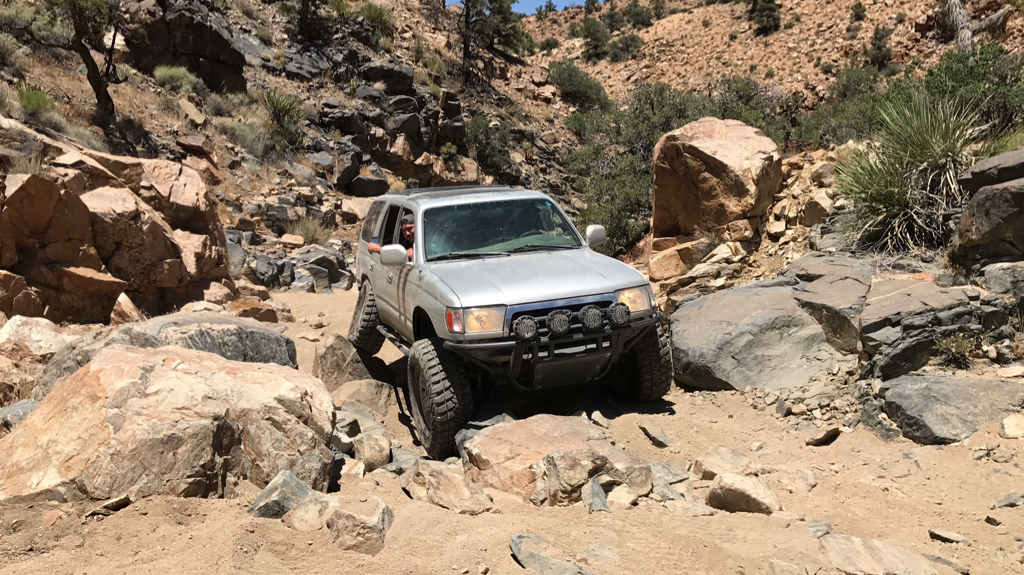
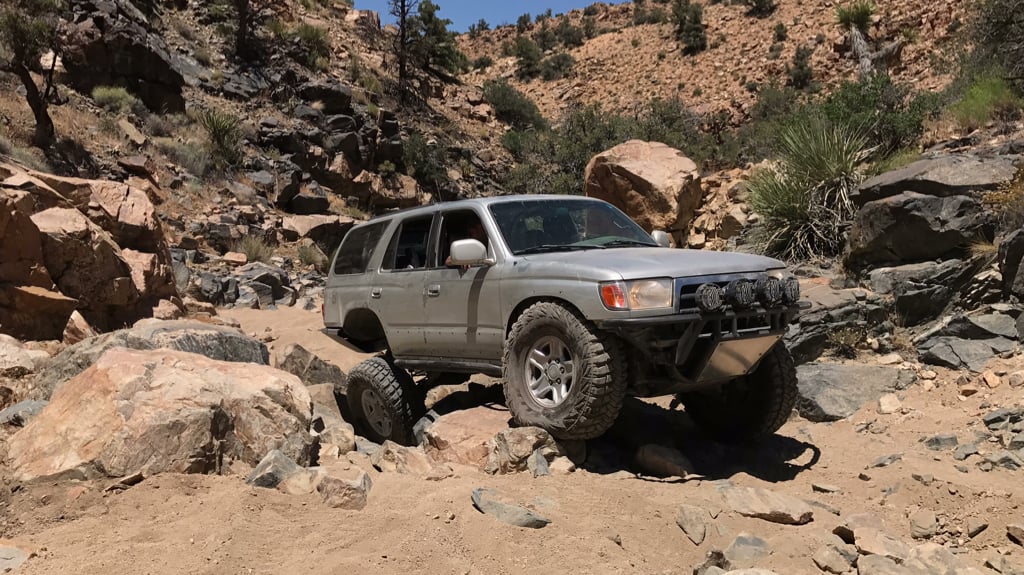
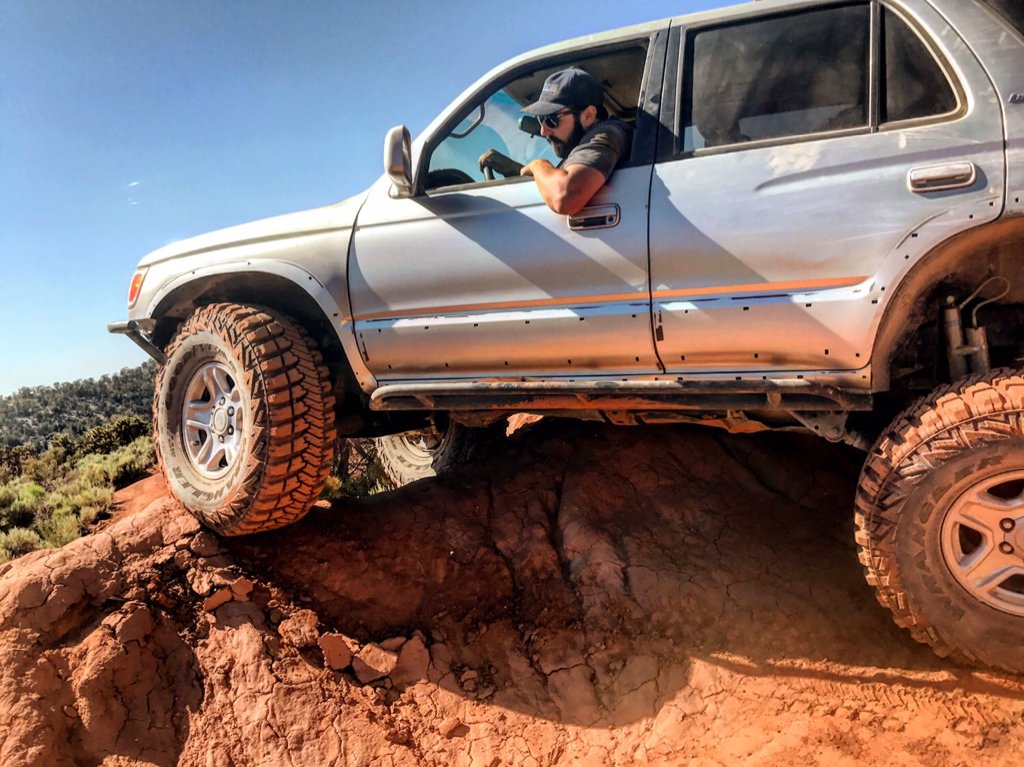
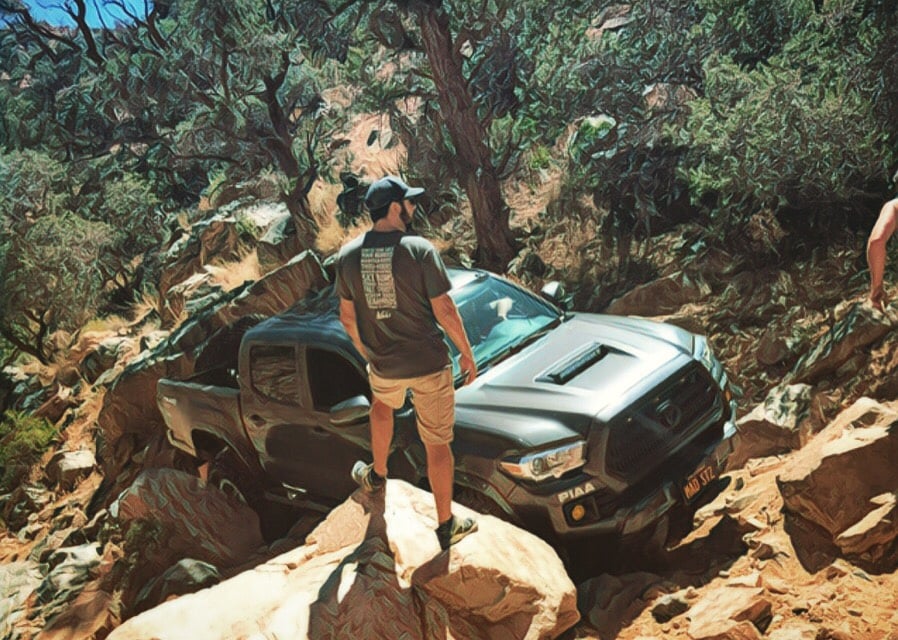
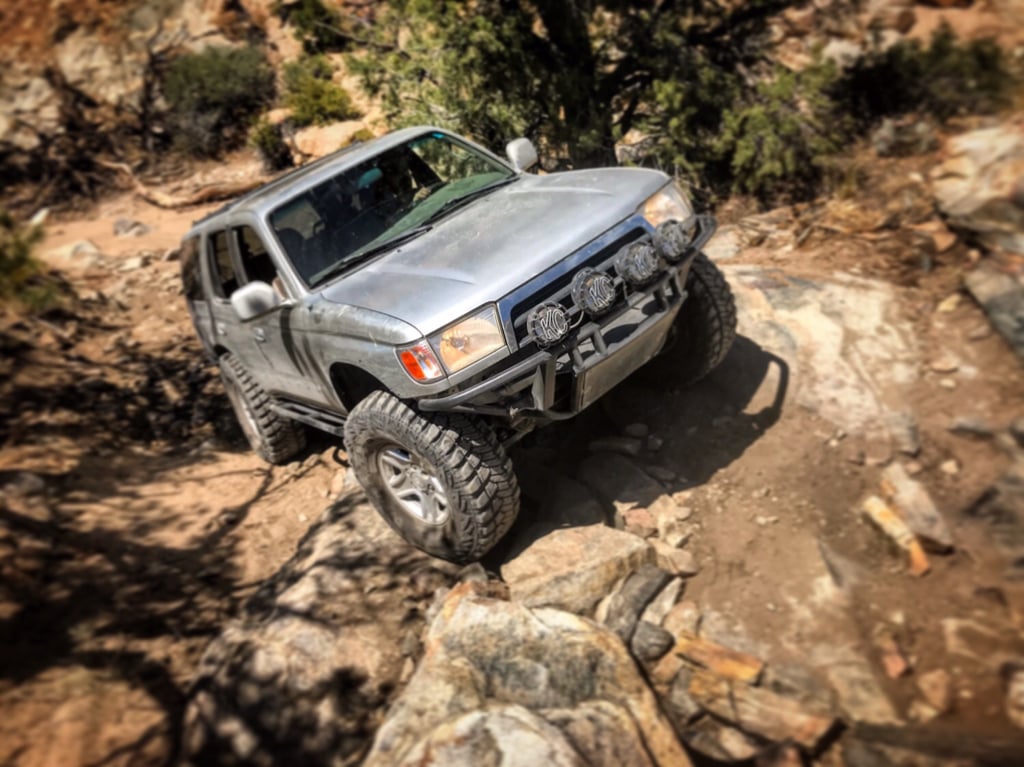
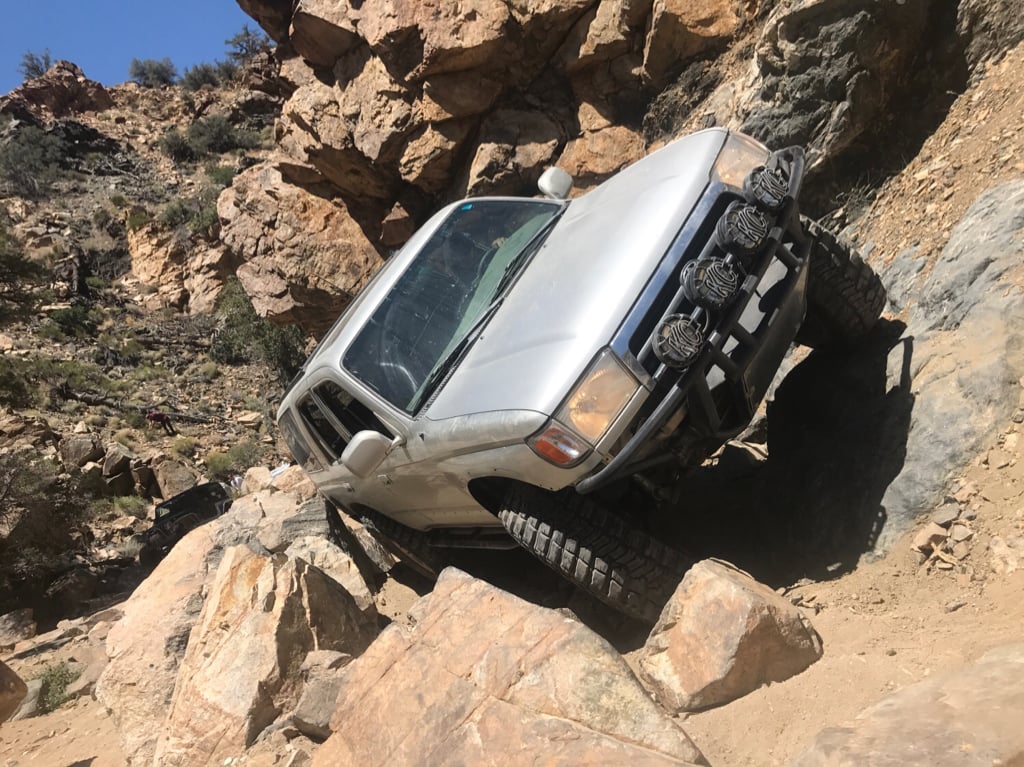
Ran Motino Wash trail this weekend with some guys over on TacomaWorld. It's supposedly the most difficult trail in the San Bernardino mountains. I think there might be some hidden trails in that area that are more difficult though. It's not a designated trail by the USFS or BLM so it's not a well known trail. The trail itself is only about two miles long with about 5 hard sections. None of them were anything crazy difficult but there are some optional hard lines that are very difficult. Overall I'd say it's a little more difficult than John Bull trail with very difficult optional hard lines for the SAS guys on 37"+ tires.

We get on the trail and on the very first obstacle I came down off a rock a little too hard right onto my gas and put a 1/4" crack in it. Fuel was leaking at a pretty good pace at that point so we had to fix it somewhat quickly. Luckily I had a full tank still. One of the guys had some Permatex metal bond paste similar to JB weld. I got under there and pulled the mangled skid off to get access to the hole. When I let the skid down it poured gas all over my shirt completely soaking my whole torso in gasoline. My belly button still burns a little. Cleaned up the area where the hole was and patched it all up. 5 minutes later it was hard as a rock and no more leaking. Back on the trail with no more damage the rest of the day.
One of the little tricks I figured out was pull the parking brake while going through the bigger rock sections to keep my momentum down while on the throttle. Still double footing the brake and skinny petal too. Dual cases would be awesome for this stuff but that's pretty far down the line for me.
One thing to note is these tires are freaking badass! They grabbed on everything. The only times I couldn't get through an obstacle was due to getting hung up of something, not because the tires were slipping.
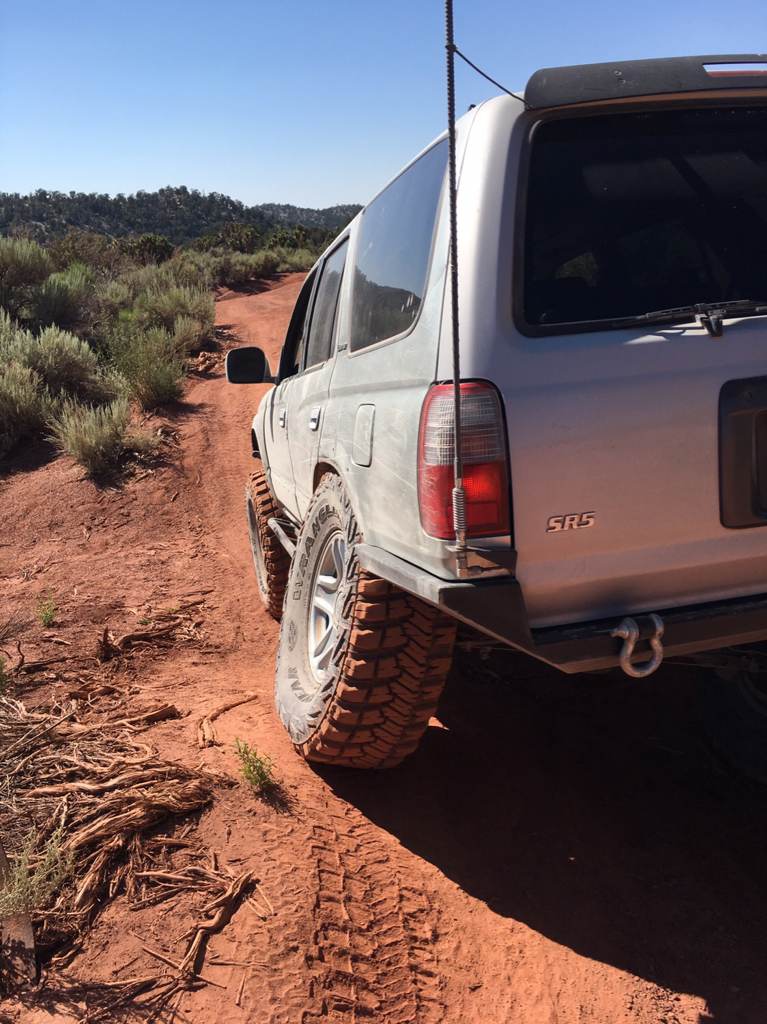
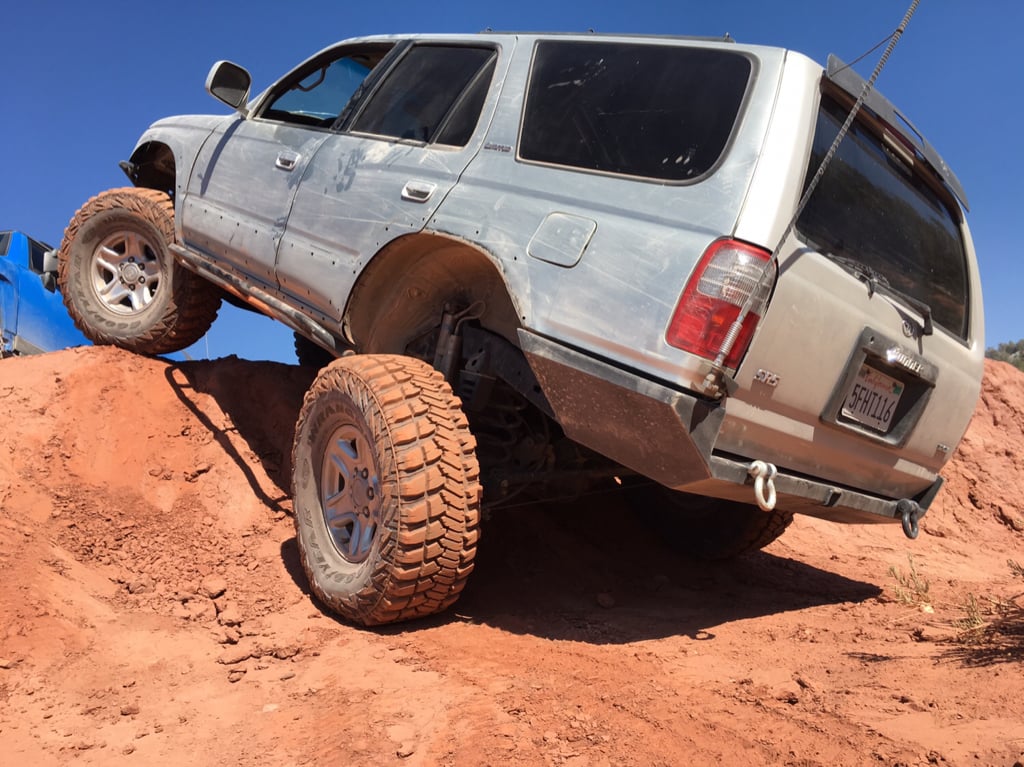
Unfortunately I myself did not take a single picture on the trail. Just a couple poser shots in some cool red clay hills off of Burns Canyon trail. If I get some cool pictures from anyone else, I'll try to post them up. I need to get better about grabbing my phone when I get out instead of grabbing a beer haha.
04d61a57b6bc2177439df6bc1da50aad.jpg

00359f4160021365c69a20ed903075ac.jpg


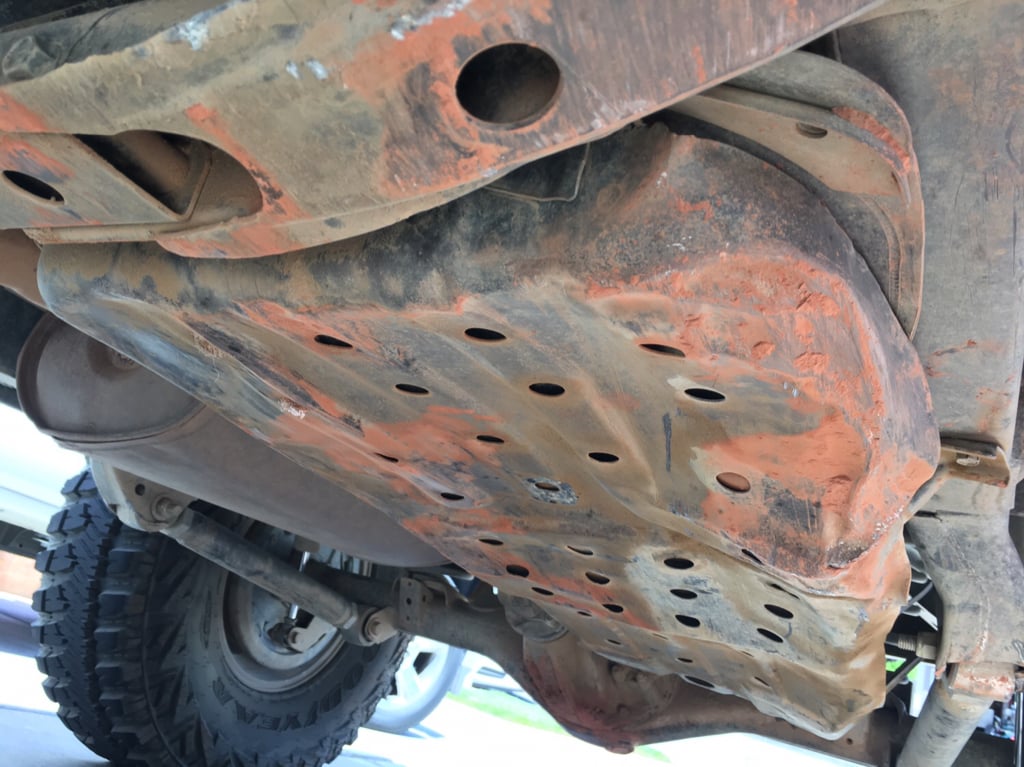
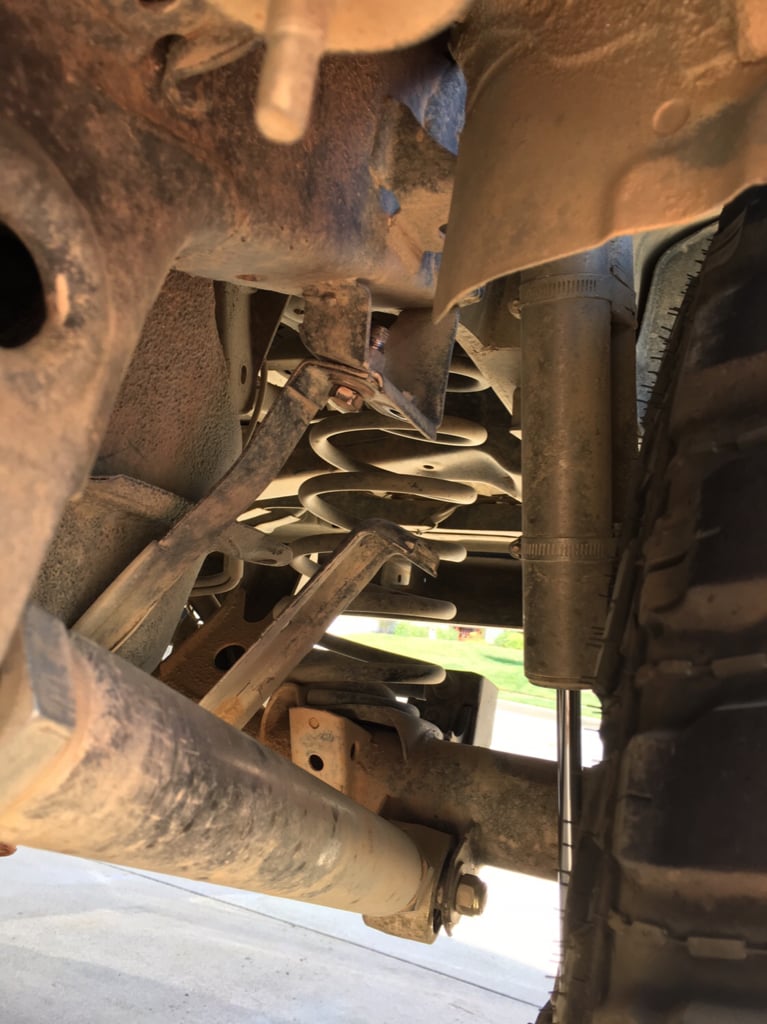
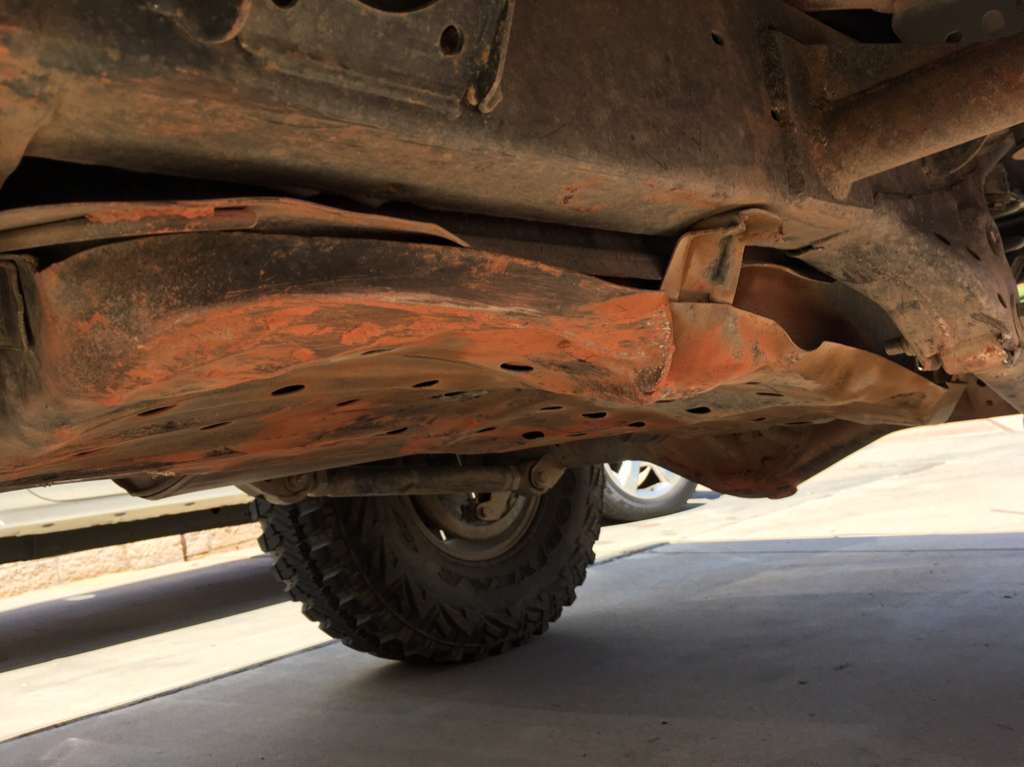
Couple shots of the skid plate from after this run. Most of it was prior damage but now it's officially time for a new tank and new skid. It was so bent up I wasn't able to put the last bolt in.
c71baa1a37172f50a4eeb282a51d513a.jpg

12d9941c80169c68b1b77225c4780590.jpg

07730c9fc469abf38365c34c4b539bc5.jpg
 
Last edited:
Unfortunately I myself did not take a single picture on the trail. Just a couple poser shots in some cool red clay hills off of Burns Canyon trail. If I get some cool pictures from anyone else, I'll try to post them up. I need to get better about grabbing my phone when I get out instead of grabbing a beer haha.


Glad I'm not the only one. I'm heading to Armstrong Canyon with my wife now. Maybe she'll remind me to get the phone out. lol

Sounds like a fun trail man. Tires make a huge difference in how any rig performs. For a year I handicapped myself by keeping the little guys on there. I figured that would force me to remember all the skills I forgot in my 10 year absence from wheeling. It did. lol
 
Damn that trail is intense! Looks so fun though. Neat video, cool to see your truck in action.


Definitely fun! It's pretty rare to see the BeerRunner in action. I'm not into taking photos or videos so trips like this usually go unseen. Luckily everyone I was with liked doing that and was willing to share it with me.
We'll have to plan a run sometime. I'm on hold for off-roading for a couple months till we are settled in with the new baby but after that it's game on. This trail will be really nice in the cooler months.
 
Got some pics and video from Saturday's run on Motino Wash. Made a little edit with the footage they sent me. Enjoy!


Seeing the picture of that new Tacoma go through that trail made me nervous for him. So shiny still[emoji51]
Looks like it was a fun trail though!


Sent from my SM-G935V using Tapatalk
 
Hellya! Awesome footage man. Hard to get footage of your own rig most of the time. It would be awesome to have a nice drone to get footage. Those things are so badass.
Looks like the BeerRunner is working well [emoji1360]
 
[MENTION=129944]4Runnin2000[/MENTION] That dude has some serious balls to be taking that '16 Tacoma on these trails. He treats his rig kinda how I treat mine but with an almost brand new vehicle. Dents, scrapes and scratches don't really bother him much.

[MENTION=116470]Tyler James Inc[/MENTION] It's pretty awesome to finally get some footage on the trail. They had a drone but were waiting to use it on another cool trail. I didn't get to go on that trail though because of time unfortunately. The trail we were on was in a narrow wash so a drone may have had a tough time. Still woulda been sweet!
The BeerRunner is working well but still needs a lot of work.
 
Should have quite the project this weekend if I can pull off my time right.
Things that I hope to get done if all the parts arrive on time. Bushings arrived today from Amazon and everything else is supposed to arrive tomorrow from Wheeler's Offroad.

- Replace cracked LCA with OEM junkyard one
- Whiteline Bushings in new LCA
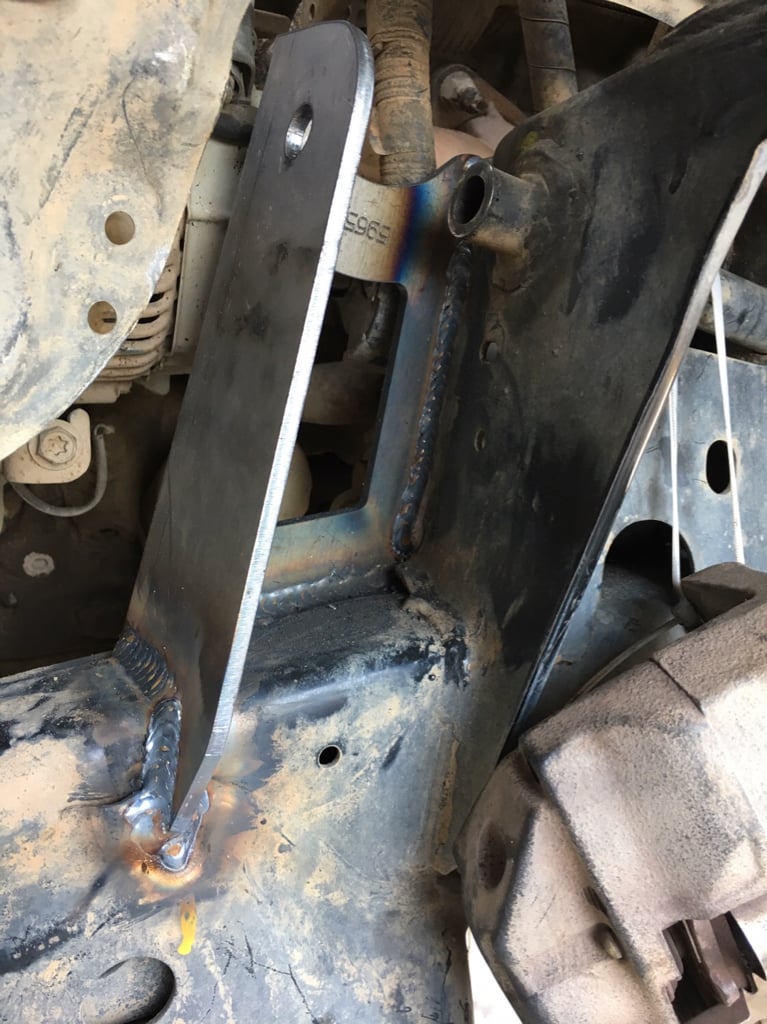
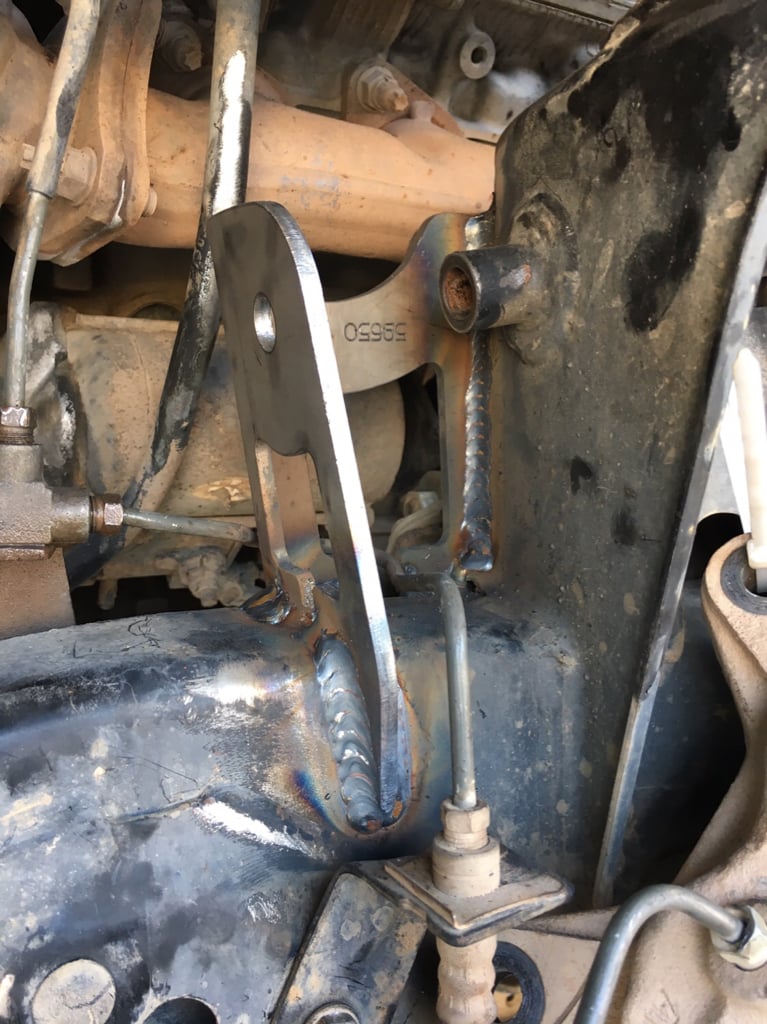
- Total Chaos Coil Bucket Tower Gussets
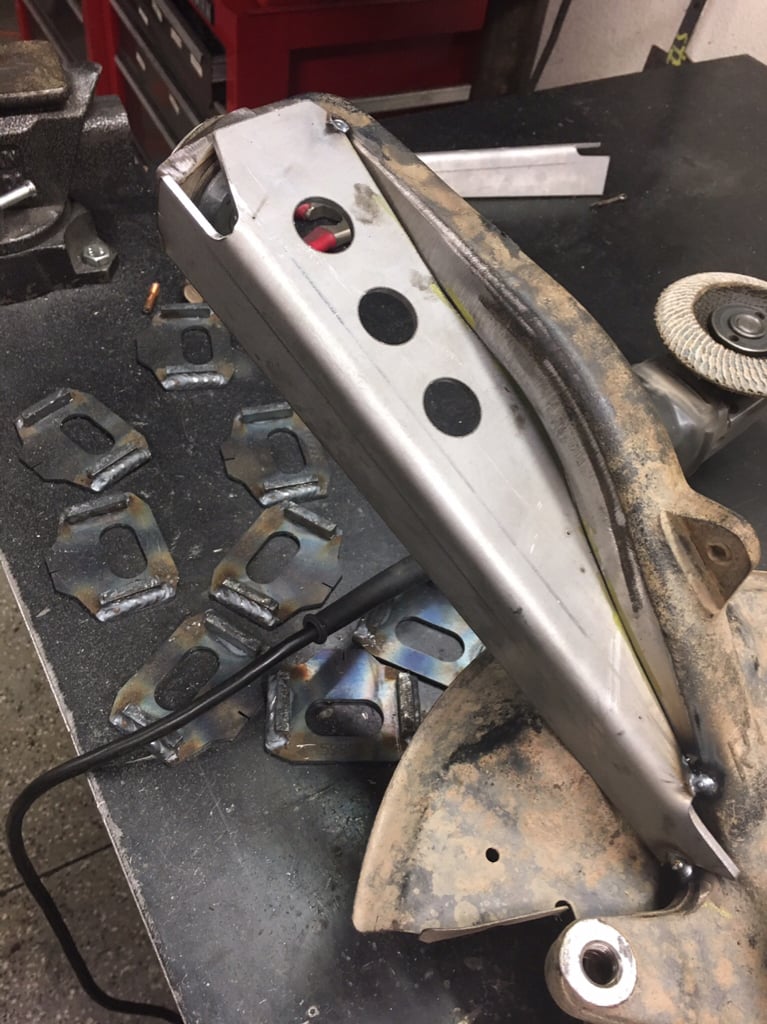
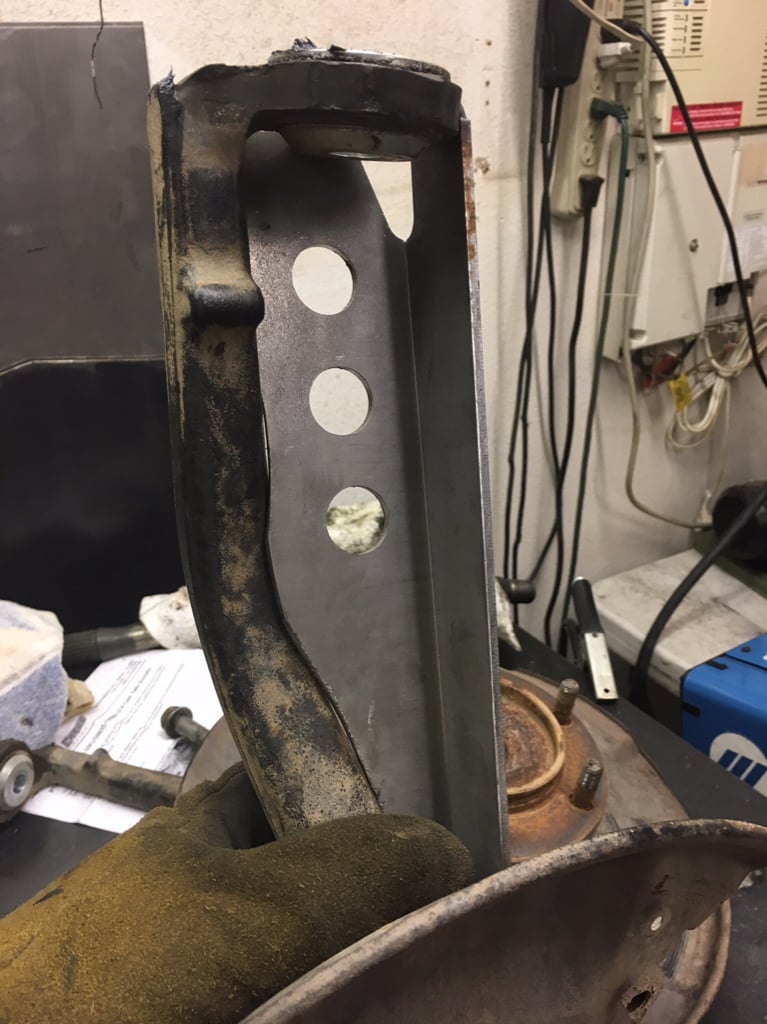
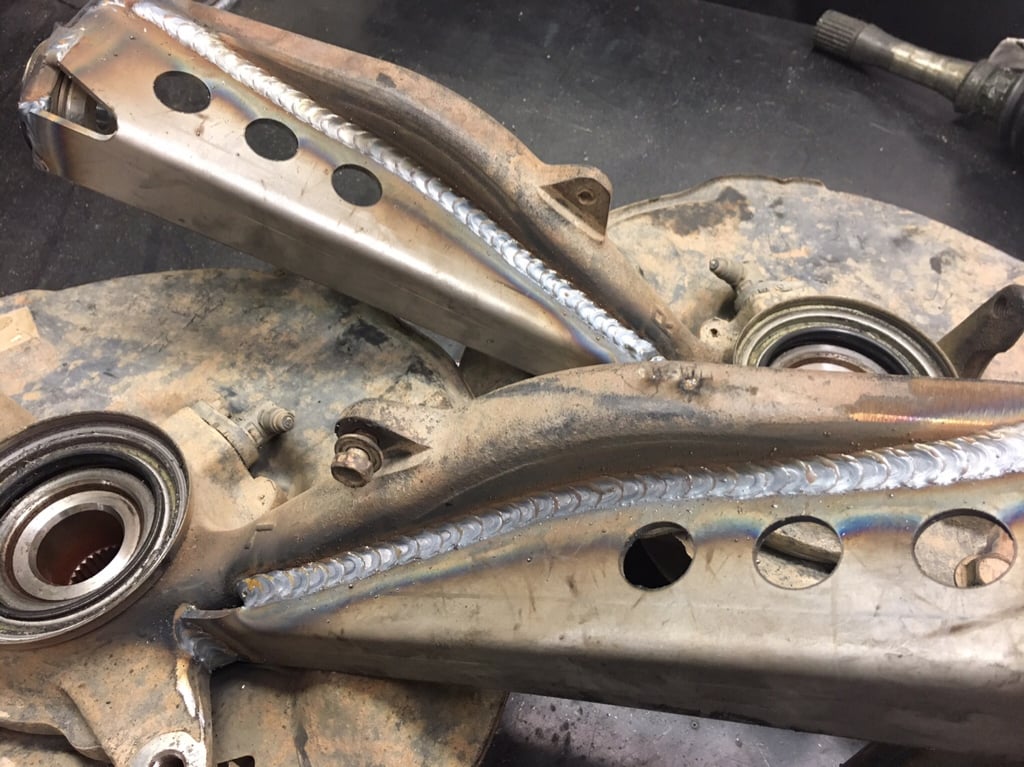
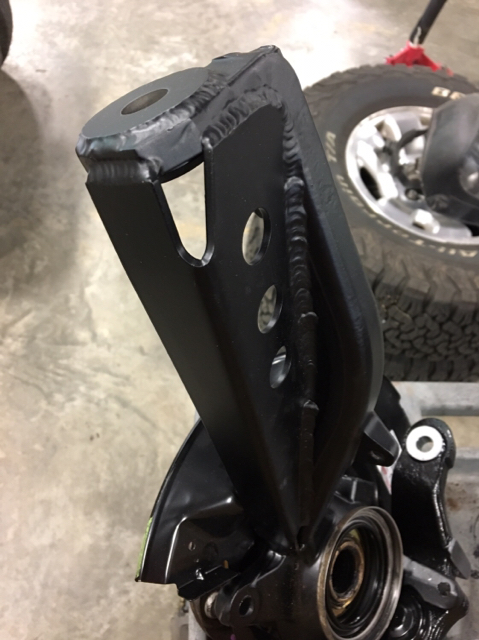
- Total Chaos Spindle Gussets
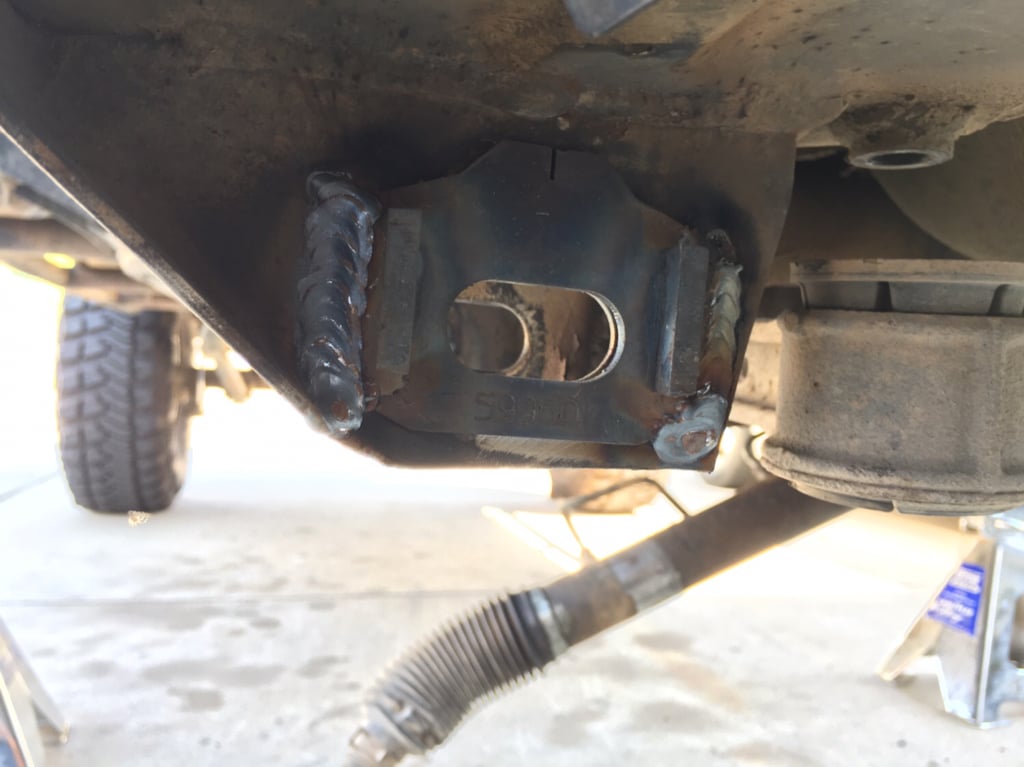
- Total Chaos Cam Tab Gussets
- Energy Suspension Polyurethane steering rack bushings
- Wheeler's Offroad Superbumps

If the baby can hold out till next week, I'll have time, but if not, I have no idea when all this will get done. Still need to replace the gas tank and build a skid for it too.
 
[MENTION=28464]eimkeith[/MENTION] For the money, I think they are great for someone that doesn't have access to a brake and a plasma cutter. The spindle gussets needed some grinding to fit properly but other than that they fit well. Same with the Shock Tower Gussets. They needed just a small amount of grinding to fit tightly. The cam tab gussets fit perfectly with no issues other than the tabs having a little bit of surface rust on them, that needed to be wire wheeled off. I'd say do it! Might want to check your motor mounts while your at it too since the shock tower gussets will make a motor mount swap a little more difficult since they block the way from the wheel well. Overall the parts are all pretty simple but wouldn't be worth much time to make since the parts are already priced pretty well in my opinion. I had a buddy that made his own gussets but he had access to a full fab shop, even then I probably would by them since they are pretty cheap and my time is worth more than making these little parts.


Spindle gusset fitment

c6d0fcb233d3c53508741f900fa4828b.jpg


You can see where I had to grind for proper fitment.

b67dd018fe256adb6e9808d8825517e1.jpg


They welded up nicely.

c811986ea675cab956d1f494c37d6b76.jpg


Shock tower gussets

f4bd0f265ef7996f3b30c2f437a3feaa.jpg


b34f43609575aebfff88b14b344a9ecf.jpg


Cam Tab Gussets

ef6fc73860d4de26521b5f0fc1f1fc91.jpg
 
Your spindle gussets fit much better than mine did!

9f0845d6f959a848962db8554f1798e3.jpg


I've gone ahead and ordered the strut tower stuff also - it's too cheap not to do it.


Sent from my iPhone using Tapatalk
 
Last edited:
Just a few other notes from this weekends project. Went ahead and skipped the poly steering rack bushings. The ones on there now are still in pretty good shape from last summer and I'll need a new rack soon, so I'll wait till then to install.

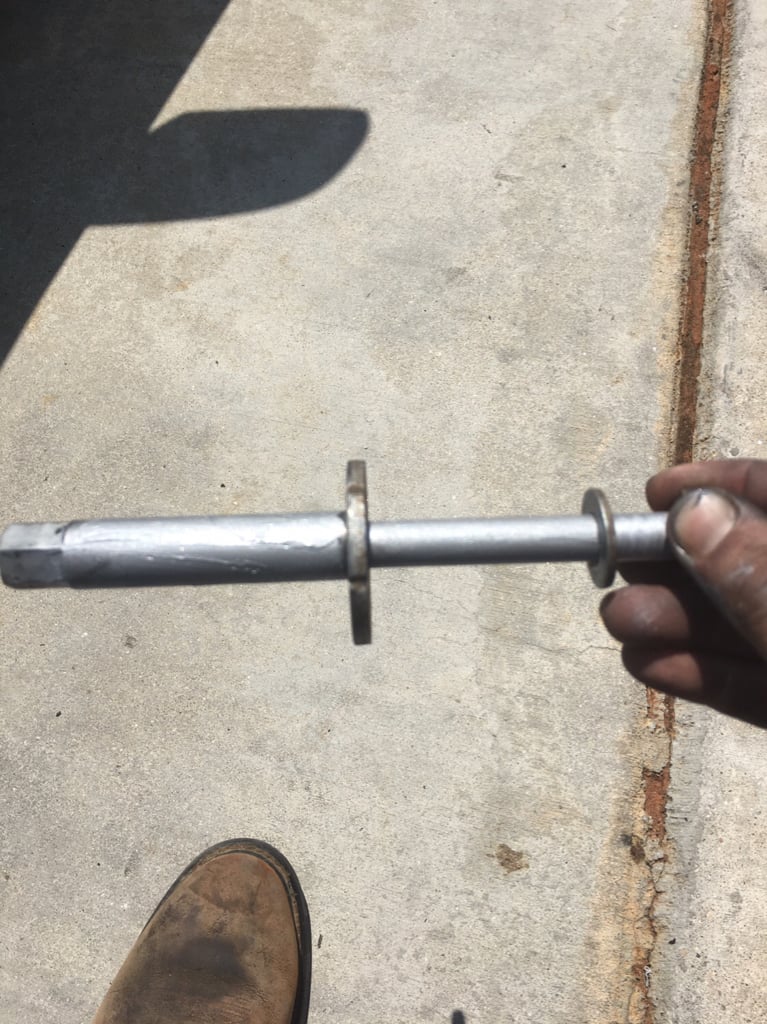
The middle steering rack bolt that goes through the rack vertically has always pissed me off. Anyone that has pulled the rack before probably had the same feeling, especially when the motor is still hot. So I just hammered a socket on the welded on nut and cracked it off with an impact wrench. Now it's much easier to remove the bolt.

ff86f4c3accc86ccf51a0bf3f2493d7d.jpg


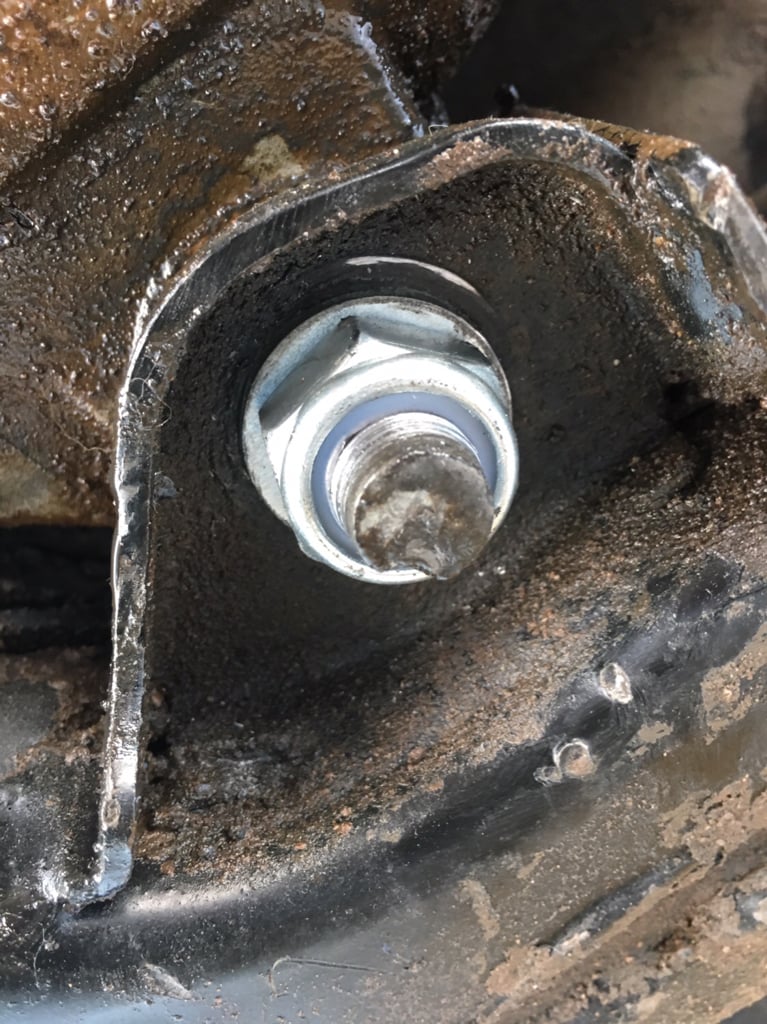
After hearing all the shitty stories about cam bolts seizing up, I always throw a light coat of Anti-Seize on them to avoid any issues.

bb99d52d927ed3000f81a1951d39744a.jpg


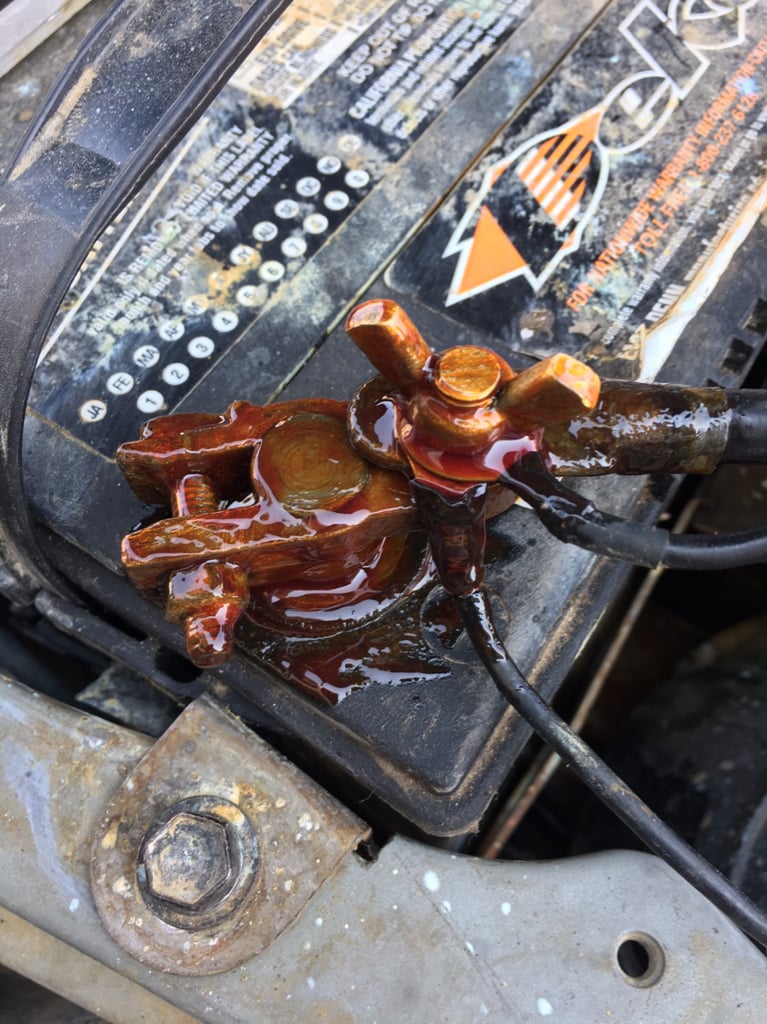
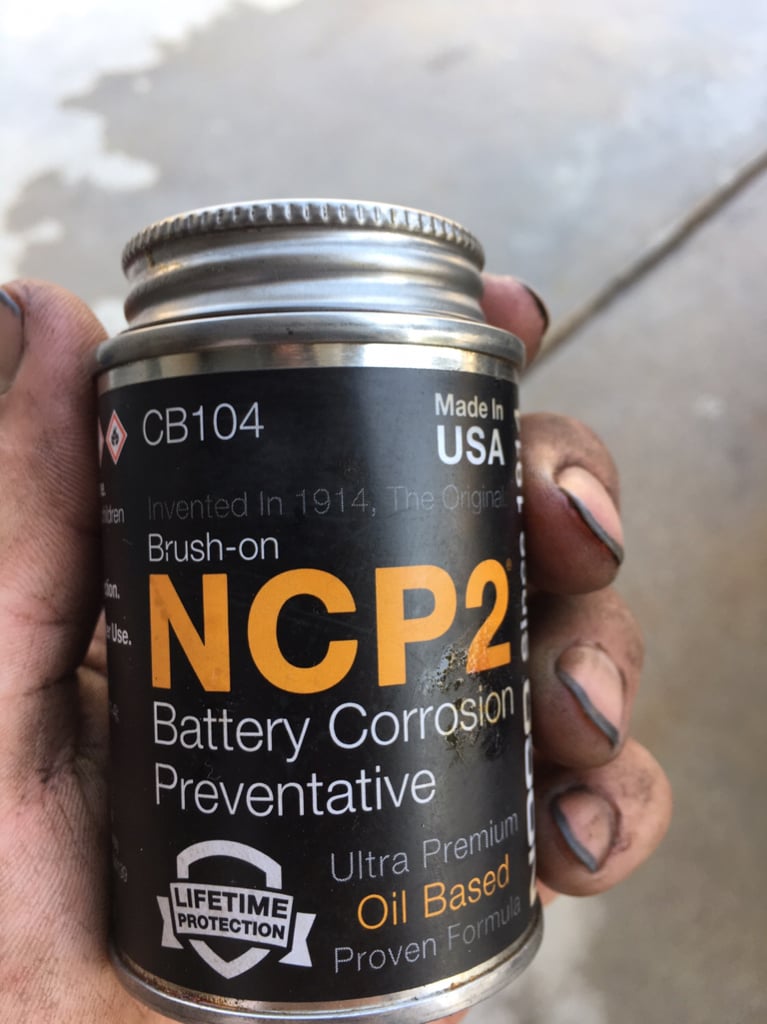
I've always had issues with corrosion on my battery terminals. I used to coat everything in dielectric grease but eventually the corrosion would come back a couple months later. Decided to try this stuff. It's got a bunch of good reviews on Amazon and only cost like $8 so I decided to give it a shot. We'll see how it holds up.

3c0be04d94a0c31d10e846f54f56ce55.jpg

603b6615cc8deb9c5b2534f546020758.jpg


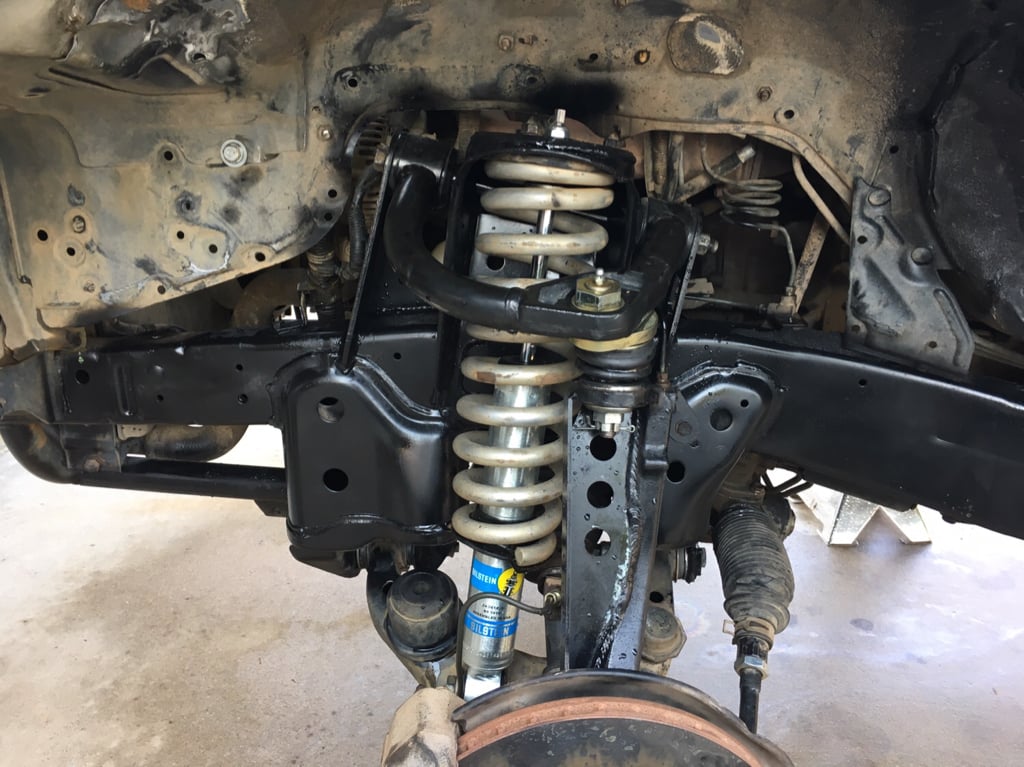
While everything was apart, I went ahead shot a quick coat of paint on everything. Looks so much better for just an extra minute of my time. Next time I have the wheels off, I'll coat the inner wheel well with some bedliner spray that I have in the cabinet. Shoulda done it while I was there, but didn't think about it at the time.

6498f6bc5e7842bf5d6dba94f311ef6a.jpg


Oh and couple other things I forgot to mention because I didn't snap any pics of was the passenger side steering rack bolt that comes out of the crossmember. The damn welds inside the frame broke, causing the bolt to spin freely. Luckily the end of the bolt is hexed for a wrench. I was able to get the nut off without to much effort but no way I was going to be able to get the nut back on. Ended up cutting a little spot out to get access to the bolt and threw a weld on it. Shouldn't budge now. Also, like an idiot, I dropped the caliper while I was zip tying them up when removing them. Broke the hard line at the caliper. Had to grab a new hardline and bend it up to fit.
 
Last edited:
After hearing all the shitty stories about cam bolts seizing up, I always throw a light coat of Anti-Seize on them to avoid any issues.

bb99d52d927ed3000f81a1951d39744a.jpg

same problem here. - had to cut mine off today to get the old stuff off of the truck.


I've always had issues with corrosion on my battery terminals. I used to coat everything in dielectric grease but eventually the corrosion would come back a couple months later. Decided to try this stuff. It's got a bunch of good reviews on Amazon and only cost like $8 so I decided to give it a shot. We'll see how it holds up.

603b6615cc8deb9c5b2534f546020758.jpg

same problem here. also - my fingernails look just like that ;)


While everything was apart, I went ahead shot a quick coat of paint on everything. Looks so much better for just an extra minute of my time.

6498f6bc5e7842bf5d6dba94f311ef6a.jpg

what paint? (oh - same gusseting in my wheel well in 3, 2, ..)


:)
 

how are you prepping to weld? I exhausted all combinations of my tools this morning trying to prep for the strut tower bracing - and am now actually thinking about going at it with paint stripper since I can't get tools in there without collateral damage...
 
how are you prepping to weld? I exhausted all combinations of my tools this morning trying to prep for the strut tower bracing - and am now actually thinking about going at it with paint stripper since I can't get tools in there without collateral damage...


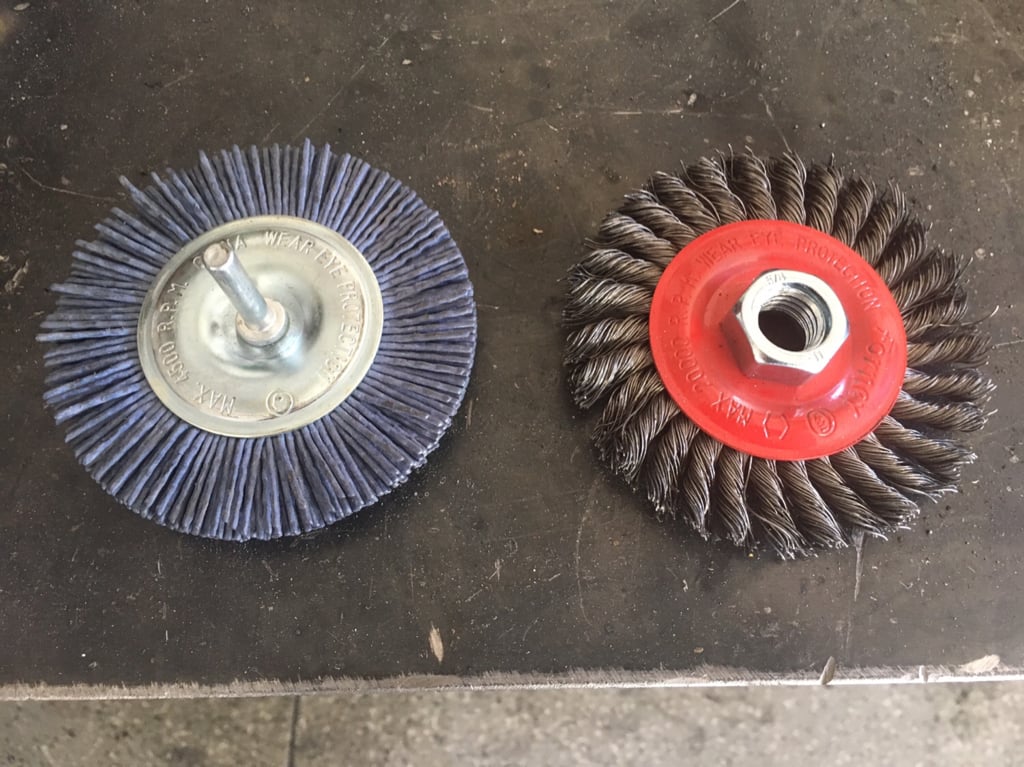
Used an angle grinder with a wire wheel and a drill with a plastic wire wheel. It's a pain it the ass for sure. I zip tied the wires and hoses and had them pulled back with a small bungee cord to keep them out of the way. The hard brake lines above the frame got moved by loosening the fittings and twisting out of the way. Made a lot more room to work but it was still a *****. There were a couple small spots that couldn't get bare metal so I just burned right through it.

6e49702a236891b726e344b991402e12.jpg
 
Thanks - I've pulled brake lines, zip-tied electrical; guess i'm going to the hardware store to look at wire wheels.

I do a lot of rust repair on old 911s, and I don't usually have this kind of prep issue - didn't see that coming!
 

Members online

Forum statistics

Threads
278,312
Messages
3,554,089
Members
248,016
Latest member
Advally Service

Trending content

Back
Top