Long Overdue...
Just sharing the rest of the Projector retrofit project I started as of recently. I tried my best to document the process as they happened.
SCRunner12 being the last member who finished the retrofit gave me enough encouragement to finally dive in and tackle this project. Also credits go to members who chose to retrofit for additional inspiration. So in short, for the kit I went with the Morimoto Mini Stage III H1 from The Retrofit Source. .
Alrighty...Before removing the stock headlights off the 4Runner, I pre-marked my headlights aim projection onto a wall from a certain distance, then marked where the hotspots are using a painters tape for reference. THe aim on my stockers were well-adjusted as far as height is concerned so I know I have a good reference for the projectors once they're on.
I pre-heated the oven at 265* and let it bake at that setting while I insert one headlight in for a good 12 minutes. Afterwards, I took the headlight out and started prying the lens from the reflector using a small flat blade driver. I was relieved to see the glass lens starting to separate as I went around the casing..
Already feeling like I could tackle just about anything at this point in the process..lol feeling mighty proud:naughty:
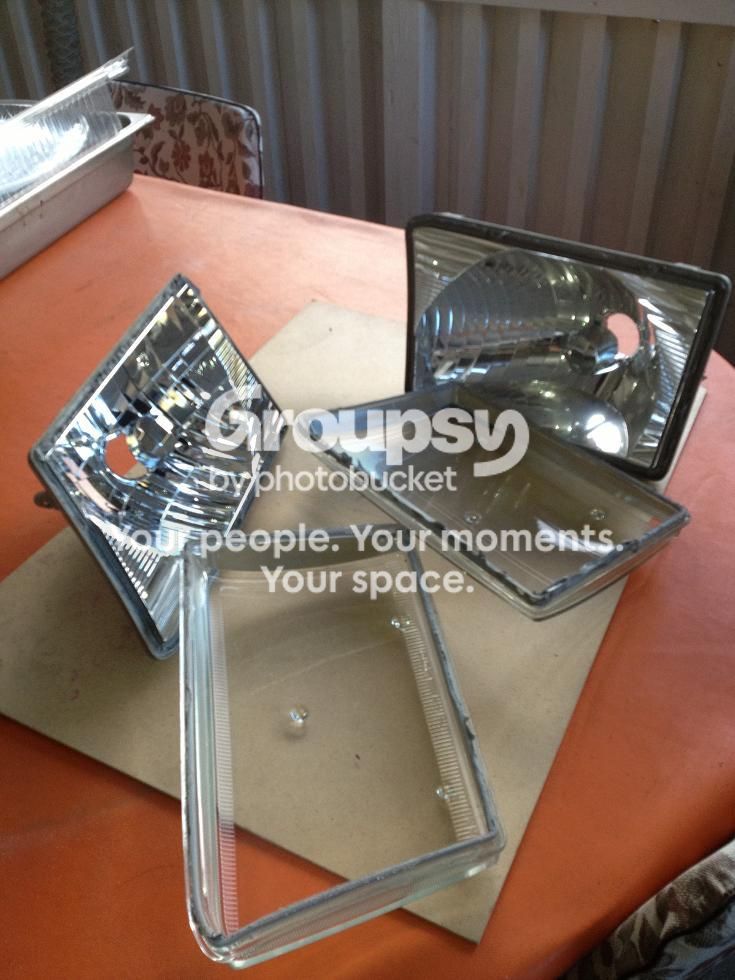
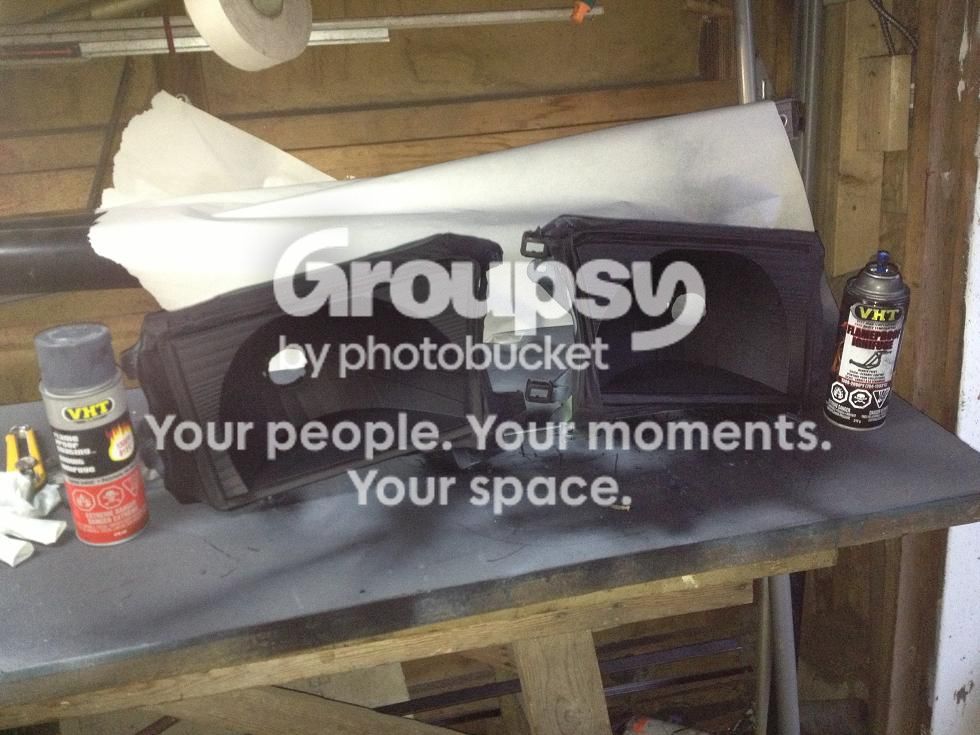
Here's the primed and flat black painted reflector bowls. Ofcourse this was done after lightly scuffing the good 'ol chrome off, taping the edges and dremelling(is that even a proper word?) out the 4 pieces of protruding plastic along the pre-existing holes in the bowl
While it isn't ideal to paint in a cold climate, I decided to power-dry between coats of paint applied. After all, even the instructions on the labels of the aerosol paints I used, indicated the use of an oven in between coats to fully bake the high heat paint...I really don't buy into it, I guess I just wanted to get the painting step over with. haha! By the way, I used VHT high heat primer & paint.
My oven substitute was to put the painted headlights in a closed box and then use my heat gun to replicate a convective heat transfer method found in.....well an oven!
Finally, the kit arrives, I wasted no time and installed the wiring harness in the engine bay ofcourse after inspecting everything in the package. And just like any other HID kits I've ever owned, its a cinch to install. You can definitely tell the quality of the harness from Morimoto.
When I turned the projector on for the first time, I noticed some strayed light leak from the back of the shrouds. And since I had no plans on incorporating other light effects like LEDS inside the shroud itself, I completely sealed any opening where usable light could potentially escape with an aluminum tape.
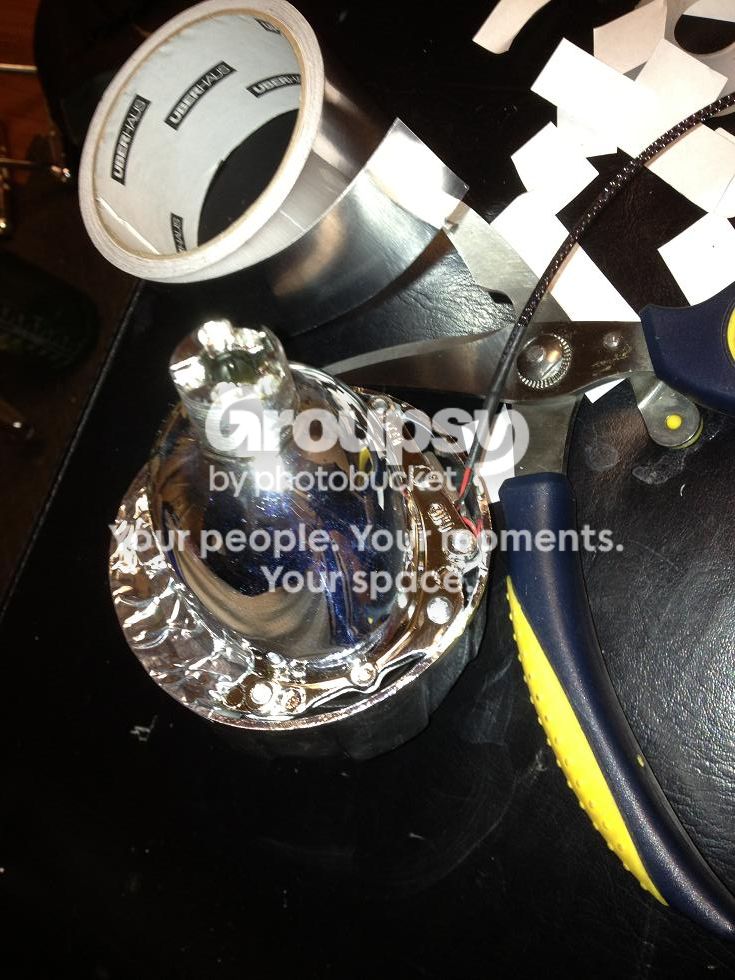
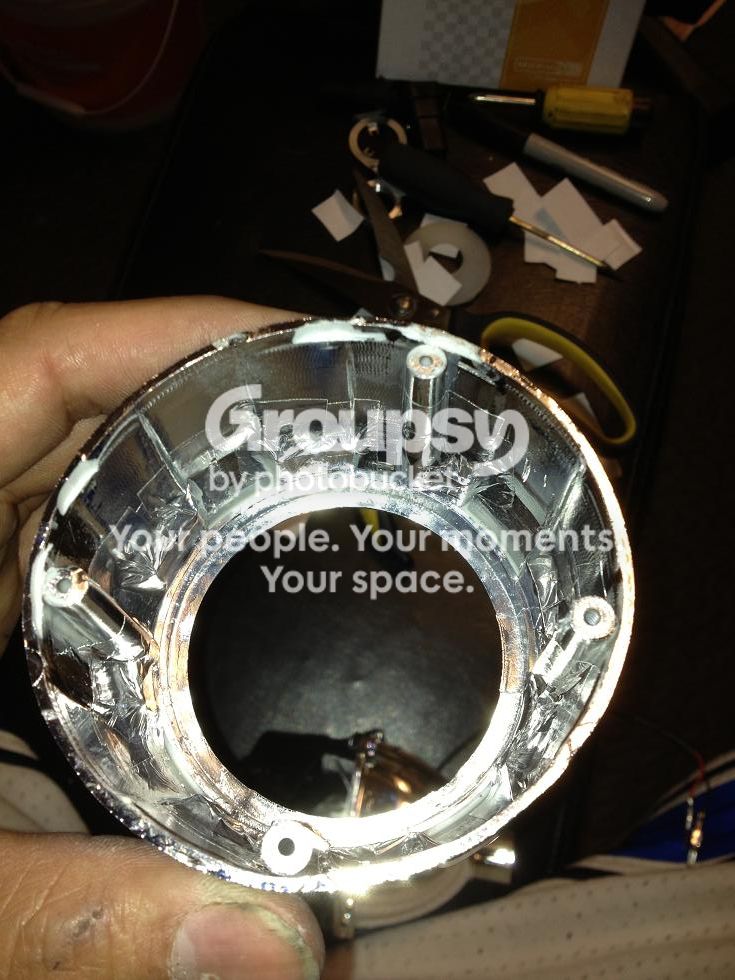
Almost there. I'm more than half way down to completion, I exclaimed. What could possibly go wrong when everythings falling into order the way things are rolling.
...........While chatting with my brother(Edwin) from California on the phone, and picture messaging him of the painted headlight/ projector, I once again like I already did earlier, decided to mock them up on the 4runner to showboat my accomplishment. On top of it, I went ahead and grabbed the glass lens and just laid it against the bowl, all the while confident that the re-sealing glue would hold it in place as I stare out of admiration from afar.
Well, the unimaginable had occured. 2 minutes later while I was 10ft away and on the phone, the glass lens fell under my close watch and met concrete. NOOOOOOOOO!:redbrick:
Found myself $90 poorer and was gonna be a week behind.. Lesson learned!
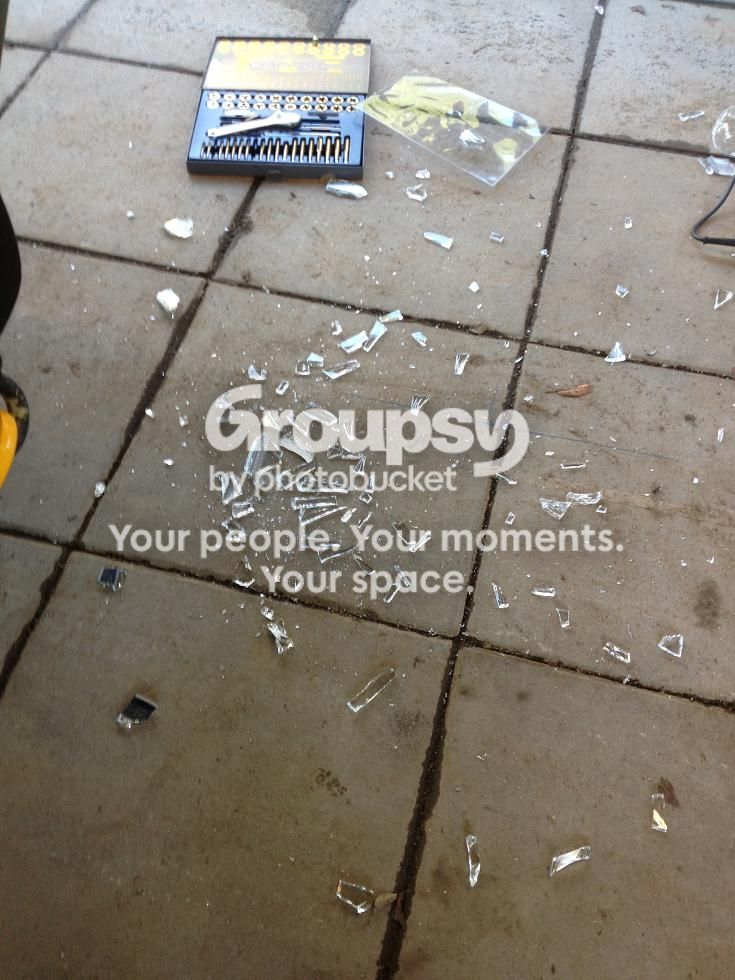
My project was at a screeching halt until the replacement headlight comes. Wait, I said my project, but I ordered 2 retrofit kits since now my brother also wanted one for his black 98. And so it goes that I finished his set first all baked up and sealed, while I impatiently awaits to get mine done.
Oh yeah, before re-sealing the headlights, I re-mounted them on the rig and did the necessary adjustments, more importanly the horizontal alignments off of both left and right projectors. Tighten the locking ring nut and onto the oven for re-sealing.
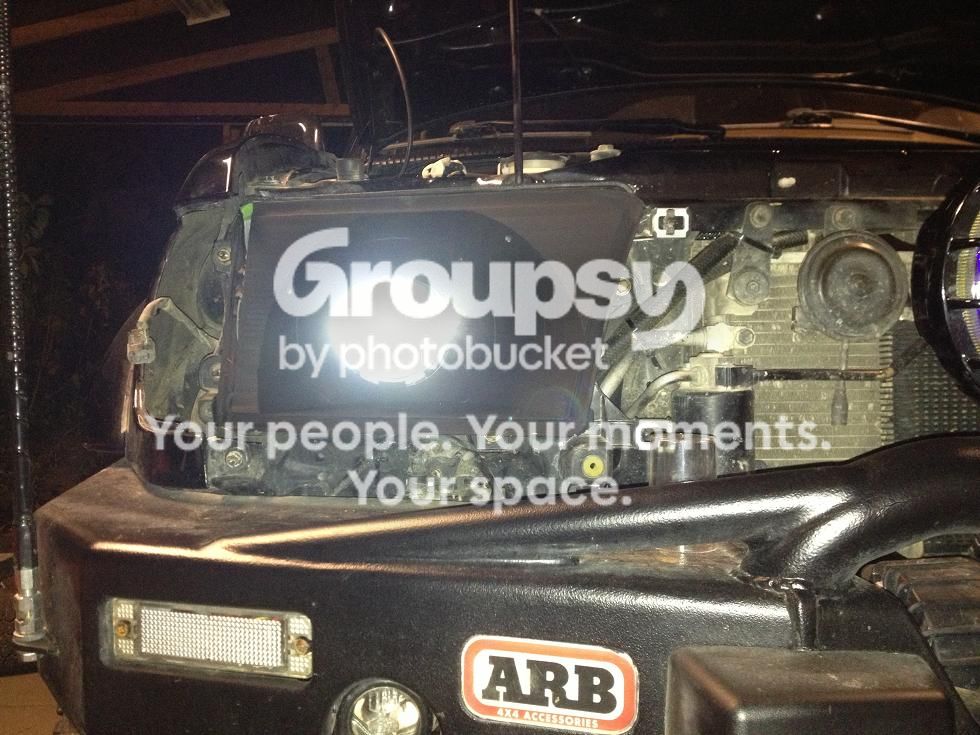
Green tape showing the marks that I needed to follow, off of the stock headlights beam marks.
Abit over-exposed shot. This was at about 10ft off the wall. Notice the narrow looking light output. This was due to the fact that the H1's have a foreground limiter built-in. Basically, another cut-off shield beneath that only lets light directly well in front of the vehicle. Foreground area not visible while driving is not illuminated. I kinda like that feature to be honest.

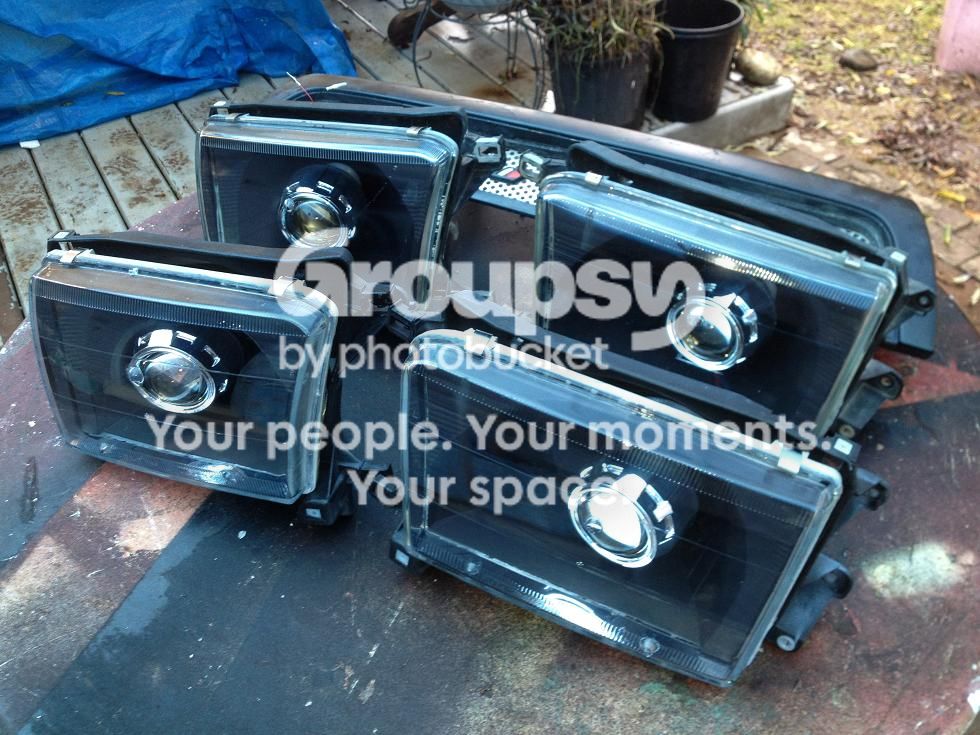
A week later, my replacement arrived and here they are both completed. Not bad for a noobie, i'd say!
Here's the extension of the first teaser photo I put up about a week or so ago in the 3Rd Gen Gallery section .
My brother Eric's 99 sporting my brother Edwin's retrofitted headlights.
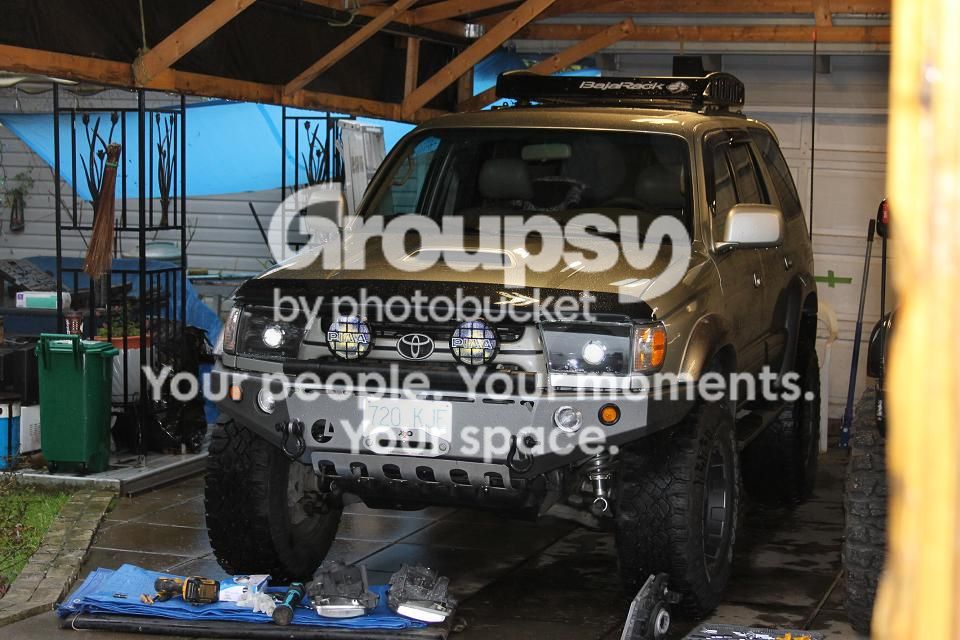


One I posted earlier. I do appreciate the "likes" this pic garnered everyone.