I've been getting PM's regarding what's involved in the installation of the tire carrier and since I'm guilty of not going into details behind the process, I just wanted to recap it and bring everyone up to date and hopefully shed some light on it.
Now anyone who can clue me in on how I can insert this addition on page 9 where this should've been to start with? Me don't know!
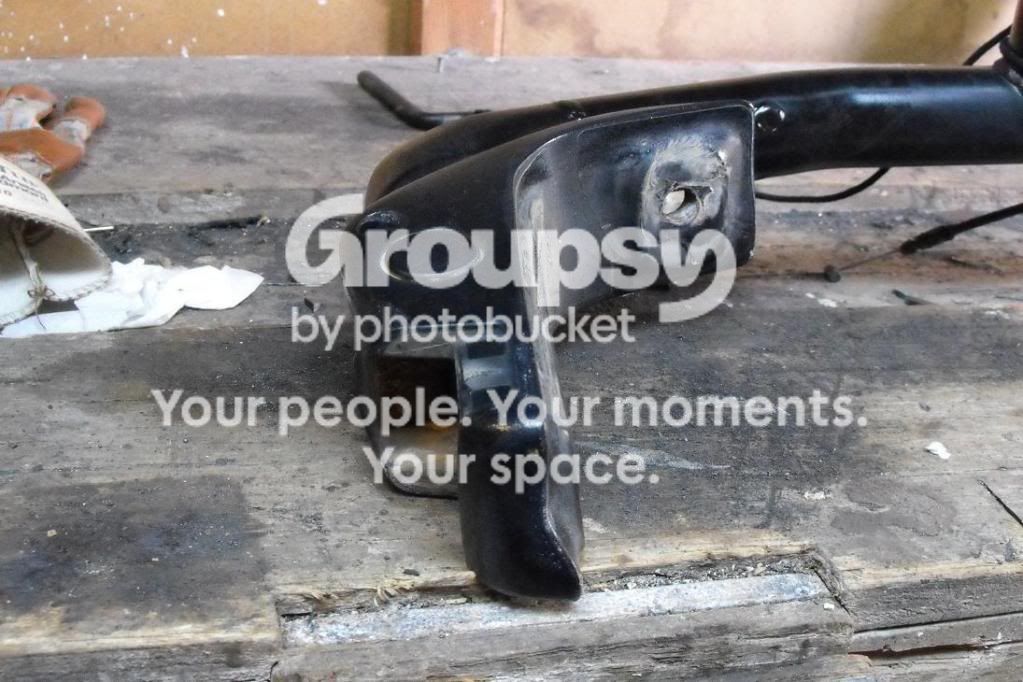
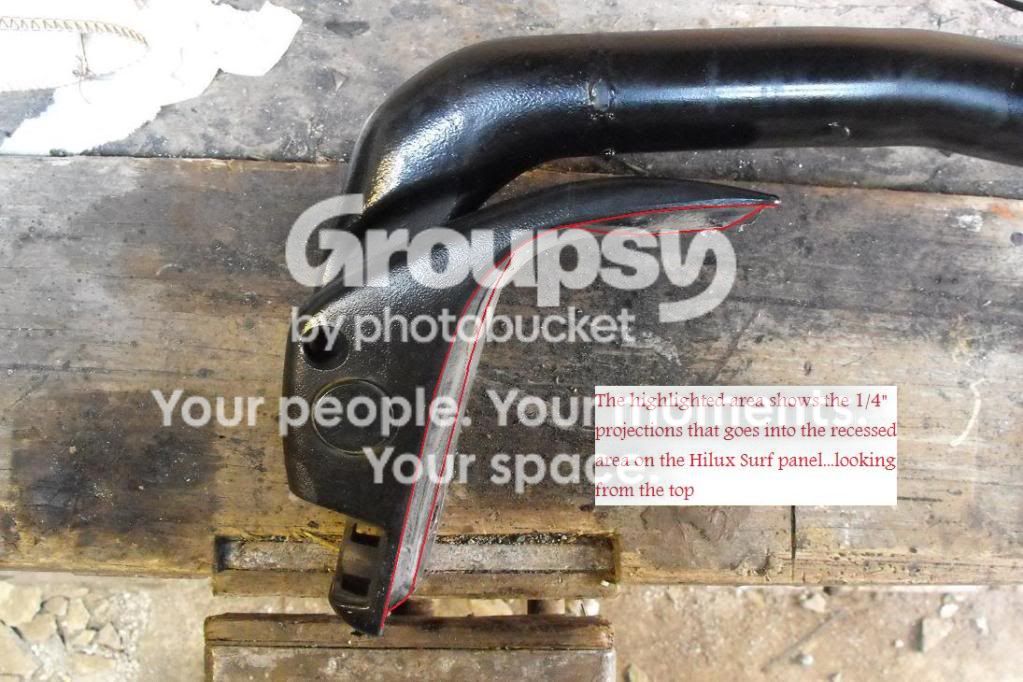
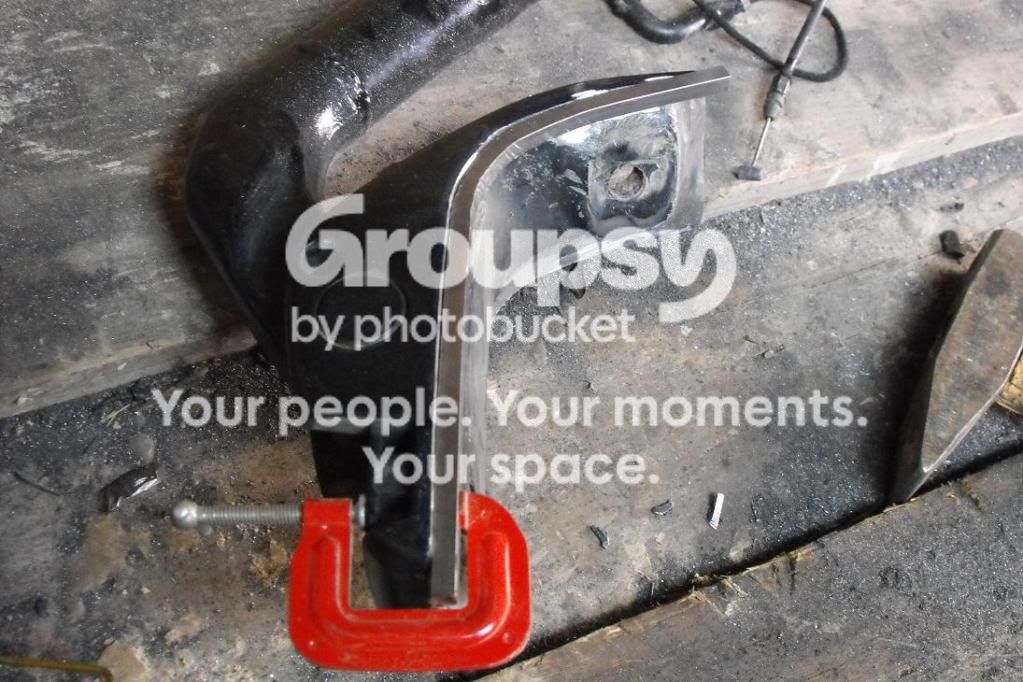
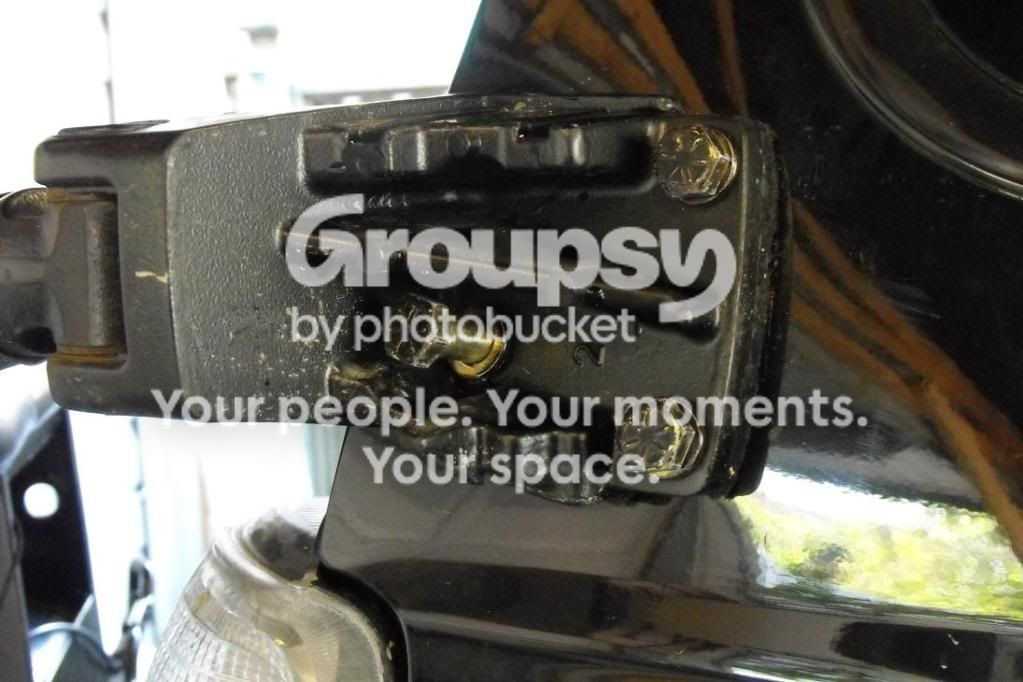
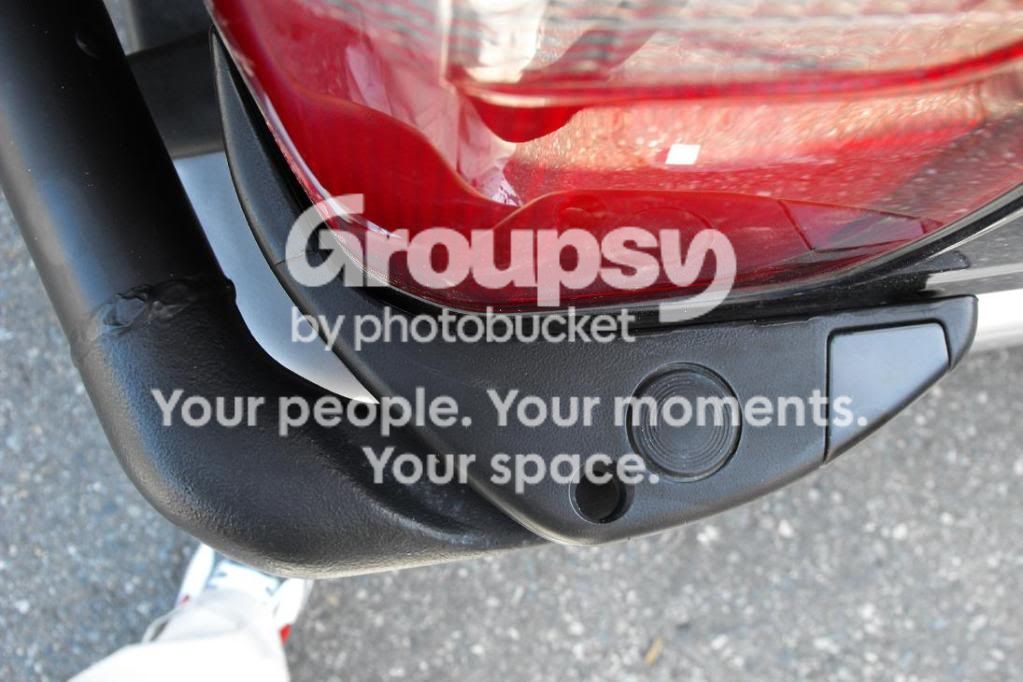
This is a shot of the lower hinge mount of the carrier that needed some modifying. See the projected areas on the middle? Without filling around the edges you will see a 1/4" gap when mounted on the body panel of the 4Runner.
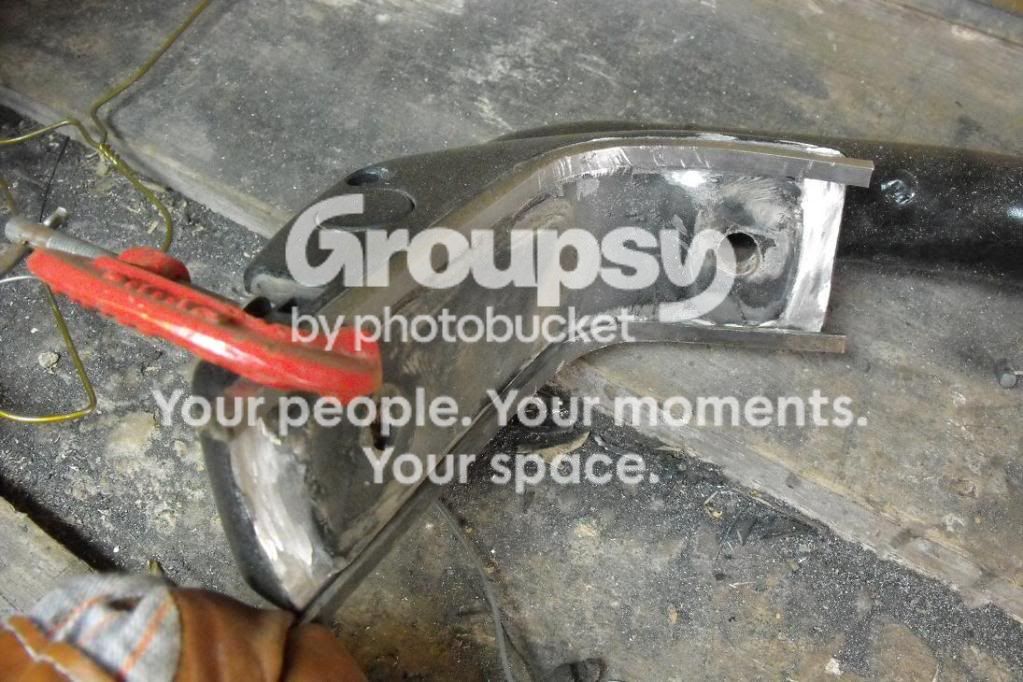
Now there are two ways to get this done. One is to weld a 1/4" metal rod around the hinge mount and level it flush with the projected area, or fill the surrounding area with fiberglass. If you're not that concerned about the way it would look with the 1/4" gap on the lower mount, then obviously this is a non-necessary step to bother with.
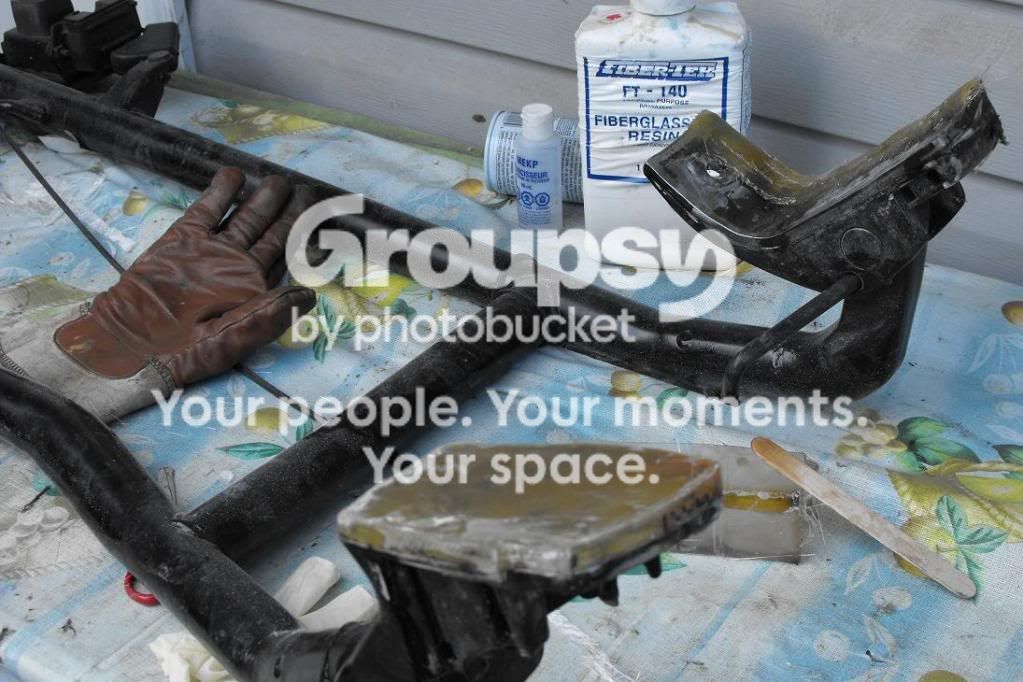
When I first did mine, I used the fiberglass method since I didn't have a welder then..and I wanted a more factory finish so I went ahead and did it.
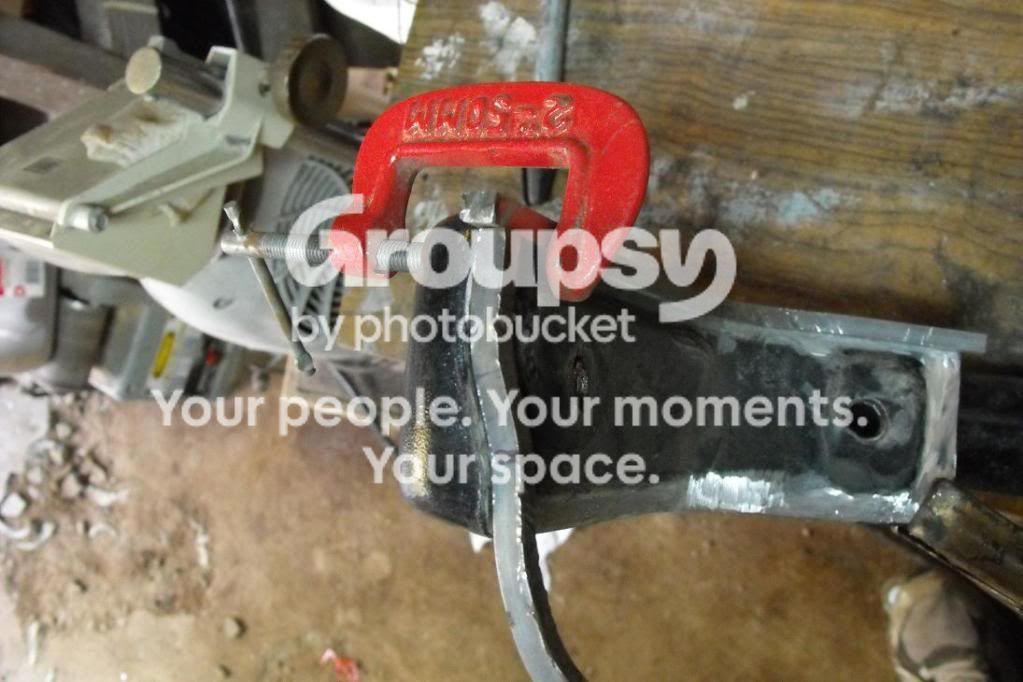
1/4" rod to be welded around the perimeter, then later shaved to the right height in reference with the projected area. The back end for example required little less than 1/4" to be flush.
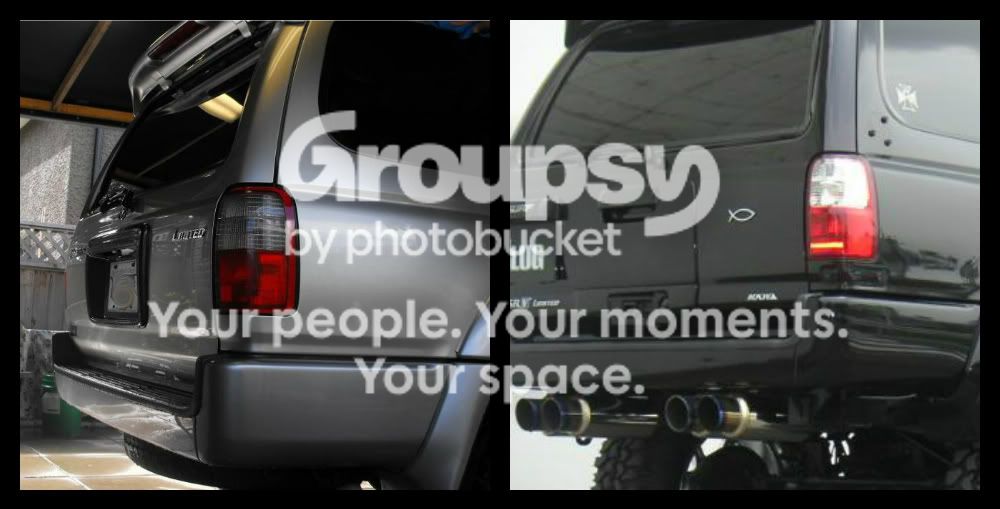
Compared to the 4Runner, the Hilux Surf has a recessed section below the taillight to accept the bottom hinge(pic below).
I also added about 3/16" fiberglass on the top hinge surface area to counter the 1/4" difference due to the protruded part of the lower mount when mocked up to the 4Runner. This is not completely necessary since the difference is just minimal.
Now determining the holes to be made is easy but have a friend give a hand in this process. After all you cant afford to make a mistake at this point. First lock the tire carrier then mock up the hinge mounts in place and while a friend is holding them steady, grab your marker and mark the location of the 3holes up top and one hole on the side of the bottom mount. The bottom could get a bit tricky because while the tire carrier is in closed position, you can''t mark the location of the rear hole since the horizontal tubing is blocking it, so this will have to be done obviously while the carrier is open.
You can leave the rear of the bottom mount for last and drill your holes and insert your bolts temporarily up top and one in the bottom side just to assist in holding the carrier in place, while a friend is keeping the carrier open you can mark the bottom mount hole location easier.
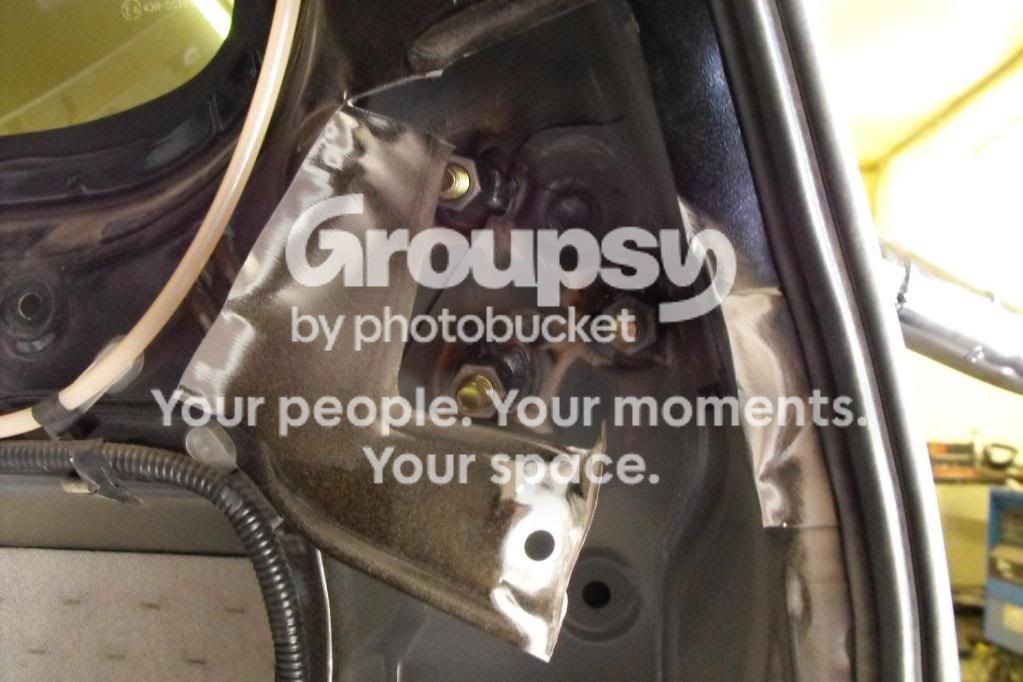
Upper mount bolts
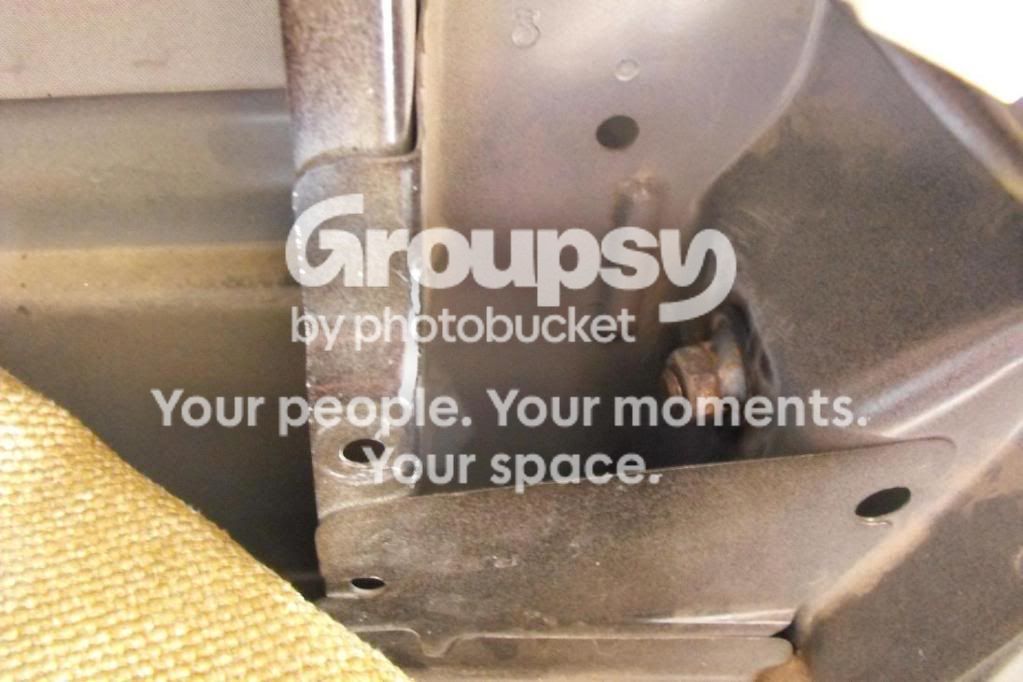
Lower bolts had to be atleast 6.5" long to get thru to the other side
Inside the panel showing the upper 3 bolts
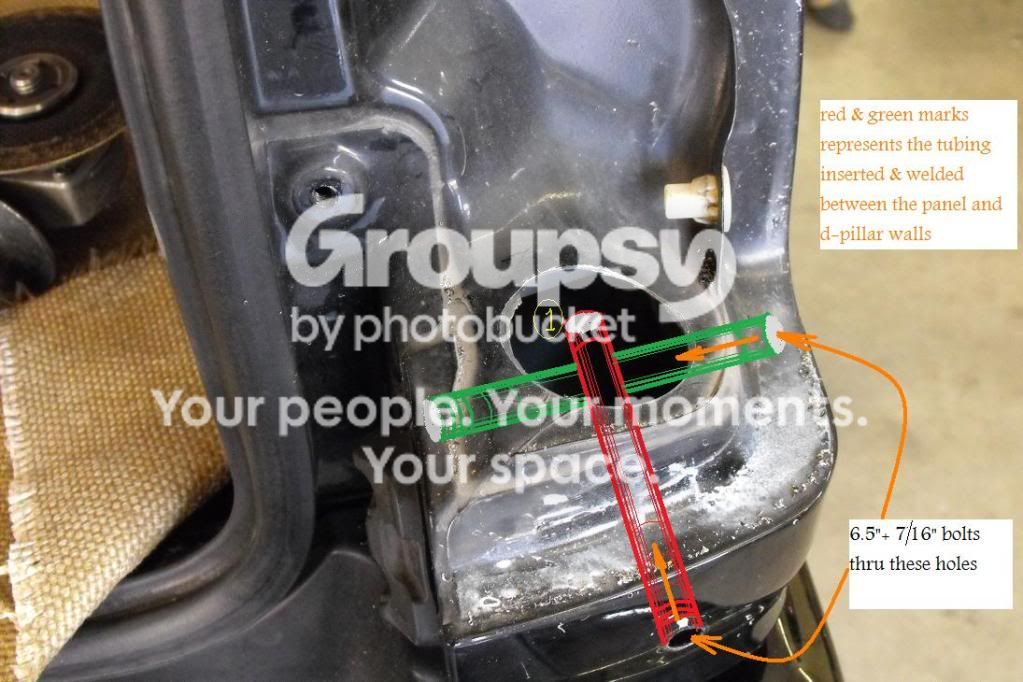
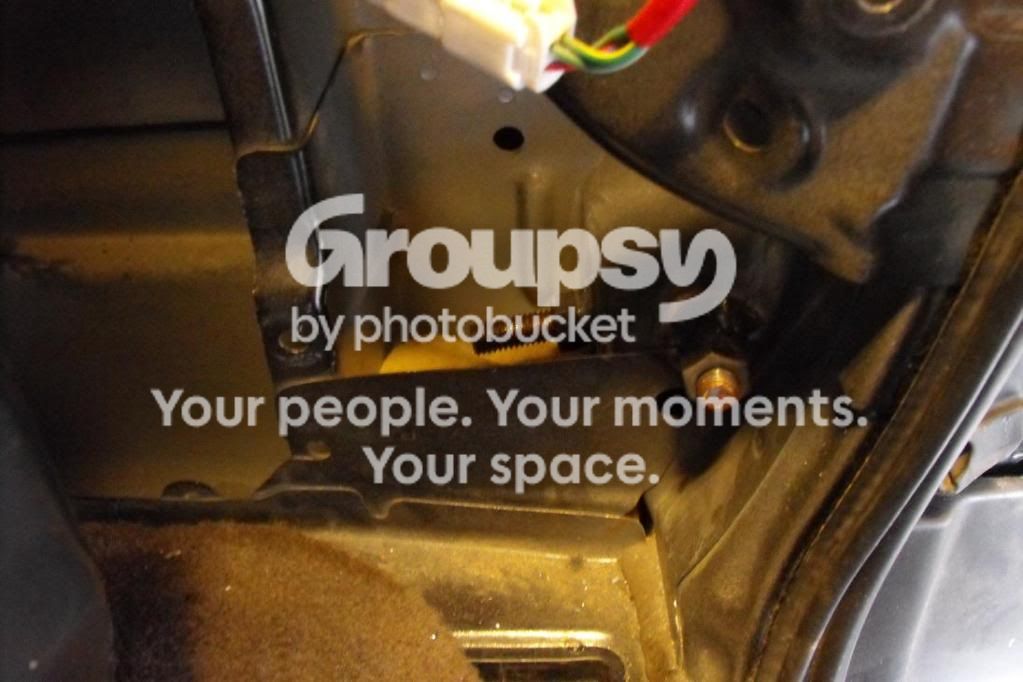
The picture below shows the taillight removed, a 2" diameter hole drilled on the base to gain access for inserting the 2 rigid wall tubings/sleeves that were later welded to tie in the body panel to the d-pillar walls. The two tubings/sleeves criss-cross one another one on top of the other. #1 encircled in yellow shows the end of the tubing at the d-pillar end...See 2nd photo for reference
Other end of the rigid tubing/sleeve welded. See #1 encircled in yellow above
Photo showing the two longer lower bolts installed
Basically, reinforcing the tire carrier involves welding lengths of rigid tubings/sleeves in between the body panel and the d-pillar. The bolts used are inserted thru these sleeves so when the bolts are tightened, the body panel won't get crushed. These sleeves not only act as spacers but a guide to easily find the nut on the other end to thread into. Also nuts are welded at the ends of the mentioned sleeves then welded on the d-pillar itself, to ease the process of mounting the carrier without the use of both hands. I used 7/16" grade 8 bolts and nuts for the upper mount. As far as finding 6.5" + longer bolts in 7/16" size for the lower mount, I couldn't find one so I used a grade 8 rated redi-rod and cut the length I needed.
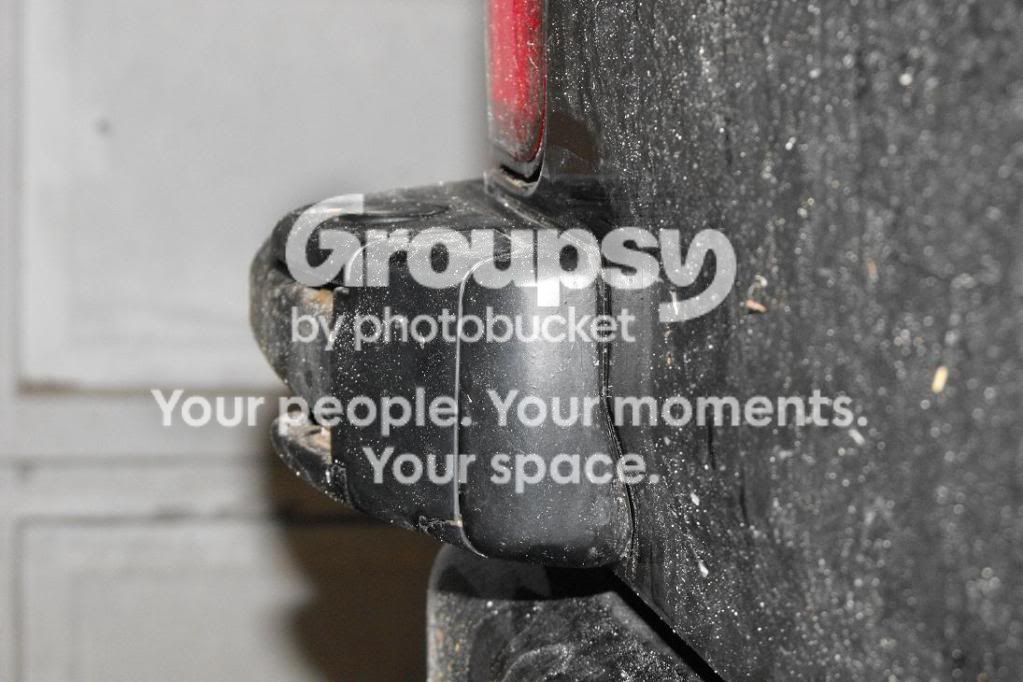
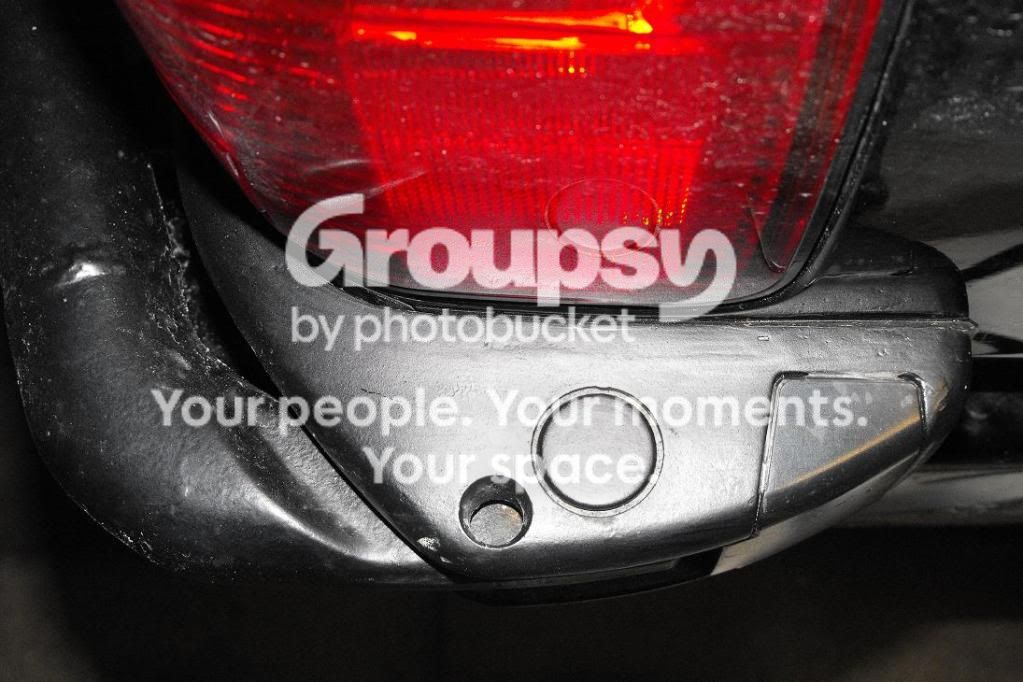
Here's are photos of the original Hilux Surf lower mount. There's atleast a good 1/8" of gap between the body panel and the actual hinge mount.
Here's my version, notice the area on the top and the side is much larger due to the added metal rod around the mount compared to the original version. Now it sits flush against the body panel without a gap. I adhered a piece of thick plastic on the hinge surfaces just to better protect the paint. The same material Toyota used on the tire carrier... I'm sure a thin rubber material would work just as well.
Lower mount
Upper mount
Good luck!