<Build Thread> Kenai, AK '99 SR5

Got as much prep work done as I could with the fitting of the Grille and the Winch so now was time to start in on the fun stuff.

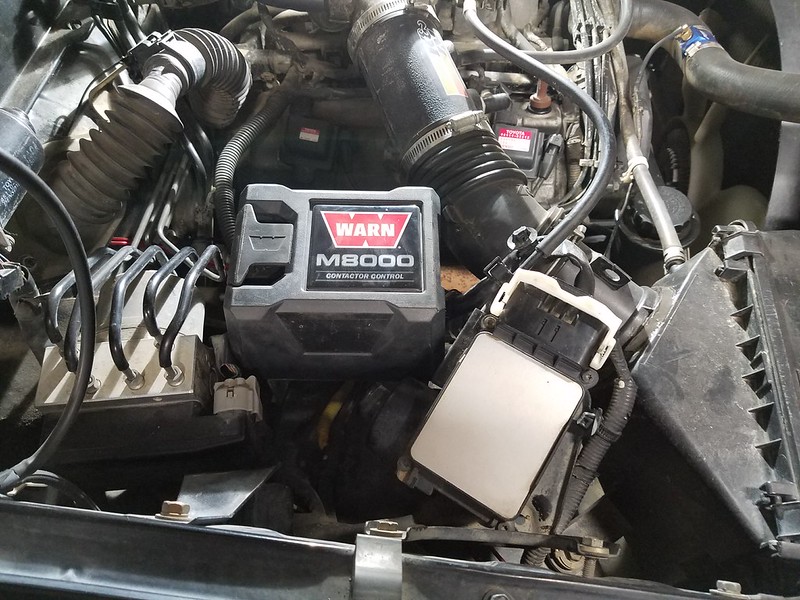
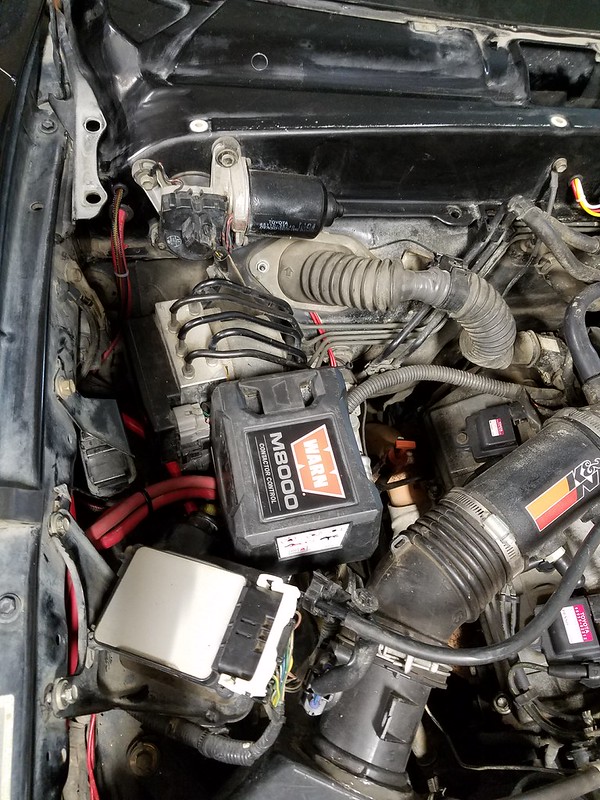
Fabbed up a bracket for the Winch Contactor Control and got it test fitted.
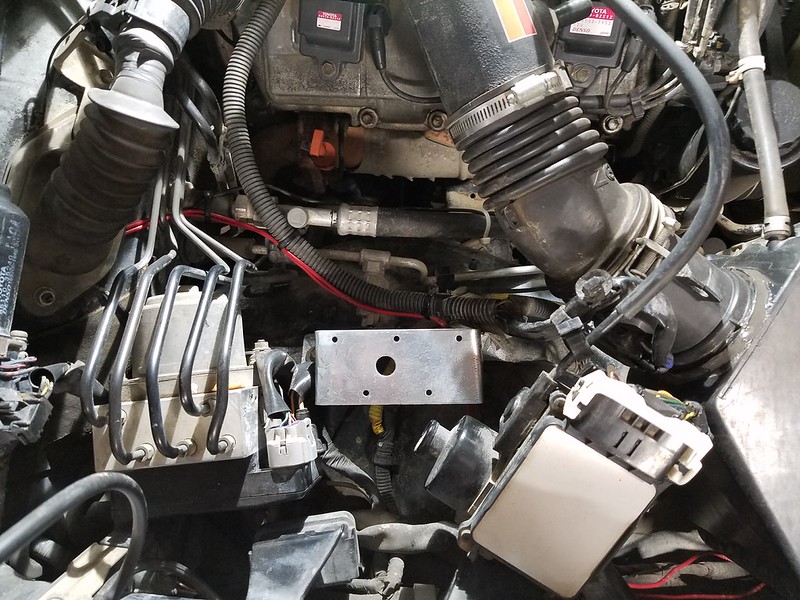
20170928_163102 by psraff, on Flickr

20170928_163433 by psraff, on Flickr

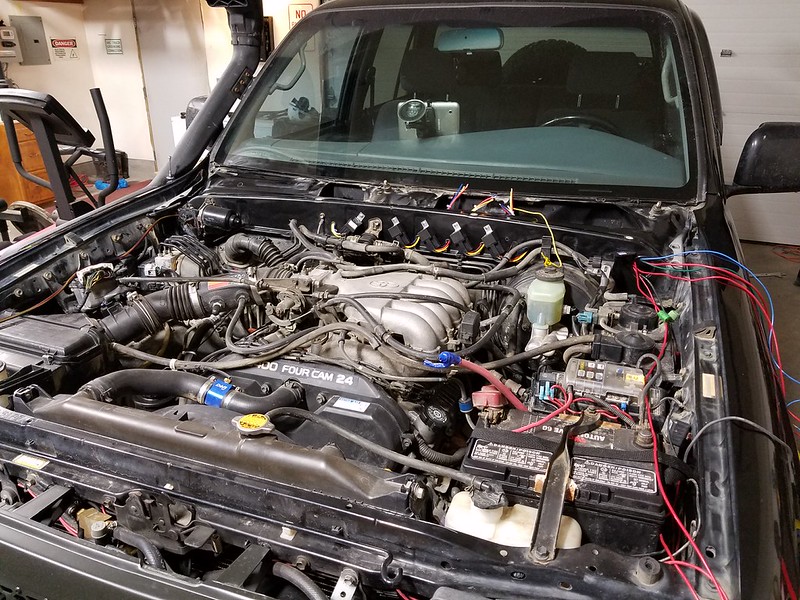
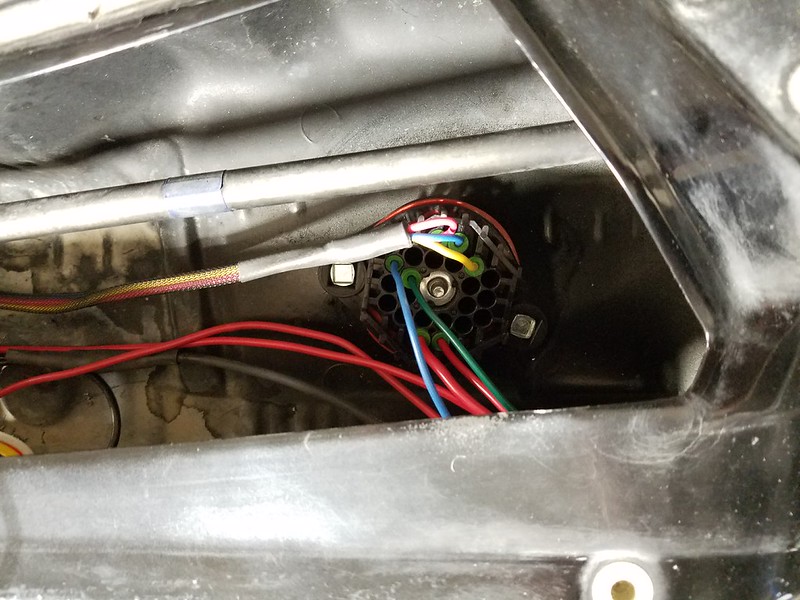
Then it was time to start making holes for all the wiring that I'm been designing in my head for the past few weeks. First, wiring up the bulkhead fitting.
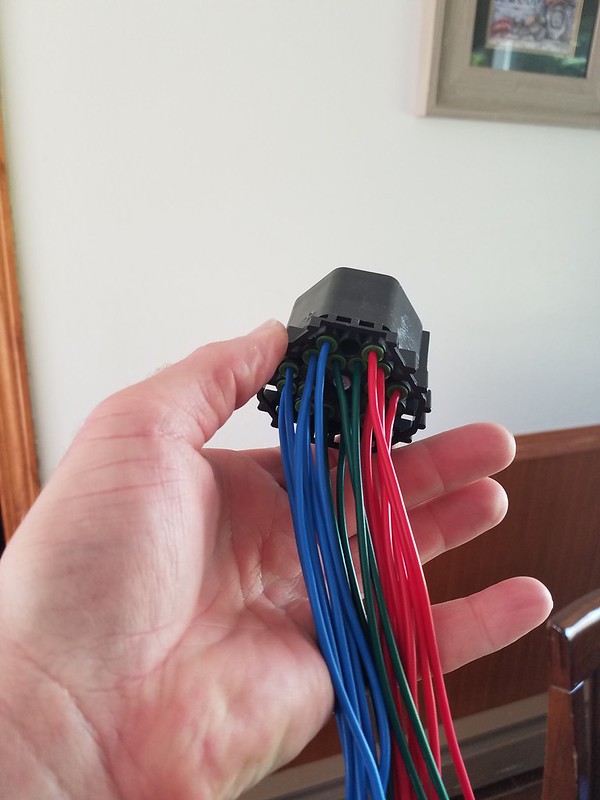
20170930_133911 by psraff, on Flickr

That's 7-Reds, 7-Blues, and 4-Greens. Don't have a use for them all yet, but since I'm doing it, I might as well make a few extra.
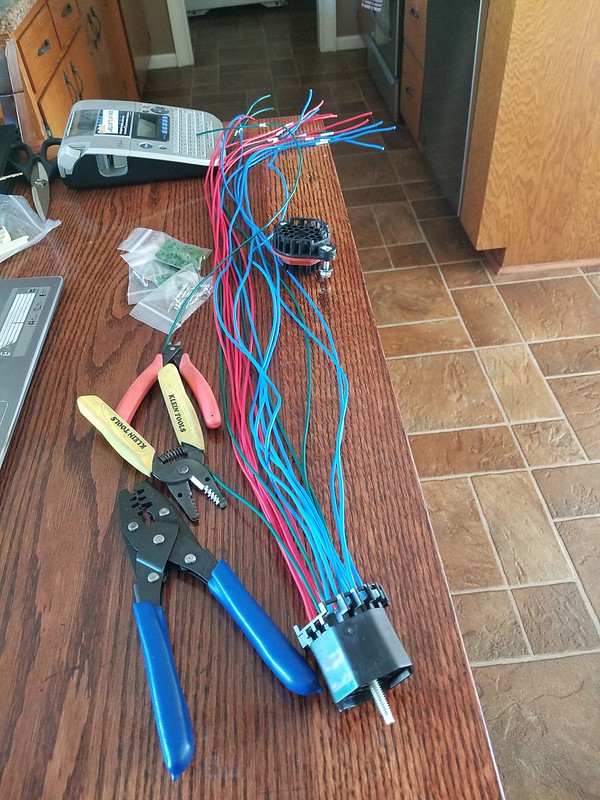
20170930_134038 by psraff, on Flickr

And then to the 4Runner:
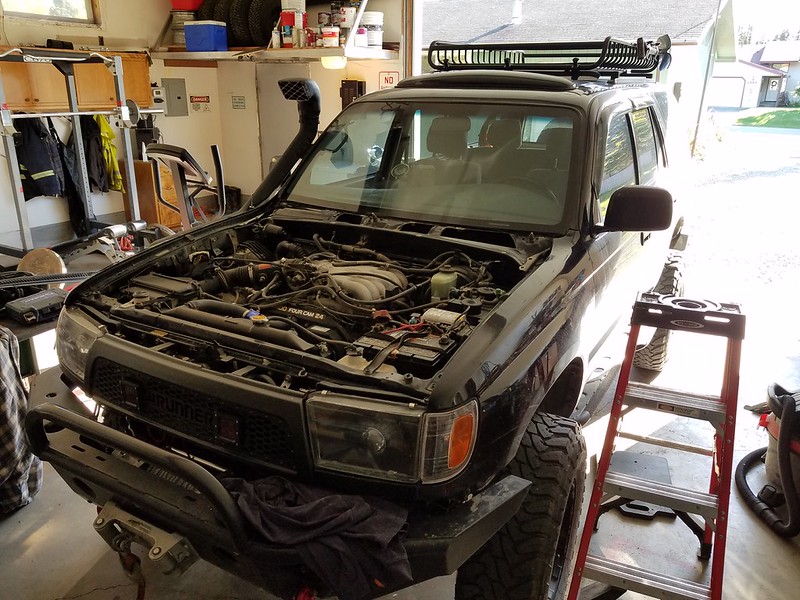
20170930_150005 by psraff, on Flickr

Bulkhead Fitting in:
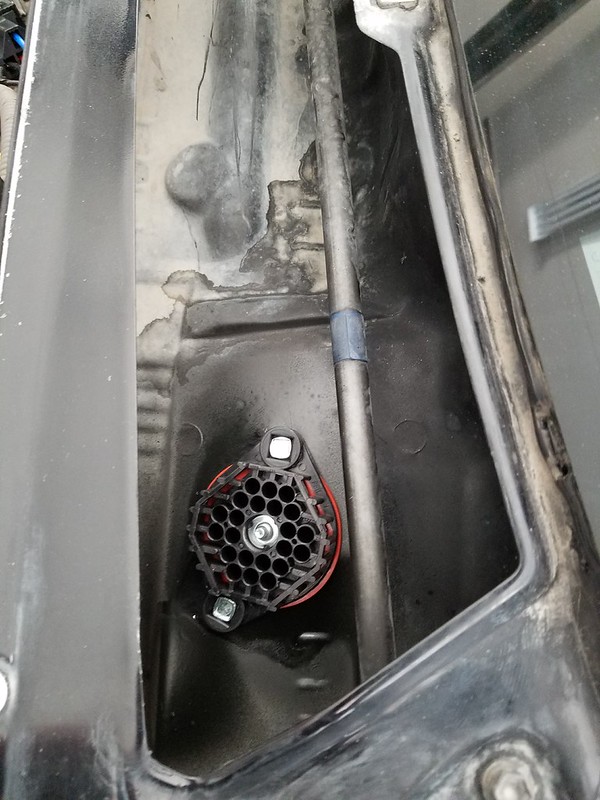
20170930_165401 by psraff, on Flickr

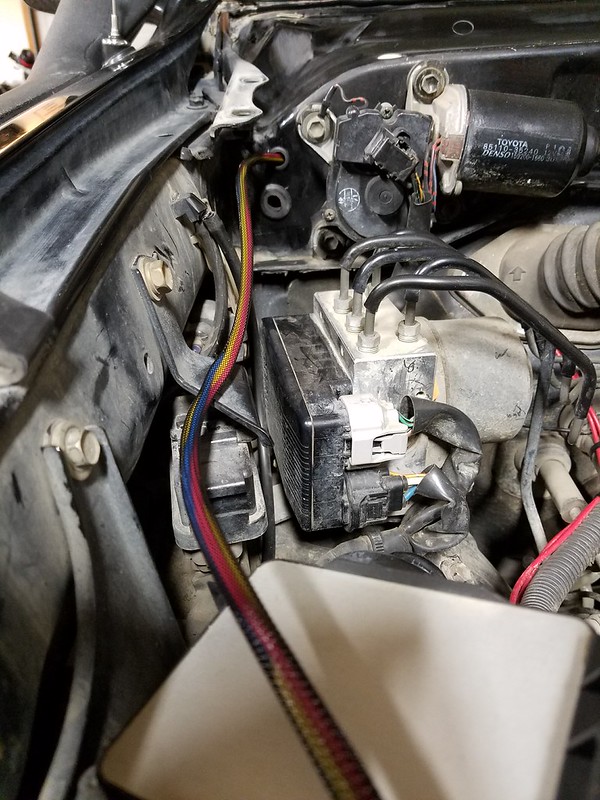
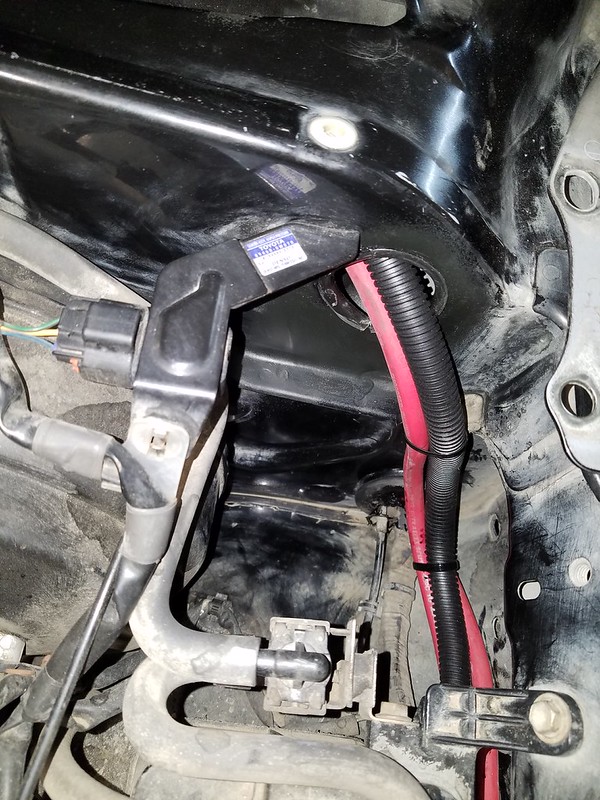
Backside with my wires and Snakeskin over them. Yes, that temp wiring is going away, and the Snakeskin will be pulled tight on the other end when I'm done:
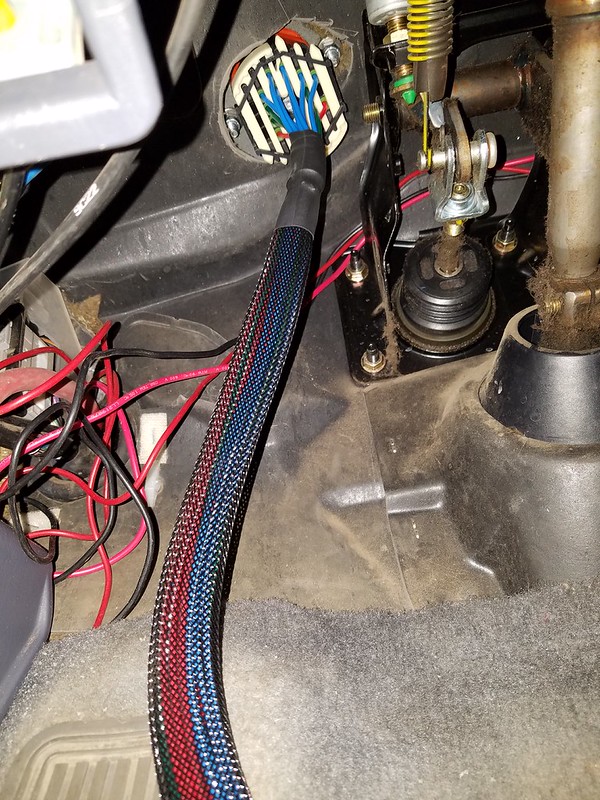
20170930_181847 by psraff, on Flickr

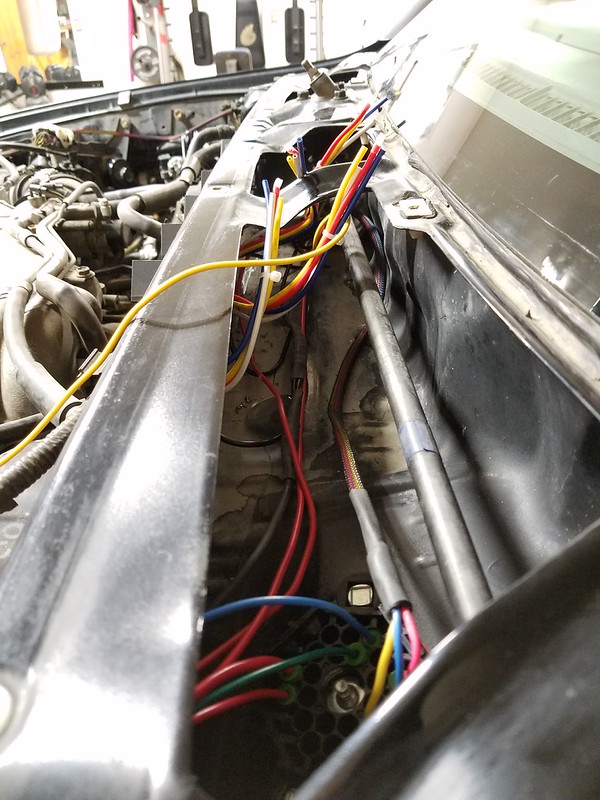
Hole for all the wires to enter the Engine Bay:
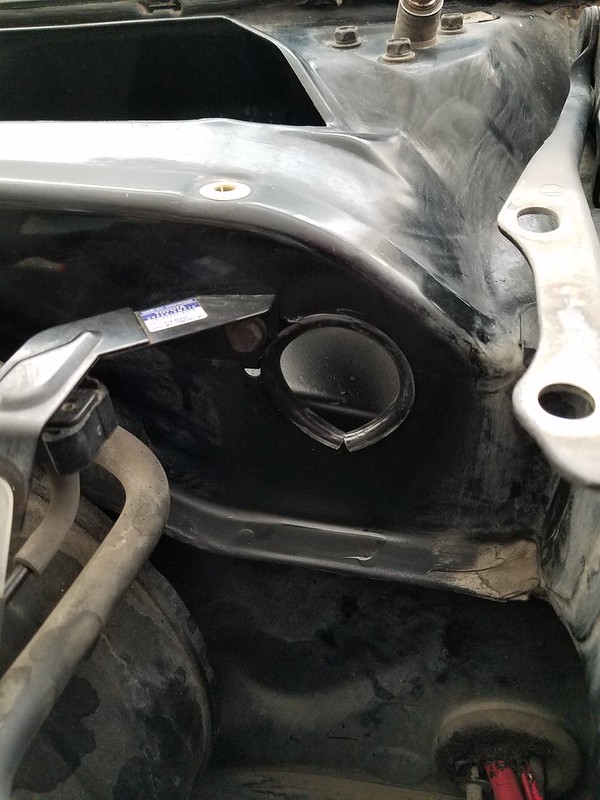
20170930_165353 by psraff, on Flickr

Relays:
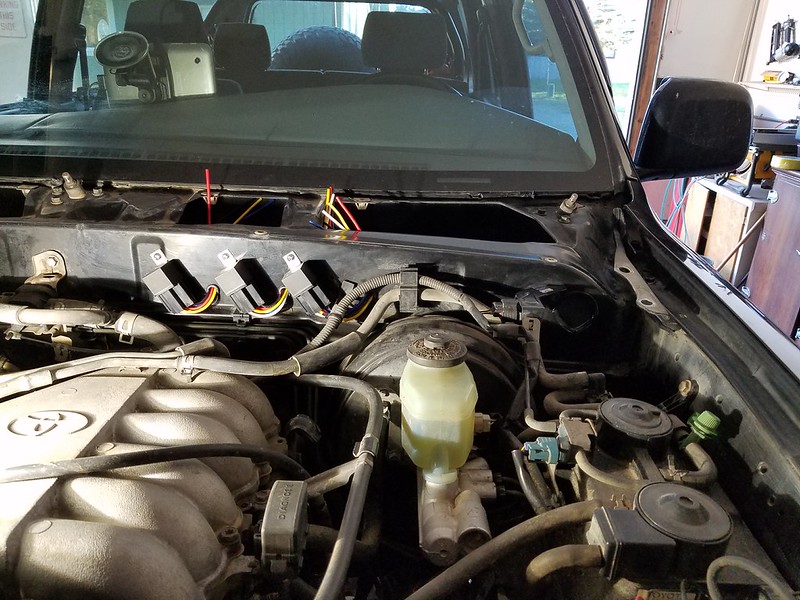
20170930_180750 by psraff, on Flickr

Tomorrow, I hope to run the 2AWG from the Battery to the Contactor Box, and get the Relays wired up and documented. That way I can put the truck all back together and the rest should be able to be done with the hood on.
 
Well timed post, I was wondering how to get the wires in from the engine bay. Where did you get the bulkhead fitting?
 
Good call. I did the same when I wired up my fuse box and relays. All those extra's are used already. lol

I actually have a box of 5 relays that I wanted to mount in that location instead if just three, but as I was looking at the layout I thought of running the wires through the grommets like I did which took up the extra space. Yes, I lost the space of two relays, but hiding all the wires is a huge plus in my book. I'll look tomorrow and see if I can put the other two farther down. Really though, I can't fathom what I would use them for.... LOL (Famous last words!!)

It's amazing how fast those "extras" get used up!
 
Well timed post, I was wondering how to get the wires in from the engine bay. Where did you get the bulkhead fitting?

https://www.amazon.com/gp/product/B0017NR110/ref=oh_aui_detailpage_o01_s00?ie=UTF8&psc=1

I can't take the credit. I got the idea from [MENTION=75445]4Running Daily[/MENTION] a long time ago. This was one of those projects that I had to do 5 other ones first before I could do this one. They were all tied in together and now I'm to the point where all 5 projects are coming together and now this has to be done so they can move forward again.

BTW: I just ordered these to fill in the few open holes because I didn't fill every one with wires.
https://www.amazon.com/gp/product/B00LWKIBEY/ref=oh_aui_detailpage_o00_s00?ie=UTF8&psc=1
 
Don't know how I got unsubscribed from your thread but solid work! Your wiring it's awesome.

Sent from my HTC6535LVW using Tapatalk
 
Don't know how I got unsubscribed from your thread but solid work! Your wiring it's awesome.

Sent from my HTC6535LVW using Tapatalk

Thanks Jeff!

Tried to follow up with you on the brakes and thank you again. I had the strange addition of those 6 meat hook pulleys added to them. Did those come from Amazon with the brakes?
 
Day Two, didn't get nearly enough done. Turns out I didn't have enough 2AWG to get from the battery to the Contactor so that really shifted my work scope some. Plus side, is I did get the other two relays fit in! Right now I have one wired up for my Tranny Cooler Fan. I'll use another for my Lightforce if I decide to put them back on (which I probably will)(DAMN, Need to buy another switch for them! Totally forgot!).
I was going to use one for my horns, but since they came with it's own, I was just going to clean up the wiring and move that one from it's location (you can see it near my dist. block) and hide it somewhere. I'll use these new ones for more important items.

20171001_165740 by psraff, on Flickr

This is how I'm routing the wiring to the Contactor Control Box for the Winch:
20171001_165802 by psraff, on Flickr

Organized Chaos right now. Once I get the 2AWG fed through I'll get it all organized.
20171001_165946 by psraff, on Flickr

Starting to plug into this side of the Bulkhead fitting.
20171001_165915 by psraff, on Flickr

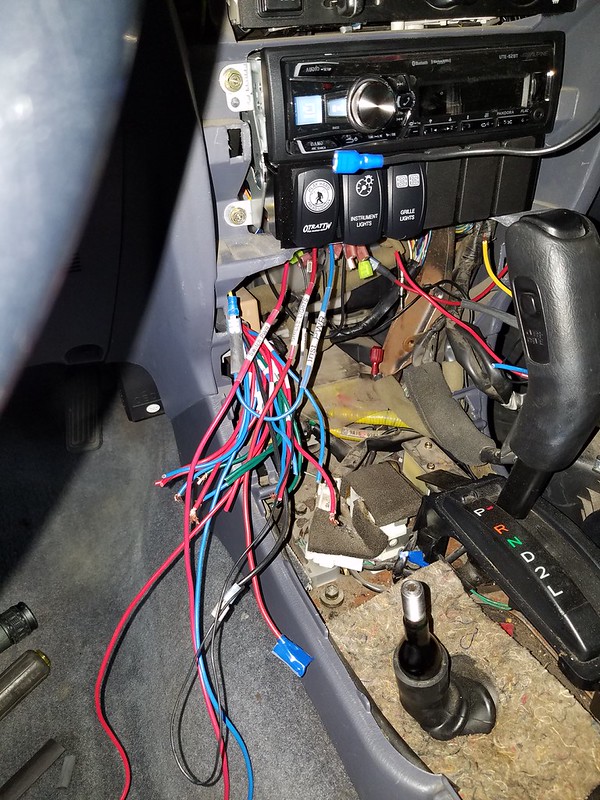
Also tore out the rest of the temp wiring and my dash is taken apart as well. Since it turned out I wasn't driving it tomorrow I figured I might as well keep getting the little things done.
 
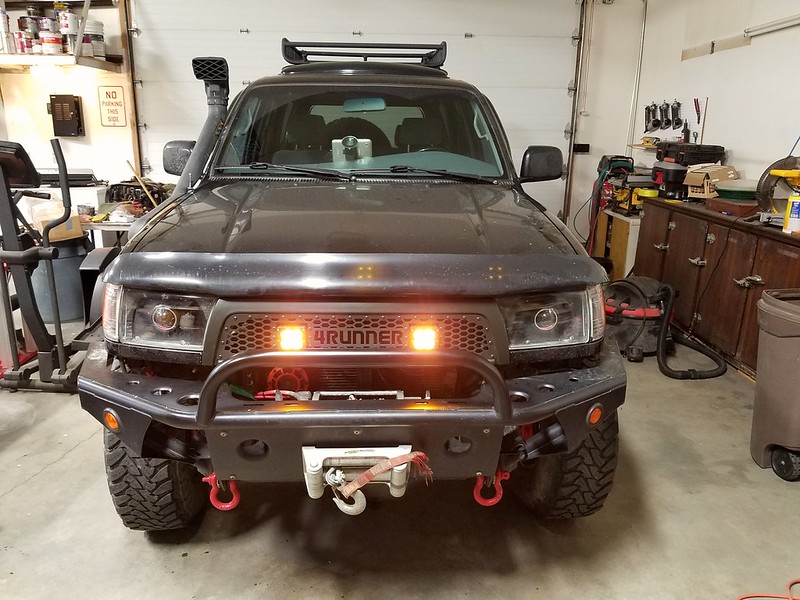
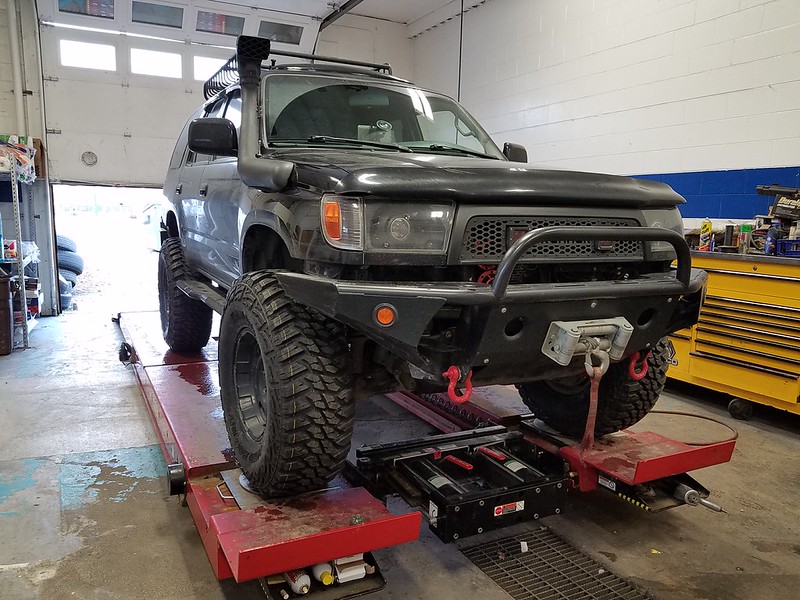
Besides a few last minute things to take care of, this phase is complete!!! (Yes, I know.... Bumper needs to be raised. Shut Up!)
2017-10-07_02-55-17 by psraff, on Flickr

I did end up cutting the back 5/8" off of the light pod on the drive side due to my tranny cooler and fan. The pods still stick out, so it's not 100% complete yet but at least they are installed and functional.

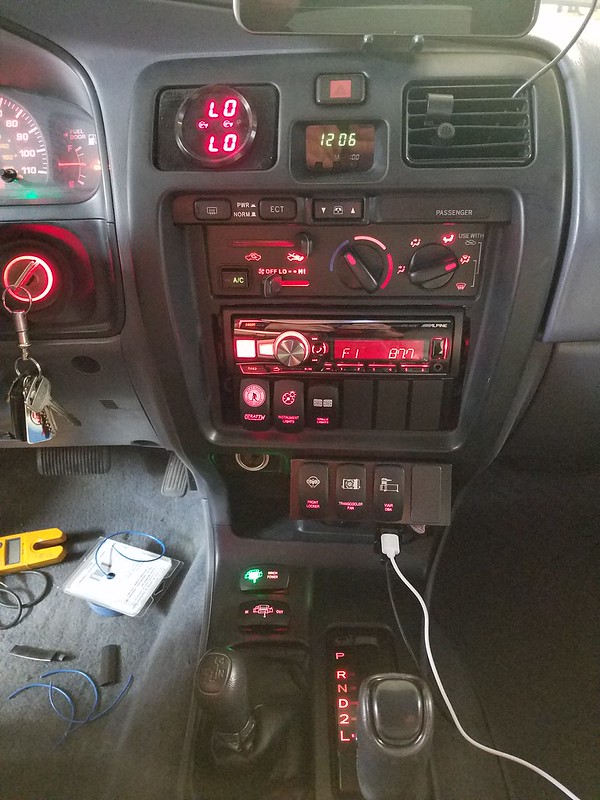
Switches are all wired up except my second winch control. I ordered the wrong one. I have the correct one on the way already. Note, to install them there you do have to move some wire harnesses around to get them to fit.
20171007_120706 by psraff, on Flickr

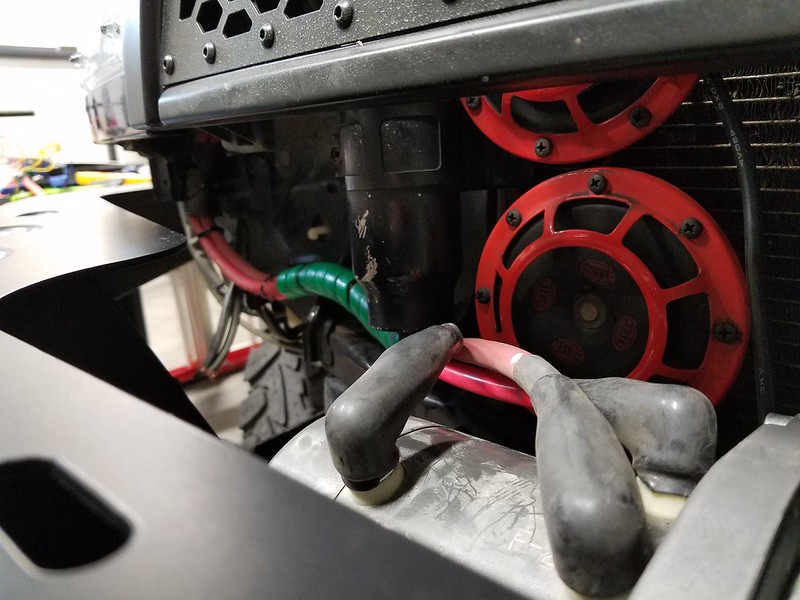
New Cables from the Winch:
20171006_071458 by psraff, on Flickr

20171006_071508 by psraff, on Flickr

20171006_072005 by psraff, on Flickr

20171006_071906 by psraff, on Flickr

20171006_202601 by psraff, on Flickr

Any tight areas I put heat shrink on the cables to help protect them. And it's not the shrink you get from your local Radio Shack....
20171006_072102 by psraff, on Flickr

My Harness was the perfect length!!! You would've thought I knew what I was doing! :shocked::shocked: I just did a rough measurement and added 6 inches....
20171006_224925 by psraff, on Flickr

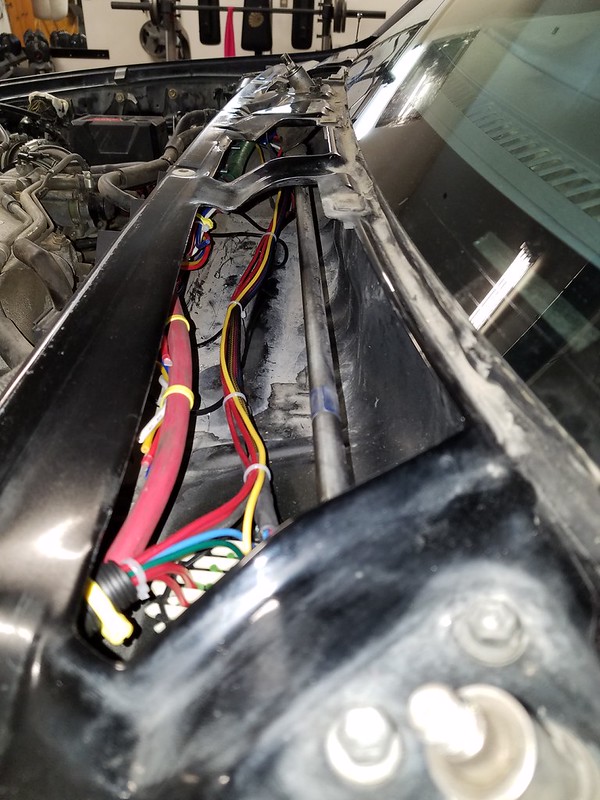
Wiper Area Cleaned up:
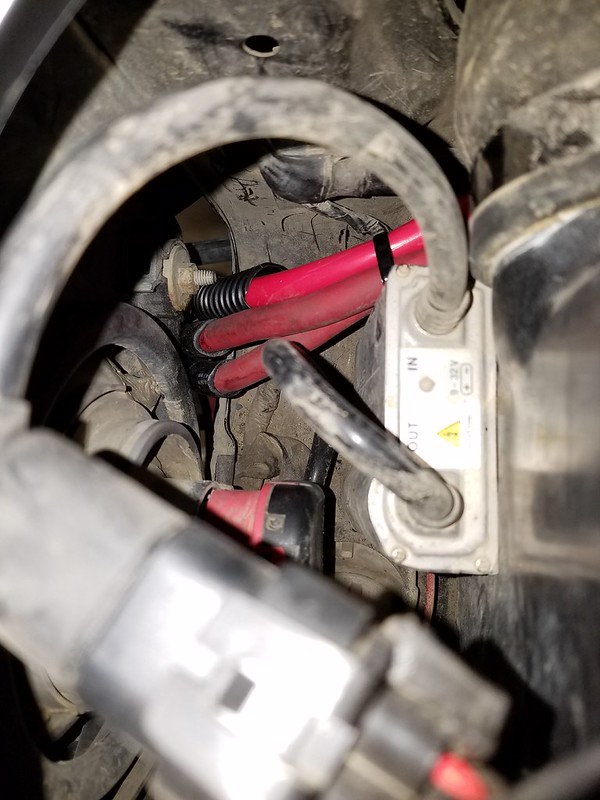
Note: The Actuator that works the wiper arms is at an angle. Because I have my cables \ wires leaving that area so far down towards the passenger side, that rod "taps" the 3 wires that's going from the Contactor to the Bulkhead Fitting. I do have them wrapped, and they aren't getting rubbed. It just barely taps them. I fought it for about 40 minutes moving them one place to another, zip tying them but no luck. I'm not worried about damage. It's just the Electrician in me that won't let it go.
20171006_202636 by psraff, on Flickr

Next, I have to get the template from [MENTION=57546]4-Ripcord[/MENTION]
and get that part built. No place around here can cut it. I may have a lead up in Anchorage. I have to clean up the wiring to my HID Projectors and the Relay to my Horns. I'll do the Big 3 at the same time and then the front end is complete! Oh, I do plan on putting a fuse between the battery and the winch contactor, just in case.

This has been about 6 years in the making. So glad I did it, and so glad I was finally able to envision the final product and make it happen.

Now back to day dreaming about Amber LEDs in the Headlight Filler Panels....:wow::wow::wow:
 
Got them installed!!!
20171013_140636 by psraff, on Flickr

20171013_140702 by psraff, on Flickr

Step one:
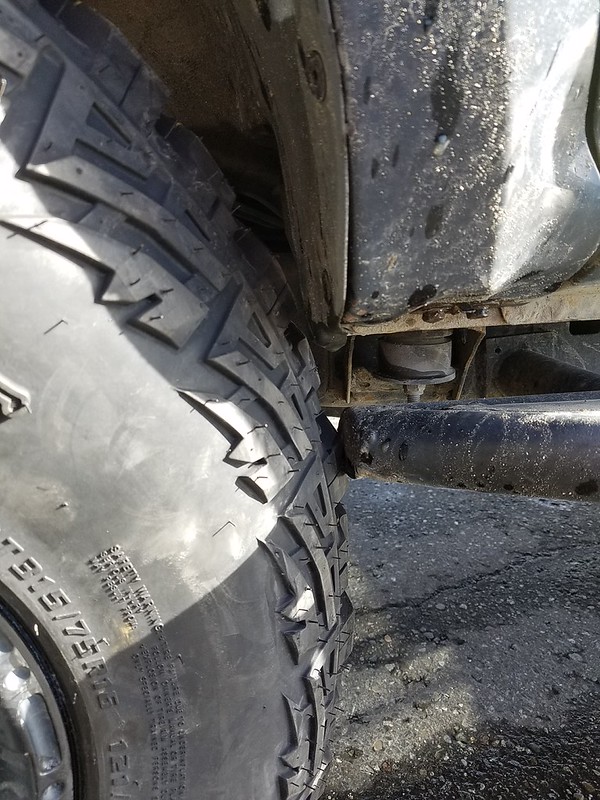
I'll have to raise up my rock sliders (which I needed to do due to my BL anyway) and cut it back a half inch or so.
20171013_141650 by psraff, on Flickr


Side Note Though. It's time to get a new muffler. Mine is finally beginning to split apart. I have a Borla in my Wishlist on Amazon ready to be bought.

Also so some torn bushings in my Lower Control Arms..... :redbrick::redbrick::bash::bash::ak472::ak472:
 
I'll have to raise up my rock sliders (which I needed to do due to my BL anyway) and cut it back a half inch or so.


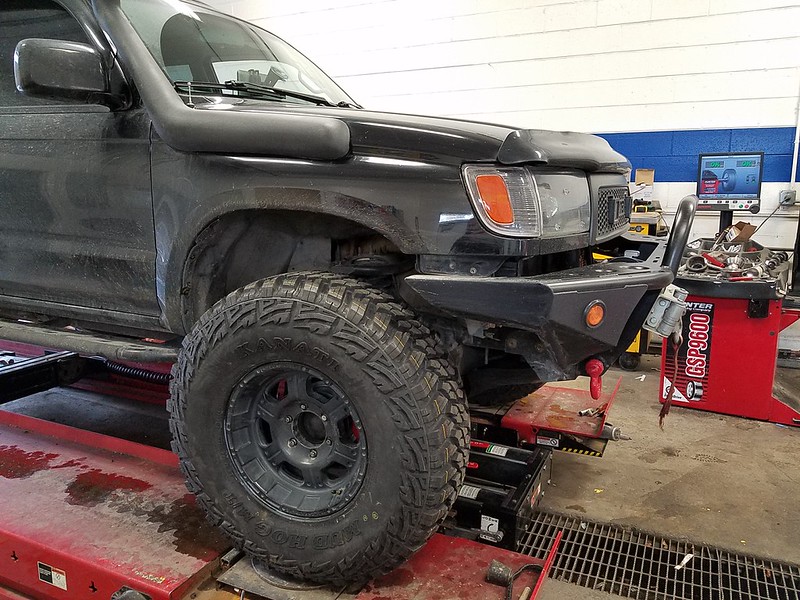
Might as well raise the front bumper when you're there. It's gonna contact at compression by the way it looks in the pics. Tires look good on the rig.
 
Wow!

Holy cow those are some big tires! Cool! Let the chopping begin. And I thought I had to address some minor rubbing issues. LOL. Looks good.:cheers:
 
Might as well raise the front bumper when you're there. It's gonna contact at compression by the way it looks in the pics. Tires look good on the rig.

Absolutely. Though, that's going to take a bit more time to fab up pieces. I've got it all laid out in my head to do it at least. Main thing is, I'm just trying to knock out 20 other project and finish them before I start another "Big" one.

I'll have to work on the back one also. Problem is, I can't raise it. So either sell it and get a new one (which I think could be hard to do up here) or bob the pieces back some that come up to the wheel wells and also fab up some vertical pieces to help fill the gap created by the BL.
 
Holy cow those are some big tires! Cool! Let the chopping begin. And I thought I had to address some minor rubbing issues. LOL. Looks good.:cheers:

Yeah, I knew I had my Sliders and my Bumper to deal with because I had them before the BL. But I thought an 1 1/2" would eliminate "most" trimming. I totally expected the Washer Fluid Relocate from SS and things like that, but I wonder how much tubbing I'll end up doing in the long run. LOL
 
Got the correct switch in for my Winch and have that wired up. One more little project wrapped up nice and clean.

Note to self and others:
In the Warn 5 Wire Contactor Control Box, Green Wire is for the Winch to move out. White is to winch in. Brown goes to an Incoming Post on the Switch.
You need to use Switch Type VLD2UxxB ('xx' is the number showing LED color)
http://www.otrattw.com/wiring/VLD2U.pdf


Picture I used to help reference the wiring (from Tacoma World):
http://www.tacomaworld.com/gallery/showphoto.php/photo/368452/cat/500

------------------------
Bulkhead Info (Useless babble for everyone except for me):
Blue 1: Blue Winch to Contactor Green
Blue 2: Red Winch to Contactor Brown
Blue 3: Yellow Winch to Contactor White
Blue 4: To Transmission Fan Relay
Blue 7: Winch Switch PWR

Red 1: Switch PWR
Red 2: To Grille Lights
Red 3: Front Locker Solinoid

Green 1: Switch Ground
 
Last edited:
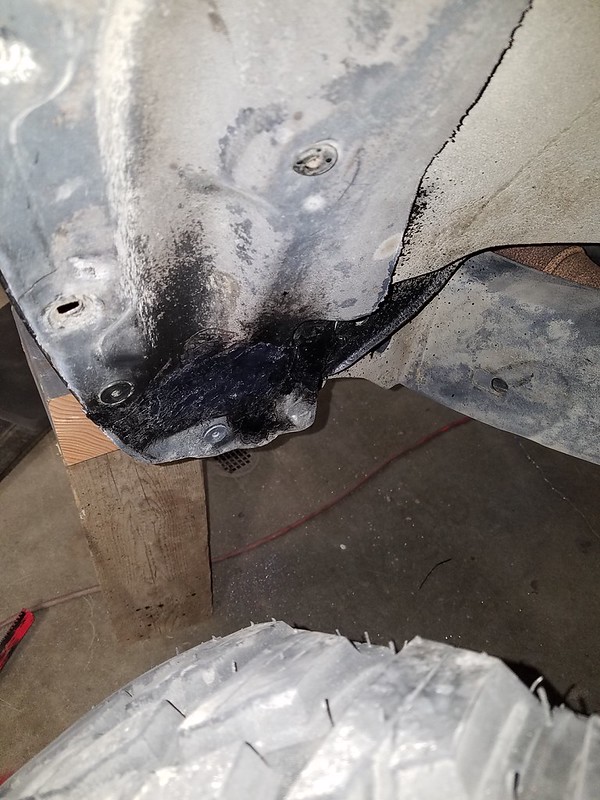
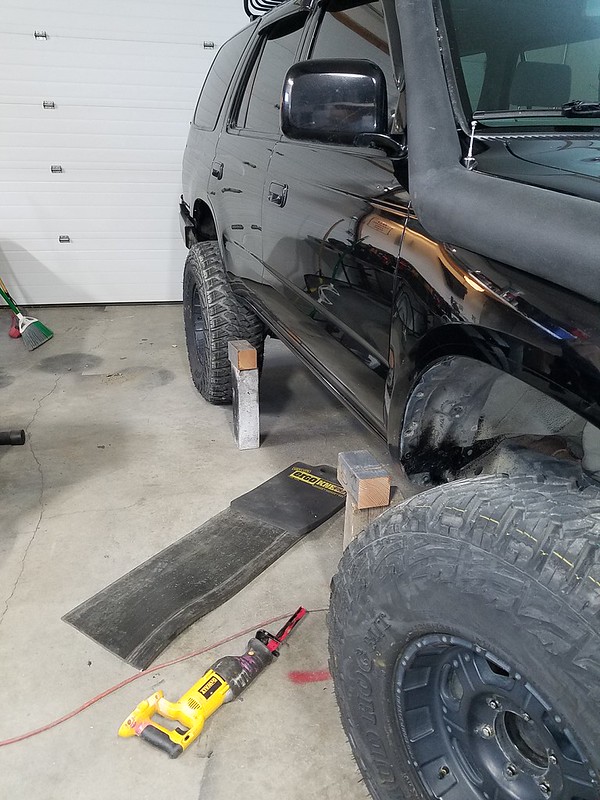
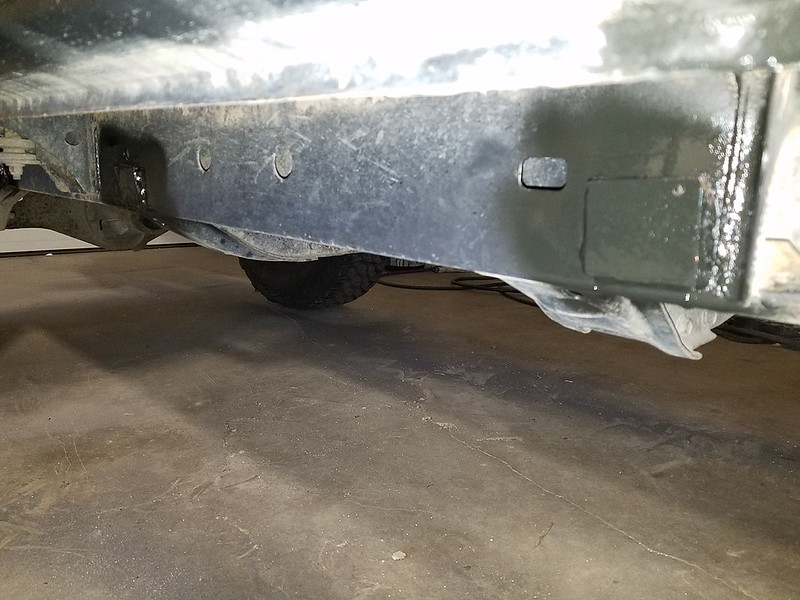
Worked on the rubbing issues from the front tires over the weekend. Not going to deal with the flexing or off road aspects of it yet. Winter's coming and I don't plan on doing much anyway. My main concern were my sliders and my pinch welds. I'll order my washer fluid bottle kit in a week or so. Got the pinch welds rolled over and hammered down. I made the mistake of cutting the plastic on the first one so I got my handy plastic welder out and welded it back together! Also with a heat gun got it all flattened out.
20171022_131922 by psraff, on Flickr

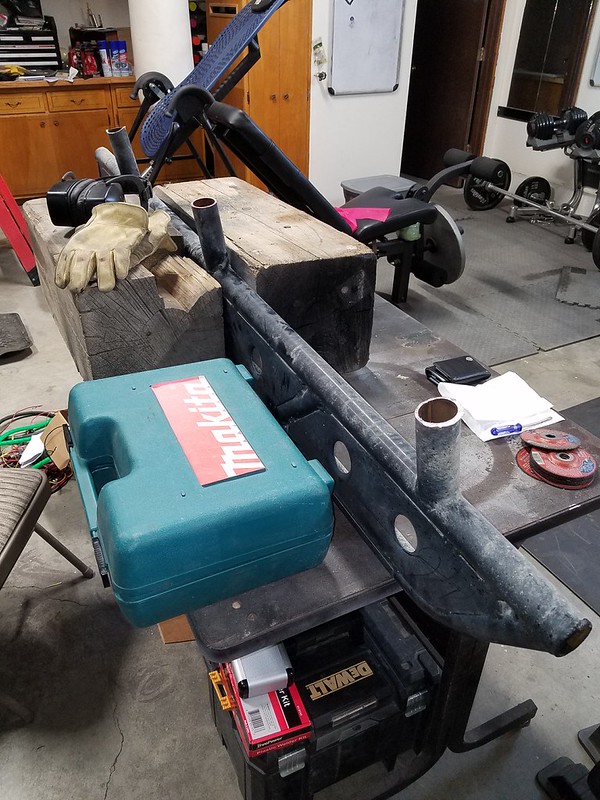
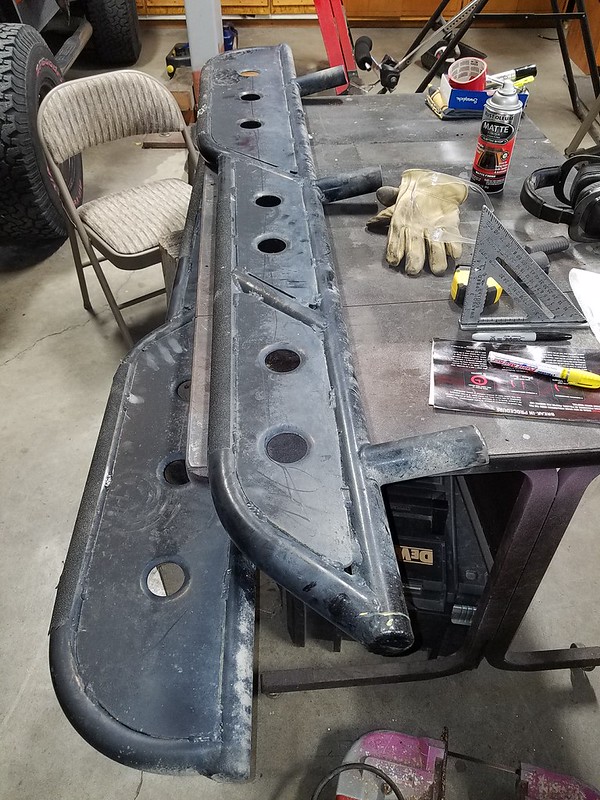
Next were the sliders. Took the measurement to retain what I needed and for what I need to change. Got them cut off, and the pipe cleaned up. The OD is 1 3/4" so I plan on getting more pipe with an ID of the same and weld it onto the sliders to get them back to the correct length. I'll have to get more 1/4" plate to weld to the end of it to connect to the frame.
20171022_132039 by psraff, on Flickr

20171022_132024 by psraff, on Flickr

These sliders are 68" long overall. I keep thinking I need to cut 3/4" of an inch off of them, and by the time I weld a cap on it'll be 1/2" shorter. They'll be raised up about 2" as well so at this time, I don't really know if it's needed. I'm forcing myself to hold off on cutting them back off until I fab up the rest of them and test fit them.
20171022_145838 by psraff, on Flickr

Got the grinder out and cleaned up the plates on the frame and since it will be another week possibly before I can do any welding I threw some paint on them.
20171022_145742 by psraff, on Flickr
 

Members online

No members online now.

Forum statistics

Threads
278,312
Messages
3,554,089
Members
248,016
Latest member
Advally Service

Trending content

Back
Top