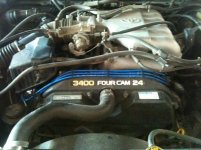
Build Thread

Anyone want to guess what I will be doing this weekend?
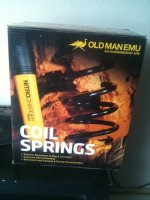
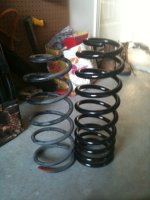
OME.jpg

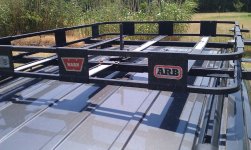
ARB.jpg

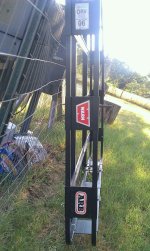
ARB 2.jpg

Plus I have an inner & outer tie rods in the drivers side, swaybars, drivers door lock actuator, and a few other things I will try to get around to. Wife is out of town for the weekend and this is just how I party. :party:
I'll probably get fed up 1/2 way in and go sight in my new scope on my AR. Stress relief. :AK47:

 

Attachments

  • OME.jpg
    OME.jpg
    101.4 KB · Views: 873
  • ARB.jpg
    ARB.jpg
    118.4 KB · Views: 870
  • ARB 2.jpg
    ARB 2.jpg
    127.1 KB · Views: 871
Now you can yank put those spacers and sell them to me(:

In the mail this morning...hope you enjoy.


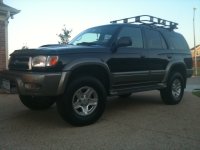
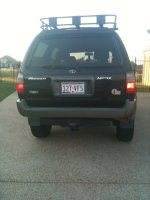
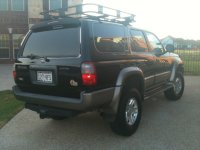
Here are a few pictures....

runner 1.jpg

runner 2.jpg

runner 3.jpg

runner 4.jpg
 

Attachments

  • runner 1.jpg
    runner 1.jpg
    90.5 KB · Views: 830
  • runner 2.jpg
    runner 2.jpg
    96 KB · Views: 894
  • runner 3.jpg
    runner 3.jpg
    91.5 KB · Views: 835
  • runner 4.jpg
    runner 4.jpg
    102.7 KB · Views: 852
So it was posted a while ago, but no one seemed to notice it... I don't think drilling a new hole for the panhard was a good idea. I guess you realized that somewhat when you got it aligned, but it should go back together the way it came apart.

When I did my lift, the panhard didn't line up afterwards, and I had to jack the sides a bit to inch it into position. I think I also bounced the cab around a bit at the same time just enough to sneak the pin in.
 
I have 891s and the rear sits at 41" and 40" in the front. I haven't done any hauling or anything to make them sag though
 
So it was posted a while ago, but no one seemed to notice it... I don't think drilling a new hole for the panhard was a good idea. I guess you realized that somewhat when you got it aligned, but it should go back together the way it came apart.

When I did my lift, the panhard didn't line up afterwards, and I had to jack the sides a bit to inch it into position. I think I also bounced the cab around a bit at the same time just enough to sneak the pin in.

I didn't do it because I thought it was a good idea, it was done out if necessity since I had to pick my wife up from the airport and had to get the car back together. Working solo is not always fun. I wrestled with it for 3 hours before I gave up and drilled a hole.

I have put 8K miles on it since I drilled the new hole and it never slips. I ordered a panhard drop kit from Toytec and it has been sitting in my garage for 4 months. I just haven't had time to find a local welder.

I realize its not ideal but it works, and I have the best intentions to correct it. I called around last weekend and got welding quotes but no one could get to it for at least 2 weeks so screw me.
 
Adding this to the pile of other parts in my garage. Looking to make a good dent in it this weekend.
a6cd0847-5c08-bb0d.jpg


Where is a good place to pick up the wire mesh for the deckplate and also the tube for the IRS mod?
 
Coming together real nice!

I got my tube from a local aluminum pipe company. They had the exact diameter pipe, so no need for bending. I think most people will buy a 2.5" pipe and have the outer rim stretched to 2.75".
 
Coming together real nice!

I got my tube from a local aluminum pipe company. They had the exact diameter pipe, so no need for bending. I think most people will buy a 2.5" pipe and have the outer rim stretched to 2.75".

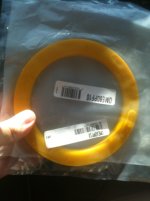
Hopefully this will fix the 'Taco Lean'
spacer.jpg

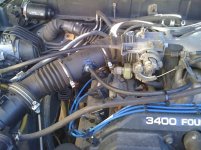
Also one more question on the ISR mod... I have seen at least two of you that have reconnected the tube the the new pipe...
IMG_0291.jpg

But is seems most of you have done this...
intake_angle2.jpg

That is the function of the tube going into the air intake? Is it a sensor? Is it necessary? Are there pros/cons to leaving it or removing it. Sorry for the possibly ignorant question but that is why I love this forum. A lot of smarter people than me roam these pages. :nerd:
 

Attachments

  • spacer.jpg
    spacer.jpg
    76.7 KB · Views: 798
  • intake_angle2.jpg
    intake_angle2.jpg
    68.7 KB · Views: 852
  • IMG_0291.jpg
    IMG_0291.jpg
    61 KB · Views: 819
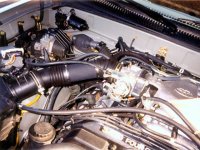
I think our engine configuration is a little different. No need for the added tee. I just did this:

photo4.jpg~original


Can't remember what the exact function of the line was. I believe it was a vacuum line of some sorts. Either way, if you attach it to that point on the intake manifold that isn't being used, it's still serving the same function. Just down the intake line a bit.
 
Cool. And just to clarify, by ours I meant yours and mine. The 96-99's are slightly different (I could be off on the years though).

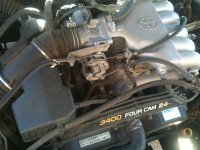
I understood you. The first picture is from a 99 and the second is from a 2000. and according to this page 96-98 is different than 99-02.

That is the write up I'm using since I couldn't find one on here. I read through it 2 times and couldn't find him addressing it.


On and unrelated note...I liked your sliders so much I ordered me some today. Thanks 4xInnovations. I went with DOM over HREW, bc I am paranoid about that sort of stuff. When I order my bumper I'll go HREW since it wont take the same beating. They had them in stock so they will ship them out tomorrow. :guitar2::reddance::drummer::party:
 
On and unrelated note...I liked your sliders so much I ordered me some today. Thanks 4xInnovations. I went with DOM over HREW, bc I am paranoid about that sort of stuff. When I order my bumper I'll go HREW since it wont take the same beating. They had them in stock so they will ship them out tomorrow.

Nice! Did you know that the metal needs to age for at least 6-8 months before you should weld them on? At least that's what I told myself.
 
Nice! Did you know that the metal needs to age for at least 6-8 months before you should weld them on? At least that's what I told myself.

Ha, was that partly your reason for not having your sliders welded on soon as you got them?, you had to wait..........and made us all wait practically a year later??:bravo::lmao:
 
Nice! Did you know that the metal needs to age for at least 6-8 months before you should weld them on? At least that's what I told myself.

Ya that is what I heard... sliders are like fine wine and cheeses. The longer you wait the better they are.

Here is that picture I told you I would take:
isr mod.jpg
 

Attachments

  • isr mod.jpg
    isr mod.jpg
    130.7 KB · Views: 818
Ha, was that partly your reason for not having your sliders welded on soon as you got them?, you had to wait..........and made us all wait practically a year later??:bravo::lmao:

Yeah. Most people don't know about that rule and weld them on WAY too early. Suckers.

Ya that is what I heard... sliders are like fine wine and cheeses. The longer you wait the better they are.

Here is that picture I told you I would take:

You have the setup that requires a little tee if you want to relocate that hose. Actually, I have the one that I was going to use on mine that I didn't end up needing. PM me your address if you want it and I'll send it to ya free of charge.
 
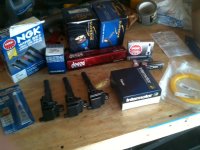
I had a busy day yesterday. Nothing too exciting, most of it maintenance. Here is what I had hoped to get accomplished...

1. Spark plugs
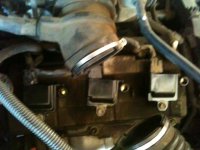
2. Ignition Coils
3. Wires
4. Deckplate Mod
5. Both swaybars
6. Swaybar bushings
7. Inner & Outer Tie Rods on the passengers side. (drivers side done 2-3 months ago.
8. 10mm spacer(fix Taco Lean)
9. ISR Mod

Big Plans
all parts.jpg
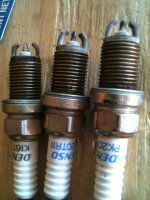
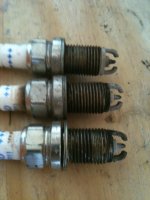
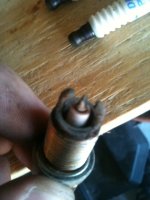
Old Plugs
old plugs 2.jpgold plugs2.jpgold plugs 1.jpg
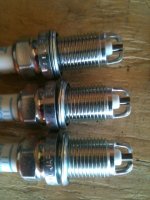
New Plugs
new plugs.jpg
New Ignition Coils. (My old ones seemed to be fine, I just figured with such high mileage it couldn't hurt. Plus I was messing around on RockAuto and found some on sale for $23 each. Normally they were $62...just couldn't pass that up. I think I'll keep the Toyota ones since they are still good. Just in case something goes wrong with the new ones.)
new coils.jpg
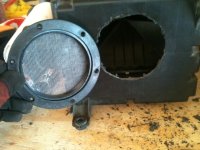
Deckplate
deckplate.jpg
All put back together...
all finished.jpg

(Didn't get to the ISR Mod. I'm having a hell of a time finding a metal tube that fits. I may have to find a muffler shop that can stretch and fit one for me. Is that what most of you guys have done?)
 

Attachments

  • all parts.jpg
    all parts.jpg
    127.2 KB · Views: 720
  • all finished.jpg
    all finished.jpg
    49 KB · Views: 676
  • deckplate.jpg
    deckplate.jpg
    136 KB · Views: 690
  • new coils.jpg
    new coils.jpg
    126.5 KB · Views: 702
  • new plugs.jpg
    new plugs.jpg
    109.3 KB · Views: 687
  • old plugs 1.jpg
    old plugs 1.jpg
    89.6 KB · Views: 694
  • old plugs 2.jpg
    old plugs 2.jpg
    111.6 KB · Views: 715
  • old plugs2.jpg
    old plugs2.jpg
    98.6 KB · Views: 701

Members online

Forum statistics

Threads
278,304
Messages
3,554,041
Members
248,016
Latest member
Advally Service

Trending content

Back
Top