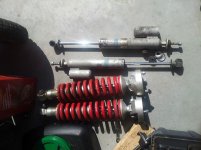
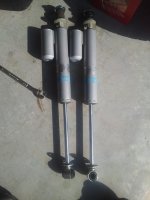
As far as I know, noone has tried these specific struts. I'm going to be the Guinea pig on this I guess. They were takeoffs with less than 200 miles and I got them shipped to me for $70. If they don't work for me I'll be able to get my money back. I'm going over to see Jacque at TRDParts4u today and see if they have any springs we can pair with them. The length and travel will work, it's just a matter of finding a coil to match it. It might not work but i'm okay trying. Someone had to be the first to slap on the tundra y/y y/b setup...
I understand you want to try, but I just dont want to see you lose money on anything. The lower mounting point is too long for our front end. I would mock it up first to save you time and money with getting springs compressed onto the shocks. Those were from an FJ huh?
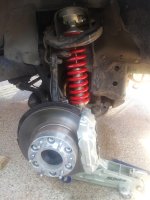
I appreciate the concern. I went to talk worth Jacque and we had a pretty good brain storming session. We tried a few things and talked through several options, busted out a tape measure, etc. Our consensus was the best option is going to be trying the stock coils. If it doesn't work I feel confident I can get my money back on the struts with little issues. Only thing I will lose is a Saturday afternoon.
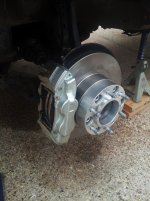
On a side note, I slapped the wheel spacers on when I got home from work today, and began trying to fix my messed up fender flares that were molested by barbed write.
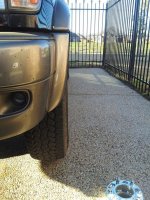
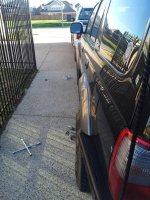
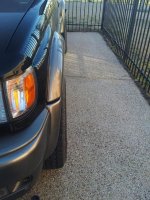
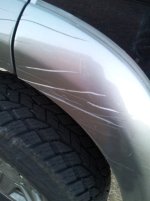
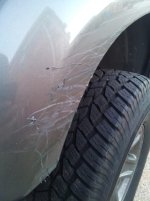
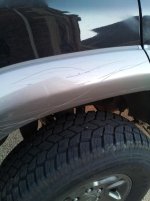
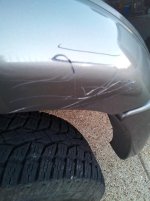
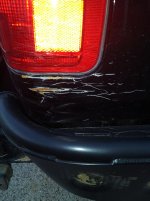
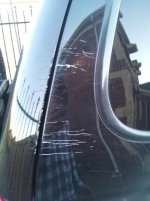
Also I mentioned a few posts ago about my encounter with the barbed wire fence. I thought I should post pictures before i start to fix them. I began sanding them after the pictures were taken. I am doing it all by hand because I fear the fenders loosing their shapes if I use my orbital sander and take down too much. We will see how long that lasts since my hand starts cramping after 20-30 minutes. This time I just stopped.
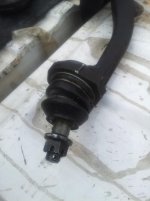
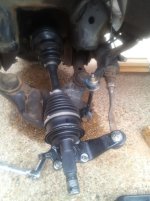
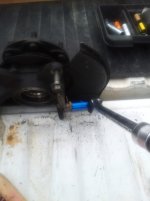
Drivers side LBJ is new. The passengers side I changed a month or so ago. I didn't do the drivers side bc one of the 4 bolts that holds in the LBJ rounded off. I ended up grinding off the head of the bolt and using a pry bar to separate it from the spindle. Then I welded a nut to the bolt and torqued it out. I went to the hardware store and got new bolts. Hopefully I won't have to deal with that anymore. Here is a picture.
edit:
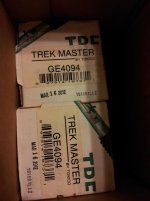
I almost forgot. These came in the mail today as well.
I kinda feel the same way. Liability is all I have on mine.
So on the previous page I see you had your hub off when doing the front end work. How difficult is it getting the hub off our 3rd gens? What method did you use?
I kinda feel the same way. Liability is all I have on mine.
So on the previous page I see you had your hub off when doing the front end work. How difficult is it getting the hub off our 3rd gens? What method did you use?
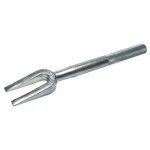
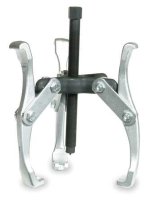
It's not too bad as long as all the bolts come off as they should without stripping. I removed the brake line in 2 places, one at the caliper & the other on the spindle arm. Remove the caliper(2 bolts), disconnect the 4 bolts on the LBJ, use a pickle fork or arm puller to remove the UBJ(the long arm puller is advised if you are NOT replacing the UBJ), and finally remove the 35mm bolt holding on the CV. This can be a PITA, but if you have a breaker bar that makes it easier. I think logically you can do it in 30-45 minutes per side as long as you don't round off any bolts. The pickle fork or long arm puller can be rented at any local parts store.
NOTE TO SELF: Avoid contact between 4Runner and barbed wire!
Dayum. That stuff scratched you up good.
I just had my first read through your build from front to back. I like what you've done w/the truck man. Kind of an unusual mod path you've taken w/the rear bumper first, but it's whatever works for you right? Way too keep up w/the maintenance too.
Your 4Runner has some rare options... Limited w/the hood scoop and 4.56's... Makes sense that it was ordered for a Yota dealer's kid.
I'm a bit unconventional. What can I say? I do however have a custom tube front bumper in the works. I'm hoping I get it in the next month or so. I already have a buyer lined up for my factory front bumper for $125. With the trailer hitch($85), running boards($40), rear factory bumper($70), and mud flaps($35)i already sold, I'll be a wash on the front tube bumper.
The rear bumper came first bc I beat mine up on a trail about the time ODL was introducing the rear swing-out and I got a great deal to be their guinea pig.
That's nice flip selling off the old parts. I've been trying to sell my stock front bumper but I'm having a hard time because it's got the Rhino Liner on it... I imagine I'll have the same issue w/the rear. They may end up getting scrapped. Got $100 for the running boards though.
I picked up this today off Craigslist for $100. The guy was asking $400 and I talked him down. It came off a 96 Tacoma so it should fit mine nicely. It's made by TJM out of Australia. They were in the states awhile back, left, and now are back. Anyone else running this bumper with success? I was surprised at how light it is. Apparently it is aluminum instead of steel. I wonder how it will take impacts. Appears to have seen some wear and tear. I'm going to sand it down and paint it black before it goes on.




























![bumper 1[1].jpg](https://www.toyota-4runner.org/data/attachments/77/77067-3e5c9241d834bc39087827cdfc20dcca.jpg?hash=Q1APy0tC6U "bumper 1[1].jpg")
![bumper 2[2].jpg](https://www.toyota-4runner.org/data/attachments/77/77071-d93832a23d78410cc9df0cc4c1af3cb2.jpg?hash=cLVJyNGvat "bumper 2[2].jpg")
![bumper 1[1].jpg](/data/attachments/77/77067-3e5c9241d834bc39087827cdfc20dcca.jpg?hash=Q1APy0tC6U)
![bumper 2[2].jpg](/data/attachments/77/77071-d93832a23d78410cc9df0cc4c1af3cb2.jpg?hash=cLVJyNGvat)

