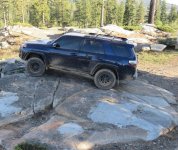
n2advnture
New member
GREAT pic of the dog!


GREAT pic of the dog!
Here is a photo of how the wire comes through to the face plate. Hope it helps!
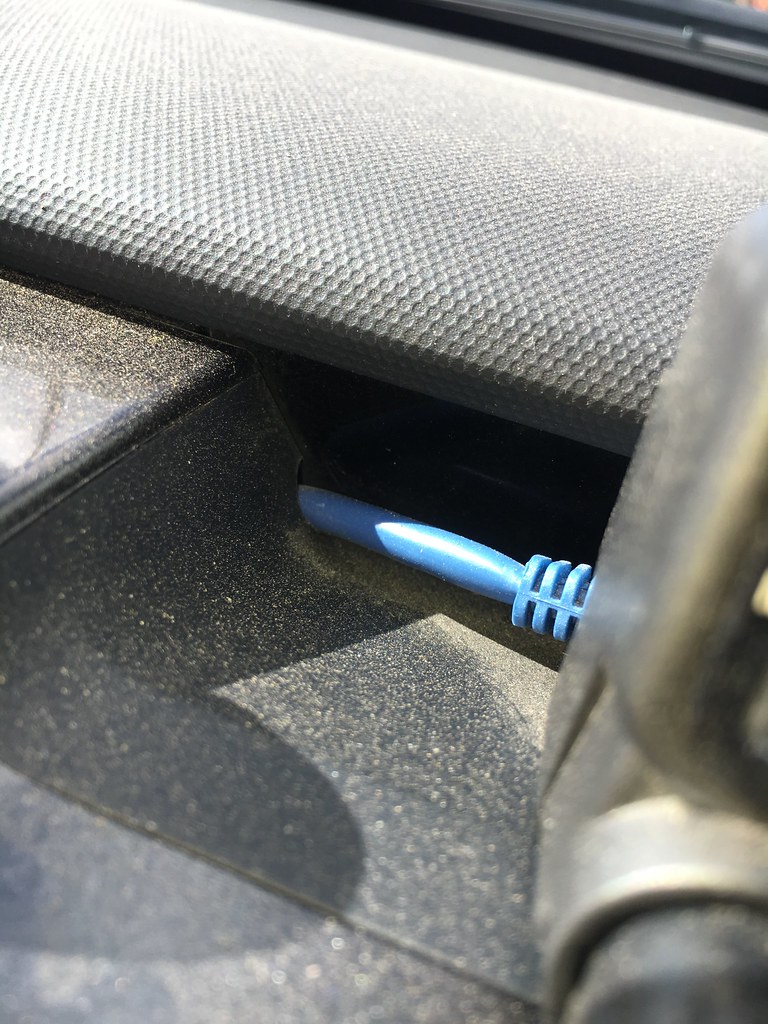
I'm the process of installing this same radio in my 2012 SR5. Thanks for posting a write up on your experience, it has helped so far.
What kind of adapter/coupler did you use to connect the two CAT 5e cables for your face plate?
It appears that the small 3.5" piece of cable that comes with the radio to connect the main unit to the face plate has two different sized ends. Did you salvage this piece of cable or use something else?
Did you use just regular shielded CAT 5e cable?
Thanks!
Thanks! That helps!
When I first bought the 4Runner, it didn’t take long before I realized that I would need to modify the stock cargo area to best fit my personal needs. I had a few basic requirements to consider:
Cargo Security:
My typical cargo usually consists of the Ruff Tough kennel for the pup and a Front Runner Wolfpack (used to be Action Packer). When I switch to camping/Overlanding mode, I will typically add my camping box (DeWalt Tough boxes), the cooler, and other miscellaneous small items. All of these things needed to be secured in case of a collision or other accident. The last thing that I want is for the dog kennel to smash around, or to see a fully packed Yeti cooler cruising through the windshield. A tie down system can also be more practical by keeping your gear secure when four wheeling as you start/stop/pitch/jolt. It was really clear that the stock 4 point system wasn’t going to cut it after a few 4wd trips, however for the better part of a year I have made it work.
A Fully Flat Cargo Area:
The 4Runner (without the OEM cargo tray) with the rear seats folded down does not allow the cargo area to be flush with the rear seats. It’s about a 2-3 inch drop, and that drop makes a huge difference when it comes to sleeping comfortably in the back. Like my issue with securing cargo, I was able to make it work using a yoga mat, and an extra blanket. It worked, but I slept terribly.
Additional Preparation Space:
When I camp and spend time outdoors, I tend to need a flat surface to perform various tasks. Cooking, organizing gear, working with maps, etc. In the past I have made due with cooking on my camping box, requiring me to pull everything out that I will need for the meal, and ultimately I forget something mid-cook. How hard is it to open the camping box while there is a full pot of water boiling on the stove? It’s very difficult, trust me. Sparing myself buying a table for camping, I thought having something that could be easily deployed when needed would be a great addition to this platform.
Room for growth:
When I design/start any project, I understand that even if it is well planned, and even better built, there is always the likely possibility that I will find some way to make it better. So I incorporated that reality into my build by using materials and a general layout that would allow me to incorporate drawers, a fridge slide or anything else later on down the road.
Note:
I won’t be going into full design details with this particular project at this time, mainly because I am contemplating doing a small production run of this platform once I give it a good shake down to test the integrity of my design. Once I can establish that there aren’t any weak points, I will consider moving forward if there is a suitable demand. In the meantime, I will be pricing the unit as it is currently designed because I understand that the first question many ask with this sort of product is “How much?” That’s what I am going to work out.
Product details:
-Baltic birch plywood construction
-Aluminum L-track tie down strips with movable tie downs
-Line-X platform coating
-Stainless steel hardware
-Minimal modification of the 4Runner to fit (plastic trim removal; no cutting)
-Flush to seat design
-Slide out preparation space
Product Description:
The platform is constructed using strong, Baltic birch plywood. It is made of a hardwood ply, and unlike cheaper substitutes, it doesn’t use a weaker filler between the layers of hardwood. It is hardwood through and through making it very rigid and durable. The plys are bonded together using marine grade adhesive, and the outside veneers are thicker allowing for a more durable surface. It’s not a cheap material to use, but the benefits well outweigh the cost.
The platform incorporates 4 aluminum L-track strips. Left, center, right, and against the rear seats. Each one with approximately one tie down option every 1-2 inches. This means that as cargo needs change, so do the tie down points. This variable approach allows for securing different cargo in different arrangements without compromise.
A Line-X finish on the platform was used to increase the base material’s overall strength, provide a waterproof finish to the top surface, and to increase the long term durability of the platform. As an added bonus, it ended up looking like something that should have come from the factory as it closely matches the plastic color.
The slide out is made of the same Baltic birch plywood, but with an added polyurethane surface protectant to seal it from water and other stains. The edges have been routed to provide a smoother grip when extended. The slide can come out approximately 18” with enough rigidity to hold a stove and food preparation supplies. It is branded with the Mountain 4Runner logo on the lower right corner.
The platform attaches to the 4Runner using existing threaded holes, and only requires the removal of 2 plastic trim pieces. No cutting is required for installation. It fits with approximately ½” per side to spare, and enough room to fold the rear seats up and down without interference.
Product photos:


http://i1380.photobucket.com/albums/ah175/mtn4rnr/4Runner%20Platform/DSC04581_zpsen3nguxk.jpg[img]
[img]http://i1380.photobucket.com/albums/ah175/mtn4rnr/4Runner%20Platform/DSC04578_zpsljtsfvxl.jpg~original


As I mentioned above, I will be testing the platform in the coming months and determining if I can produce a small number of units and what the associated cost would be. I will update the build page with information as it comes. Feel free to send any questions to me via the personal message feature on the forum.
More to come…

When I first bought the 4Runner, it didn’t take long before I realized that I would need to modify the stock cargo area to best fit my personal needs. I had a few basic requirements to consider:
Cargo Security:
My typical cargo usually consists of the Ruff Tough kennel for the pup and a Front Runner Wolfpack (used to be Action Packer). When I switch to camping/Overlanding mode, I will typically add my camping box (DeWalt Tough boxes), the cooler, and other miscellaneous small items. All of these things needed to be secured in case of a collision or other accident. The last thing that I want is for the dog kennel to smash around, or to see a fully packed Yeti cooler cruising through the windshield. A tie down system can also be more practical by keeping your gear secure when four wheeling as you start/stop/pitch/jolt. It was really clear that the stock 4 point system wasn’t going to cut it after a few 4wd trips, however for the better part of a year I have made it work.
A Fully Flat Cargo Area:
The 4Runner (without the OEM cargo tray) with the rear seats folded down does not allow the cargo area to be flush with the rear seats. It’s about a 2-3 inch drop, and that drop makes a huge difference when it comes to sleeping comfortably in the back. Like my issue with securing cargo, I was able to make it work using a yoga mat, and an extra blanket. It worked, but I slept terribly.
Additional Preparation Space:
When I camp and spend time outdoors, I tend to need a flat surface to perform various tasks. Cooking, organizing gear, working with maps, etc. In the past I have made due with cooking on my camping box, requiring me to pull everything out that I will need for the meal, and ultimately I forget something mid-cook. How hard is it to open the camping box while there is a full pot of water boiling on the stove? It’s very difficult, trust me. Sparing myself buying a table for camping, I thought having something that could be easily deployed when needed would be a great addition to this platform.
Room for growth:
When I design/start any project, I understand that even if it is well planned, and even better built, there is always the likely possibility that I will find some way to make it better. So I incorporated that reality into my build by using materials and a general layout that would allow me to incorporate drawers, a fridge slide or anything else later on down the road.
Note:
I won’t be going into full design details with this particular project at this time, mainly because I am contemplating doing a small production run of this platform once I give it a good shake down to test the integrity of my design. Once I can establish that there aren’t any weak points, I will consider moving forward if there is a suitable demand. In the meantime, I will be pricing the unit as it is currently designed because I understand that the first question many ask with this sort of product is “How much?” That’s what I am going to work out.
Product details:
-Baltic birch plywood construction
-Aluminum L-track tie down strips with movable tie downs
-Line-X platform coating
-Stainless steel hardware
-Minimal modification of the 4Runner to fit (plastic trim removal; no cutting)
-Flush to seat design
-Slide out preparation space
Product Description:
The platform is constructed using strong, Baltic birch plywood. It is made of a hardwood ply, and unlike cheaper substitutes, it doesn’t use a weaker filler between the layers of hardwood. It is hardwood through and through making it very rigid and durable. The plys are bonded together using marine grade adhesive, and the outside veneers are thicker allowing for a more durable surface. It’s not a cheap material to use, but the benefits well outweigh the cost.
The platform incorporates 4 aluminum L-track strips. Left, center, right, and against the rear seats. Each one with approximately one tie down option every 1-2 inches. This means that as cargo needs change, so do the tie down points. This variable approach allows for securing different cargo in different arrangements without compromise.
A Line-X finish on the platform was used to increase the base material’s overall strength, provide a waterproof finish to the top surface, and to increase the long term durability of the platform. As an added bonus, it ended up looking like something that should have come from the factory as it closely matches the plastic color.
The slide out is made of the same Baltic birch plywood, but with an added polyurethane surface protectant to seal it from water and other stains. The edges have been routed to provide a smoother grip when extended. The slide can come out approximately 18” with enough rigidity to hold a stove and food preparation supplies. It is branded with the Mountain 4Runner logo on the lower right corner.
The platform attaches to the 4Runner using existing threaded holes, and only requires the removal of 2 plastic trim pieces. No cutting is required for installation. It fits with approximately ½” per side to spare, and enough room to fold the rear seats up and down without interference.
Product photos:
http://i1380.photobucket.com/albums/ah175/mtn4rnr/4Runner%20Platform/DSC04581_zpsen3nguxk.jpg[img]
[img]http://i1380.photobucket.com/albums/ah175/mtn4rnr/4Runner%20Platform/DSC04578_zpsljtsfvxl.jpg~original
As I mentioned above, I will be testing the platform in the coming months and determining if I can produce a small number of units and what the associated cost would be. I will update the build page with information as it comes. Feel free to send any questions to me via the personal message feature on the forum.
More to come…

Any idea where you can get the yellow film to put over the fog lights? Thanks!!


I joined Overland Bound a while back on the forum, and upon arrival of the 4Runner in my life, I ordered the emblem and plan on being more involved in their expeditions. They just completed their first annual Off the Grid overland rally in the Sierras.
Check out the wrap up videos:
https://www.youtube.com/watch?v=83NrtwWME2I
https://www.youtube.com/watch?v=A6zZ5KvmsAQ
I can't wait to attend next year, and hopefully join along on some trips in the mean time. If you haven't already, check out their website! Overland Bound - Overland Bound
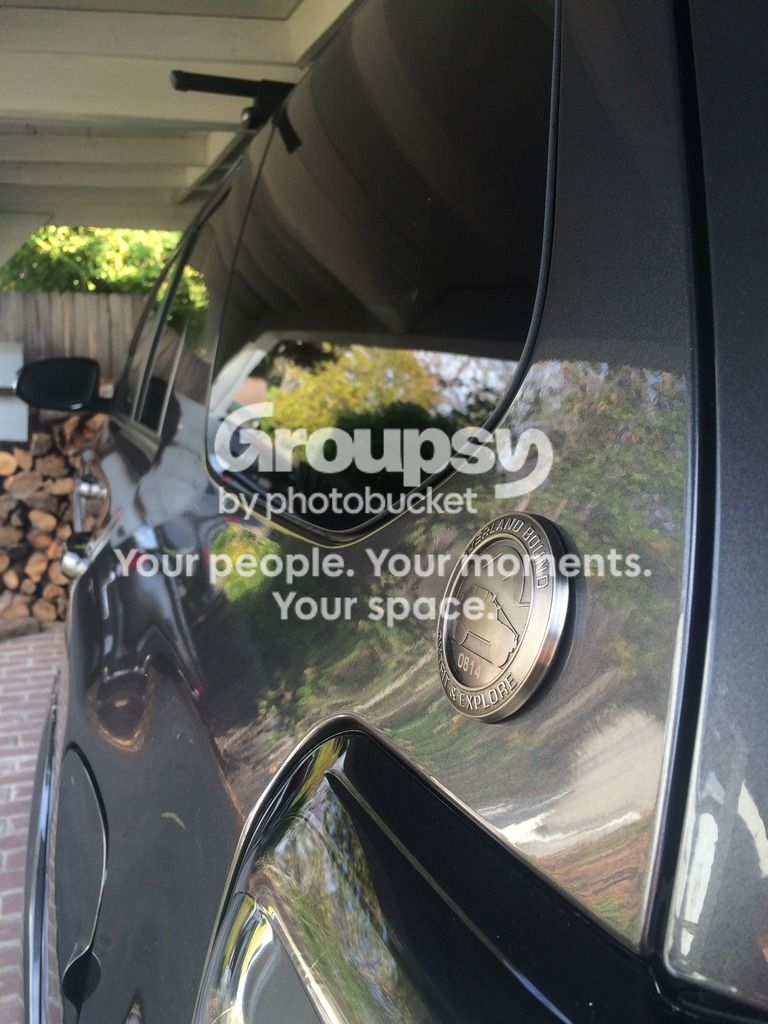
Just finished reading this in its entirety... great write ups brother. We just got my wife a 17 TEP and I'm itching to start modding. But still not sure the direction I want/need to go living in SE Texas. We're more Jeep country unfortunately.
I can say one thing, reading all your adventure reports makes me want to hurry up and move back west!
Did you get two emblems or just one? I'm trying to decide if I want one for each side or just go with one side or maybe just one on the back.
WOW...!!! Really like this [MENTION=129593]MTN4RNR[/MENTION] how can I get on board for one..?
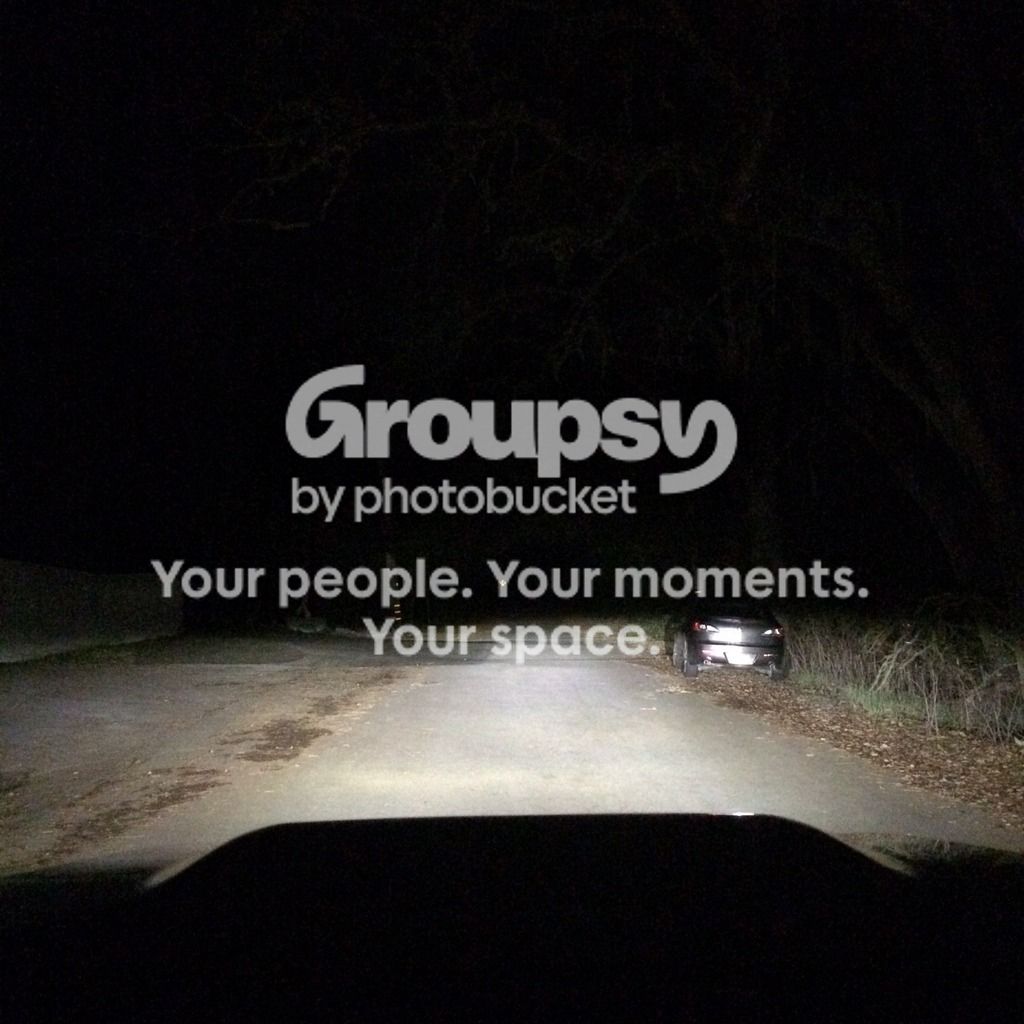
I gifted myself a set of [MENTION=12905]XenonDepot[/MENTION] Xtreme HID's for the low beams on the 4Runner.
Before (no fogs)

After (no fogs)
LOL. Same rock, viewed from the other side. Bodie Pond, along the Emigrant Trail.