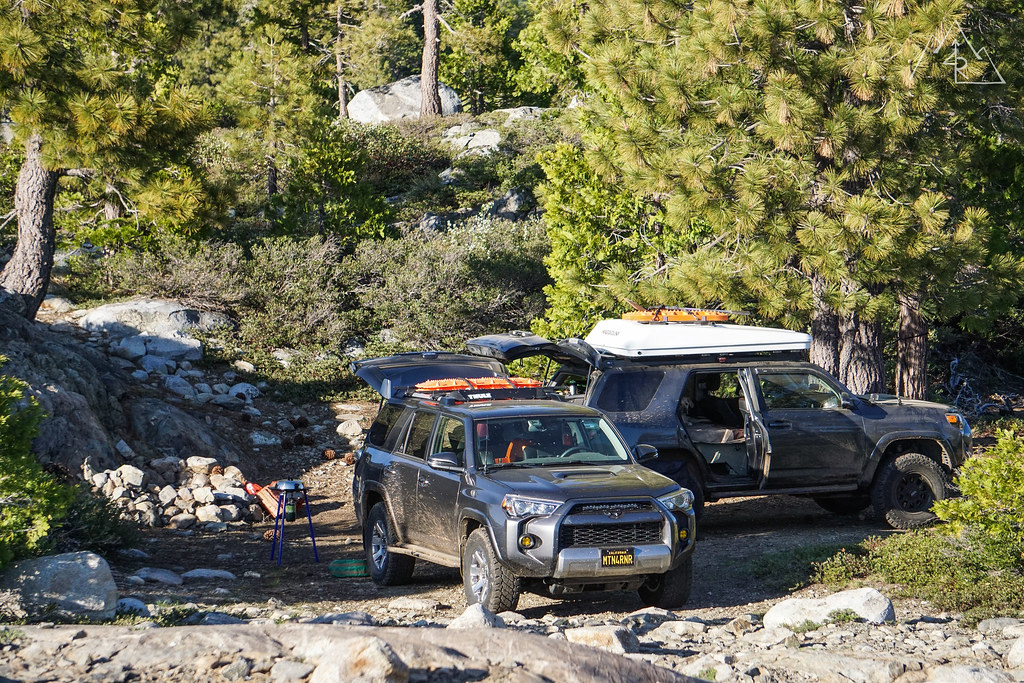
Building, Driving and Adventuring the MTN4RNR

Bought the same kit and completed the install today. The before and after picture sold me - you can't even see the car on the road in the before picture! :thumb:

I assume it's normal to hear a high pitch whine after turning the lights on for 10-20 seconds before they're warmed up?

BTW, great thread! Looking to copy a few more of your ideas in the future.

Look at that, I hadn't even noticed that the car wasn't in the before photo. Whoops :hiding:

Yes, I get the same noise during warmup, and then it goes away. I have confirmed with XD and it's normal.

Thanks, man! Feel free to and let me know if you have any questions.
 
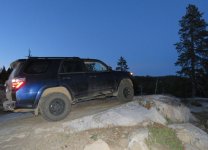
Here's a better pic


A76C9BBD-3D4F-44BC-A1CB-7B4F57E246BA_zps6onsuomw.jpg~original


From yesterday. Way too much time on my hands. I really need to find gainful employment again.
 

Attachments

  • 4runner_rock.jpg
    4runner_rock.jpg
    131.7 KB · Views: 1,430
Well, that was a read. Truly inspiring for a flatlander. What did you do with the Philips LED's for the fogs? Are they up for grabs? I have a the XD HID already as well.
 
Well, that was a read. Truly inspiring for a flatlander. What did you do with the Philips LED's for the fogs? Are they up for grabs? I have a the XD HID already as well.

Thank you, sir! Glad you have enjoyed it so far. I still have the Philips bulbs in my garage. I'll get back to you about their availability. :thumb3:
 
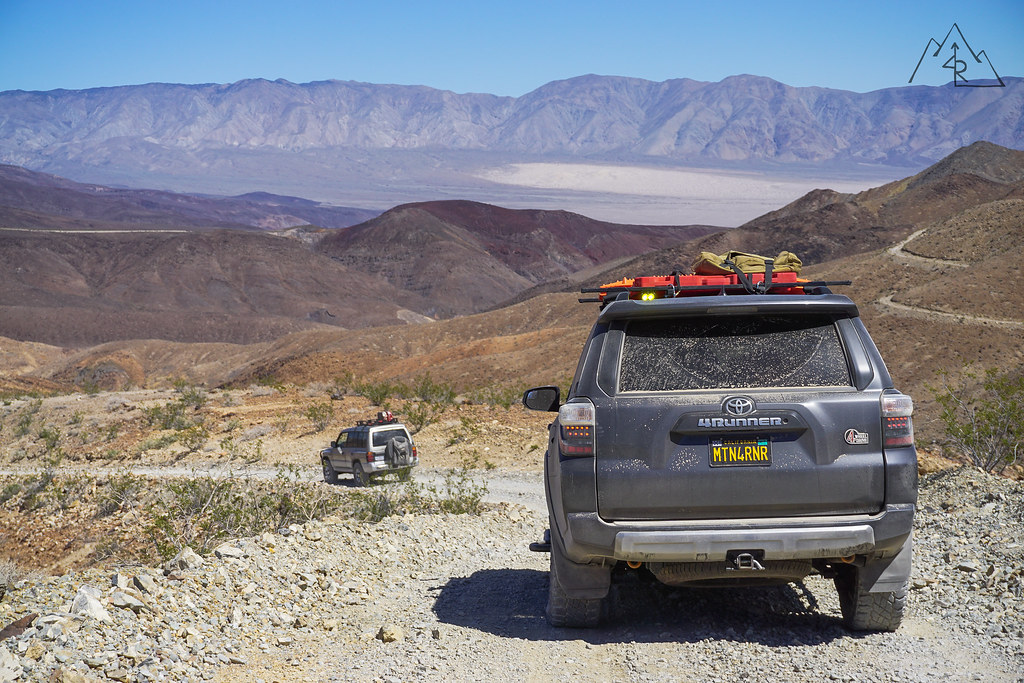
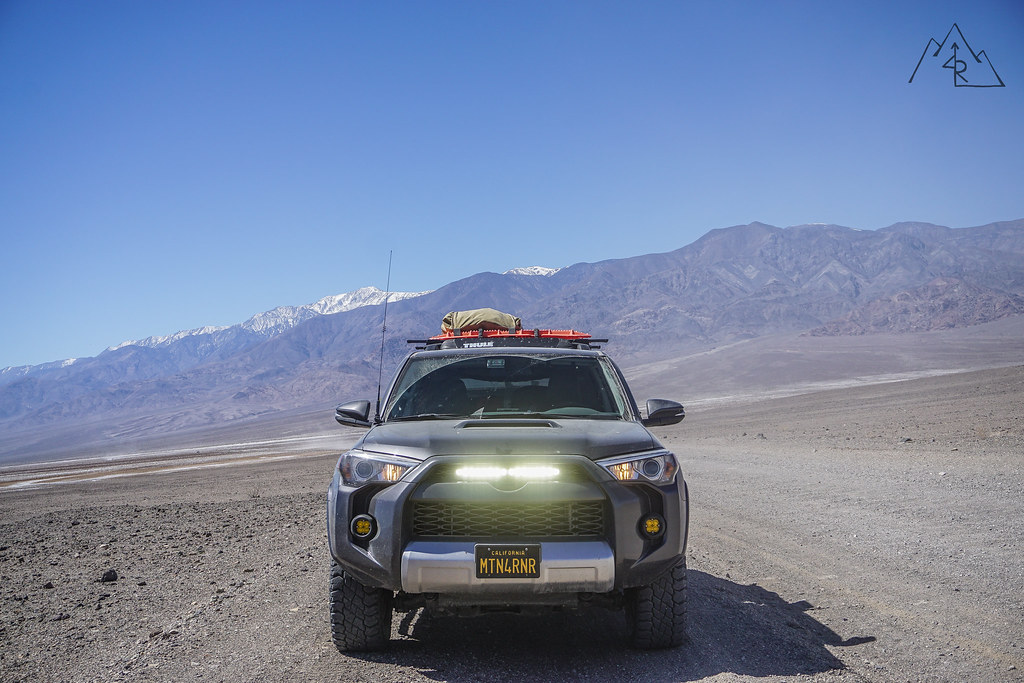
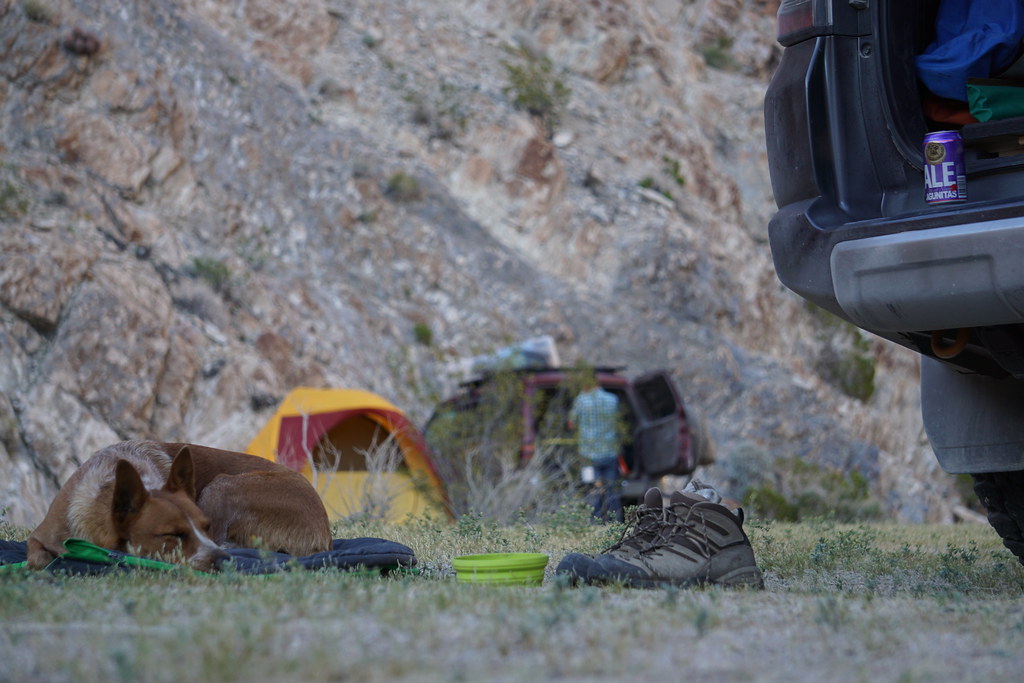
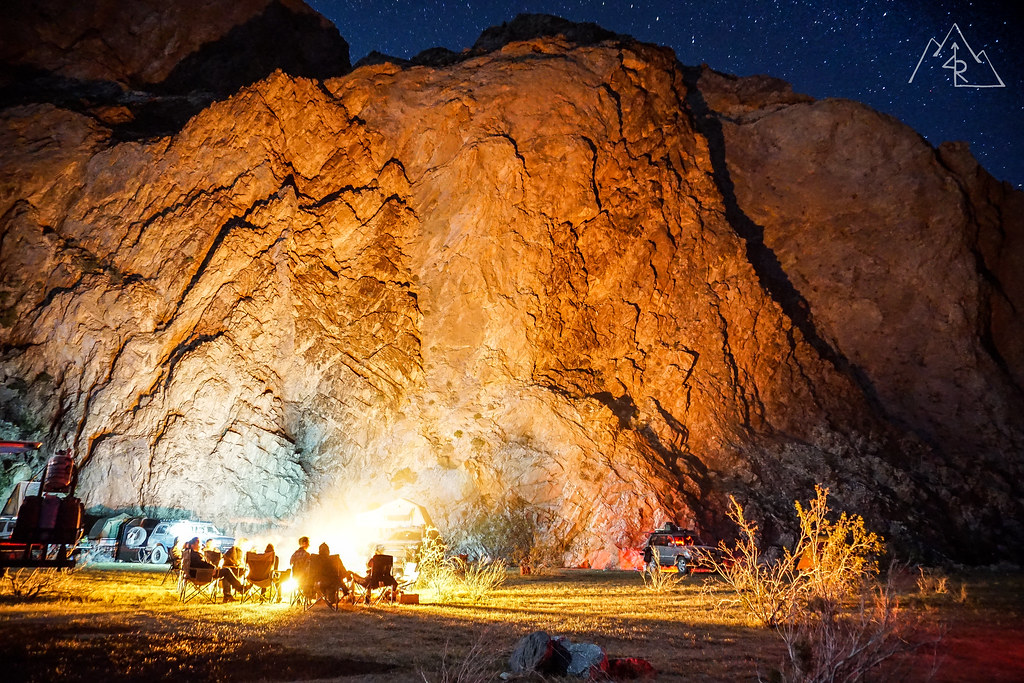
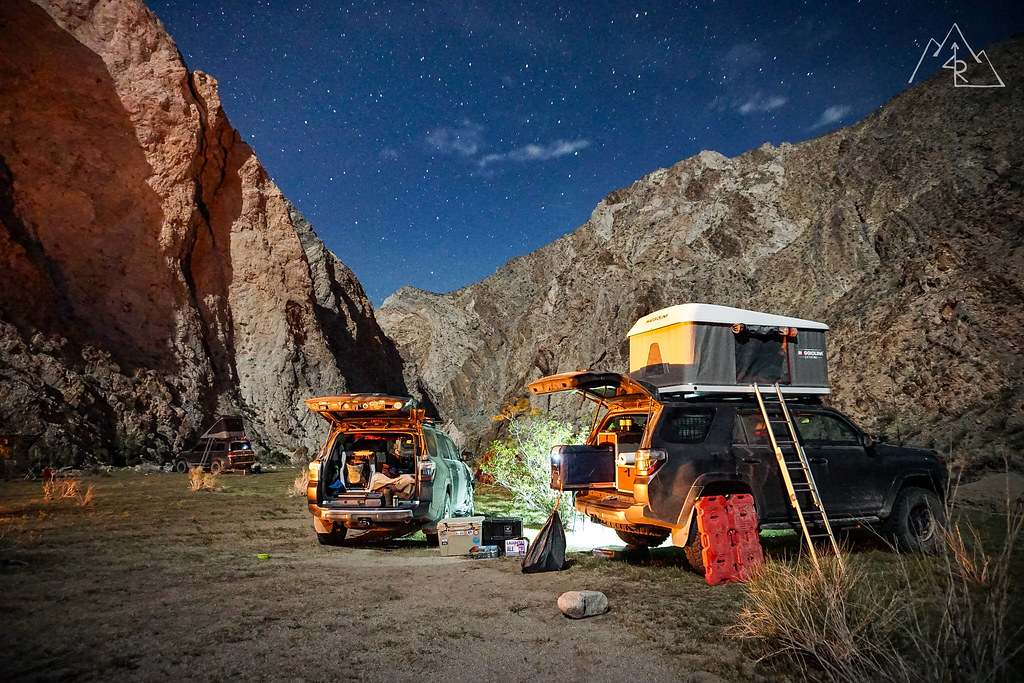
Death Valley 03/2017

A few months ago I went on a 5 day adventure through the Coso Wilderness and adjacent mountain ranges in Death Valley. We searched out downed fighter jets and enjoyed portions of the famed super bloom. To read about my trip, please click the link below!

Explore4R - Death Valley / March 2017

A few shots from the trip:
33349425173_aaa18d4cbb_b.jpg

33369083193_1184595edc_b.jpg

33744963172_a4f8113086_b.jpg

33757066990_e339856333_b.jpg

34141902865_f789ac4352_b.jpg


Enjoy!
 
Last edited:
WOW...!!! Really like this [MENTION=129593]MTN4RNR[/MENTION] how can I get on board for one..?

Great idea. I want to make a flat cargo space too for the back of mine. I like this idea or the one that Antman did for his. I really like how you incorporated a pull out board though, that would be a great spot for me to make my morning coffee in my jetboil. Last time I did this in the back cargo area I over boiled and it went all over the carpet :frusty: At least it was just coffee grounds and water

One of my favorite rides on here.

I'd love it if you could post the drawings for your rear deck.

Looks fairly simple construction wise. Just a ton of measurements that I'd truly hate to recreate.

Bump.. Did you ever decide if you were going to sell any of these, or were you going to just make a "how to"? :cheers:

I'm looking at doing something very similar as I like how you have tie down points so if someone wanted to install drawers they could be easily removed if they just strapped them down.. I'm kind of thinking of a similar platform, yet slightly higher so I could store a fold out table underneath, and then have the board just on the drivers slide as a pull out and use the passenger side to make a slide for my arb fridge and parter stove.. Like the GooseGear one, just not $1700 lol.

P.s. I just read through your entire build at the expedition portal tonight at work. Definitely one of the top build threads..

OK, time to address this. So far my design has held up well to punishment. Loaded, over 500 miles off road, and about 15k miles total. In the coming month or so, I am going to be contacting a few companies to see if there is any interest in producing my design. I will keep y'all updated with new information as it comes. I have been quiet about this project because as many of you know, I am an attention to detail guy and I wouldn't feel right producing or helping product something that wouldn't stand the abuse that I originally designed it for. And seeing as I designed it myself with many hours of thought into structure and function, it would be a direct reflection of my own quality and reputation that would be at stake. So hang in there. Thanks!
 
OK, time to address this. So far my design has held up well to punishment. Loaded, over 500 miles off road, and about 15k miles total. In the coming month or so, I am going to be contacting a few companies to see if there is any interest in producing my design. I will keep y'all updated with new information as it comes. I have been quiet about this project because as many of you know, I am an attention to detail guy and I wouldn't feel right producing or helping product something that wouldn't stand the abuse that I originally designed it for. And seeing as I designed it myself with many hours of thought into structure and function, it would be a direct reflection of my own quality and reputation that would be at stake. So hang in there. Thanks!

Fresh..!! [MENTION=129593]MTN4RNR[/MENTION] keep me posted, I'll be glad to help in any way I can. It really is an innovative idea. Thanks for tagging me in the update.
 
Damn, you make me miss the Sierra's!

The website is really coming along. :thumb3:

Ha, that's one of the reasons I don't think I will move from the West Coast.

Thanks man, it's a time commitment, but I am happy where it is going. I will be adding my build information on there soon, as well as gear and equipment reviews.
 
When I first bought the 4Runner, it didn’t take long before I realized that I would need to modify the stock cargo area to best fit my personal needs. I had a few basic requirements to consider:

Cargo Security:
My typical cargo usually consists of the Ruff Tough kennel for the pup and a Front Runner Wolfpack (used to be Action Packer). When I switch to camping/Overlanding mode, I will typically add my camping box (DeWalt Tough boxes), the cooler, and other miscellaneous small items. All of these things needed to be secured in case of a collision or other accident. The last thing that I want is for the dog kennel to smash around, or to see a fully packed Yeti cooler cruising through the windshield. A tie down system can also be more practical by keeping your gear secure when four wheeling as you start/stop/pitch/jolt. It was really clear that the stock 4 point system wasn’t going to cut it after a few 4wd trips, however for the better part of a year I have made it work.

A Fully Flat Cargo Area:
The 4Runner (without the OEM cargo tray) with the rear seats folded down does not allow the cargo area to be flush with the rear seats. It’s about a 2-3 inch drop, and that drop makes a huge difference when it comes to sleeping comfortably in the back. Like my issue with securing cargo, I was able to make it work using a yoga mat, and an extra blanket. It worked, but I slept terribly.

Additional Preparation Space:
When I camp and spend time outdoors, I tend to need a flat surface to perform various tasks. Cooking, organizing gear, working with maps, etc. In the past I have made due with cooking on my camping box, requiring me to pull everything out that I will need for the meal, and ultimately I forget something mid-cook. How hard is it to open the camping box while there is a full pot of water boiling on the stove? It’s very difficult, trust me. Sparing myself buying a table for camping, I thought having something that could be easily deployed when needed would be a great addition to this platform.

Room for growth:
When I design/start any project, I understand that even if it is well planned, and even better built, there is always the likely possibility that I will find some way to make it better. So I incorporated that reality into my build by using materials and a general layout that would allow me to incorporate drawers, a fridge slide or anything else later on down the road.

Note:
I won’t be going into full design details with this particular project at this time, mainly because I am contemplating doing a small production run of this platform once I give it a good shake down to test the integrity of my design. Once I can establish that there aren’t any weak points, I will consider moving forward if there is a suitable demand. In the meantime, I will be pricing the unit as it is currently designed because I understand that the first question many ask with this sort of product is “How much?” That’s what I am going to work out.

Product details:
-Baltic birch plywood construction
-Aluminum L-track tie down strips with movable tie downs
-Line-X platform coating
-Stainless steel hardware
-Minimal modification of the 4Runner to fit (plastic trim removal; no cutting)
-Flush to seat design
-Slide out preparation space

Product Description:
The platform is constructed using strong, Baltic birch plywood. It is made of a hardwood ply, and unlike cheaper substitutes, it doesn’t use a weaker filler between the layers of hardwood. It is hardwood through and through making it very rigid and durable. The plys are bonded together using marine grade adhesive, and the outside veneers are thicker allowing for a more durable surface. It’s not a cheap material to use, but the benefits well outweigh the cost.

The platform incorporates 4 aluminum L-track strips. Left, center, right, and against the rear seats. Each one with approximately one tie down option every 1-2 inches. This means that as cargo needs change, so do the tie down points. This variable approach allows for securing different cargo in different arrangements without compromise.

A Line-X finish on the platform was used to increase the base material’s overall strength, provide a waterproof finish to the top surface, and to increase the long term durability of the platform. As an added bonus, it ended up looking like something that should have come from the factory as it closely matches the plastic color.

The slide out is made of the same Baltic birch plywood, but with an added polyurethane surface protectant to seal it from water and other stains. The edges have been routed to provide a smoother grip when extended. The slide can come out approximately 18” with enough rigidity to hold a stove and food preparation supplies. It is branded with the Mountain 4Runner logo on the lower right corner.

The platform attaches to the 4Runner using existing threaded holes, and only requires the removal of 2 plastic trim pieces. No cutting is required for installation. It fits with approximately ½” per side to spare, and enough room to fold the rear seats up and down without interference.

Product photos:

DSC04575_zpsgddigbti.jpg~original


DSC04565_zpsqat0eiqt.jpg~original


DSC04559_zpsiqwfjspe.jpg~original


DSC04558_zpsnwkhbhos.jpg~original


DSC04566_zpsbpjdtdgs.jpg~original


DSC04569_zpsinimfmli.jpg~original


DSC04572_zpssju4trm0.jpg~original


http://i1380.photobucket.com/albums/ah175/mtn4rnr/4Runner%20Platform/DSC04581_zpsen3nguxk.jpg[img]

[img]http://i1380.photobucket.com/albums/ah175/mtn4rnr/4Runner%20Platform/DSC04578_zpsljtsfvxl.jpg~original

DSC04583_zpsuikvvbuw.jpg~original


DSC09988_zpsaasyban0.jpg~original


DSC00002_zpsn135wyty.jpg~original


DSC00033_zps7boz7ner.jpg~original


As I mentioned above, I will be testing the platform in the coming months and determining if I can produce a small number of units and what the associated cost would be. I will update the build page with information as it comes. Feel free to send any questions to me via the personal message feature on the forum.

More to come…

Any chance that you can repost those pics?
 
Any chance that you can repost those pics?

Great, looks like PhotoBucket changed their TOC's and they are now requiring a different plan for 3rd party hosting. I switched to flickr a while back with great results, but left my existing account on PB for the old photos in the thread. Looks like I have my work cut out for me to replace the photos in previous posts with a new link.... Fantastic.

PM me if you want photos of the platform...
 
Yes, crap timing! I was just trying to look at your BD S8 light bar install...planning on ordering one next month...can't decide between the 10" and 20".
 
Yes, crap timing! I was just trying to look at your BD S8 light bar install...planning on ordering one next month...can't decide between the 10" and 20".

Do you want photos of the light bar itself, or the installation? My opinion is that the 20" is the best balance between light output and size. If you are using it in the same way that I am, the 10" might feel a bit underpowered for a front facing driving light. I only say that because the 20" in my opinion hits the nail on the head in terms of output and usable light. I can post some temporary photos for you of the S8 if you'd like while I work backwards to restore some of the photos that have been claimed hostage by Photo Bucket :censored:
 
Do you want photos of the light bar itself, or the installation? My opinion is that the 20" is the best balance between light output and size. If you are using it in the same way that I am, the 10" might feel a bit underpowered for a front facing driving light. I only say that because the 20" in my opinion hits the nail on the head in terms of output and usable light. I can post some temporary photos for you of the S8 if you'd like while I work backwards to restore some of the photos that have been claimed hostage by Photo Bucket :censored:

Thanks, I read through your install and it seems pretty straightforward...just need to decide on lightbar size now! Appreciate your help!
 

Members online

Forum statistics

Threads
278,316
Messages
3,554,110
Members
248,016
Latest member
Advally Service

Trending content

Back
Top