Building speaker enclosures/replacing the head unit - 2005 4Runner
I read a little about people building speaker enclosures out of 6"PVC pipe.....well here it is......I didn't really do a clean job of it but appearance doesn
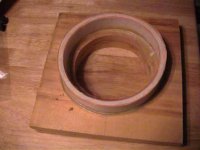
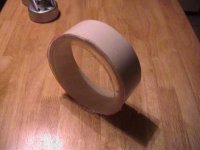
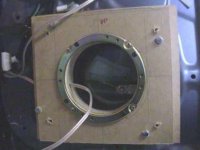
Looking at the front door enclosure from the back. Two 3/4" wooden boards (since I ran out of scrape mdf) sandwiched (the PVC pipe is 2 1/4" long). The back cover is 1/16" plexiglass. The best way I found to cut the pvc was to mark it and run tape all around the exterior wall. then drill a 1/4" hole close to the taped edge. Cut the PVC with a jig saw as you rotate the pipe....simple. Sand the ends to give you a rough surface for bonding and to clean any imperfections. I found that it dosn't have to be a perfectly straight cut sinse you will be caulking the pieces together.
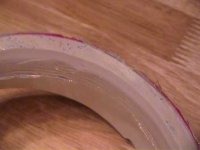
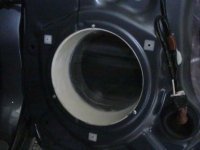
Rear door close up of the PVC part of the enclosure installed. The tolerance was unreal!!!!! as noted by the overlap. Drill holes for small screws to screw the enclosure onto the door....I DRILLED HOLES IN MY BRAND NEW 4RUNNER!!!!!!! %^&**%^$!!!!
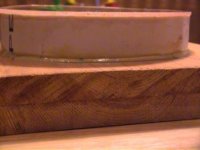
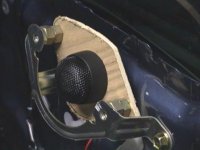
This is the front enclosure installed. The plastic part (in Pic3) is glued to the mdf for the front speakers...screwed in place for the rears (Pic6). Note the sandwiched mdf....and drilled hole through the side for the speaker wires...and some major screw ups on the first drill hole pattern!!!! As you can see from the pic....miss match all over the place....the cuts are not rocket science.....you have plenty of room for the boards between the skin and door metal.
Full shot of the rear enclosure. I had to install it through the hand hole covered by plastic (you can see it on the right of the pic). The rear enclosure can be screwed to the door. Silicon calk the seam between the door and the PVC pipe section to make it moisture proof. The mdf is then screwed into place using the 3 original speaker attachment holes.
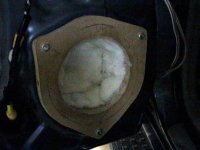
This is the rear enclosure with the mdf and polyfill installed in the enclosure. I used a spray glue to keep the polyfill in place. FYI this is the actual factory speaker bracket shape which is built onto the factory speaker. So no matter what your thinking...you will have to custom fit the speakers....
I'll post the materials required sometime next week......length of bolts, thread pitch....etc...the rest of the installation is covered on this site...I.E. removing the skin.....replacing the HU......amps etc....any thoughts on this mod? I'll also post the links to skin. console, HU, removal....amp placement...forget under the seats....unless you unbolt it (front) and bend a few things.....I placed a very small amp under the passenger seat but still had to remove the seat...
Nice install so far. I'm actually in the process of installing my system in my 4runner as well. I'm taking pics and i will post them in the future. I actally have the infinity kappas like yours. I just made the mount of the tweeters similar to yours. I've tried the kappas with an enclosure before and the sound was not as good as when just a wooden baffle when used (free air mount). How does yours sound? Also, did the door panel in the front fit back on the door. I noticed that your wooden baffle is pretty thick.
I trimmed the internal factor ring off of the skin. I was a bit apprehensive at first but what the heck...It's not going to show after the install or when I sell/trade it in. I think it sounds really really good myself...but I think it depends on the listeners taste. The popular speakers for younger people is something that goes booooom in the night This can get it...but not shaking the car...I can really crank it up with little distortion or vibration...
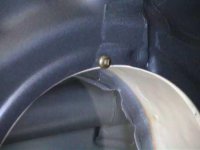
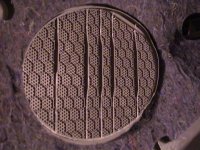
Note: I used a utility knife before this pic was taken...I was able to clean it up using a wood chisel. I would recommend using a wood chisel instead but anything will do since you will have about a 1/4" gap between the skin and the speaker when you finish up.
I did want to bring the speaker up to the skin as close as possible and eliminate depth for window clearance and any echoing behind the skin.