Cartzo's 87 4Runner Homemade Long-Travel Build

I've made some good progress on the runner these last 2 days.

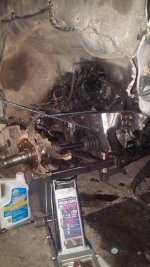
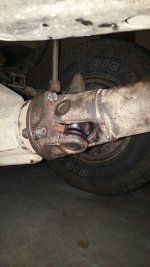
I replaced my u-joints and boy were they shot. I can't believe the yota was still driving. Not to mention none of the bolts were torqued down.... It was a major pain getting the old ones out but the new ones went in fine.

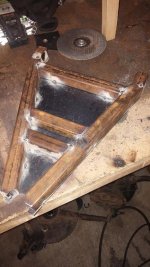
I got my first A-arm tacked up and almost ready for welding. I'm waiting on my bushing kits which are 2 weeks out :mad: I jacked up my upper arm mounts so I guess my kit won't be bolt in.. I got a T100 CV and measured 16.5" of travel. I figure about 15" of that is usable so I am shooting for 15" of 4WD IFS travel.

I also figured out I have a bad oil pressure sensing unit. I ordered a new one that should be here tomorrow
 

Attachments

  • sssssss.jpg
    sssssss.jpg
    100.9 KB · Views: 880
  • 20140904_214550sssssssss.jpg
    20140904_214550sssssssss.jpg
    71.4 KB · Views: 871
  • 20140903_213509ssssss.jpg
    20140903_213509ssssss.jpg
    54.7 KB · Views: 787
I'm not sure I mentioned before, but on the tear down I measured my travel just to compare when I have LT. Unsprung measured 4.5" of travel... Not sure how it was that bad but that's what I measured. So I'm going to triple my travel at minimum... :rofl:
 
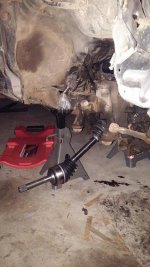
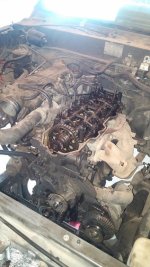
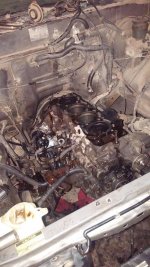
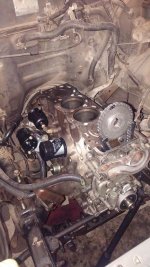
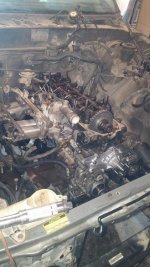
So I'm throwing in a new timings set and oil pan gasket. I have the front diff completely out. Is there anything cheap that I should replace or look at while I have the head and everything off?
 

haha :D

Sorry. At least you'll get some practice doing the gasket now. As long as you've got the head out, take it to a machine shop for a checkup, they'll let you know if the valves are good and if it needs resurfaced. Be sure to put a straight edge on your block mating surface while it's accessible.
 
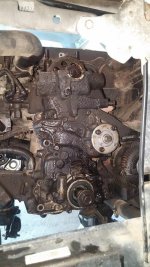
So [MENTION=49649]KidVermicious[/MENTION], I guess it's a good thing I pulled the head because I have replaced TONS of baked on gaskets. The manual said to pull both the pan and the head anyways. I don't think it would have worked with only the pan.

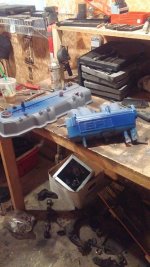
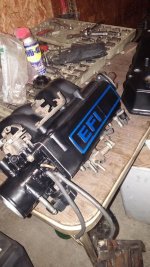
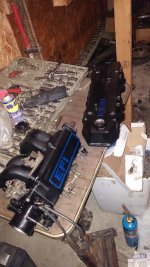
I made good progress this weekend. I wanted to clean everything and throw a little paint on while I had it apart. I have spent HOURS cleaning this greasy ***** up. I'm still not done cleaning either. It looks so much better though and I think it's gonna look mean when it's all back together.

I'm a little confused about the new oil sending unit. It seems like it sticks out far but it's really tight. I figure the space is so you can get a wrench in there? When I took the old one out I didn't notice because I couldn't really see in there, but I feel like it screwed in further...
 
Forgot pics :D
 

Attachments

  • 20140911_090434ssssssssss.jpg
    20140911_090434ssssssssss.jpg
    79.1 KB · Views: 701
  • 20140911_090440ssss.jpg
    20140911_090440ssss.jpg
    71.9 KB · Views: 751
  • 20140911_201653ssssss.jpg
    20140911_201653ssssss.jpg
    82 KB · Views: 692
  • 20140913_222055sssssssss.jpg
    20140913_222055sssssssss.jpg
    77.8 KB · Views: 734
  • 20140913_222137ssssss.jpg
    20140913_222137ssssss.jpg
    67.6 KB · Views: 701
  • 20140914_195445ssssss.jpg
    20140914_195445ssssss.jpg
    81.3 KB · Views: 718
  • 20140914_195458sssssss.jpg
    20140914_195458sssssss.jpg
    76.1 KB · Views: 716
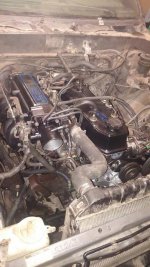
Almost done with the engine. Then I'll be able to focus on suspension
 

Attachments

  • 158sss.jpg
    158sss.jpg
    61.3 KB · Views: 692
  • 160sss.jpg
    160sss.jpg
    63 KB · Views: 701
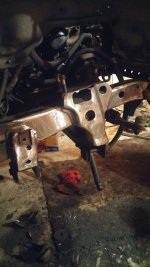
Today I ground off my stops and shock mount. I've decided I'm gonna cut off the whole UCA mount then box in the motor mount. It will make it easier to make mounts for my new UCA's and clean it up a bit.

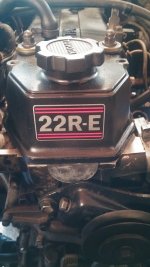
I got a sweet sticker for the valve cover too
 

Attachments

  • 20140924_203241.jpg
    20140924_203241.jpg
    109.9 KB · Views: 701
  • 20140924_132354.jpg
    20140924_132354.jpg
    106.6 KB · Views: 675
So I'm waiting on joints, but I got as far as I could without them. Looking good so far. Everything lines up right. My upper arm is going to be insane. Have you ever seen a horizontal uniball on a first gen? Neither have I, but we are about to :D

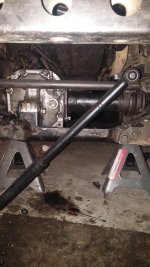
I cleaned up the front axle and got it back in. That ***** is HEAVY
 

Attachments

  • 20141005_001941ssss.jpg
    20141005_001941ssss.jpg
    99.5 KB · Views: 865
  • 20141005_002015ssss.jpg
    20141005_002015ssss.jpg
    59.1 KB · Views: 798
  • 20141005_214447ssss.jpg
    20141005_214447ssss.jpg
    57.2 KB · Views: 818
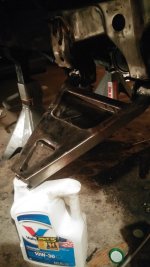
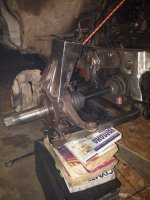
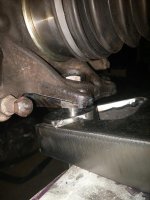
Finally made some progress on the suspension. I had to make a weird adapter plate for the spindle to the lower uniball in order for the spindle to sit parallel with the lower arm when the uniball is centered. I also cut a new hole for the uniball cup in the lower arm to optimize my CV/spindle/tire placement. So far it is cycling almost 16" of travel. The uniball is the limiting factor, but since it is limited to basically the end of the CV's travel I don't really care. And since my upper uniball with be mounted horizontally, there shouldn't be anything else limiting my travel other than my fender which I can deal with in the future.

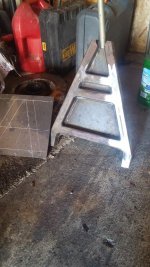
I don't think I have posted a picture of my modified spindle yet. I pretty much made a beefy gusset then slapped some plates on top to mount the uniball. I couldn't find anyone on the internet that made a gusset for the 1st gen spindle which I thought was interesting. I think that's about it for now. Thanks for reading! :wave:
 

Attachments

  • IMG_20141105_233711.jpg
    IMG_20141105_233711.jpg
    67.3 KB · Views: 831
  • IMG_20141105_233729.jpg
    IMG_20141105_233729.jpg
    62.5 KB · Views: 748

Members online

Forum statistics

Threads
278,317
Messages
3,554,128
Members
248,016
Latest member
Advally Service

Trending content

Back
Top