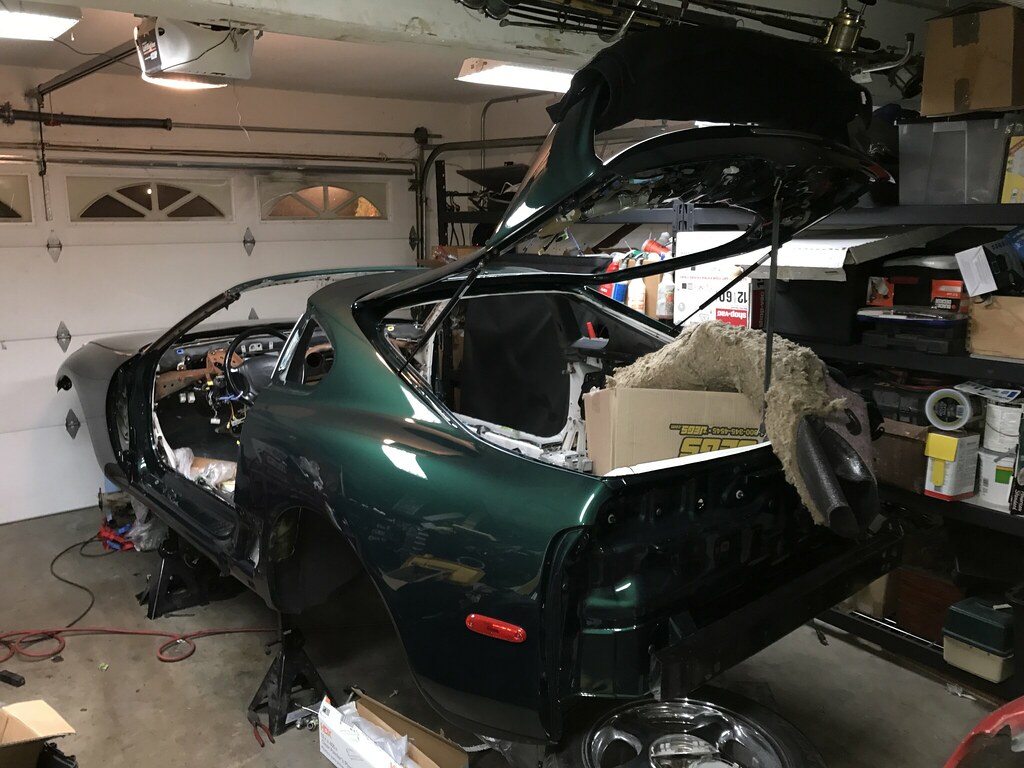
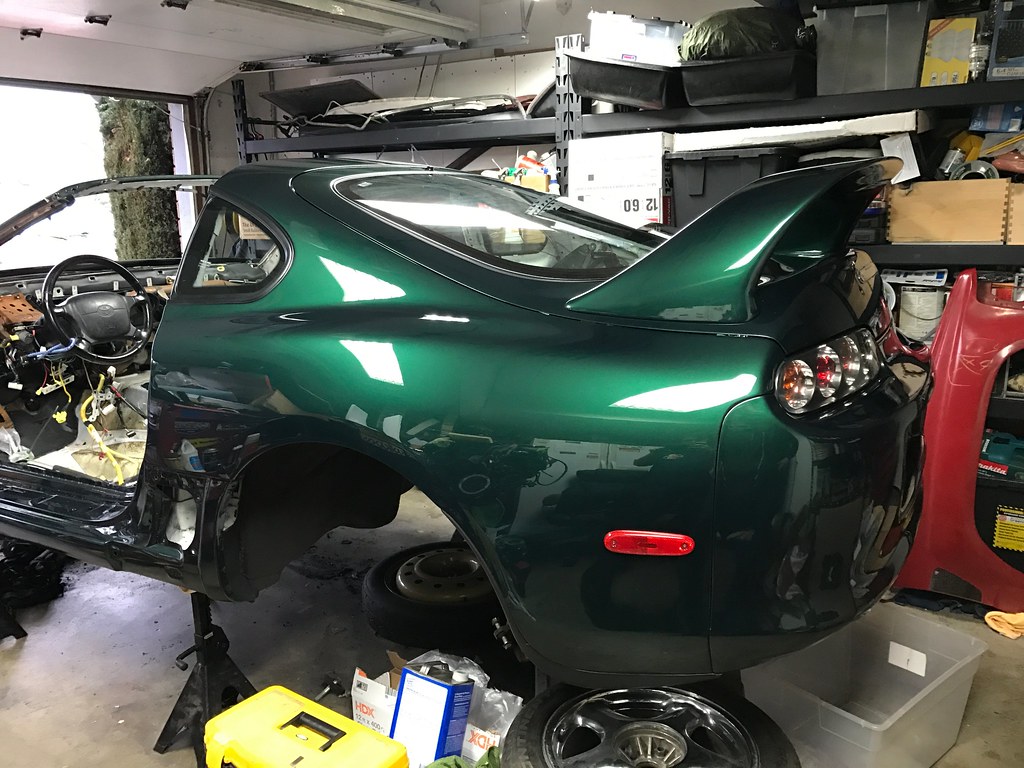
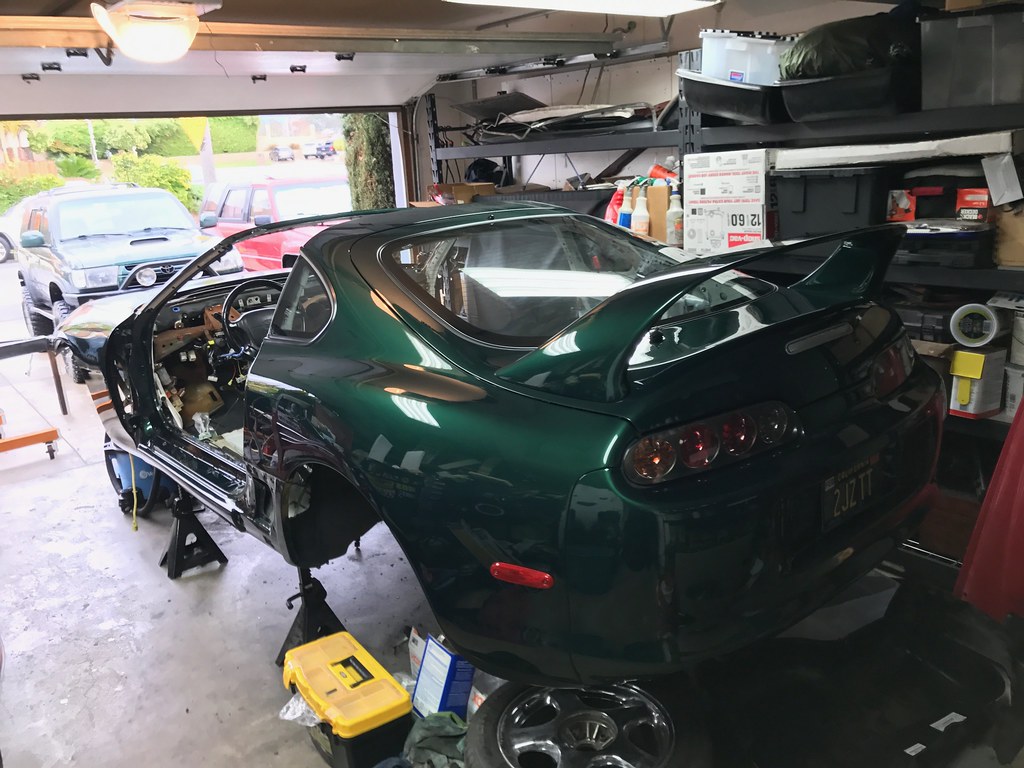
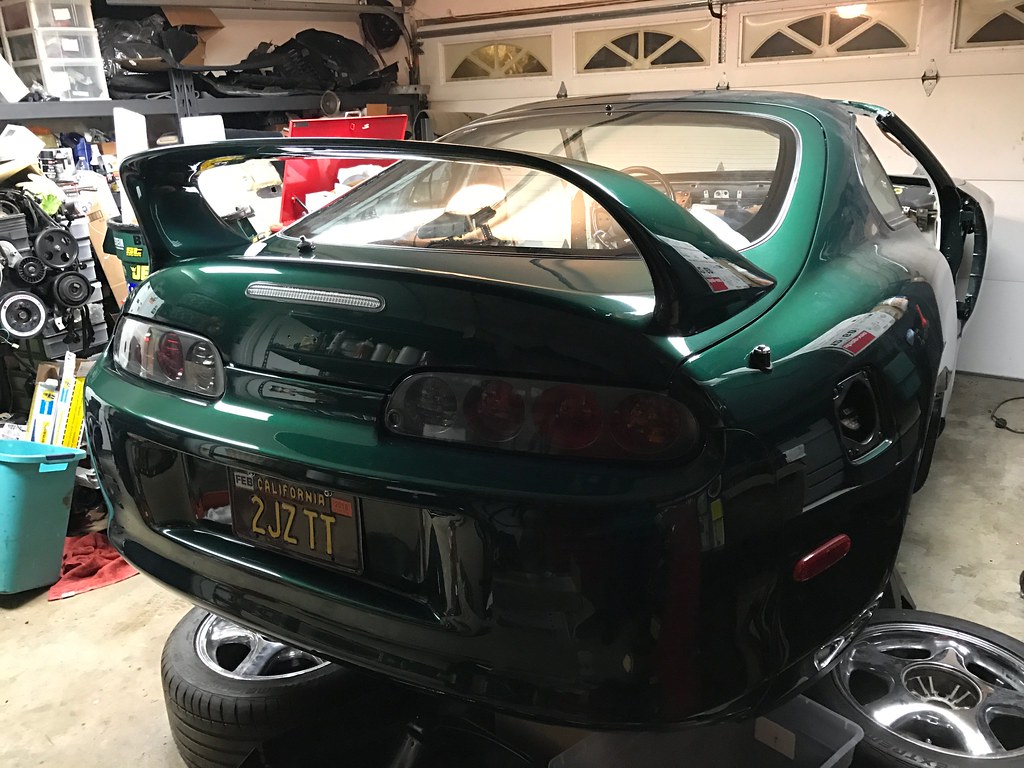
COB's '94 Supra Turbo

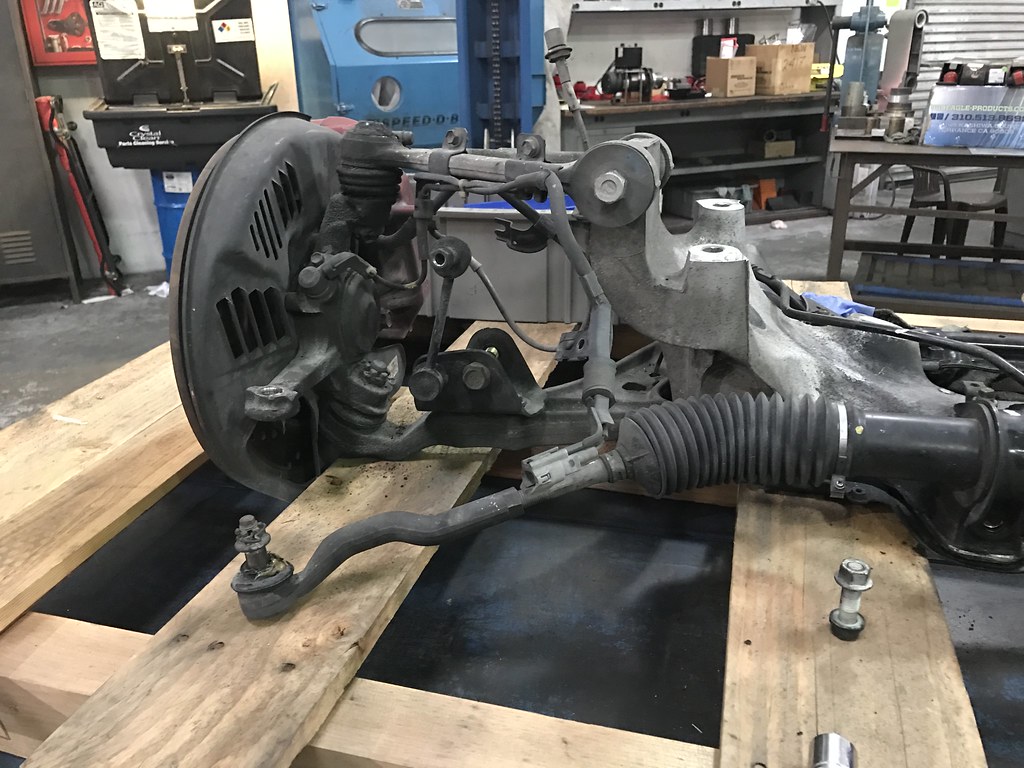
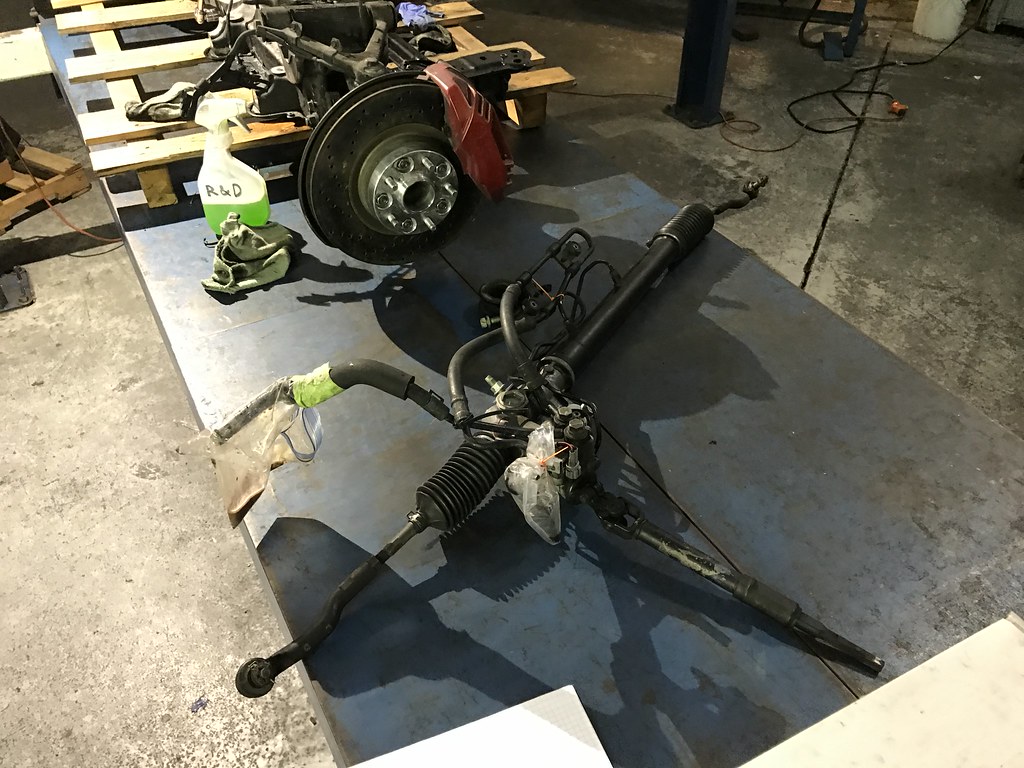
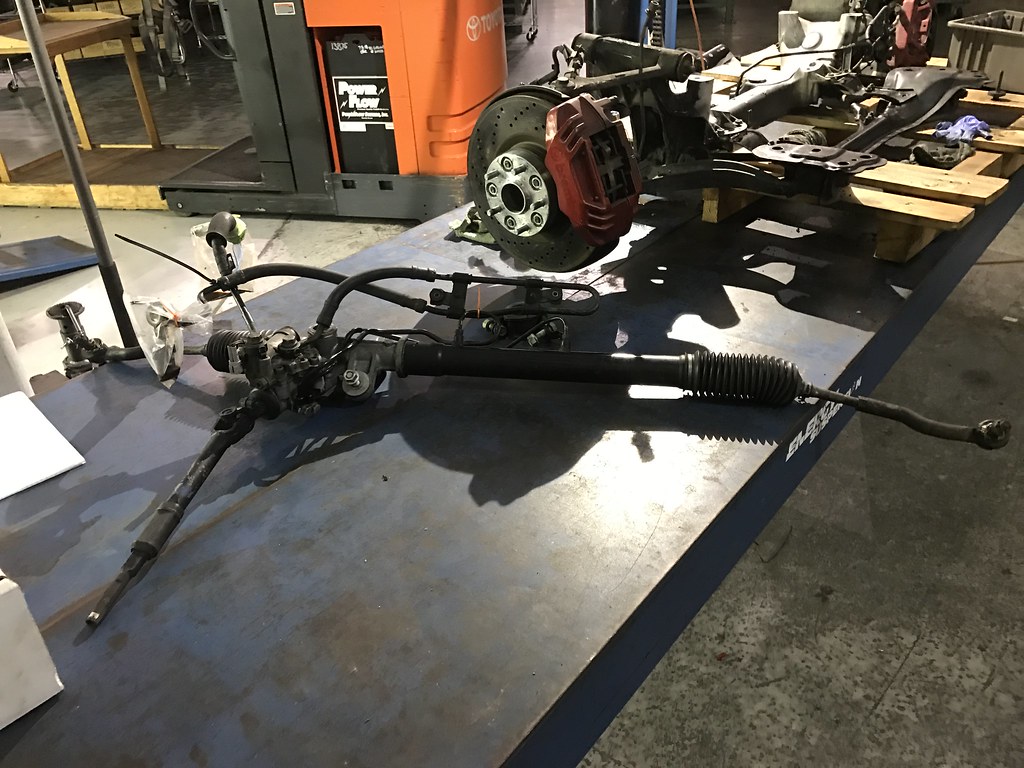
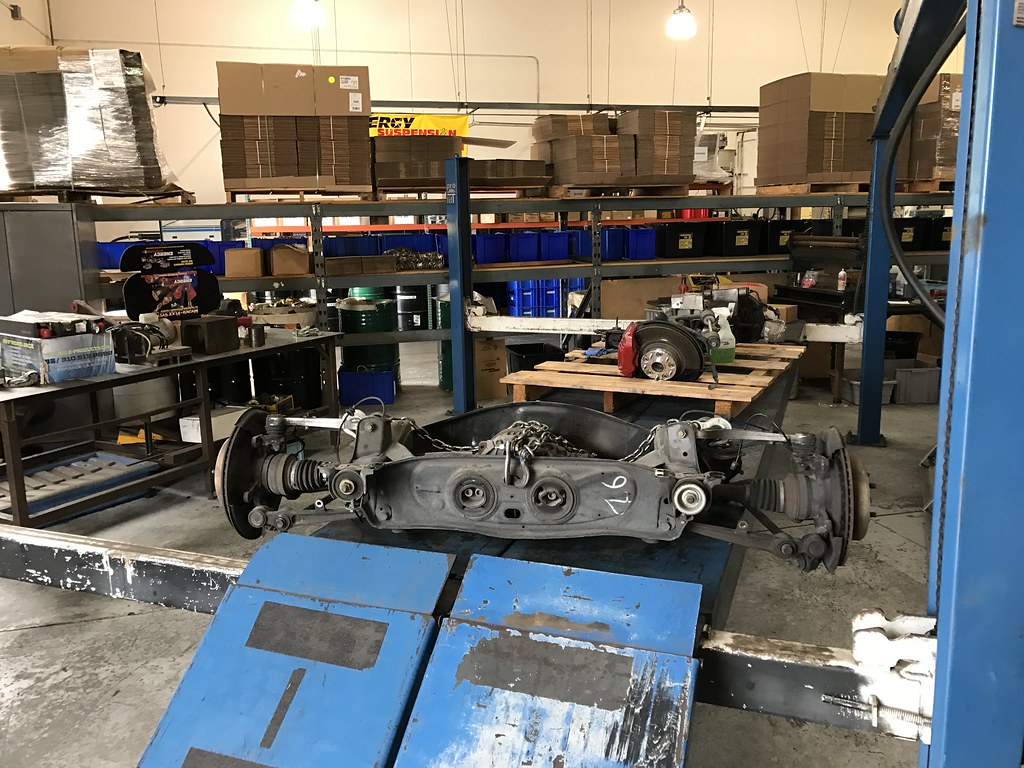
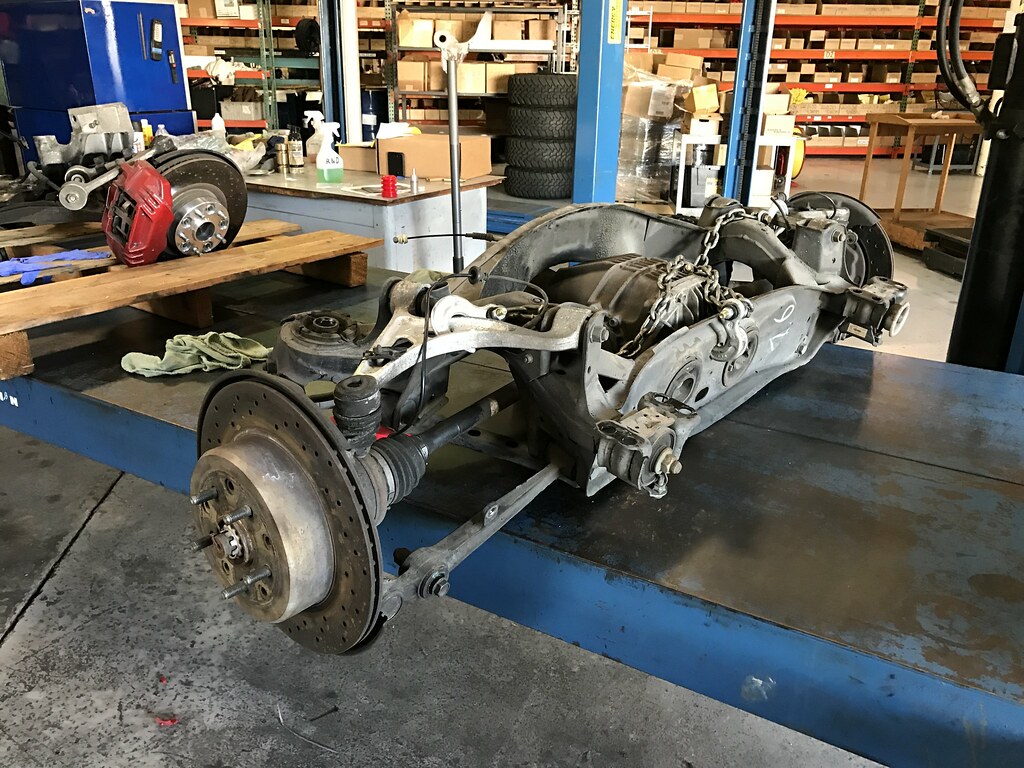
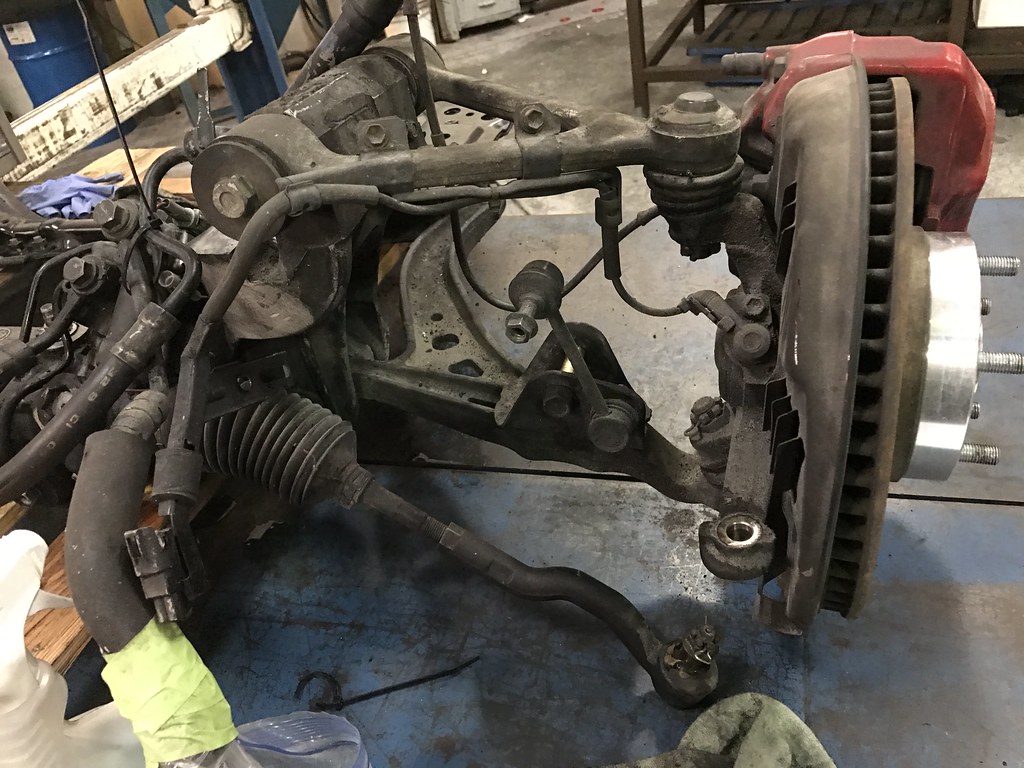
Steering rack removal.


45982168185_86ca82daae_b.jpg


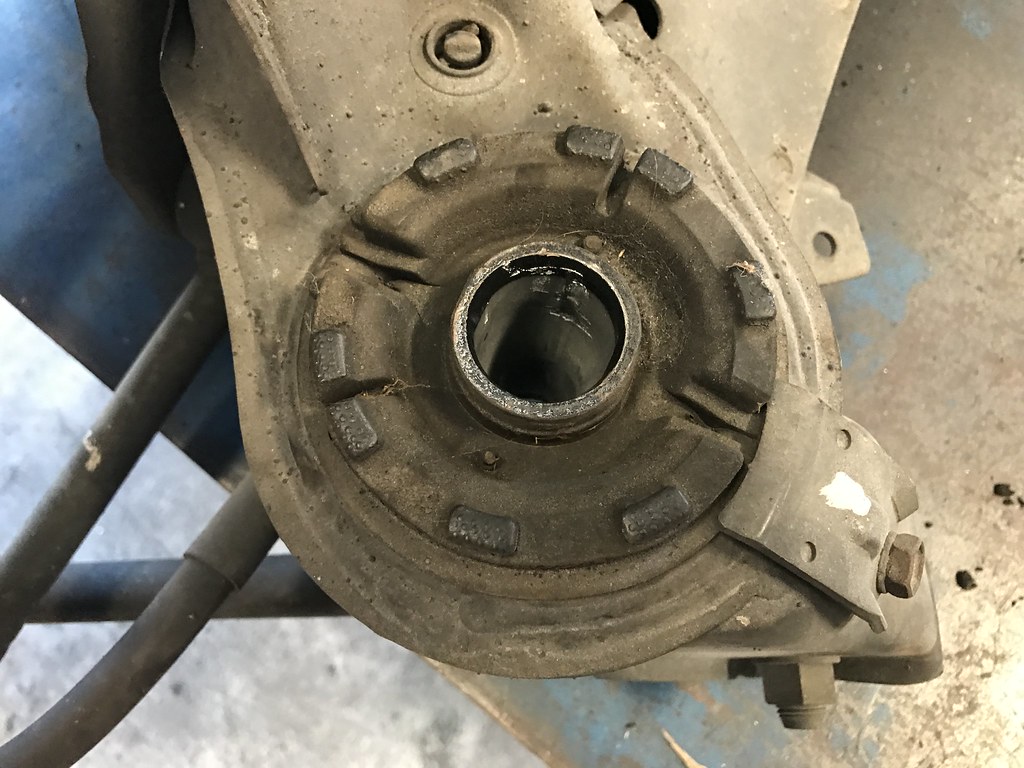
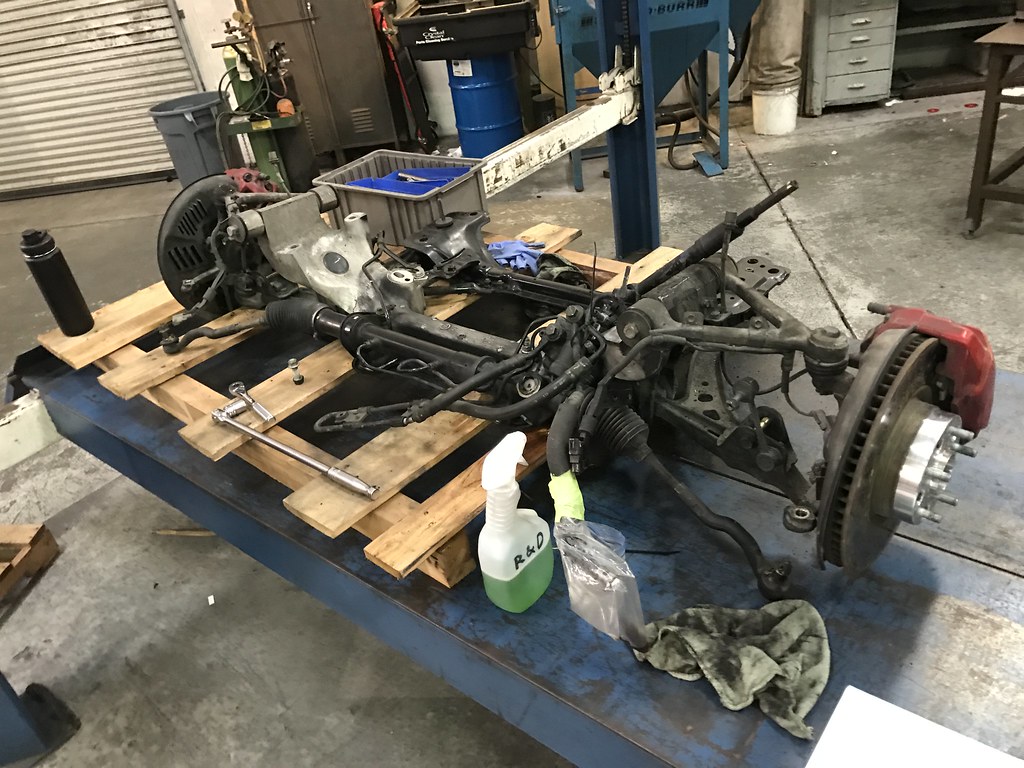
Years ago, this car leaked its power steering fluid all over the driver's side subframe. Bad return hose. It's pretty dirty.

45982167775_a9799c238f_b.jpg


39931952963_4b12c947a2_b.jpg


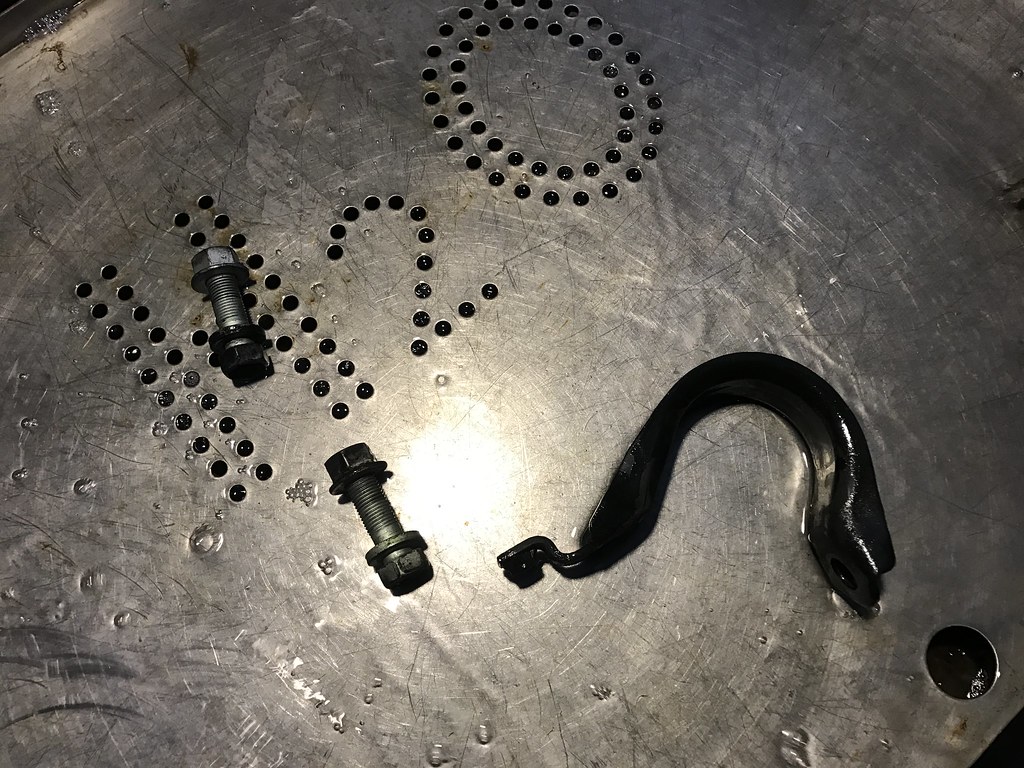
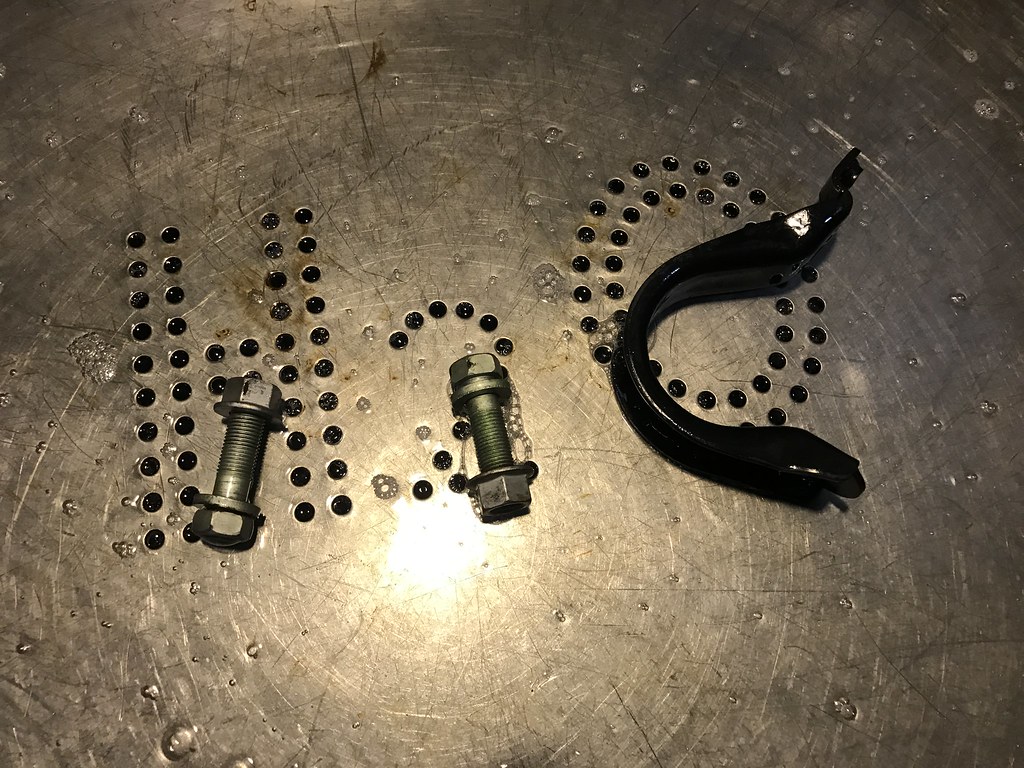
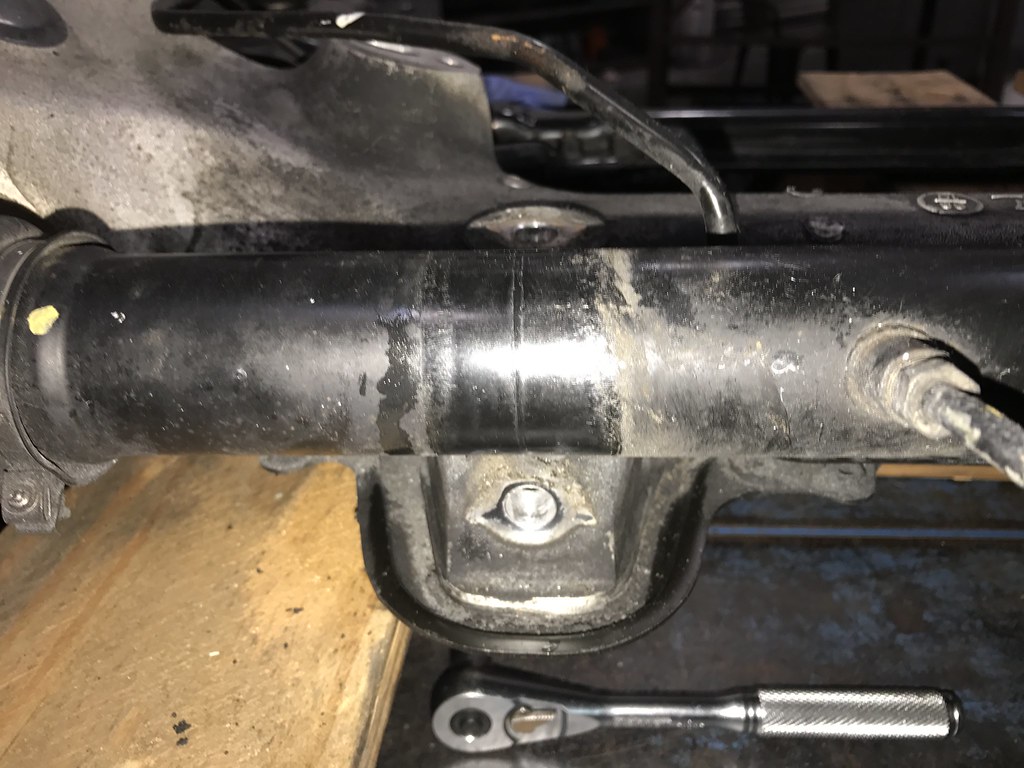
Steering rack bracket and mounting hardware cleaned up.

45982164465_394551a710_b.jpg

39931952573_91c27a871d_b.jpg

39931952073_e9003e531e_b.jpg


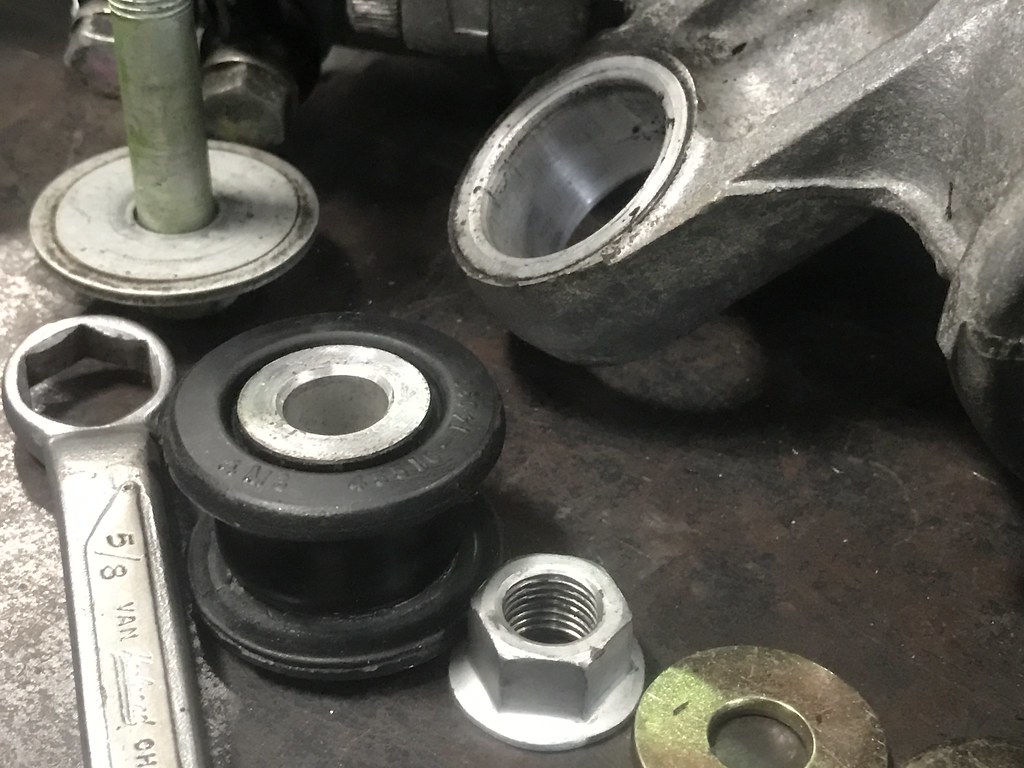
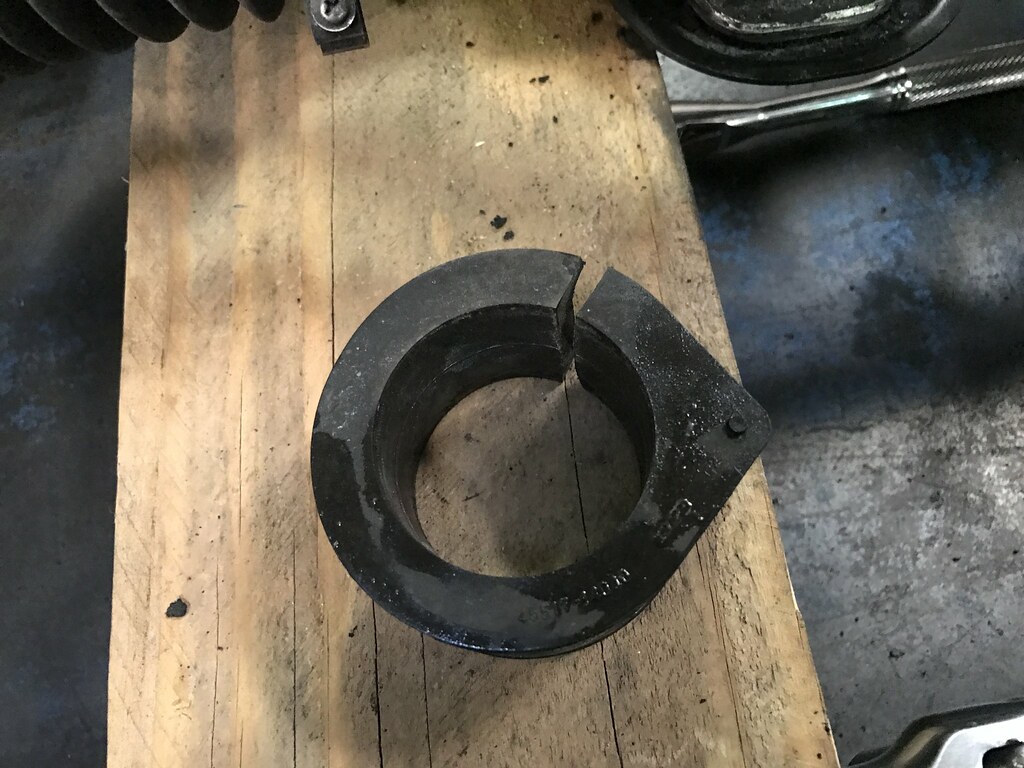
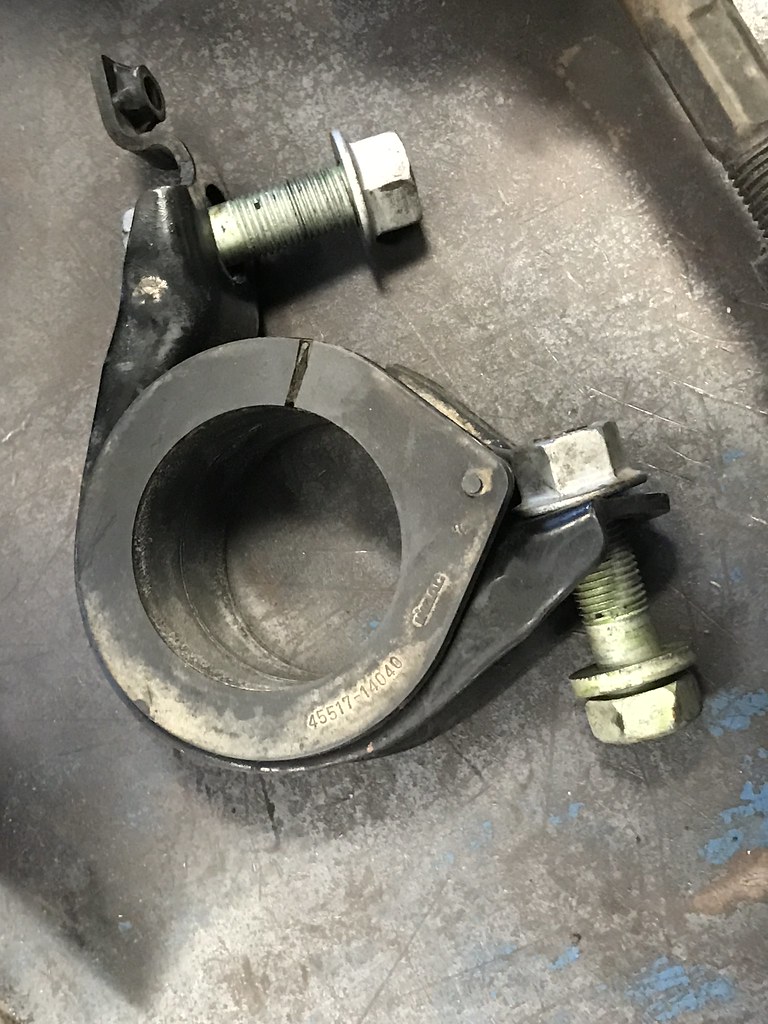
The rack bushings are in beautiful condition with zero indication of wear. They got the MK4's right!
45982166155_d1ea62edfa_b.jpg


46171970614_0ed08c9dab_b.jpg


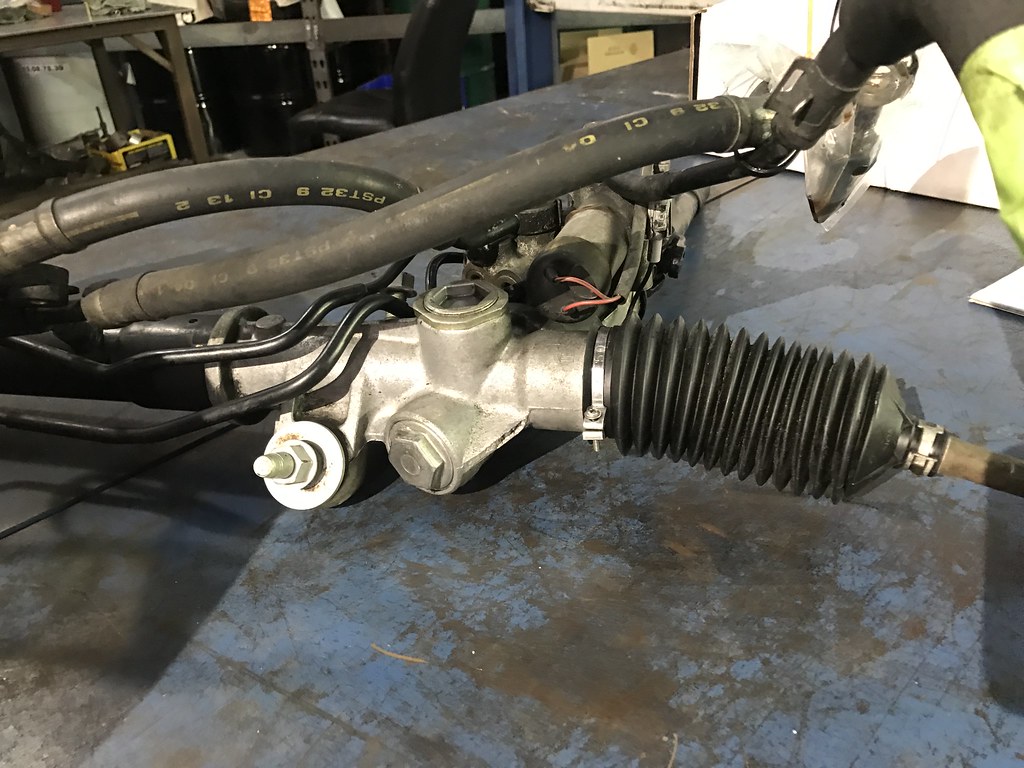
A little cleanup of the rack itself showed the factory cast aluminum shine.

39931949133_9795eceeaa_b.jpg


45982163125_31c7f7ae59_b.jpg


45982161945_fc0244f18d_b.jpg


33021562778_9503a59c60_b.jpg


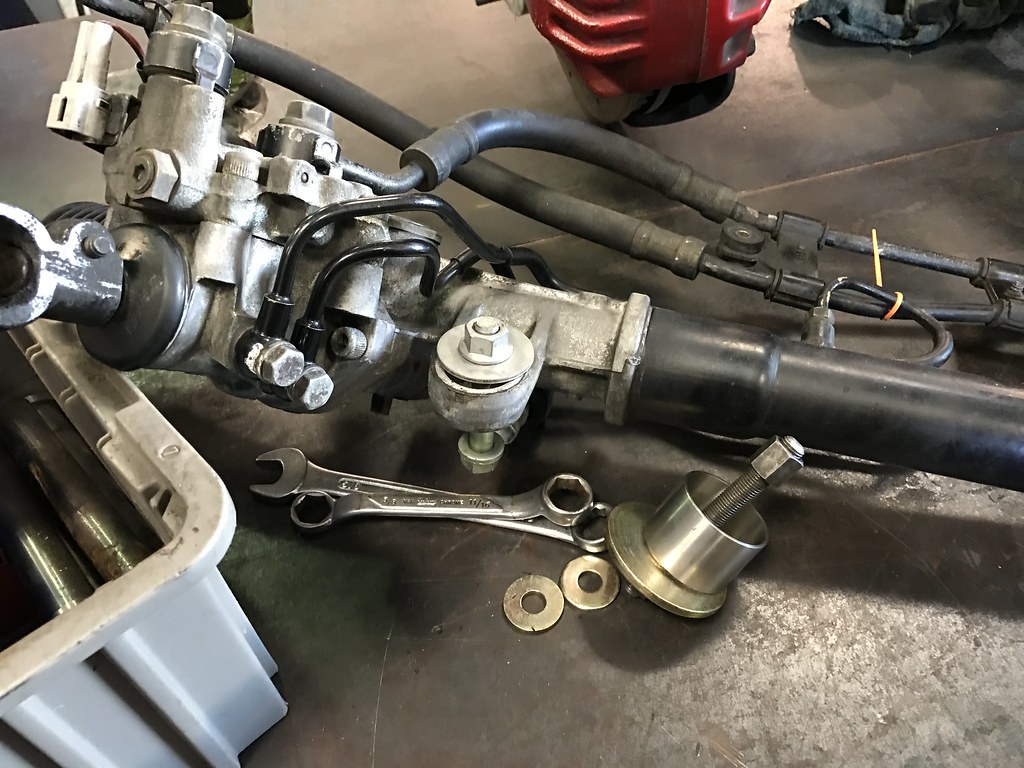
Amazing what a little simple green and red scotchbrite will do


33021560998_c53d893676_b.jpg


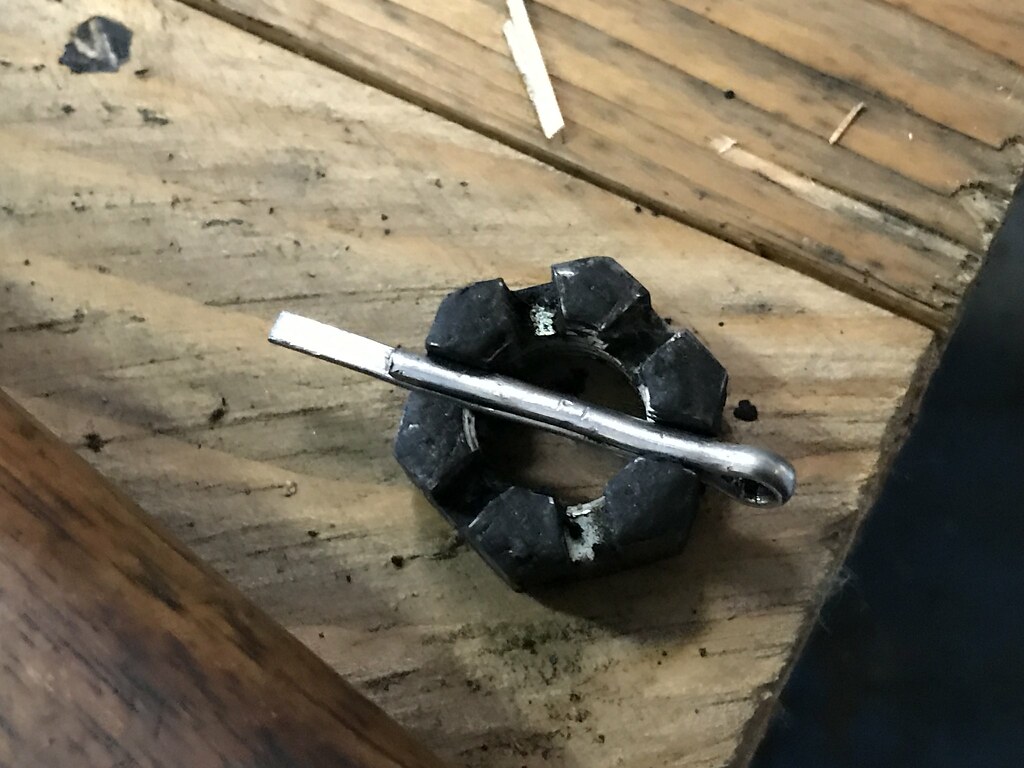
Even the cotter pins on the ball joints and tie rods looked good

45982189415_65aaf99639_b.jpg


31955565227_78b5a9e081_b.jpg


Before

33021556468_02319c9741_b.jpg


After


46171971624_2c8069ac02_b.jpg


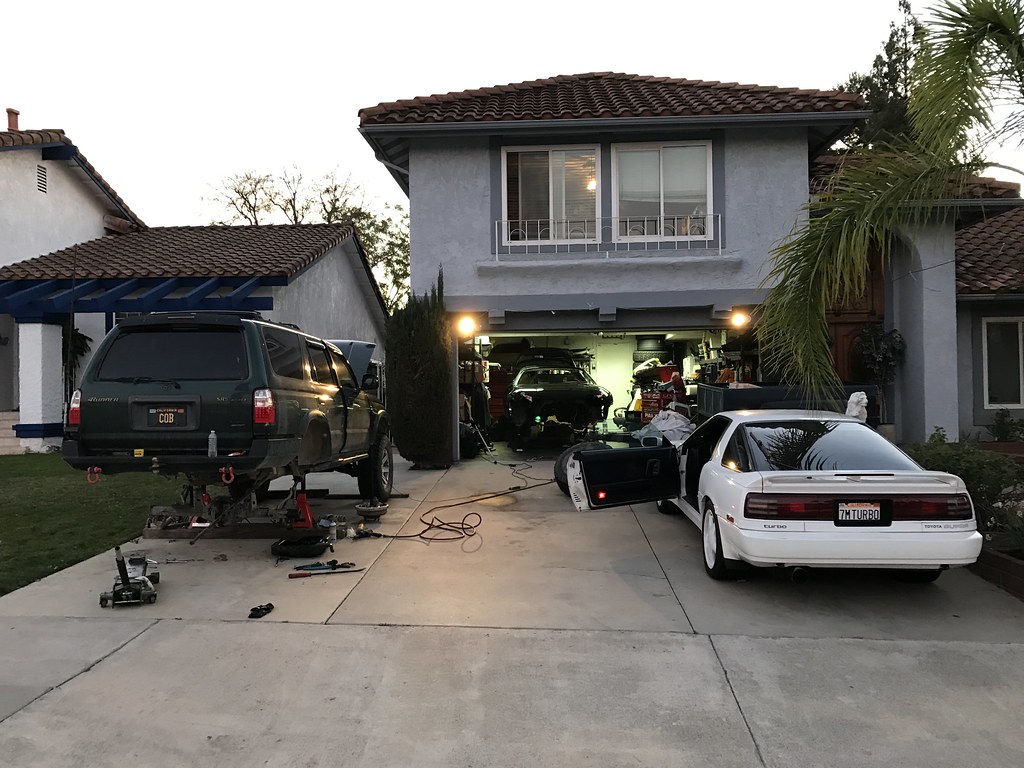
Finally got the new rear axle done in my 4Runner so I took a little break from the MKIV to get that up and running.


39931951463_7fd9341d7d_b.jpg
 
Last edited:
Back to the interior again.


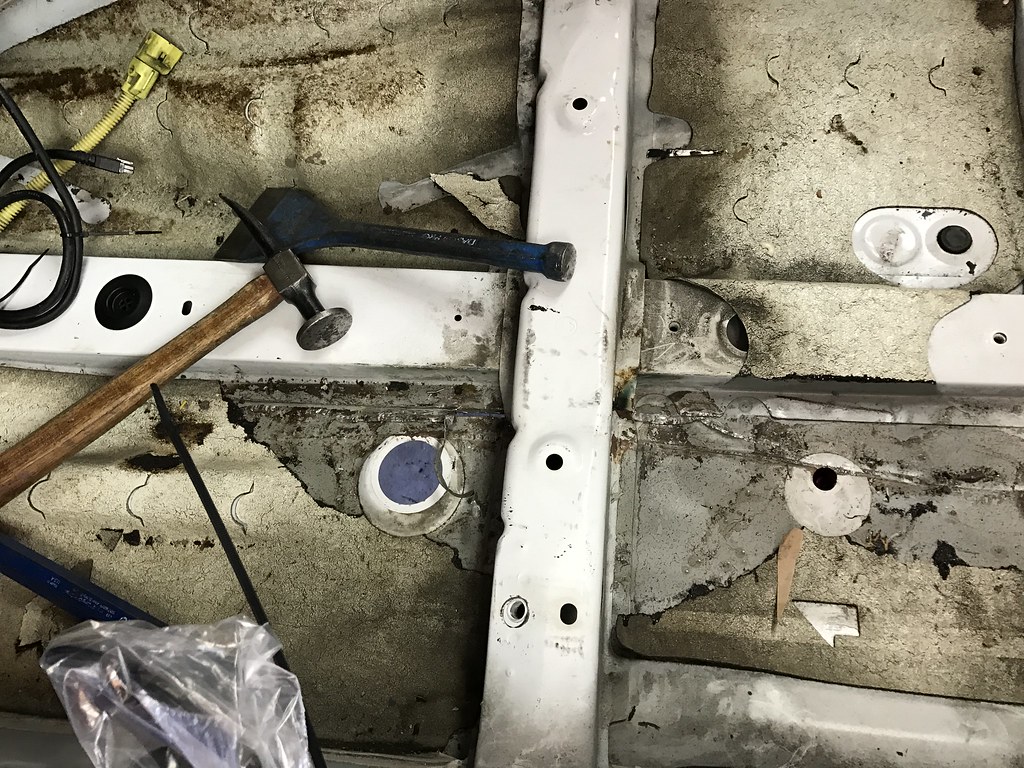
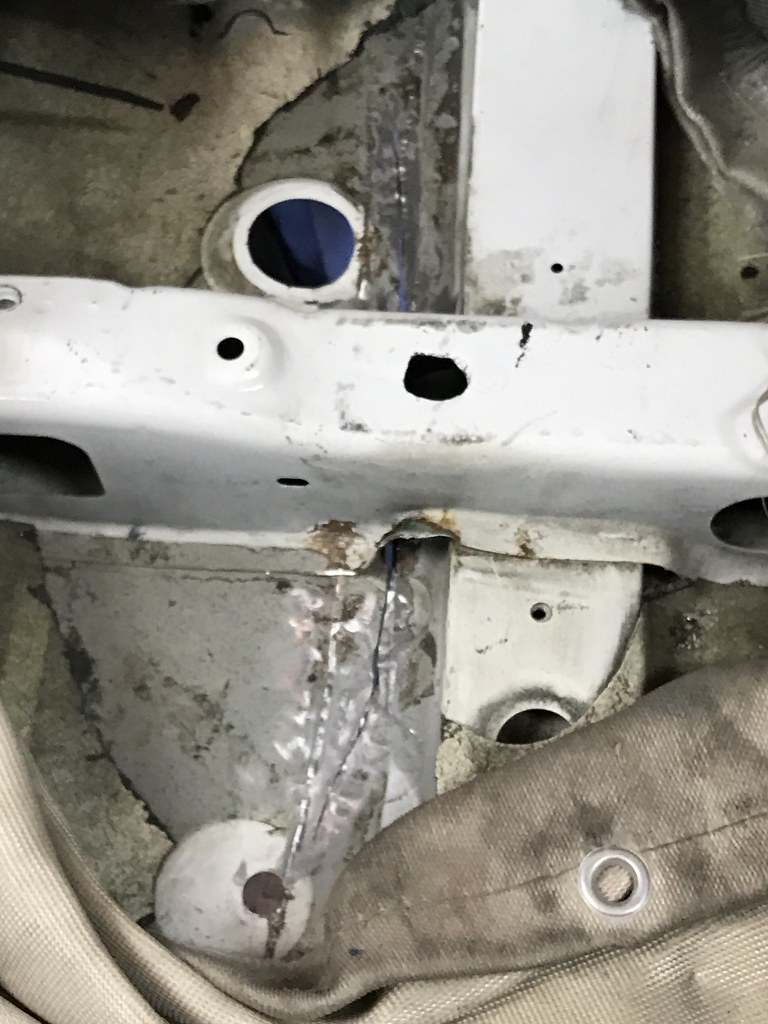
Here's a close up shot of the floorpan directly beneath the driver.


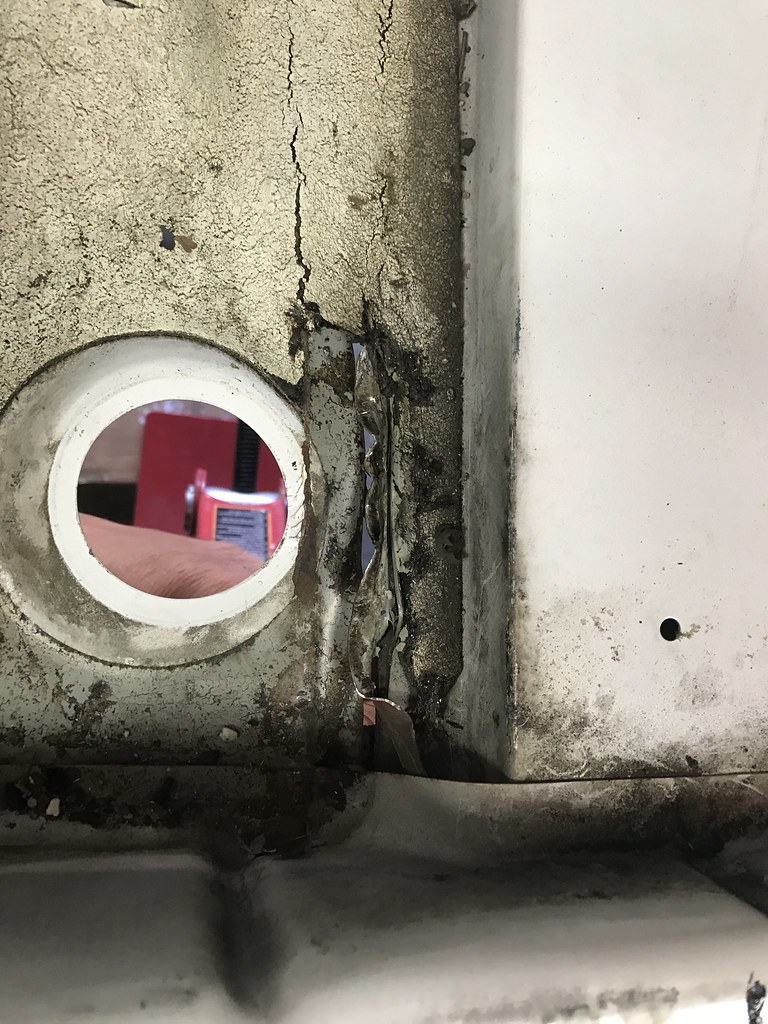
At some point, someone put this car on top of something sharp enough to pierce the floorboard.


31955585837_92a99d5060_b.jpg


46844908792_4b6f685c01_b.jpg


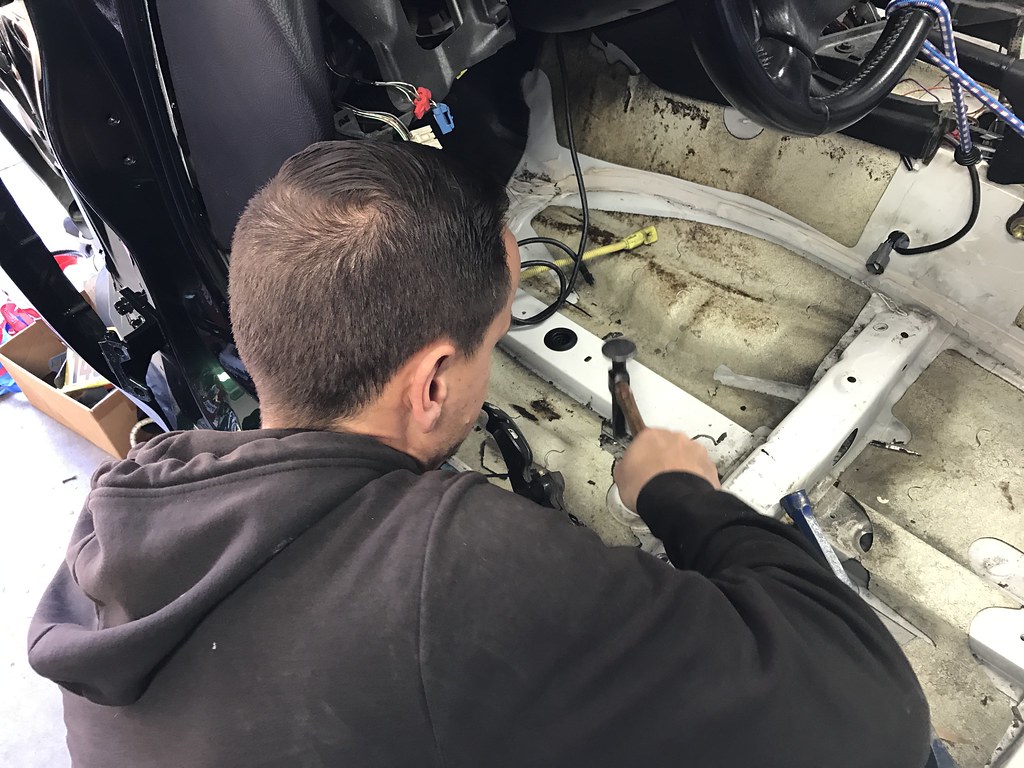
Justin is back in action to bring this thing back to its former glory.


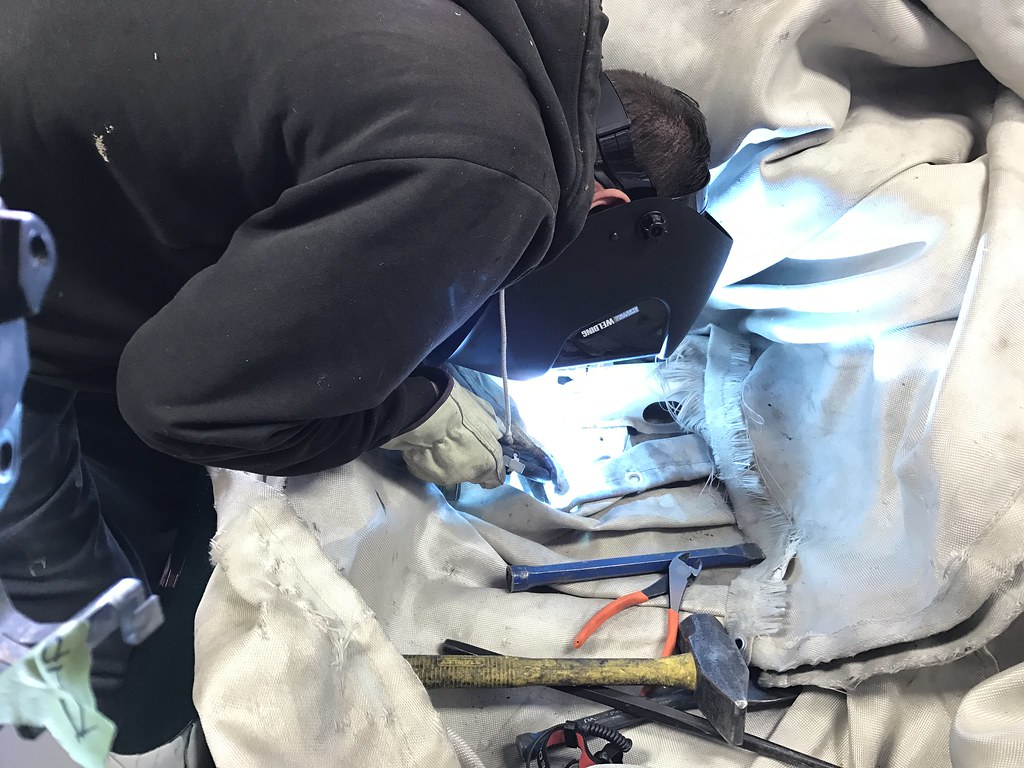
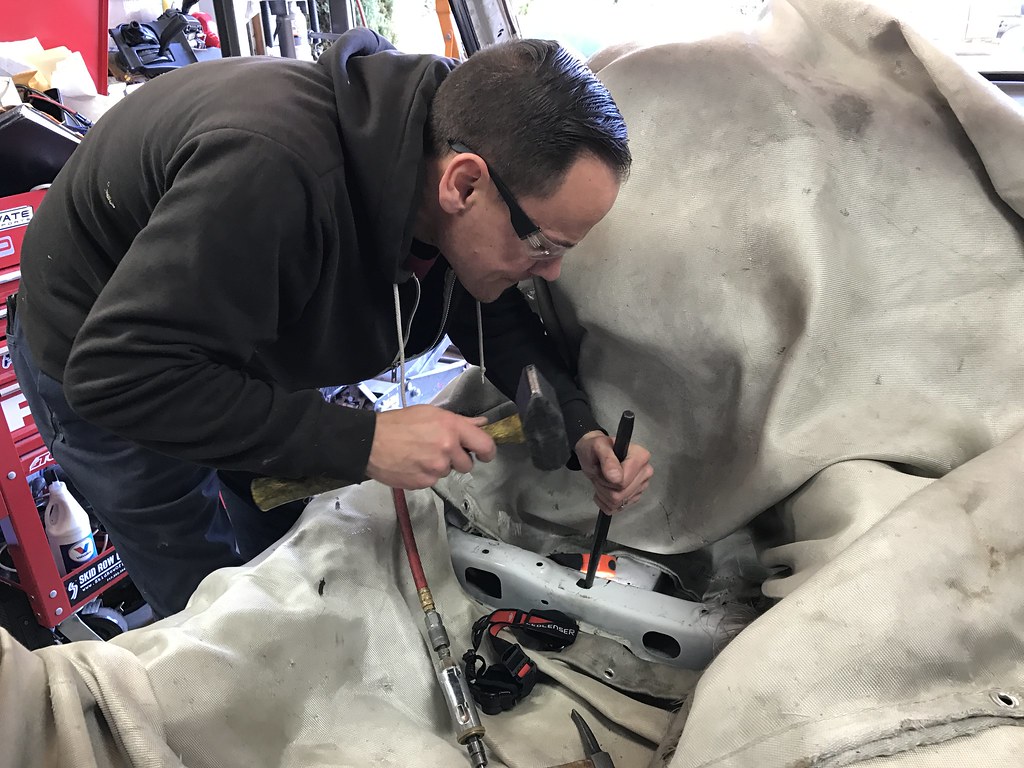
He hammered the two sides flat, however, due to the stretched metal, it ended up overlapping.


46844908372_cc911710c5_b.jpg


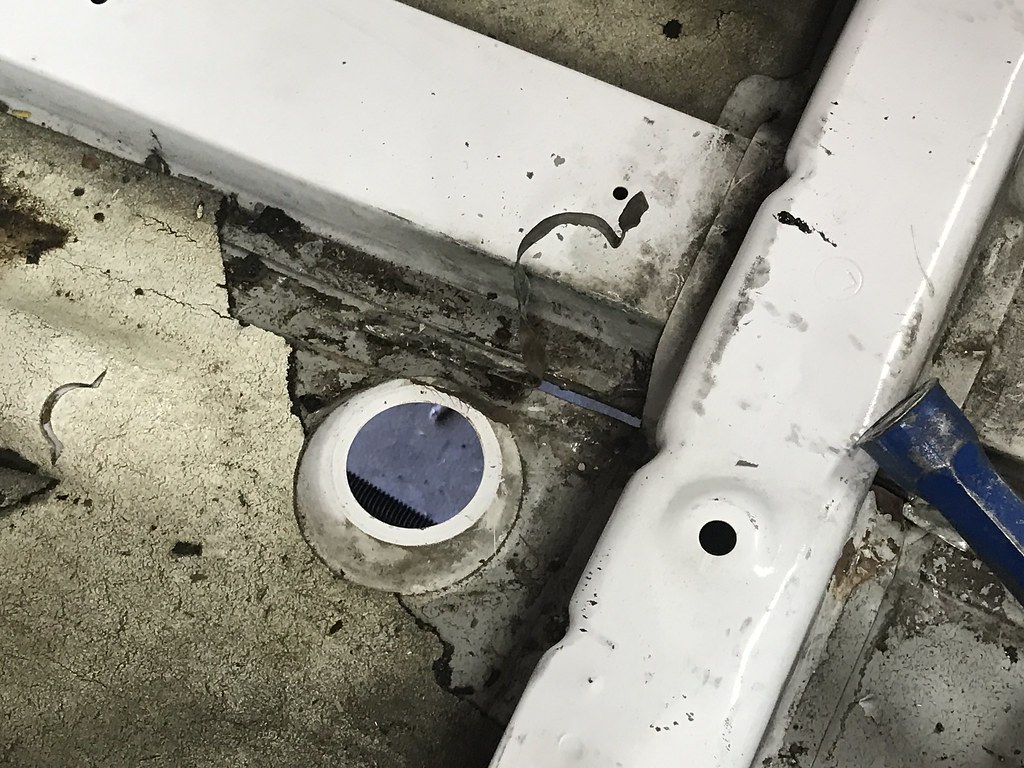
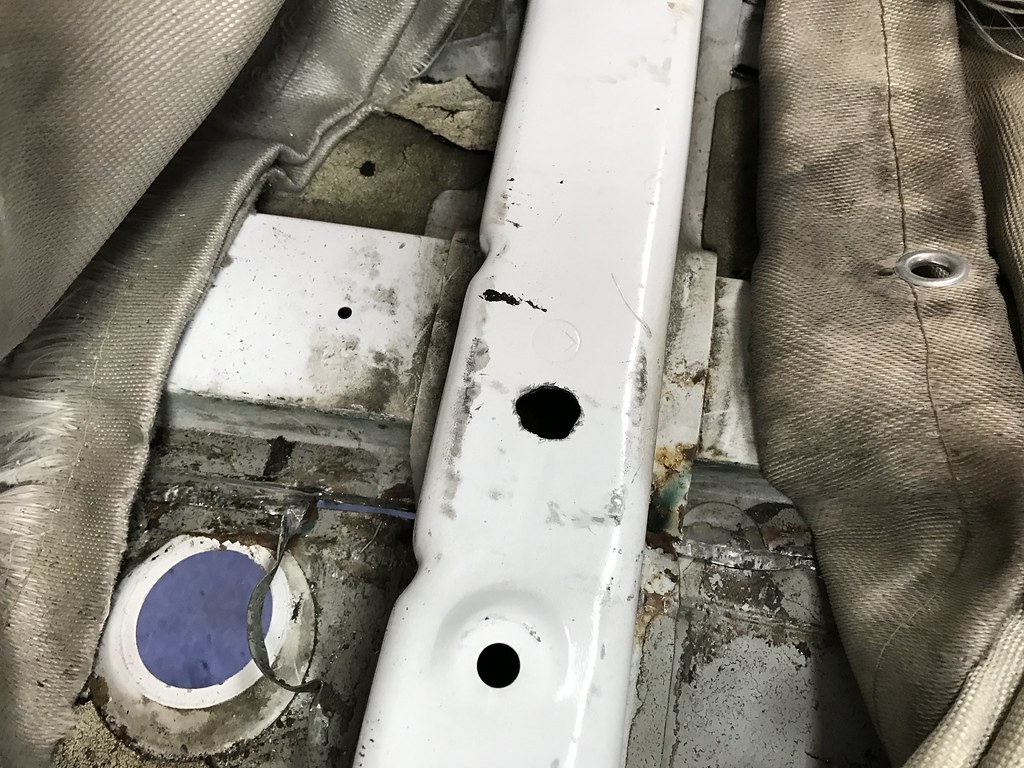
An issue was posed by the front seat support crossmember. This split continues underneath it.


46844907162_ec34243e59_b.jpg


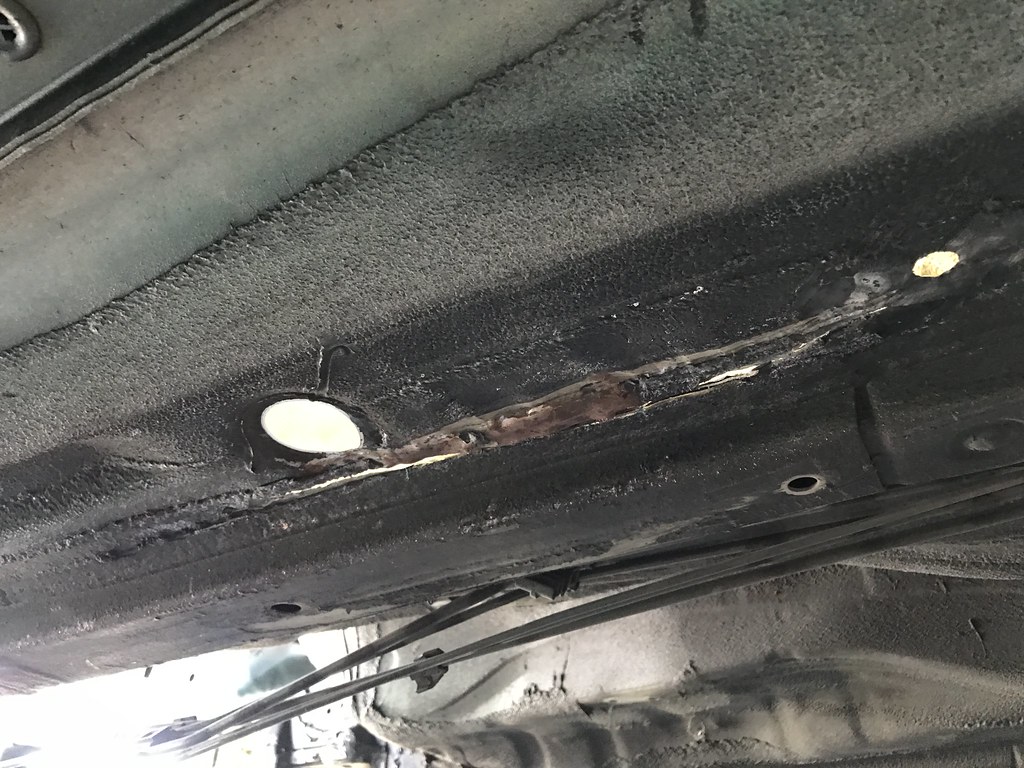
Underside view


46844904102_b9a663a8ee_b.jpg


46844902802_d9dba68dee_b.jpg


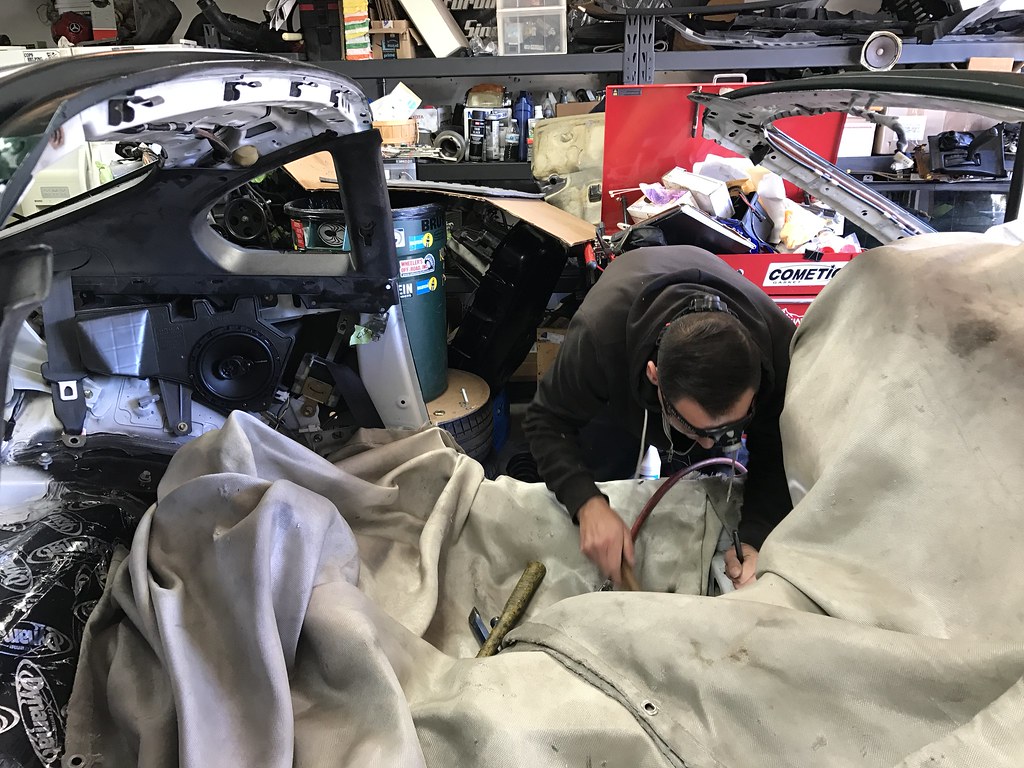
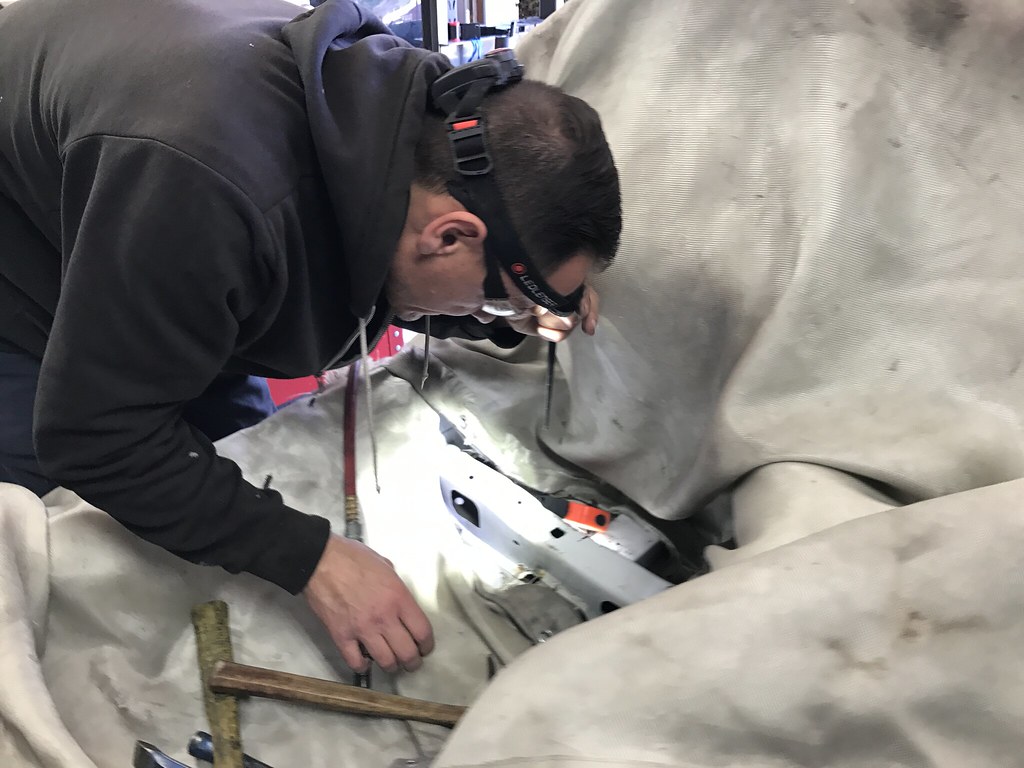
We needed to add a little bit of access to be able to flatten the section underneath the crossmember.


33021564878_85a48d29d8_b.jpg


In order to properly weld the split, the overlapping metal had to be trimmed with a body saw, so that the two sides will line up evenly enough to weld.


31955583207_f9865bb3a7_b.jpg


Considering the length of the cut, this is done in sections. Once one section is welded, the next will be rigid enough to flatten, etc...


46844906182_319ffed51a_b.jpg


31955584287_b7af52e8b0_b.jpg


46844905322_cfe8ed6b8d_b.jpg


Some of the excess...


31955583967_6c4ceef2e8_b.jpg


31955583647_55da8a82d5_b.jpg


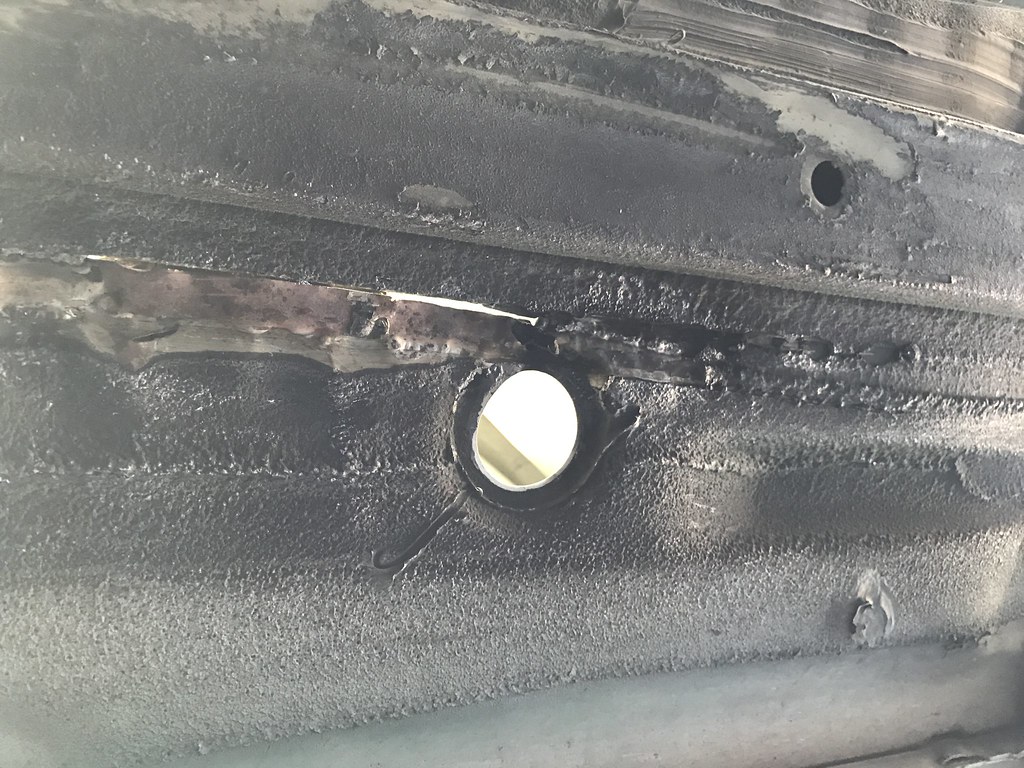
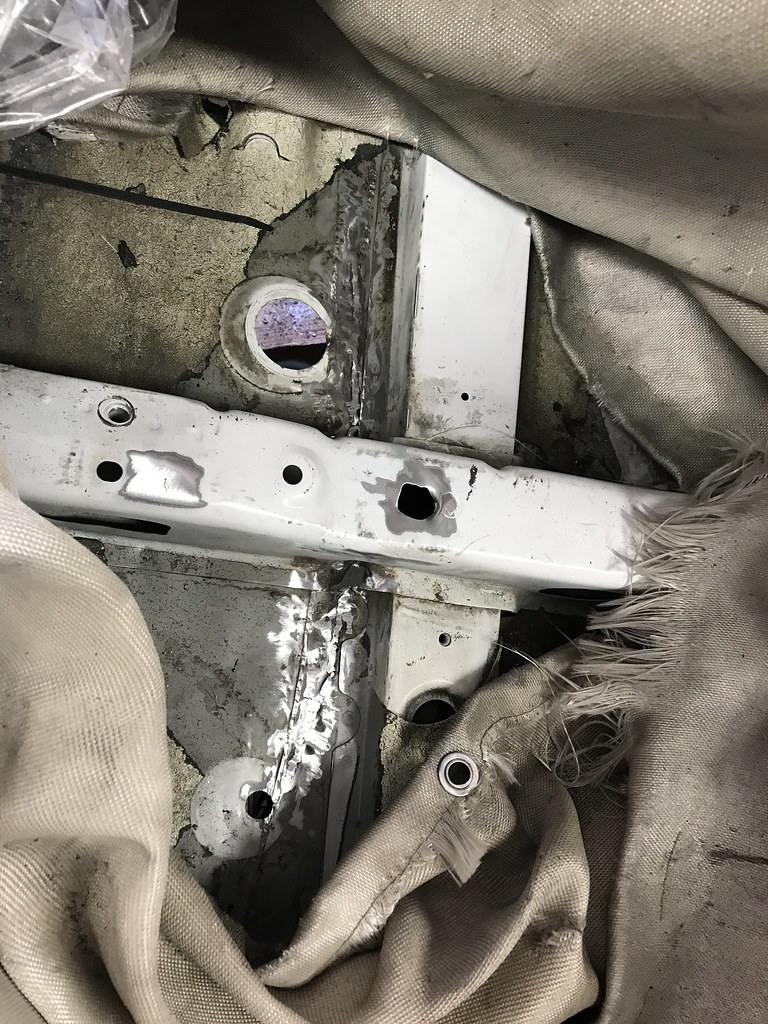
Hey, look! Welds instead of holes! Also cleaned up the access hole in order to be welded back up. That's not staying!


46844902212_d8e57101e3_b.jpg


33021564478_b0874ae675_b.jpg


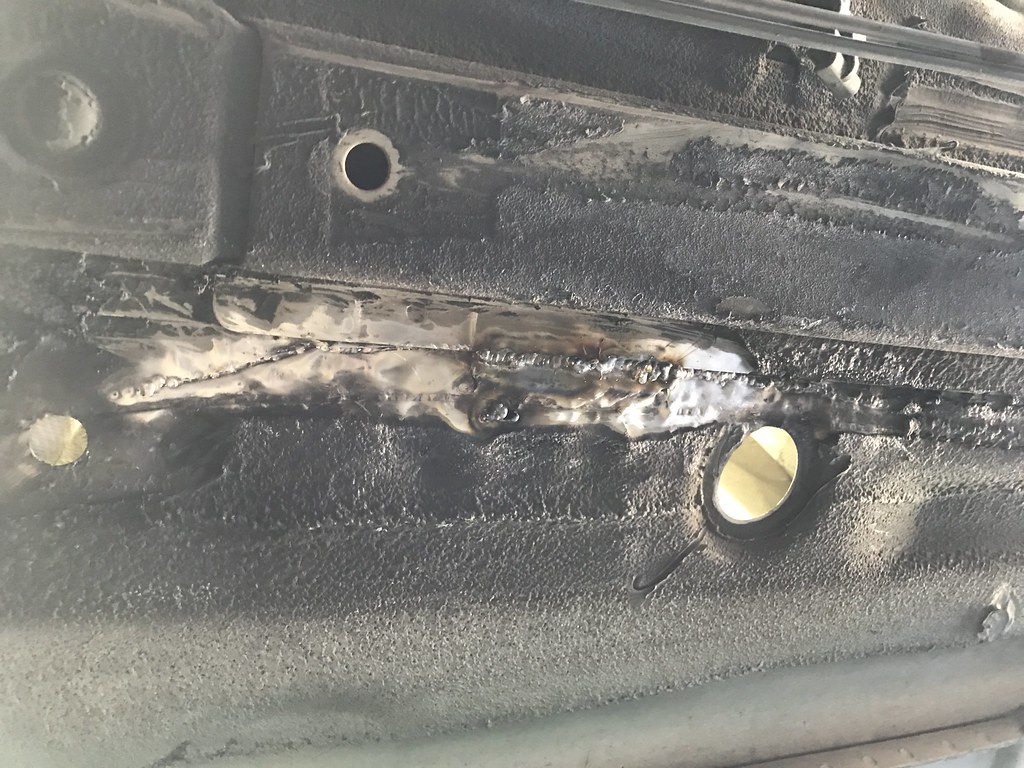
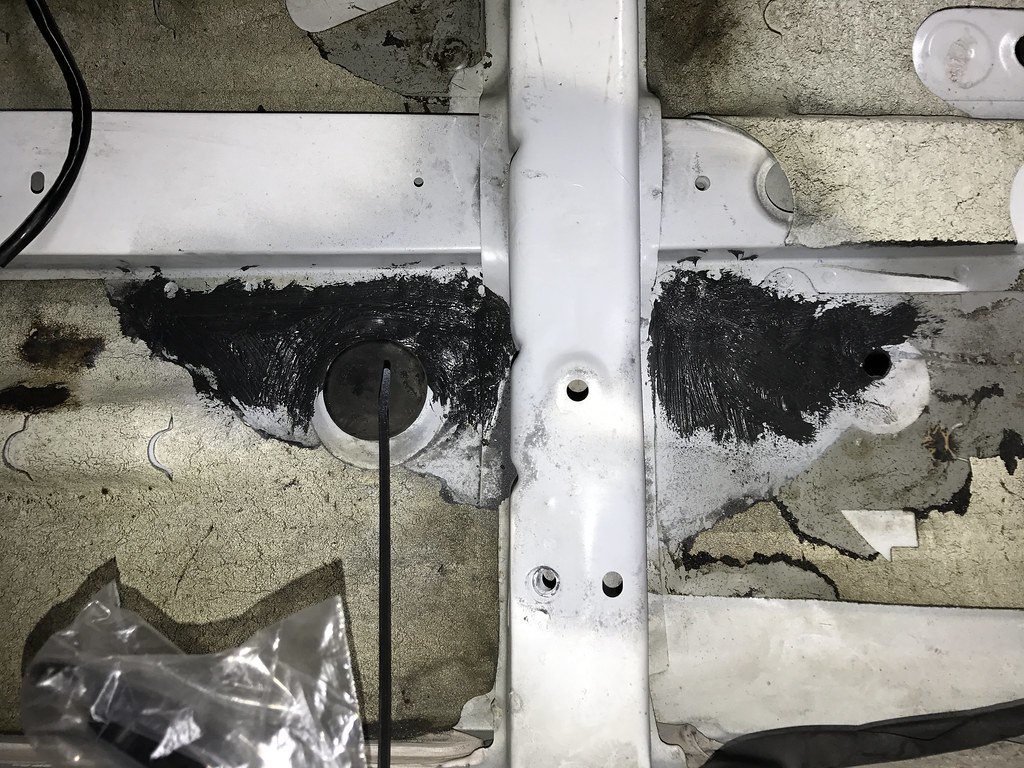
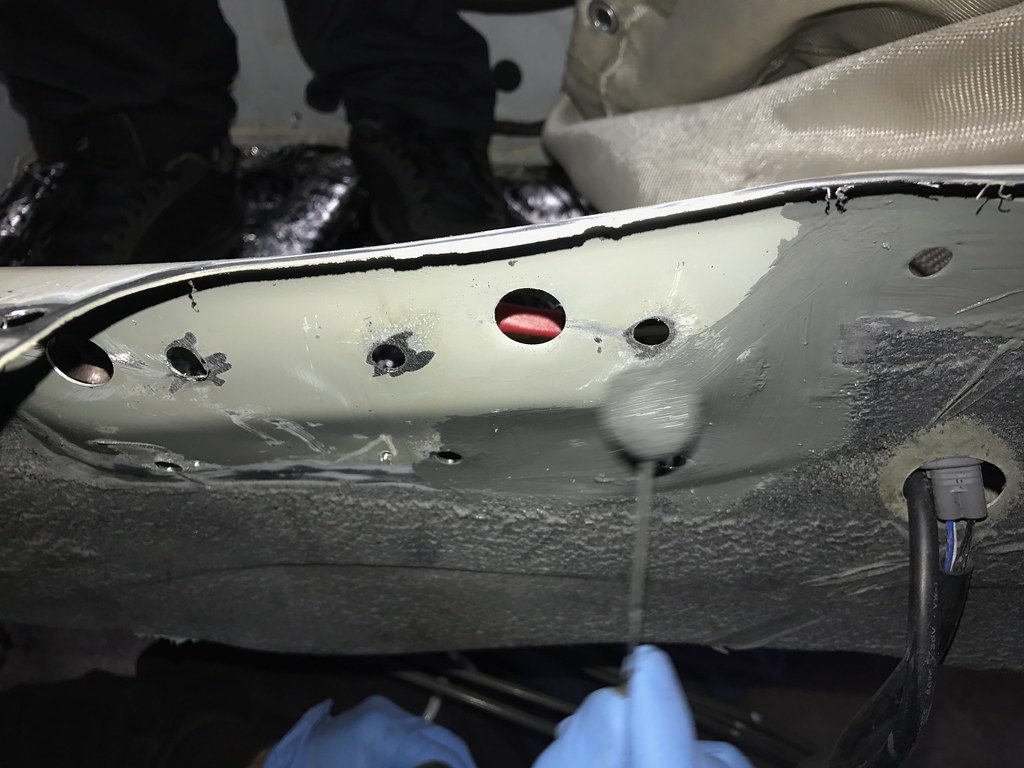
Seam sealer to protect the wound.

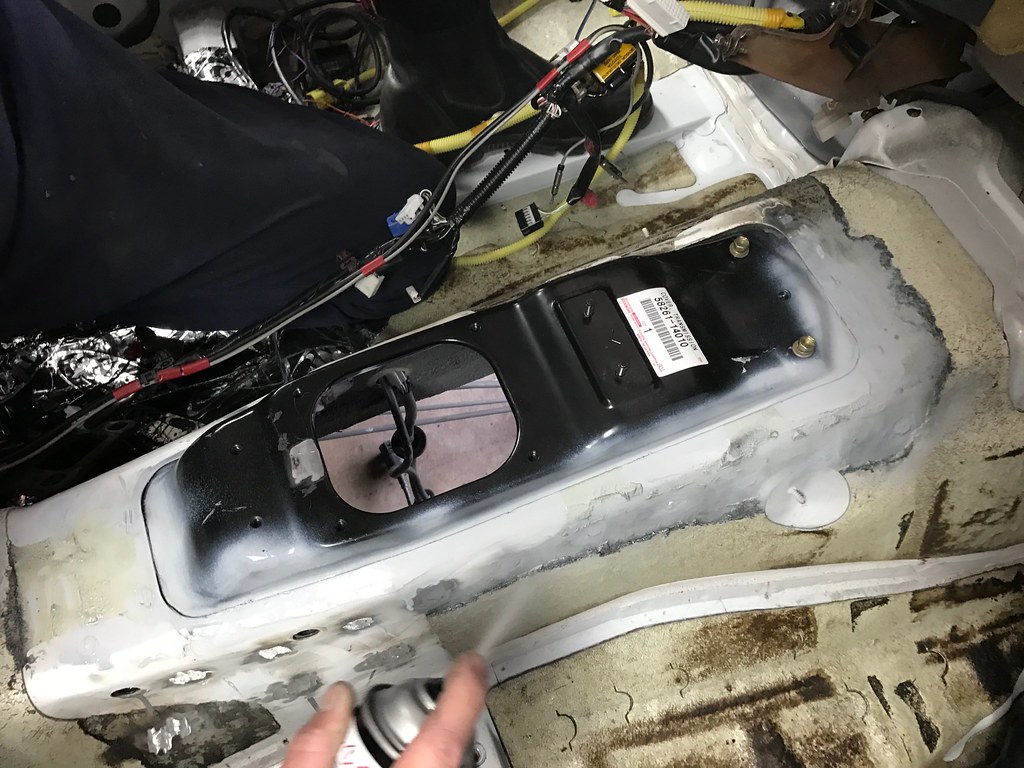
The access hole has been closed up and protected with a layer of SEM self etching primer.

31955582357_111608905b_b.jpg


46844901422_6399ac7917_b.jpg


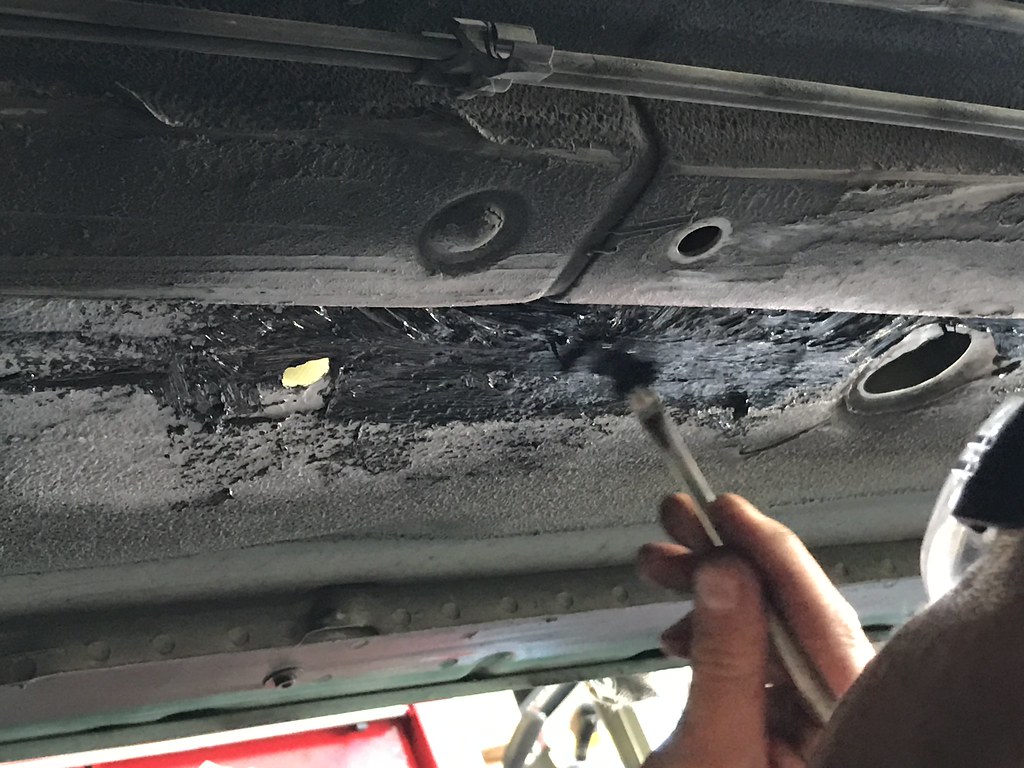
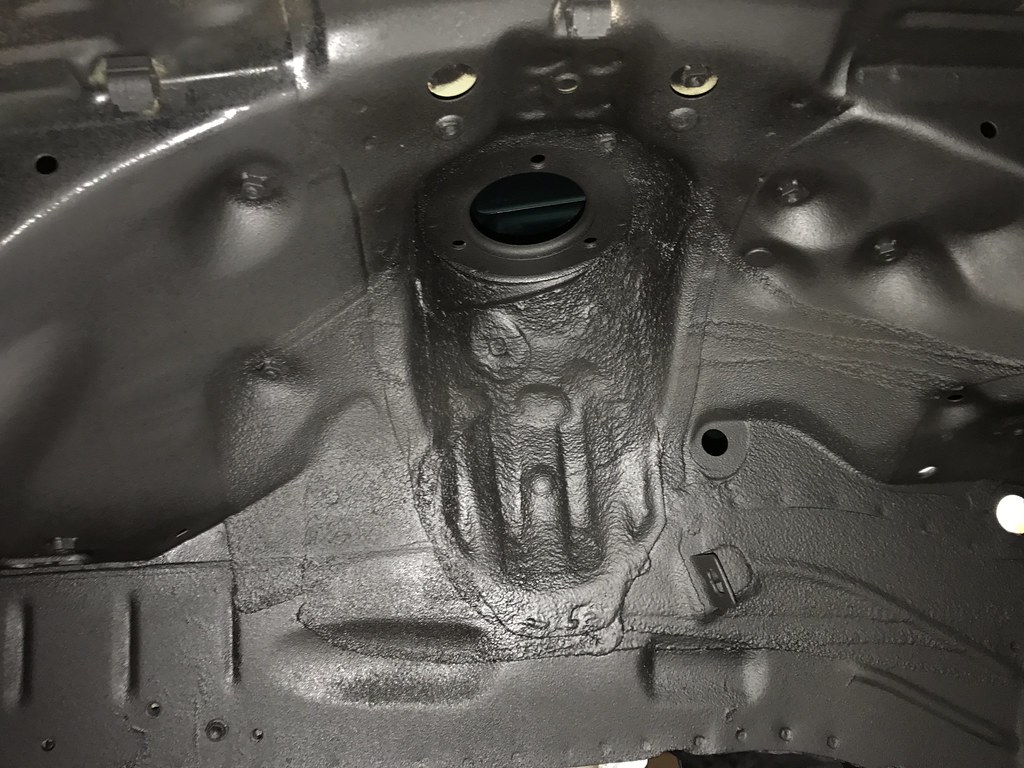
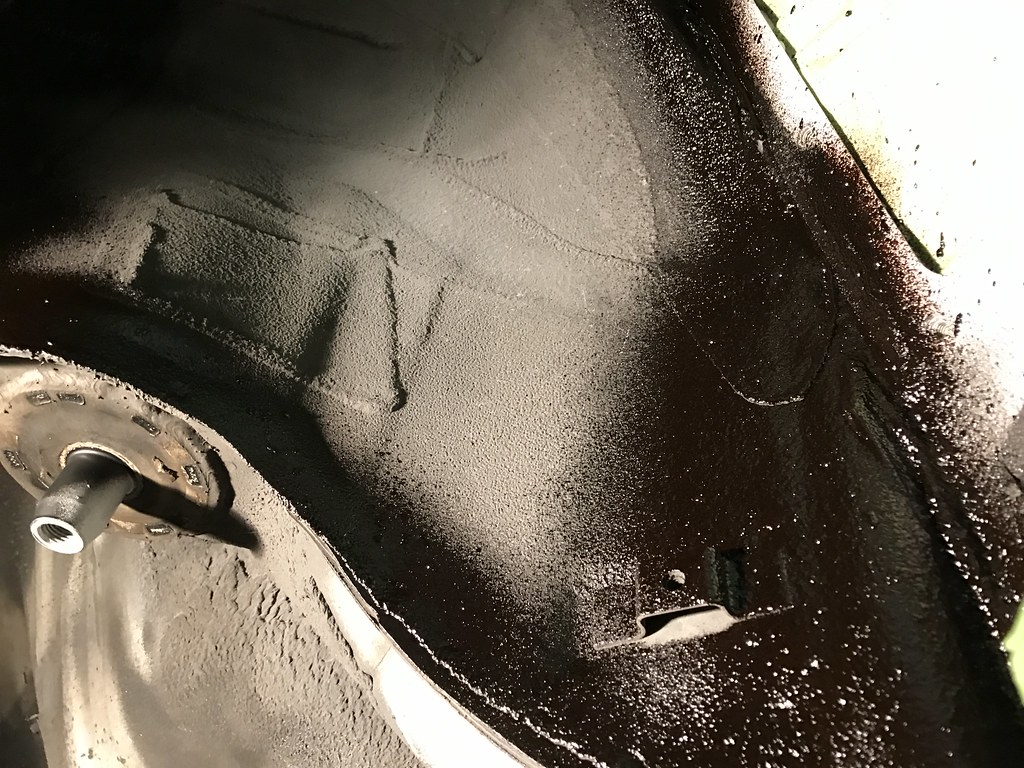
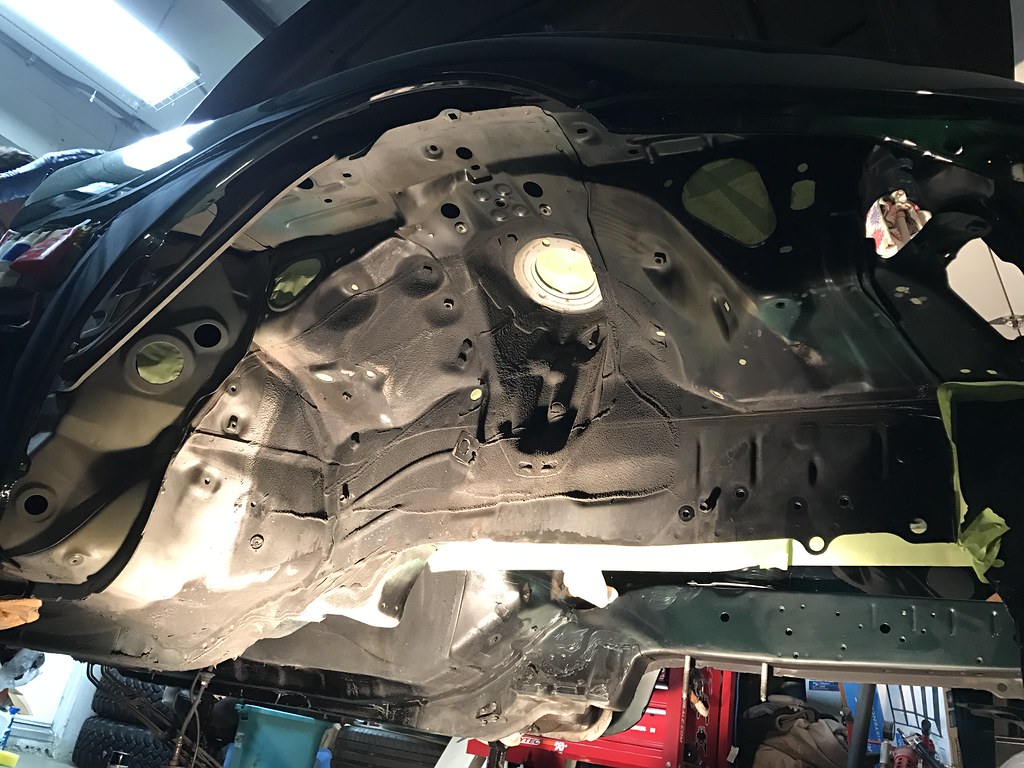
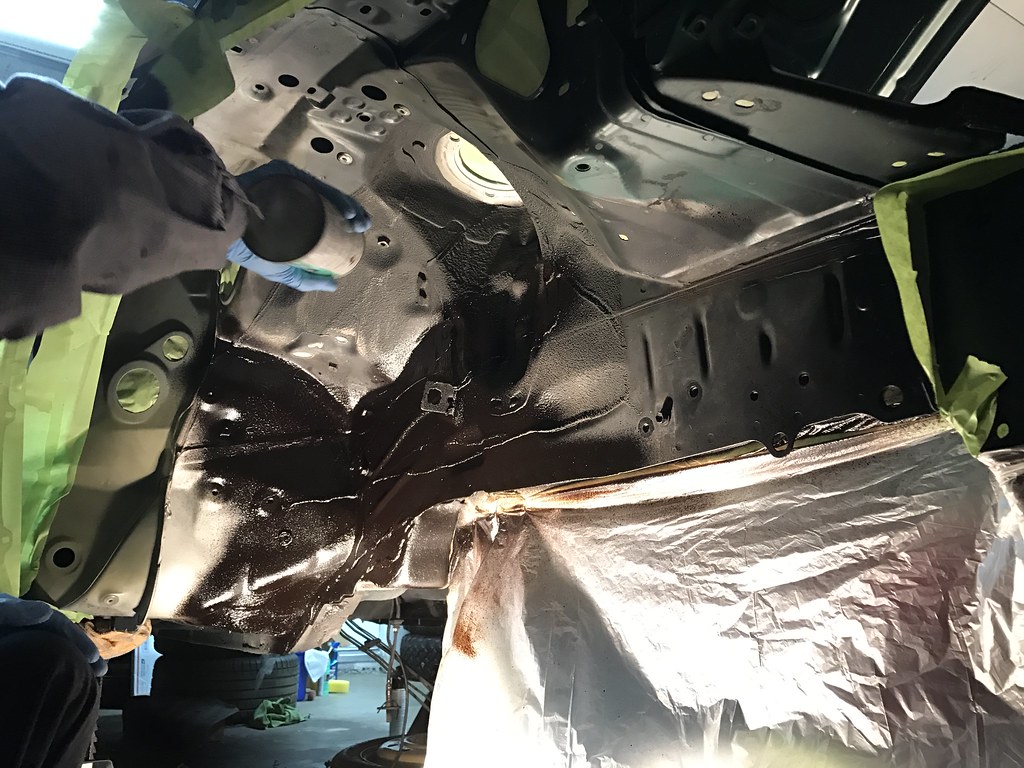
Testing out some WURTH undercoating. Looks nice but it's awfully glossy... maybe too glossy.


31955570957_6d10e6479e_b.jpg


Closeup. Access hole was never there :D


46896925651_769a6b8459_b.jpg
 
Last edited:
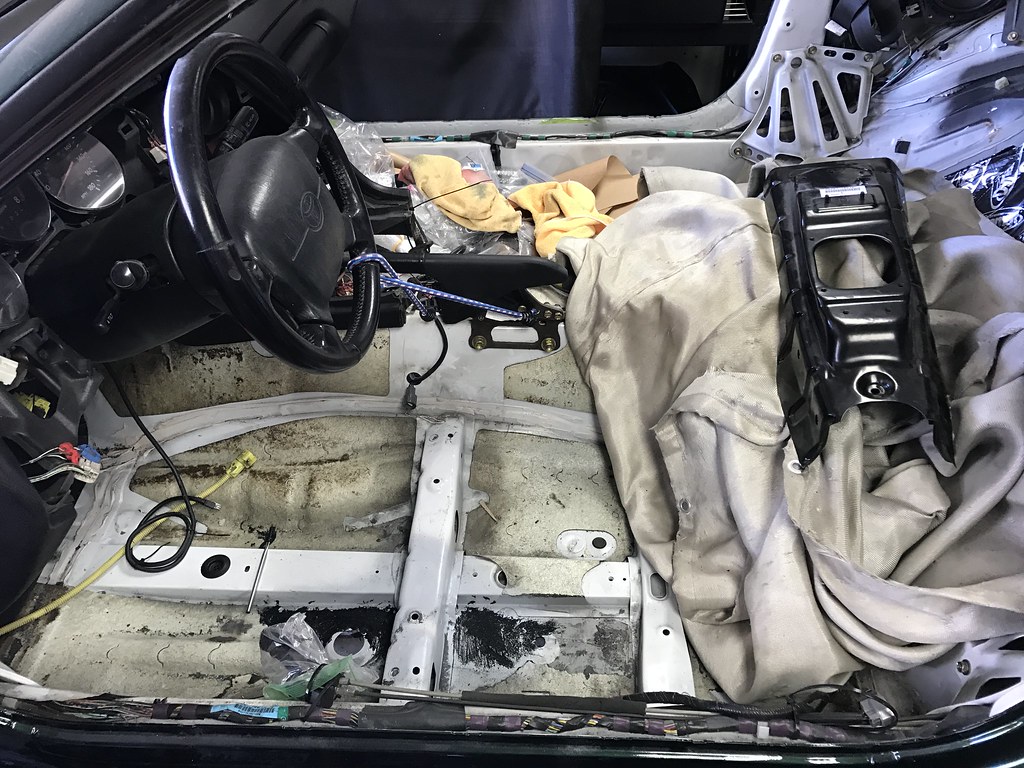
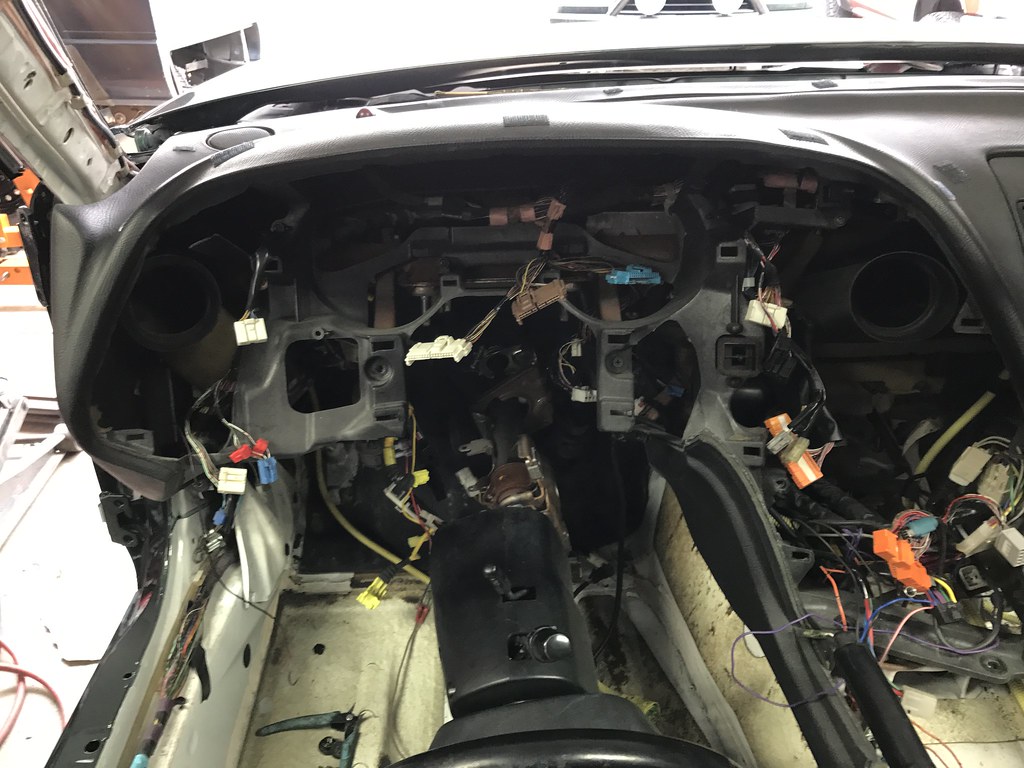
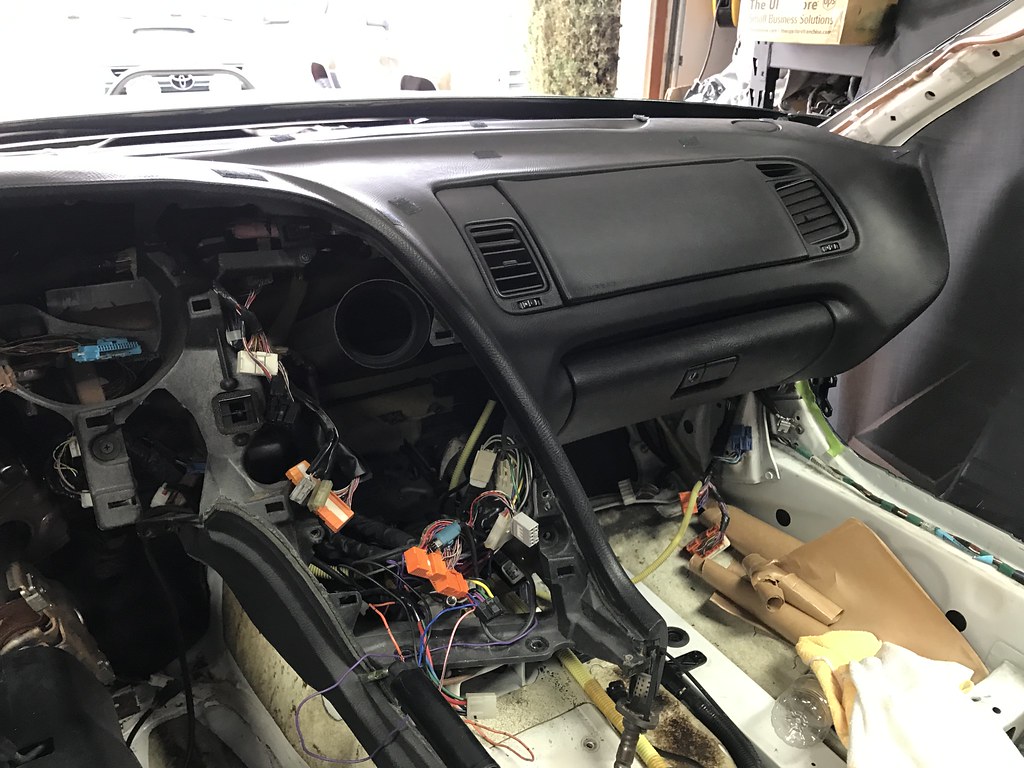
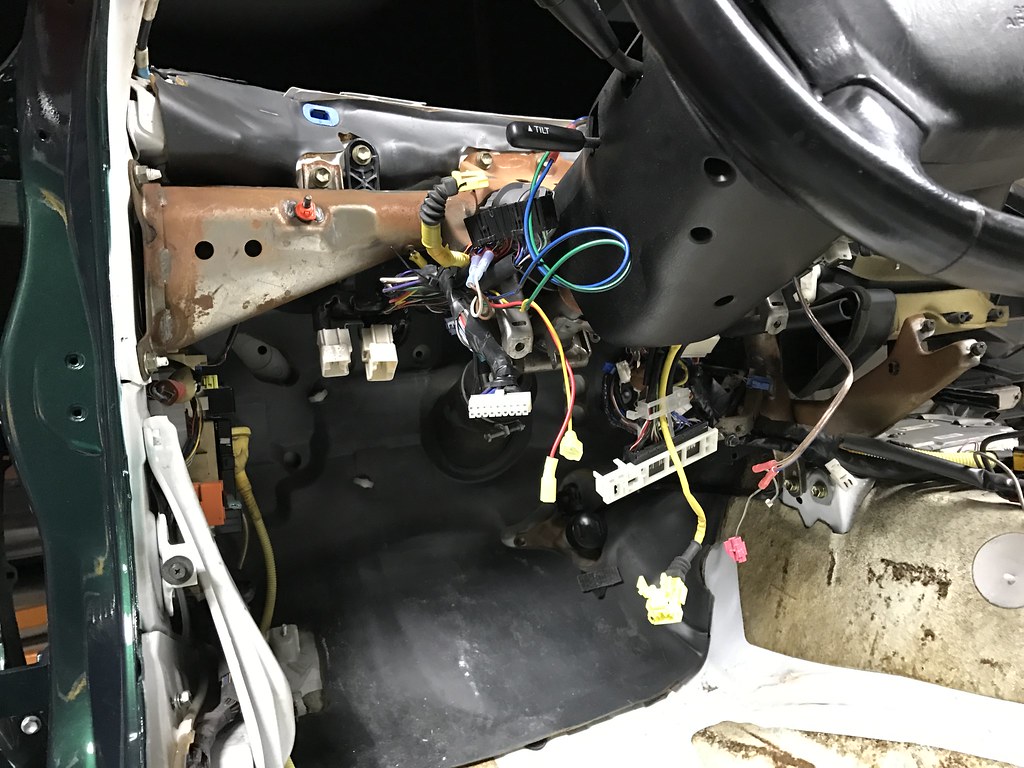
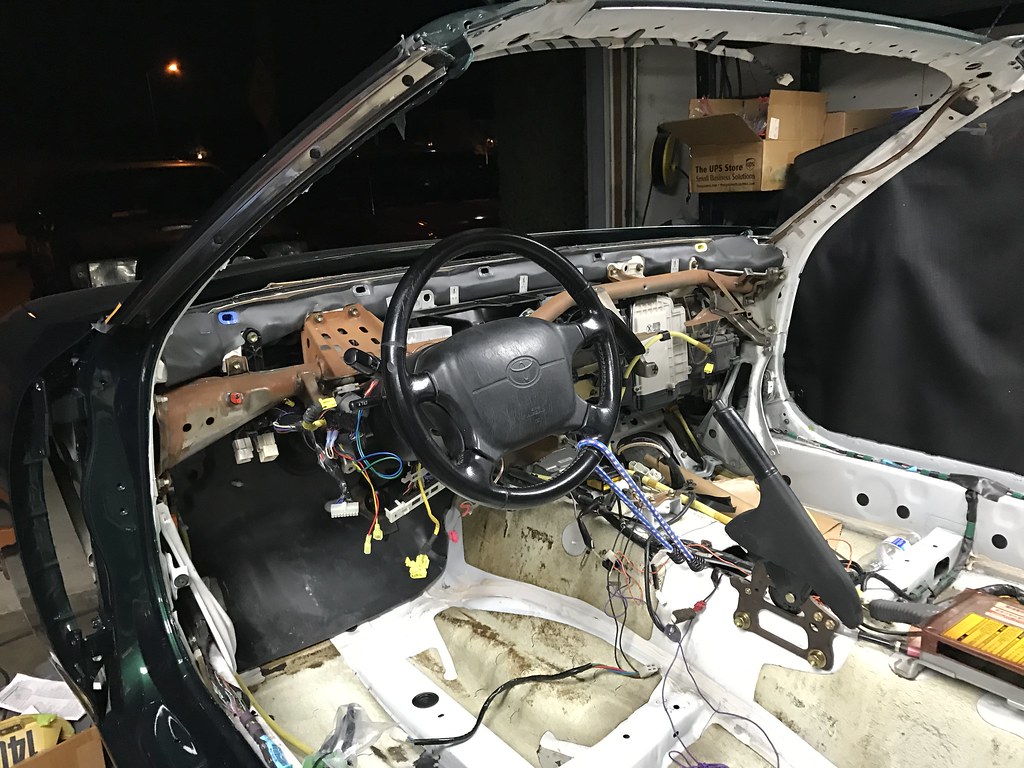
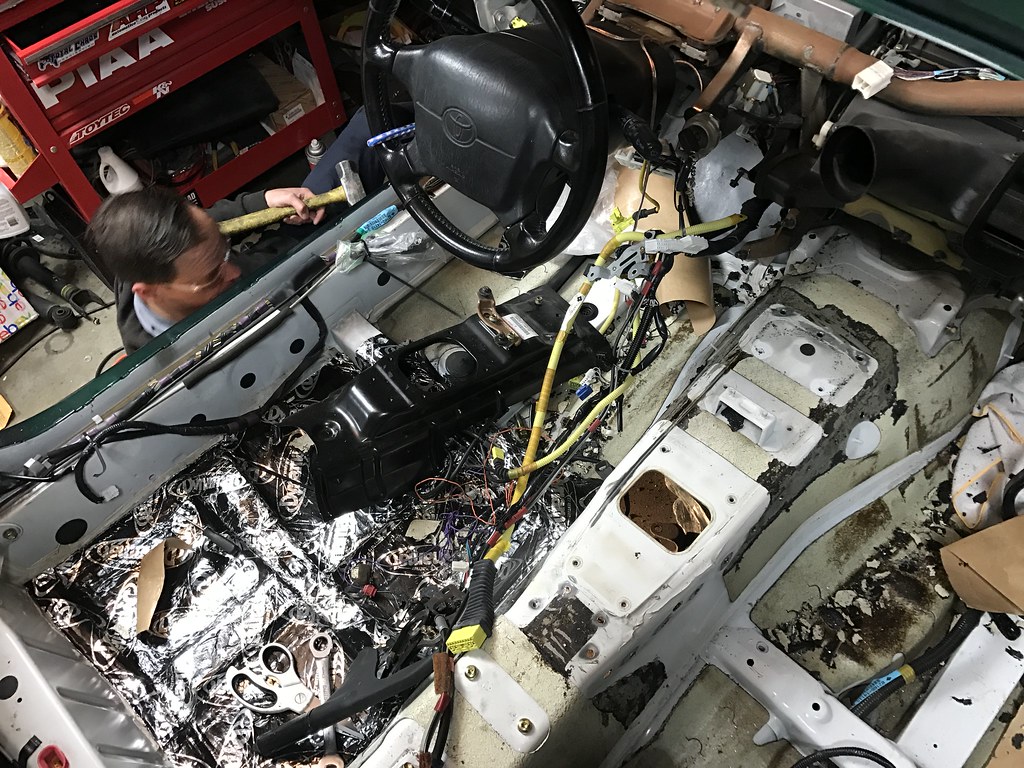
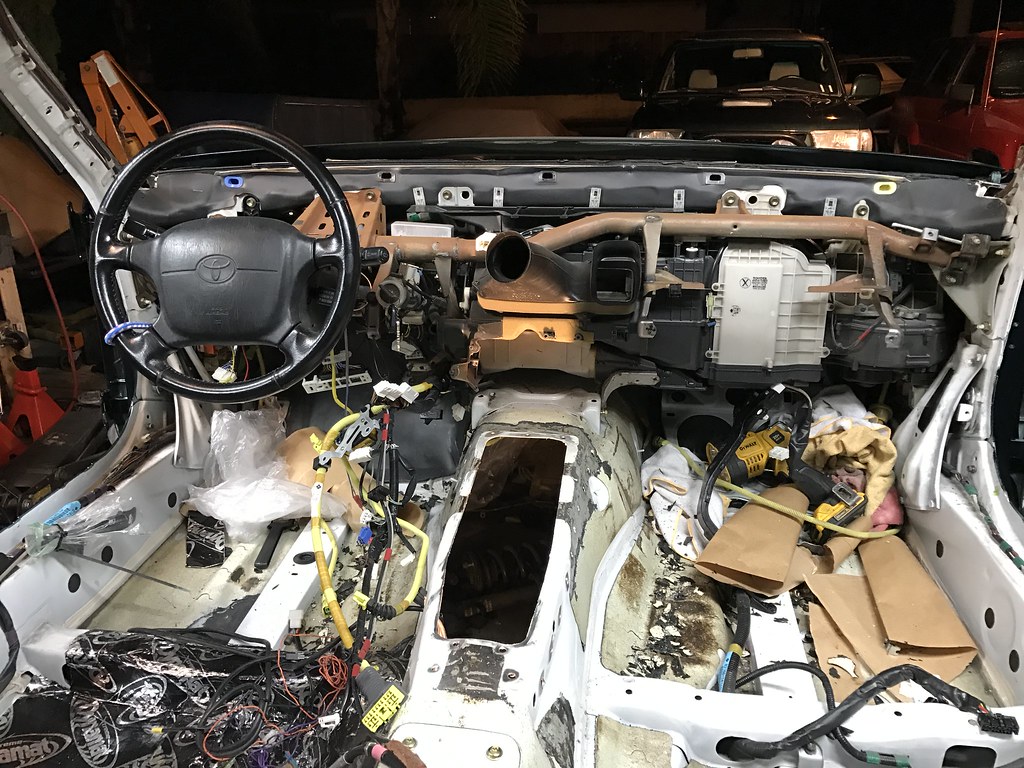
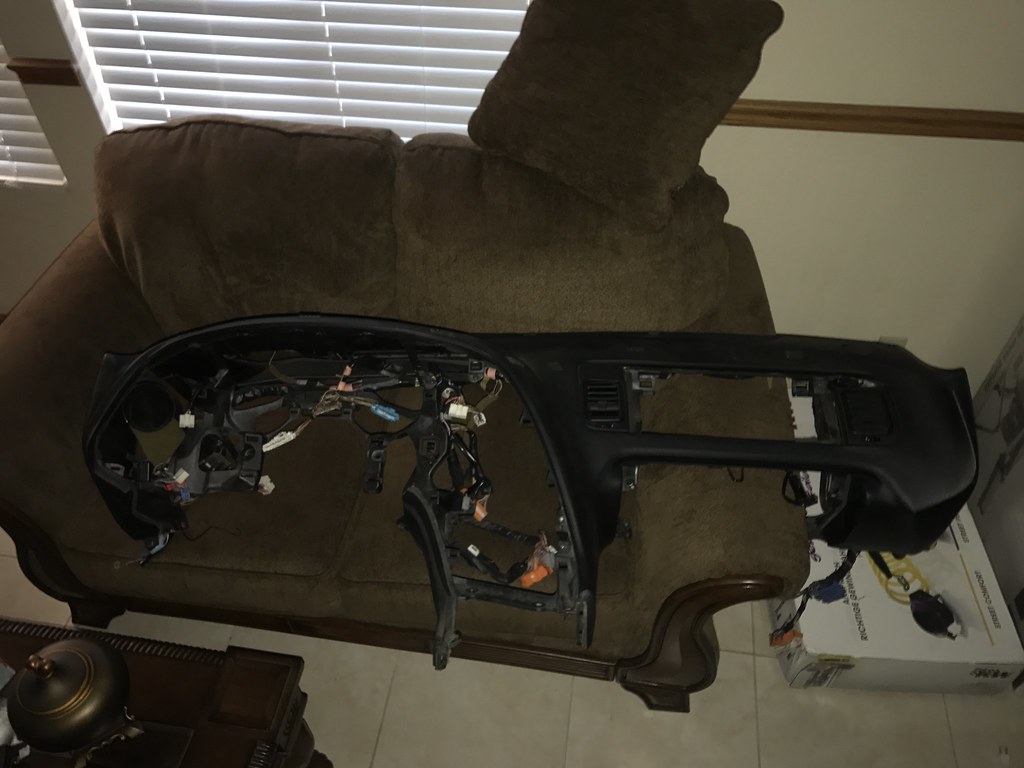
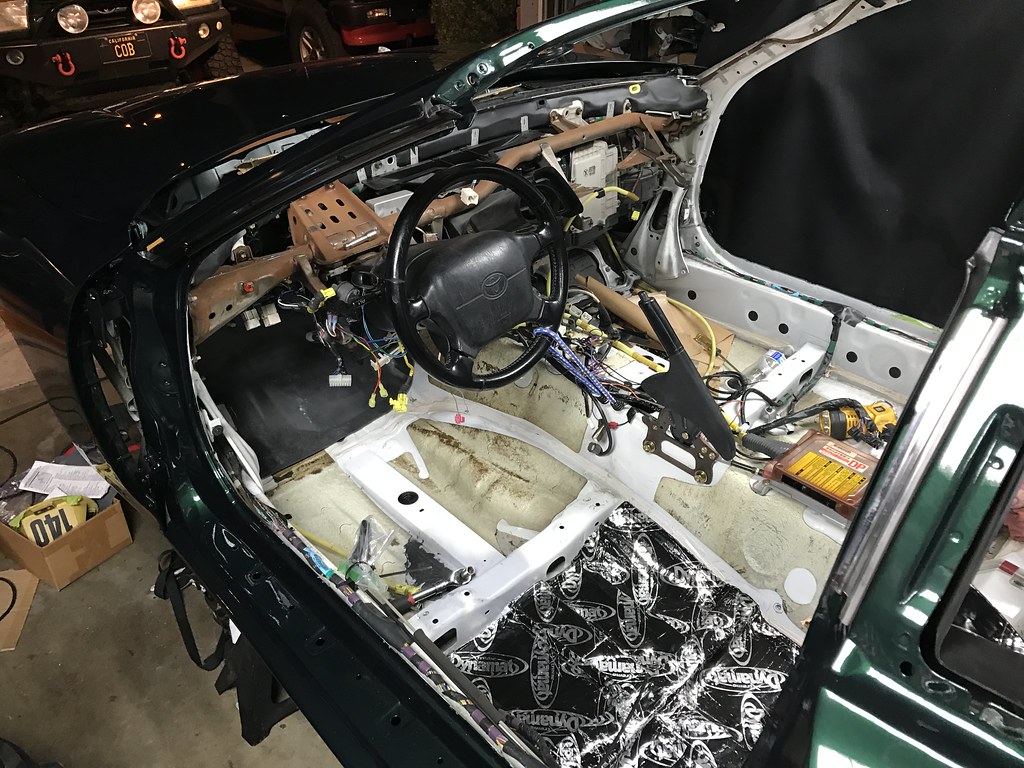
Dropped the steering column and started pulling the dash out.


31955570617_7e3f55dfb9_b.jpg


Good opportunity to determine where some of these mystery wires have been going. Turns out some of them came to a sudden dead end.


46171977114_1542c5f69d_b.jpg


To be further consolidated at a later point. There's a brand new dash going in its place once the tunnel is swapped over.


46896916971_1c352b7319_b.jpg


This is a fantastic time to install a new alarm system. Any recommendations?


Going to be doing a lot of wire cleanup before the new dash goes in.


46171989334_a2f38f8540_b.jpg


Bungee to the wheel... gotta save that clock spring!


46896925101_8df895f47c_b.jpg


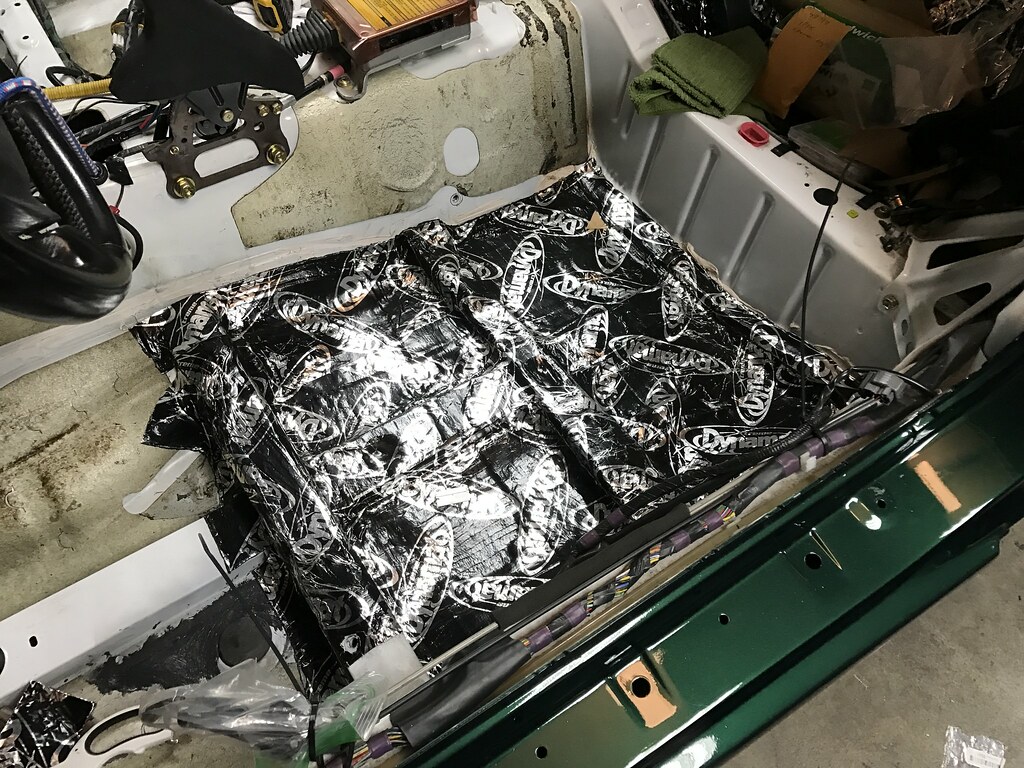
Now to start dynamat in the main floor area. You cannot tell there is damage underneath which is nice.


33021570648_240a65a940_b.jpg


31955572277_dcb83e9283_b.jpg


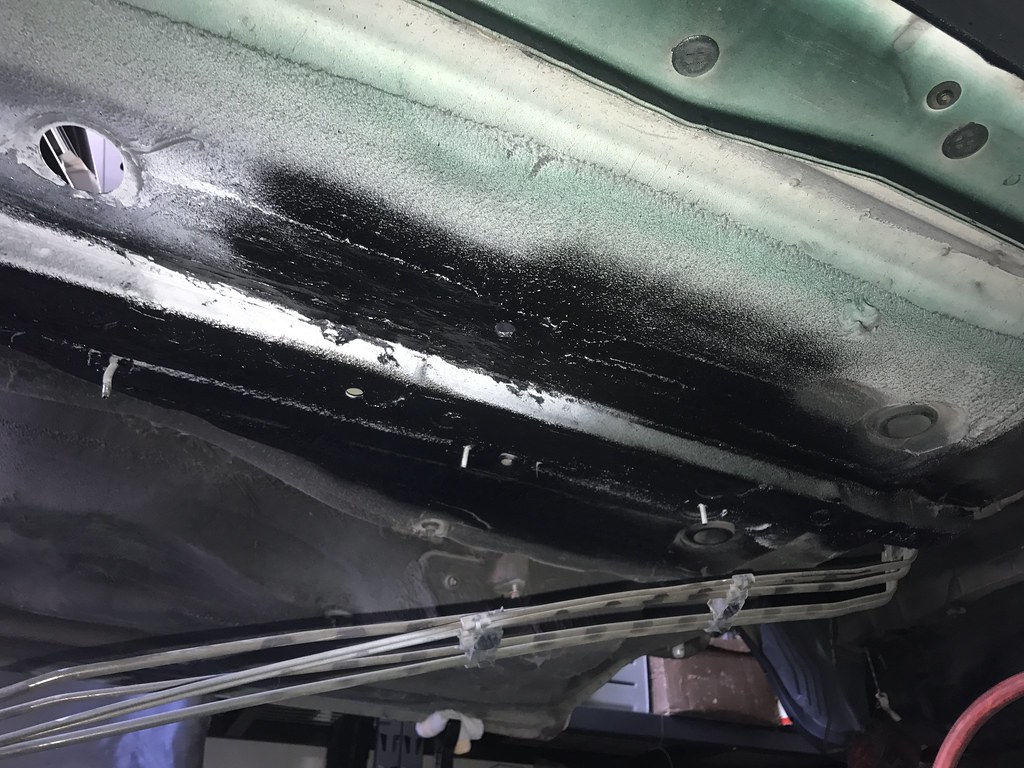
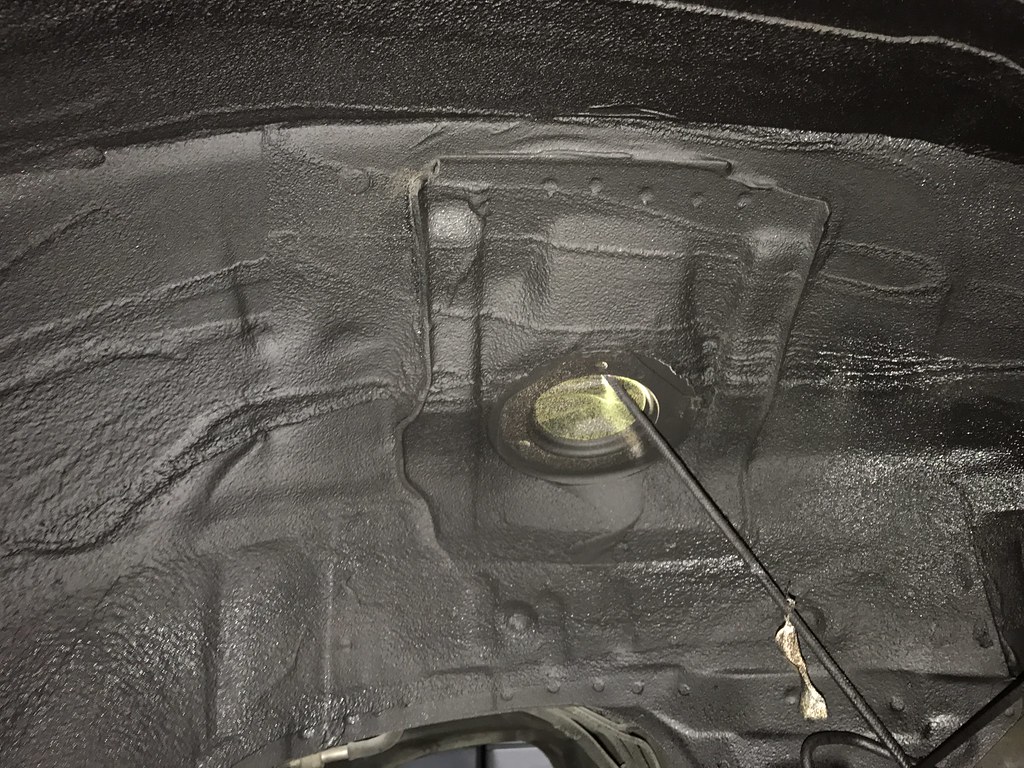
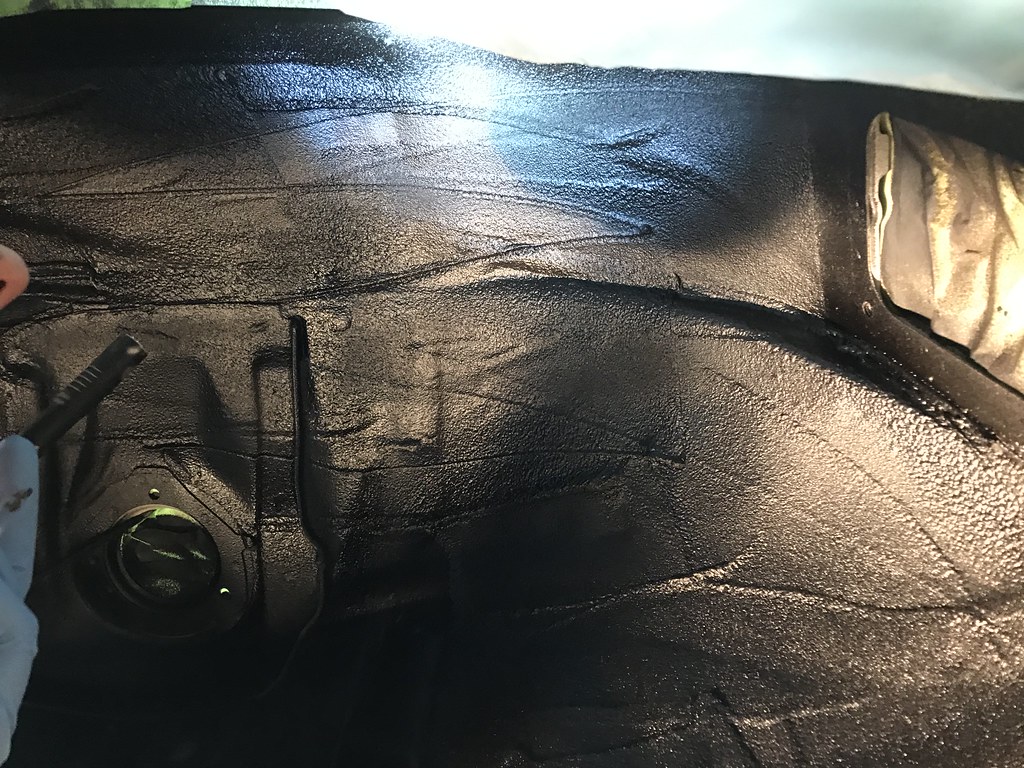
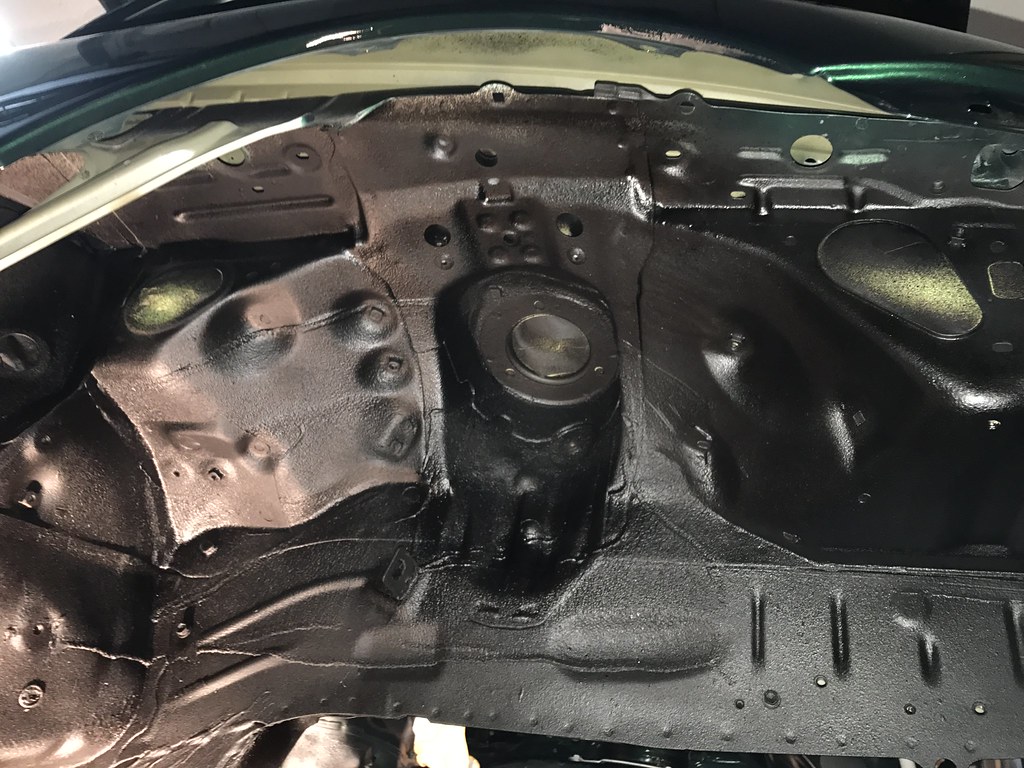
While the WURTH undercoat was a quality product, I gave 3M a try and like the matte finish.


I'm thinking I may stick with the 3M. Your thoughts on this are appreciated.


46896922991_a1af02fc1a_b.jpg


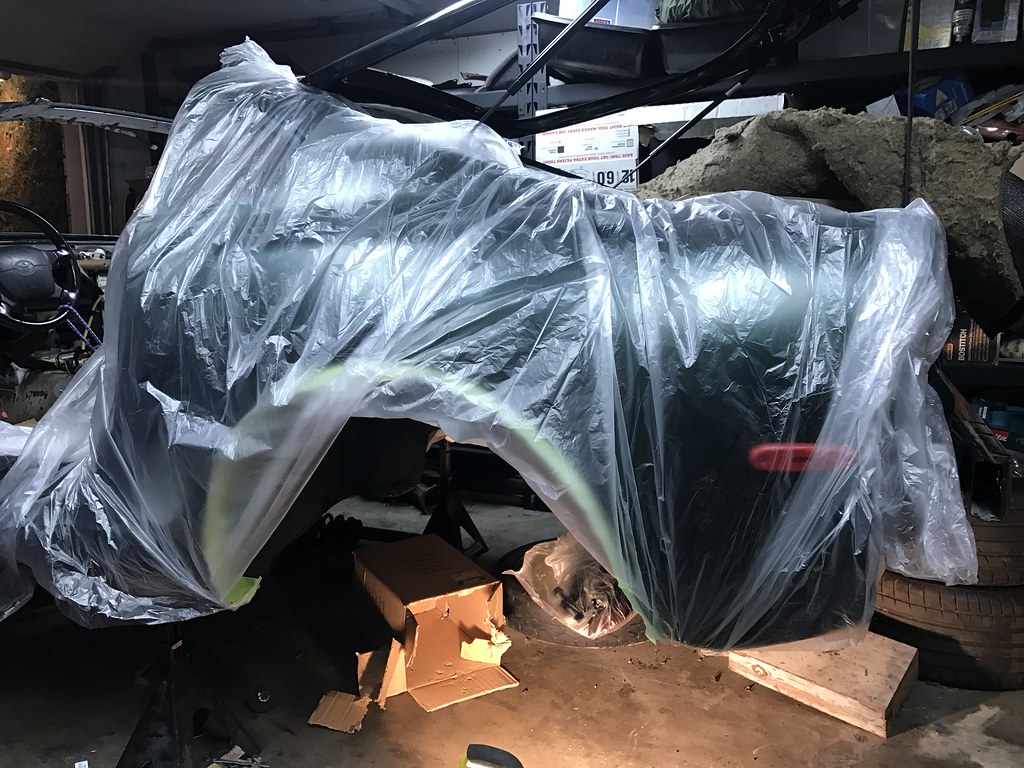
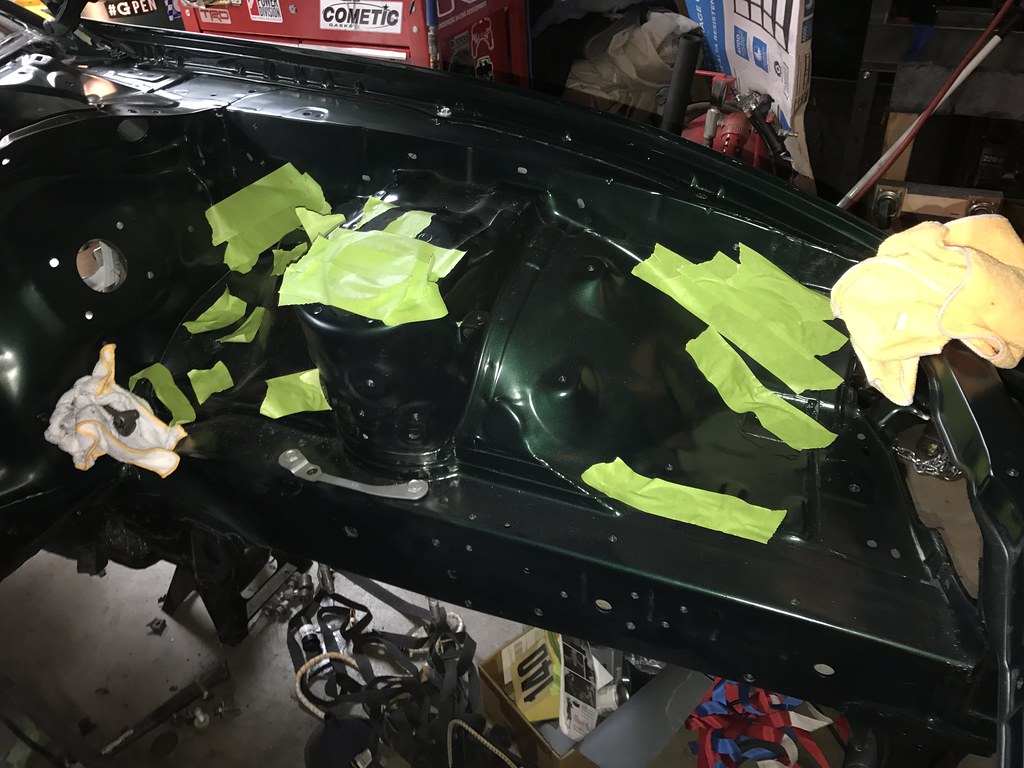
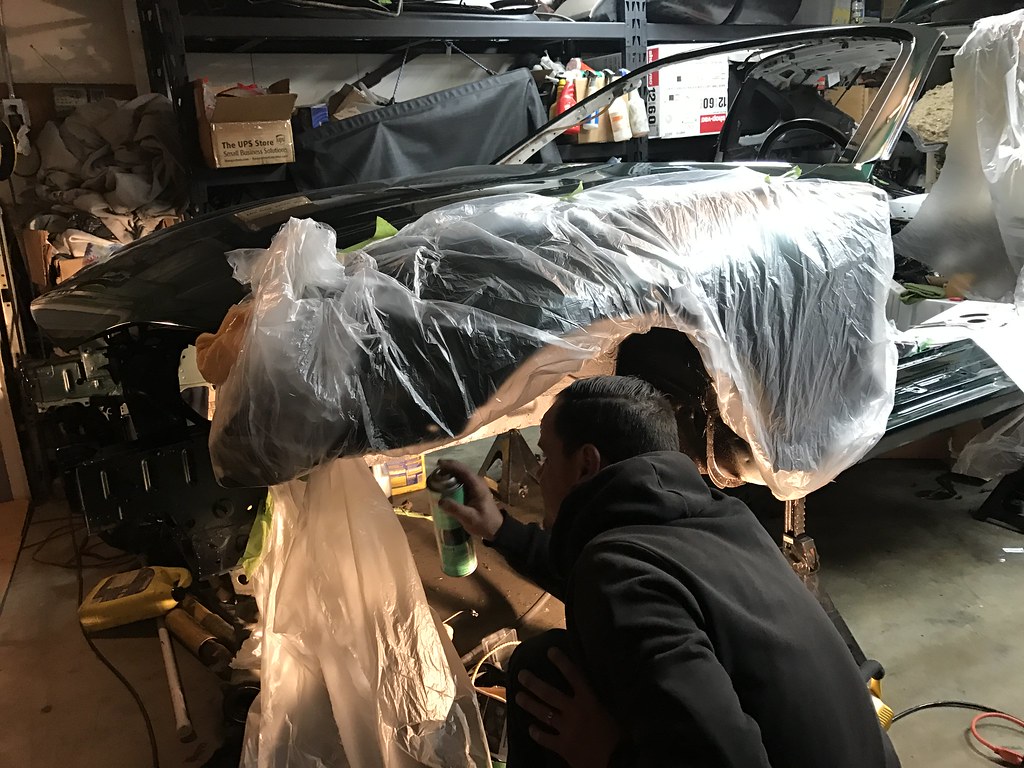
The rear wheel well was first coated in WURTH, but, because it showed too much gloss, went over it with the 3M. It needs another coat since the overall finish shows too much of the WURTH coat underneath.


46896924591_8cc2d520e5_b.jpg


To the front...


33021576858_df94324e19_b.jpg


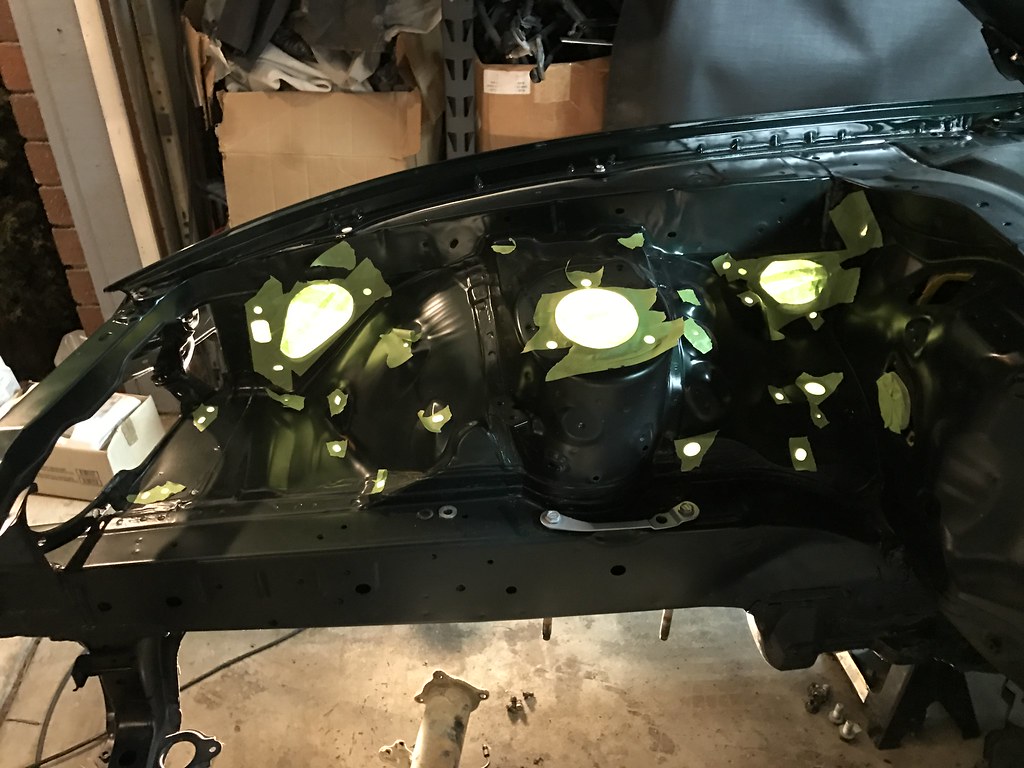
The front wheel well had not been coated yet, so this was its first coat.


45982205275_638cbcb9c1_b.jpg


31955576857_3bf6d346e3_b.jpg


The whole underside will eventually receive similar coating.
 
Last edited:
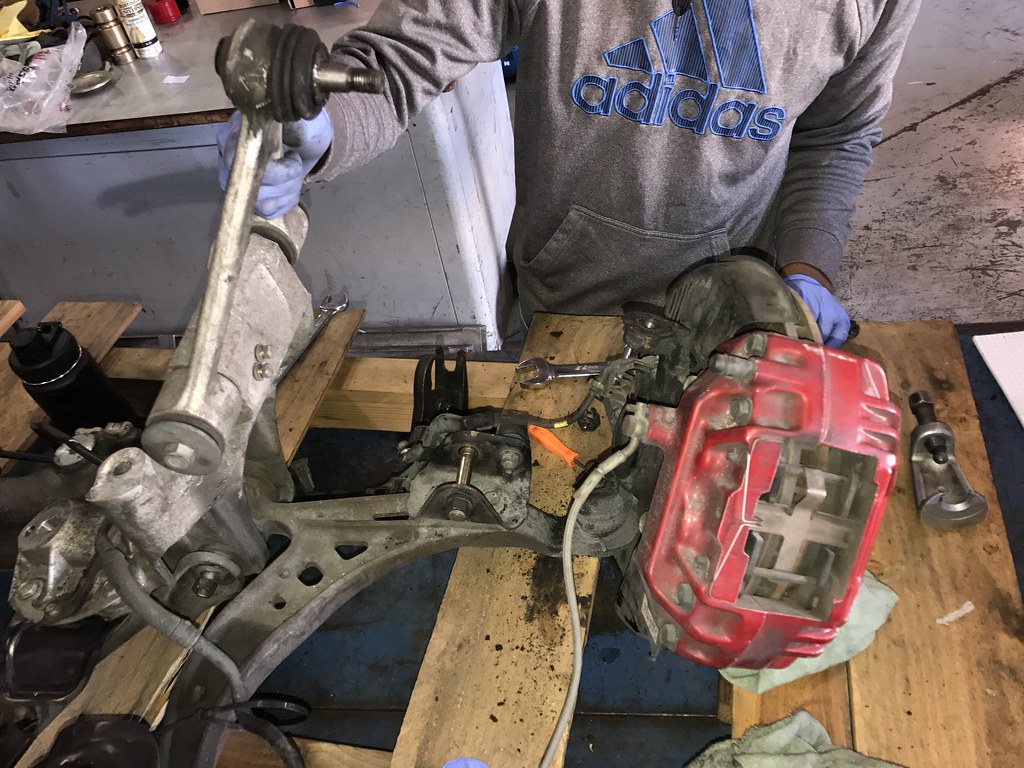
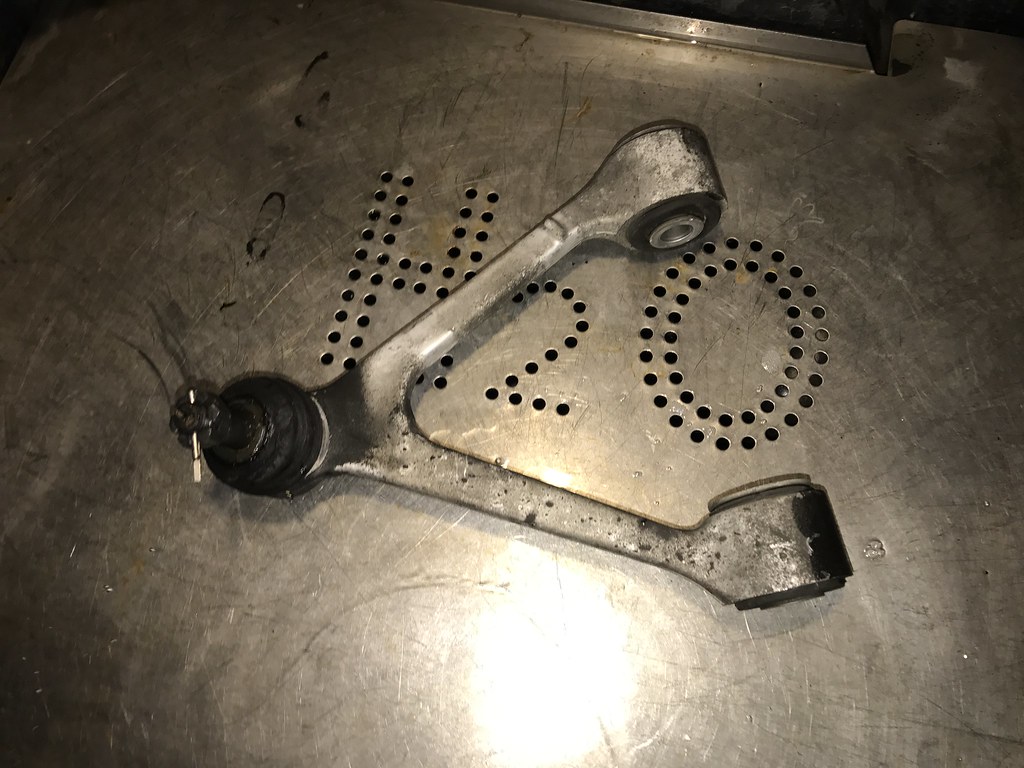
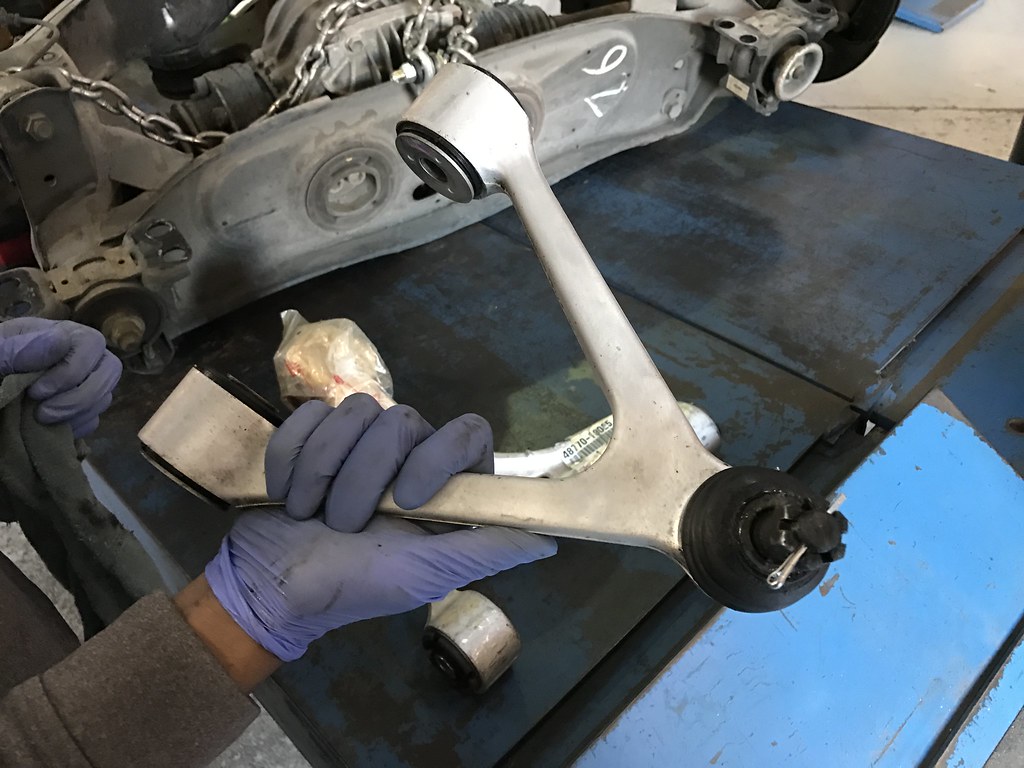
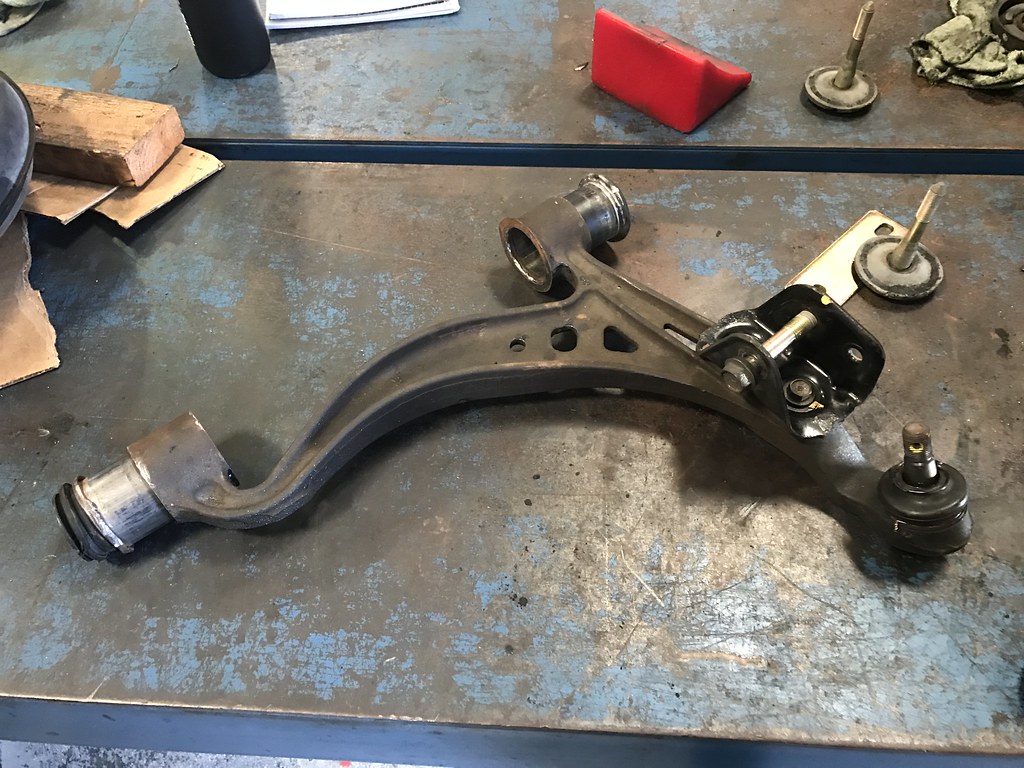
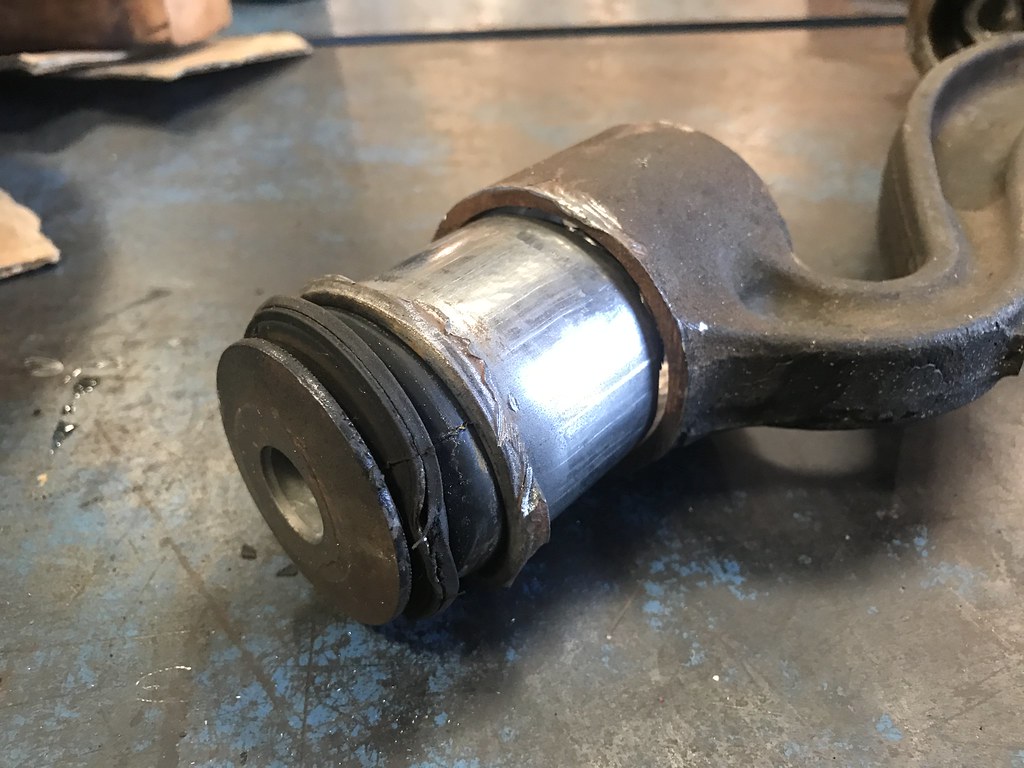
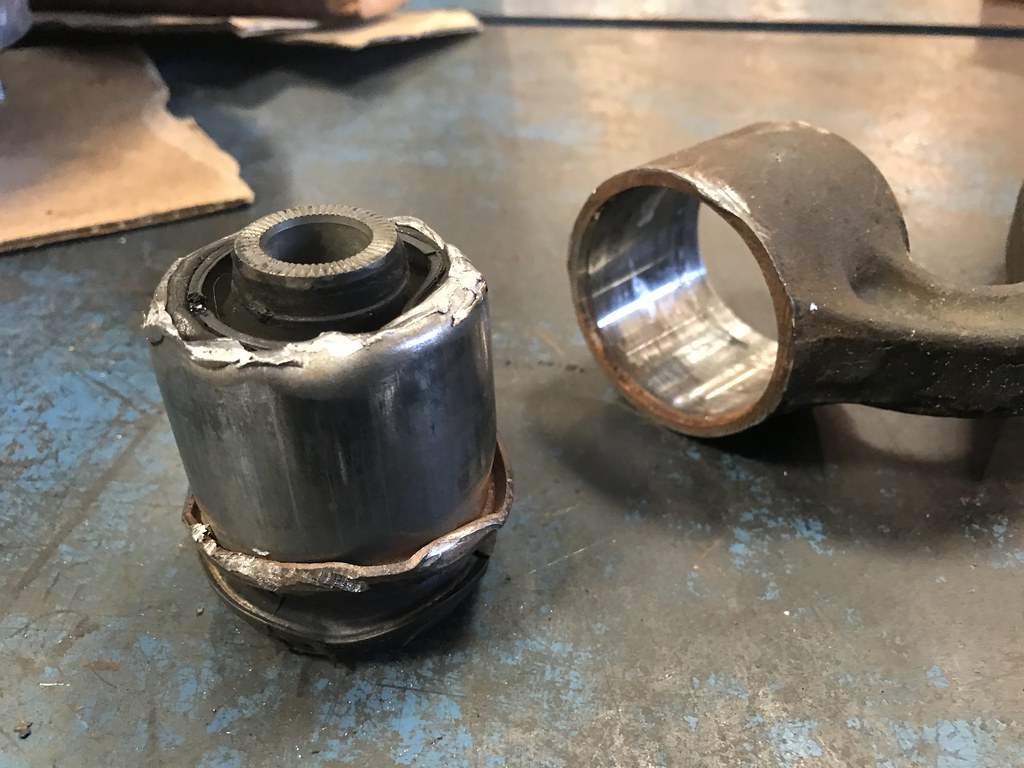
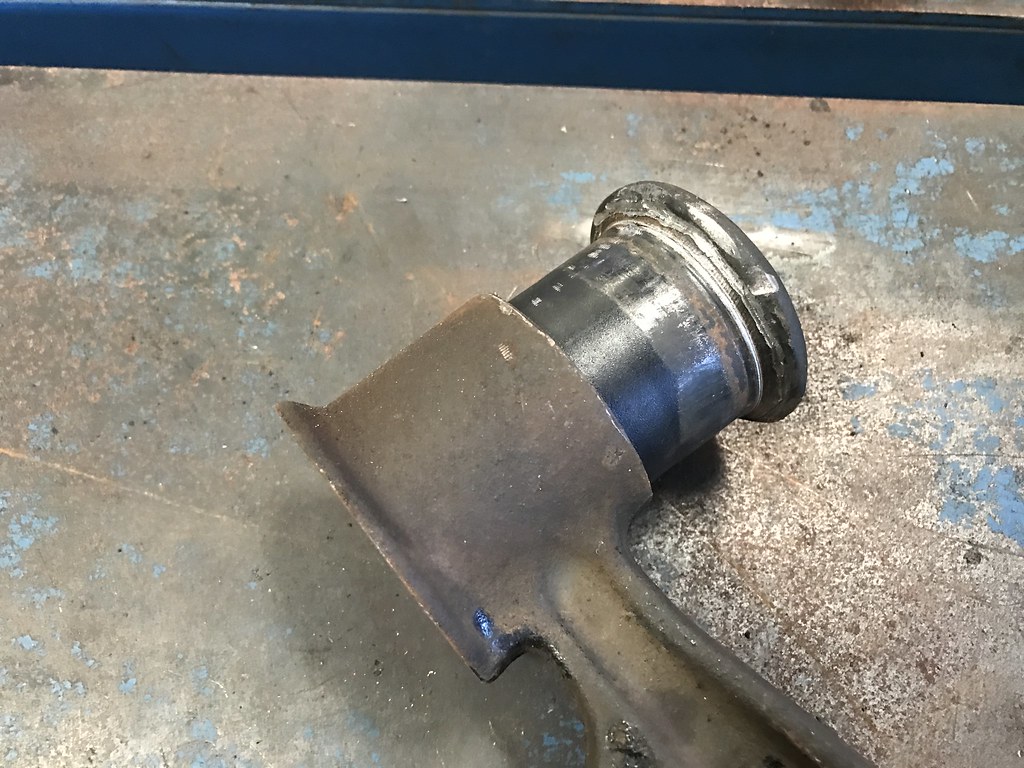
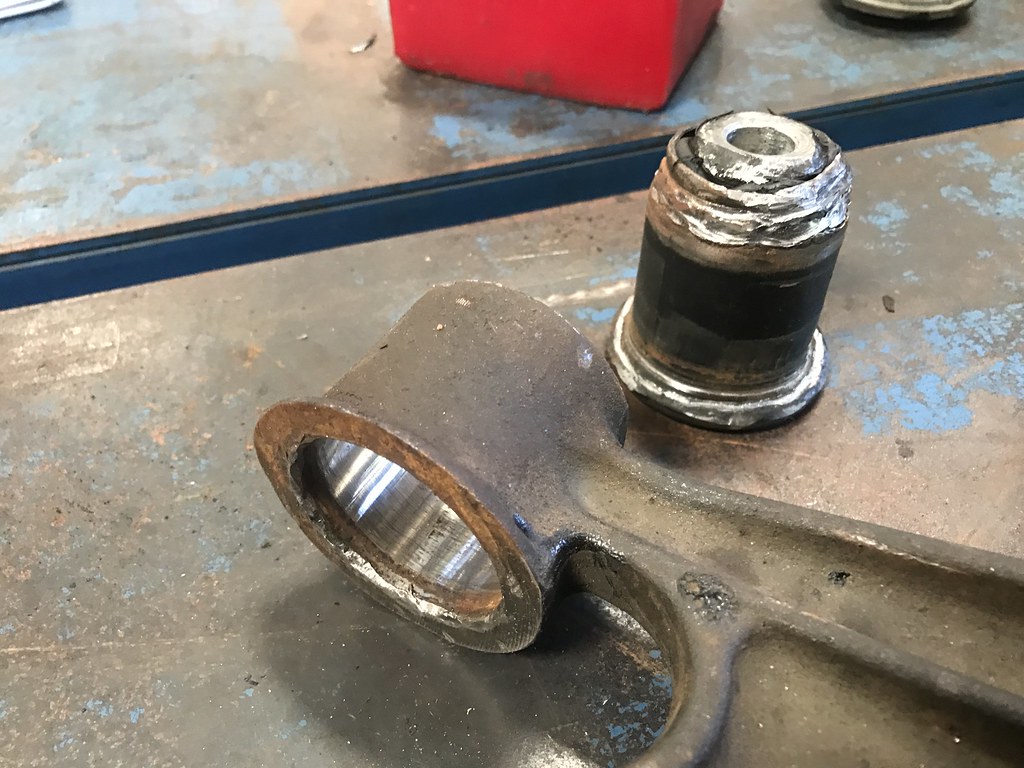
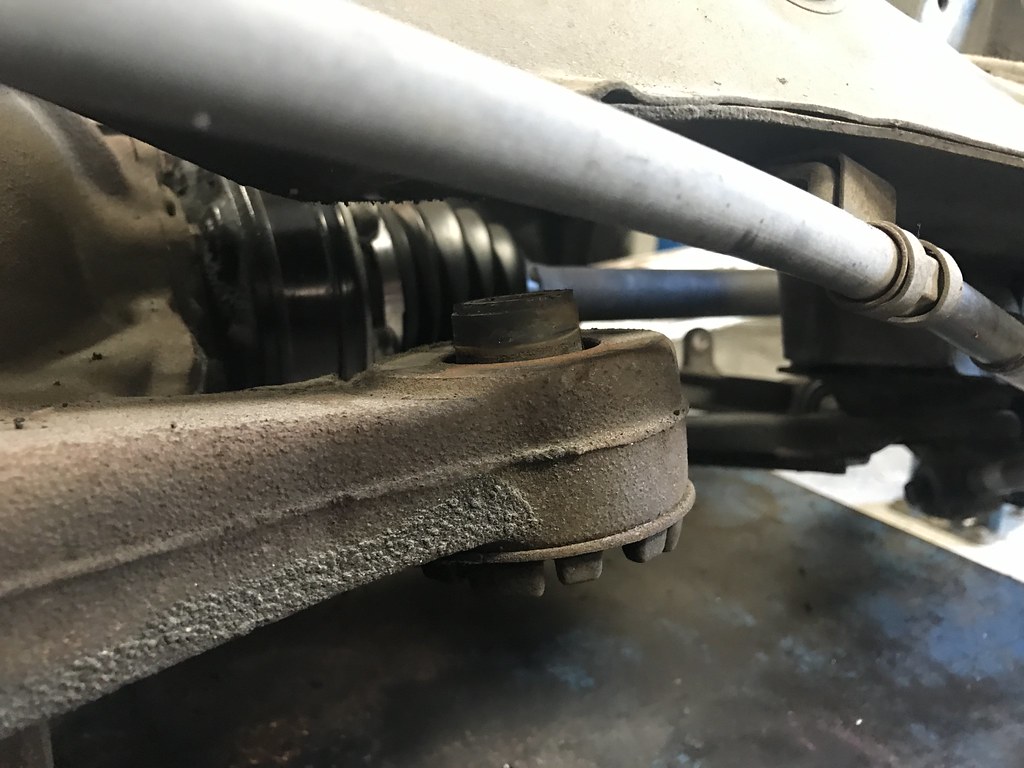
Front control arm bushings have been removed... let me tell you, these things from the factory are built like a brick shit house! They took a lot of effort to get out.


33021574308_e669a9c90b_b.jpg


31955575827_1c4e046354_b.jpg


33021571208_45ed73fc8d_b.jpg


33021573928_a6768c519e_b.jpg


31955575427_745f74685a_b.jpg


Got a brand new right side control arm just in case things don't pan out with making poly bushings for this car.


31955573907_4a676af46e_b.jpg


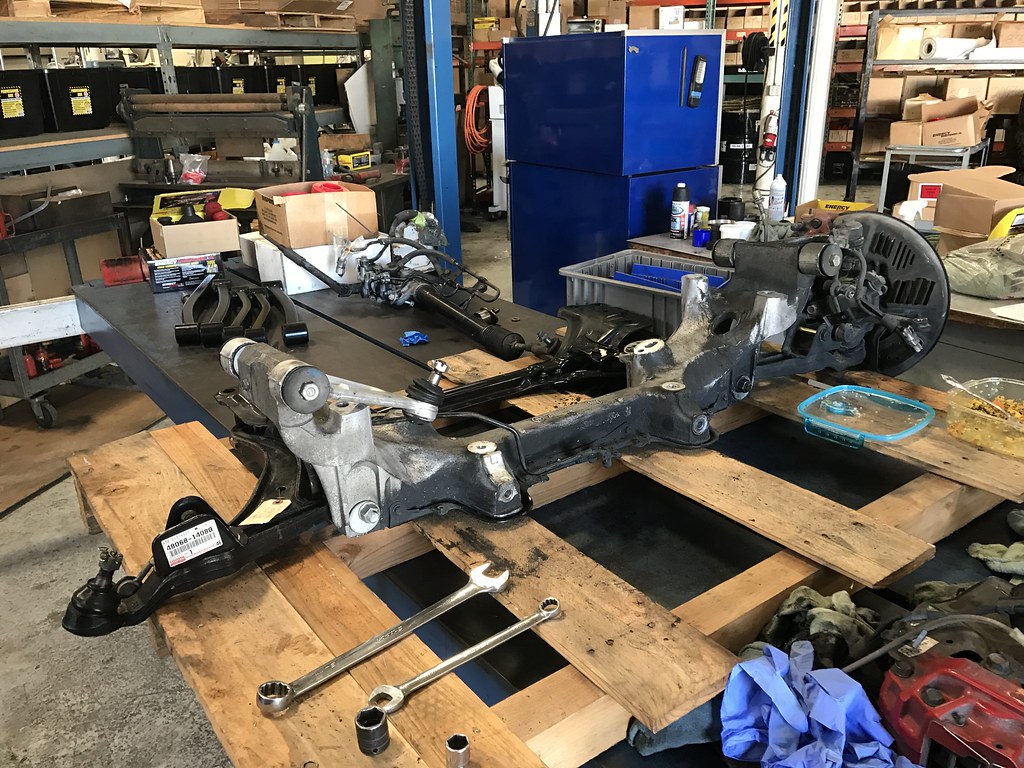
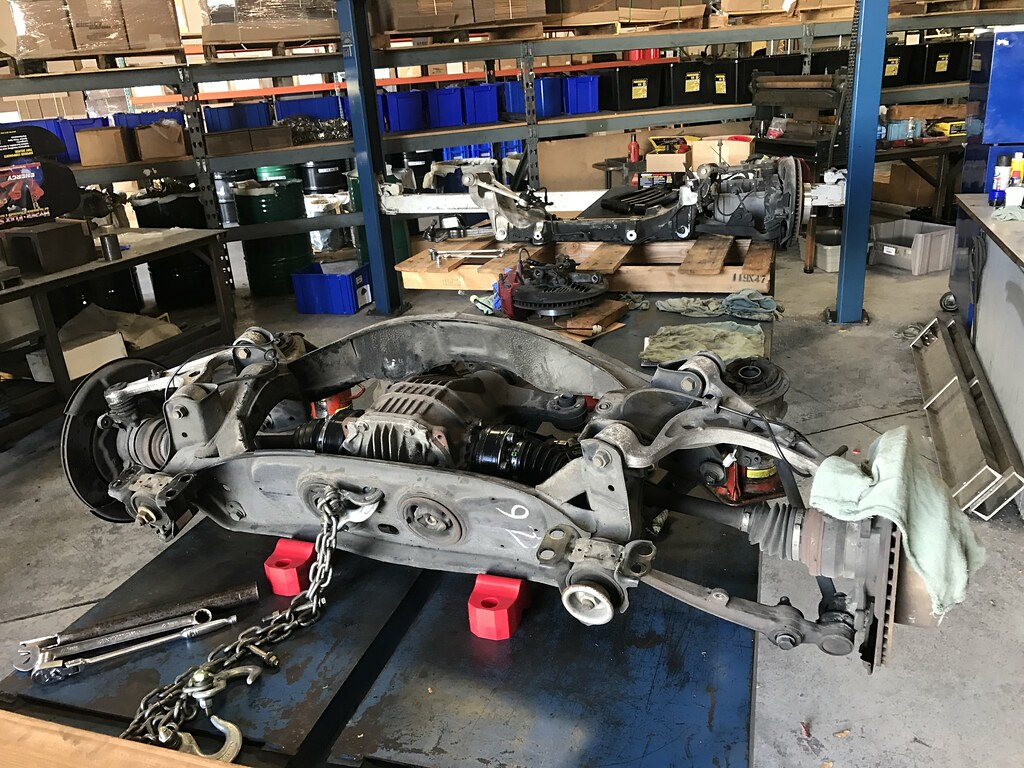
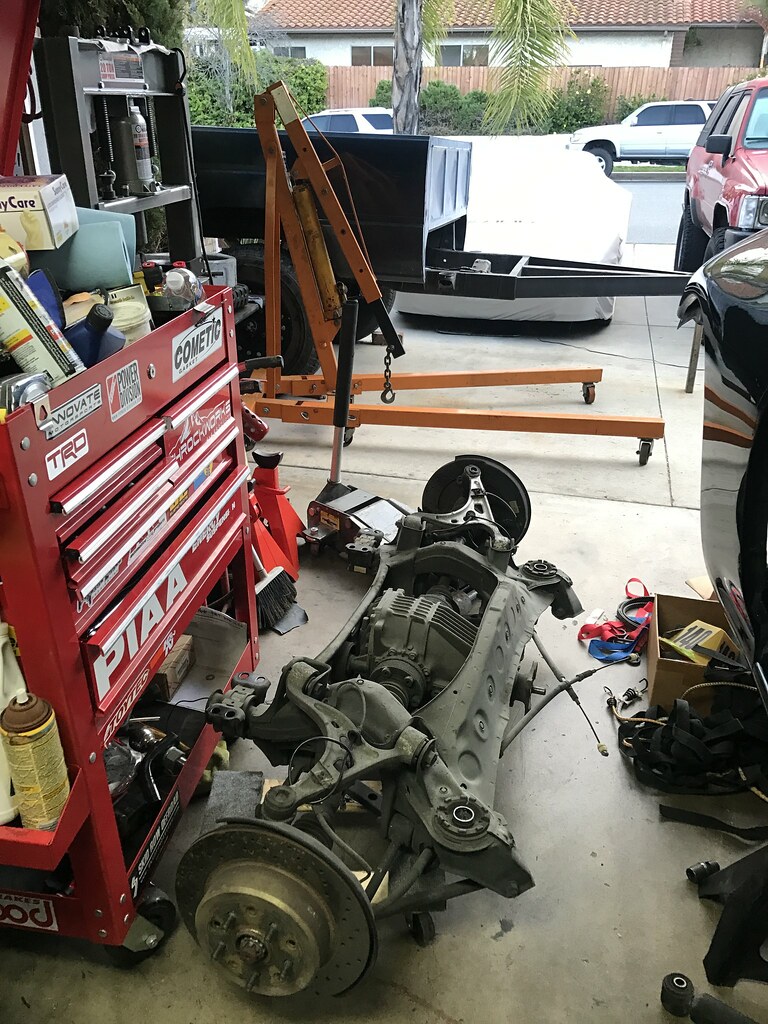
There's still the matter of the rear subframe


33021529008_a5f31a9bc0_b.jpg


46844857792_dea79fca15_b.jpg


46844858442_f079b796fc_b.jpg


33021561748_8c57bc86de_b.jpg


Some cleanup of the axles near the differential.


46171988834_be4285dc50_b.jpg


Eyeing the pinion mount bushings...


31955575077_33a86231e5_b.jpg


Subframe bushings would be tough to replace...


45982186185_f8b4512602_b.jpg


So far I have a few bushings that will work for the rear lowers and strut rods, but there's heim joints in the uppers from the factory (the arms are not mounted straight in line) that would require a bit more than just a regular bushing. We have some great ideas for this and I hope to be able to debut a brand new bushing on the MKIV chassis. Then there's the rear diff mounts...


There is still plenty of work ahead and, ultimately, no indication if any of these concepts will ever see the light of production.
 
Last edited:
[MENTION=25058]ChildrenOfBodom[/MENTION],
Love the progress, last pics show your going deeeeppp into resto. Lol, def six figure territory.
 
Rear passenger side wheel well is now coated


Here's a little "during" shot that shows the existing shade


46194950654_65ab78b233_b.jpg


After 3M coat


46194949394_05cabe6864_b.jpg


Front passenger side


46867645942_82a7e11fde_b.jpg


Before


46194963934_cb52719105_b.jpg


During


39955063913_54e2b314b5_b.jpg


After


46919806161_b1423f7412_b.jpg
 
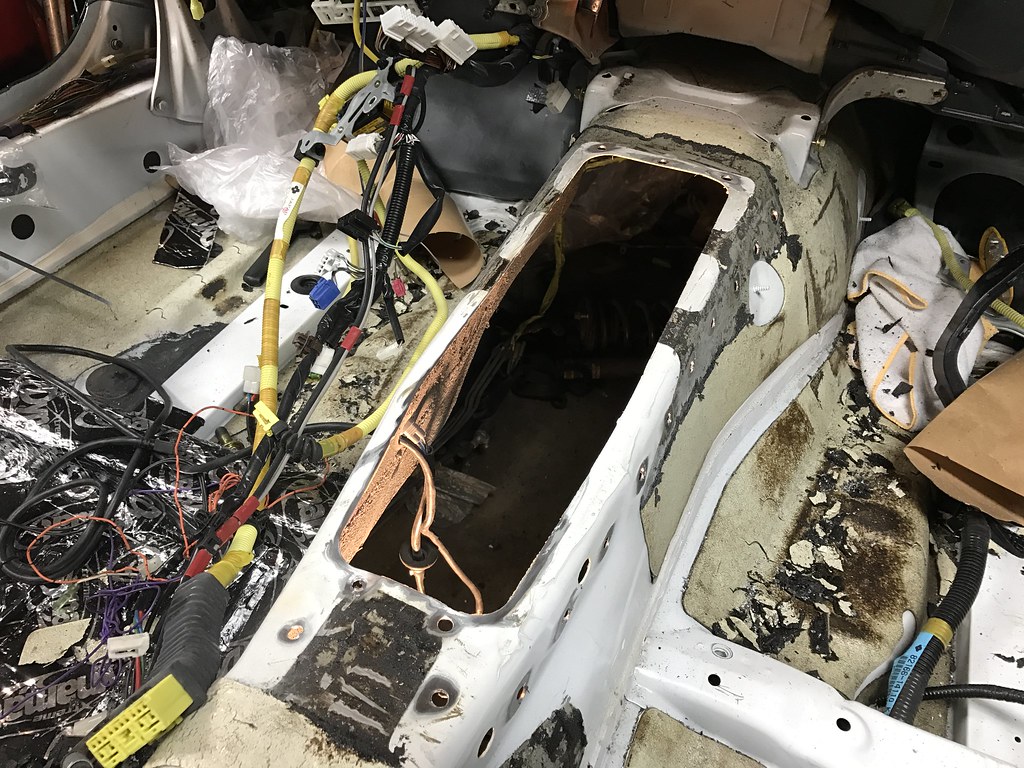
This part has been a long time coming...


46194951754_026de08393_b.jpg


46194951324_8e00d6d219_b.jpg


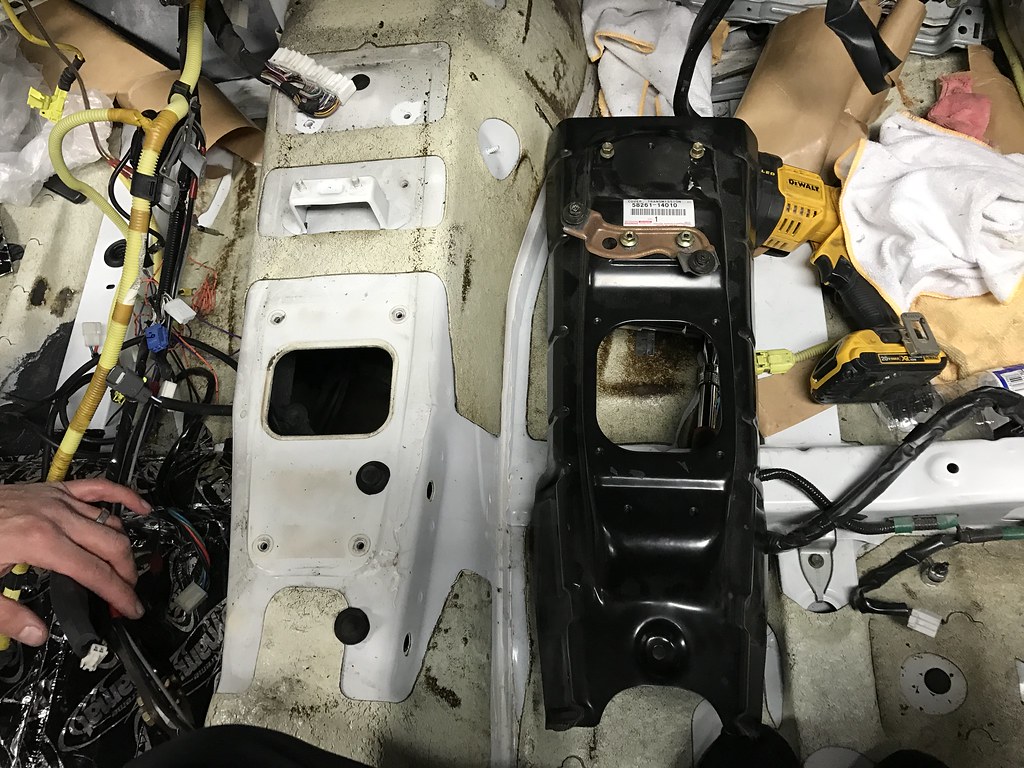
No more automatics!!!


39955056473_73c10d570c_b.jpg


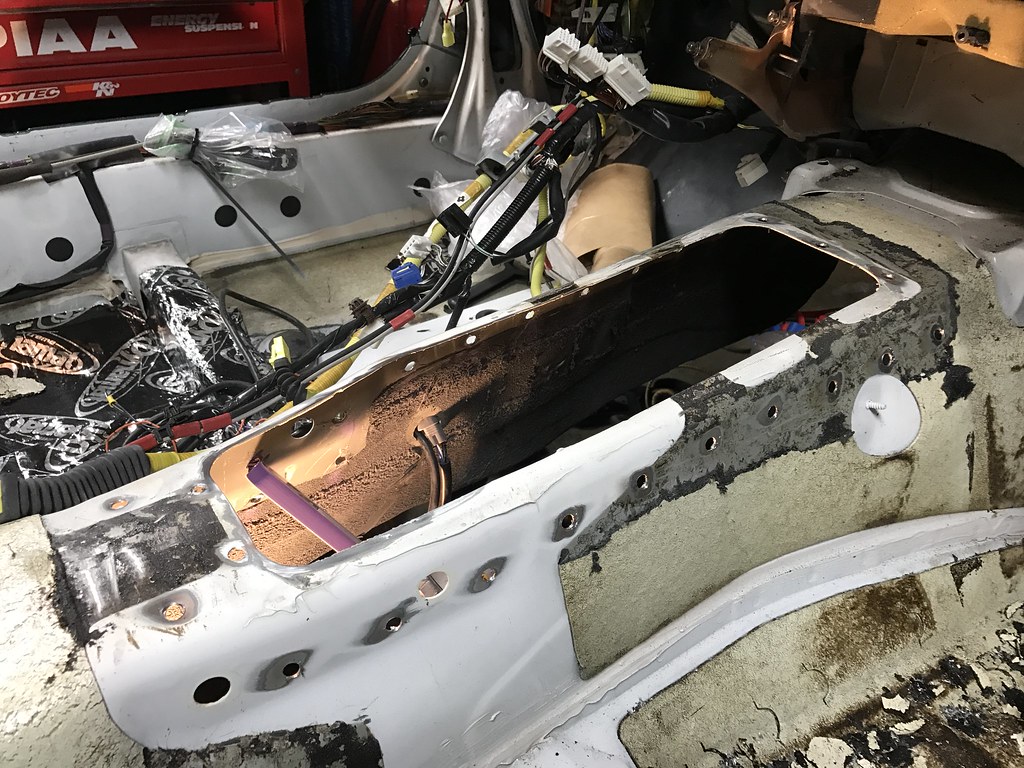
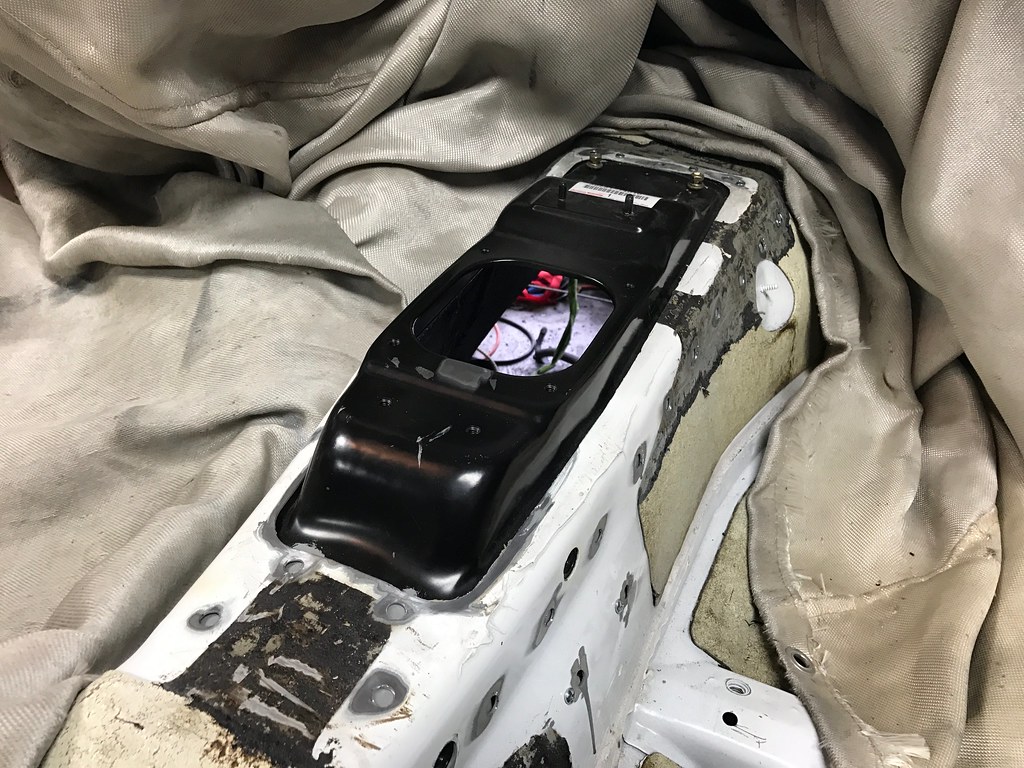
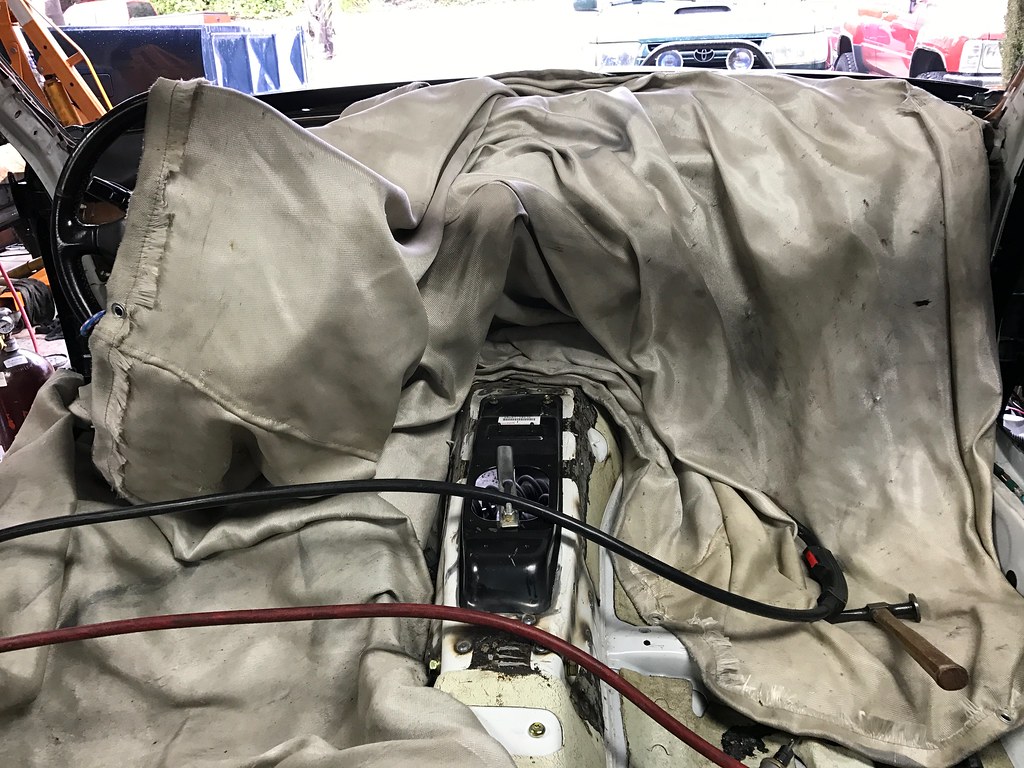
New 6-speed tunnel, which I've had in storage for a couple of years. Too scared it would be discontinued!! And sure enough, they're NLA now.


46919804851_0b47d80f6b_b.jpg


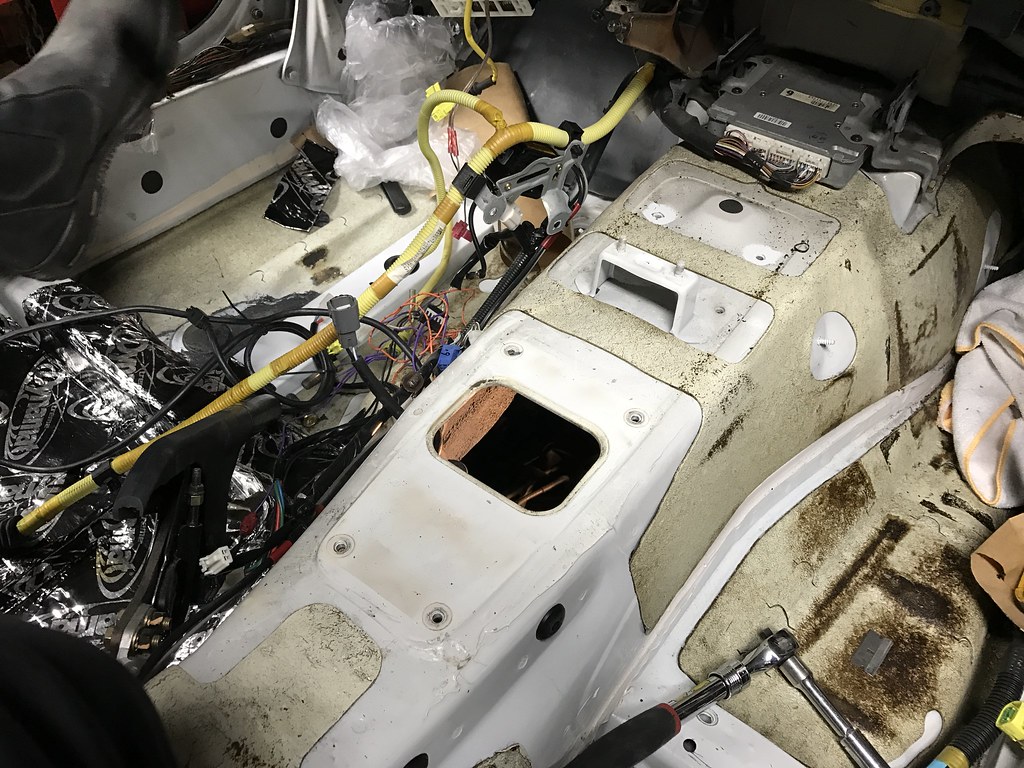
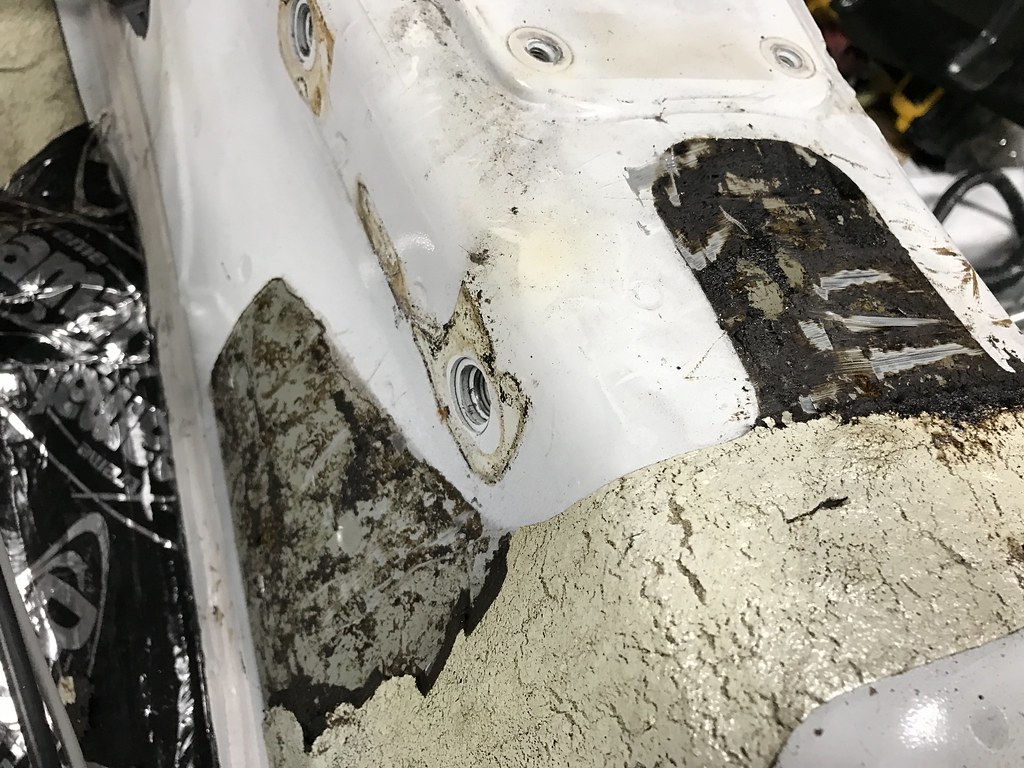
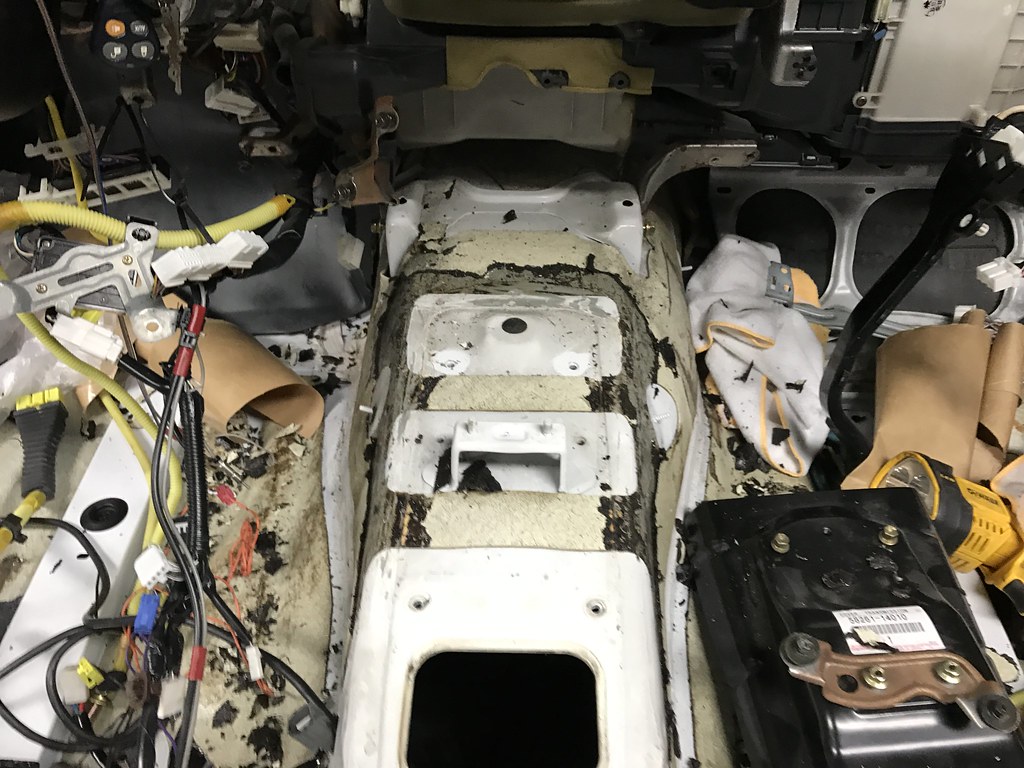
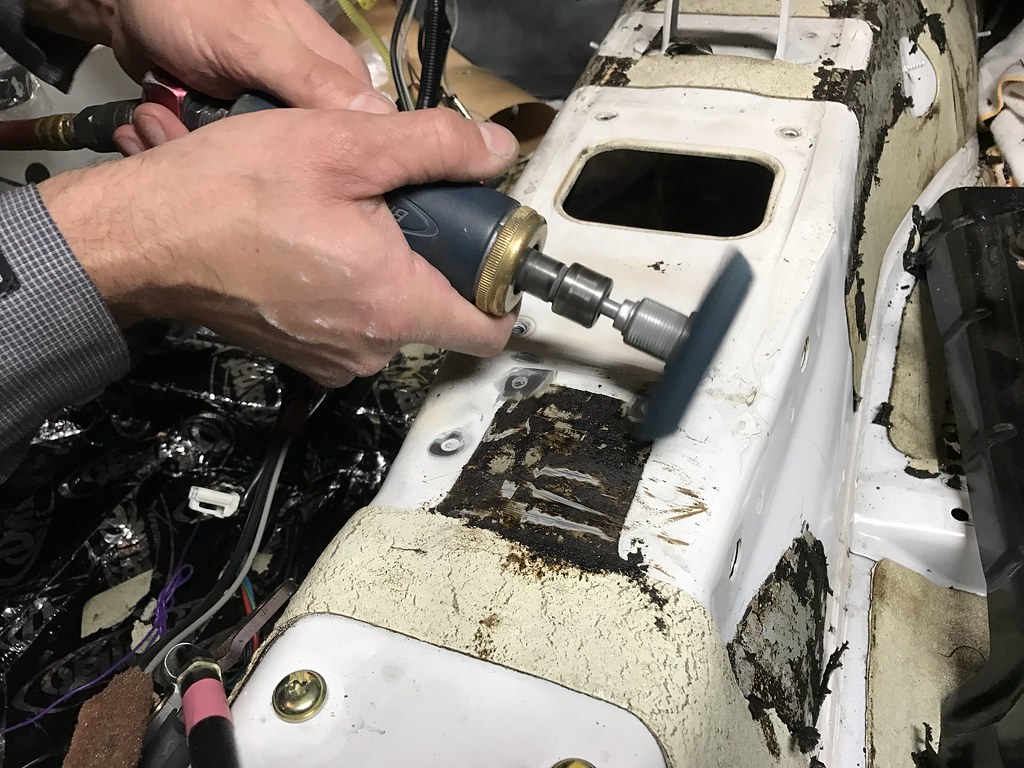
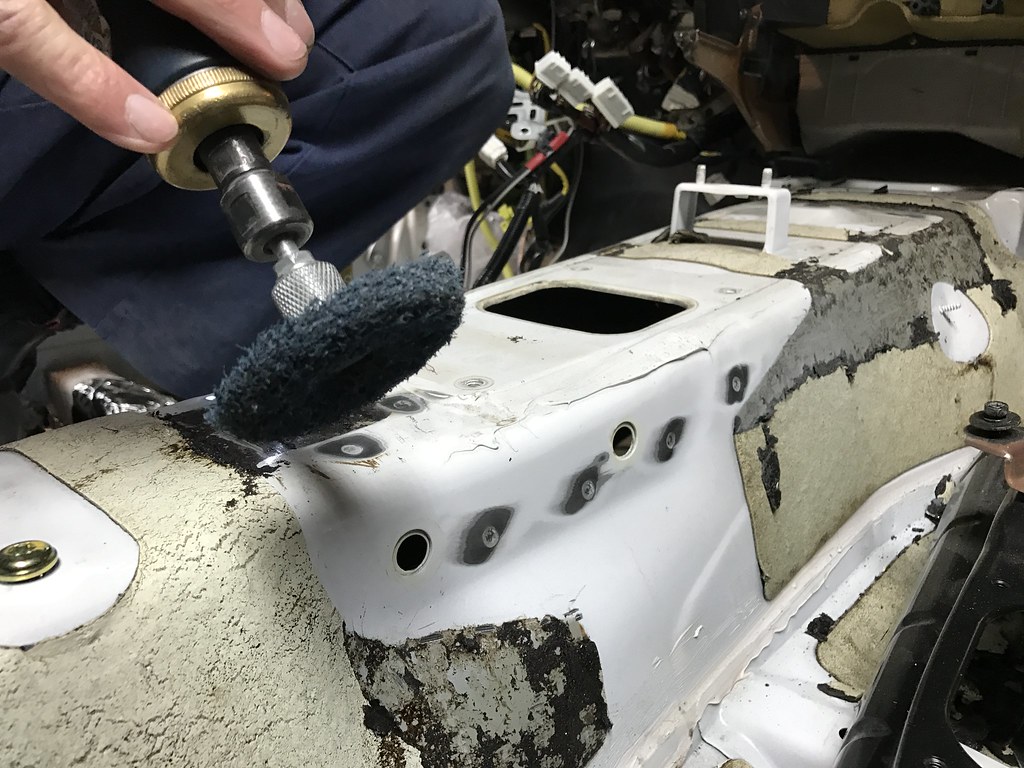
OE deadener removal


33044474708_fe2e24756c_b.jpg

46919803431_aa25facd5d_b.jpg


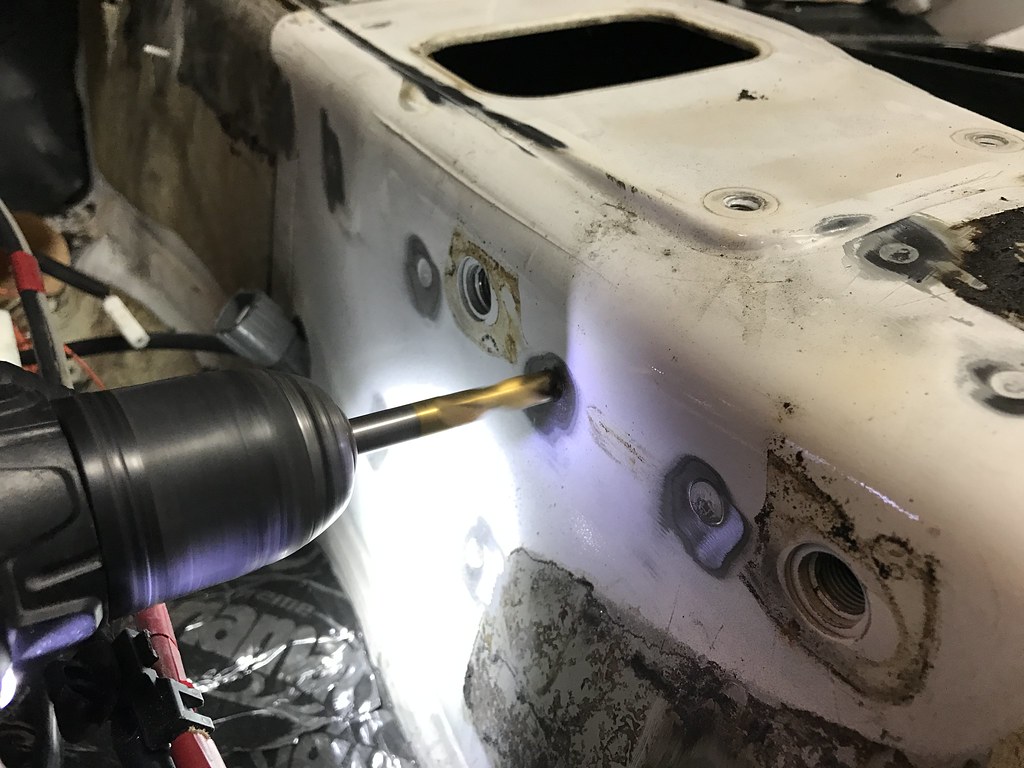
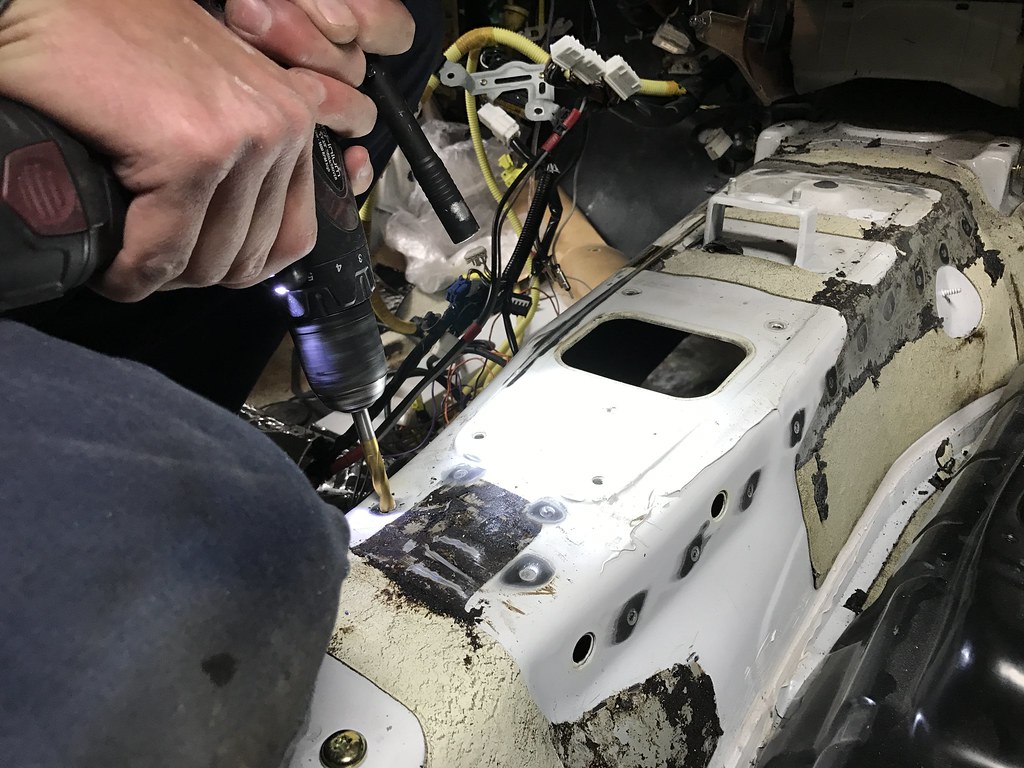
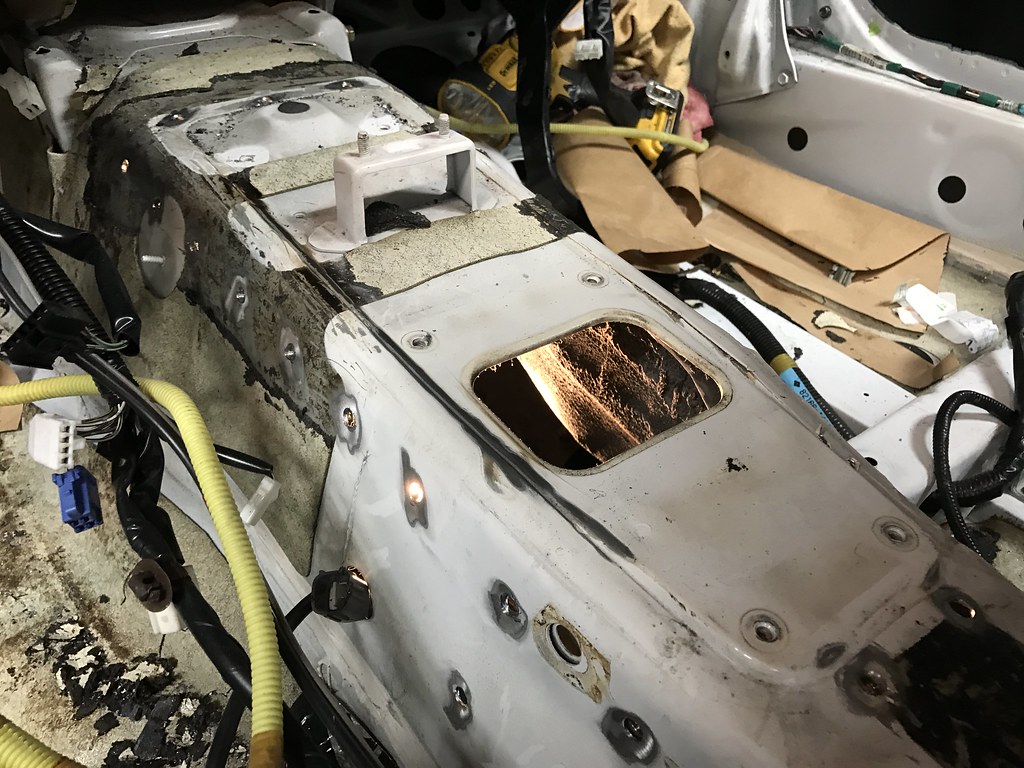
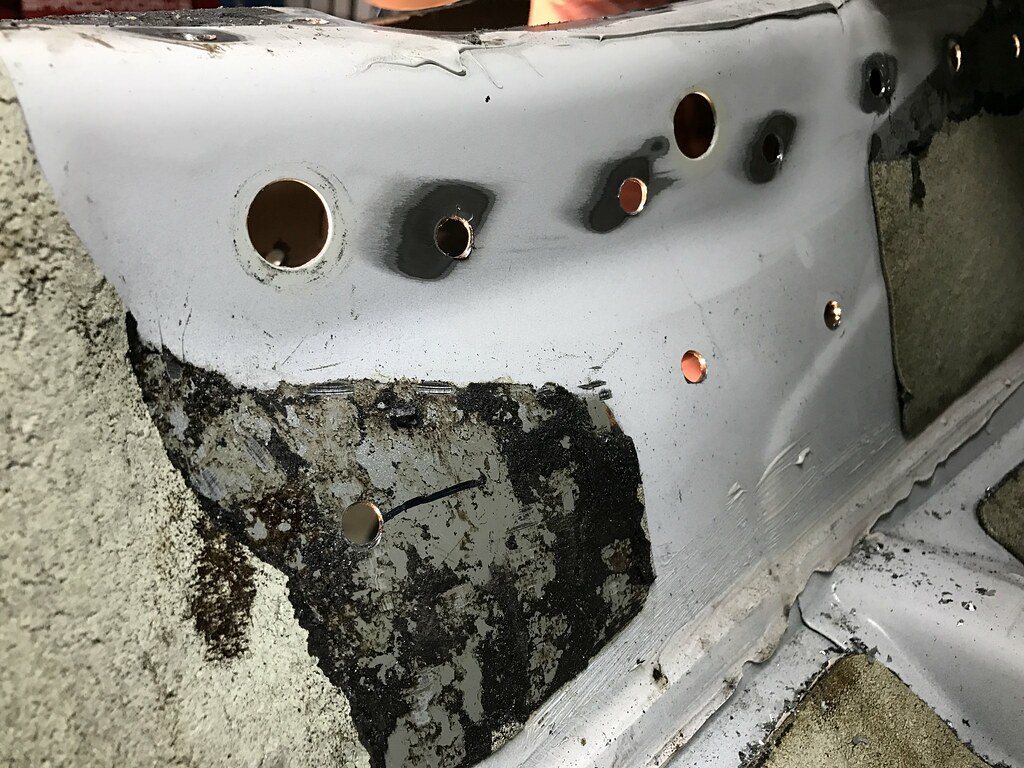
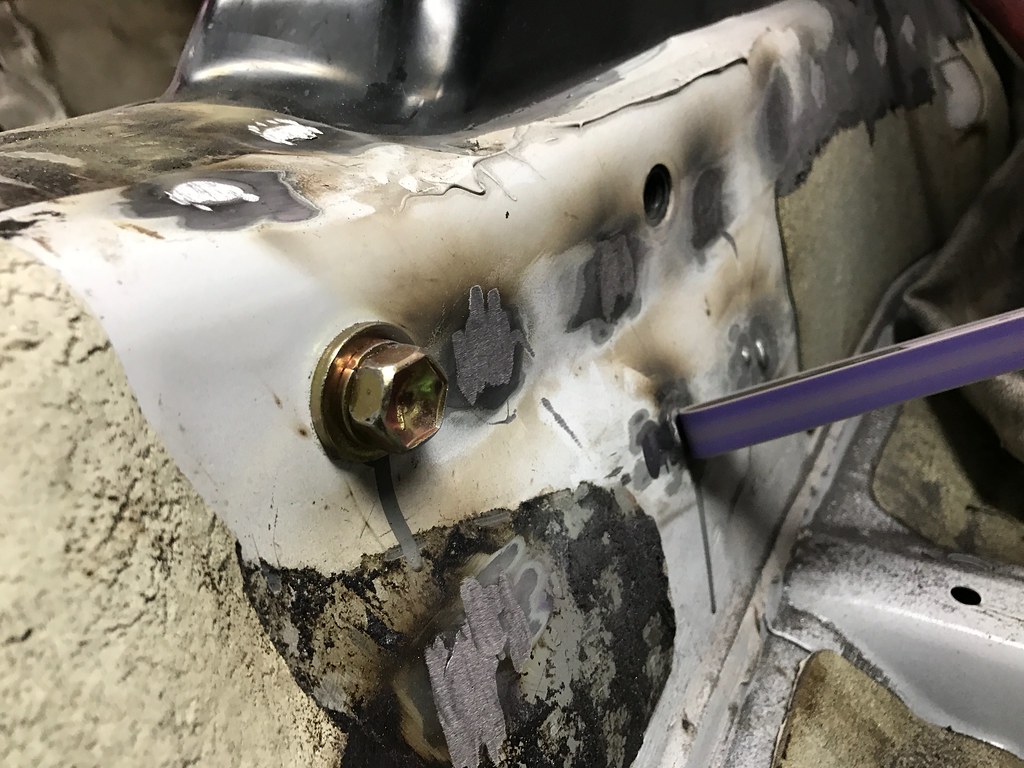
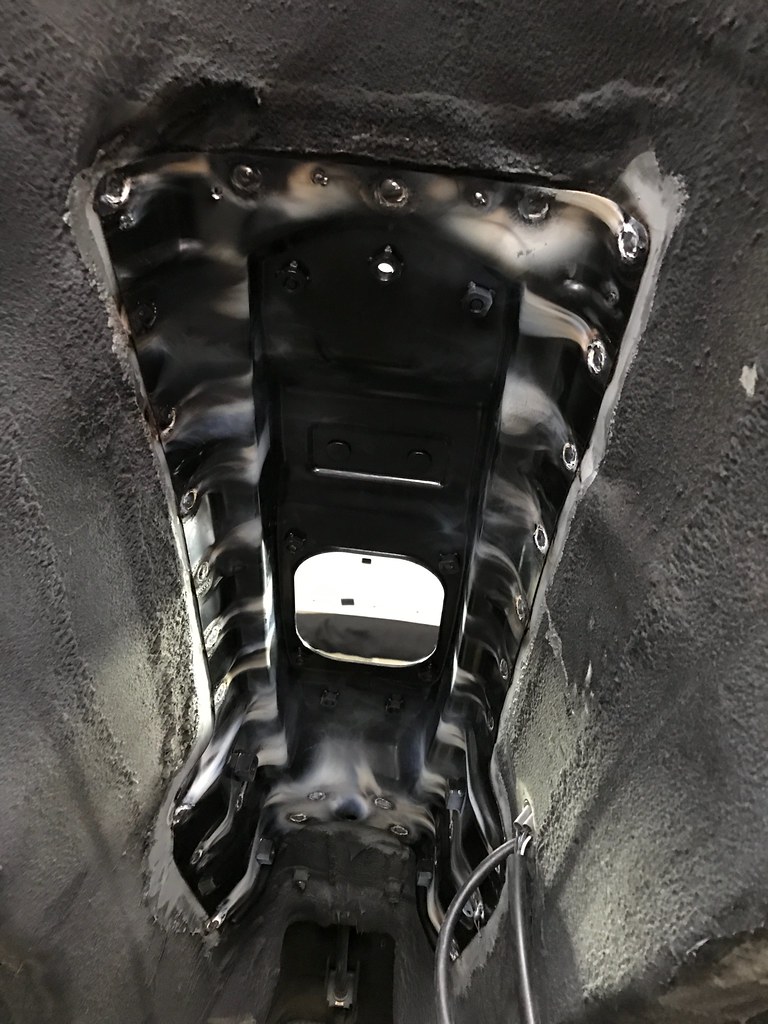
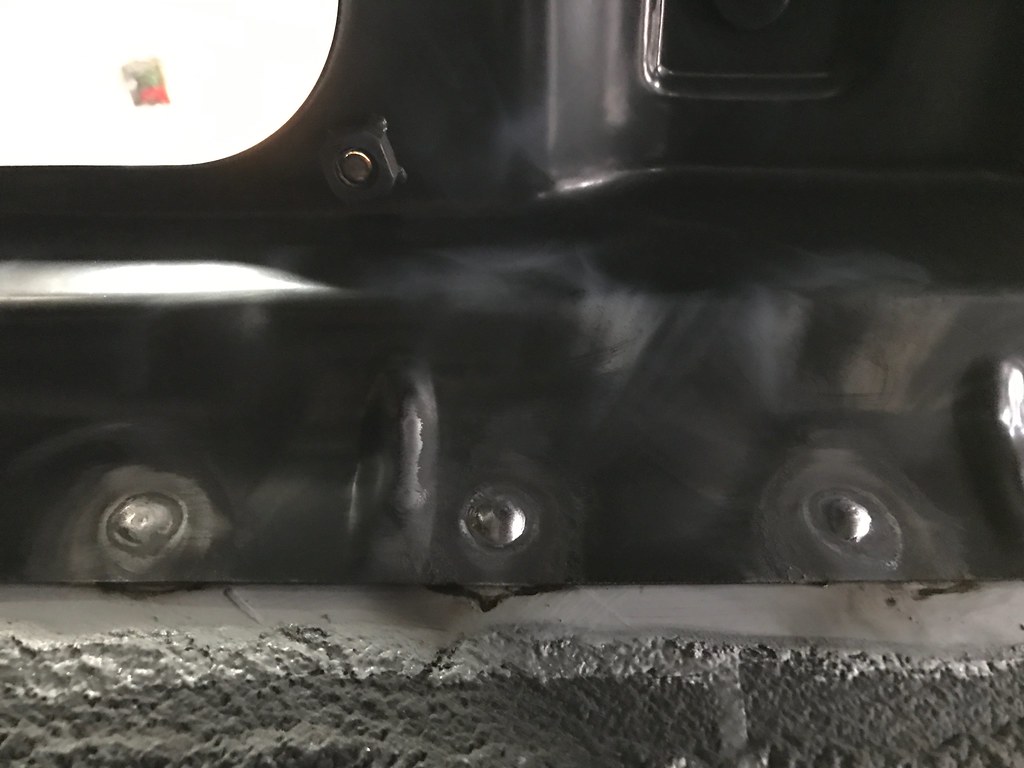
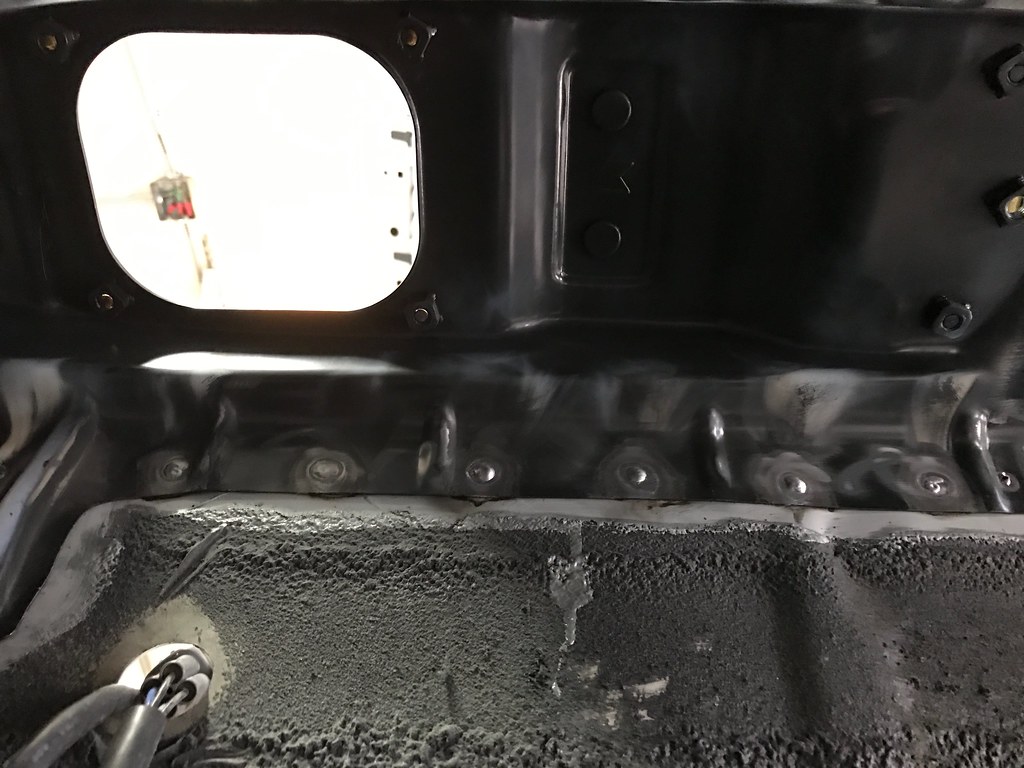
Revealing the spot welds...


39955061203_0547584ed5_b.jpg


46005453375_f8c78254d6_b.jpg


46867650532_ccee7fb97a_b.jpg


Drilling


46005452625_ac5d77ecd4_b.jpg


46194952144_892db8da87_b.jpg


46226391554_3a6181510d_b.jpg
 
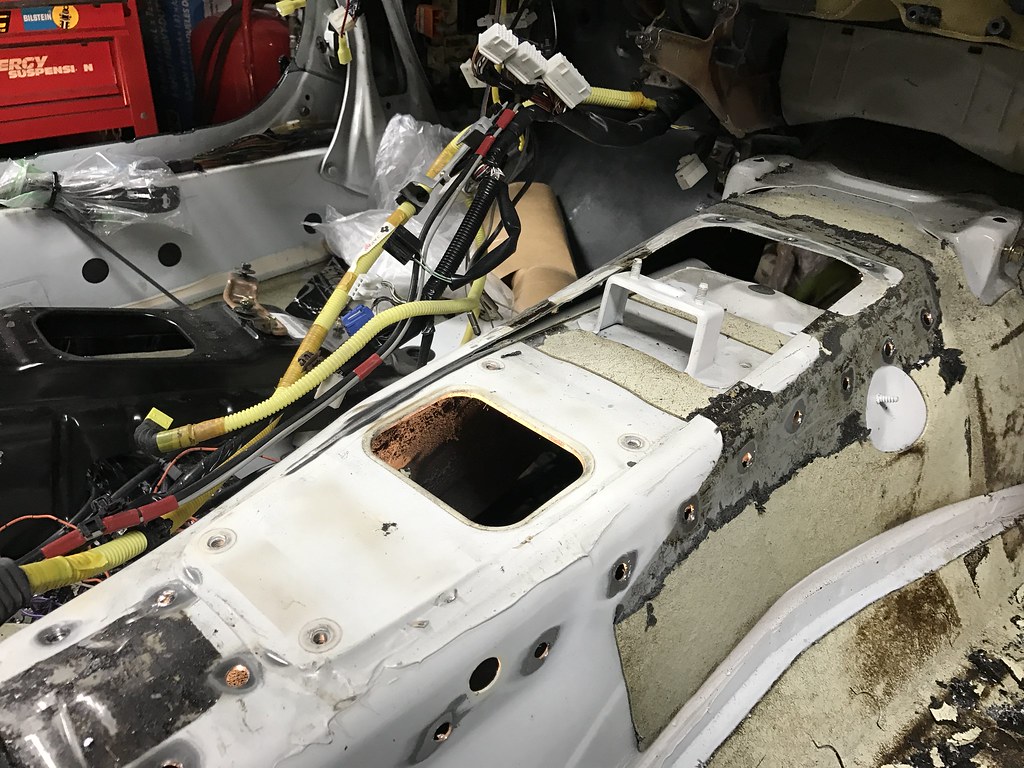
GET THAT THING OUT OF HERE!


33075490618_b1b9890919_b.jpg


33075490378_8d8a083e2d_b.jpg


46037004335_211672a2ba_b.jpg


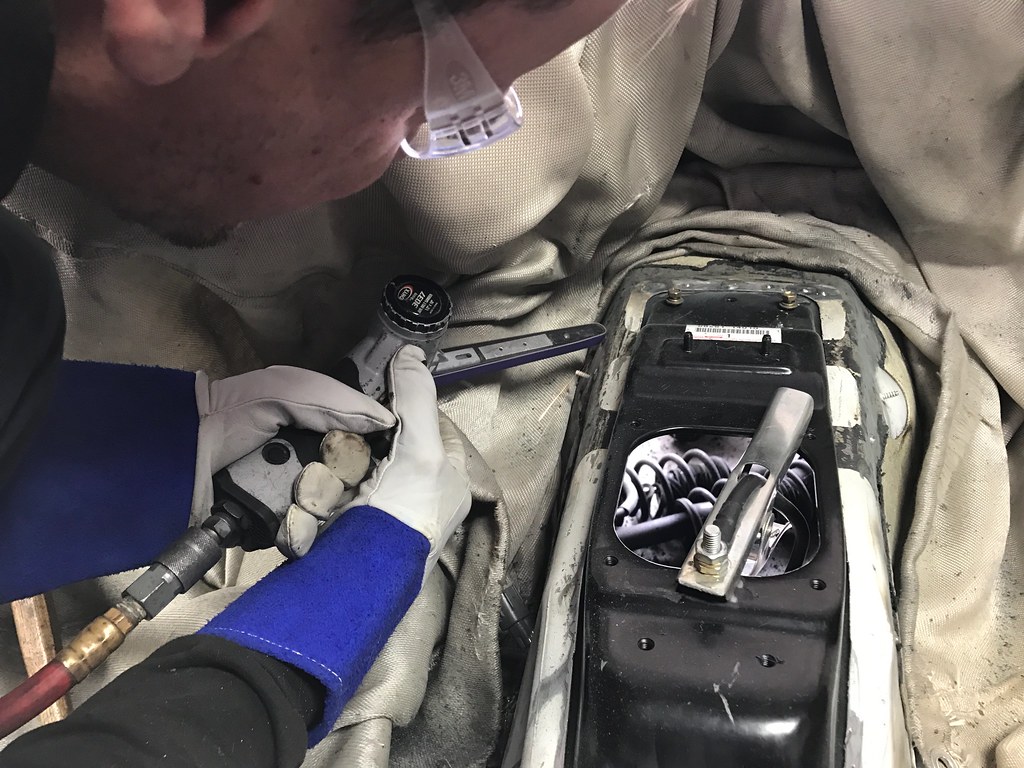
Justin sanding the spot welds to remove the burrs of drilling...


46898895562_a3301a6a97_b.jpg


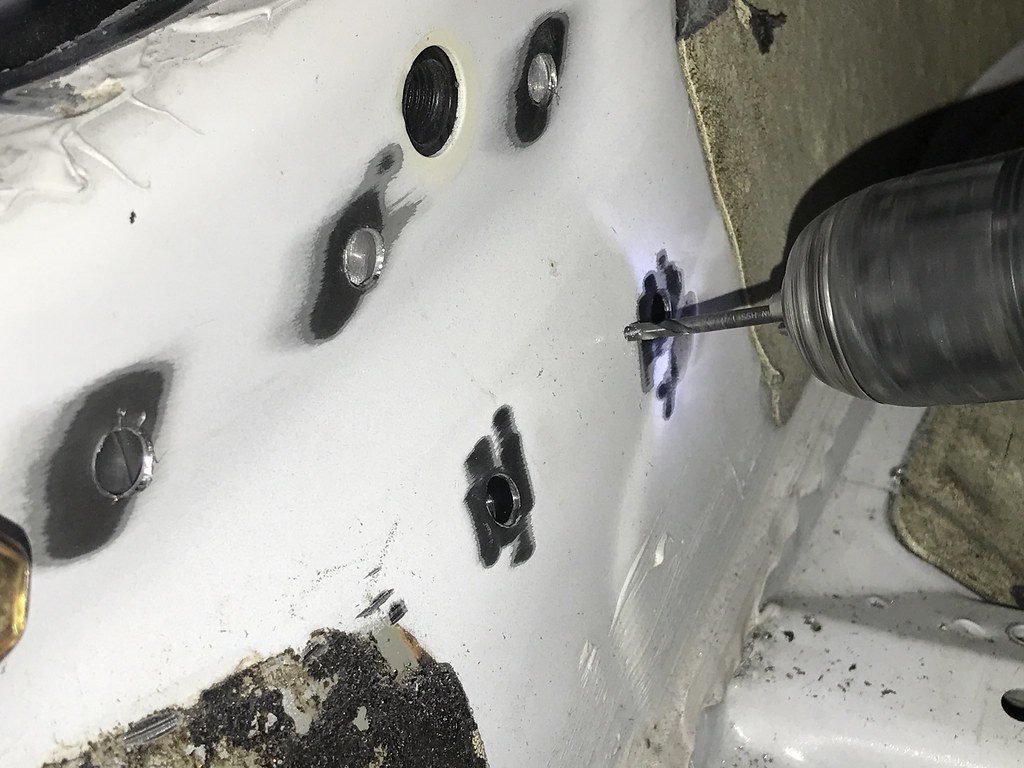
Adding a few new holes to weld the right hand side of the panel.


39986487163_67a708928e_b.jpg


And removing some excess undercoating to ensure no overlap with the new panel.

46898895132_9a594b8d0c_b.jpg


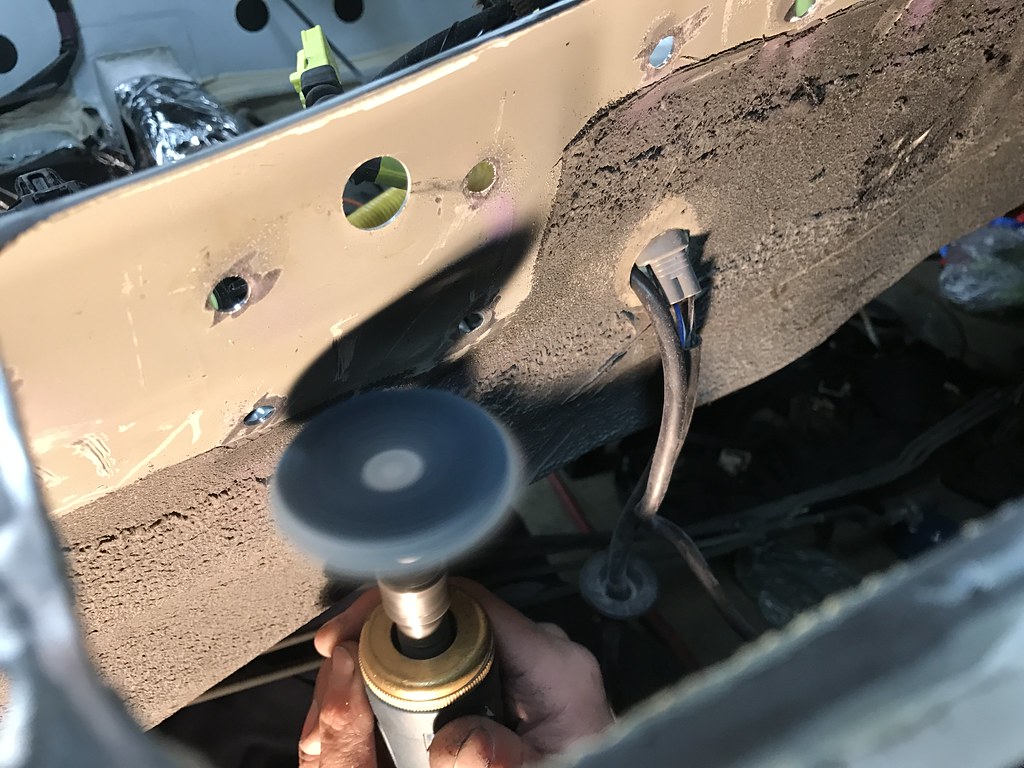
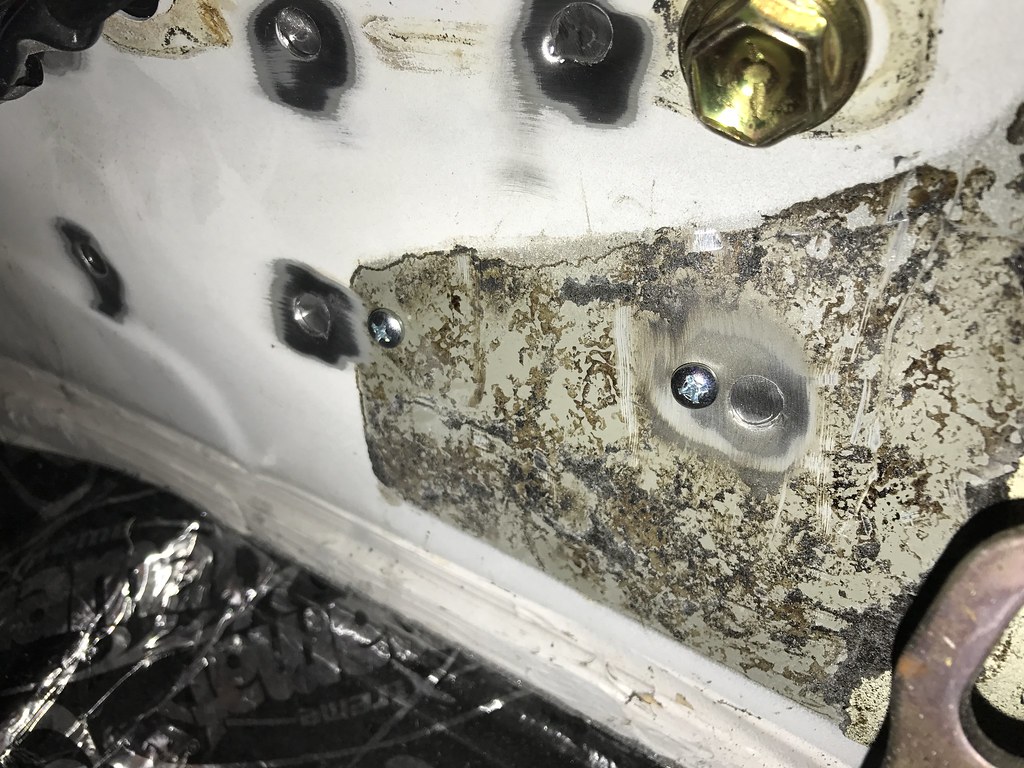
Collision work tip - drill a 1/8" hole next to each spot weld, screw in an ovalhead screw to pull the panel in close, then reweld the holes later on.


33075495248_7dfa0aa9b6_b.jpg


33075495728_897c520f2b_b.jpg


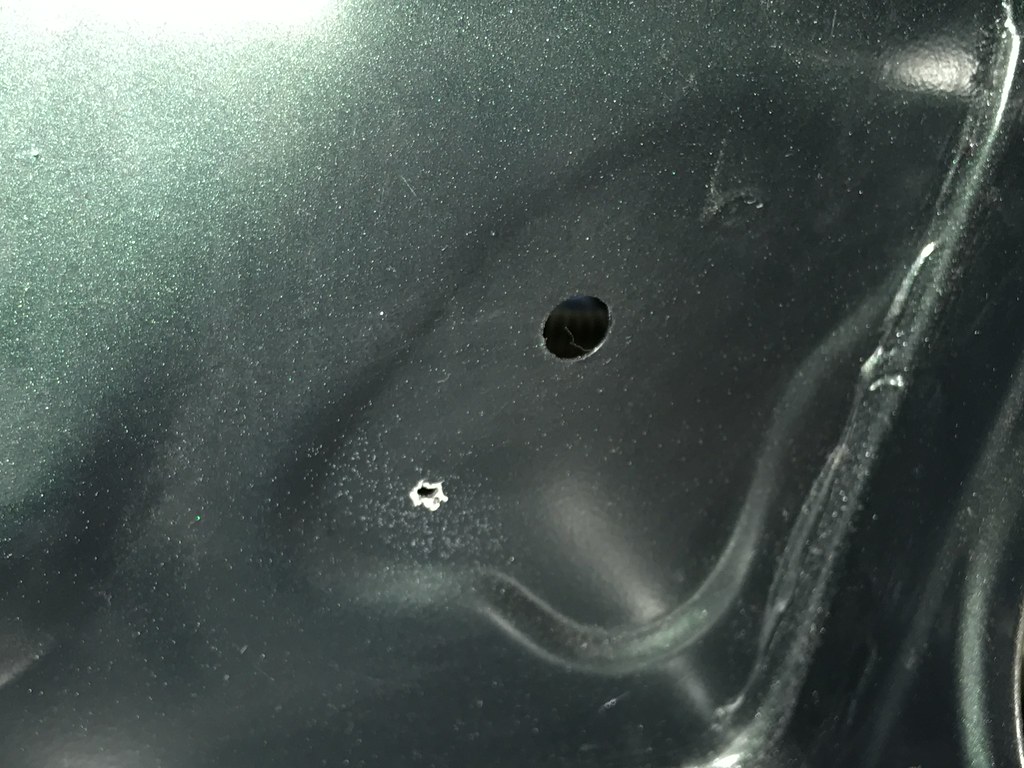
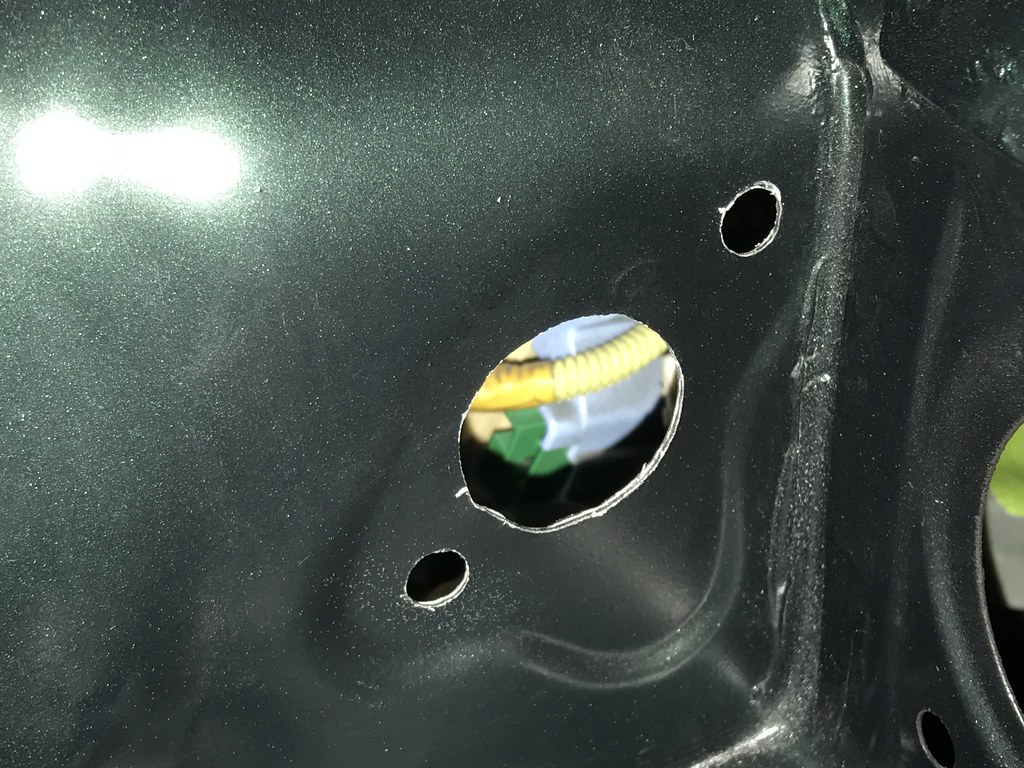
And last for this update, clutch master cylinder holes (middle hole was preexisting, thankfully, within the center hole).


The interior panel of the firewall shows exactly where each hole goes.


46950973091_a7c7d0d7fd_b.jpg


It ain't perfect, BUT, the new master seals very nicely and the pedal fits beautifully.


33075492078_926290a15f_b.jpg
 

Attachments

  • 31955371767_baedf4e31d_b.jpg
    31955371767_baedf4e31d_b.jpg
    120.9 KB · Views: 626
Last edited:
Great read. Easily my favorite forum read ever! OP, why did you not go with the VIN matched color? Does a non matching color affect value?


Sent from my iPhone using Tapatalk
 
I love the paint and THOSE WHEELS! I have a set of 17" Enkei on my TL and I believe I paid about $200 each but if I had known about those I would have strongly considered the extra cash spend. They look so sweet.

BTW did you see this?

Jalopnik | The 1994 Toyota Supra That Sold for $121,000 On Bring a Trailer Is Now at a Dealer for $500,000


The SBC look is killer! Definitely harder to get in the right specifications, though. Glad you like them, I think they'll really pop with the fresh brakes behind them. Thanks Brian.


I did see that :D And it's the same year <3


Glad to have my own, that's for sure!


Great read. Easily my favorite forum read ever! OP, why did you not go with the VIN matched color? Does a non matching color affect value?


Wow, favorite forum read ever?! Thank you! Hot dang, that's a day maker.


There's a few reasons I chose not to go with the original white.


1. The pearl-white paint was basically all the way up into the jams and into hard to reach areas - so painting it any color would have required a similar degree of work.


2. White is not my favorite color for a car, in fact, it's among my least favorite... especially Toyota "Super White"... single stage, bland, and doesn't show the car's angles well. Boring in sunlight, boring at night. Most every car these days is white, silver, gray, or black. I own a white MK3 Supra and the only time it ever really looks nice is when it's waxed, but it still doesn't have half the depth of the metallic green.


3. Car's already been wrecked, none of the panels are original except for the doors and hatch, plus I'm swapping transmissions. Originality was already out the window (even 4 of the 6 windows aren't original... lol).


4. I still wanted an OE Supra color, limiting me to a handful of colors. IJM has a special sentimentality tie to me, as I've owned my Imperial Jade 4Runner for 11 years now.


5. Value doesn't matter because I have no plans to sell it, ever.


To a collector it would, to a enthusiast looking for badazz MKIV no, COB going all out on resto.


Hit the nail on the head, my friend! And thank you :D
 
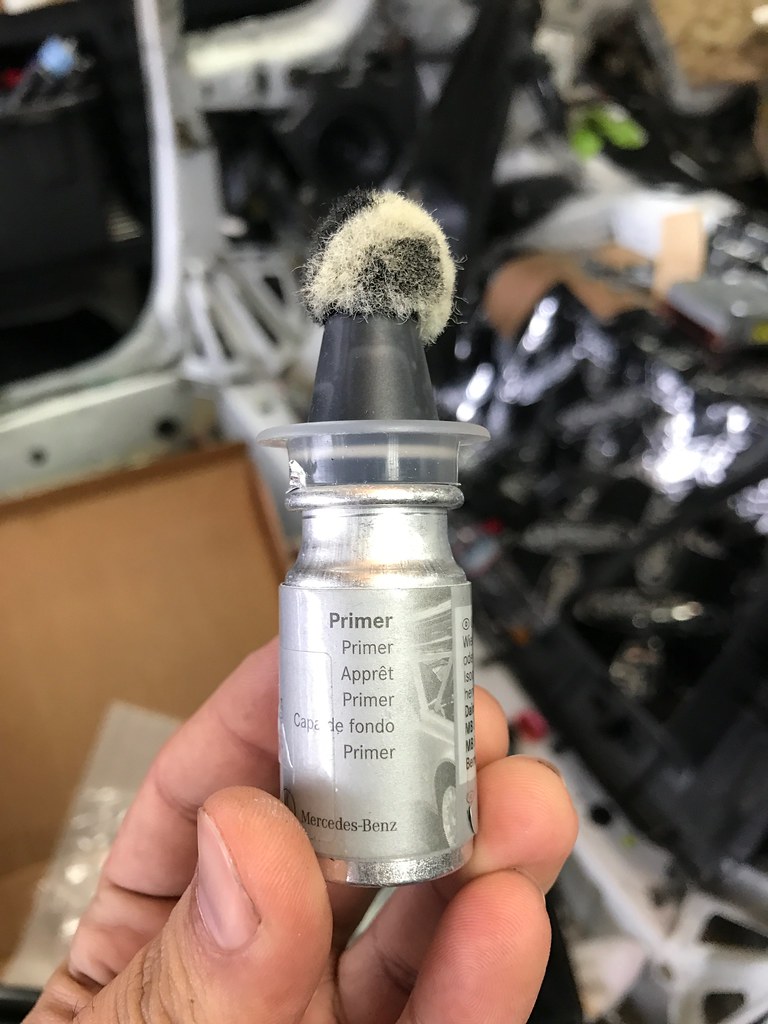
This update starts up with Mercedes-Benz parts... a lot of Mercedes-Benz techniques are being adapted to this Toyota for the highest quality result possible.

Mercedes-Benz collision shops and all brand new McLaren's are now using Akzo-Nobel brand products, my car is no exception.

Mercedes-Benz weld-on zinc primer

46537097354_f1b9bfde0c_b.jpg


40295891503_6b0a744eeb_b.jpg


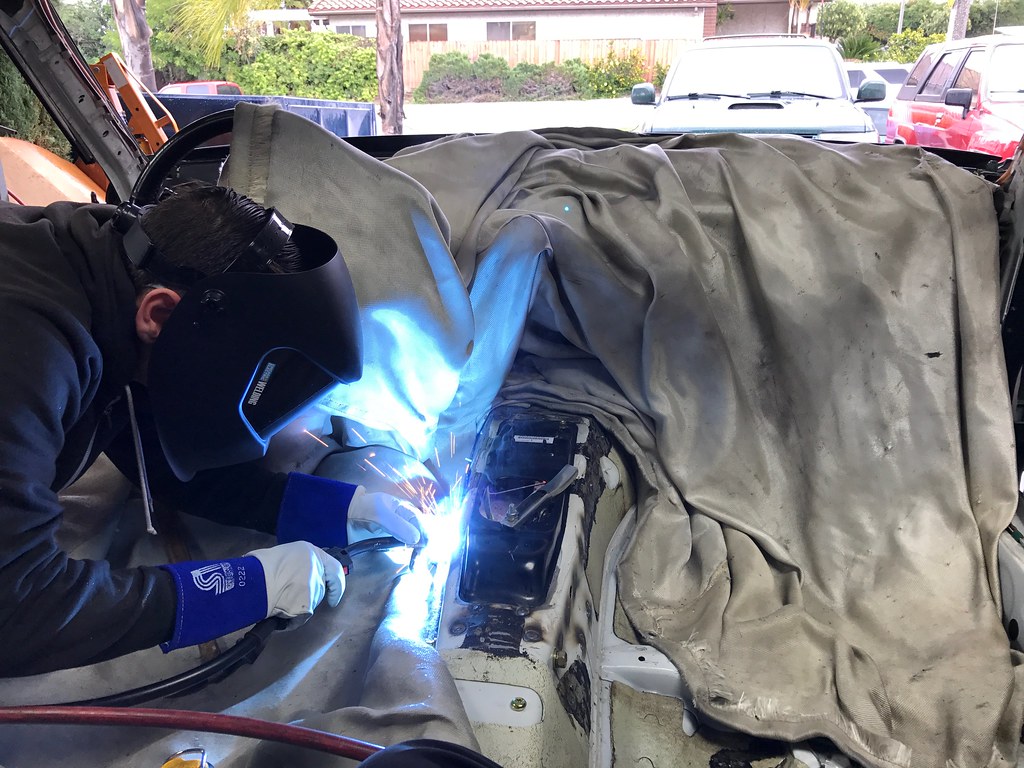
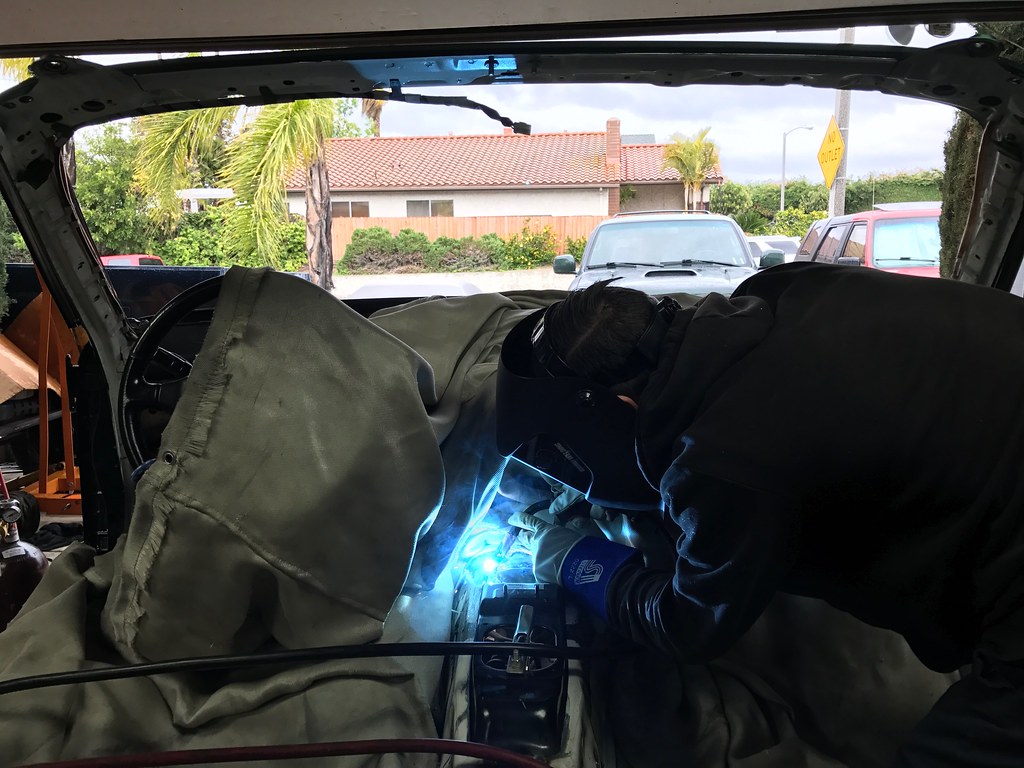
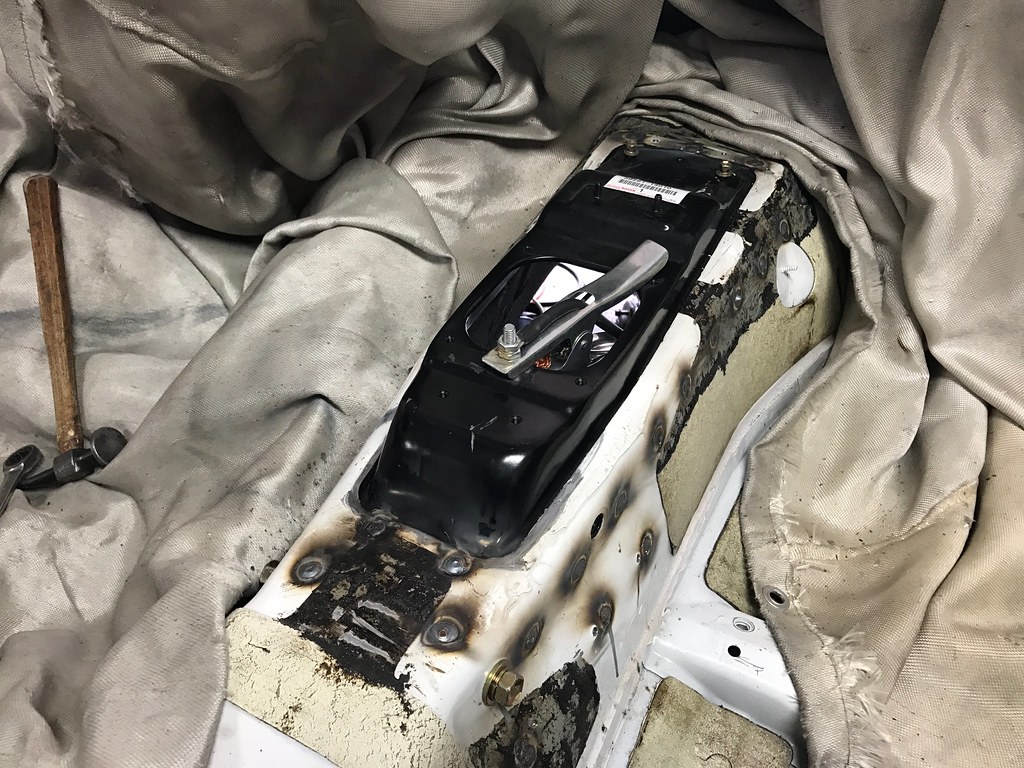
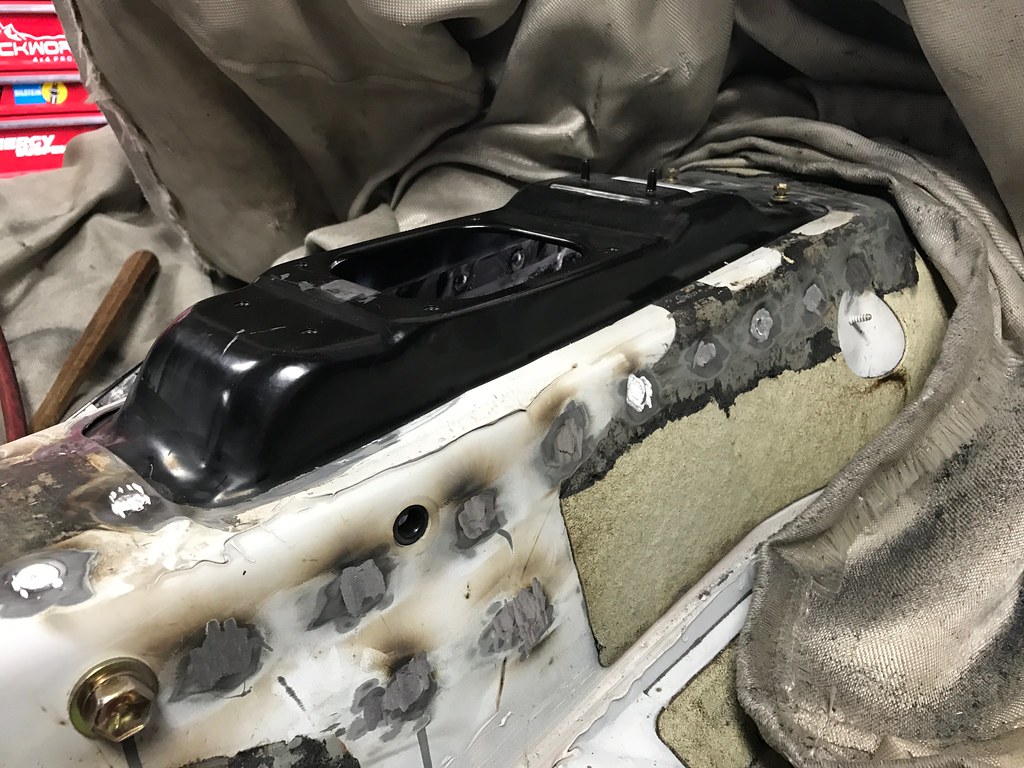
Time to weld the 6-speed tunnel to the car. I was lucky to have acquired this part when I did, as they've since been discontinued.

47260563001_2c72f8ecd4_b.jpg


47260562351_910f5ef901_b.jpg


47260561011_798ff0dfb7_b.jpg


47208722362_f6045b09bf_b.jpg


47208799732_da51b84b17_b.jpg


47208798102_d94bea5ecb_b.jpg


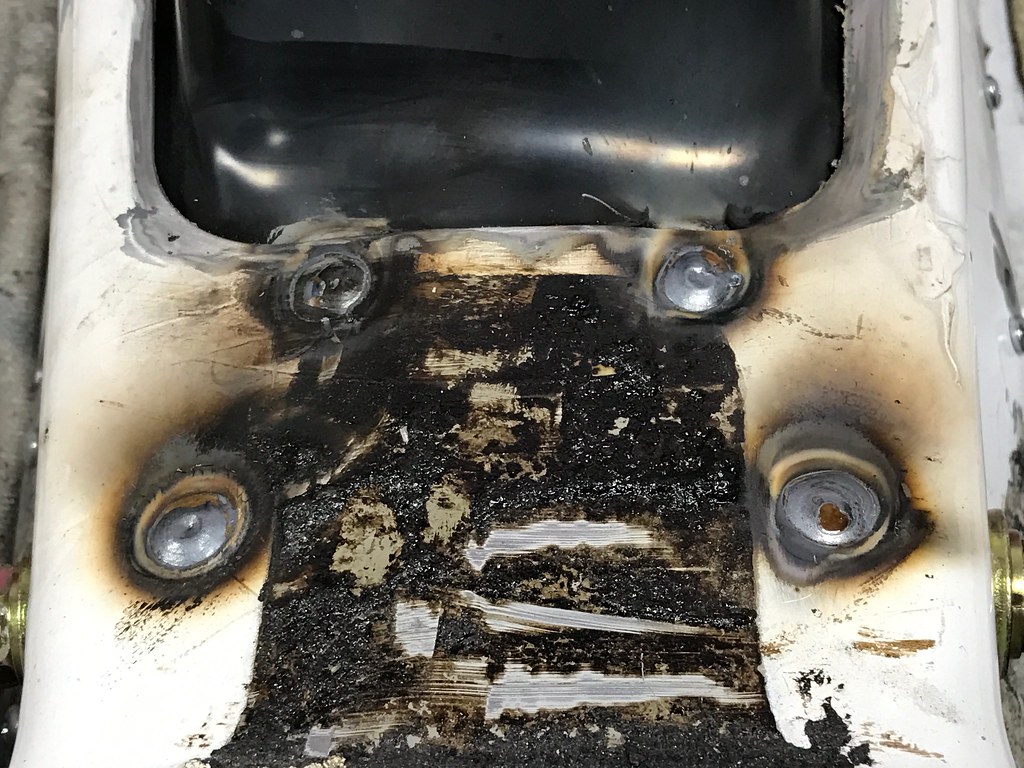
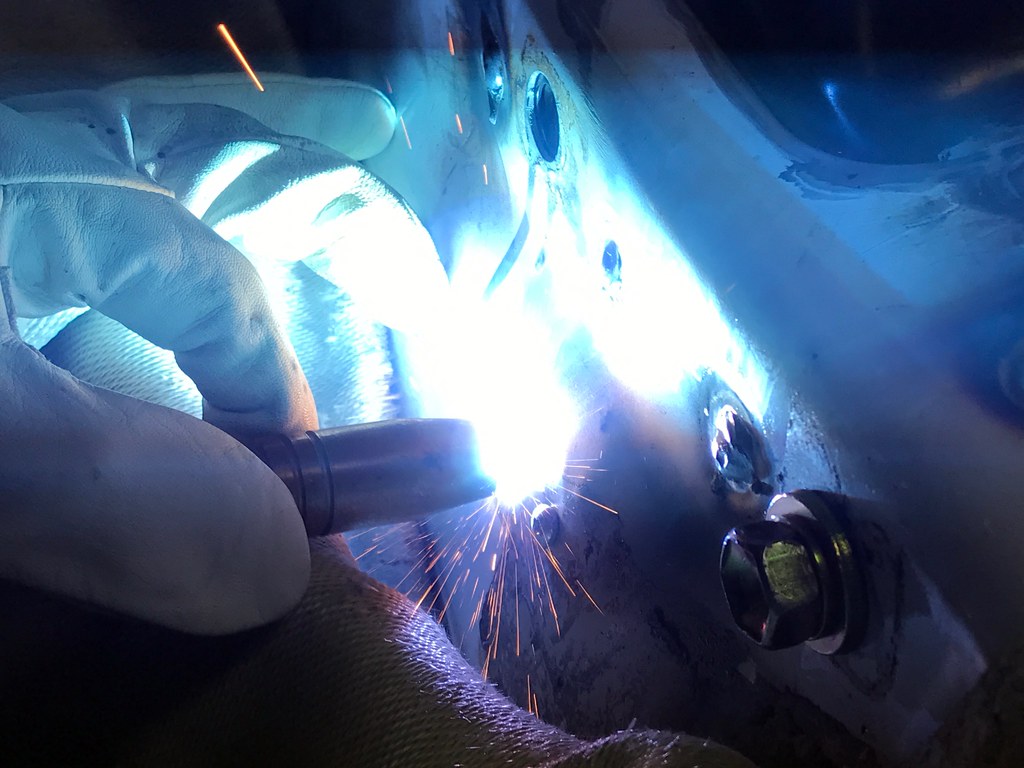
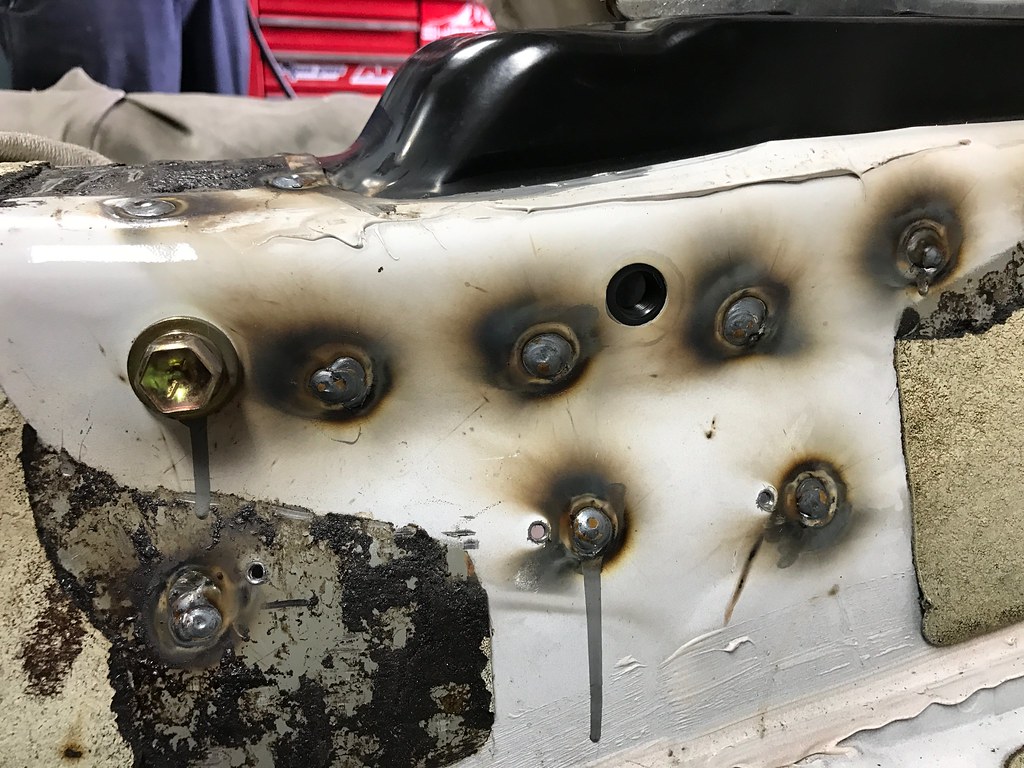
Pulled the screws and continued welding... something like 45-50 spot welds..

40295979953_7c9c118a5f_b.jpg


40295980233_9e1c4b2258_b.jpg


Grinding and sanding...

47208854202_e1af09121e_b.jpg


47208853852_2dbf578aec_b.jpg


47260682261_2f06f95f16_b.jpg
 
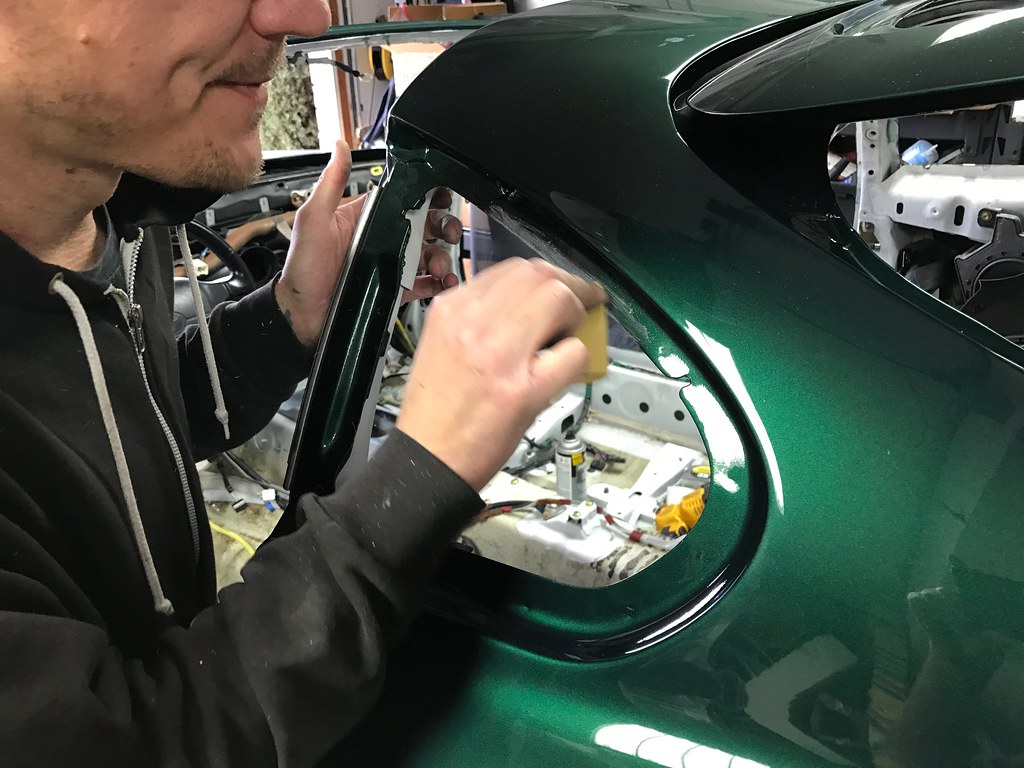
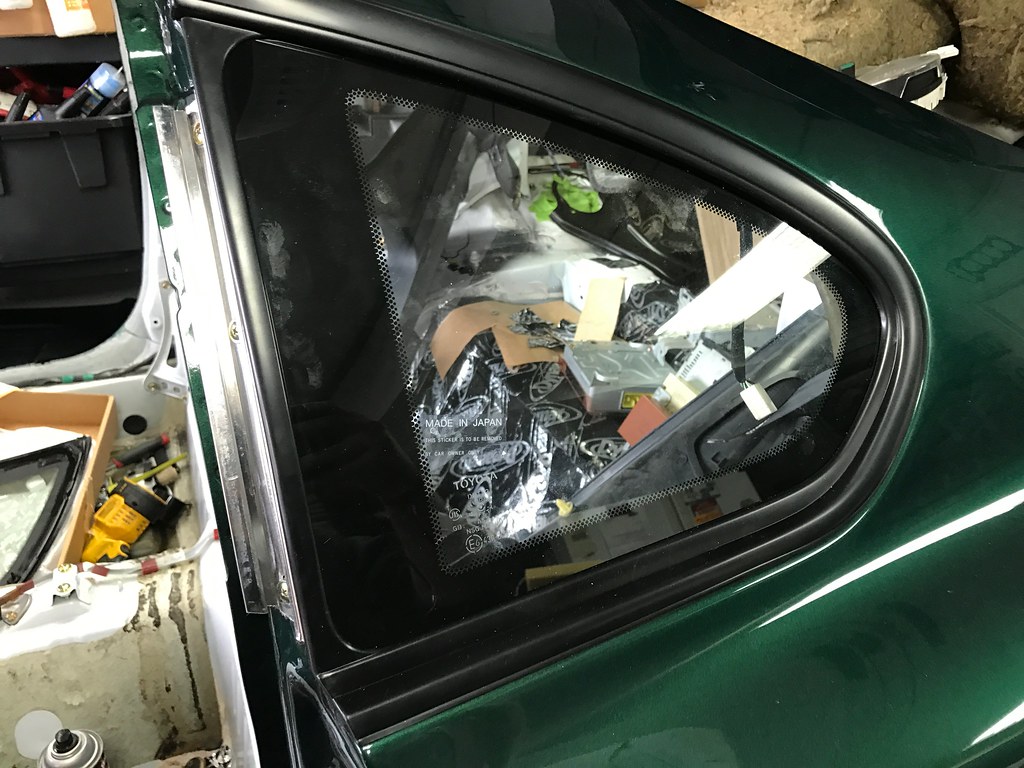
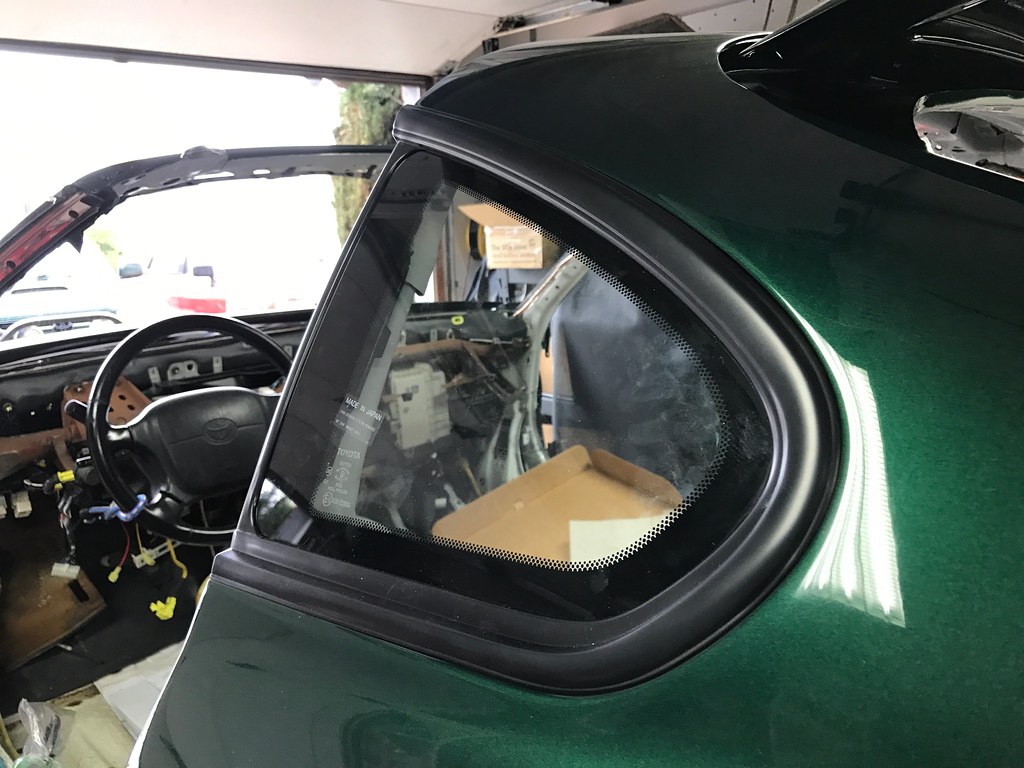
Next on the list is the quarter windows.

These are also difficult to locate these days. I sourced these online despite the right side having been discontinued.

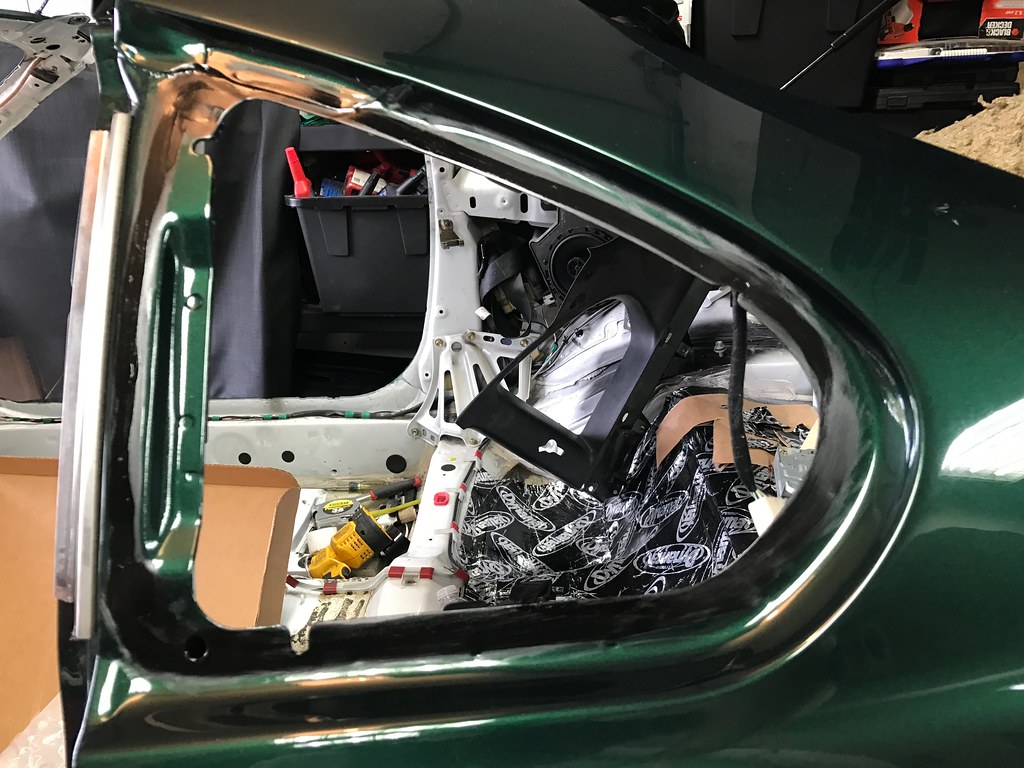
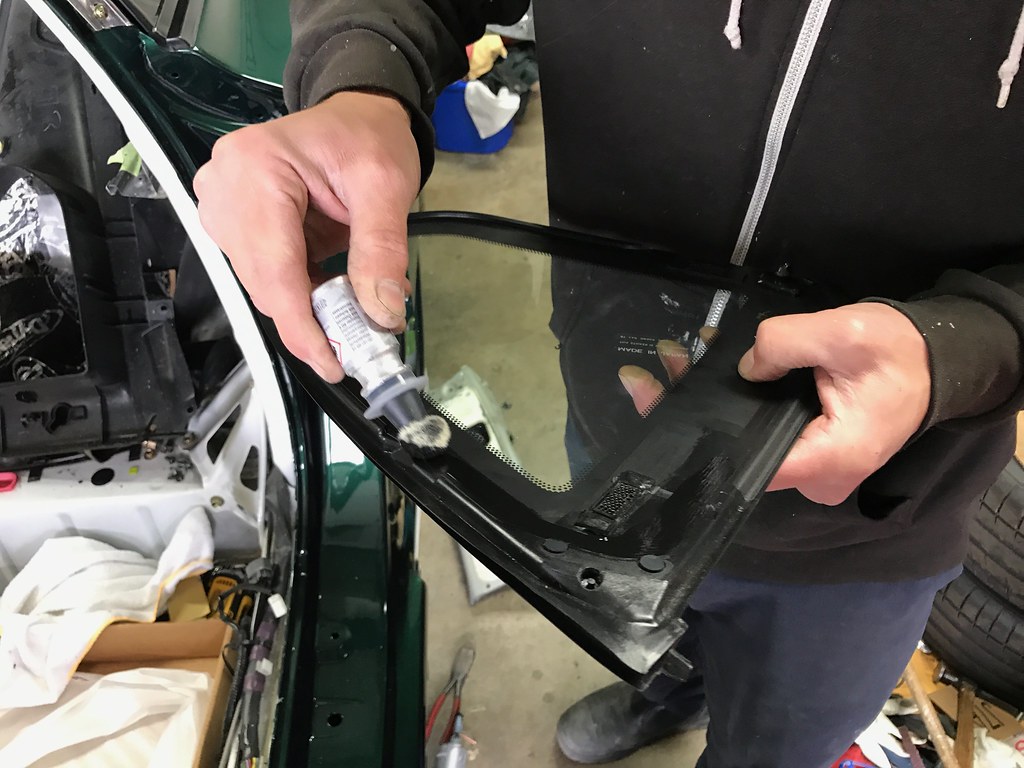
First, the surface where the glue sits must be scuffed.

33384950998_ff543e0957_b.jpg


Second - Mercedes-Benz window adhesive promoter/primer

33384950358_f7a5279a0f_b.jpg


After application:
33384951078_626ef3b653_b.jpg


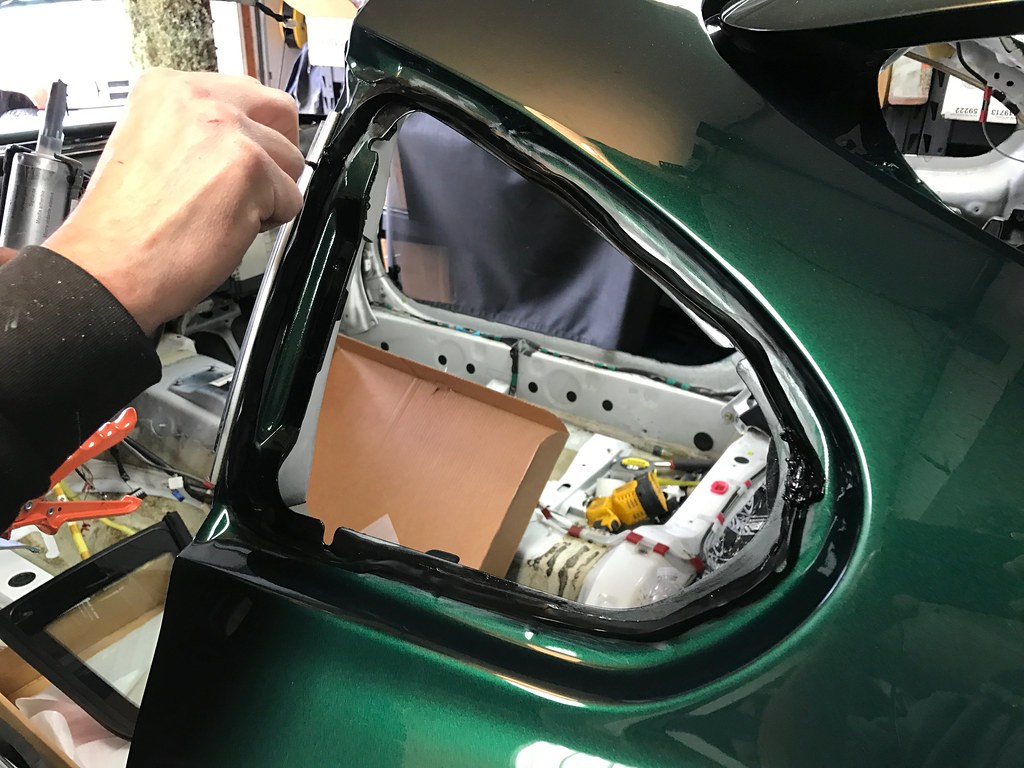
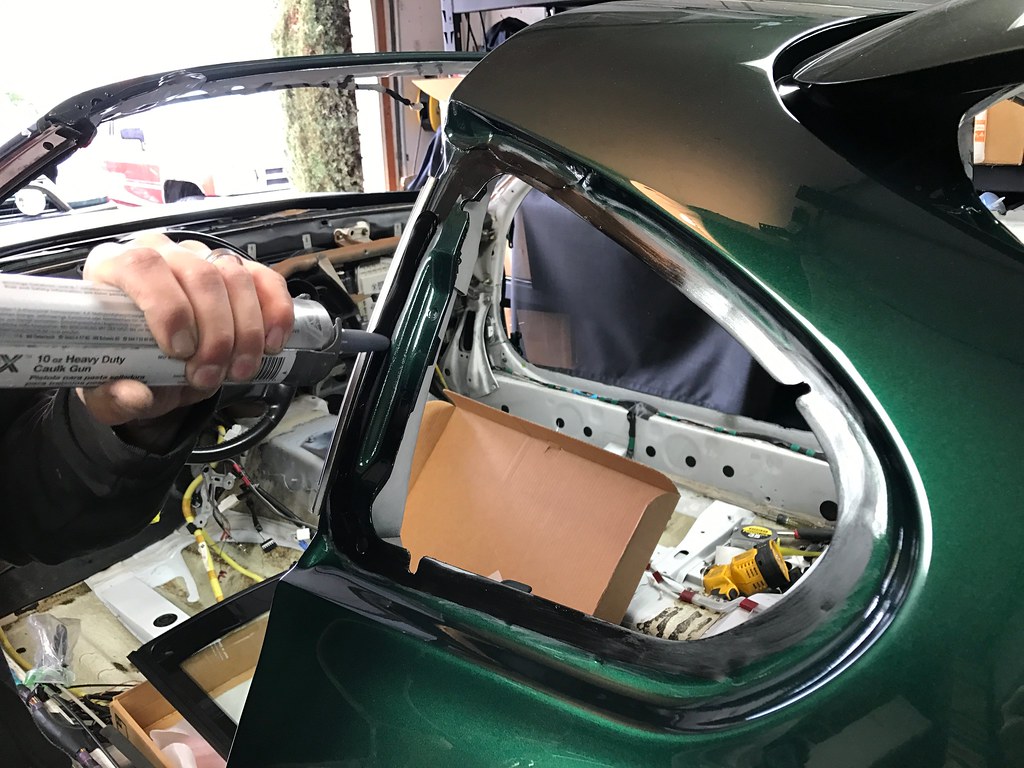
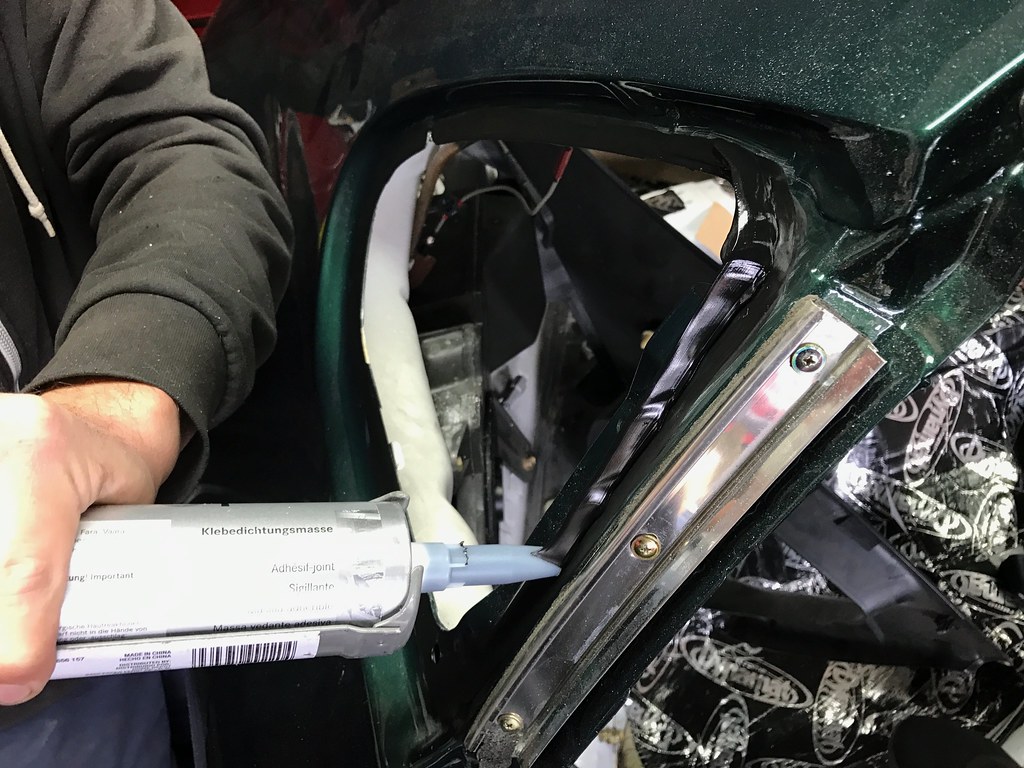
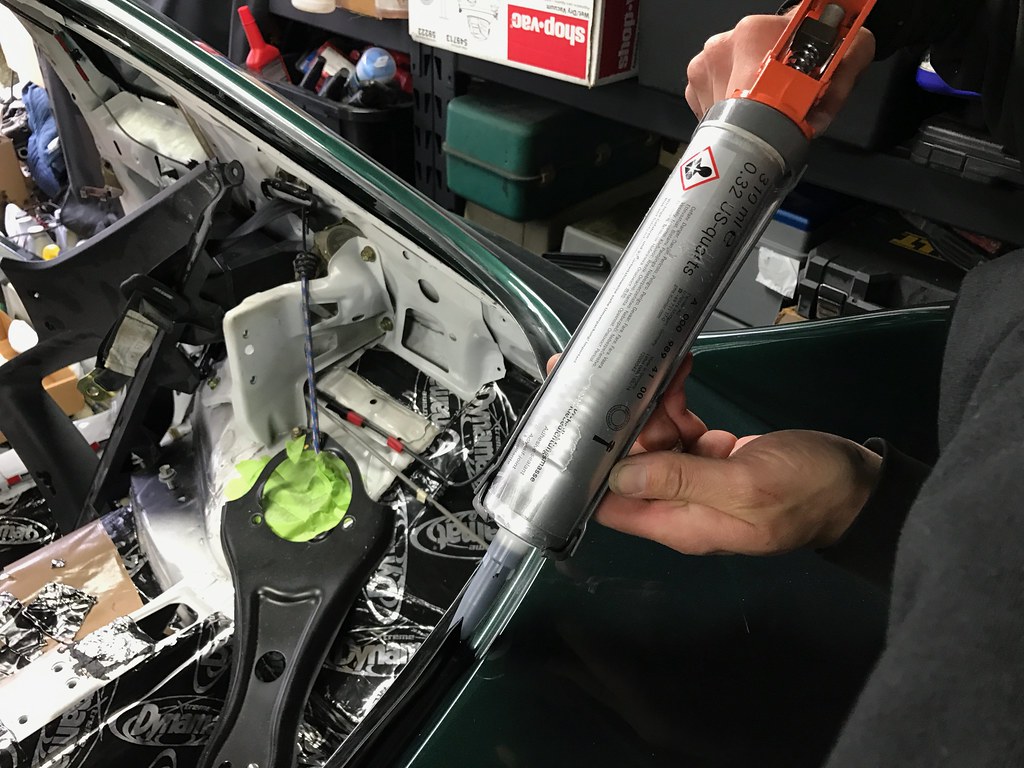
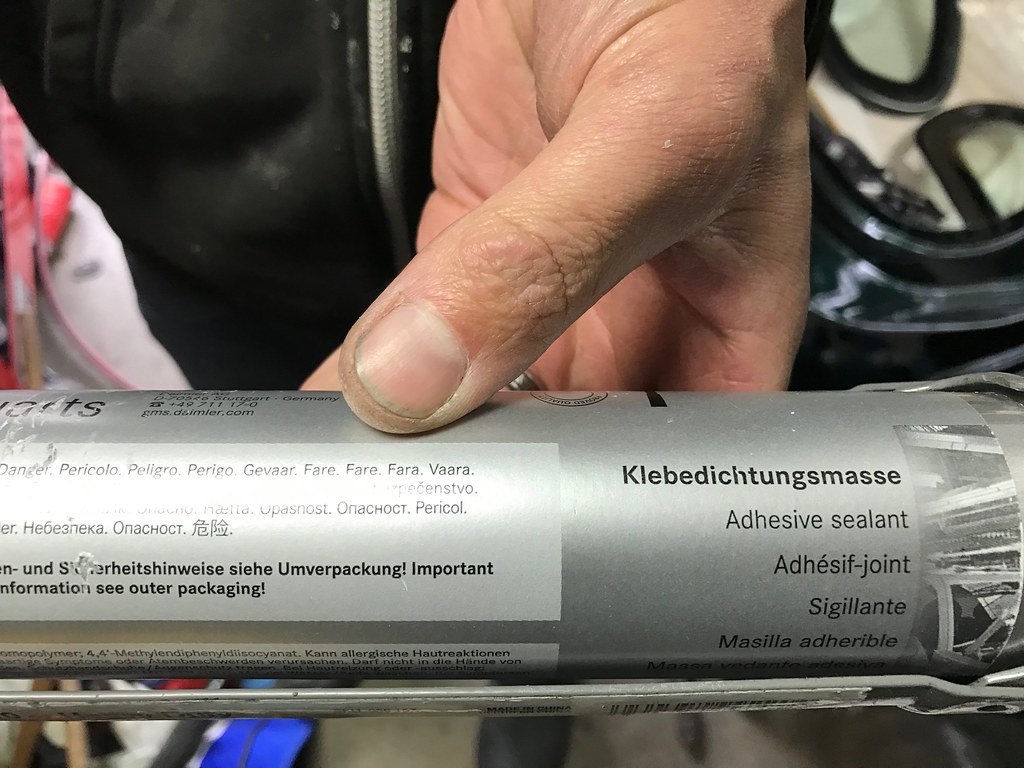
Third - Mercedes-Benz window adhesive

33384950928_5595998523_b.jpg


47208853962_08f39e2f66_b.jpg


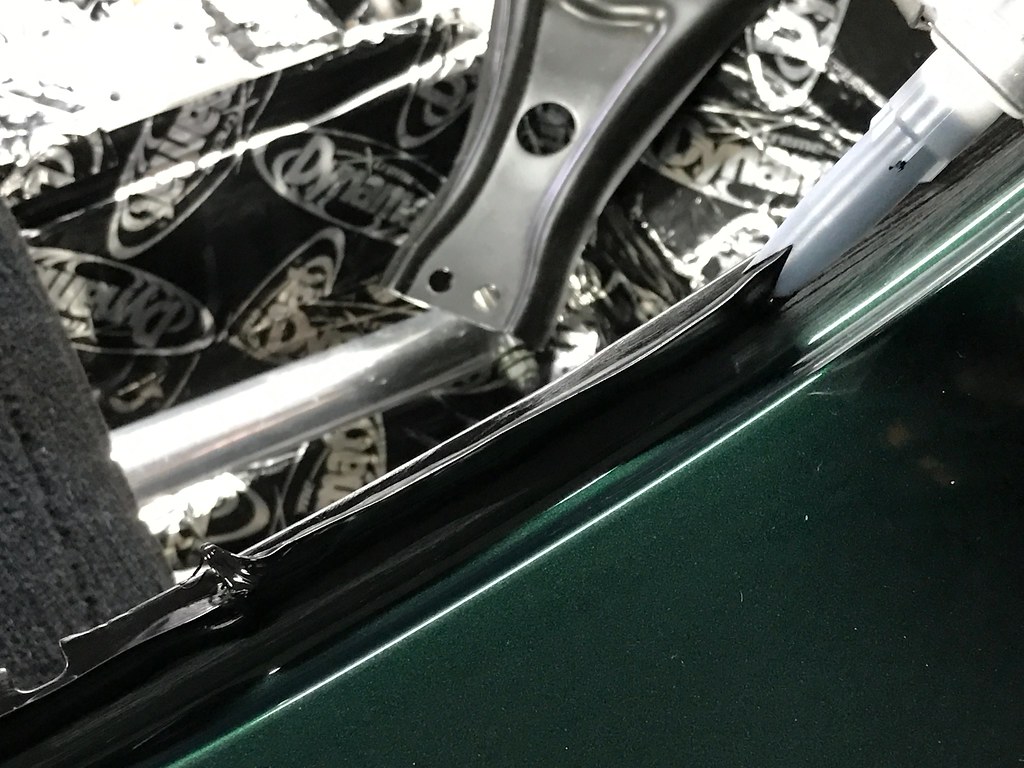
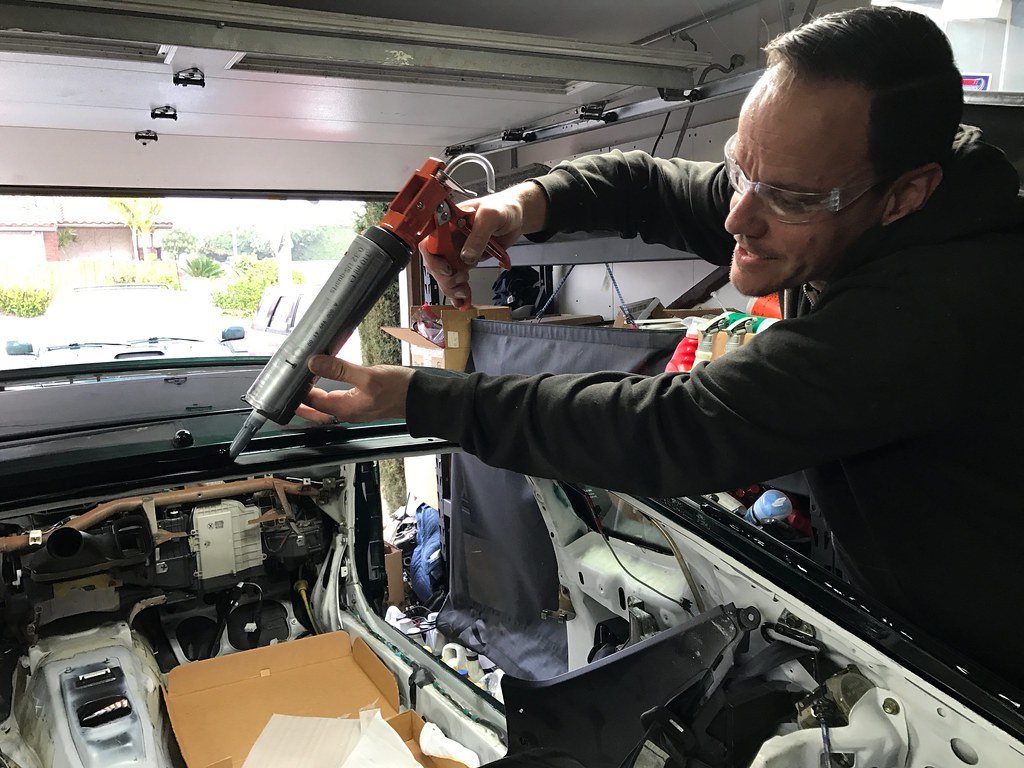
Justin has over 20 years of experience installing windows. He lays the glue down quite consistently!

47208854062_626ef3b653_b.jpg


The Mercedes-Benz adhesion promoter/primer also gets applied to the window backing prior to install.

46346187595_2dbf578aec_b.jpg


Installed!

32318889377_f20af60df2_b.jpg


46537201054_626ef3b653_b.jpg


Also did the passenger side... somehow I didn't photograph the finished install, I got distracted...

33385070168_8a8315ccf4_b.jpg
 
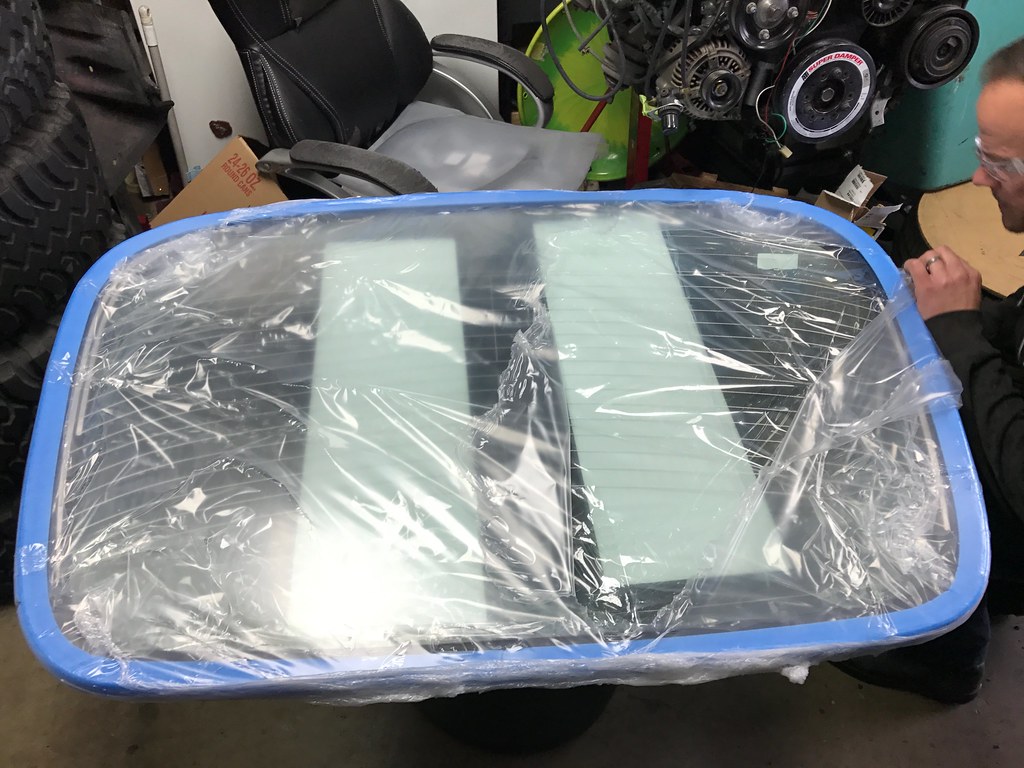
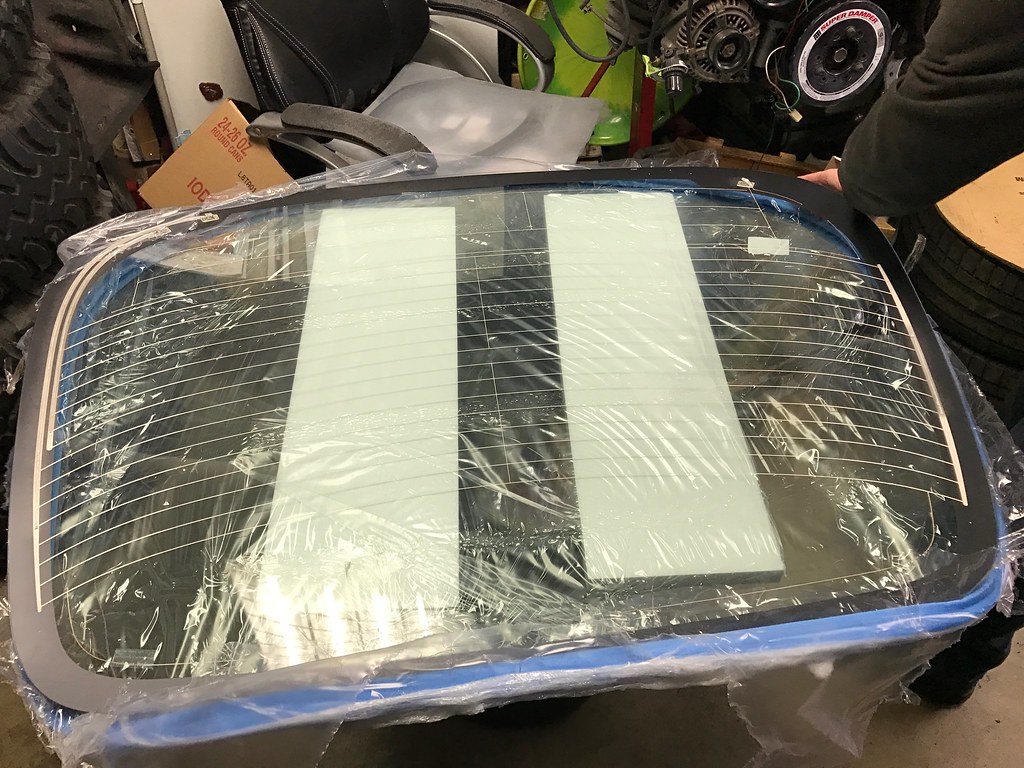
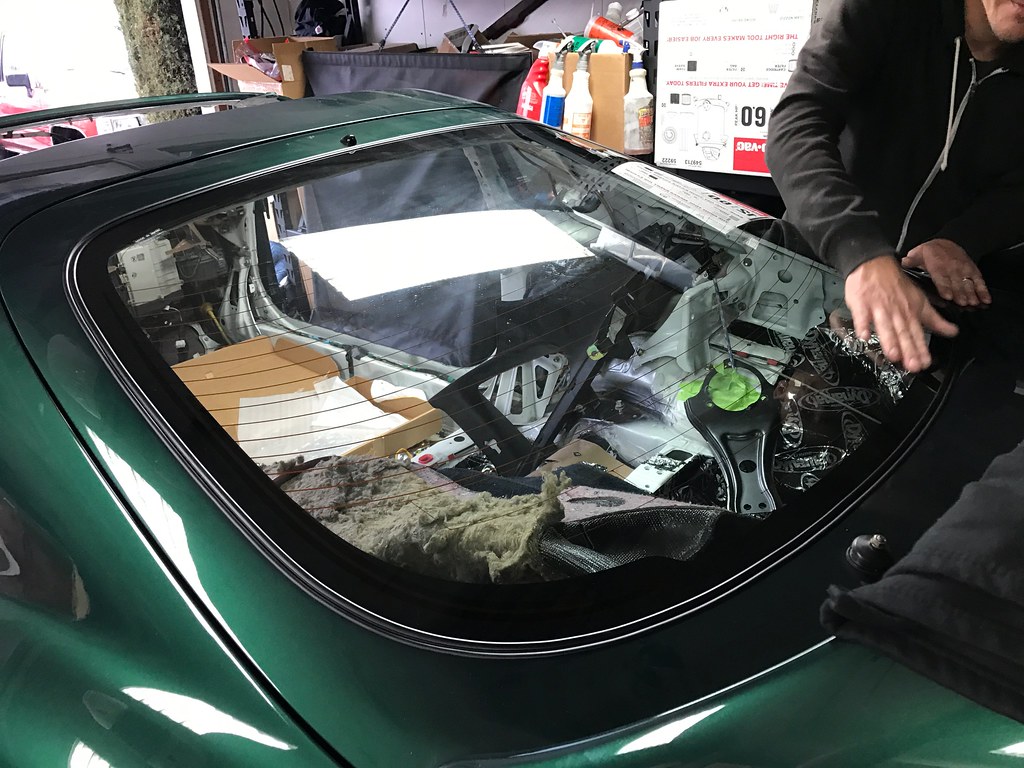
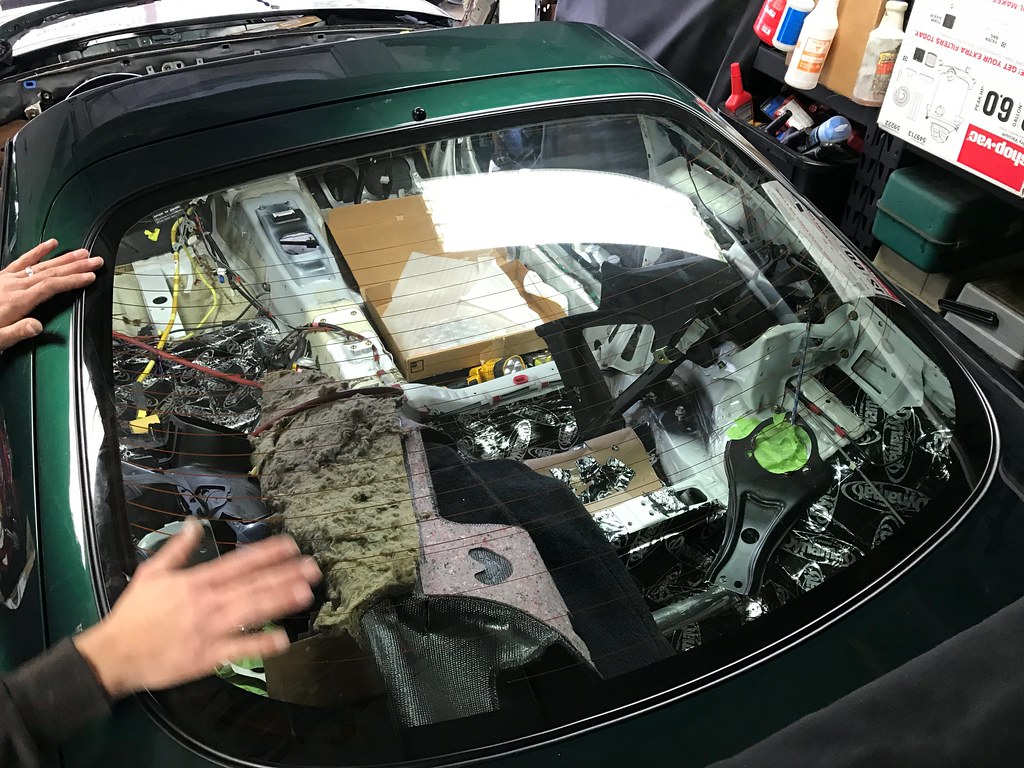
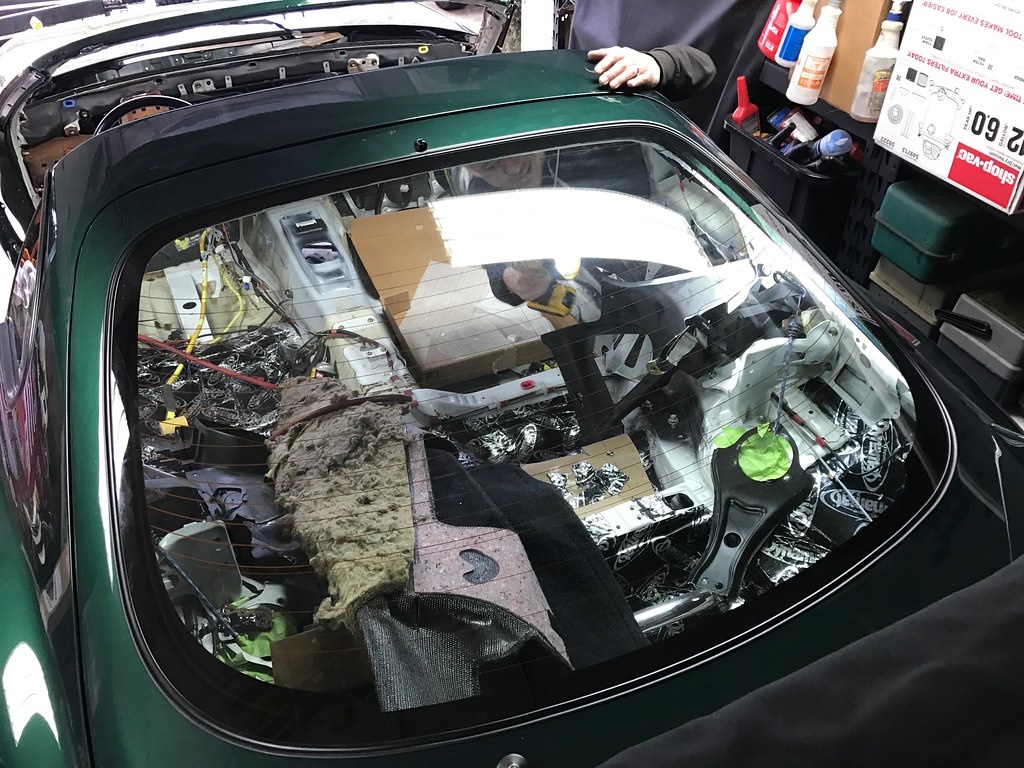
Extracting the BRAND NEW rear glass... Got the last one in the USA!

My existing rear window is still intact, but the defroster is non-functional and there are some deep scratches in the outer surface of the glass.


40296122343_4743121d1b_b.jpg


40296123503_66b03e3ace_b.jpg


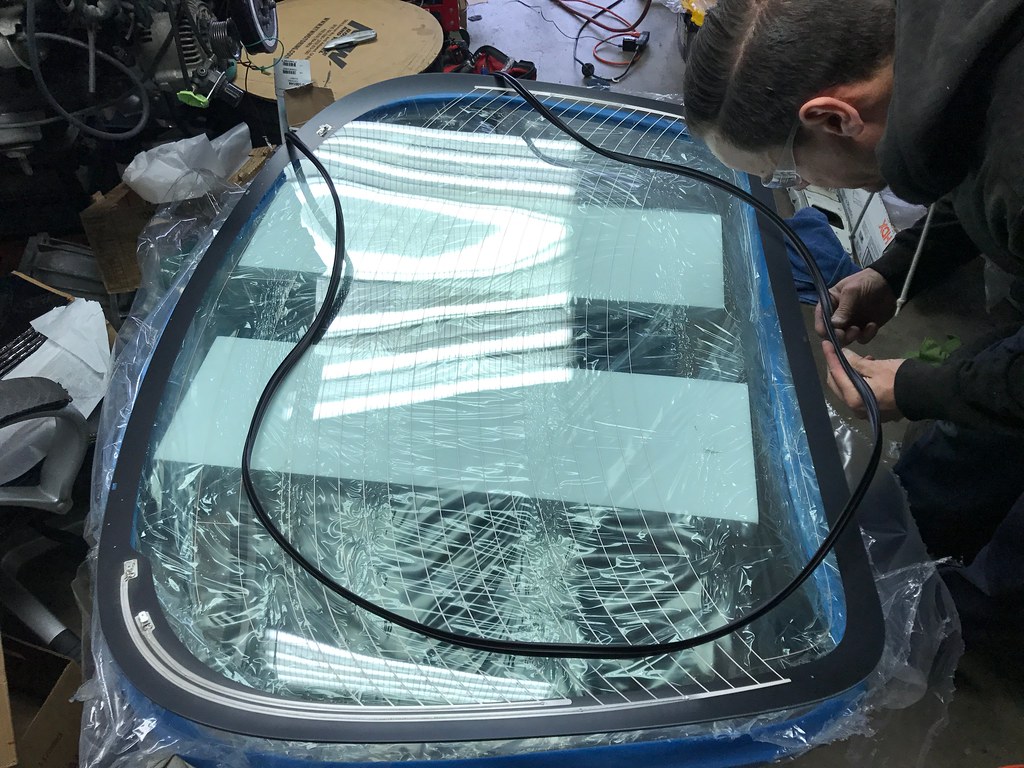
Brand new window molding going on.

40296123533_37963bc242_b.jpg


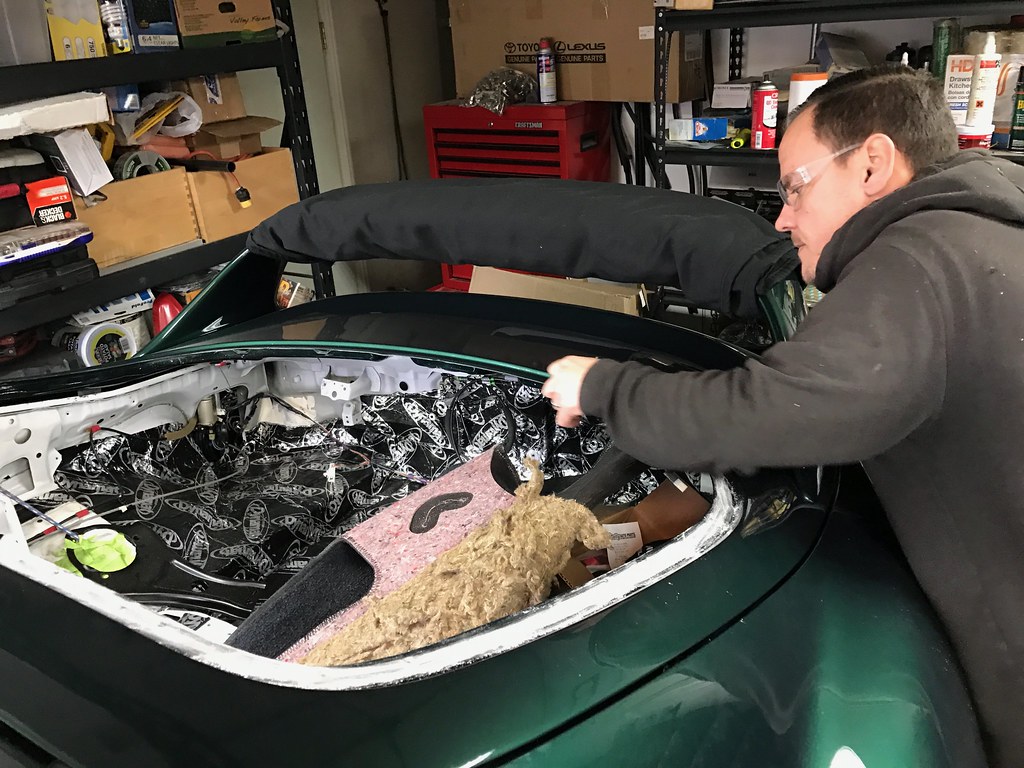
Scuffing the surface on the back hatch to accept the Mercedes-Benz adhesion promoter/primer and adhesive.

46346294565_d1c091b52b_b.jpg


Justin laying down adhesive:
32318976507_2d758b34ac_b.jpg


47208949882_cfb1992a70_b.jpg


40296122743_9dd49c2fa4_b.jpg


I wish I had a photographer... there's simply too many moments I want to capture, but can't. This install was hair-raising!

33385070178_4288b6f40d_b.jpg


33385070358_aa8a4b69f8_b.jpg


33385070338_a1176861cb_b.jpg
 
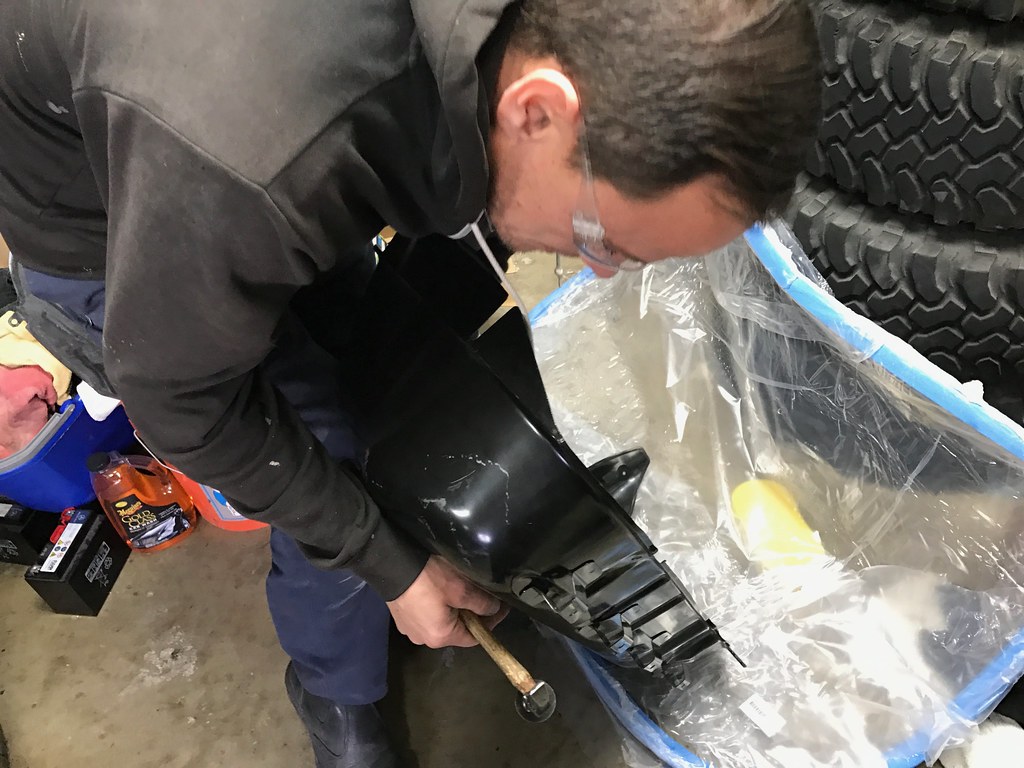
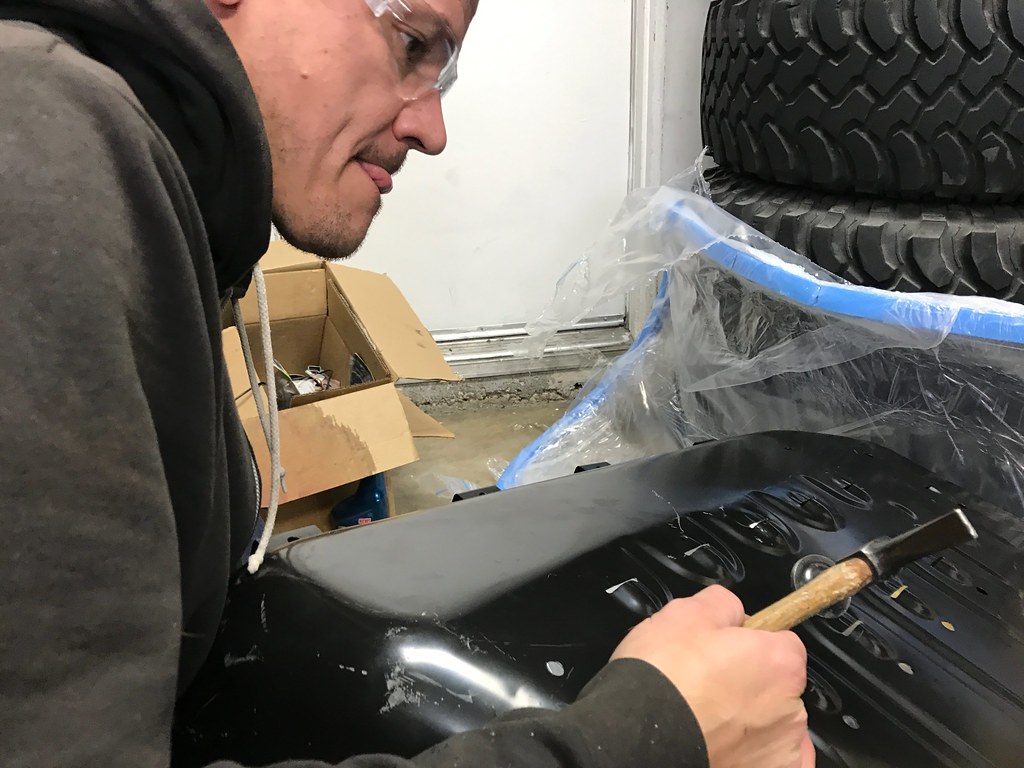
The rear fuel tank shield, as discussed before, was difficult to source, as Toyota does not store them in boxes. They're left uncovered. This was the best shield remaining of the 3 in the USA. Justin knocked out the one dent and now it's ready to be painted.

47260784231_36f67670b8_b.jpg


47260784181_a49f0af823_b.jpg


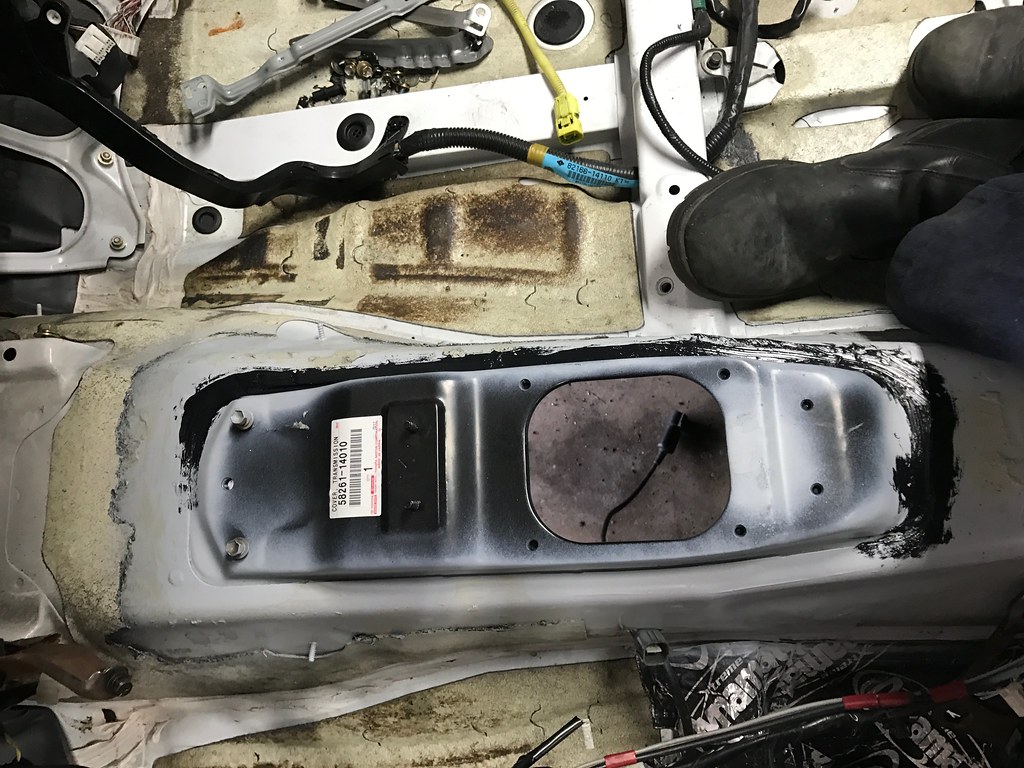
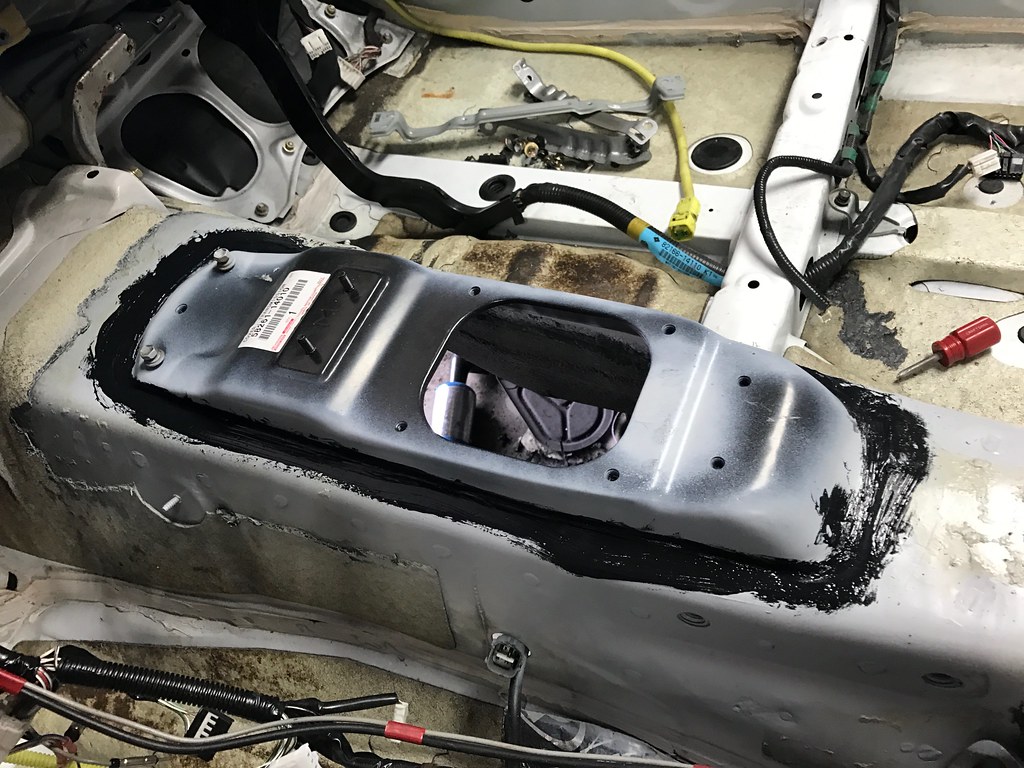
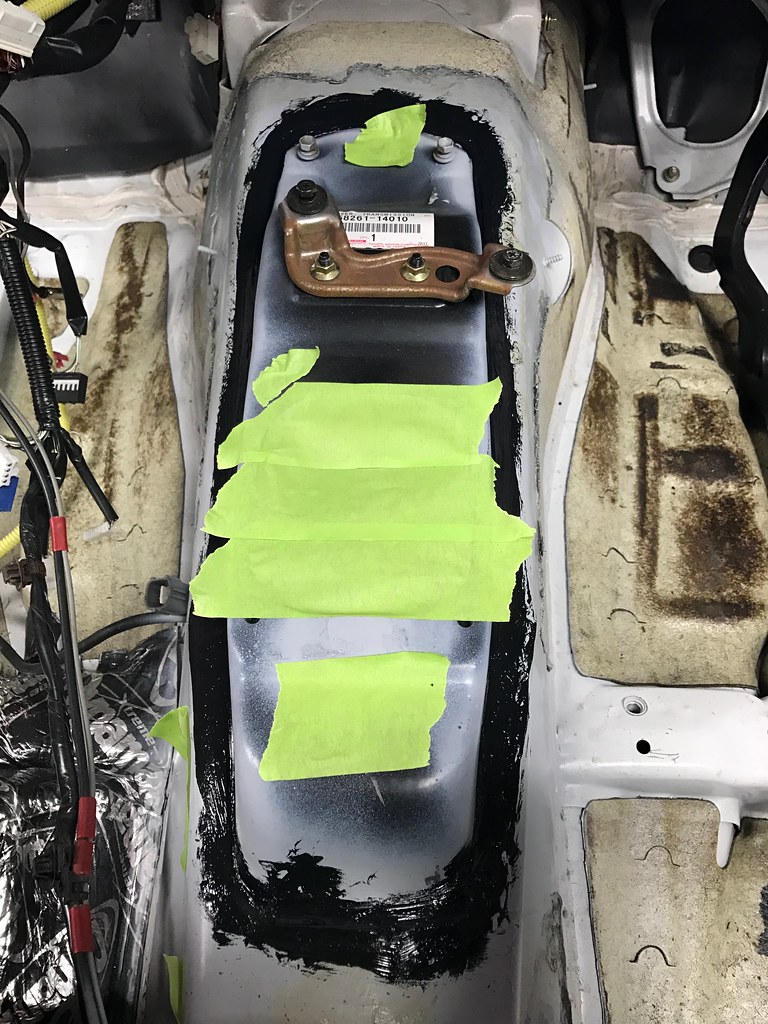
Application of black seam sealer to the new 6-speed transmission tunnel.

47208953052_521870296b_b.jpg


40296123183_30a9268d4b_b.jpg


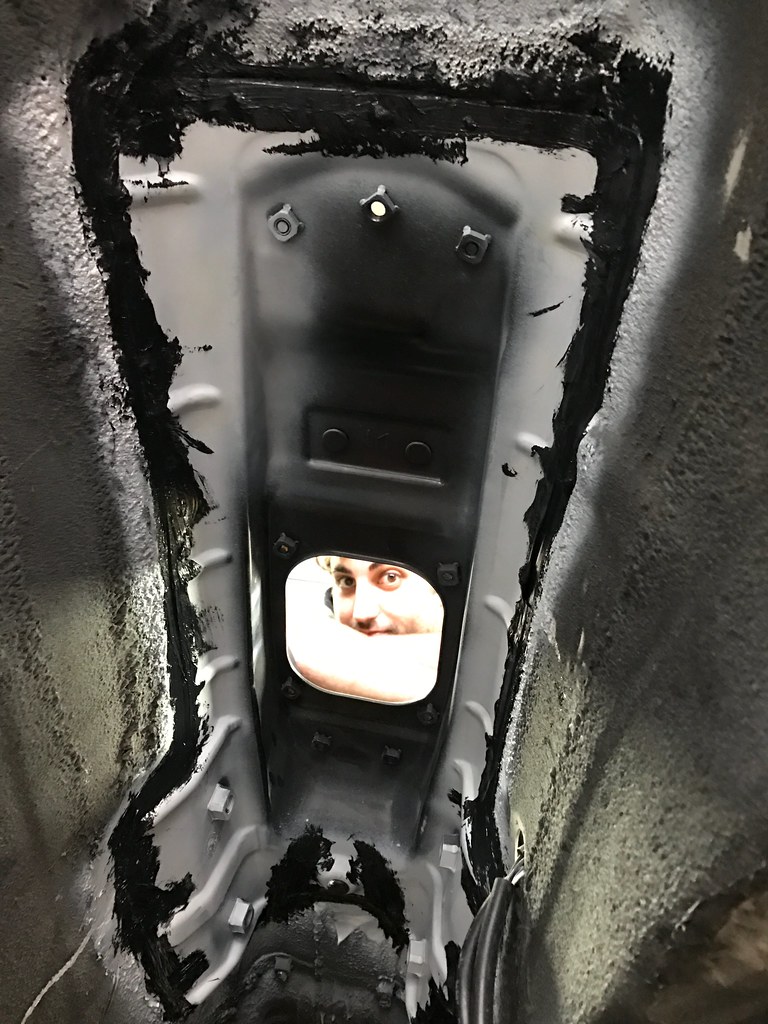
Applied from the bottom also (peekaboo)

47260904141_805271b464_b.jpg


Application of undercoat also took place. Don't have a photo of the completed product yet, but there's going to be some later when the rest of the underside is coated.

46537377284_21f0e52583_b.jpg
 
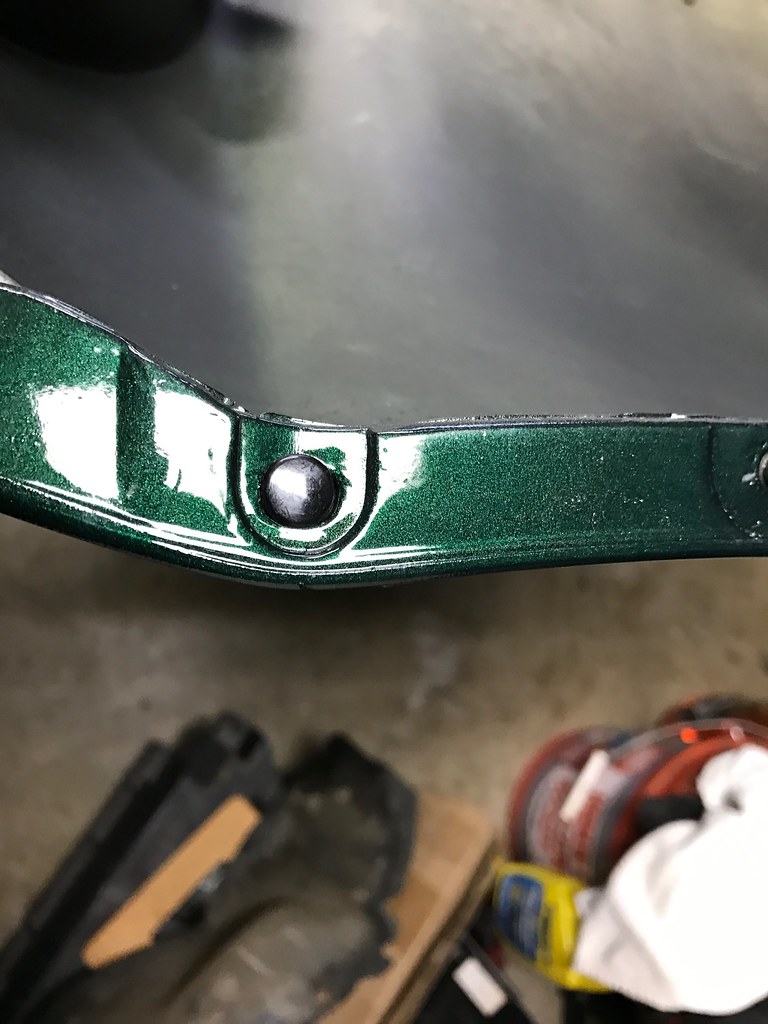
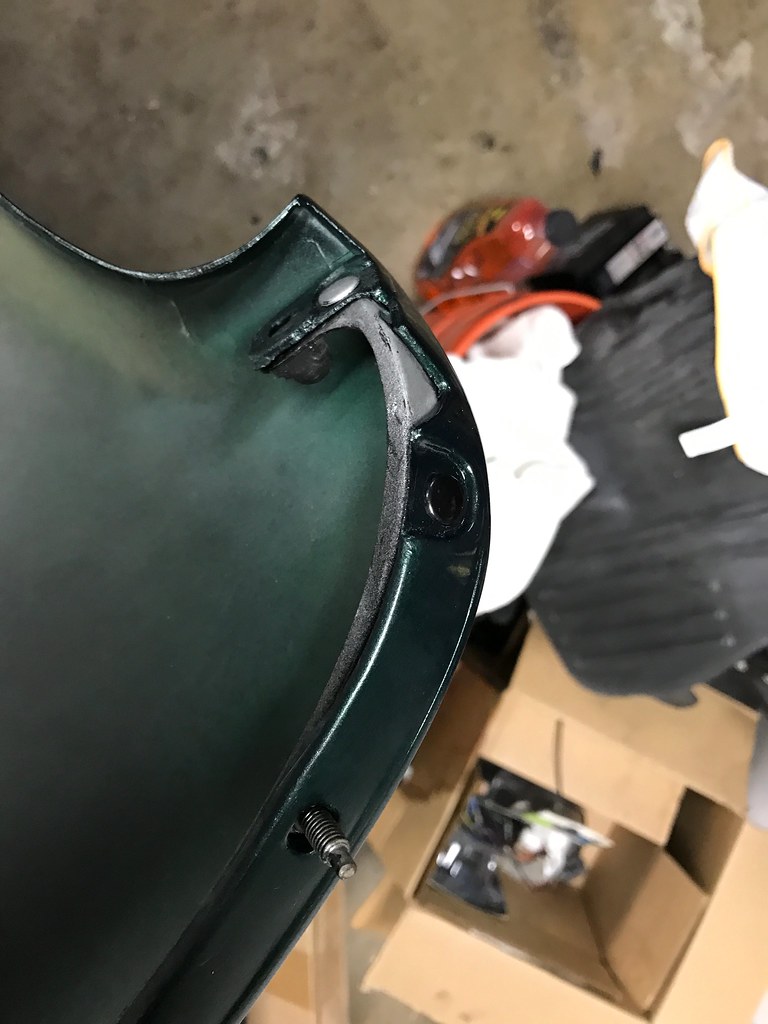
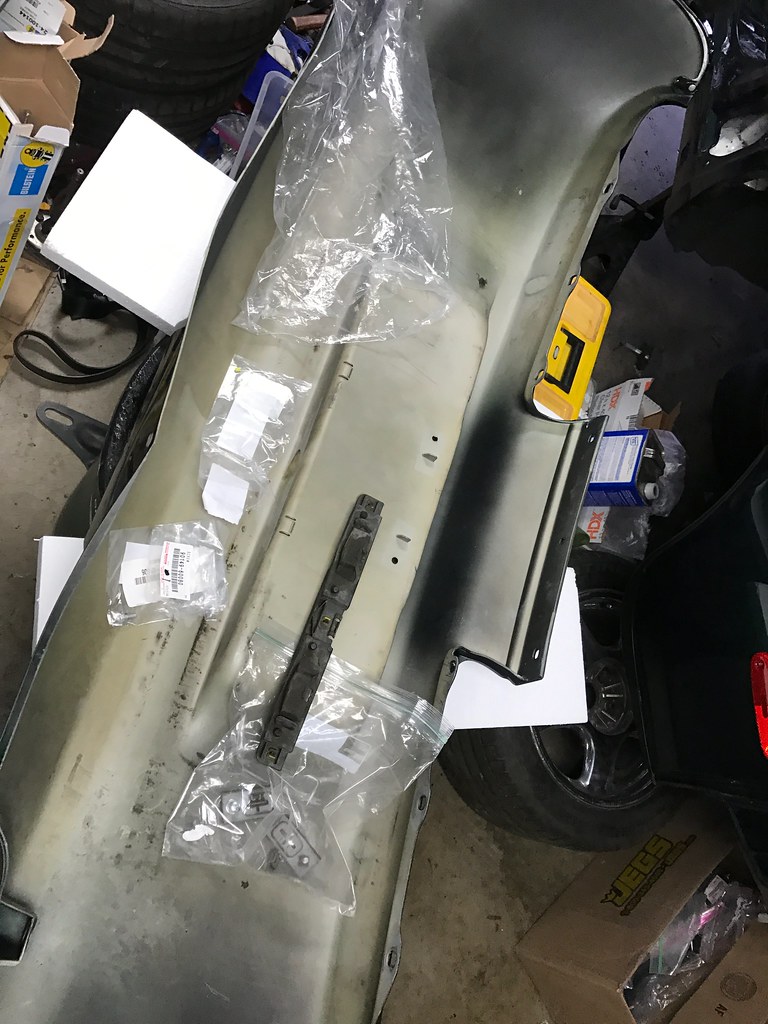
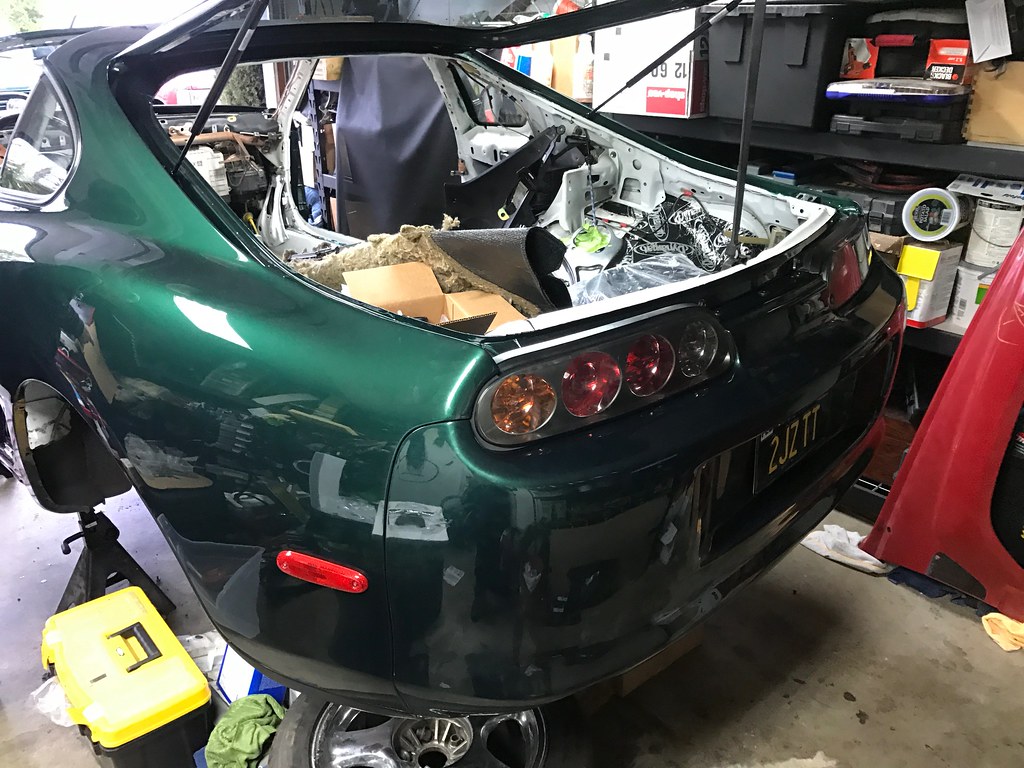
Pulled the rear bumper out from storage.

All new clips and hardware, all of it. All clips, nuts, bolts, inserts...

Here's the little clips that hold the two metal brackets inside the bumper.

46537375534_14f280085d_b.jpg


40296256403_8f9bedf42f_b.jpg


40296258533_ee28e9c520_b.jpg


Oooooooooooooh pretty

40296259023_8d9df5cf90_b.jpg


40296258773_1bf42a7276_b.jpg


46537376424_f2b4be6ea2_b.jpg


33385186398_664dcdd8e3_b.jpg
 

Forum statistics

Threads
278,312
Messages
3,554,087
Members
248,016
Latest member
Advally Service

Trending content

Back
Top