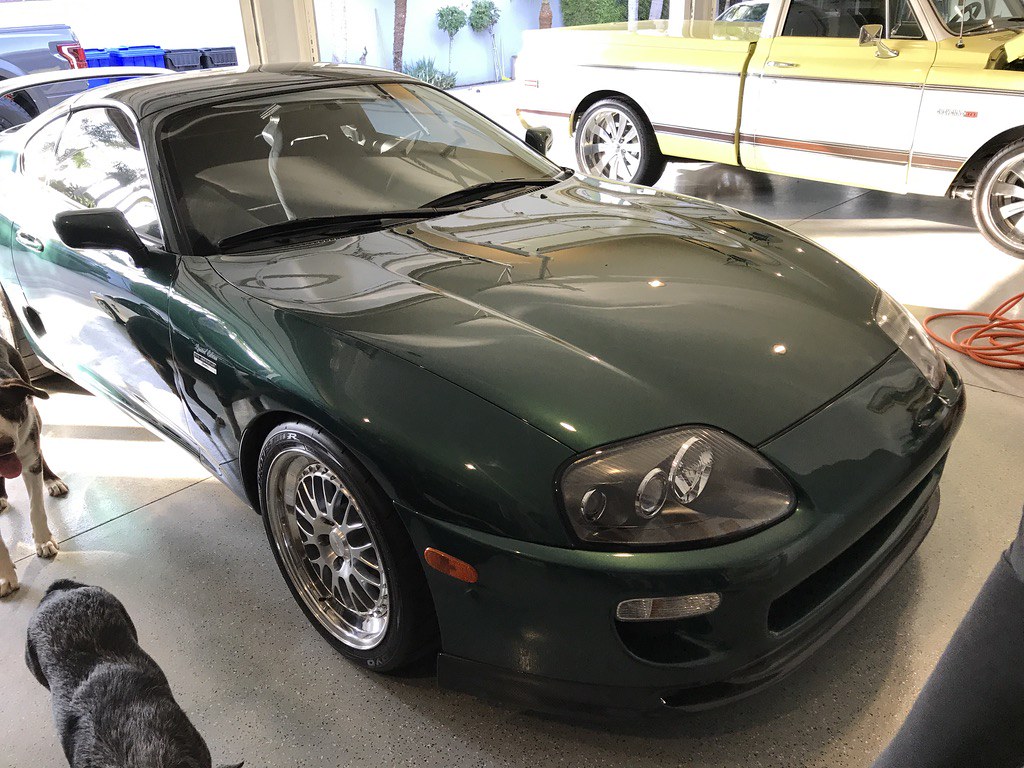
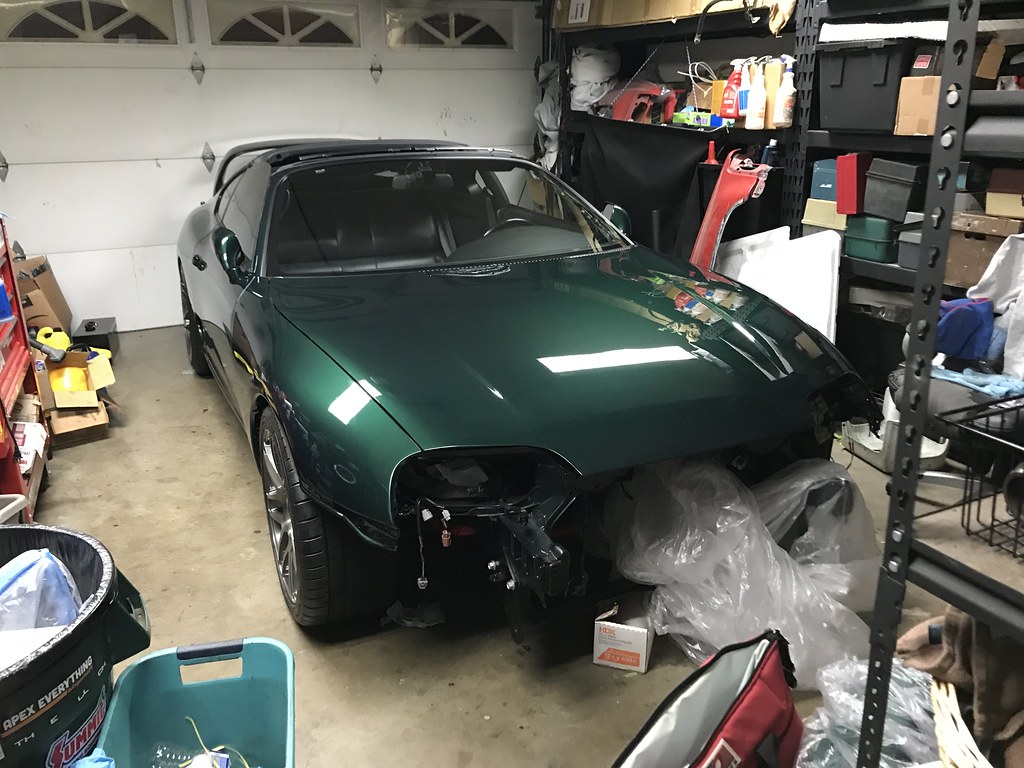
COB's '94 Supra Turbo

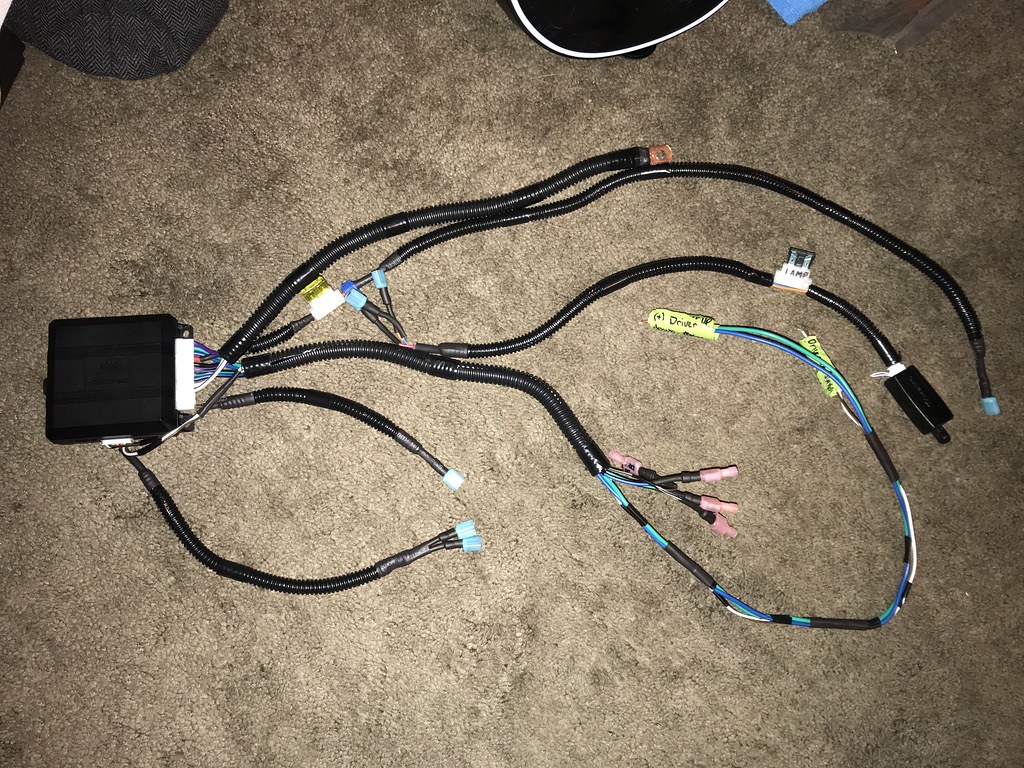
I got through installing the alarm system, which was a huge task. I don't plan to post much detail on that, for obvious reasons, but it is a top of the line system and has numerous backups. I took my time making sure it would be stealthy and as difficult as possible. All the sensors, bells, and whistles.


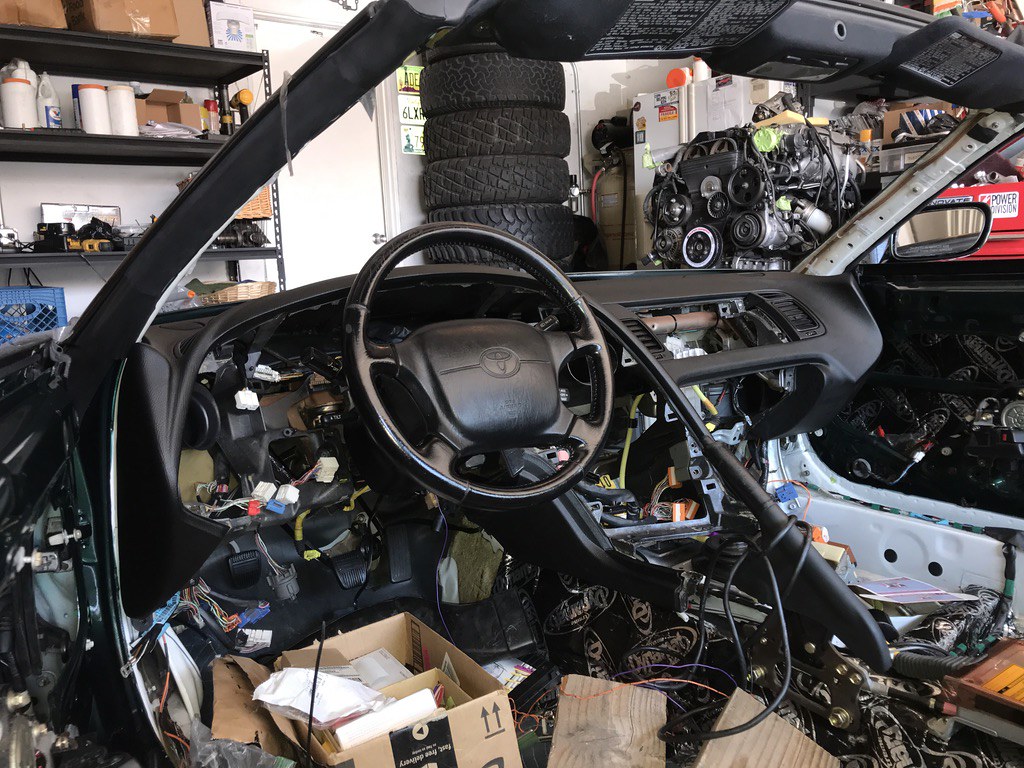
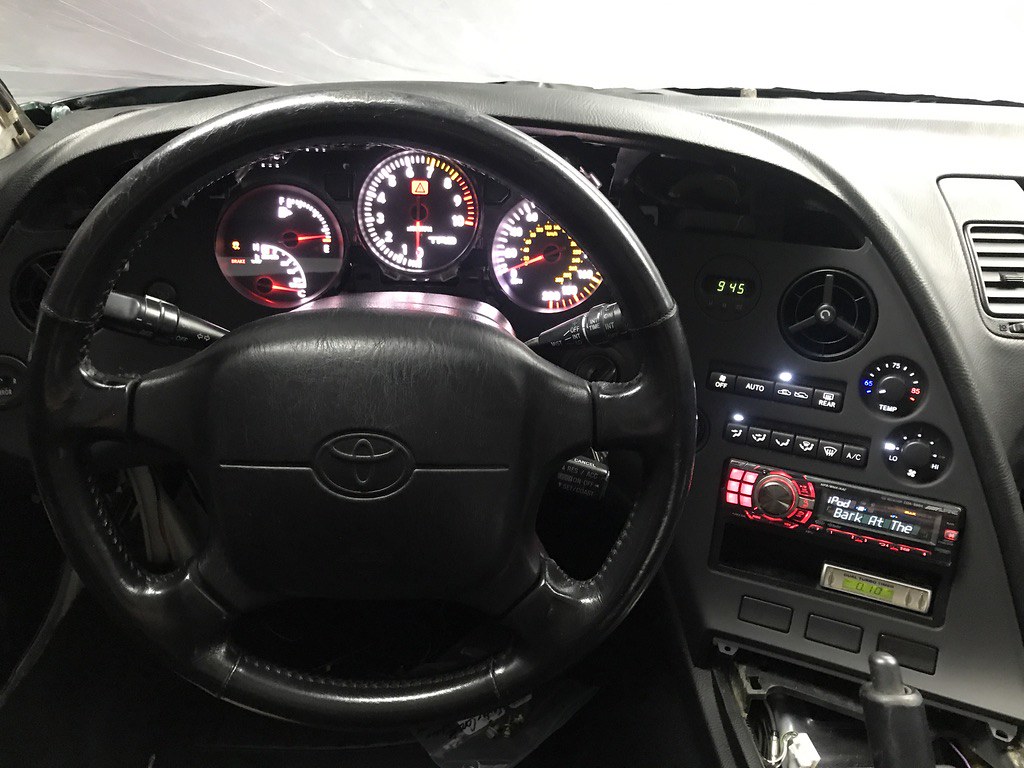
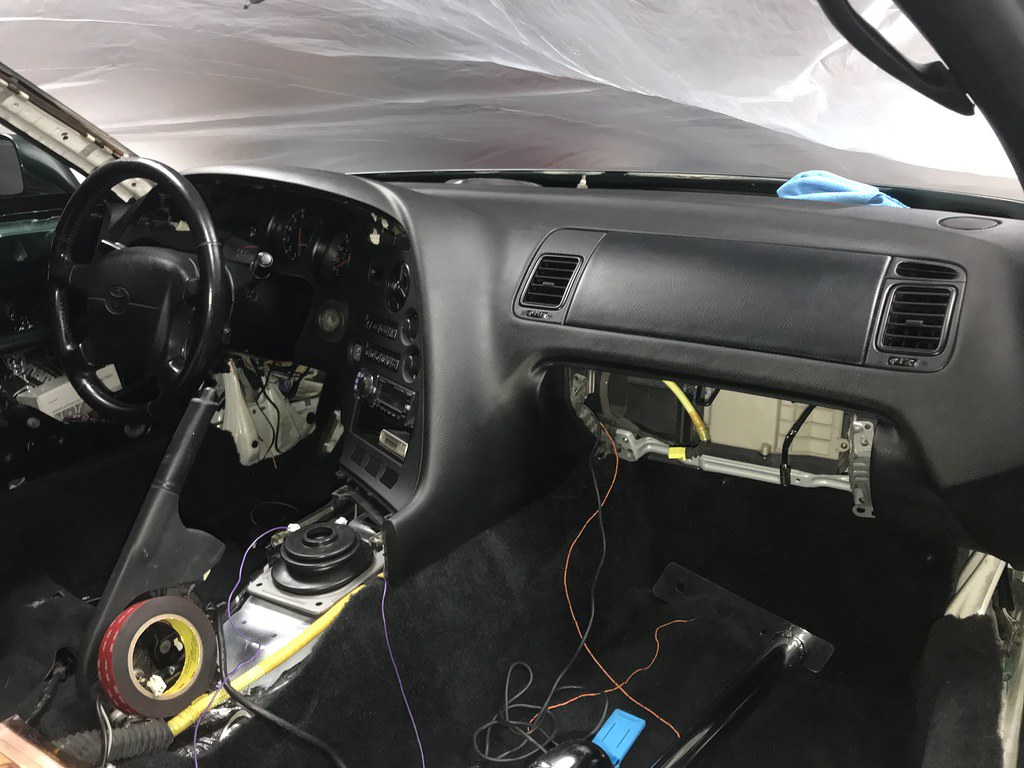
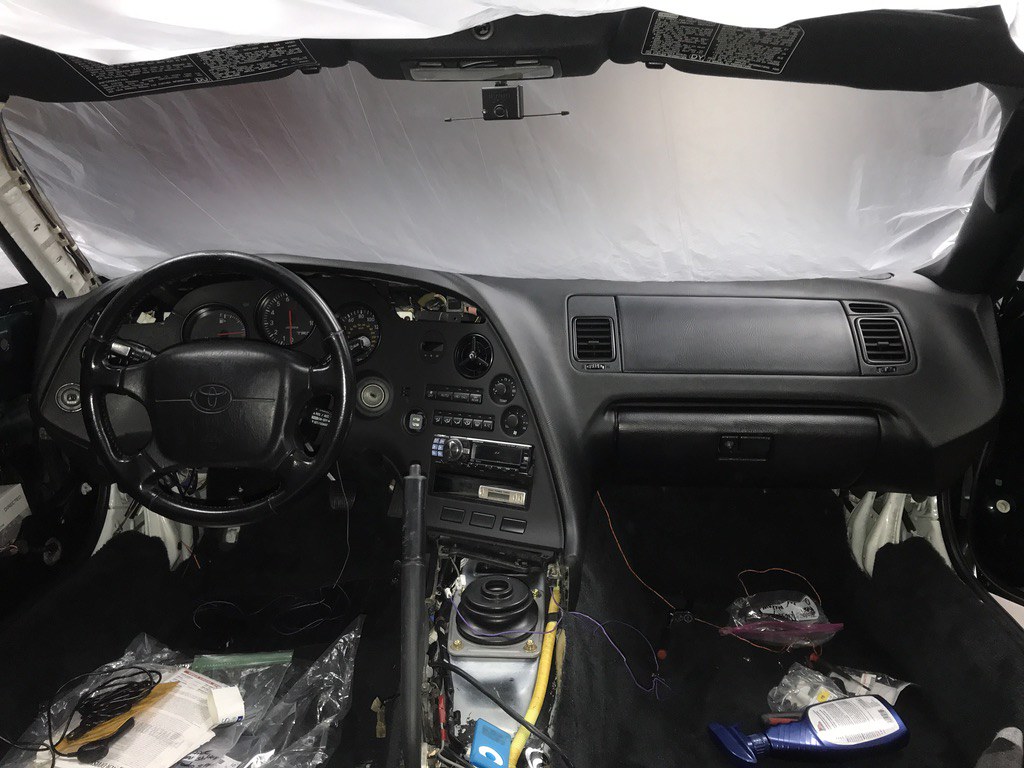
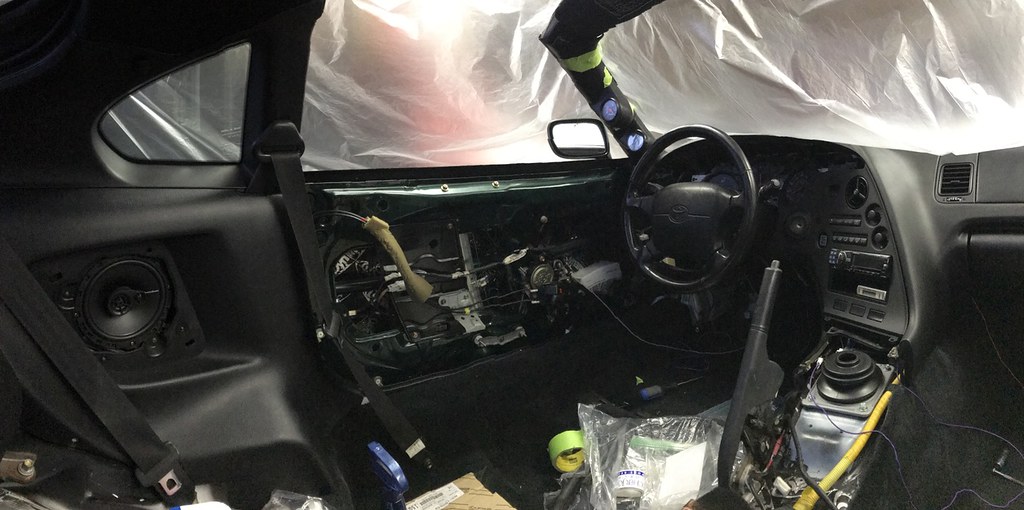
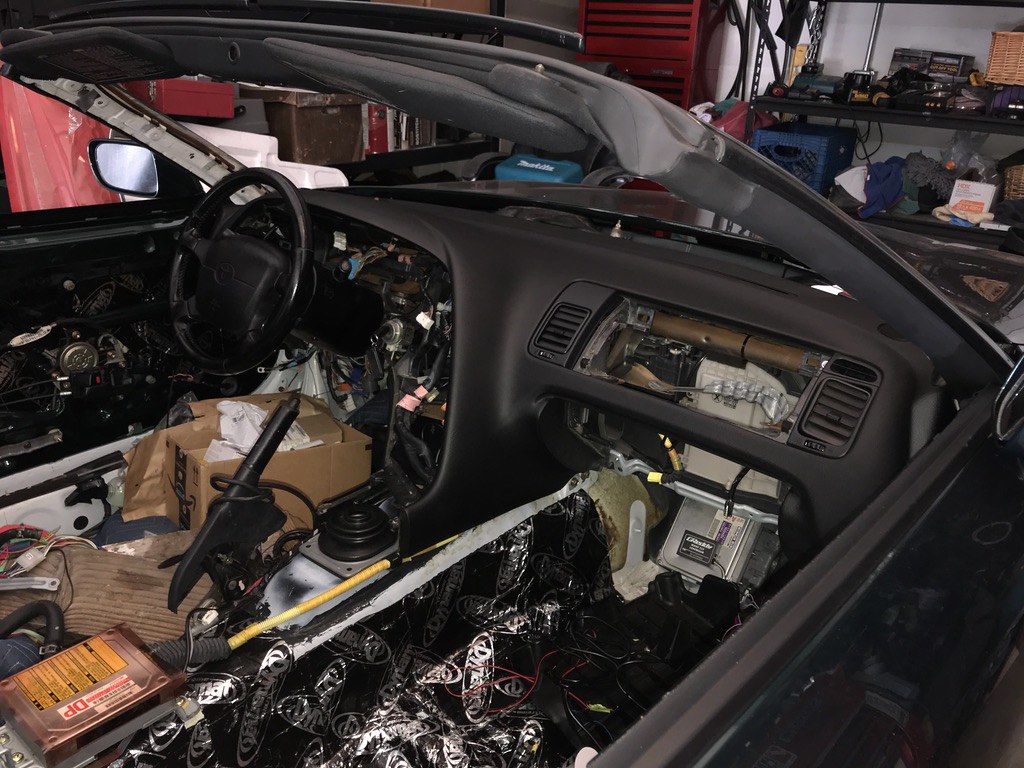
With the alarm install finished, the new dashboard went into its new home.


50438725806_35a32005cd_b.jpg


50438725676_c63885f26d_b.jpg


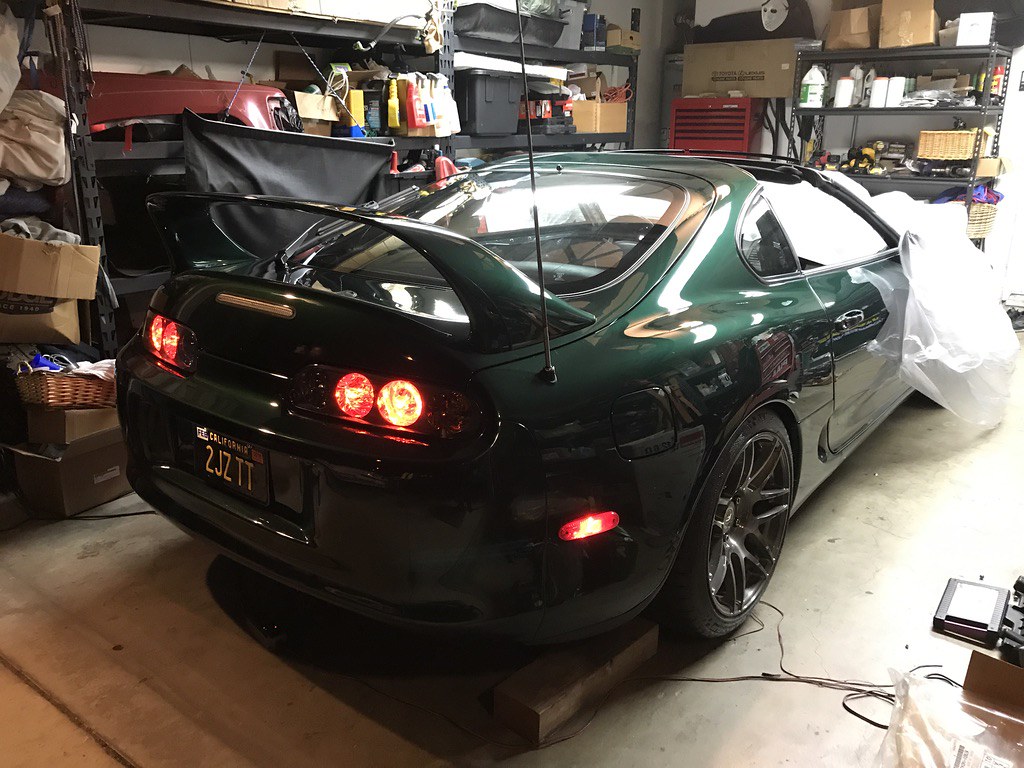
After that, I went into testing various electronic functions. I had make one mistake in the alarm install, the parking light polarity, since I had wired the parking lights to the steering column and not in the driver kick panel.


If you wire the parking lights to the kick panel, it needs 12V+, but at the column, it's a switched ground.


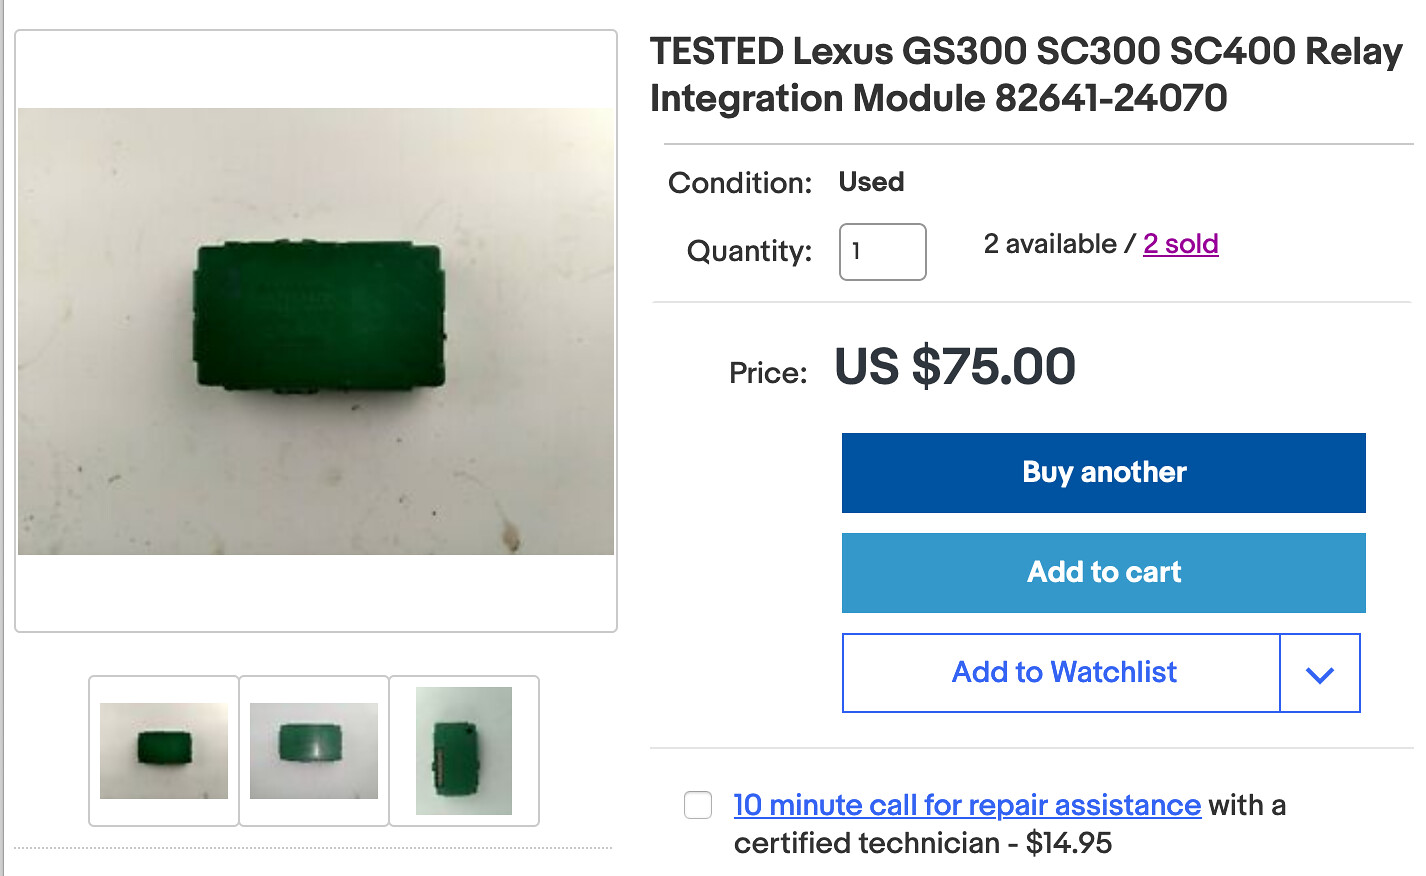
Upon initial testing of the alarm, the 12V+ signal that went to the steering column parking light wire had been incorrect, and the very first thing to be shorted in the circuit is the integration relay. The integration relay controls all of the courtesy lights, parking lights, etc. It's located BEHIND the driver's junction block, which was a total pain in the ass to get to.


Got a replacement relay from eBay and corrected the polarity, now it's all functioning as intended.

50439128707_6a62af396c_h.jpg


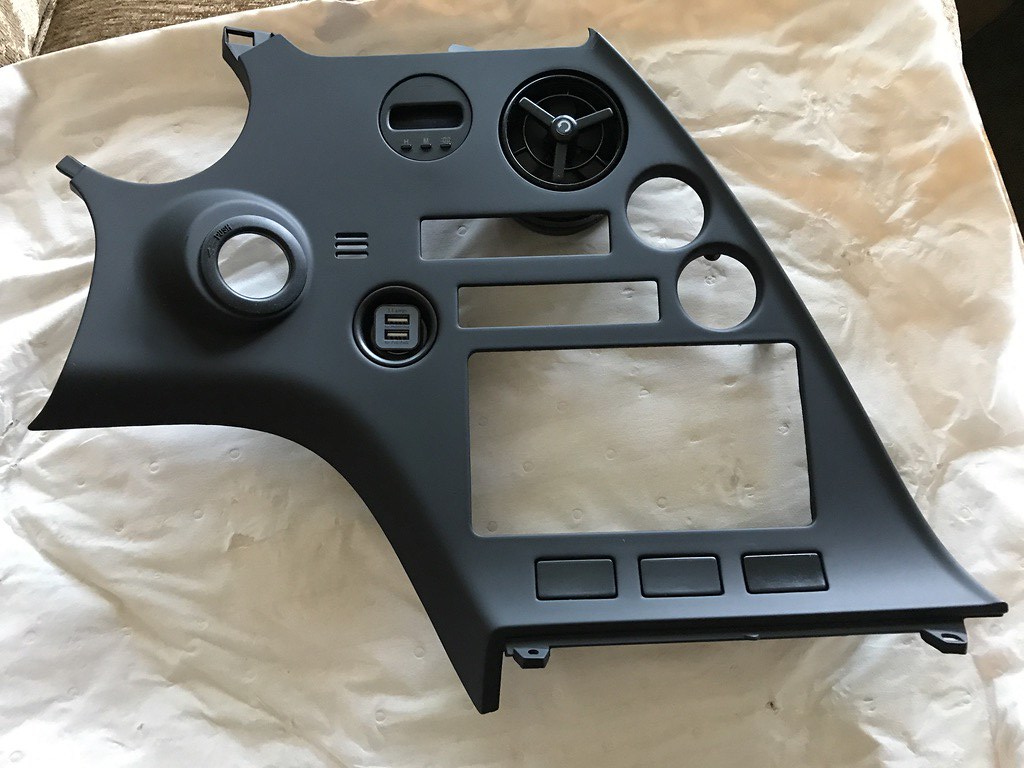
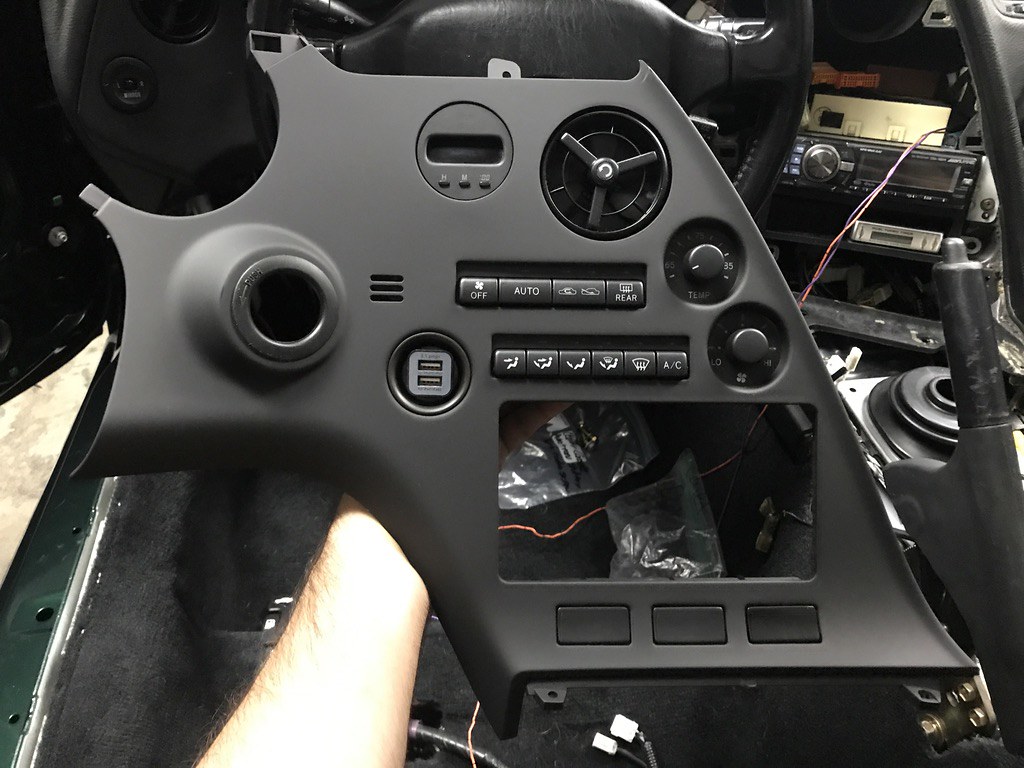
With the dash in place, the new panels came out of the boxes for parts swapping.


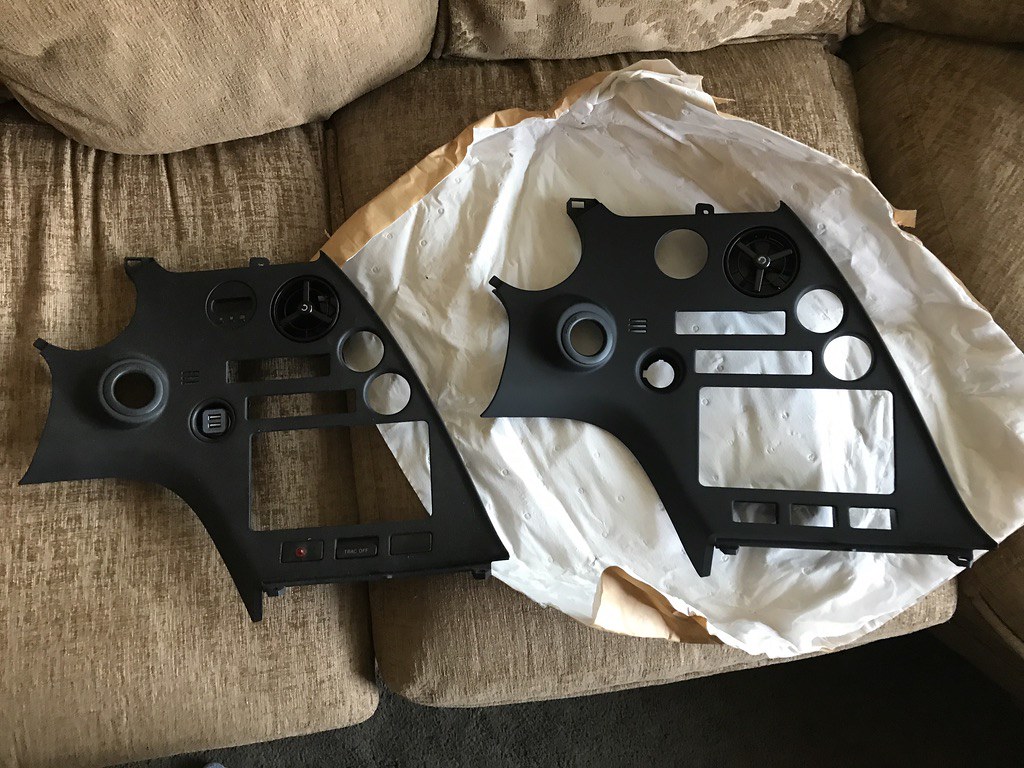
First up was the center panel. Swapped over the clock and cigarette lighter. Removed the HVAC module.


50438032308_03ba2d7232_b.jpg


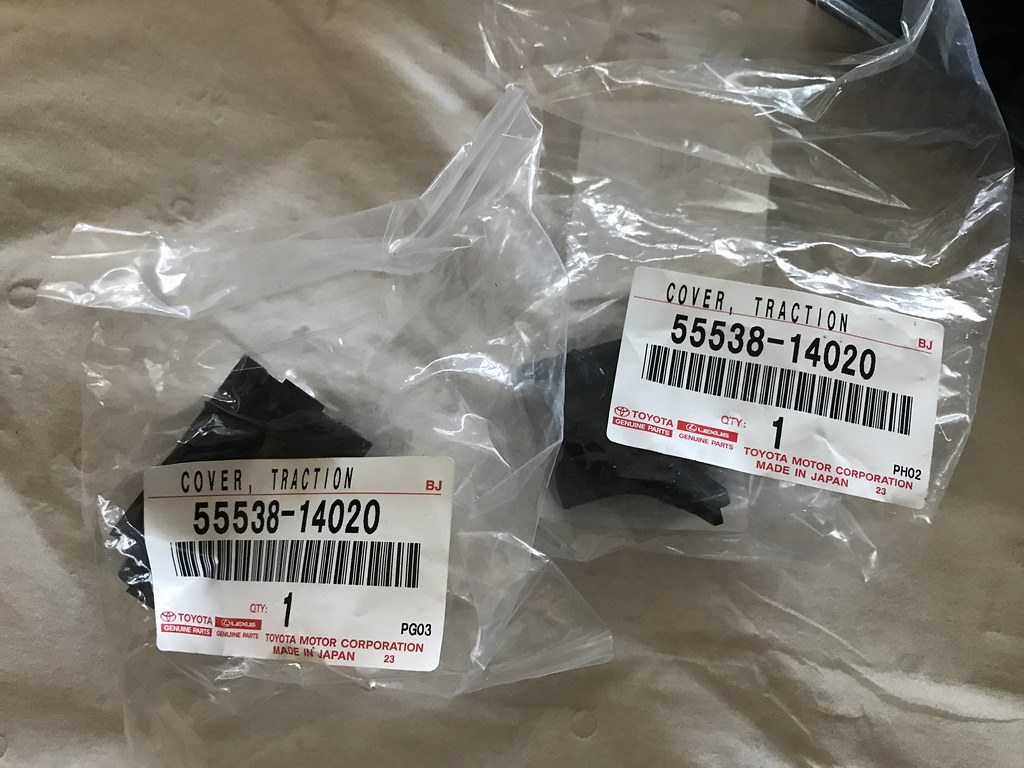
New traction button covers. The far right cover was discontinued, so had to reuse the old one.

50438032273_e32e568d8a_b.jpg


50438900897_1c8ea8a6c4_b.jpg


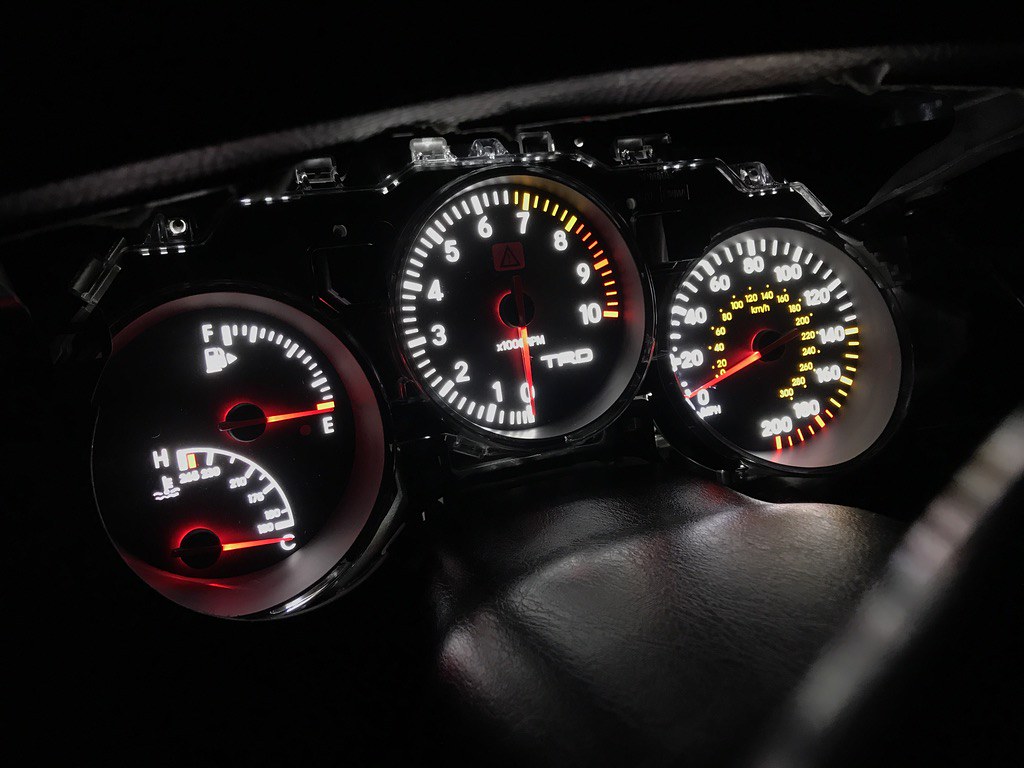
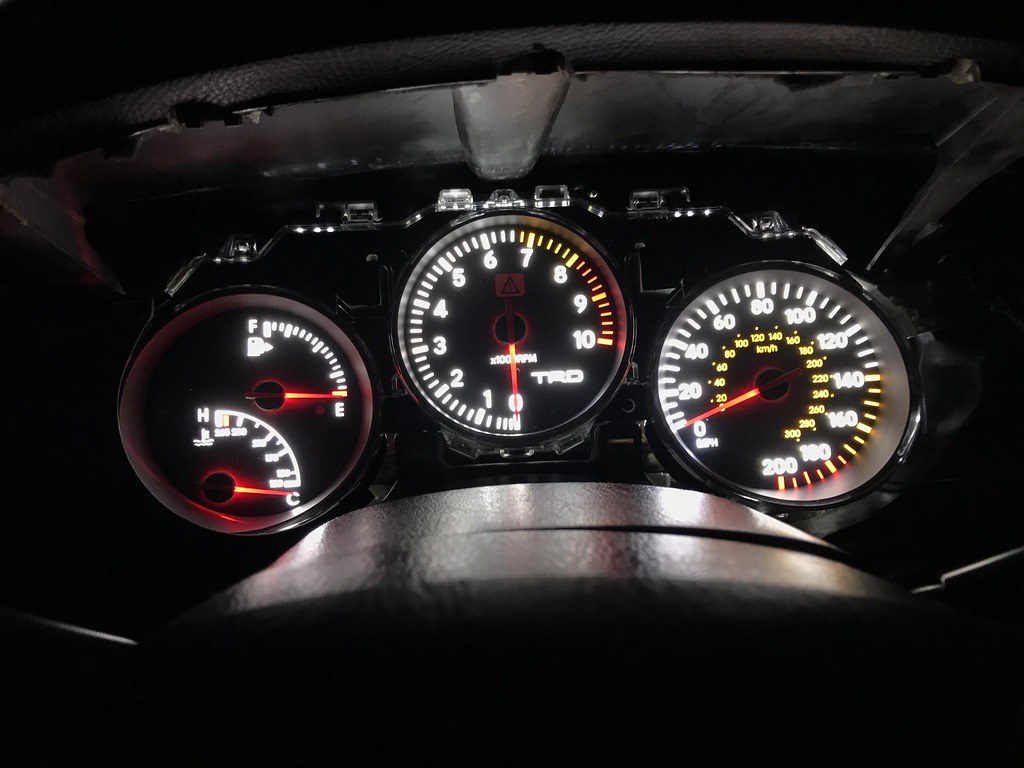
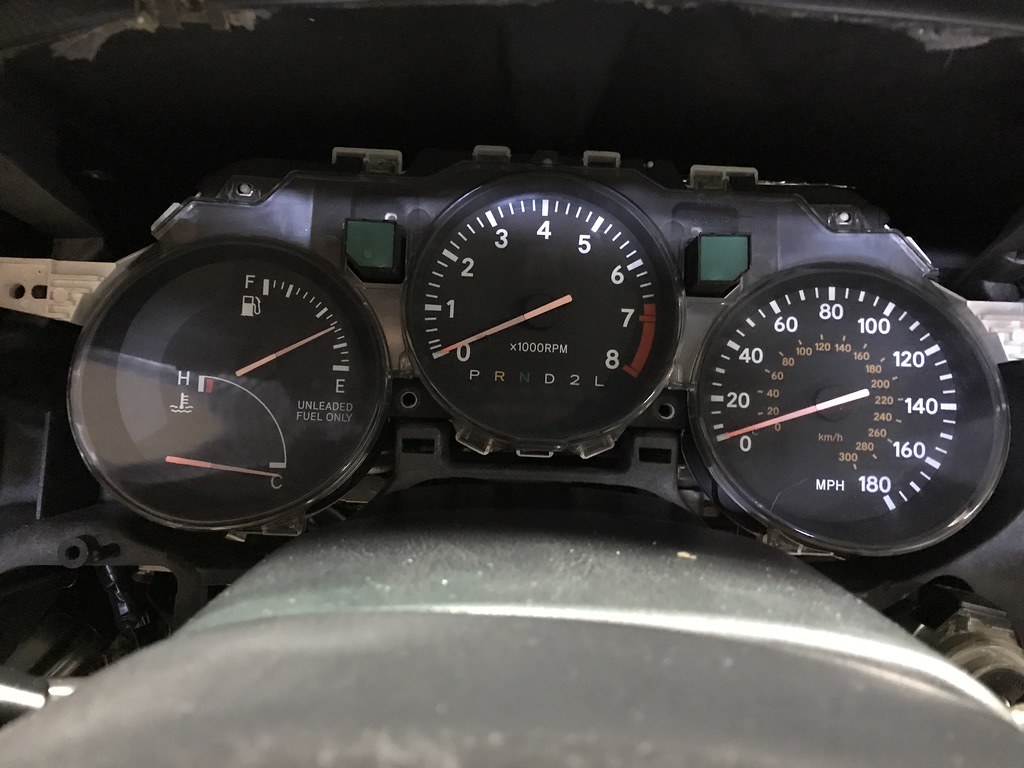
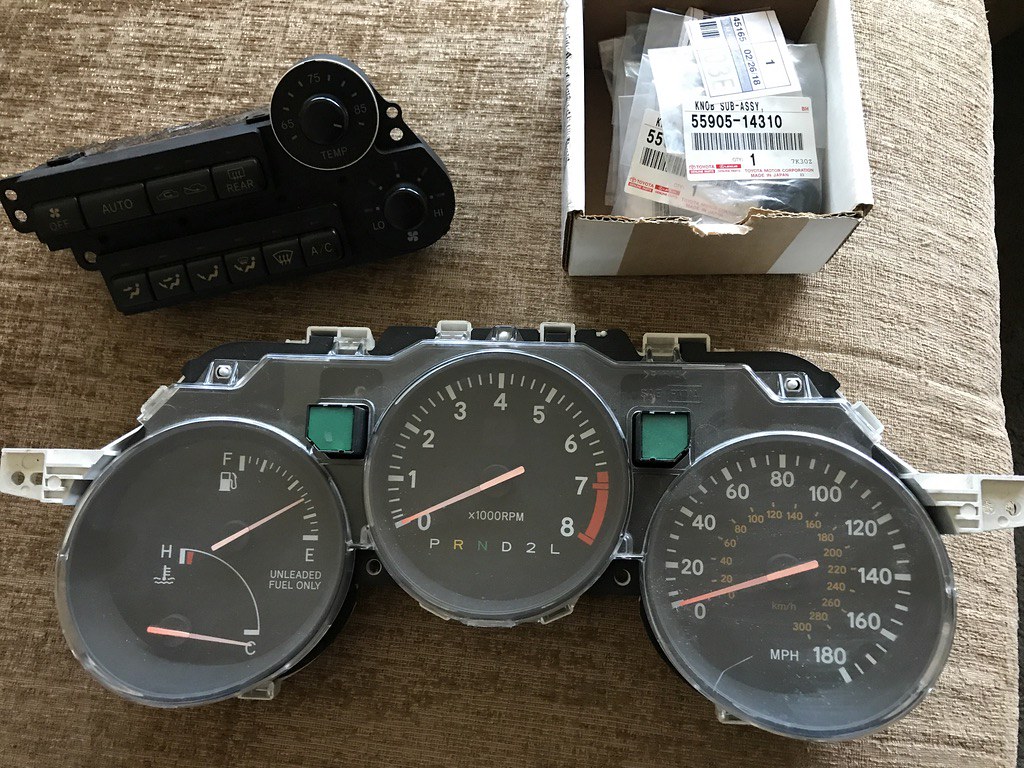
The next thing was the gauge cluster. This car did not go through this amount of work to be left with an auto tach with faded ugly needles.

50438725876_e77e919715_b.jpg


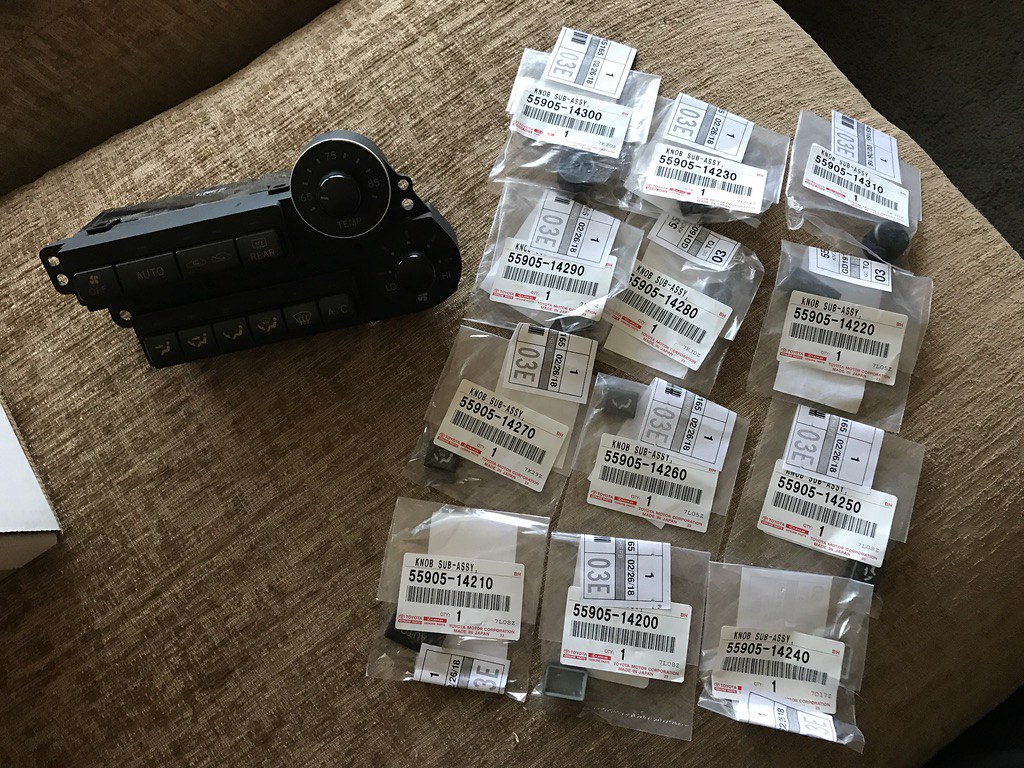
I gathered up all of the new HVAC buttons and knobs, the HVAC unit, and the gauge cluster, then sent them to Stu Hagen.

50438901077_70d1dd580f_b.jpg


50438726576_9f9f2db98b_b.jpg


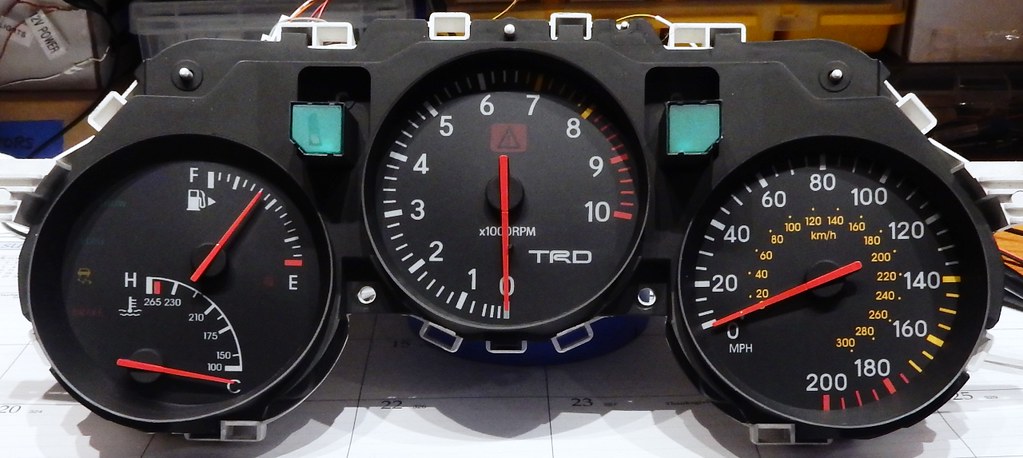
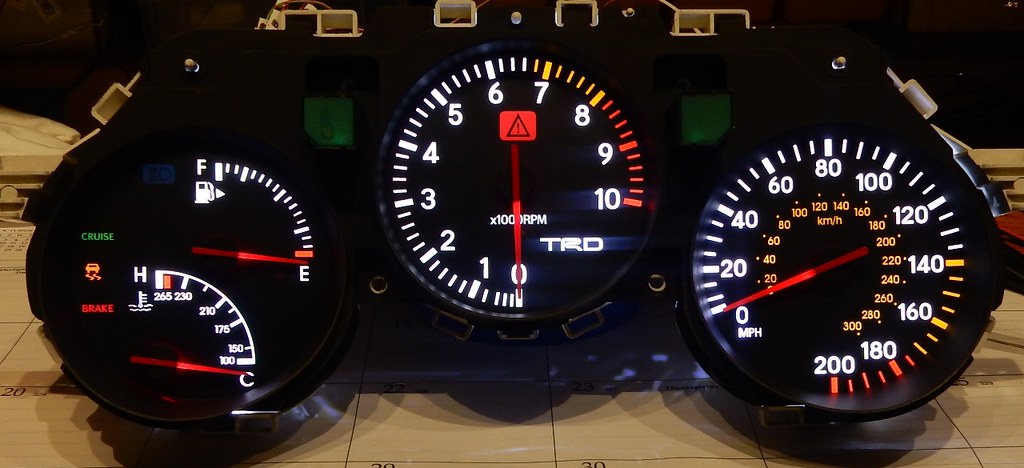
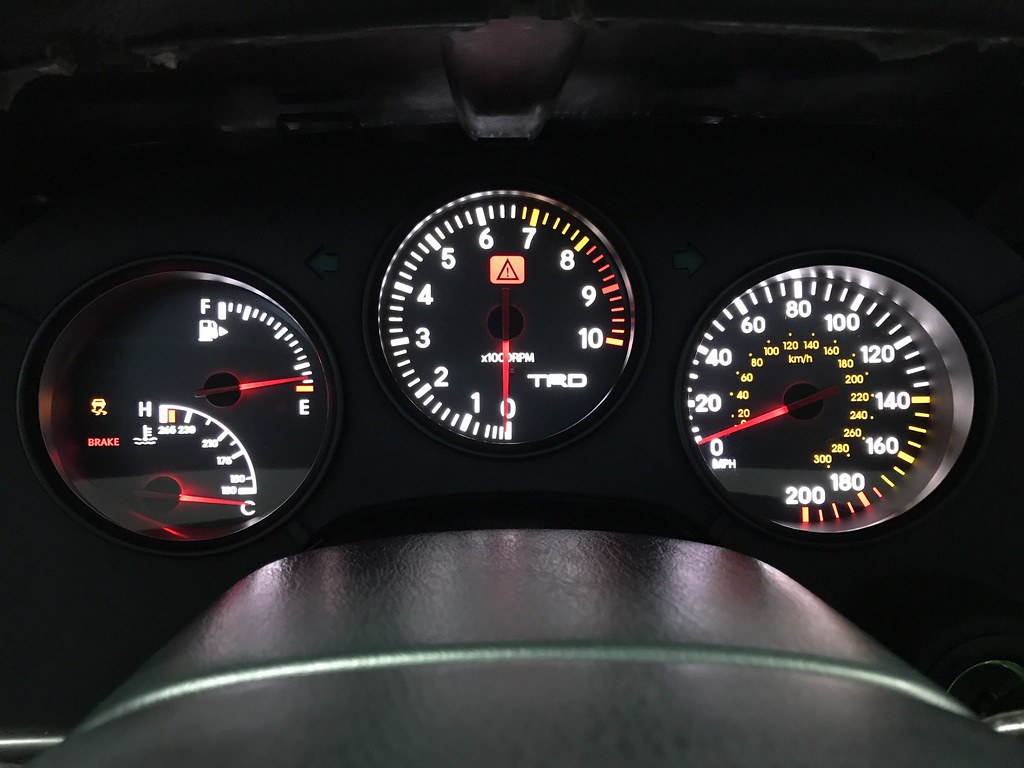
I asked for a 10K TRD Tach with the needle in the proper 6-o'clock position, a 200mph speedo, coolant temp with readout, and white backlighting.

50438906767_5ebaa34106_b.jpg


50438037988_9c3d06db78_b.jpg


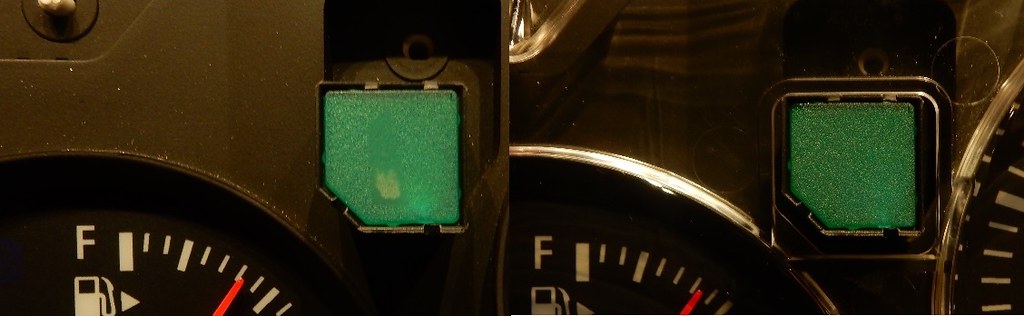
The left turn signal filter on the cluster was damaged. Stu polished it out.


50438906802_cdd0ee824a_b.jpg


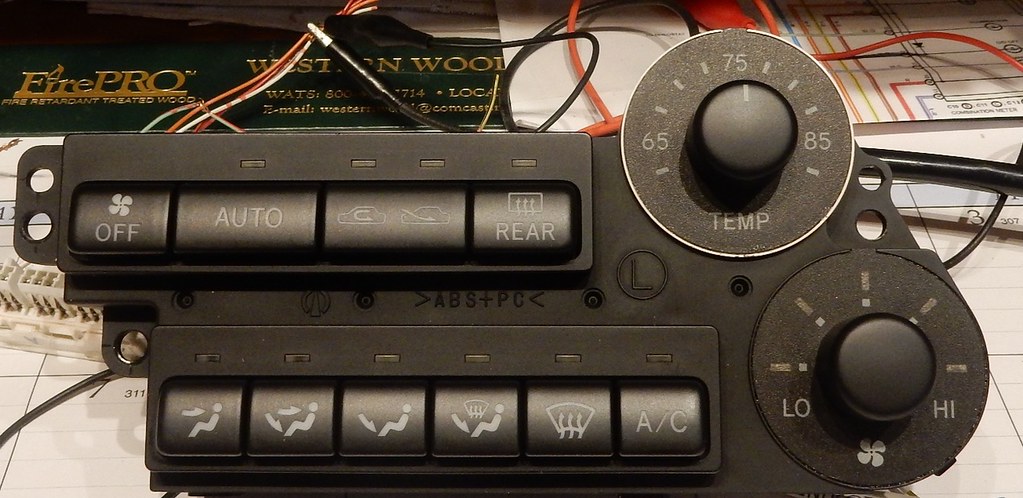
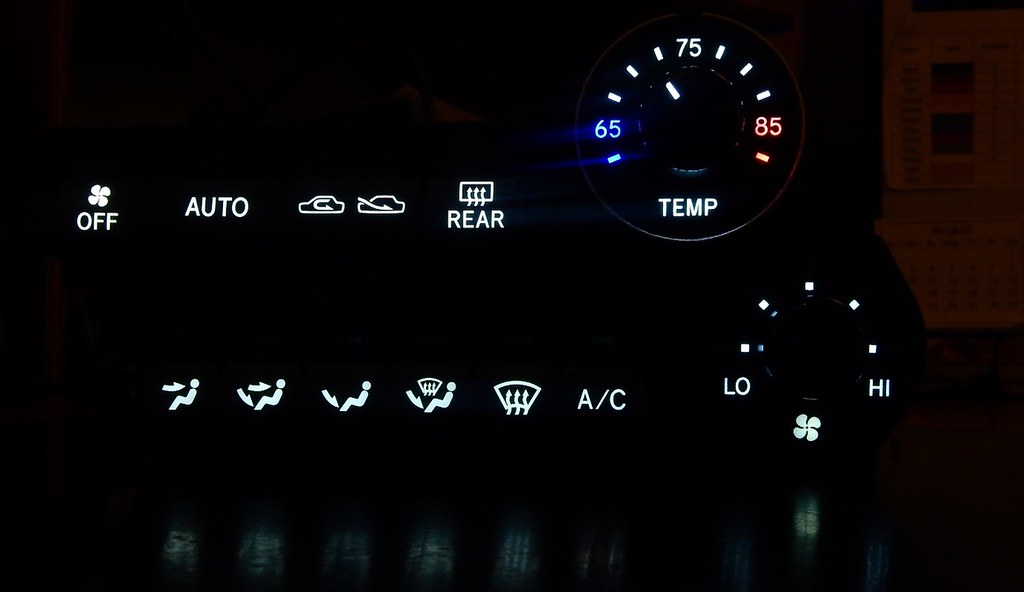
The HVAC received all new buttons and knobs, as well as a set of white LED's. The temp knob has a red and blue LED's for hot and cold.
50438039353_2b15ece5f9_b.jpg


50438733681_4594ec6c54_b.jpg
 
Last edited:
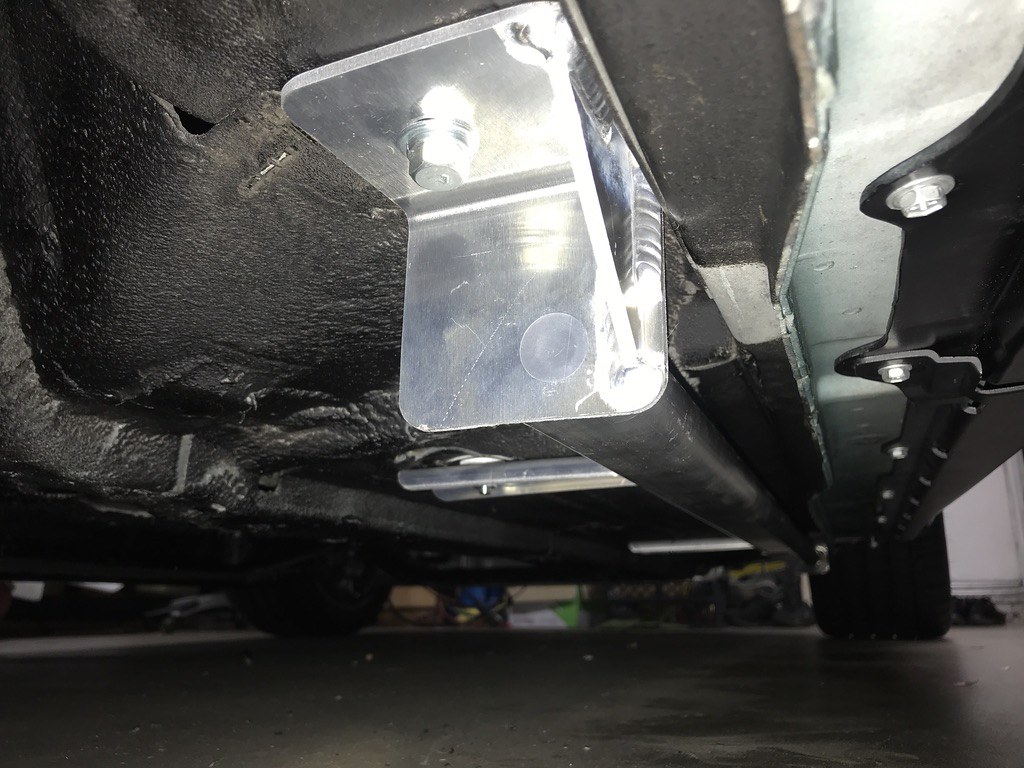
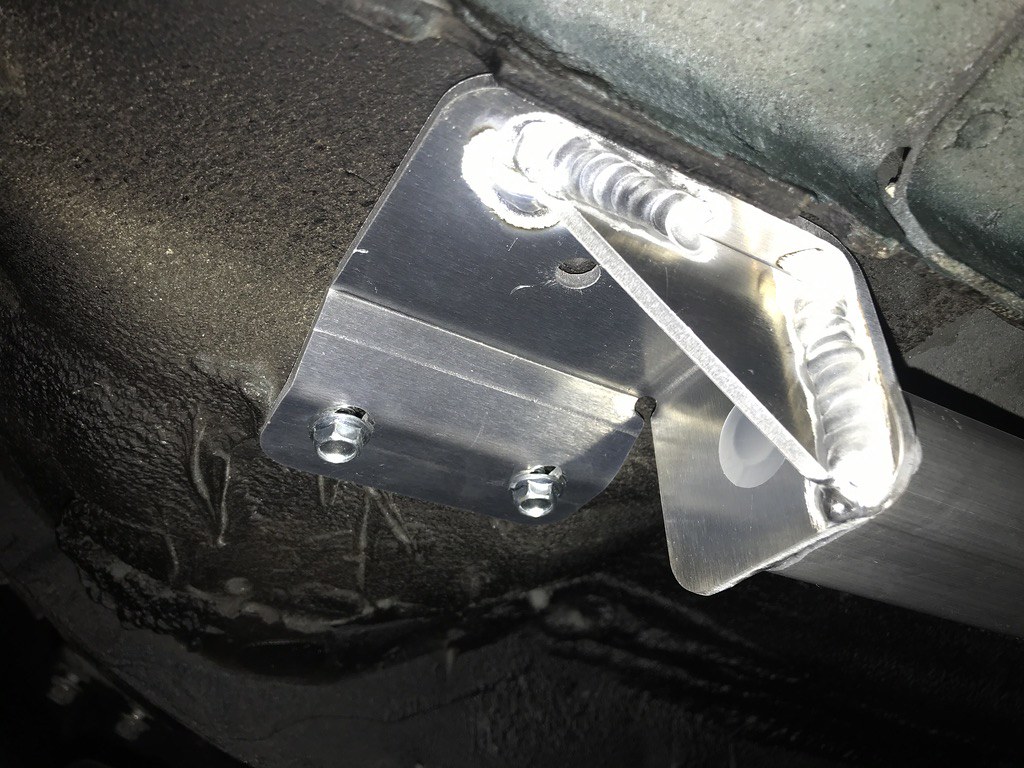
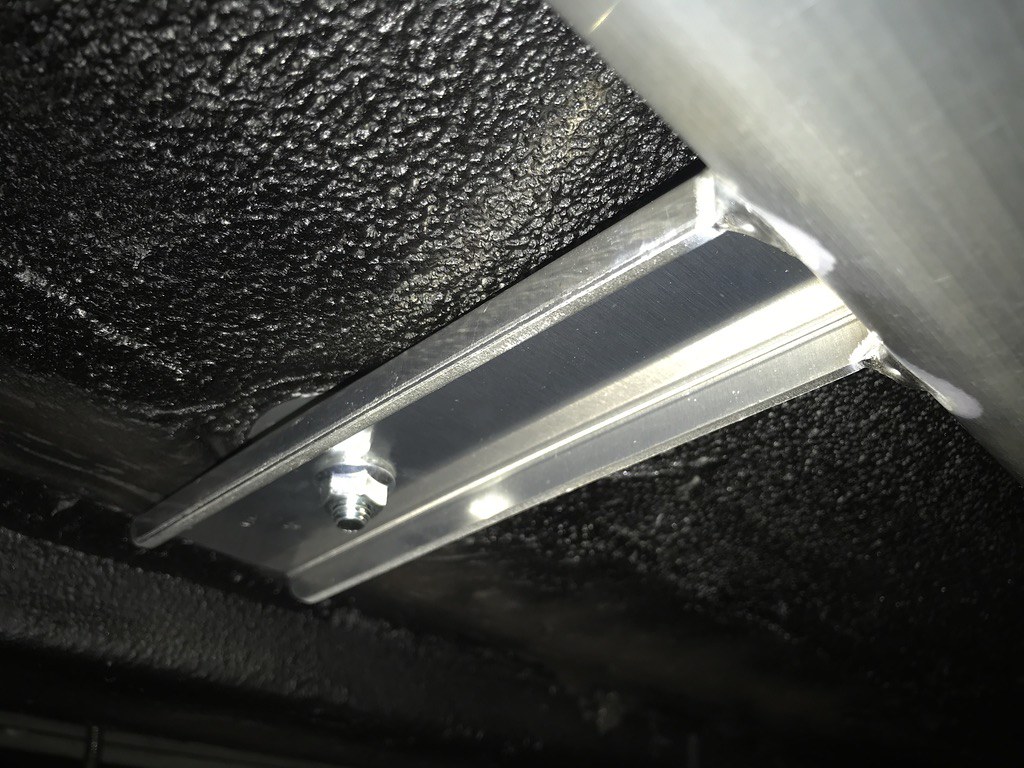
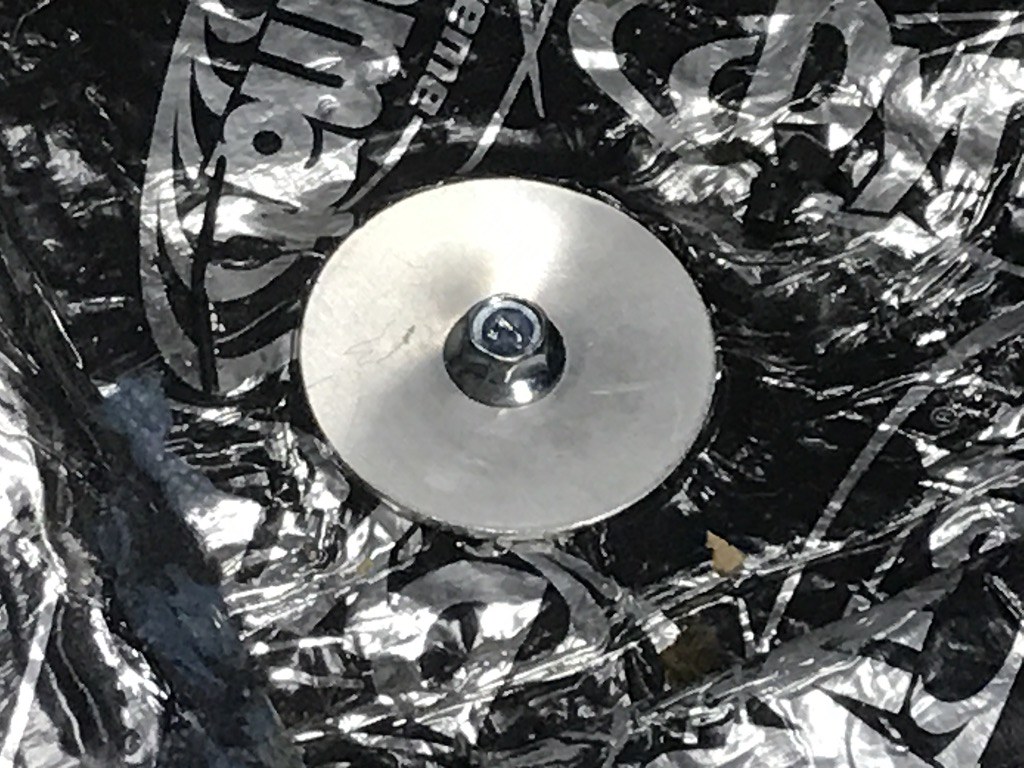
There are a ton of people who swear by Do-Luck and their floor bars. I got a set through RHDJapan along with a rear cross bar. May not use the cross bar as I would really prefer to leave the carpet intact. Might go with a harness bar from SP instead, since there's no carpet modification necessary.


Seriously, can you imagine how hard/expensive it'd be to get a new carpet for one of these? Most of the examples of Do-Luck cross bar installation that I've seen online basically obliterated the carpet. Who wants to see that?


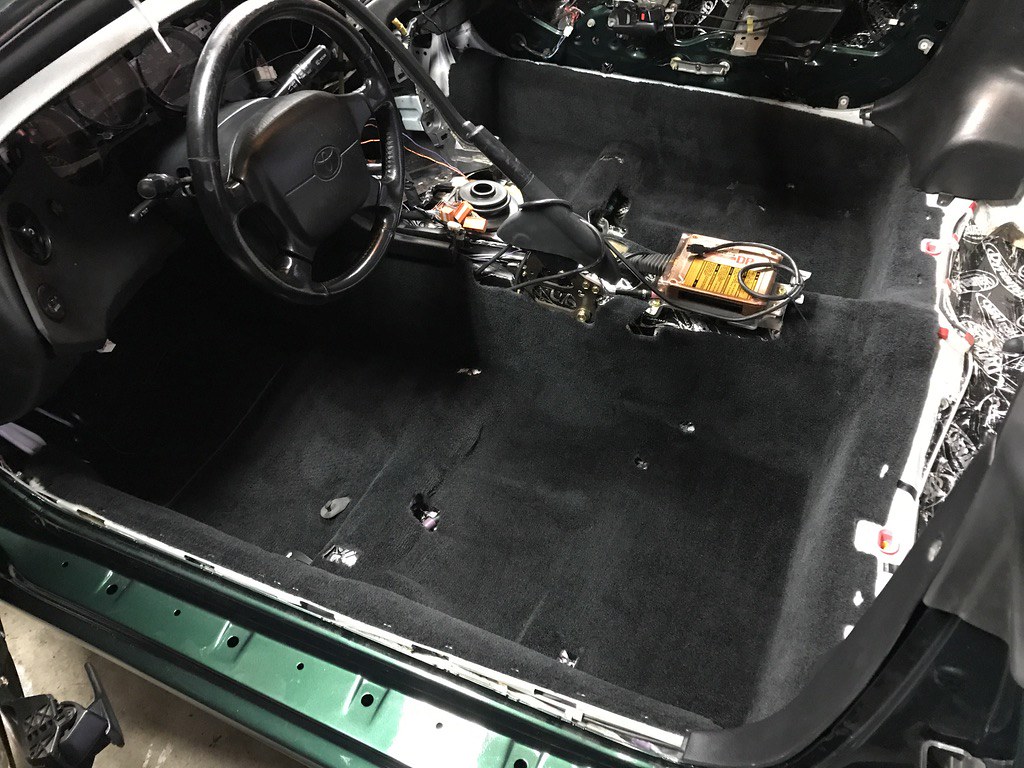
Floor bars installed:


50438908672_1b47040504_b.jpg


50438734756_2646229ff5_b.jpg


50438040443_fd601660b5_b.jpg


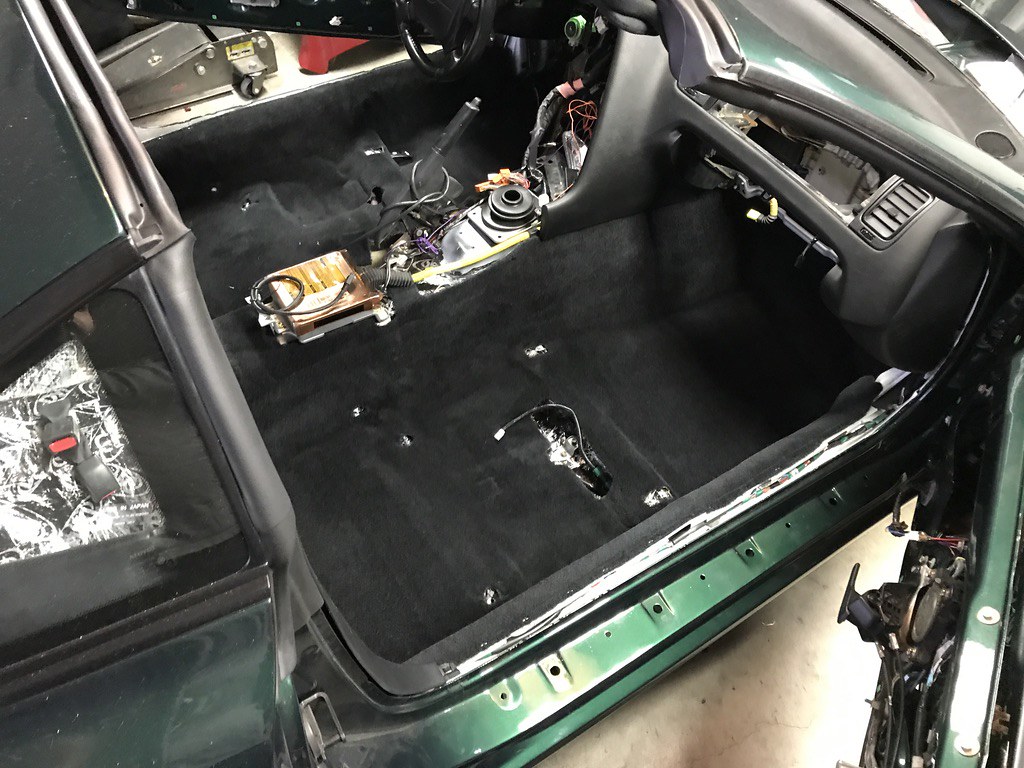
From inside the cabin:


50438734531_156f405fab_b.jpg


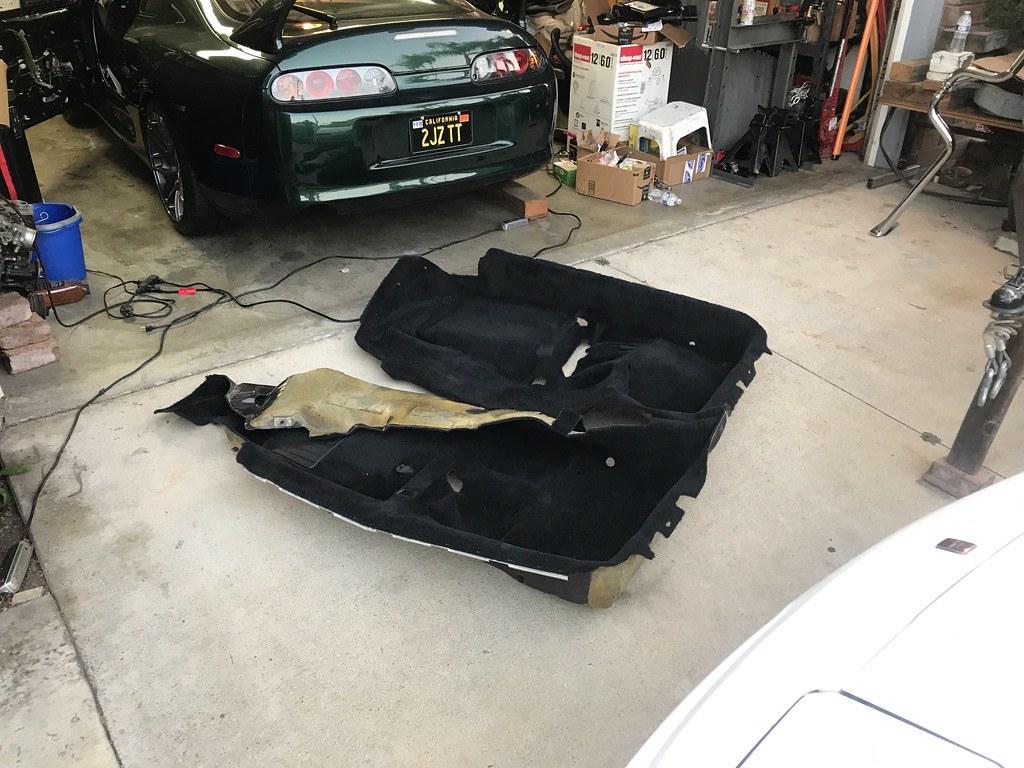
Original carpet all cleaned up


50438911632_1226f18b01_b.jpg


50438736556_af111969e6_b.jpg


50438736401_a6d23881ea_b.jpg


Cluster shining bright with new "glass"


50438737611_d2a87e6b4a_b.jpg


50438737601_dec6b7094a_b.jpg


The OEM seats are worn, but have really nice plastics. They're absolutely worth keeping and maybe reupholstering.


I don't have plans to use them right now, perhaps I'll add them to the future SC build pile, along with the old suspension, brakes, etc.


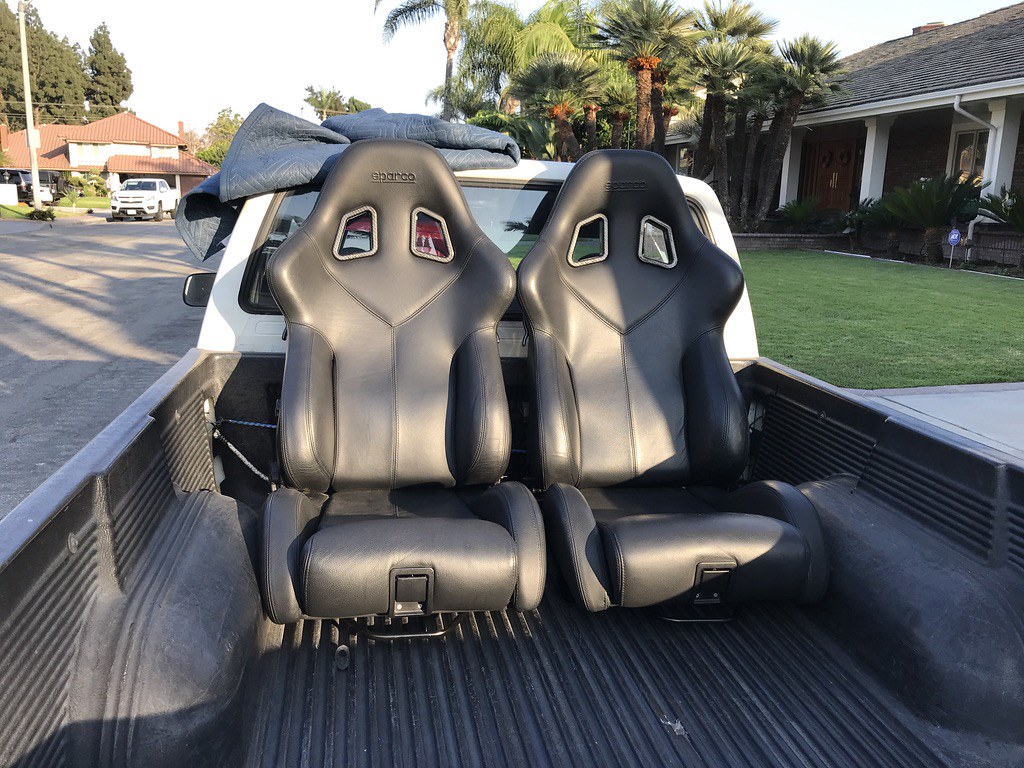
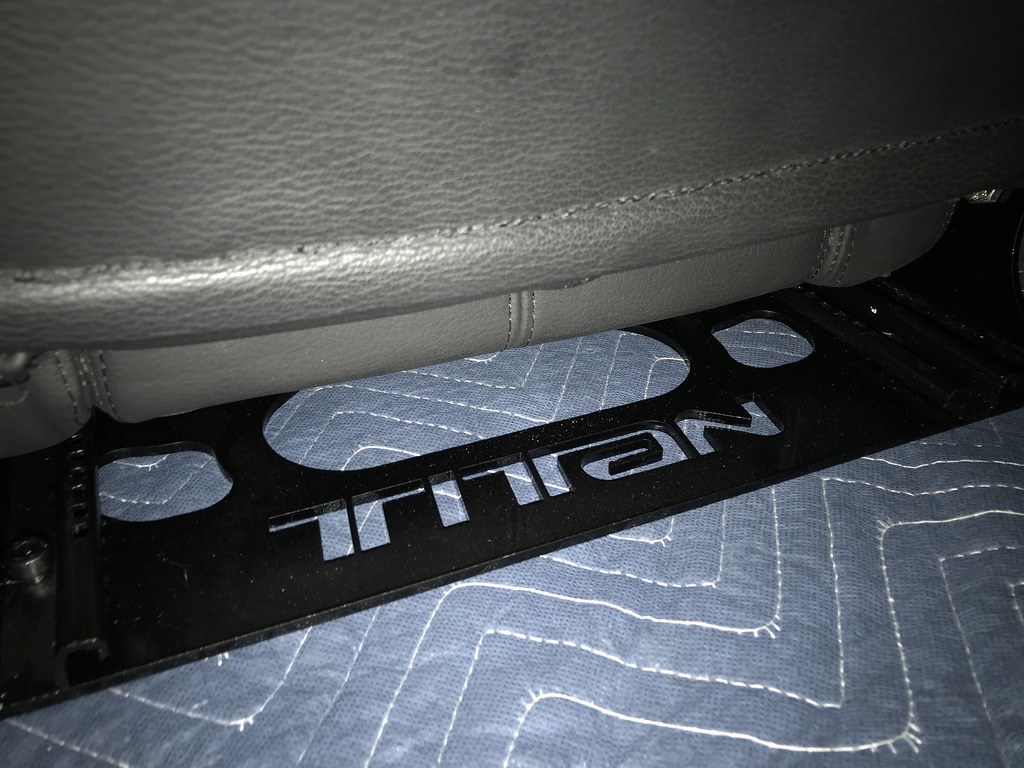
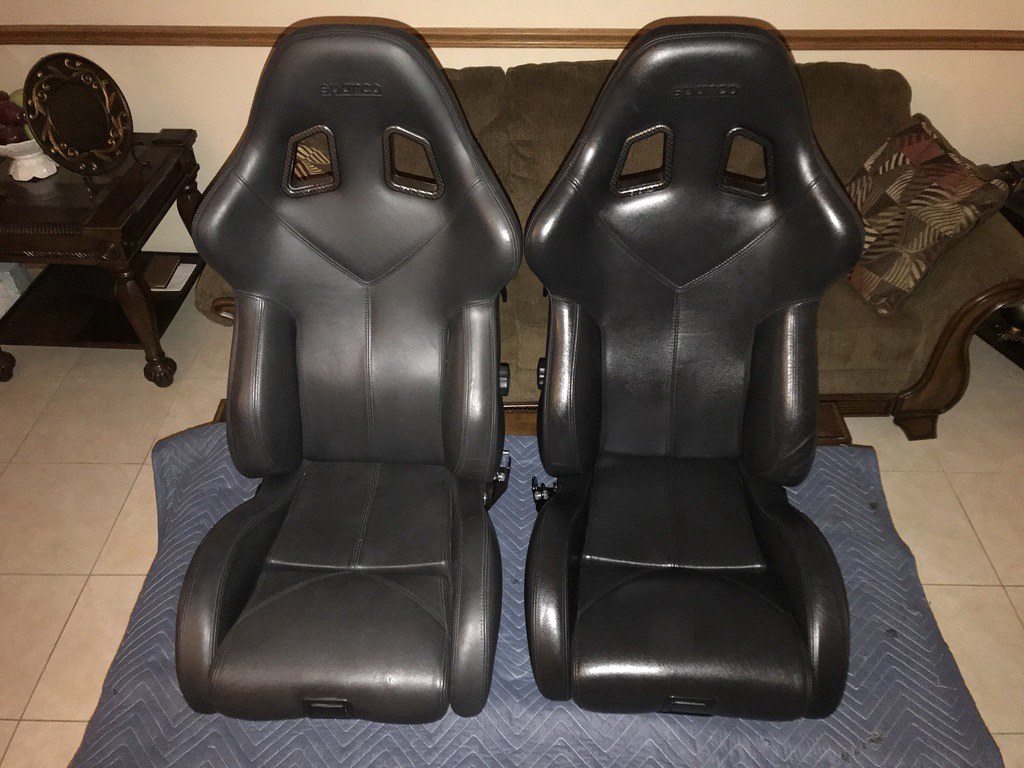
In their place will be a beautiful set of black Italian leather Sparco Milano Prestige II's. They have carbon-style plastics which look pretty nice. These are well renowned by the likes Peter Kop (the original owner of them), Ken Henderson, and many others. The Sparco brackets are known to be crap, so these are going in with Titan brackets.


50438034563_0e4d537ed7_b.jpg


50438035143_5b8aba131e_b.jpg


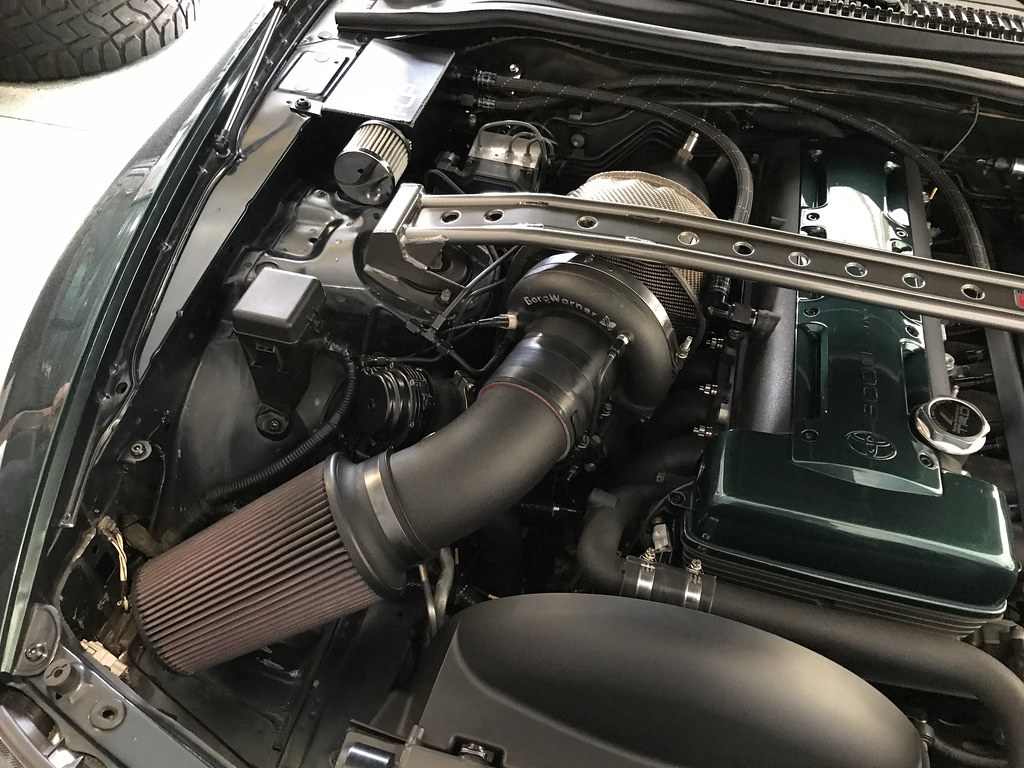
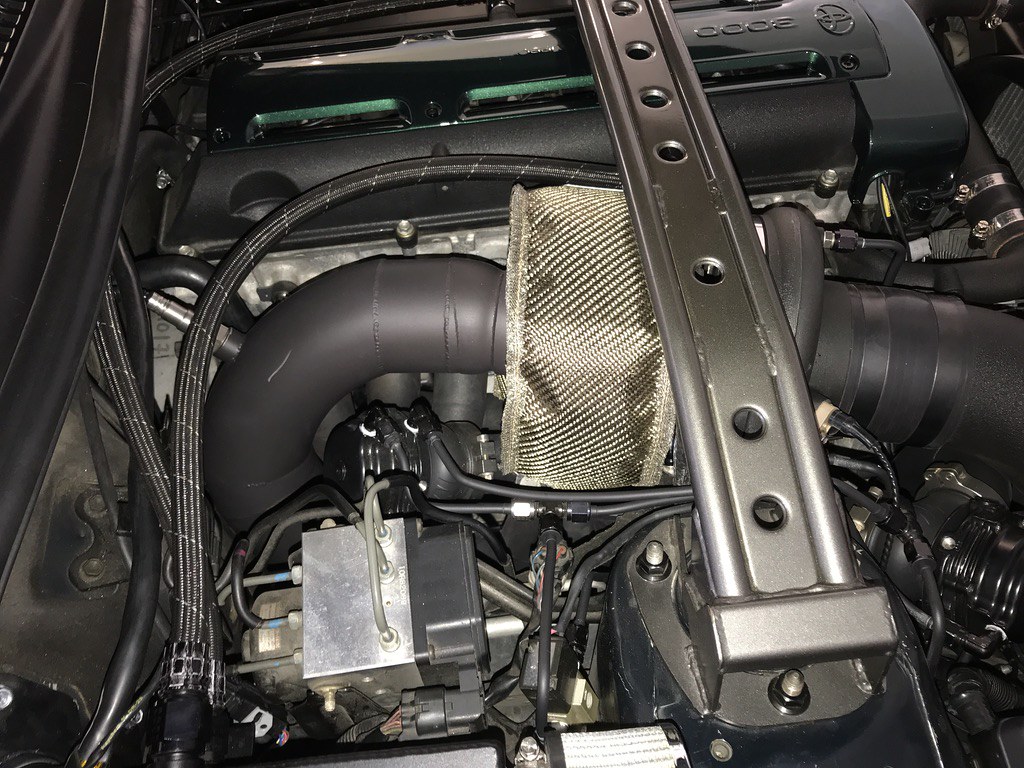
I got the seats from a local Supra owner, Martin, who has a beautiful DJG 97. His single turbo setup is quite inspiring, so I'm just now getting into the research required for a proper single turbo swap.


Here's a few pics of his beautiful 97:


50438903517_90f9e9057e_b.jpg


50438903502_f8ce2d9d85_b.jpg


50438034623_8d0fc92e8c_b.jpg


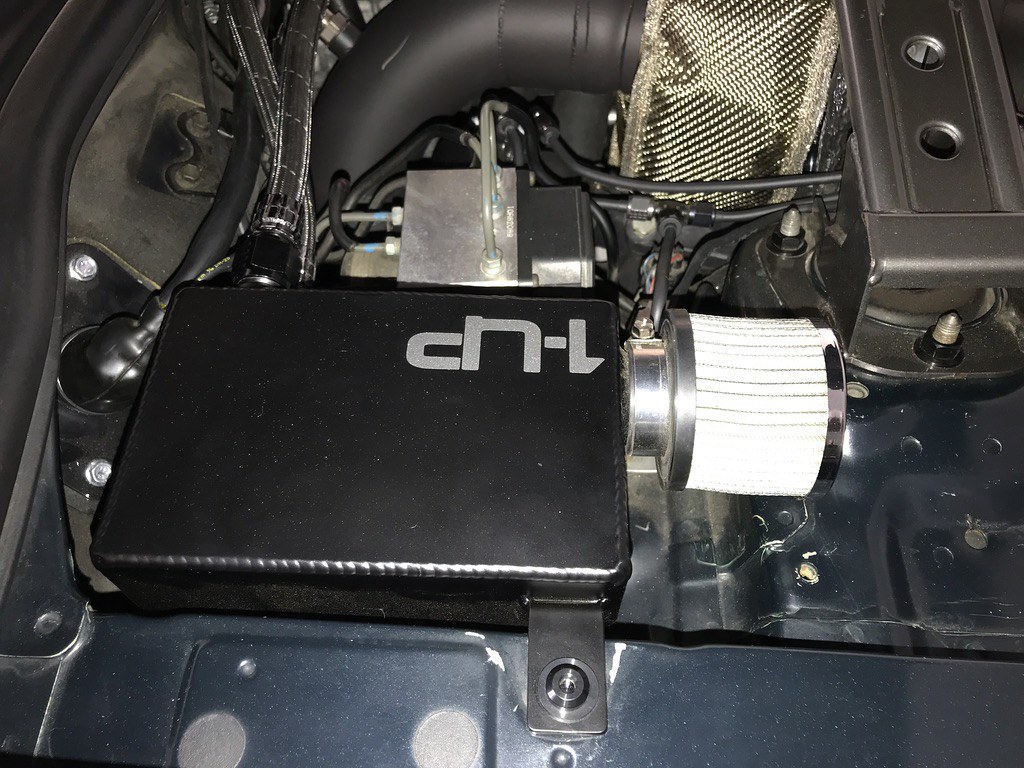
I really like the 1UP catch can setup with braided lines.


50438903442_a7126c3f4f_b.jpg
 
Good stuff, as always! Martin's C10 doesn't look too shabby either.


Thanks cblock!


Martin's got quite a selection at his house. Raptor, Terminator Cobra, C10, 5th gen 4Runner, and the Supra. Regarding the C10, it is one of the cleanest actually-driven 67-72 C10's I've ever seen. Too many become trailer queens. I wish I had a 4 car garage like he does.
 
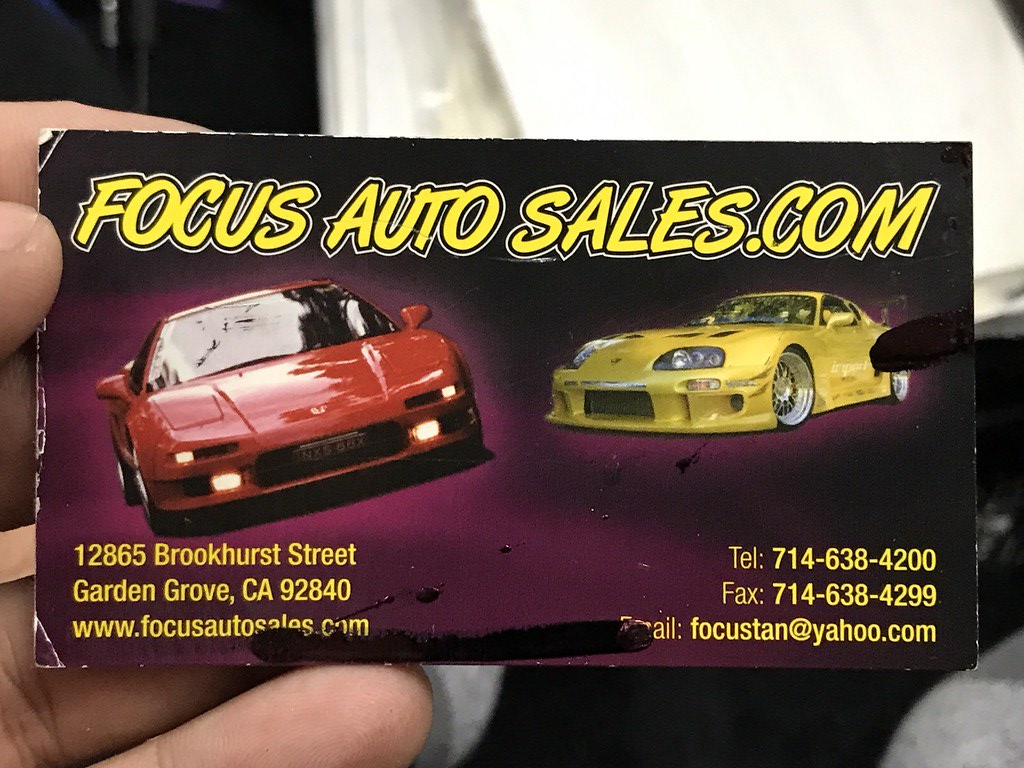
While sifting through some of the previous owner records, I found a card for Focus Auto Sales in Garden Grove. Google shows that location had closed years ago and is now an empty lot.

50663023558_c5248c4d2c_b.jpg


Using the Wayback Machine website and a little google-fu, seems like the dealership sold primarily JDM cars, and lots of Supras. The Carfax report showed that a dealer got hold of the car in late October of 2005, with the most recent previous owner buying it from them in February 2006.

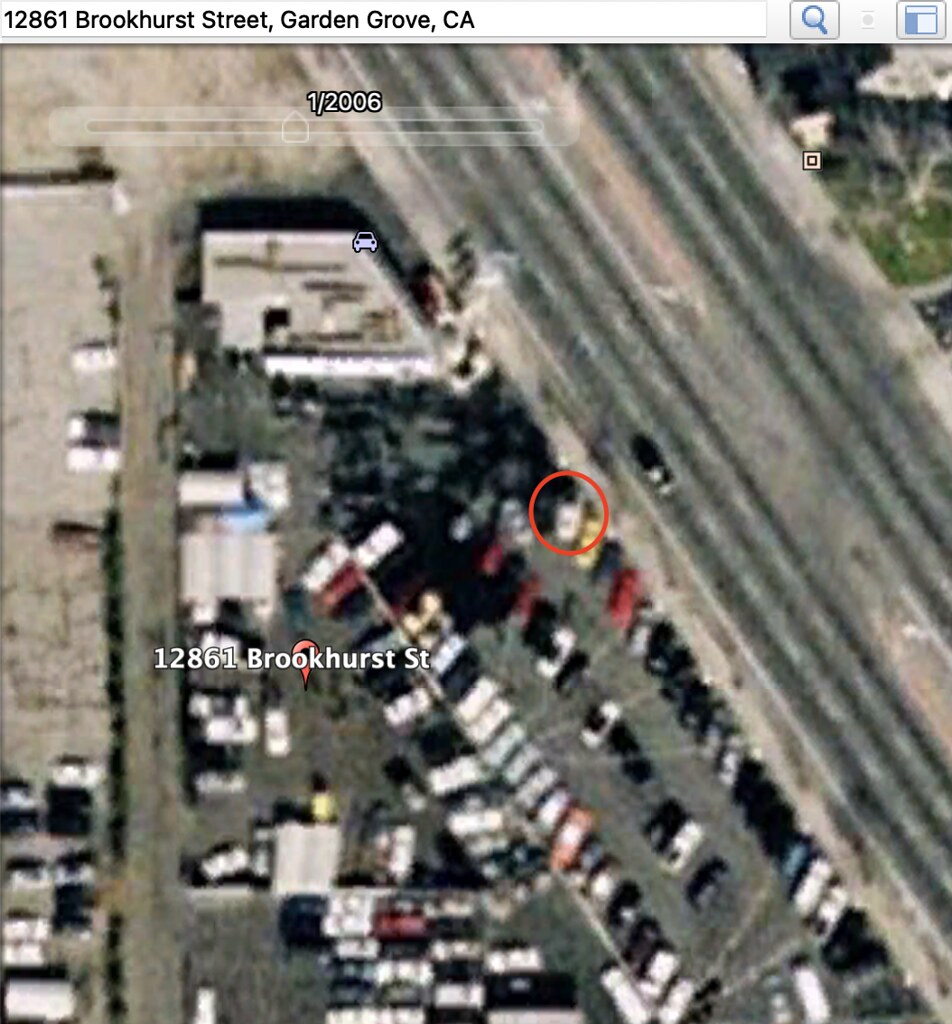
Historical aerial maps of Focus Auto Sales from Google Earth Pro came up with this, taken January 2006. Seeing as there is only one car on the lot that’s white with a carbon fiber hood, I’ll bet that’s it right up in the forefront.

50663085718_5c53a64c0e_b.jpg


I wish someone could tell me more about the history of this car… Any info or photos that might still exist from the dealership around that era would be incredible! Is Jacko Luong (@supraskyline) still around SF?
 
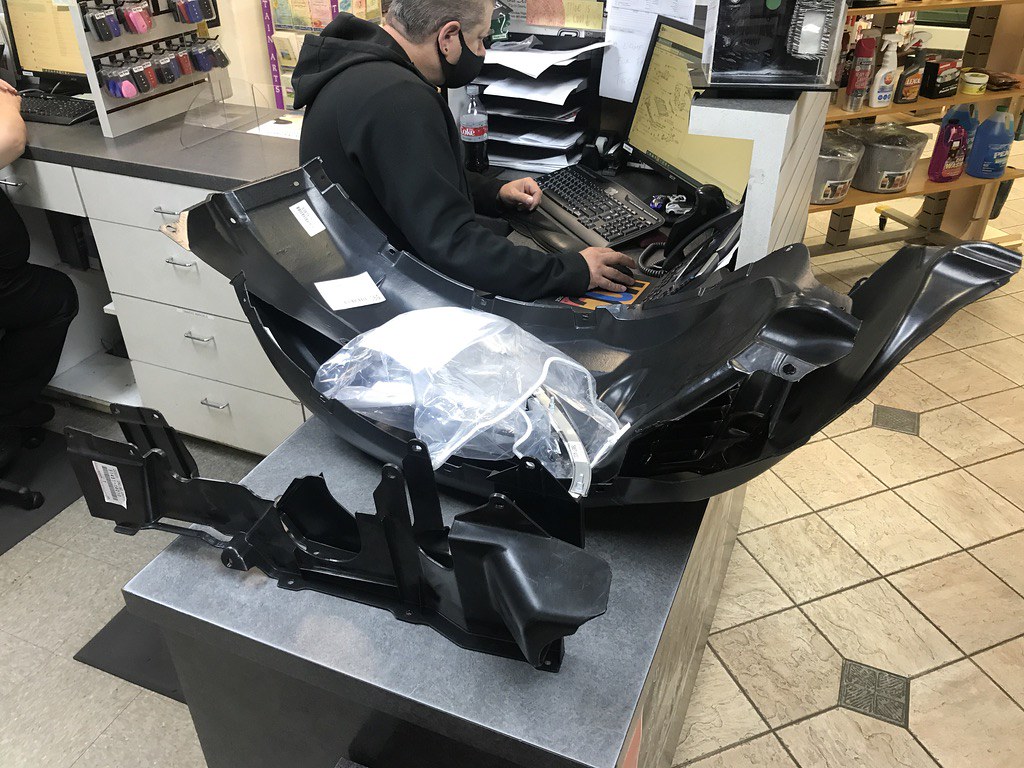
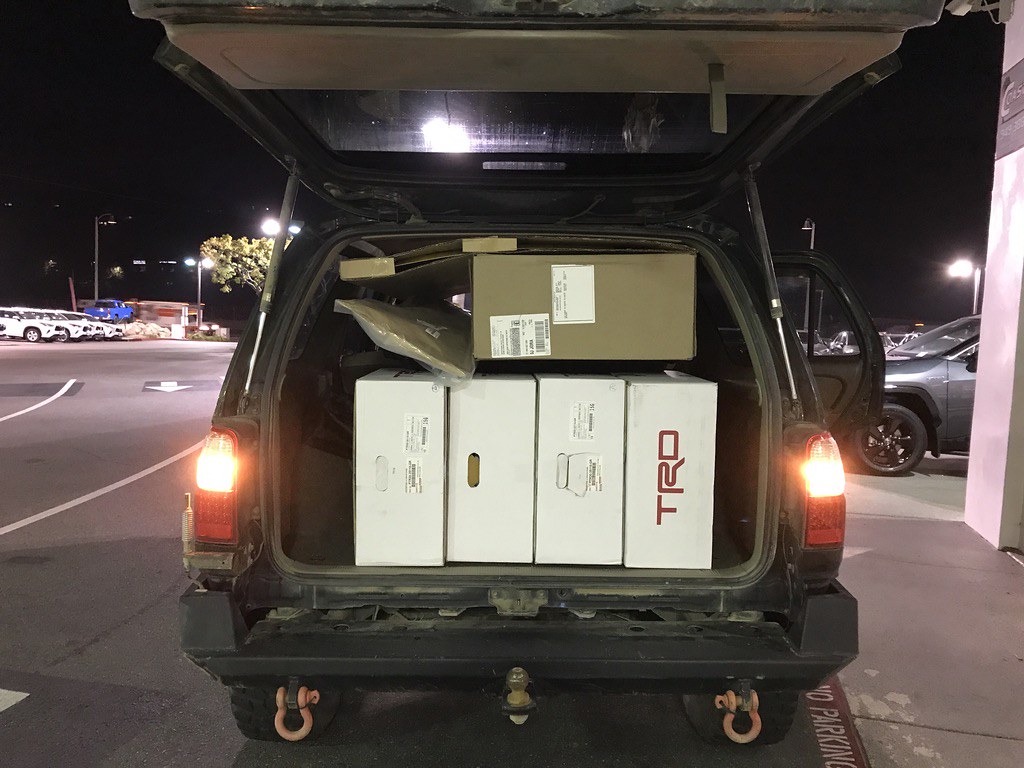
Onto another round of OEM parts.

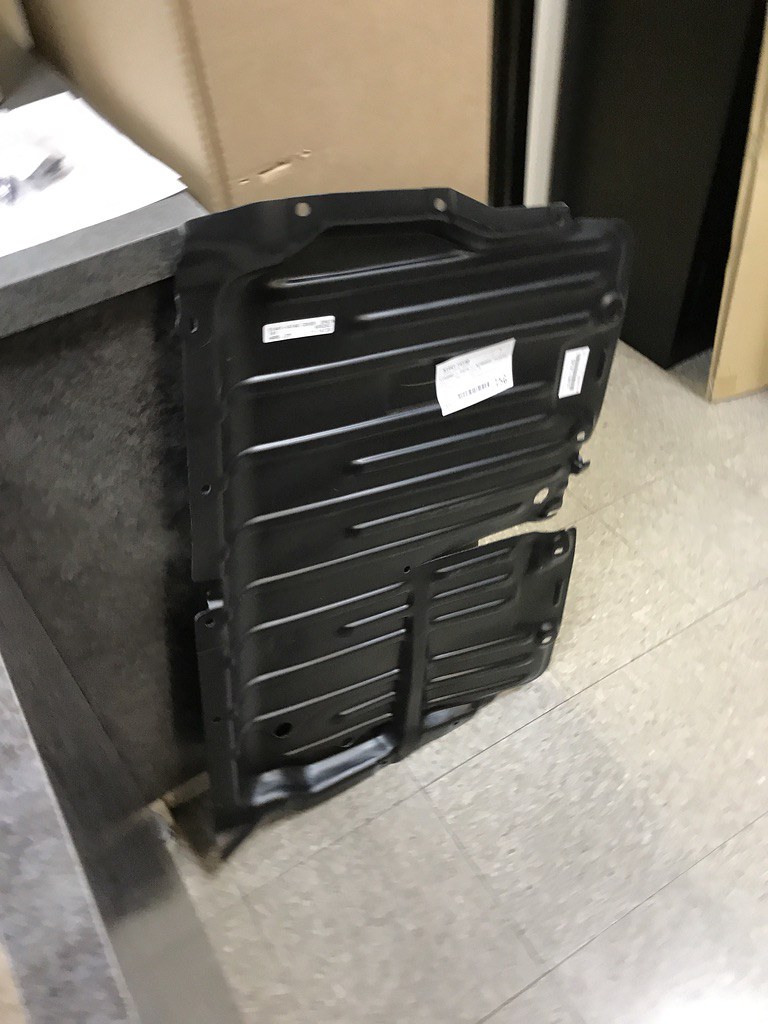
- All new front wheel well liners and engine bay covers (left, right, and lower) as well as their associated hardware
- Front bumper lip retainers
- AC hard lines
- Hood insulator
- Windshield dam kit
- Windshield wiper cowl
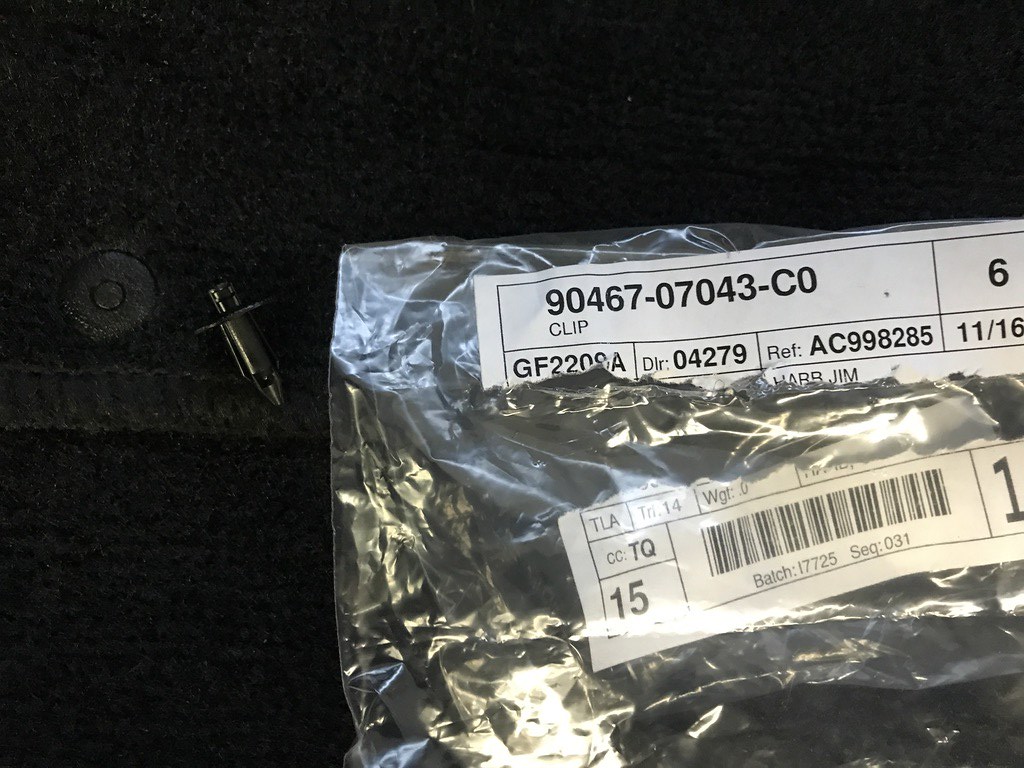
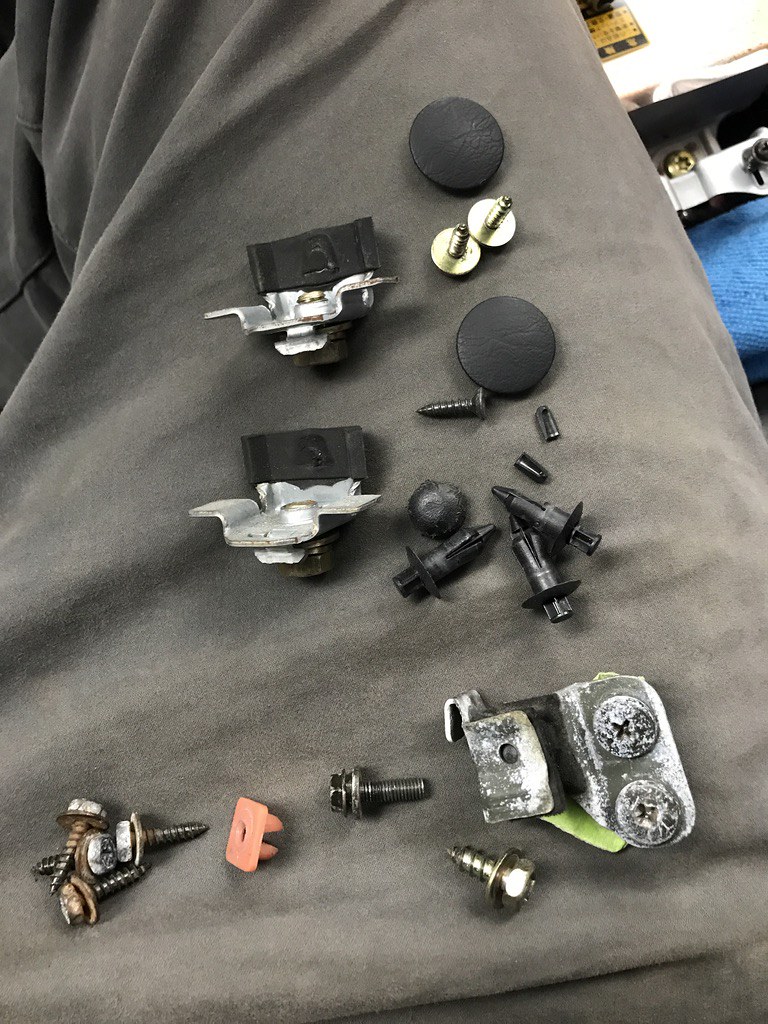
- Carpet clips
- Shifter surround bolts
- Radio bracket bolts (to car and to radio)
- Wiper fluid reservoir upper assembly 85301-14010


TRD boxes are graphite TRD pro wheels for my 4Runner.

50663842947_c1f0d58332_b.jpg


50663842882_92cfc5930d_b.jpg


50663842832_966a2cc59d_b.jpg


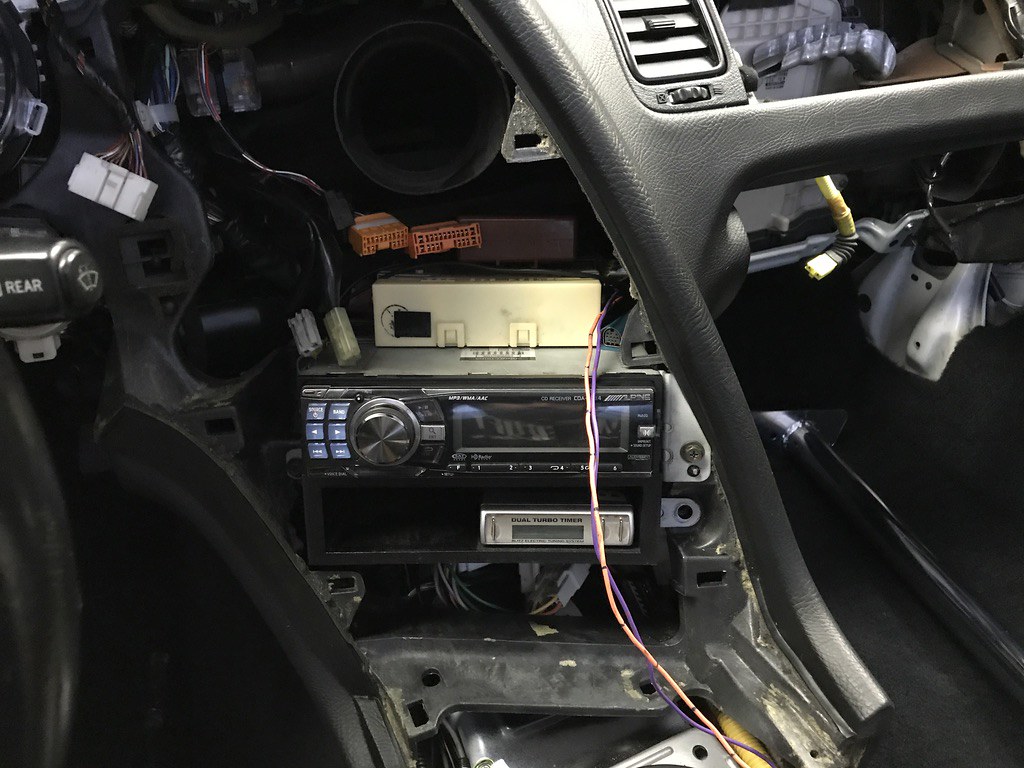
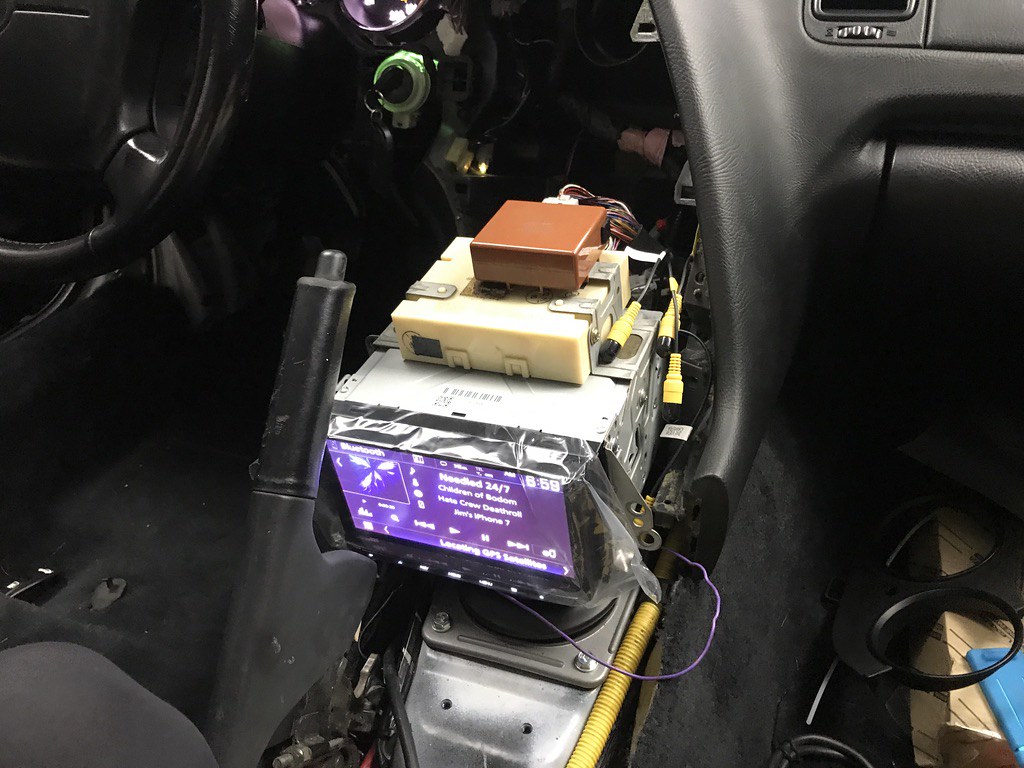
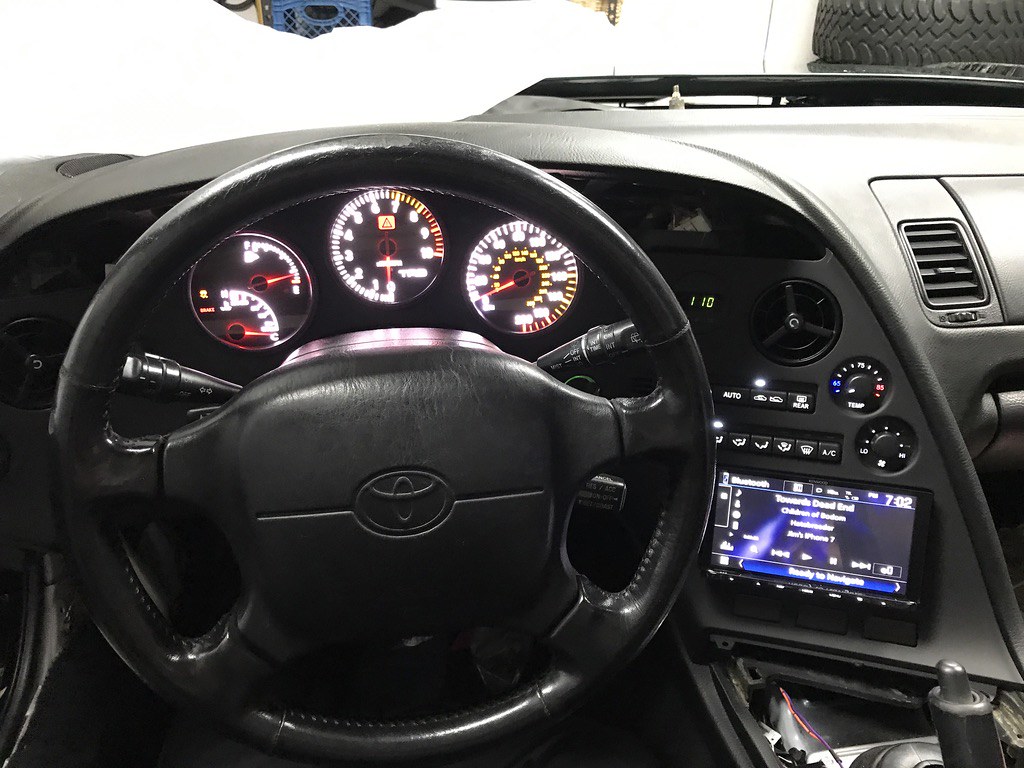
Since the dash is coming together, the plan is to upgrade the head unit to a double-din Kenwood DNX997XR, then use Stu Hagen’s method of using the OEM audio amp to power the OEM sub.


The old Alpine CDA-9884 that was in there before has been installed just for the meantime.

50618159223_661651214d_b.jpg


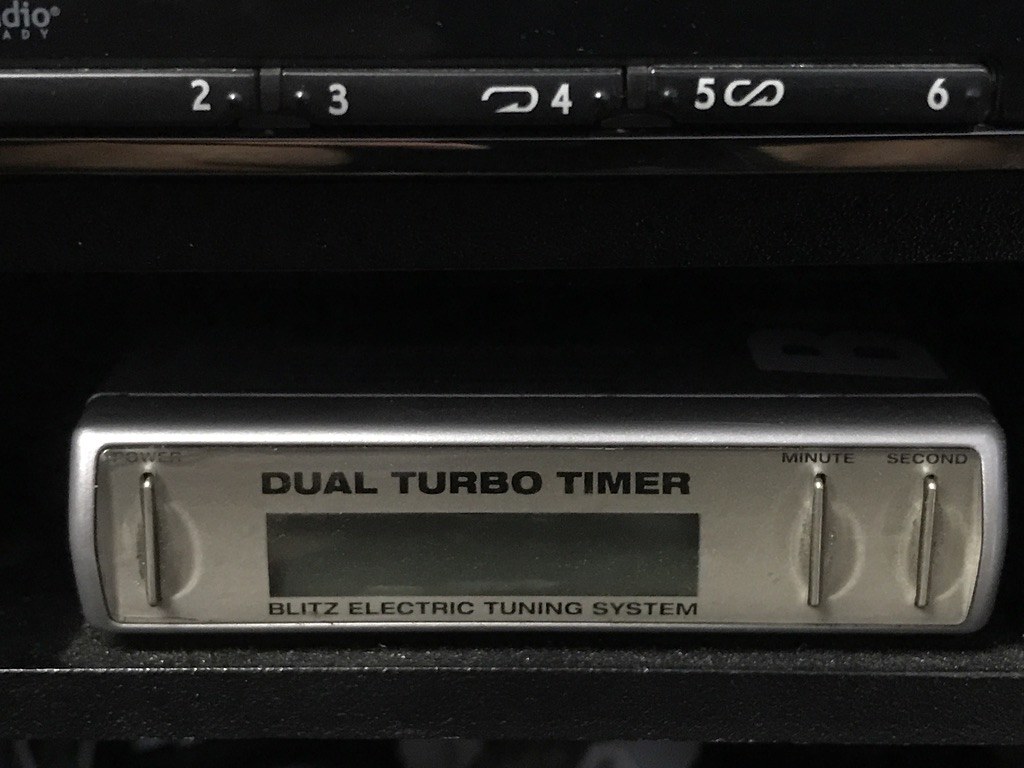
The Blitz turbo timer is definite old-school cool, and fits nicely below a single-din radio, but there’d be nowhere to mount it with a double-din. It’d have to go into the glove box since there would be no cutting involved to get it in there. The turbo timer setup is all subject to change once an engine management upgrade happens (leaning towards a plug and play ProEFI with conversion harness).


50618159153_fcd7c6c147_b.jpg


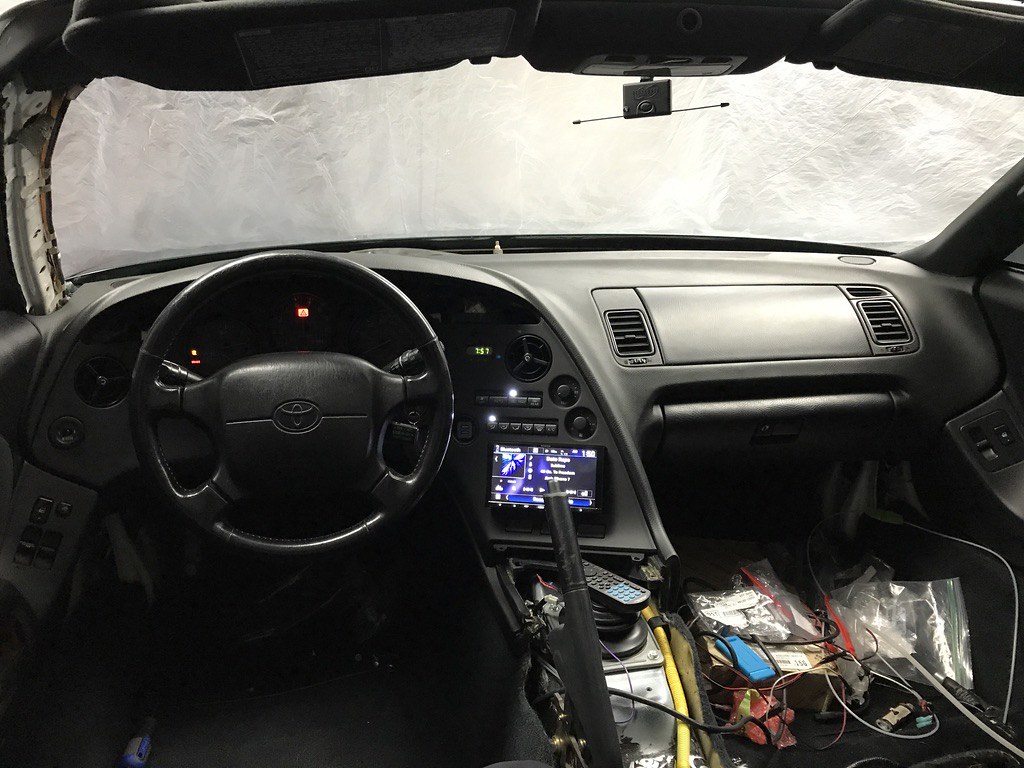
Trying to get a glimpse of a completed dashboard

50618914836_c31065d86d_b.jpg


50619021212_cfb2af5b1a_b.jpg


Radio antenna coming up for the first time in 2 years

50618175348_0015a059df_b.jpg
 
Last edited:
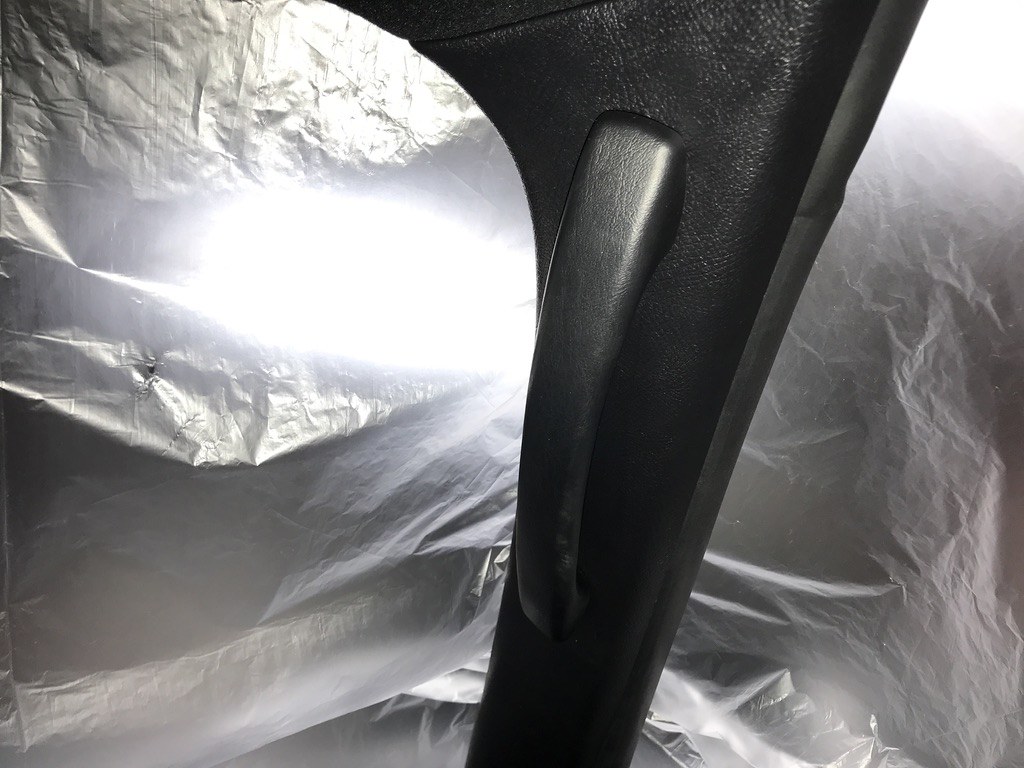
Original cluster surround

50618176188_8f7231d97a_b.jpg


Passenger A pillar cover and handle

50619022217_963233c171_b.jpg


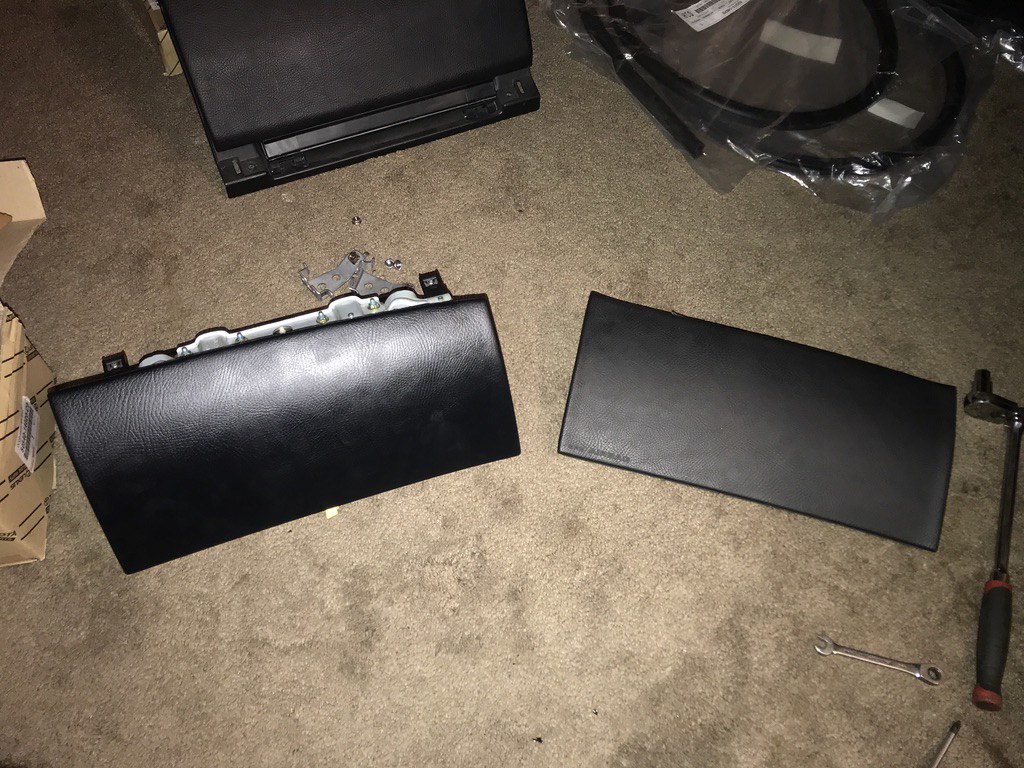
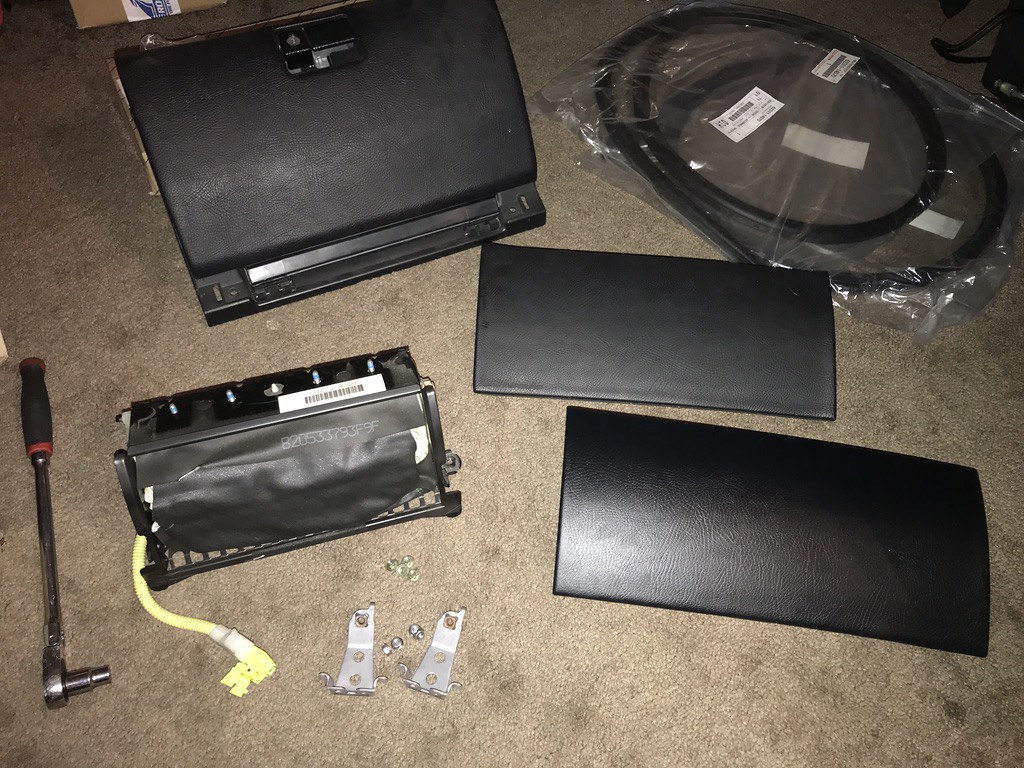
Airbag cover swapped with a modified delete panel

50619023207_8e8863400d_b.jpg


50618177668_6c287171f7_b.jpg


50618177578_74c39f8842_b.jpg


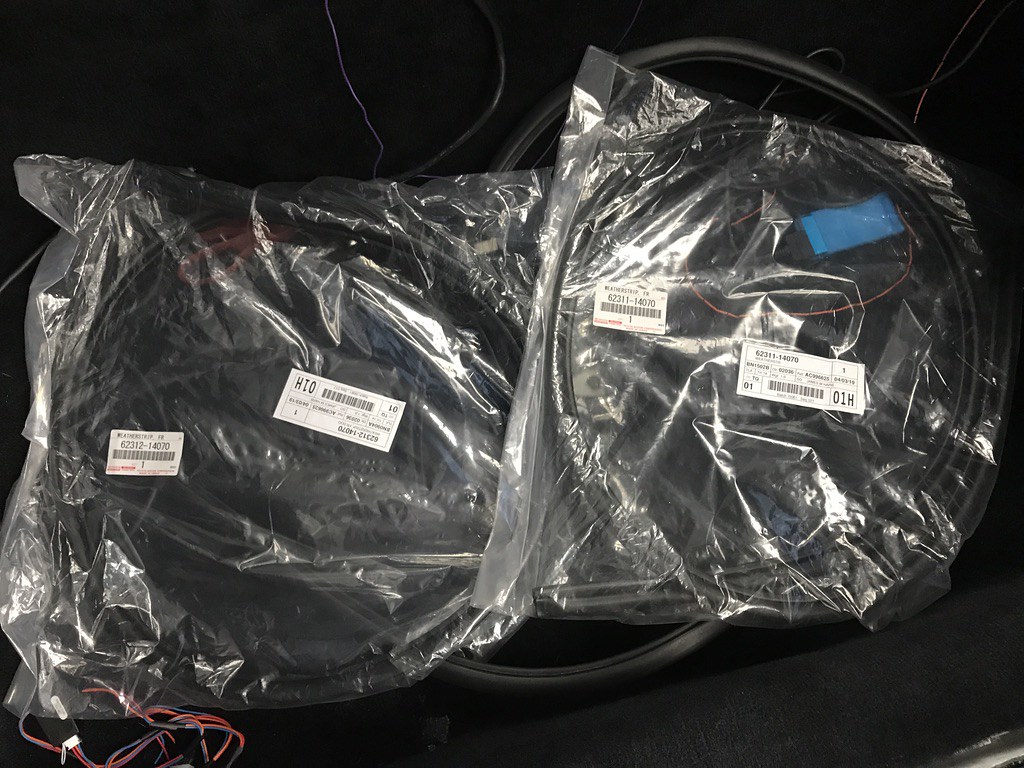
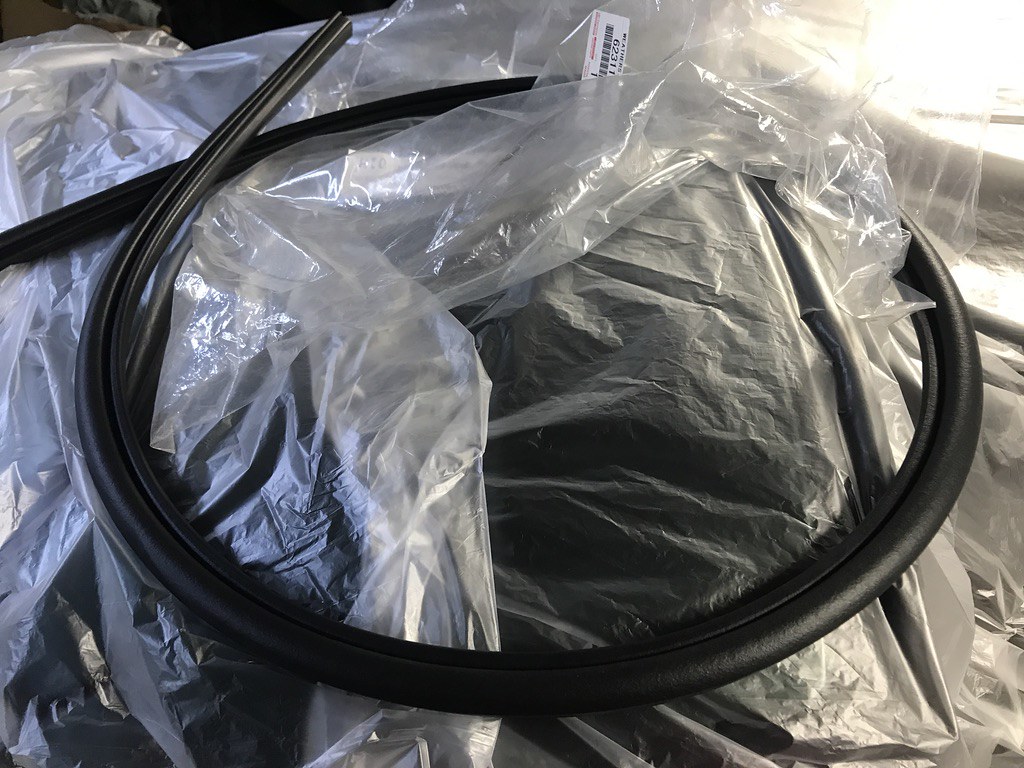
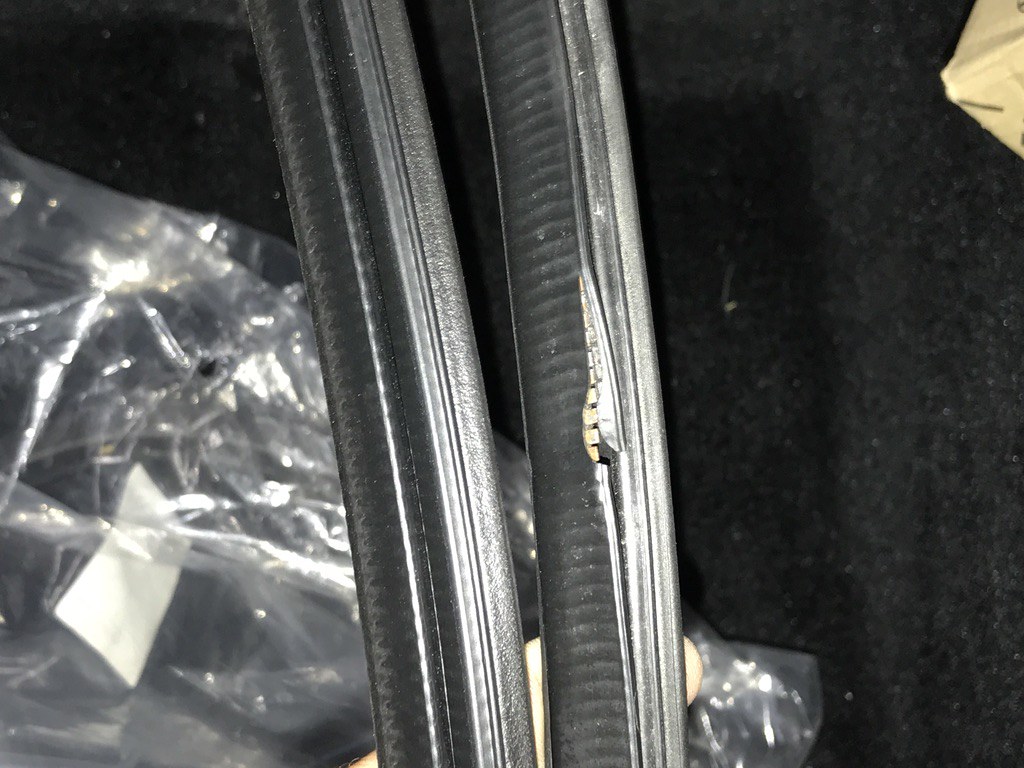
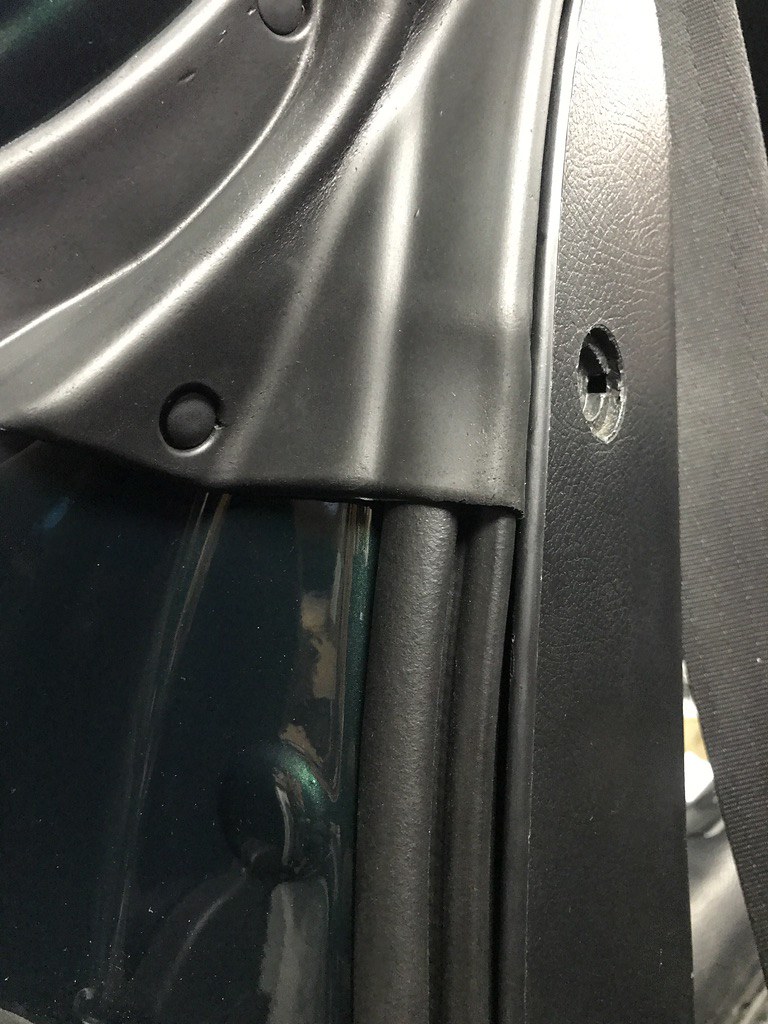
Chassis side door seals replaced with new

50618921006_1d91a50368_b.jpg


50618920981_b9c6f0faef_b.jpg


50618181973_201eca18f5_b.jpg


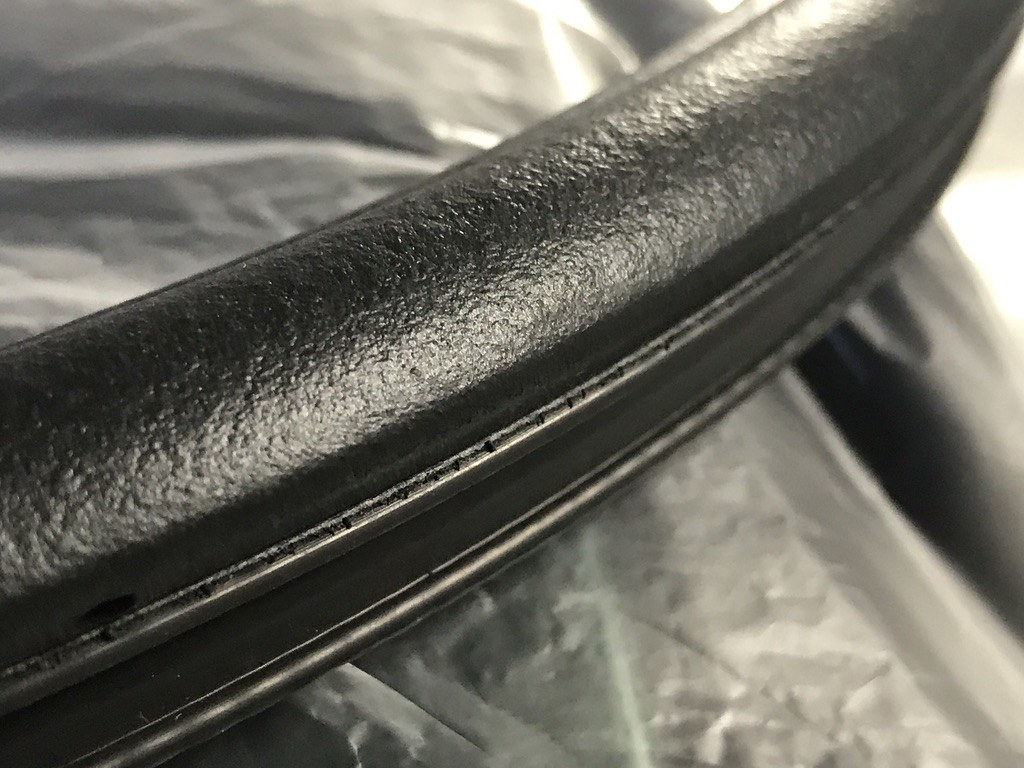
Comparison to original seals

50619027397_209801523d_b.jpg


There are new seals throughout the whole car. Clean and fresh.

50618920941_6236ede444_b.jpg
 
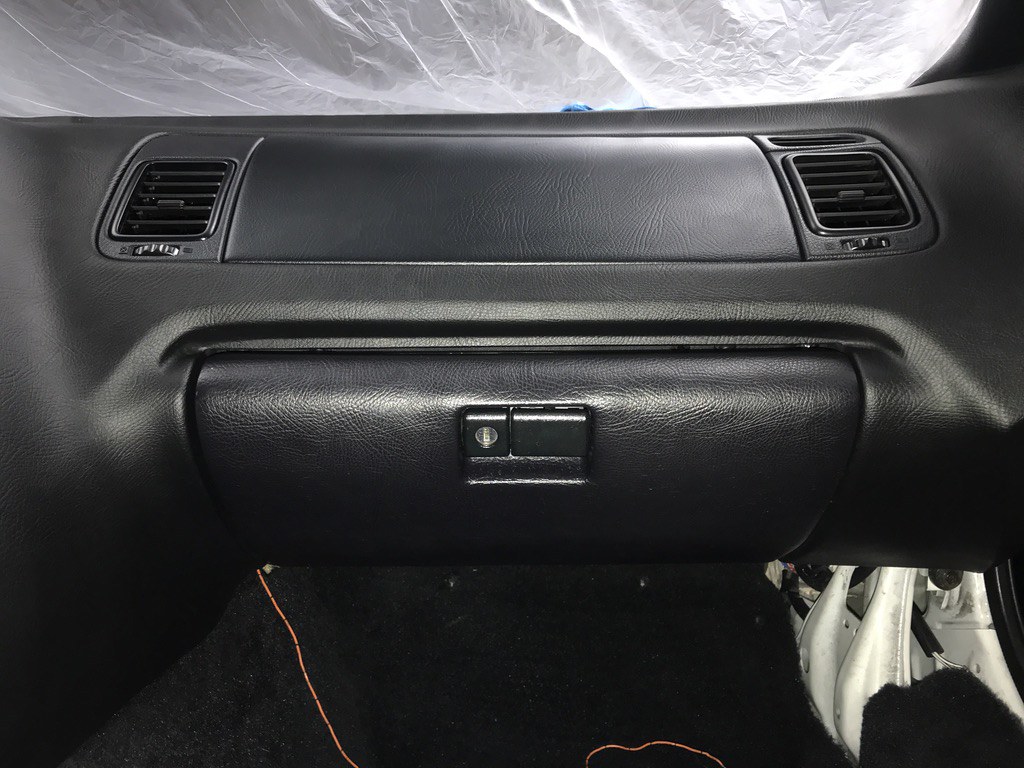
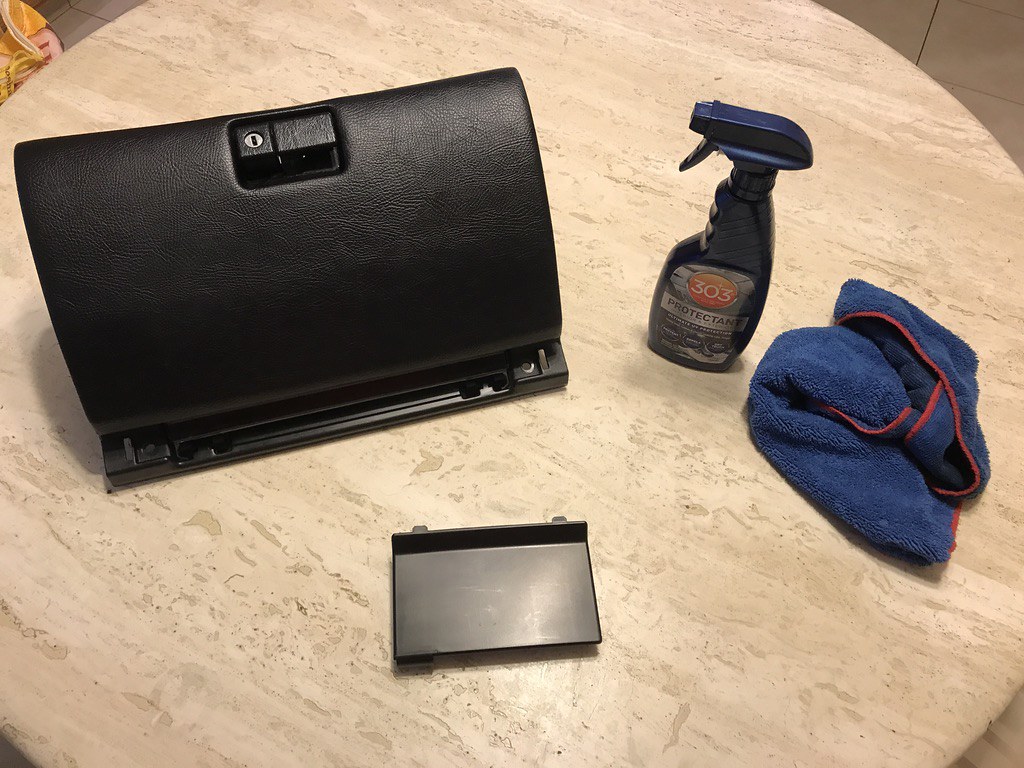
Original glovebox cleaned and treated with 303 protectant

50618920891_d0a1849656_b.jpg


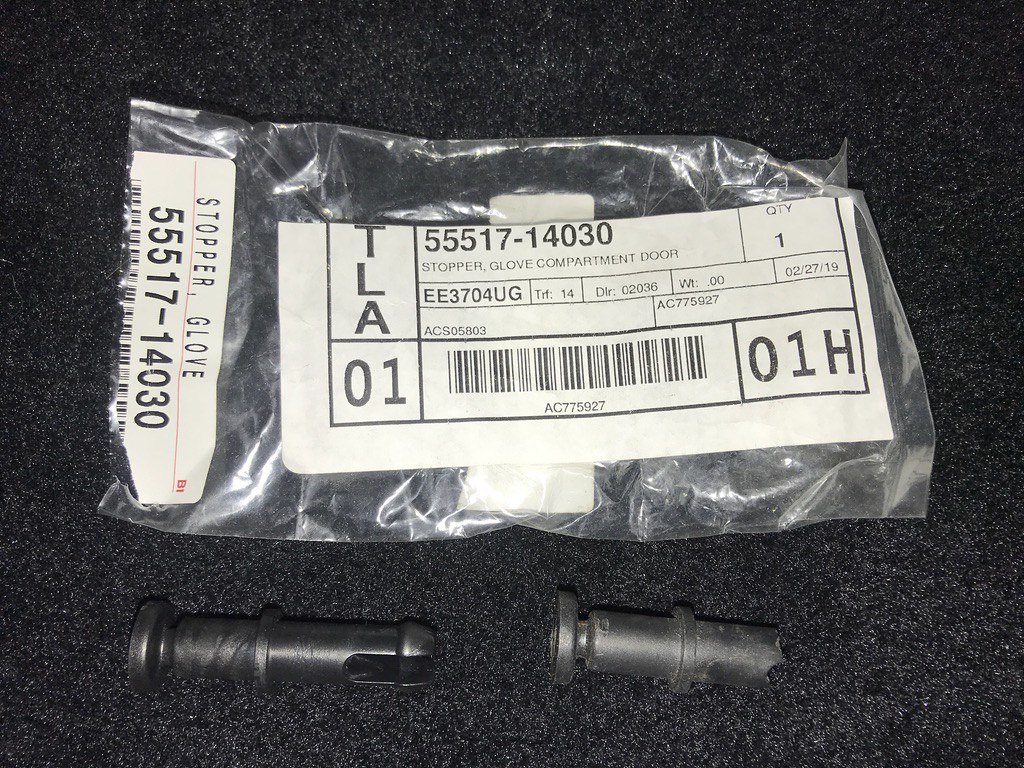
New spring stopper as the old one was broken

50618920806_5d84bd13c1_b.jpg


Glovebox and airbag install complete

50619027207_38457681fe_b.jpg


50618181598_c726a1fc97_b.jpg


Rear carpet clips (cargo area carpet where it attaches to back seat)

50663023353_65b85ebfe3_b.jpg


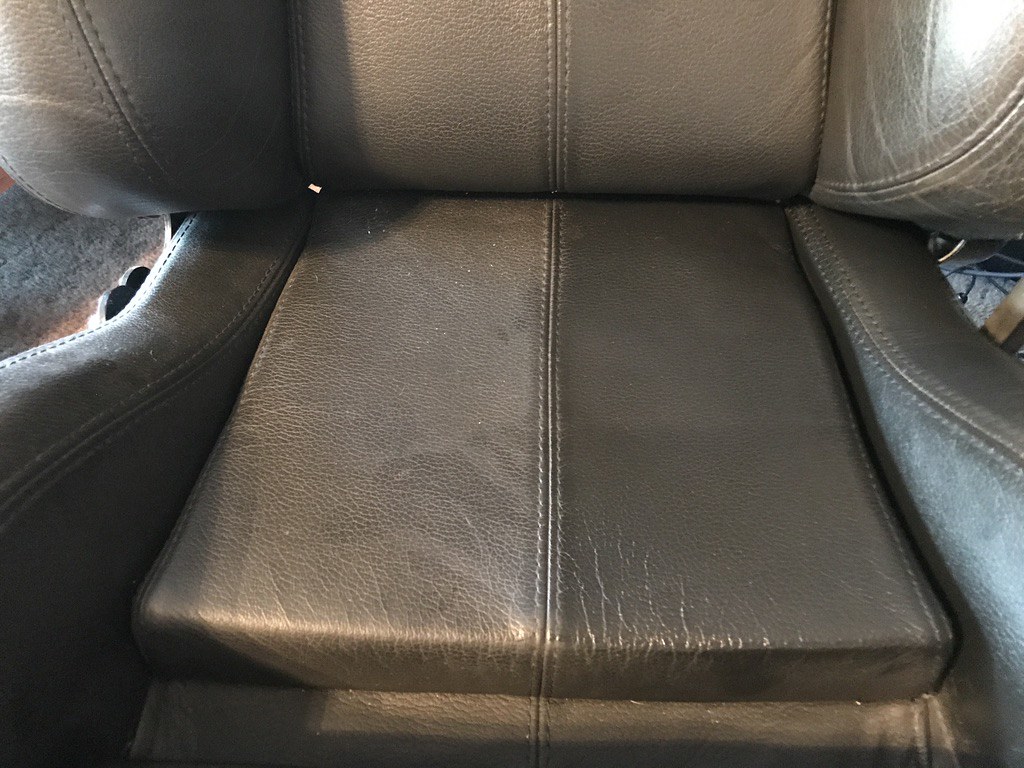
I went at the Sparco Milano Prestige II seats with Meguiar’s Leather Cleaner & Conditioner and a microfiber cloth.

Quick before and after.

50618176933_6328d93ed5_b.jpg


50618916276_4e03cb4e7c_b.jpg
 
Wow

James, I've been watching your threads for YEARS! I loved your transformation of your 99' 4R, then I was gobsmacked when I stumbled upon your thread on that incredible story of your 87' 4R! Then this 94' Supra!!! I absolutely love this beauty!!!!
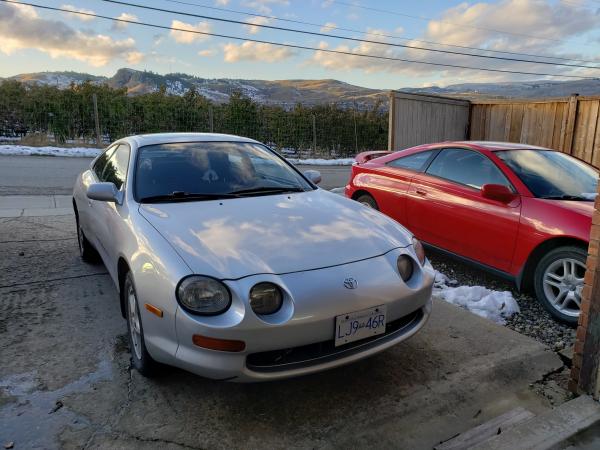
I have worked on several vehicles with my son now for a couple of years, starting with his first car, 2003 Mits Eclipse, then his 1990 Civic SI (my Wife described it as a "dog in a coma", it sat for a year after a fairly significant rear ender accident) and now he has been converted to Toyota--- he was lucky in finding a 94 Celica, 3 weeks ago, as his next project! Personally, I do generally prefer his Celica over my 2002 Celica. Up here in BC, Canada, his objective is to restore it to the point where he can get "collector plates" meaning a complete OEM restoration.
Major respect to you for your incredible commitment, time and efforts in the work you do, and the effort it takes to share these experiences. THANK YOU
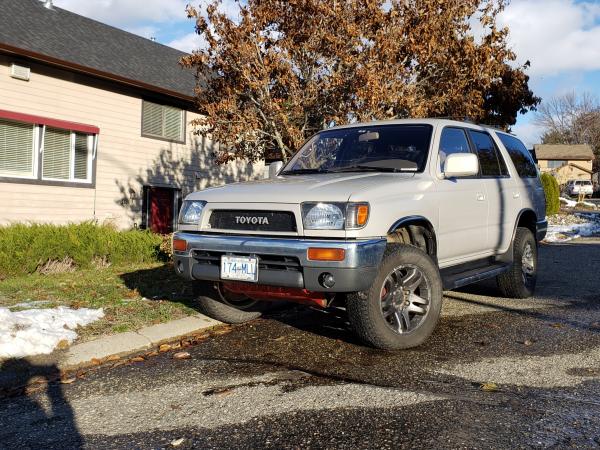
I'll share the latest pic of my beloved 4R and my son's Celica!!
poleclimber63-albums-progress--picture59549-4r-2-resized.jpg

poleclimber63-albums-progress--picture59548-94-celica1-resized.jpg
 
Well, somehow I got unsubscribed from this thread several months ago after following it since pretty much day 1. I can't say I'm too angry about it since there were so many great posts with all the work you've done! Seriously James, Well Done!

This car is amazing, and is only going to get more so. Keep up the fantastic work!
 
26 pages, well worth the read.

Well done Sir! You seem to have found a car with some hidden gems, its crazy to see some older HKS and Blitz goodies. I tried to find some older Fujitsubo exhaust for another project of mine and I can't find them anywhere. HKS is a go-to brand for me. Not to mention how much you have resurrected this car back to life, truly incredible transformation. Very clean. Excited to see which route you take on the single turbo setup.
 
I went through every single page of the whole build from the first to last and all I gotta say is wow......it's gorgeous. This Supra will for sure sell over $200k if you do end up selling it. If you don't mind if I ask, whats your occupation? I'm jealous and wish I could have this many projects - this just makes me want to hustle and try harder in College to have cars and projects like these!
 
Last edited:
James, I've been watching your threads for YEARS! I loved your transformation of your 99' 4R, then I was gobsmacked when I stumbled upon your thread on that incredible story of your 87' 4R! Then this 94' Supra!!! I absolutely love this beauty!!!!
I have worked on several vehicles with my son now for a couple of years, starting with his first car, 2003 Mits Eclipse, then his 1990 Civic SI (my Wife described it as a "dog in a coma", it sat for a year after a fairly significant rear ender accident) and now he has been converted to Toyota--- he was lucky in finding a 94 Celica, 3 weeks ago, as his next project! Personally, I do generally prefer his Celica over my 2002 Celica. Up here in BC, Canada, his objective is to restore it to the point where he can get "collector plates" meaning a complete OEM restoration.
Major respect to you for your incredible commitment, time and efforts in the work you do, and the effort it takes to share these experiences. THANK YOU
I'll share the latest pic of my beloved 4R and my son's Celica!!

Hey pole climber! Yes, I have seen you around these forums for many years as well! The OG 3rd gen community was my favorite group of all, genuine Toyota enthusiasts who aren’t just following the new trend! Thanks for all of your kind words about my other builds you’ve seen.

Good to hear your son has been converted to the Toyota life. That 94 Celica is a beauty, and same for your red 02! I haven’t any experience with either of those years to have much of an opinion, but going off of the excellent GT-FOUR variants that are so well revered, it must be a good car even in FWD form. In Canada, to get collector plates must be a true honor!

Great pics and as always, amazing 3rd gen 4Runner. Best wheels available IMO! Thanks for all of your kind words and looking forward to seeing you through the future on T4R.

Well, somehow I got unsubscribed from this thread several months ago after following it since pretty much day 1. I can't say I'm too angry about it since there were so many great posts with all the work you've done! Seriously James, Well Done!

This car is amazing, and is only going to get more so. Keep up the fantastic work!

You could have gone a few months this time and not noticed a thing… LOL… Gotta catch up on some posts here, slowly, but surely! Thank you JBurt as always!

26 pages, well worth the read.

Well done Sir! You seem to have found a car with some hidden gems, its crazy to see some older HKS and Blitz goodies. I tried to find some older Fujitsubo exhaust for another project of mine and I can't find them anywhere. HKS is a go-to brand for me. Not to mention how much you have resurrected this car back to life, truly incredible transformation. Very clean. Excited to see which route you take on the single turbo setup.

Hi Tomm. I got very lucky in regards to finding a car with some hidden gems. I sold a few of the good parts, like the Blitz wheels, but they’re living happily on another Supra enthusiasts car. Finding some older exhausts that haven’t been beaten to crap over the years commands some serious coin! Hope you find that Fujitsobo exhaust that you’re after.

Thank you for your kind words and I will definitely post many details on the single turbo setup, when it gets to that stage.

I went through every single page of the whole build from the first to last and all I gotta say is wow......it's gorgeous. This Supra will for sure sell over $200k if you do end up selling it. If you don't mind if I ask, whats your occupation? I'm jealous and wish I could have this many projects - this just makes me want to hustle and try harder in College to have cars and projects like these!

Thanks FD, she’s come a long way since Blitz body kit and white pearl faded paint… but, truth be told, these Supra guys these days are so aware of the smallest of details. Just the fact that this car has a “history” might eliminate it from the 200k running idea, but then again there have been salvaged/completely rebuilt cars that have sold for huge numbers. There’s no chance I’m ever letting go of this car, but I really do wonder what its final value would be.

My occupation has changed a few times in the course of Supra ownership, but right now I’m working on my own business venture doing packet filling for the cosmetics industry. Random, but it has potential for big profits. The other thing I’m doing is running a collectibles store on eBay, I started it after purchasing a large lot of 73 pallets of new/packaged vintage collectibles… everything from GI Joes to baseball cards! For what it’s worth, I dropped out of college, and going the corporate route was not for me… but you should definitely get that degree if you desire it! Best of luck attaining your project car goals!
 
Getting back at it…


50826685313_0dfa03b8e3_b.jpg


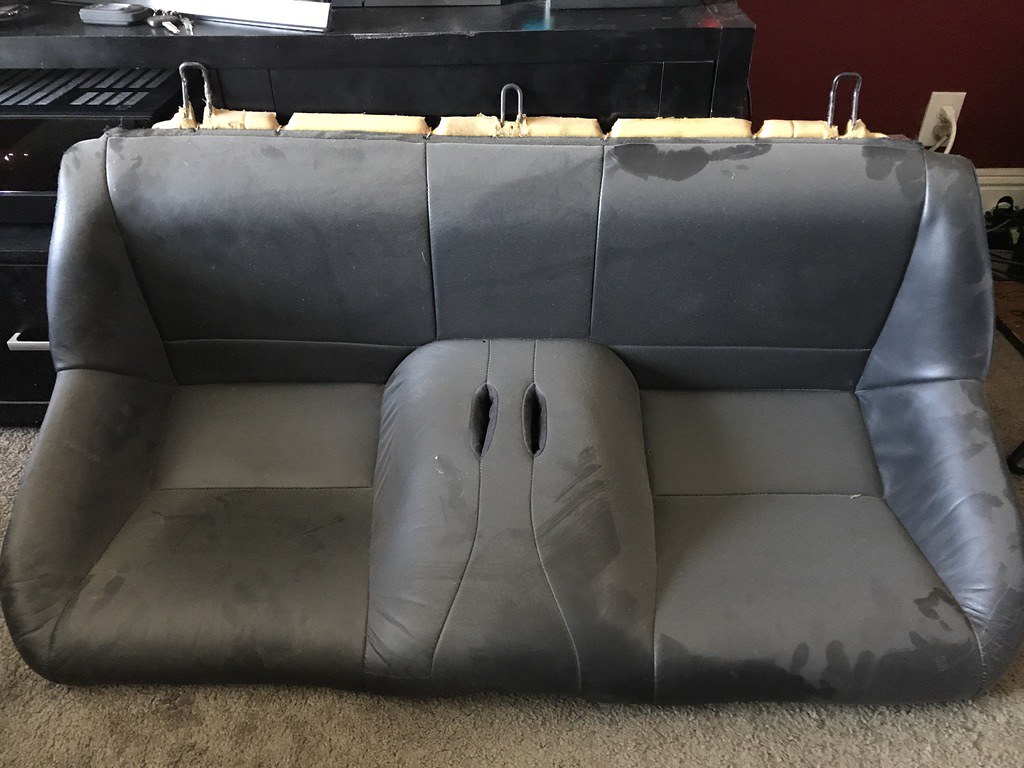
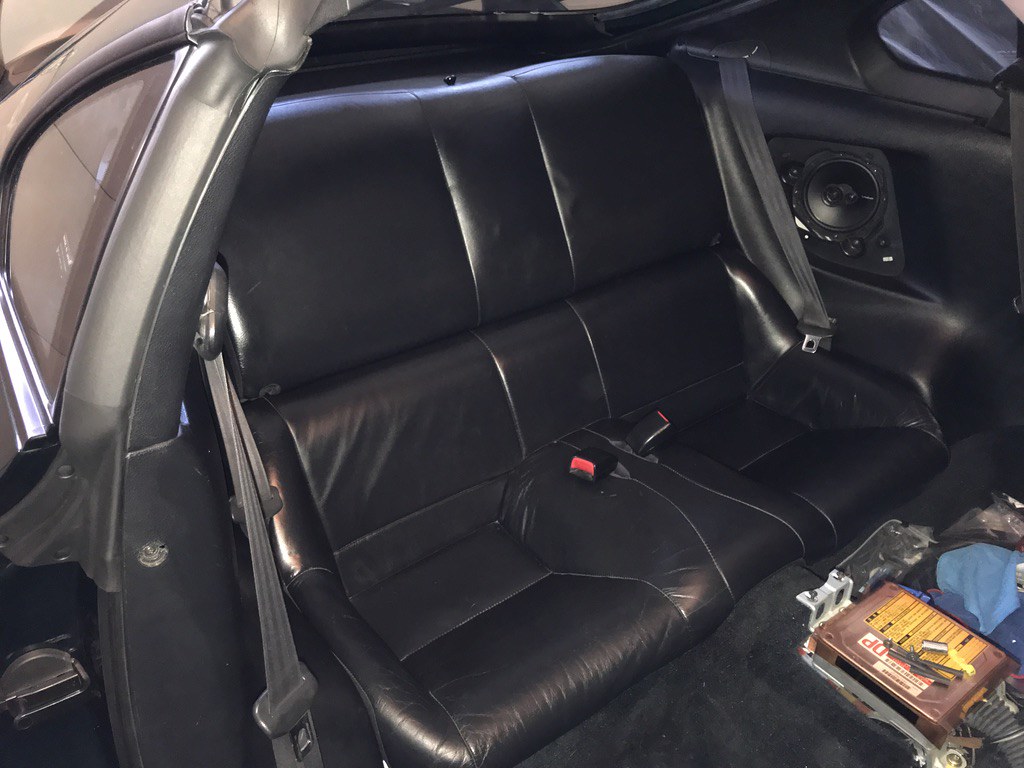
The original back seat had a large burn on the right hand seat, through the leather and into the foam. I purchased this back seat all the way back in 2015 when I had acquired the OEM fenders, hood, and other panels. It’s been sitting in storage since, as the dust buildup shows:

50826686828_3a0dac85ea_b.jpg


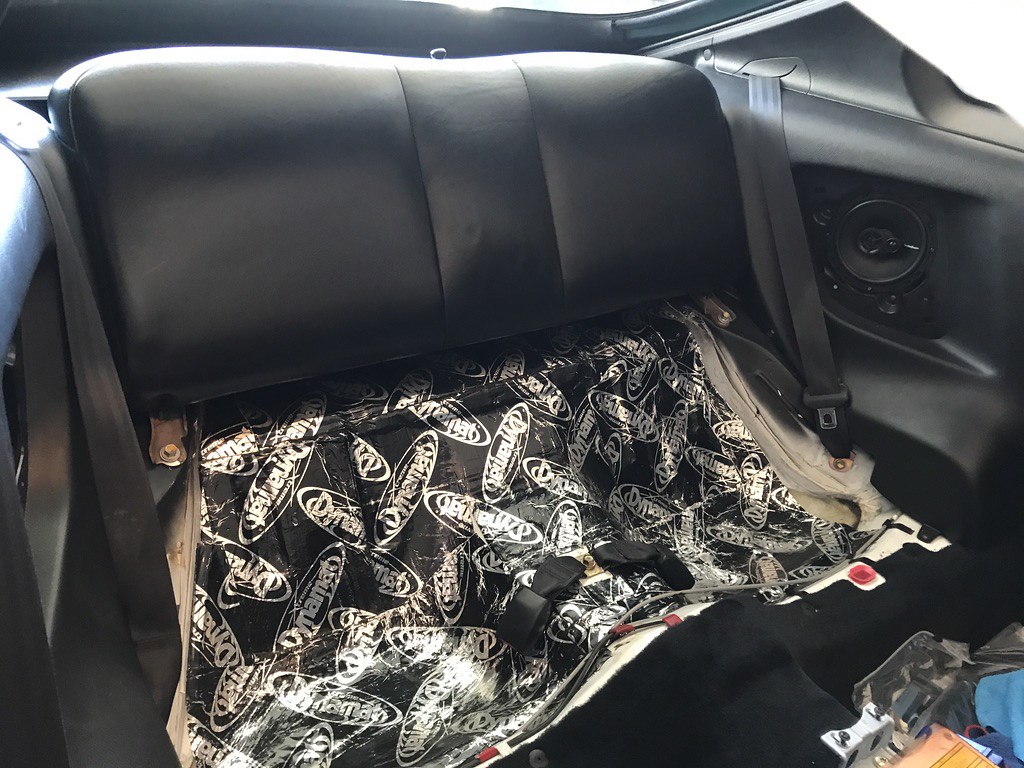
I still may want to replace or rewrap the rear seats as they aren’t perfect, but ultimately, no one sits back there anyway.

50827432551_967b35c860_b.jpg


50826686763_a3b97945bd_b.jpg


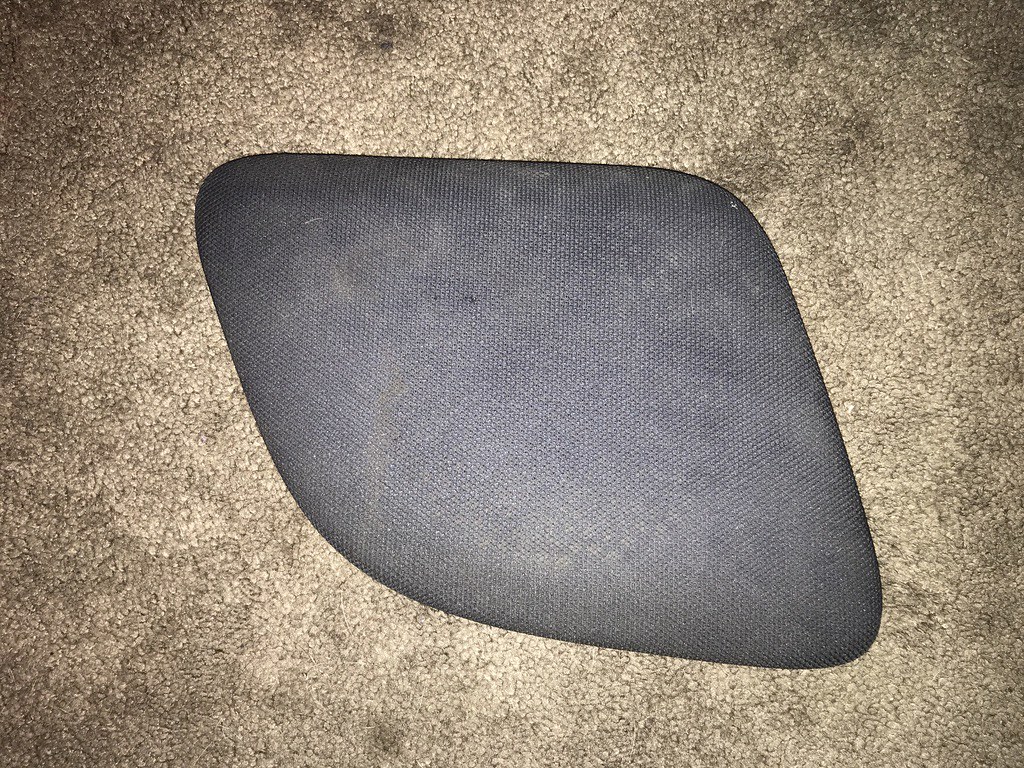
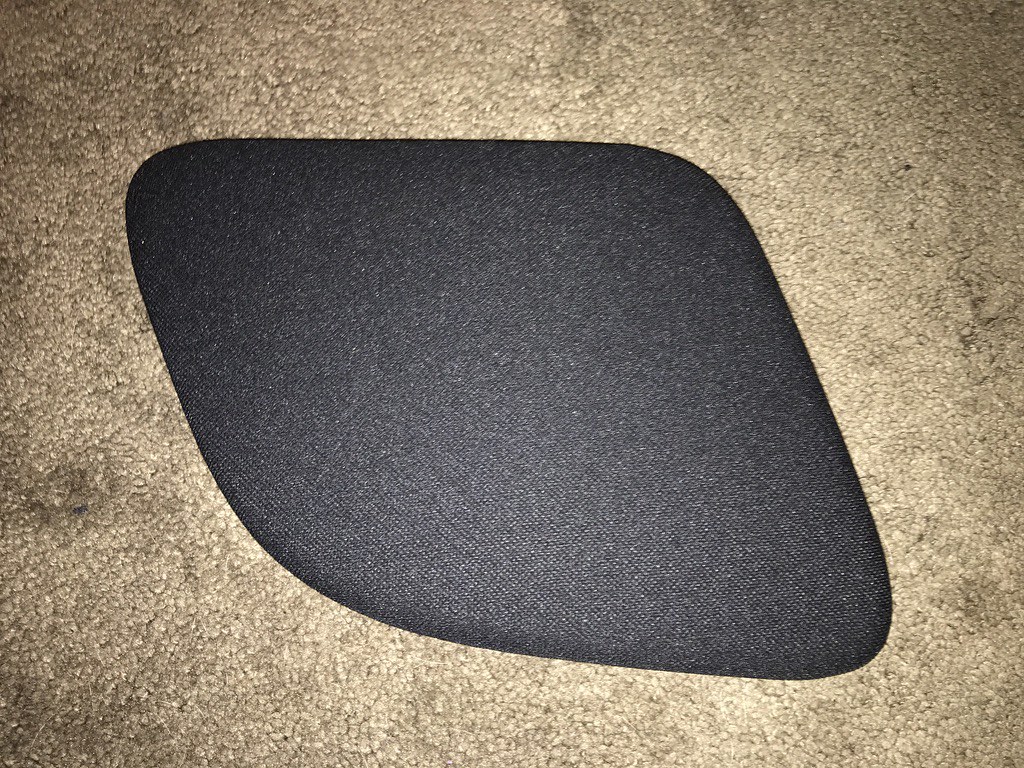
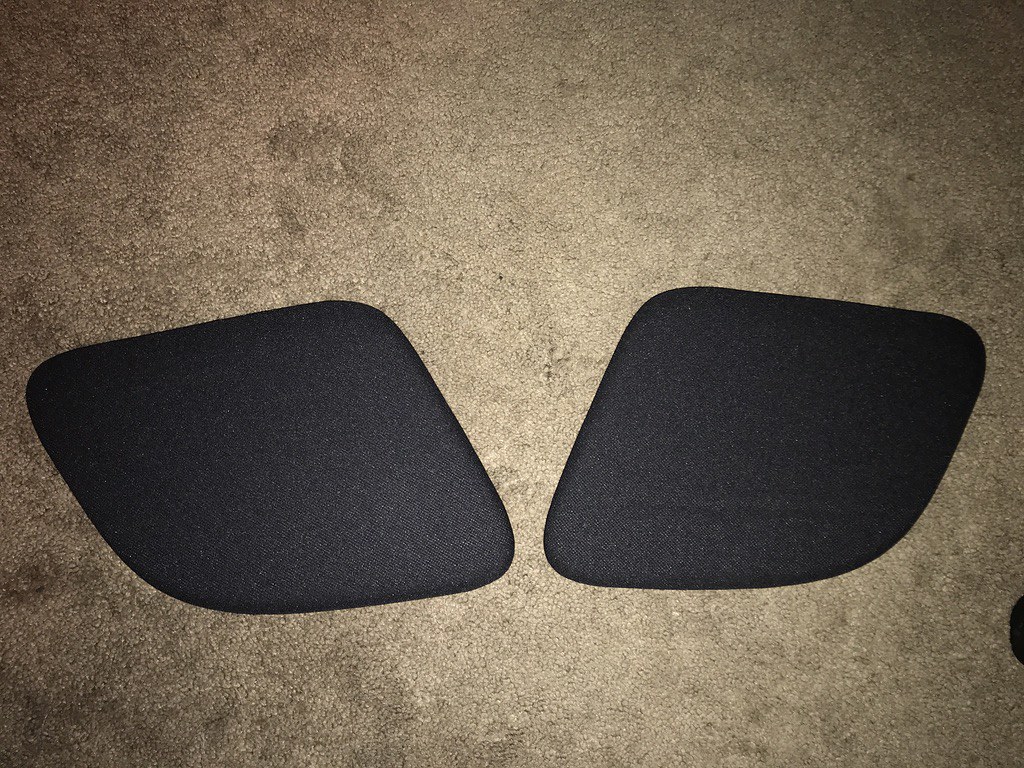
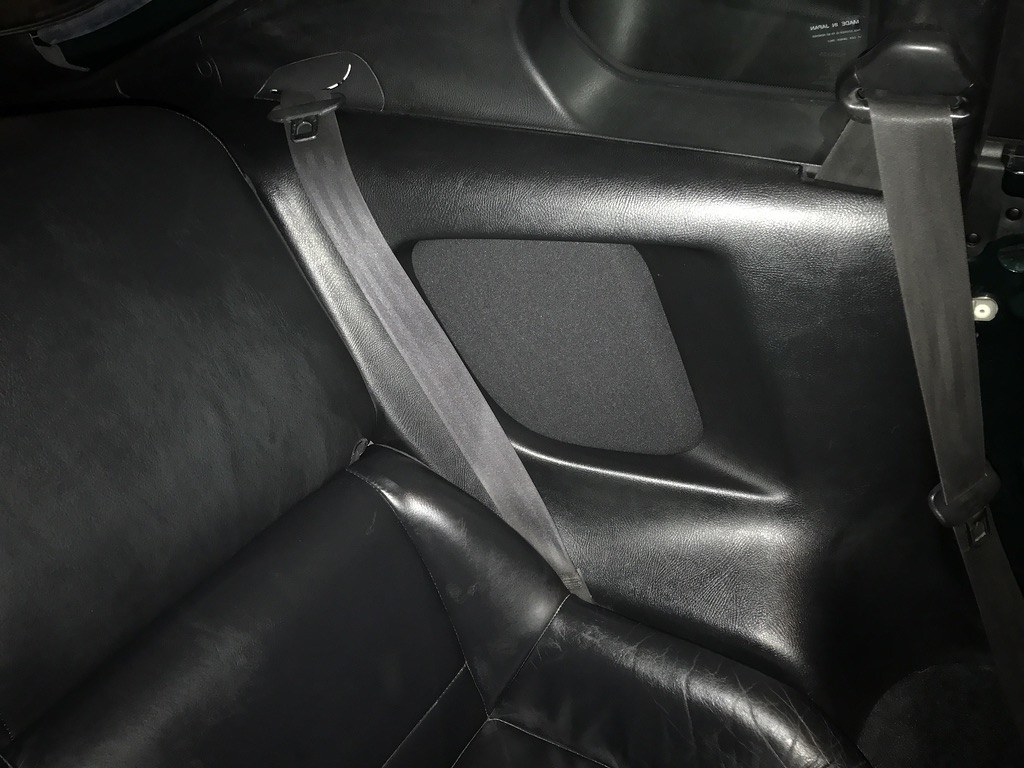
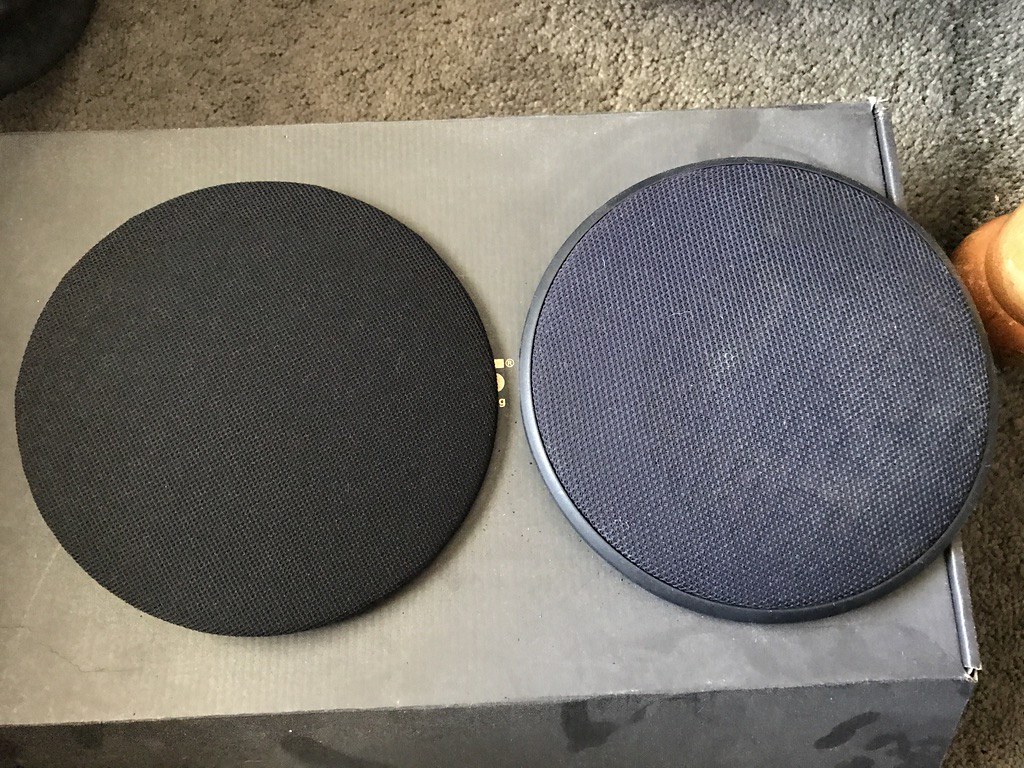
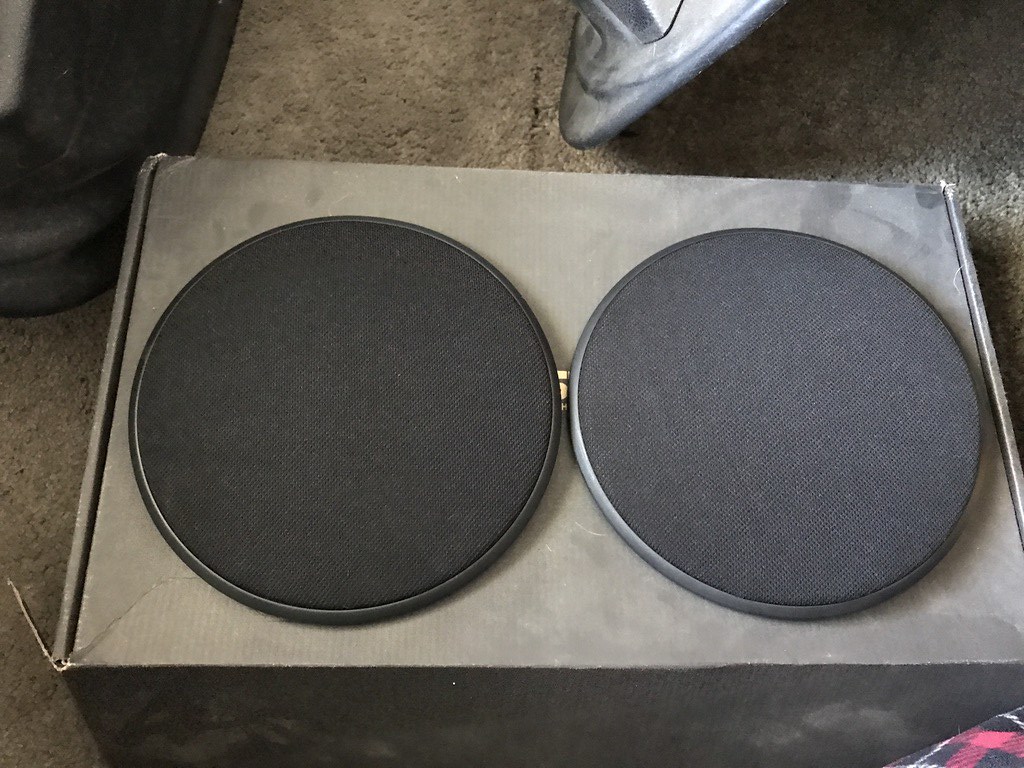
Up next was the rear speaker grills. I chose to rewrap them with Mellotone premium speaker fabric. I used a gorilla hot glue gun to secure the new fabric to the plastic grill.

Before:

50827522627_0deff158cc_b.jpg


After:

50827523487_be2cdb20e5_b.jpg


50826687323_86a696cfc1_b.jpg


50827523437_61b77d41de_b.jpg


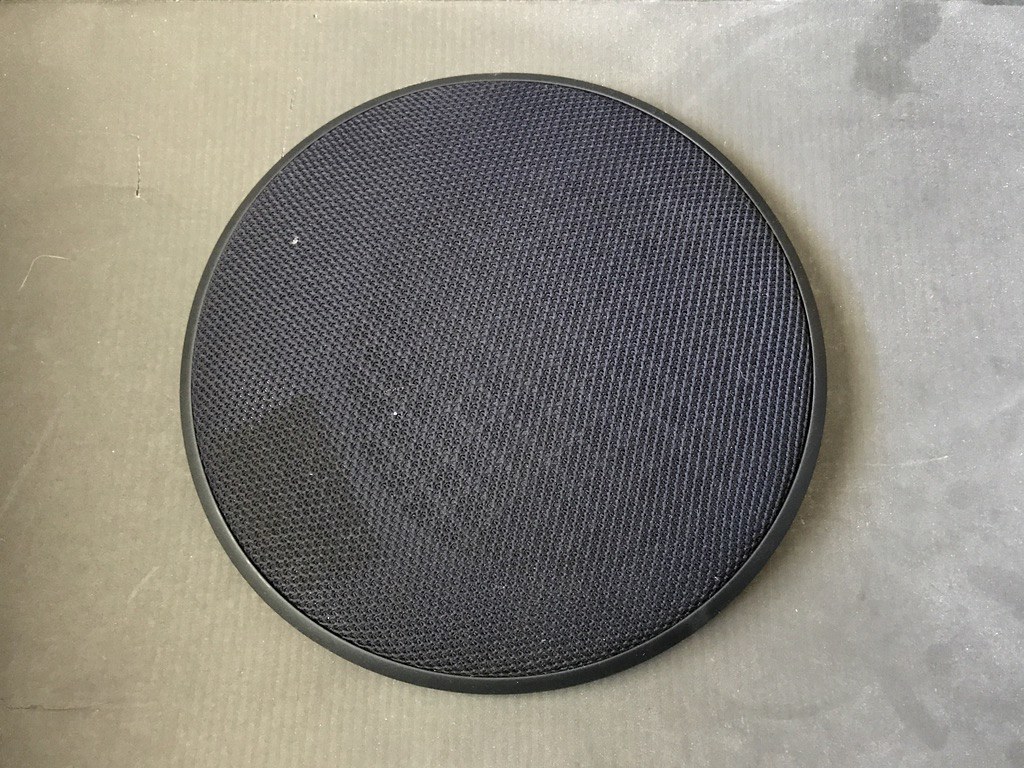
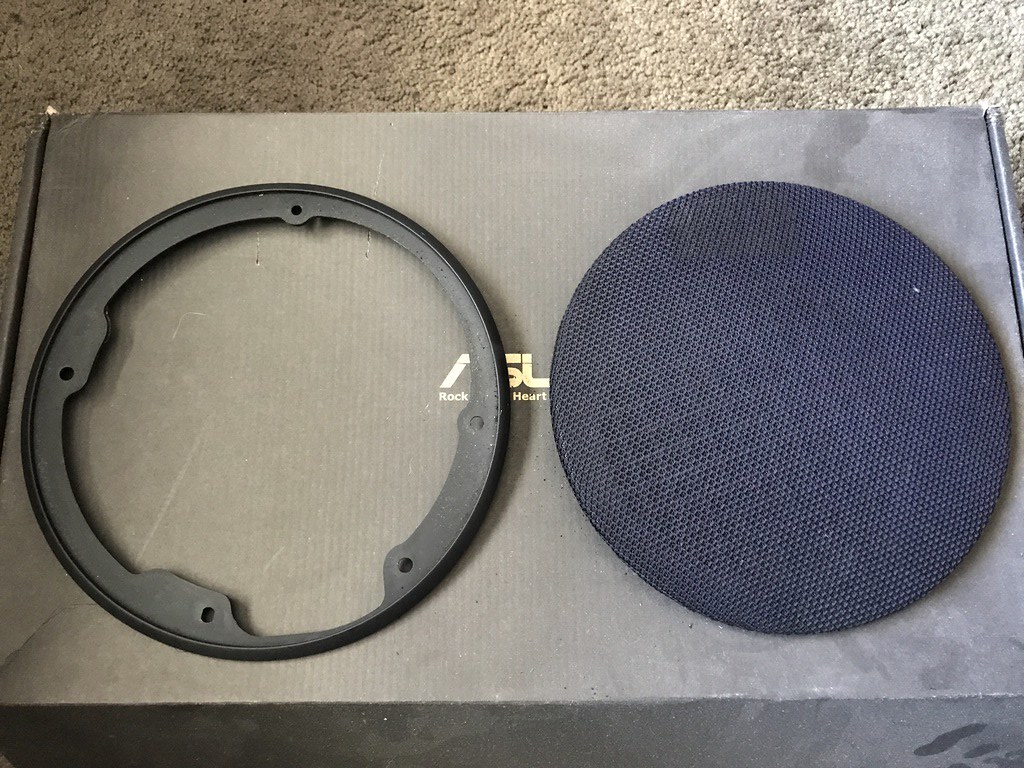
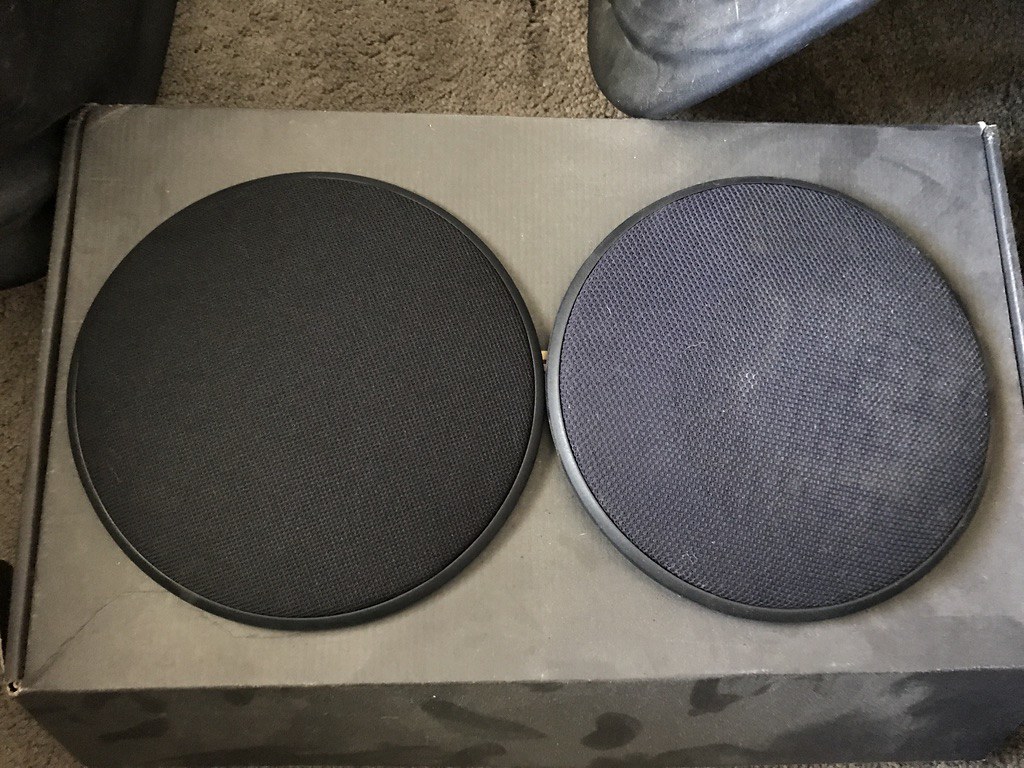
The front speaker grills were similarly ugly, so they got the same Mellotone fabric.

50827433426_c6a02514bc_b.jpg


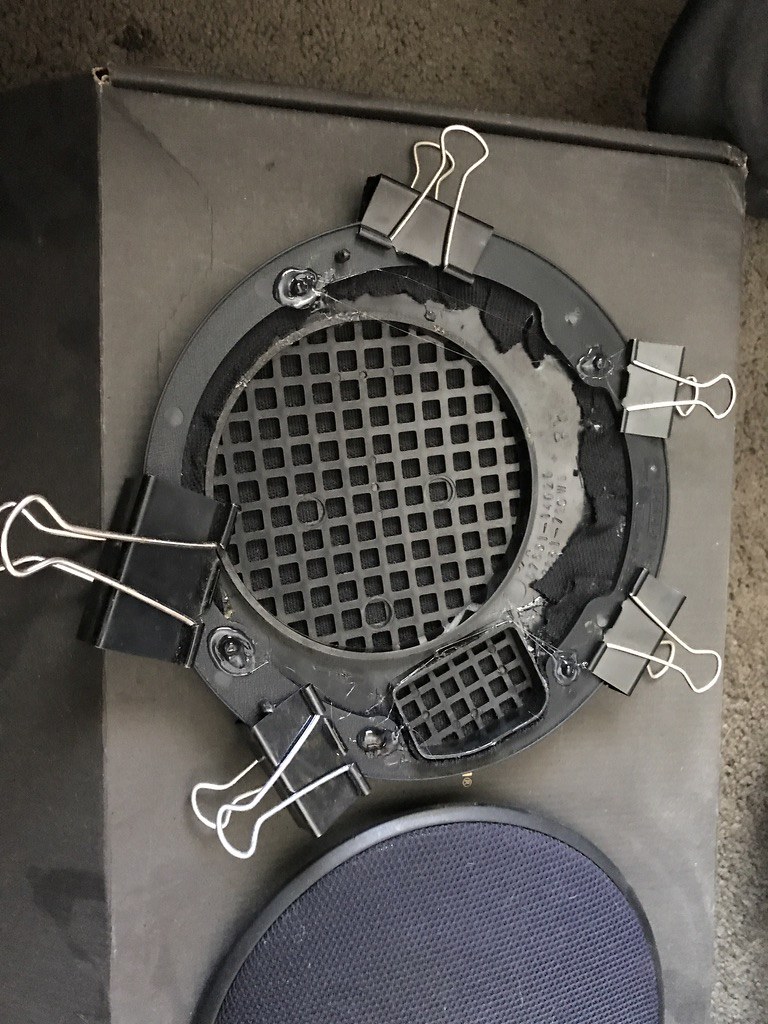
First, the grills must be disassembled from the plastic trim ring.

50827523772_9b71df7a36_b.jpg


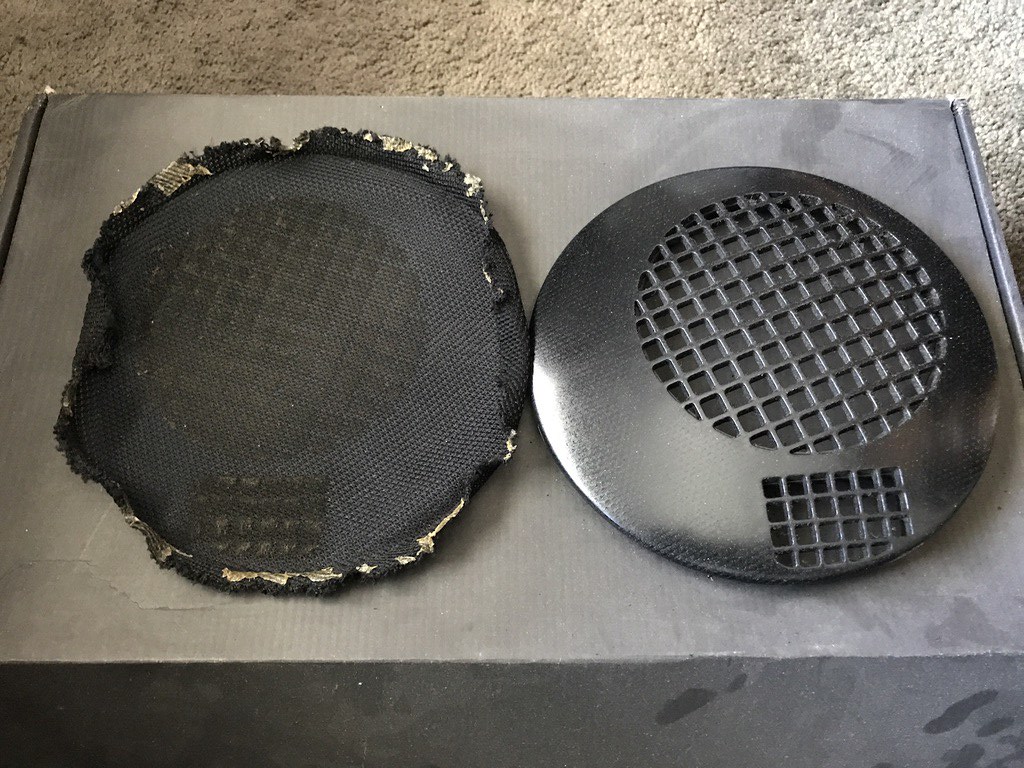
With the old fabric removed:
50827433401_d7c300dfab_b.jpg


New fabric vs old:
50827433391_7975d57d65_b.jpg


Gluing back together, including the trim ring

50827433371_525b2d7d38_b.jpg


And assembled!

50827523722_2d4bfb4690_b.jpg


50827523707_765d15b224_b.jpg
 
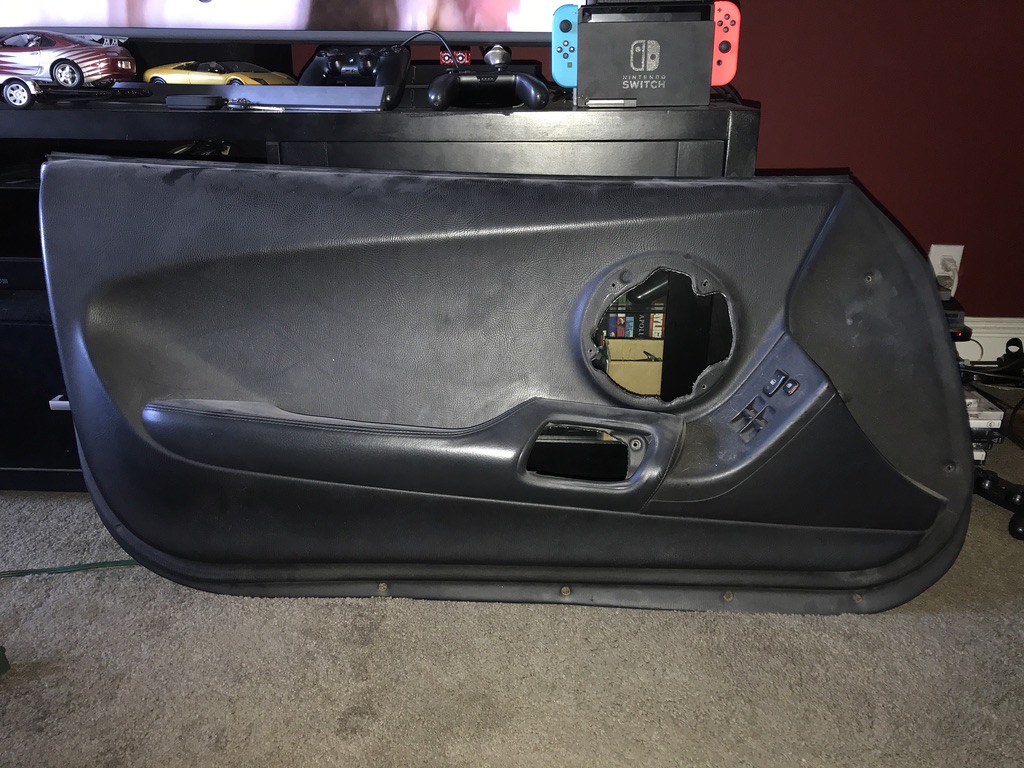
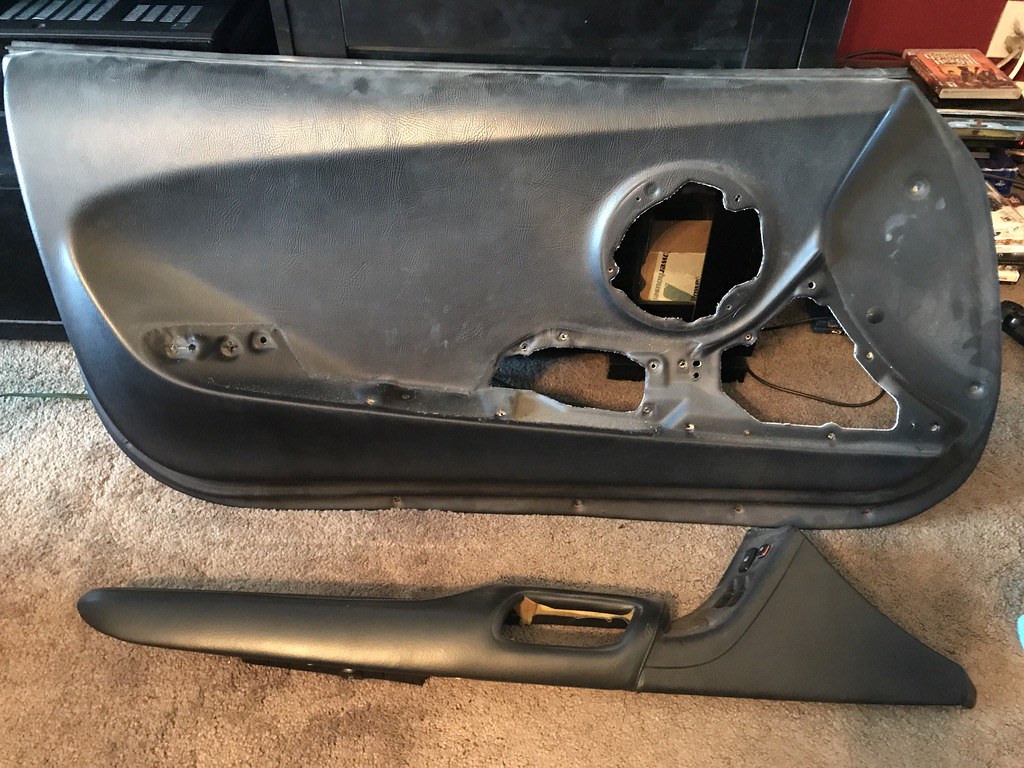
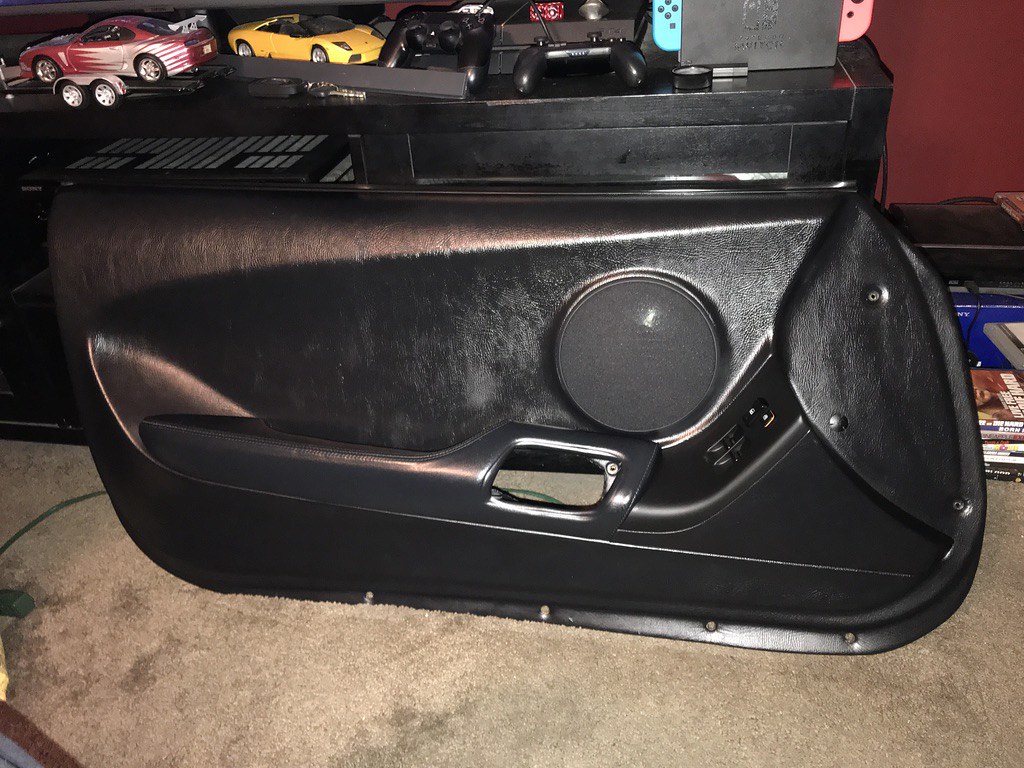
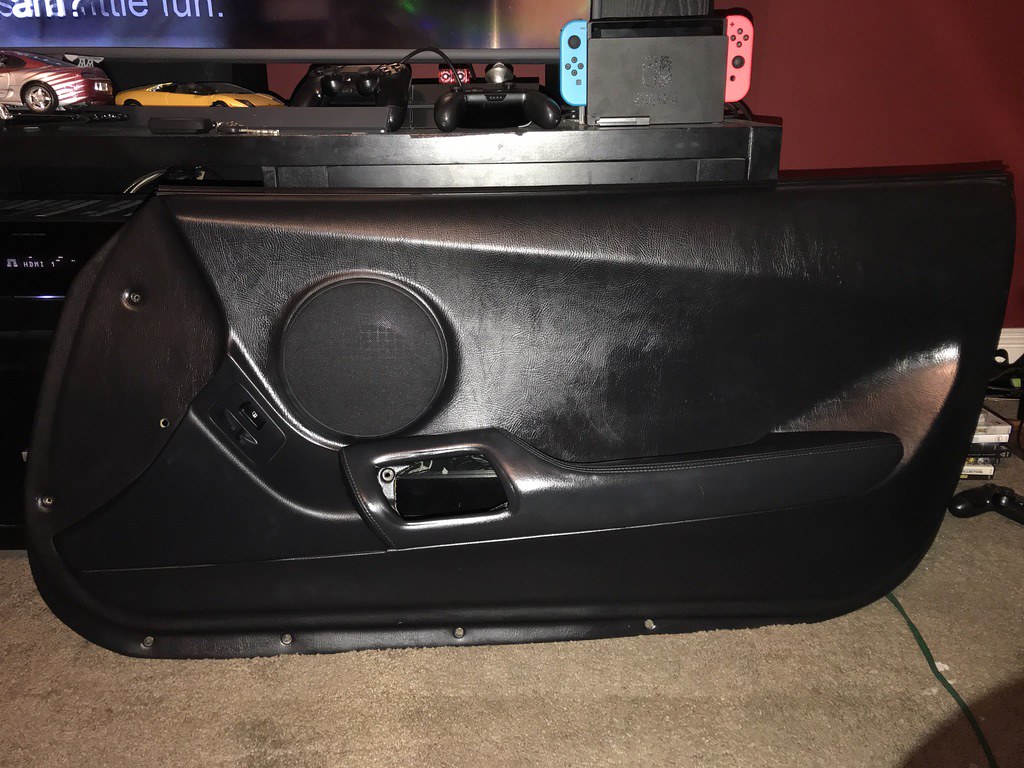
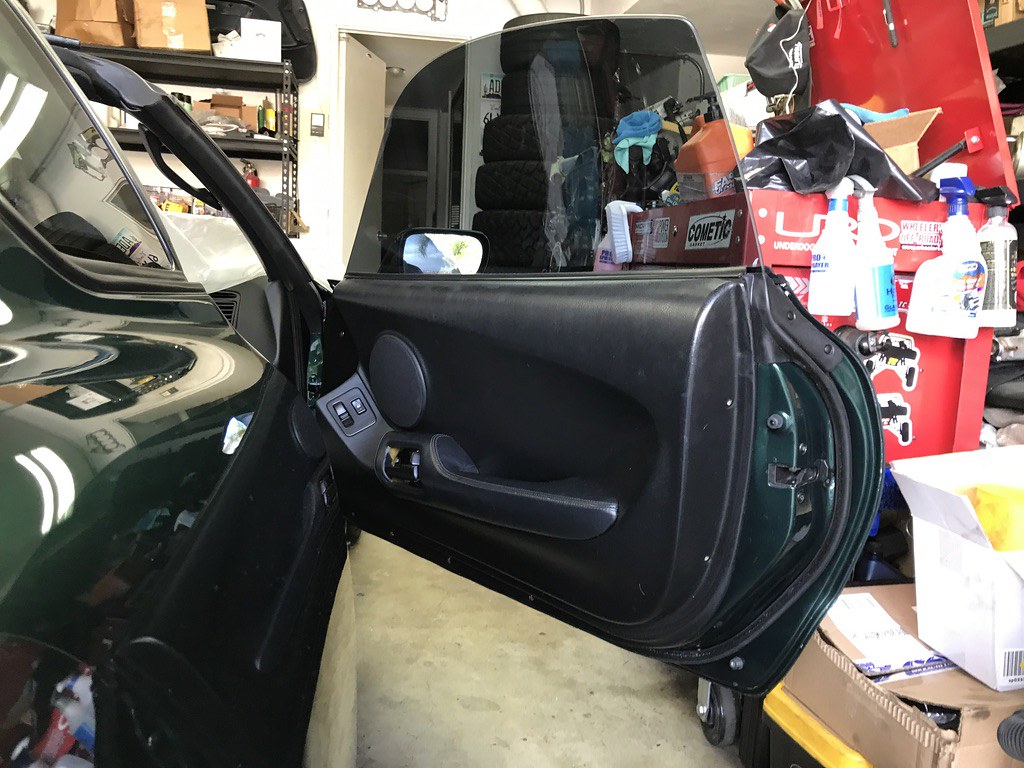
The door panels are original to the car, and have been sitting in storage since 2017.

50827433616_51ef9ba7ab_b.jpg


50827433601_652cf4bbcd_b.jpg


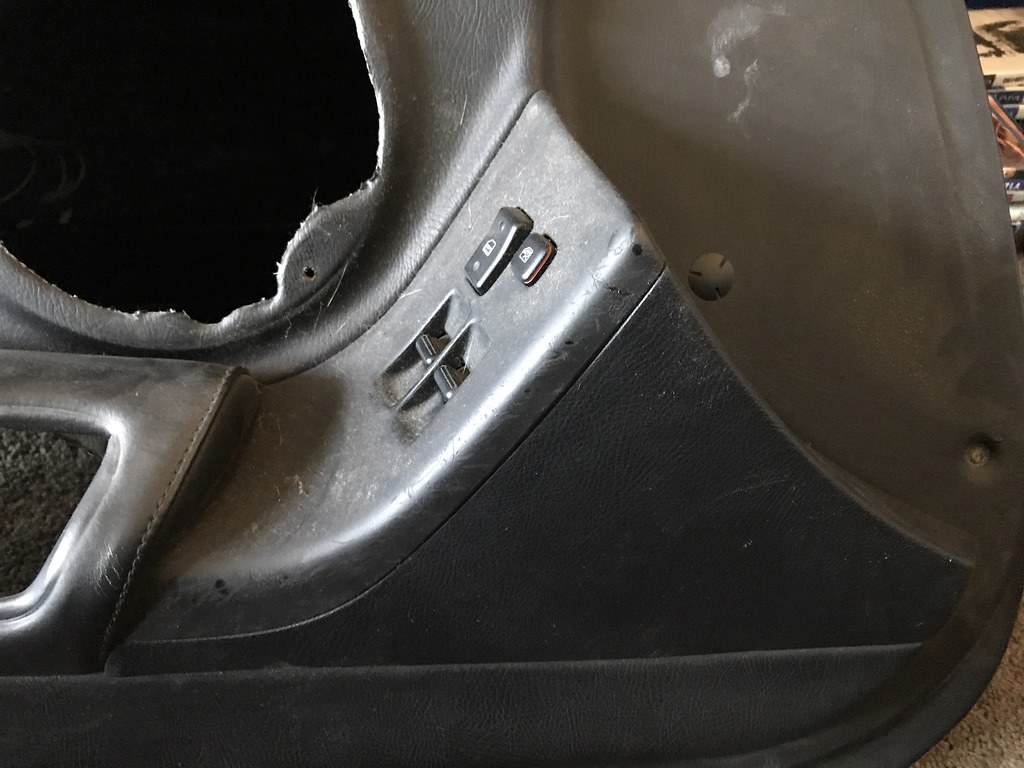
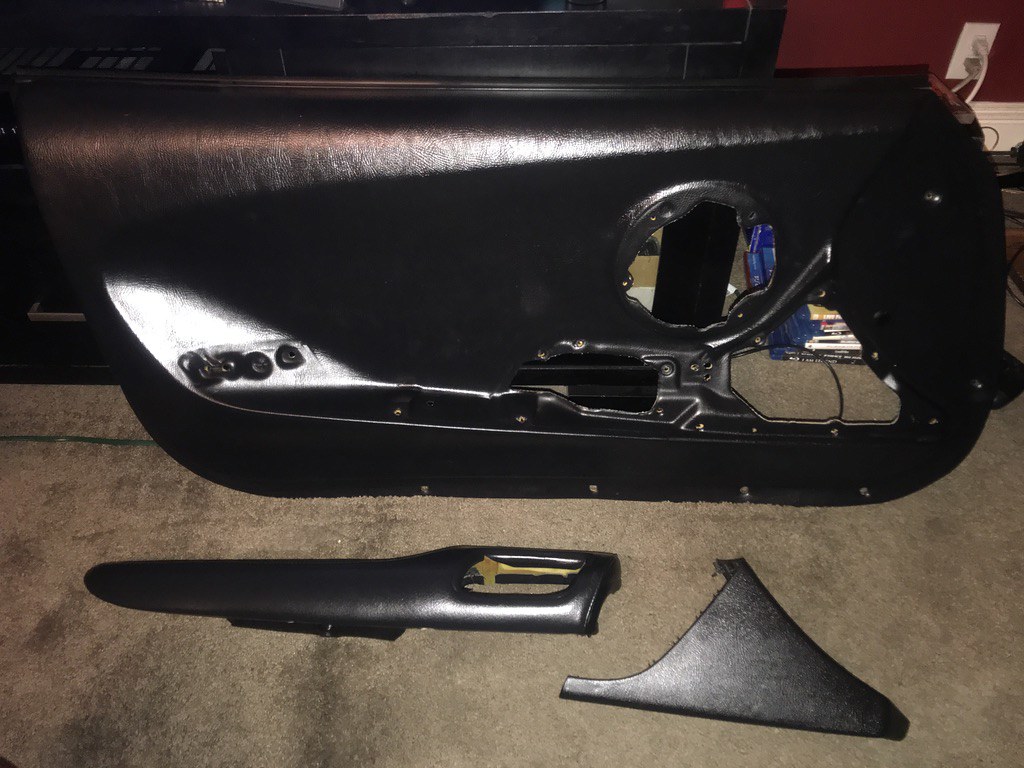
Armrest and window switches removed.

50827523902_86ebbe509f_b.jpg


Treated with 303 interior protectant and Meguiar’s Leather cleaner and conditioner.

50826688053_08c6c9ca0d_b.jpg


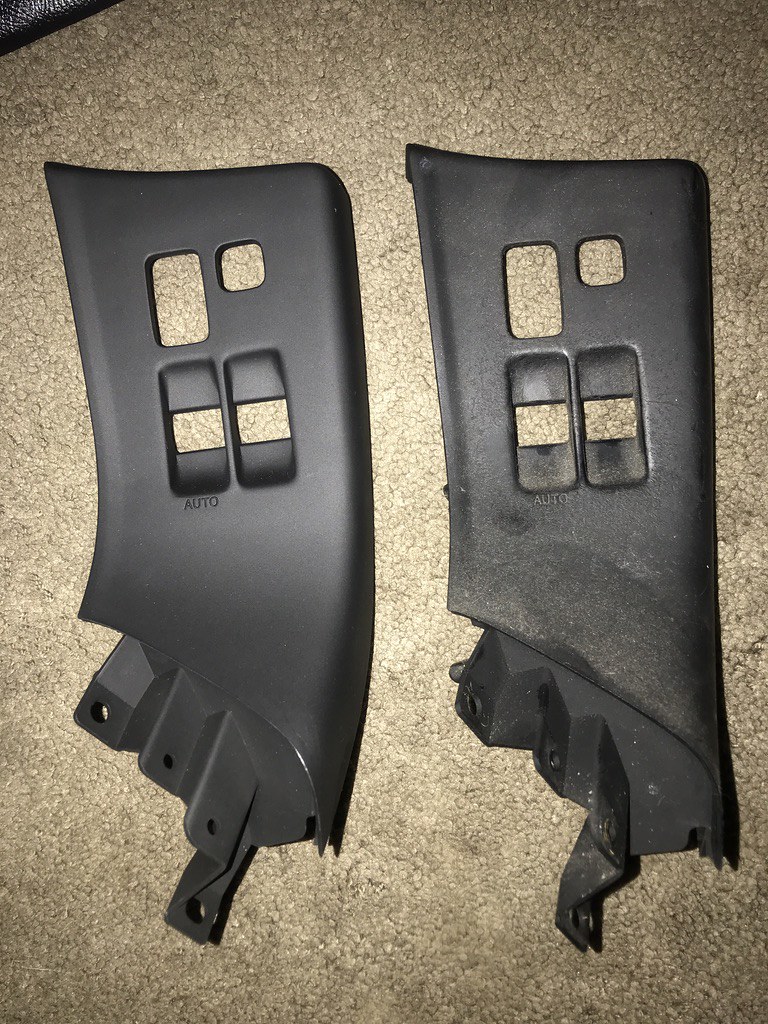
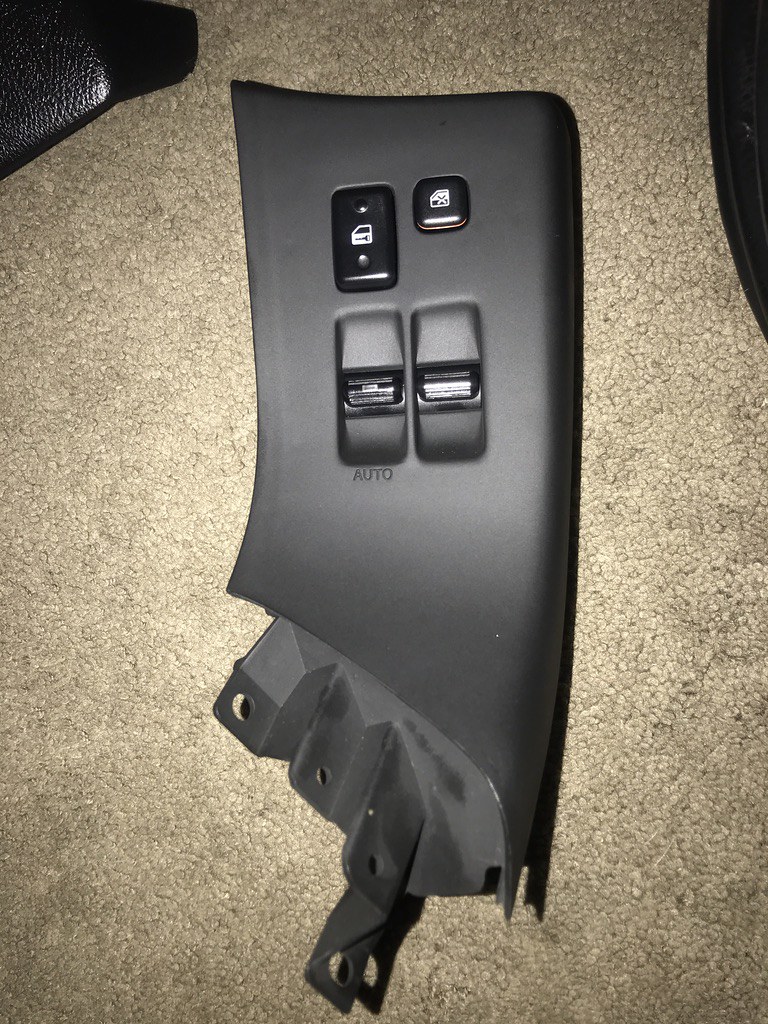
This brand new window switch surround has been sitting on my shelf for 5 years. Finally time to install!

50827433886_c597754e67_b.jpg


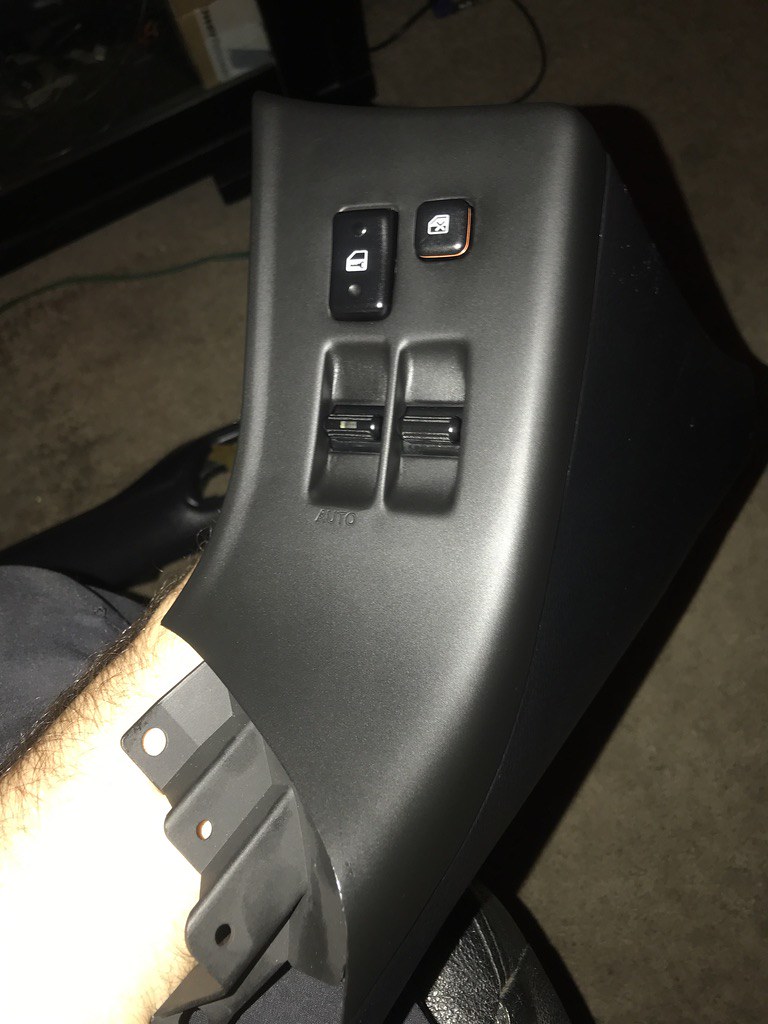
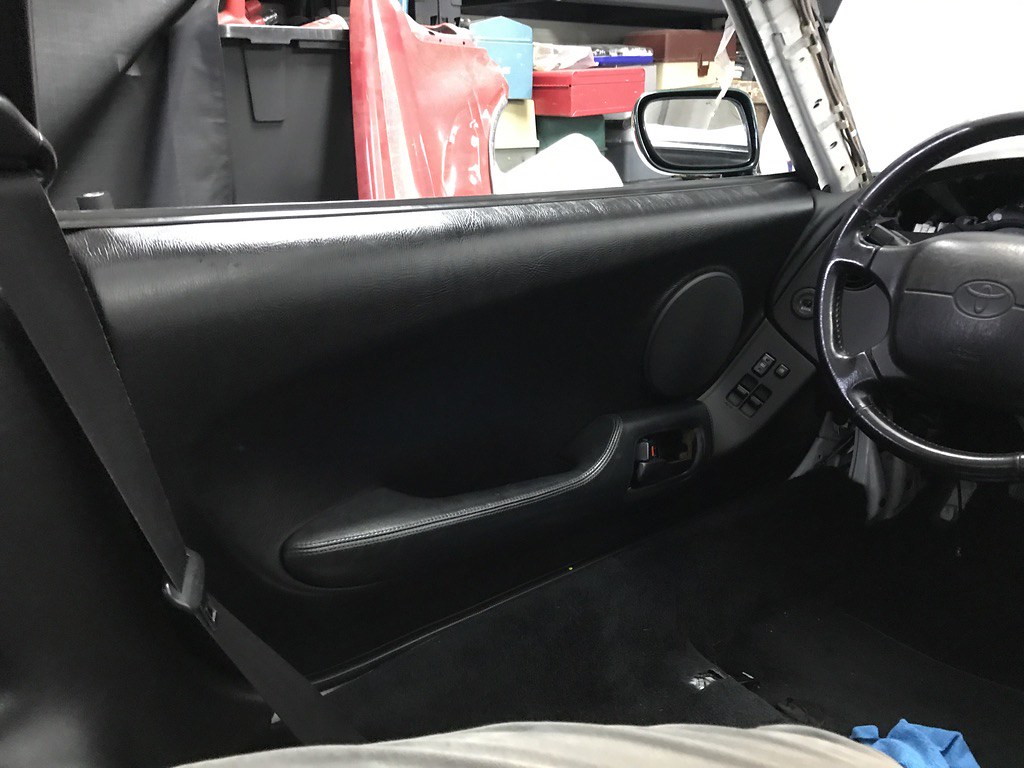
With switches

50826688023_248f8c8ba8_b.jpg


50826688018_4e13d1ea8d_b.jpg


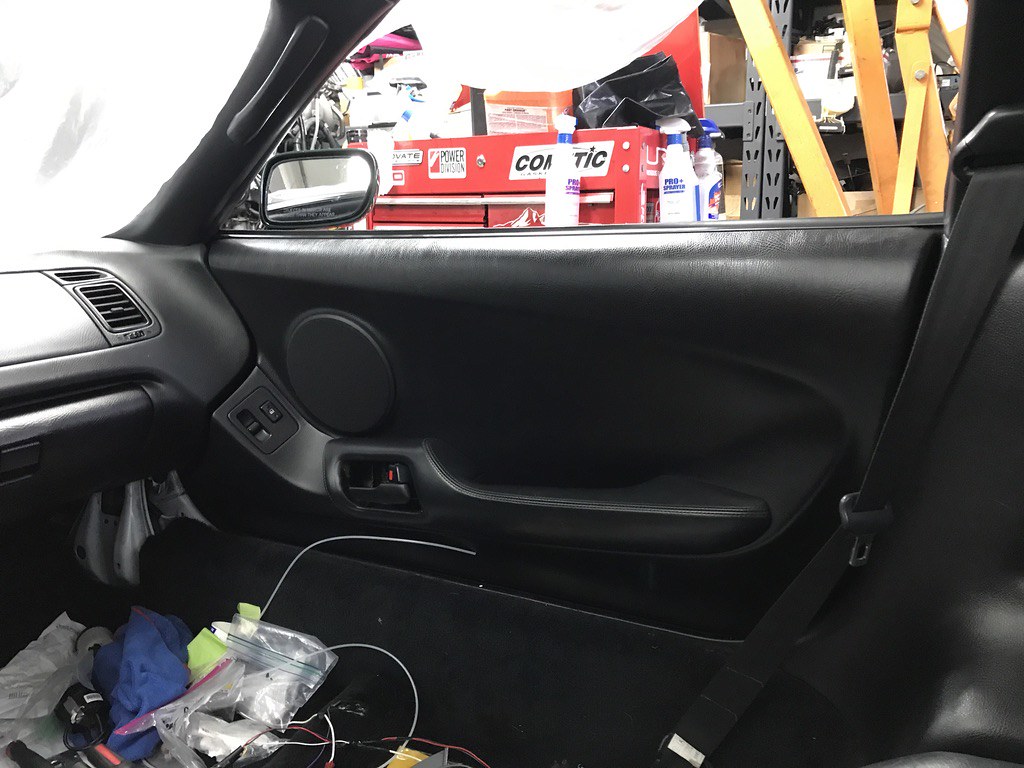
Assembled with rewrapped speaker grilled

50826687963_68ba2a5ff1_b.jpg


Also caught up on the passenger side door panel

50827433816_bb74f0cbe1_b.jpg


50901118597_58eed16c47_b.jpg


50901118612_0956969b2a_b.jpg
 
Normally, I don’t quite care much about car audio. I usually leave the radio off and enjoy the symphony that is the 2JZ-GTE, but I figured I cannot go this far without a little bit of attention to the audio system.

I have been using a 2004-era Alpine radio with an iPod in the glovebox, but I suppose it’s time to get a little more modern.

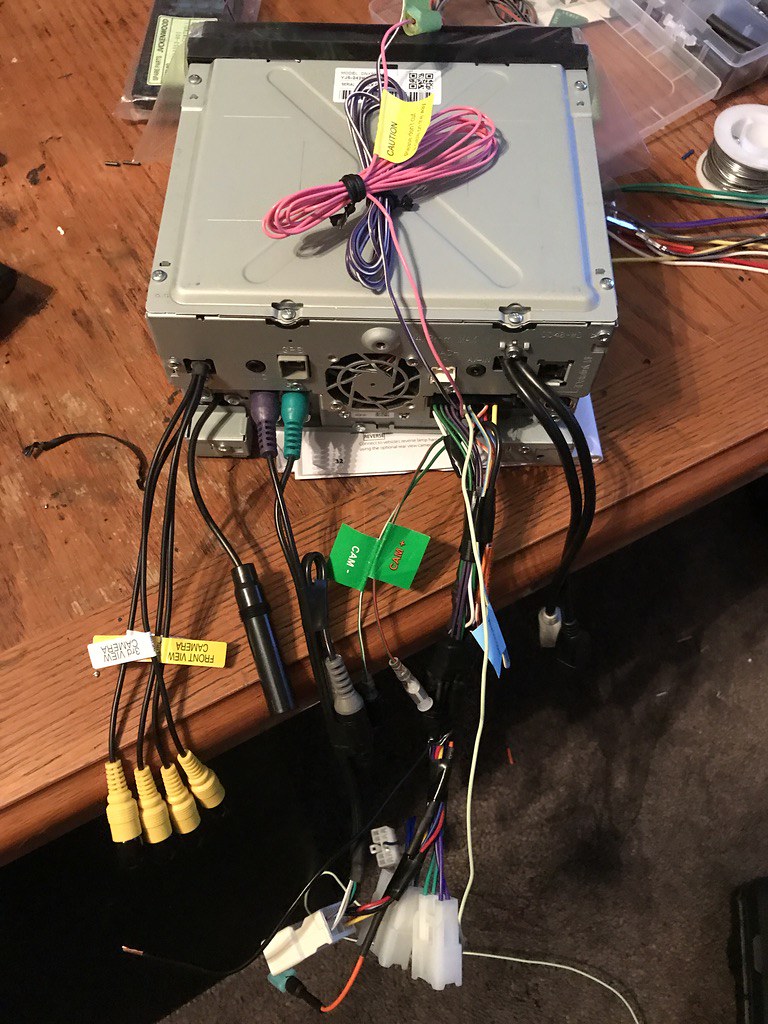
Using Stu Hagen’s guide to reusing the OEM amplifier to power the OEM subwoofer, I got a few Scosche brand harnesses and wired up a Kenwood DNX-997XR, which is their latest and greatest head unit.

* 6.8" High Definition Monitor with Capacitive Touch Panel
* Android Auto™ & Android Auto™ Wireless
* Wired and Wireless Apple CarPlay™
* High-Resolution Audio Wireless
* Wireless Mirroring for Android
* USB Mirroring for iPhone and Android
* 4 Camera Inputs / HD Rear Camera Ready
* Built-in Bluetooth, HD Radio & WiFi
* 3 Preouts 5V
* Garmin Navigation with 3D Terrain View

For added help, I also got front and rear view cameras for parking, and a full time hard wired HD dash cam.


51121372908_2cb6c2713f_b.jpg


51120898892_b6ed4650b1_b.jpg


51121472721_b552c00046_b.jpg


51121376683_ef0022eff7_b.jpg


Next was a window control module for the alarm, the windows can now be controlled via the alarm remote and automatically close in any sort of trigger situation.

50901118622_1a178e85e2_b.jpg


Window hardware

50901118577_93608f3af9_b.jpg


51121215209_2bf3e0057c_b.jpg


51122262235_f55bc25efb_b.jpg
 
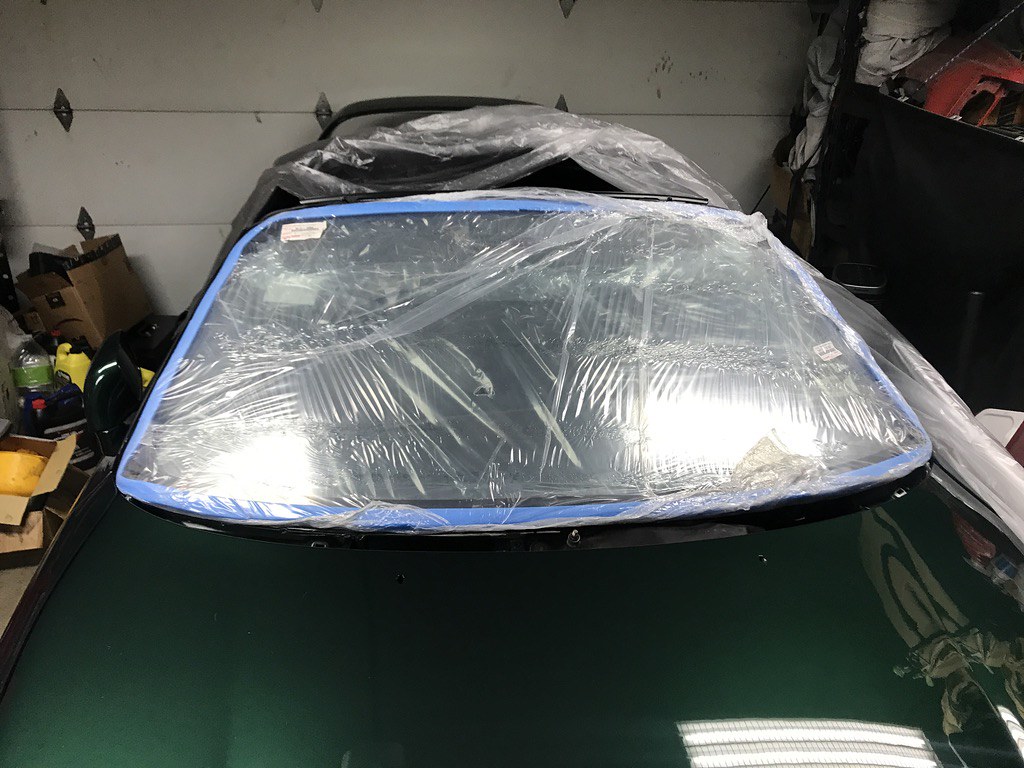
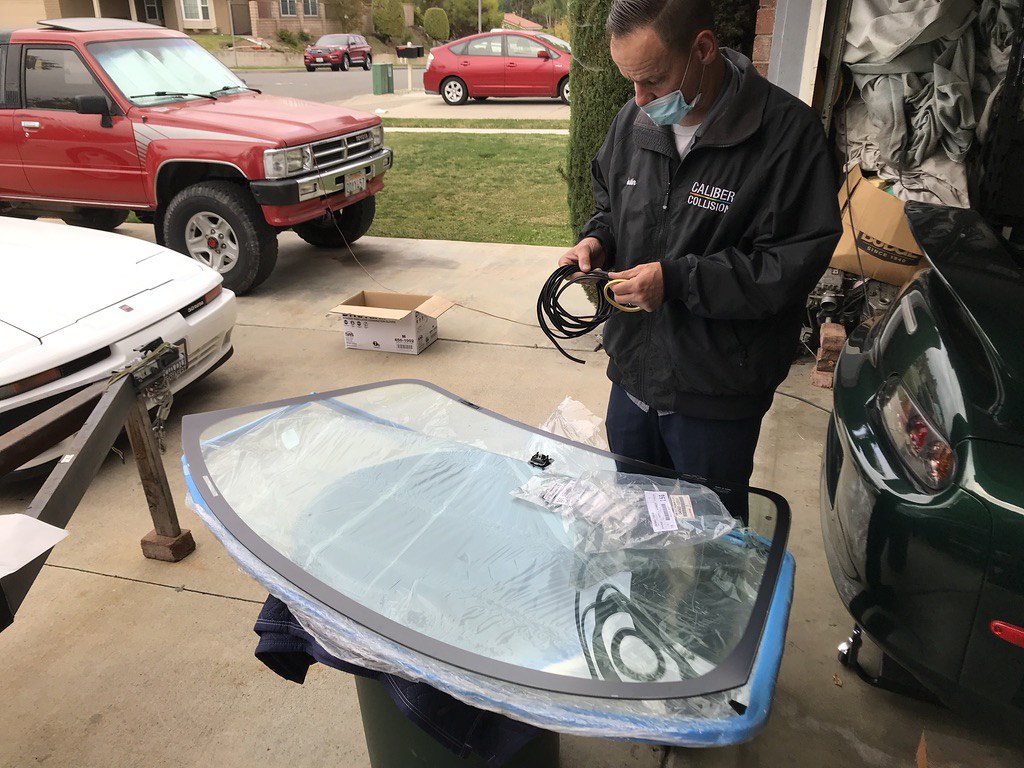
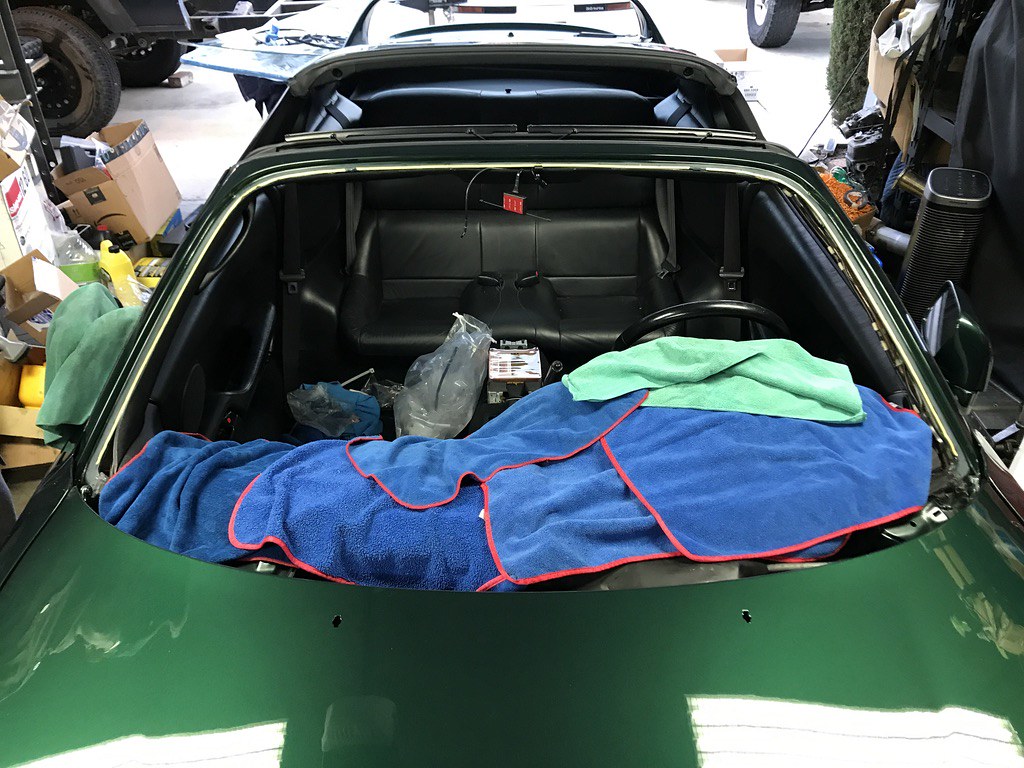
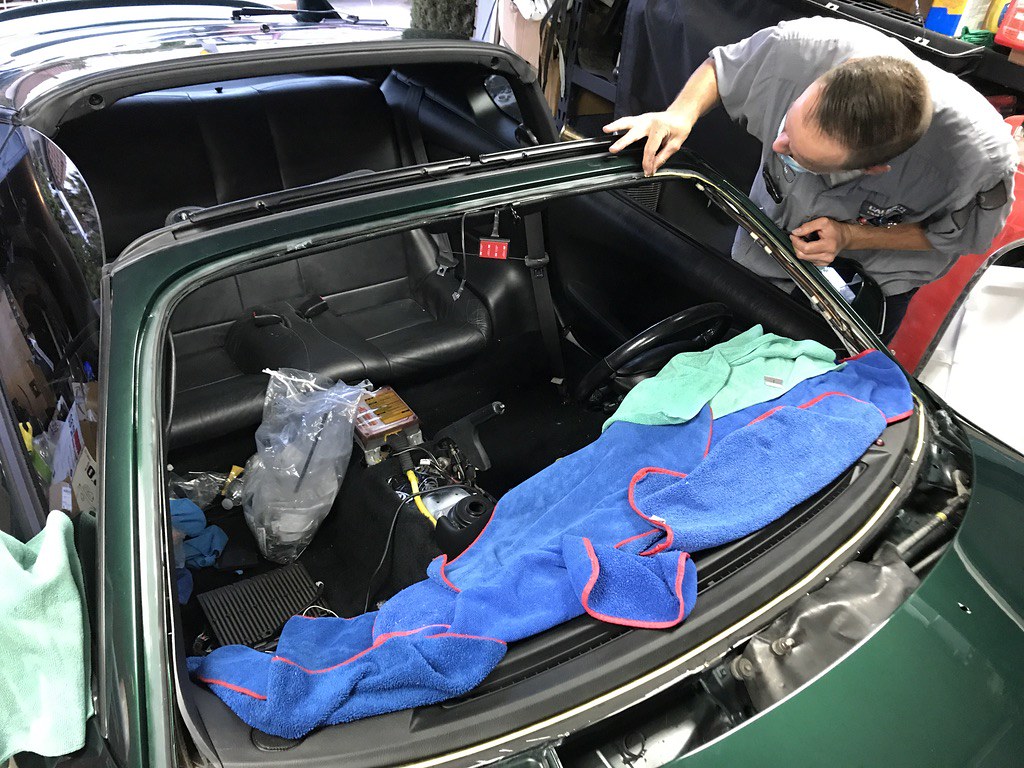
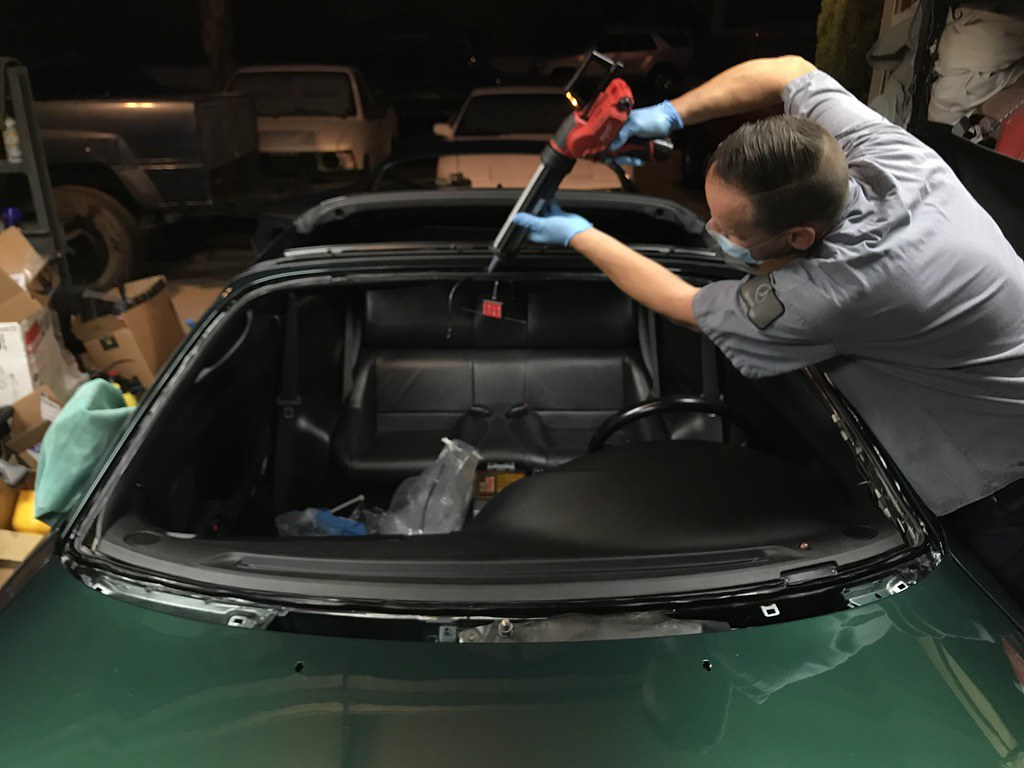
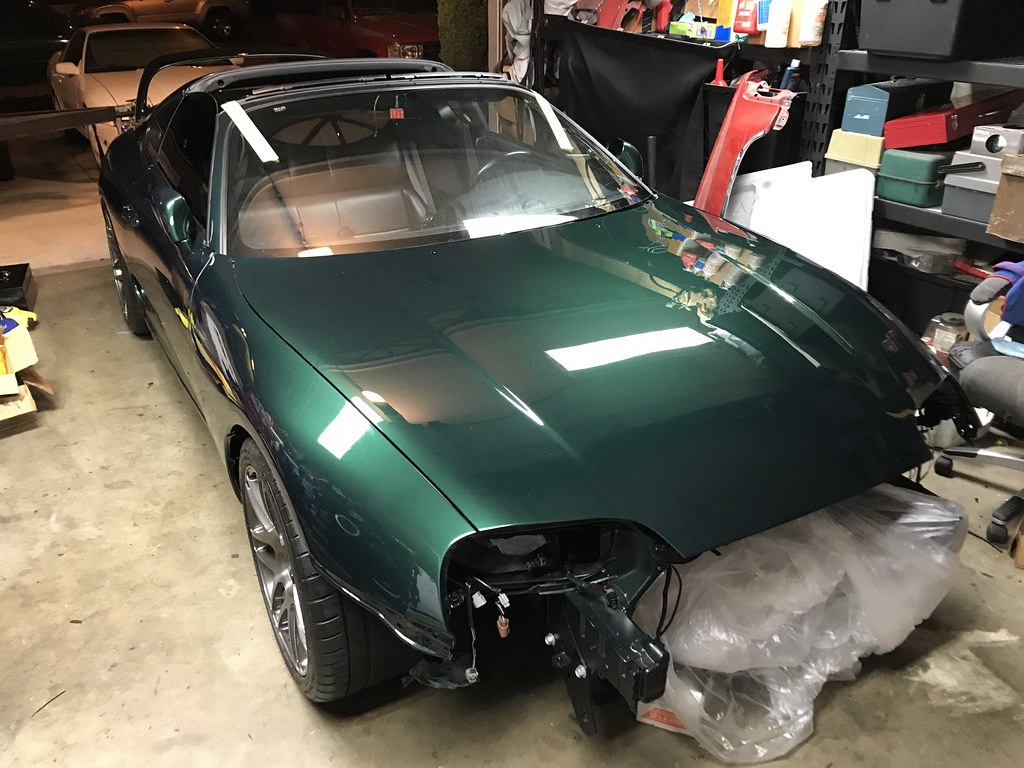
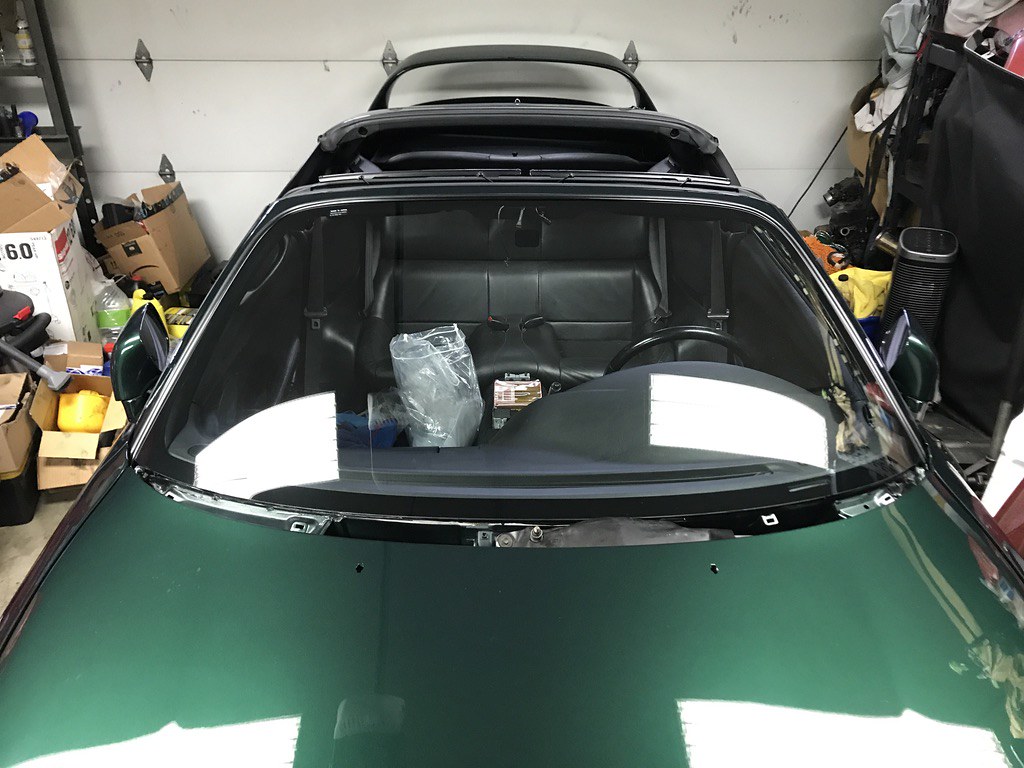
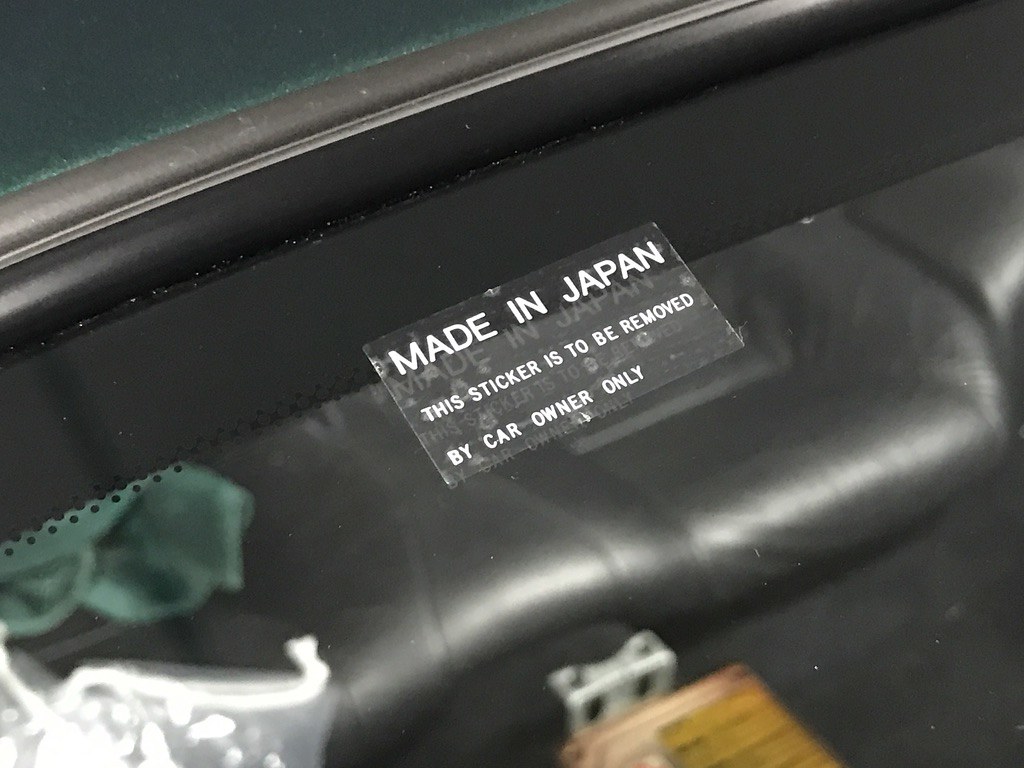
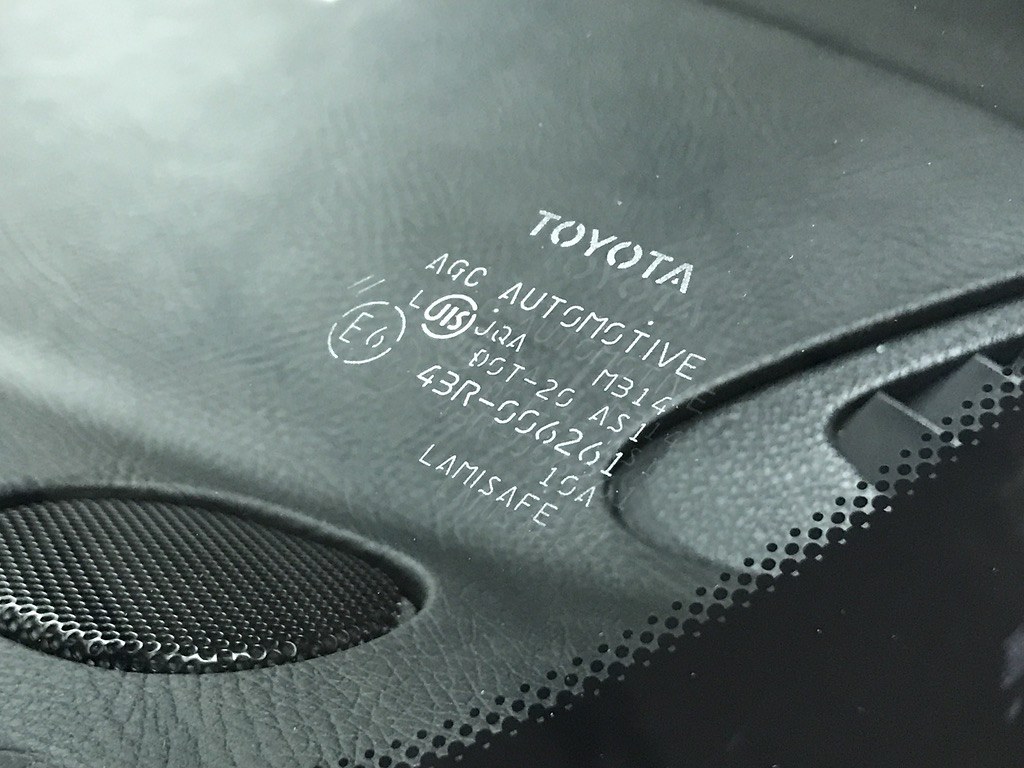
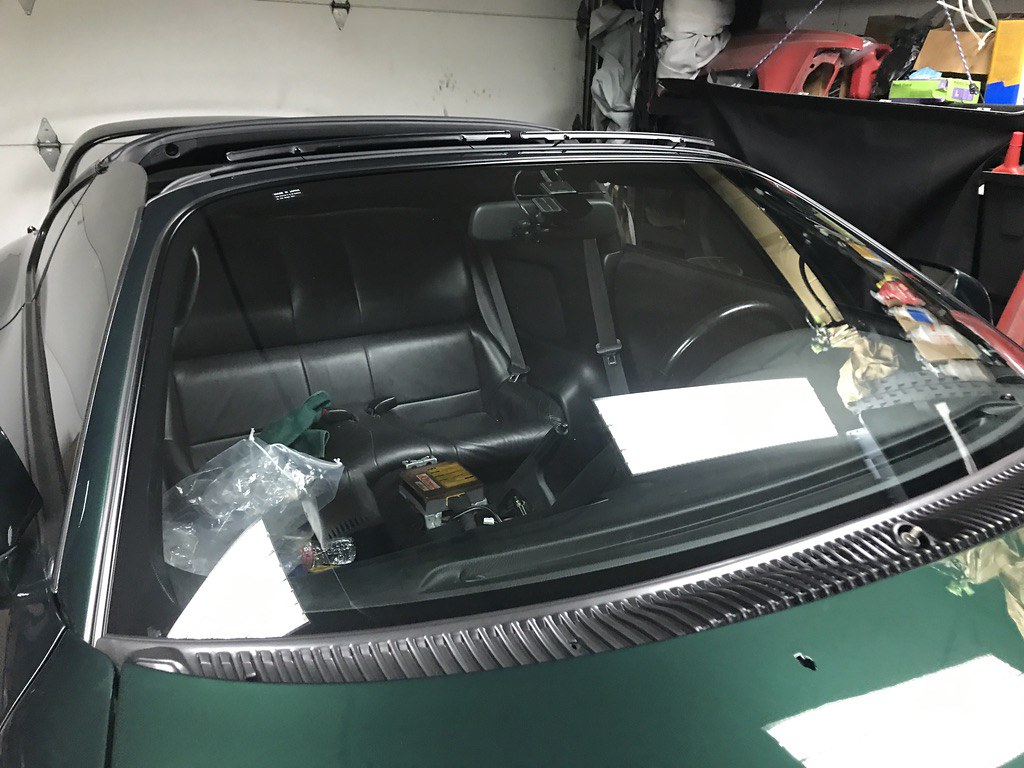
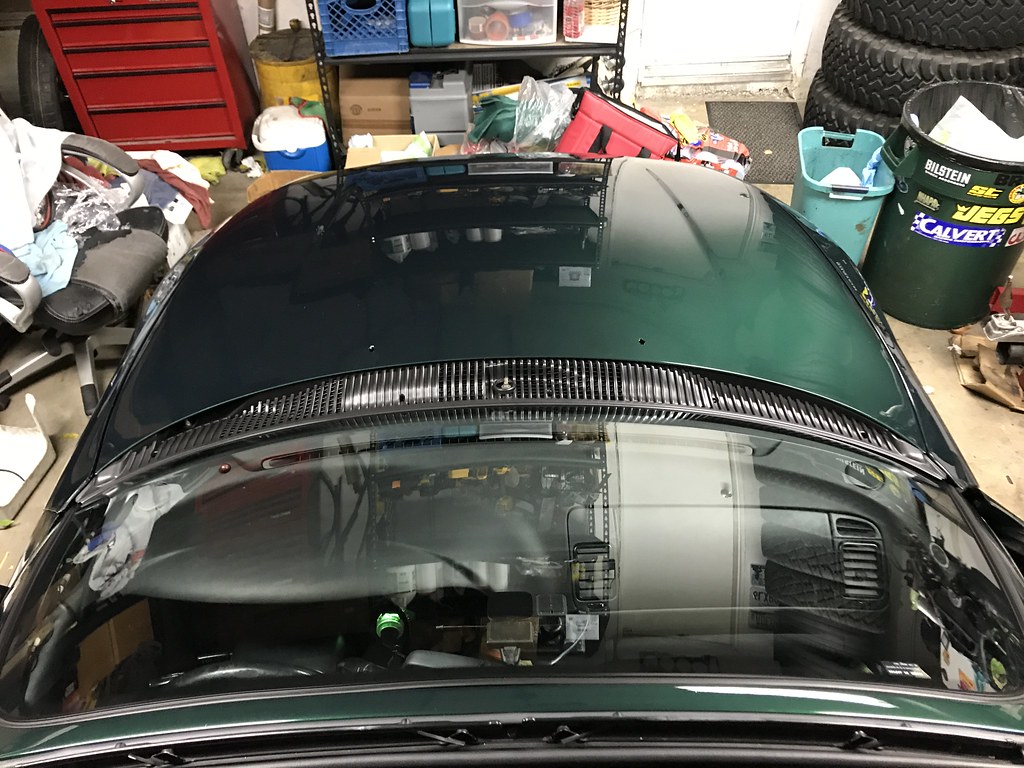
The last piece of glass to be glued in is the windshield. This is an OEM windshield from Toyota.

51121483346_4930f53212_b.jpg


This is, unfortunately, the last time that Justin will be helping with this project, since he has purchased a new home in another state and will be leaving CA for good. He will be missed!!!

51121232189_a33730ee24_b.jpg


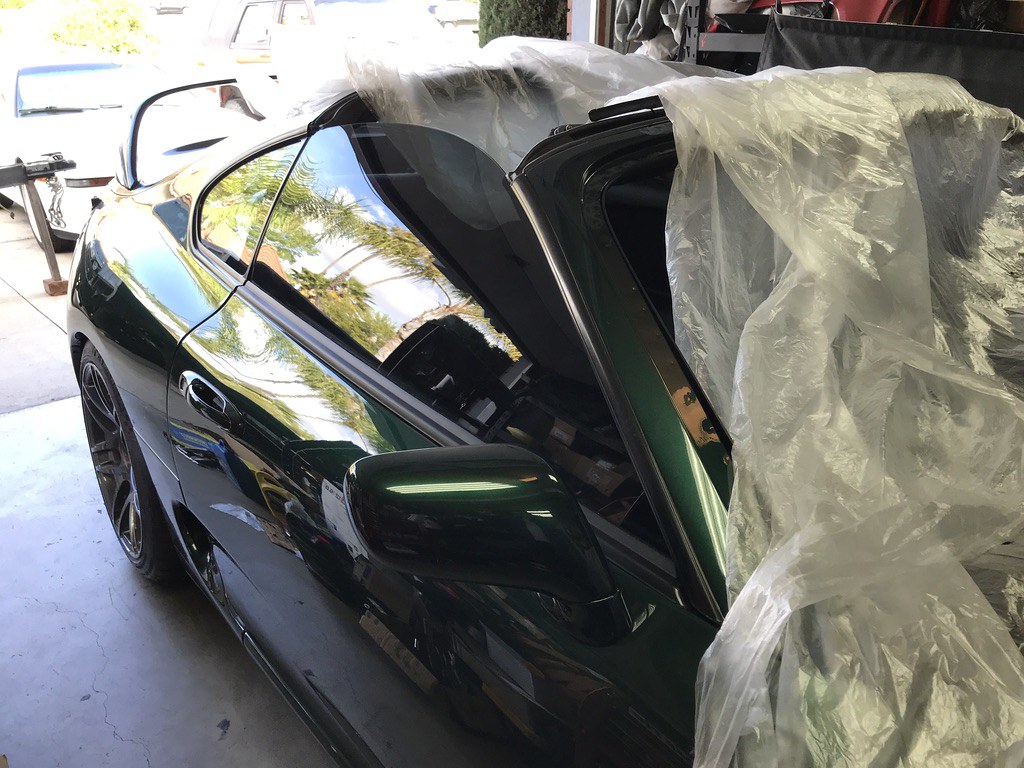
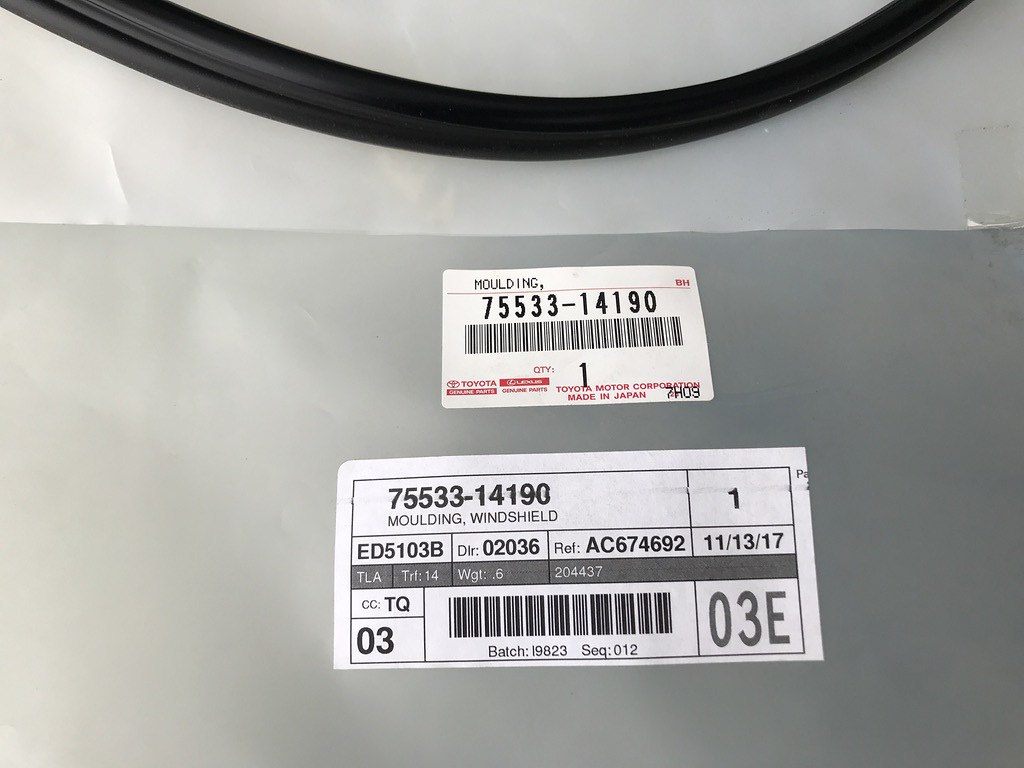
OEM outside window moulding

51121232144_69bcb25796_b.jpg


51121490636_a41efc9cb6_b.jpg


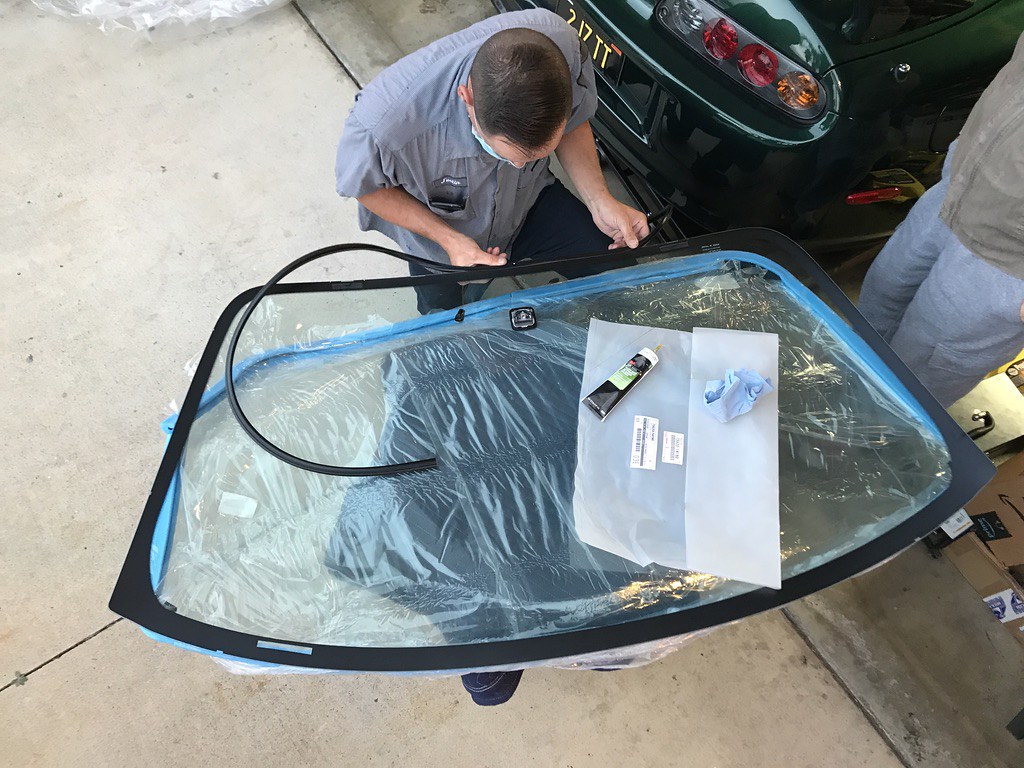
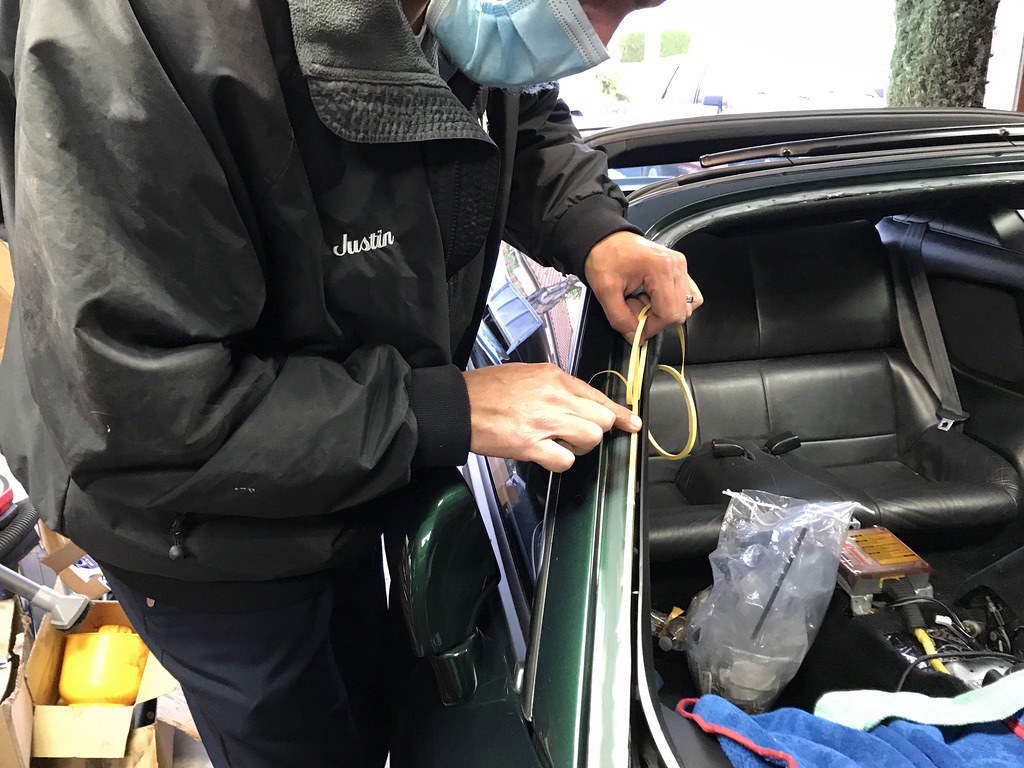
OEM Dam kit preparation. This kit is basically a rubber strip designed to provide a “dam” for the window caulking, to prevent the glue from being visible from inside the car. It gets laid down before the glue goes down.

51121489911_afc028178c_b.jpg


The yellow strip shown is the adhesive strip being laid down, where the rubber strip is later laid down.

51120916767_4f526870d4_b.jpg


51120916712_5901536ce3_b.jpg


51121395378_b651248060_b.jpg


Using the same Mercedes-Benz window glue kit as the side and rear windows.

51121233524_bafb9b4789_b.jpg


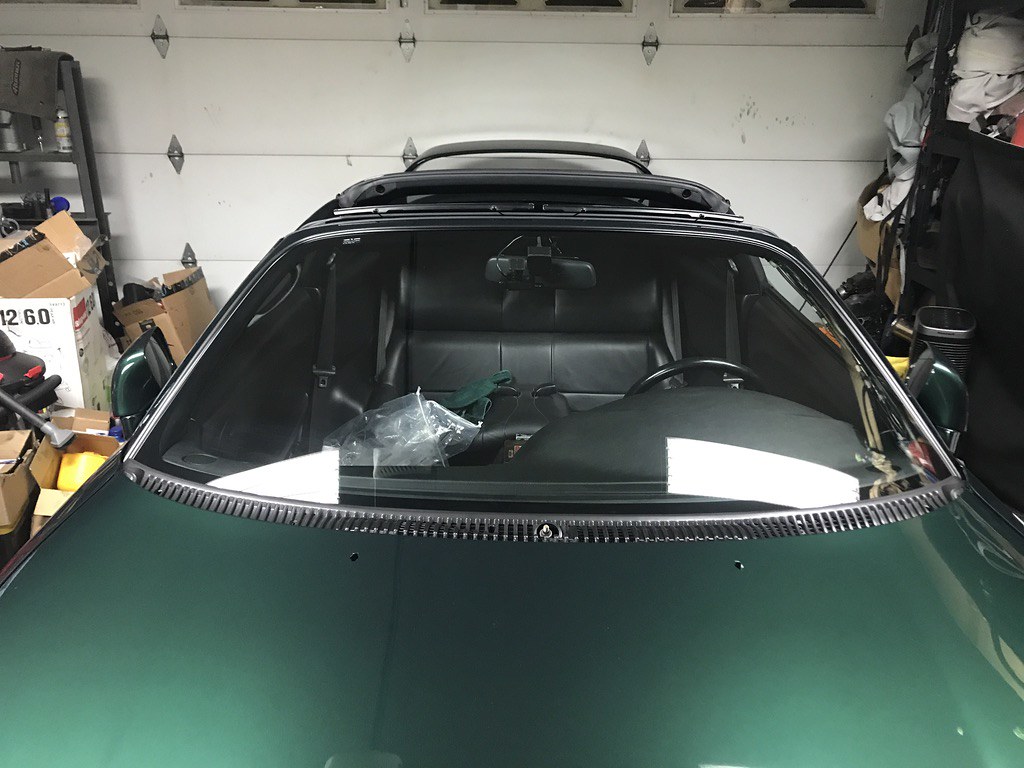
And installed!

51121233474_f25b41d561_b.jpg


51122281300_c2b28b4c48_b.jpg

51121396568_f262c3c164_b.jpg


51121234014_60bc45523f_b.jpg


51121233999_d399e7046c_b.jpg


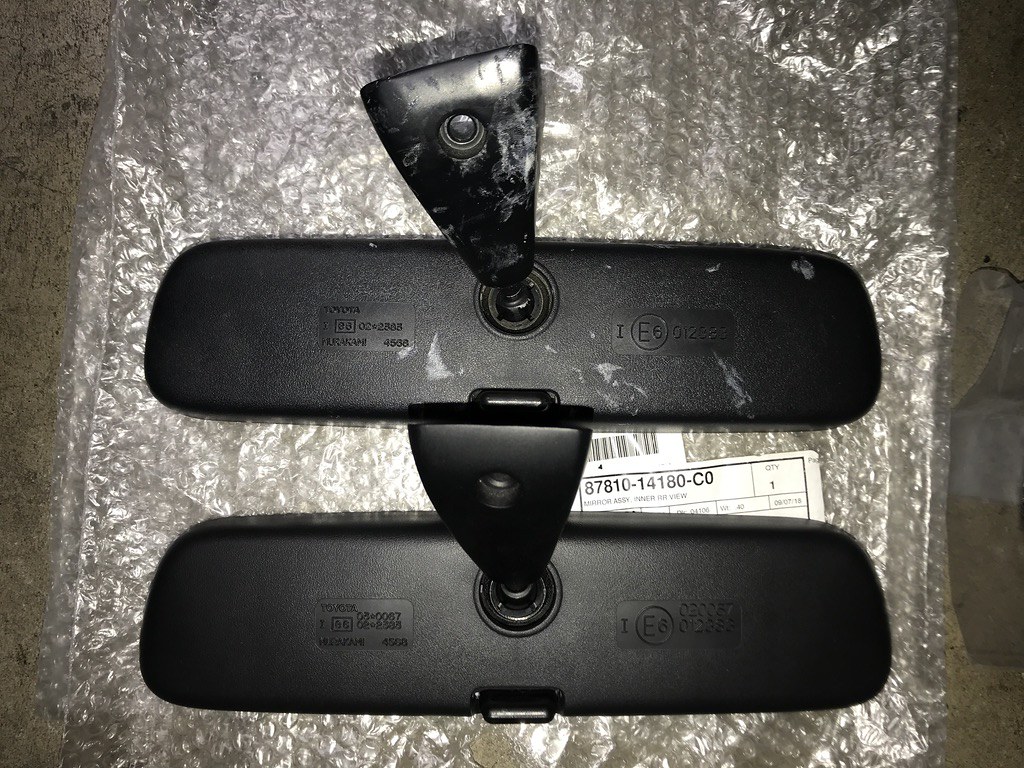
Old Rear view mirror (top) and new (bottom)

51120918947_a44bffbda3_b.jpg


51121396628_0ba8861fc6_b.jpg


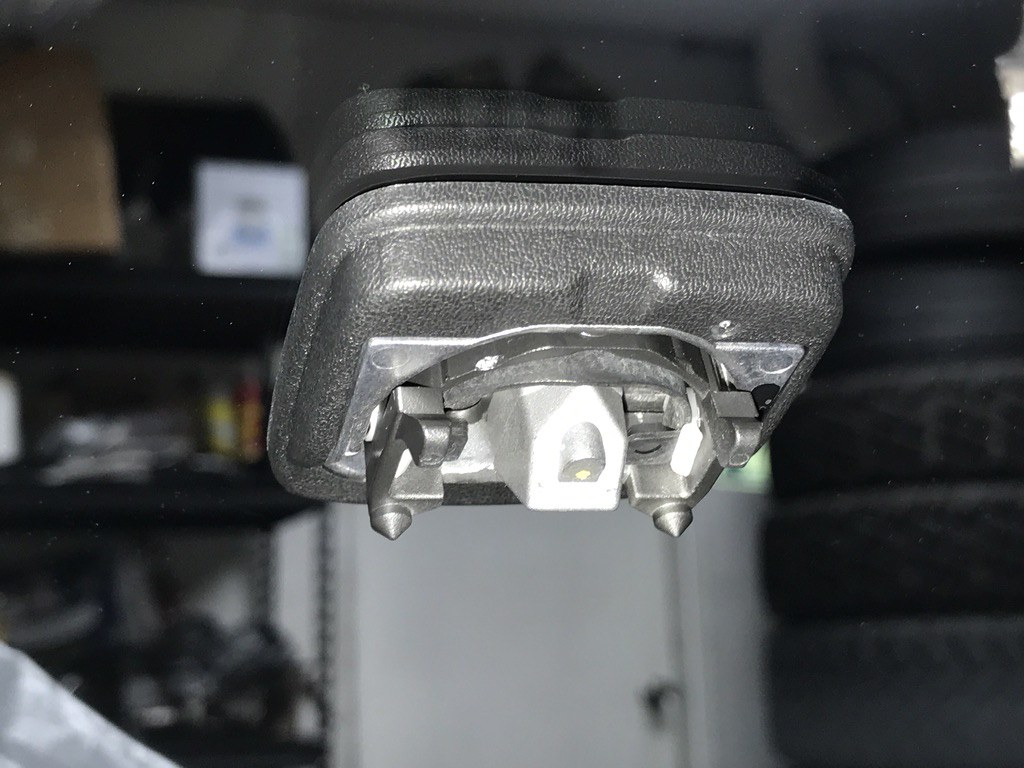
New base for mirror

51121234099_ab0f6d75db_b.jpg


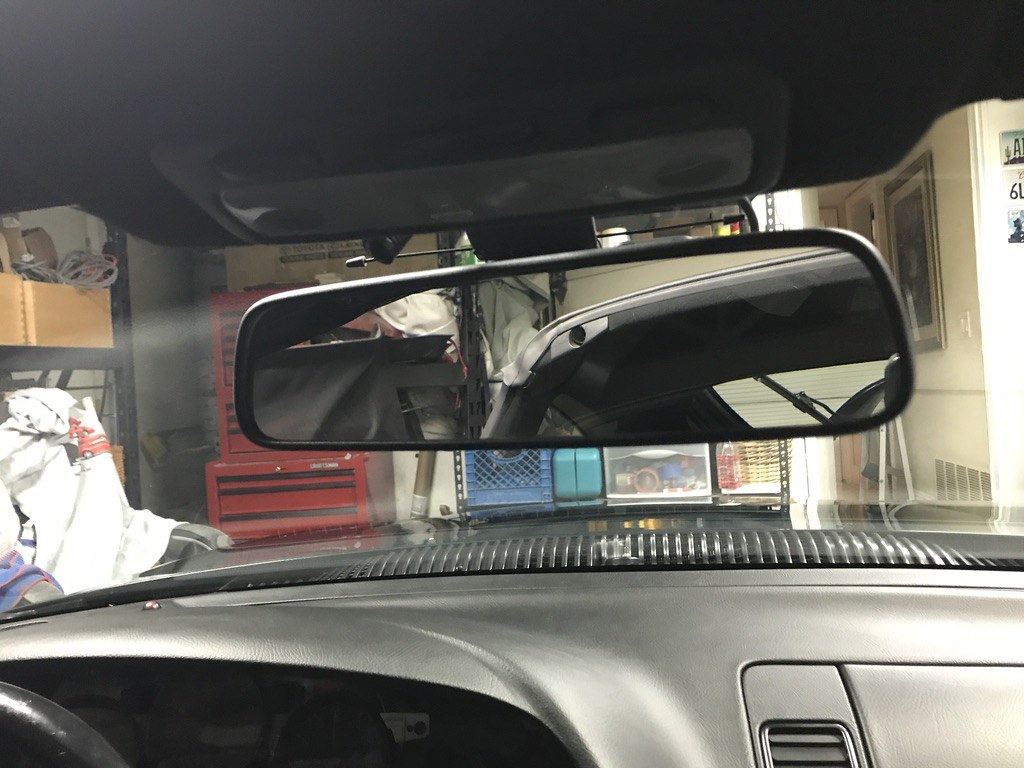
Installed. Alarm antenna, radio microphone, and dash cam also installed.

51120918892_a5138ec20b_b.jpg


Brand new OEM Cowl!


51122281525_e7d152c1ba_b.jpg


51121491941_7ae0be7dd3_b.jpg
 
I have put a few videos together documenting the process thus far.

To be clear, there was not originally an intention to make a video, or else there would have been better footage. This was just basically put together using existing footage.

I was concerned that the YT demographic doesn't usually retain attention with too much detail, so it has also been greatly simplified. I figure that if anyone wants extreme detail, there's no better way than to peruse a build thread.

With that, here is video #1, which basically documents the vehicle up until I stopped driving it and went into the tear down.


<iframe src="https://www.youtube.com/embed/dpD1loa7JsU" title="YouTube video player" allow="accelerometer; autoplay; clipboard-write; encrypted-media; gyroscope; picture-in-picture" allowfullscreen="" width="560" height="315" frameborder="0"></iframe>
 
Here's video #2.

This video documents the tear down process, eventually through to the paint job.


<iframe width="560" height="315" src="https://www.youtube.com/embed/sARW3imCz1U" title="YouTube video player" frameborder="0" allow="accelerometer; autoplay; clipboard-write; encrypted-media; gyroscope; picture-in-picture" allowfullscreen></iframe>
 

Members online

Forum statistics

Threads
278,312
Messages
3,554,089
Members
248,016
Latest member
Advally Service

Trending content

Back
Top