Dash Removal Tutorial

Doc_Fry

New member
Currently a work in progress. Slow internet and may need to refer to the vehicle in the morning tomfinish. Please be patient and I will correct even the small items if out of order.

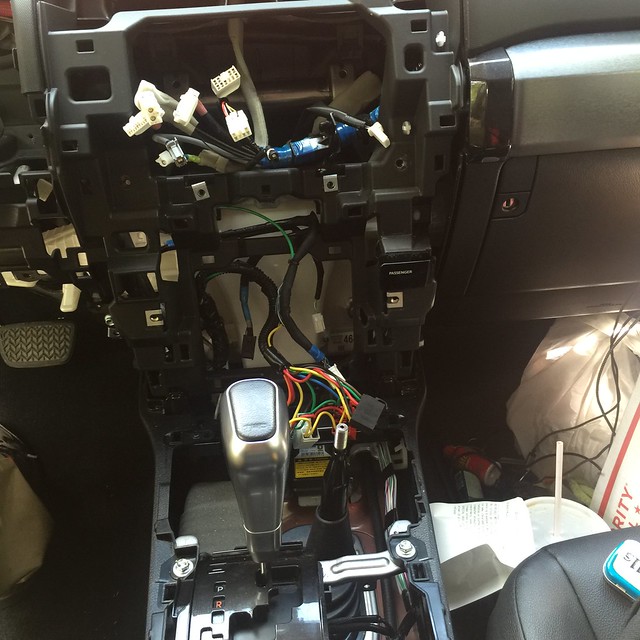
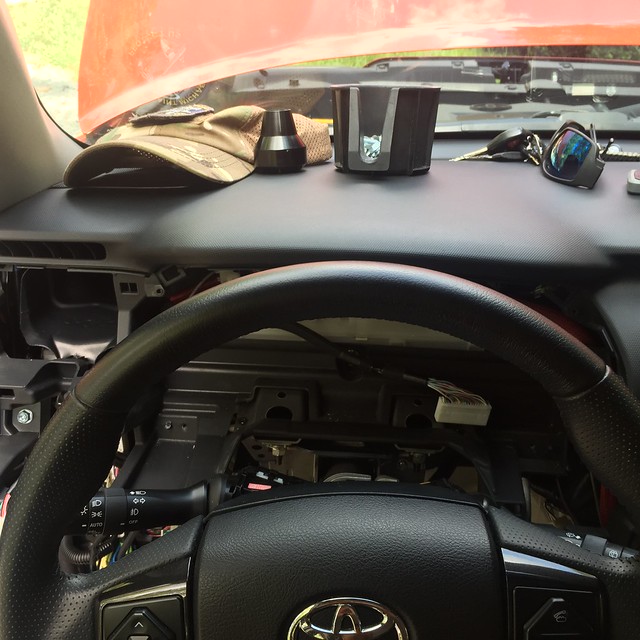
Recently there have been some questions on how to take down the dash. Since I had to take it down I took photos and am making a tutorial for others. This is removal of all the drivers side dash components and center console stripped down to nothing. Feel free to add other tips and hints to this tutorial or even a continuation of other parts of the dash.

Difficulty -
3 out of 10

Tools Needed -
Plastic Pry Bar
10mm Socket
12mm Socket
Extension for socket
Socket Wrench
Phillips head driver
Suggested as an add on:
Small pick tool
Small flat head driver

Something to store nuts and bolts. Imuse the rubber insert for the cup holder. It is good to take pictures before removing an item if you will have questions later about how it goes back together.
 
Last edited:
Register to hide this ad
Tutorial:

Roll down windows before you work if you are able to and away from worry of incliment weather. You will not have control of the windows after the next step!

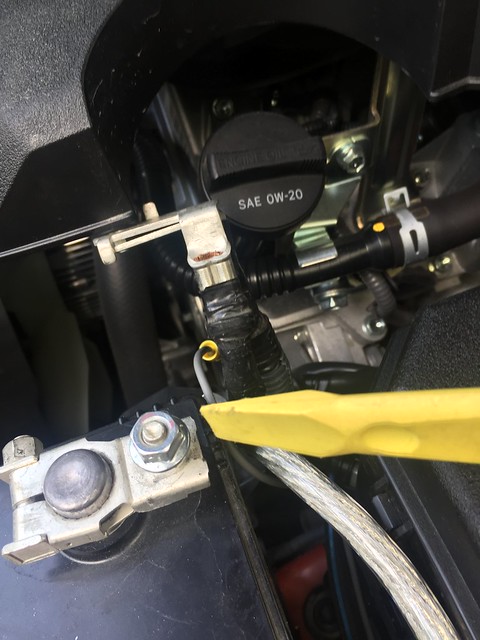
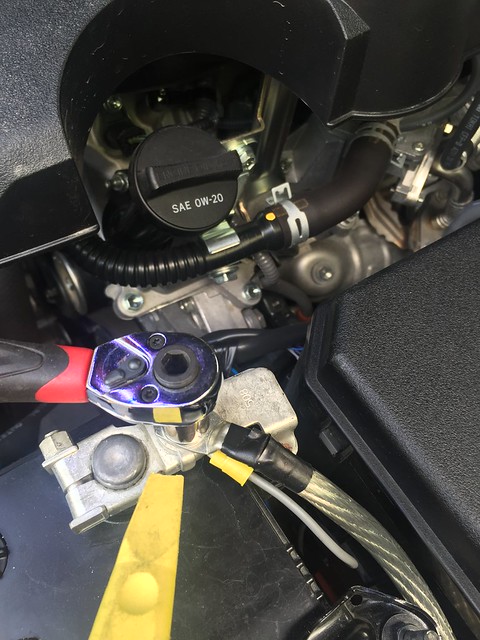
Step One: Unhook the positive terminal on the battery. You will be removing an airbag and other pieces that can be effected by a positive terminal connection.

29609788886_d93f6fac3f_z_d.jpg


29018637704_f085596d0e_z_d.jpg


Note: as in the picture above make sure that the terminal is disonnected from the battery and is unable to reconnect. You may place a piece of cardboard inbetween the connection and the terminal to be safe.
 
Last edited:
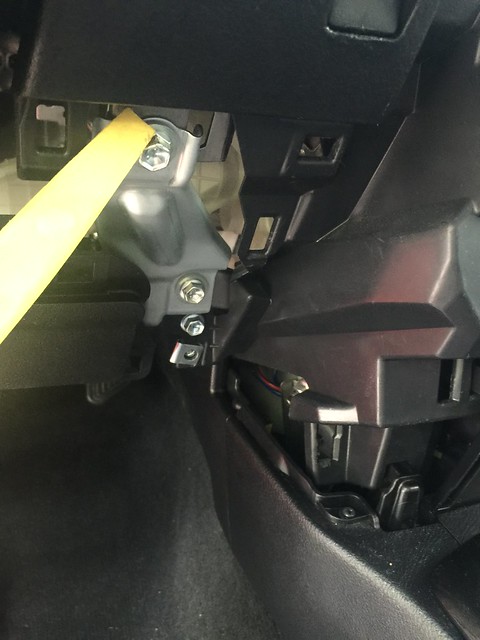
Step Two: Driver's Door Sill Trim Piece

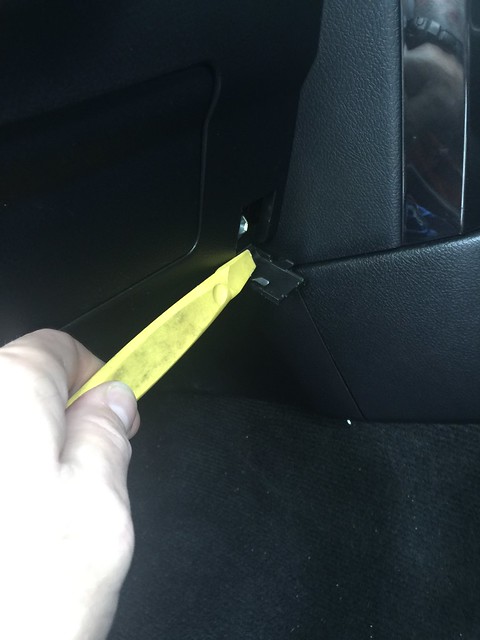
Open the drivers door. Remove plastic trim on the sill using a plastic pry pulling up in a lineard fashion. The trim piece is secured by plastic friction clips.

Secure the pieces. Be careful as to not break the clips. Do not force the trim piece. The piece will give with steady force. The front part of the trim piece is attached to the drivers quarter panel trim piece and secures in it. Lift up and out to remove from the quarter panel trim piece.
 
Last edited:
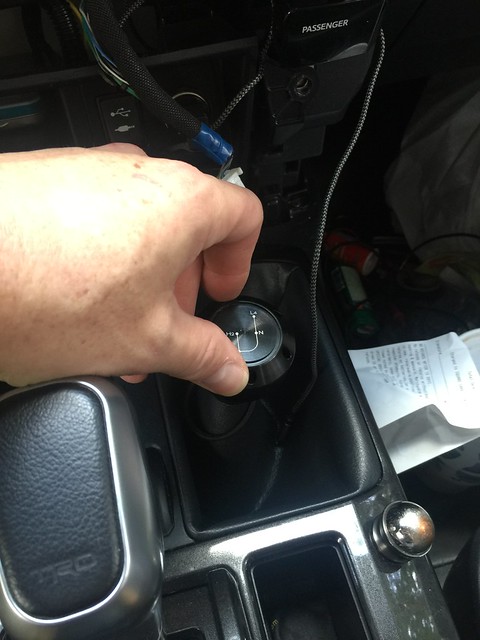
Step 3: Drivers Quarter Panel Trim Piece

Note: Make sure rear wheels are chocked for your safety before continuing with this step.

Disengage the parking brake by stepping on it. After making sure the vehicle is securely in oark as well continue.

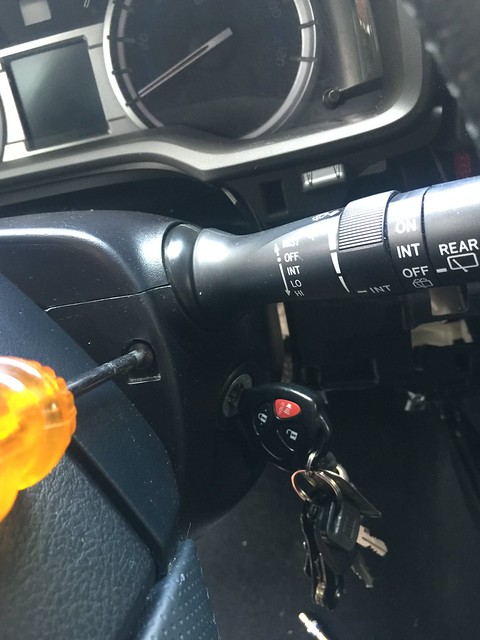
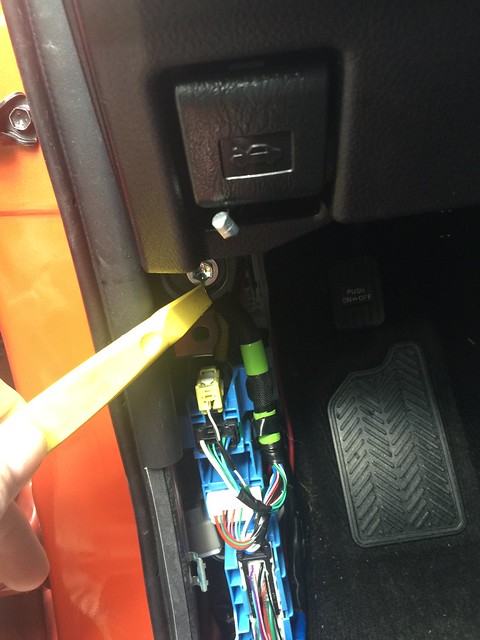
Then you will have suffecient room to pull the panel out towards you. If you cannot pull it out you can unclip the small round peg attachment to the right of the footrest. Once this is rmoved the oanel should unclip easily out towards you.
 
Last edited:
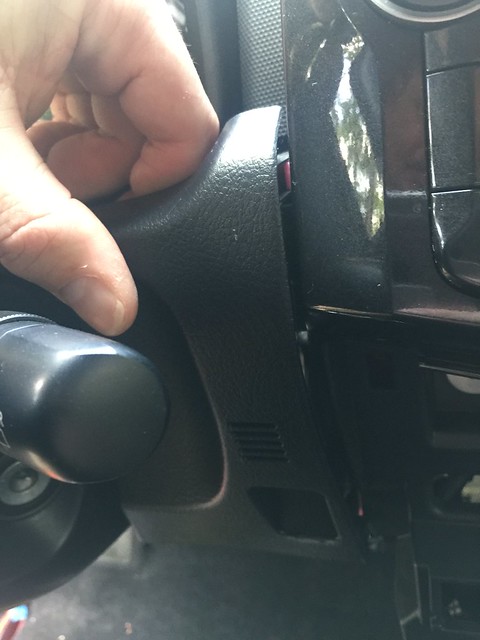
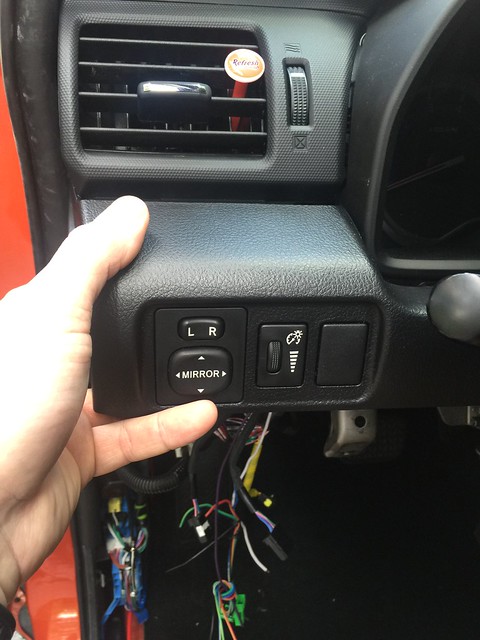
Step Four: Center Dash A/C Control Trim

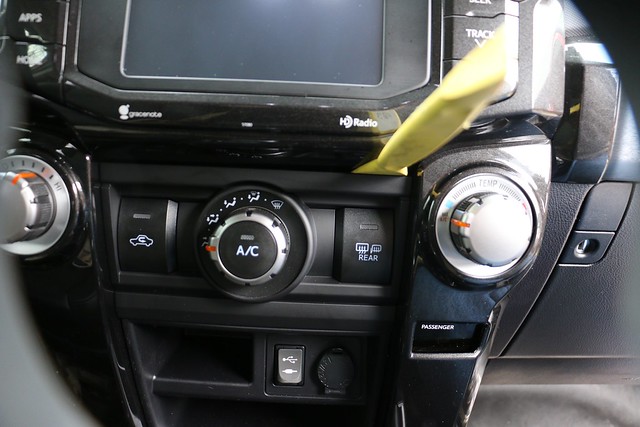
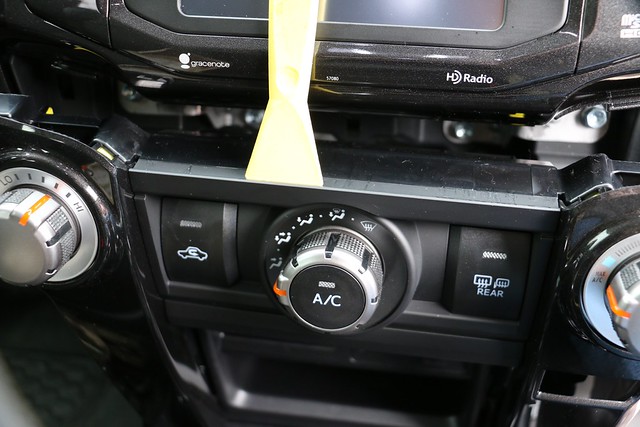
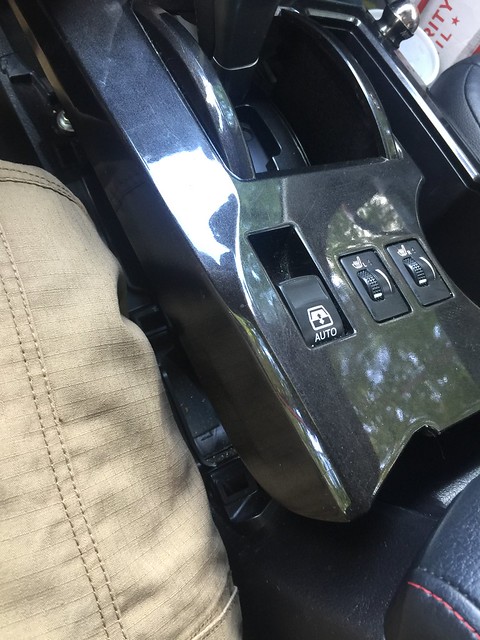
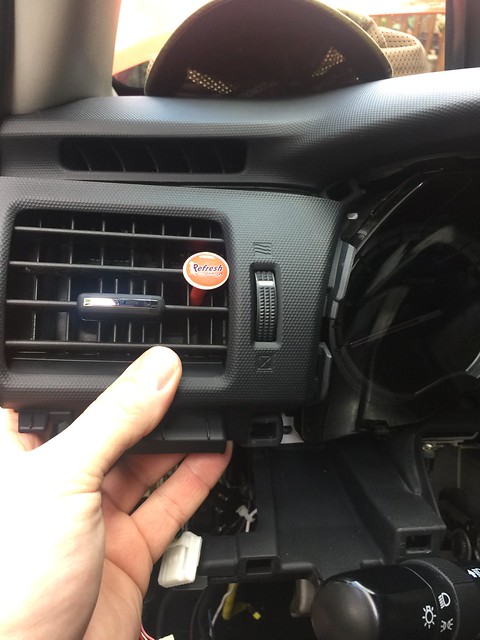
It is the trim piece that is located right under the radio. This is also houses the A/C controls.

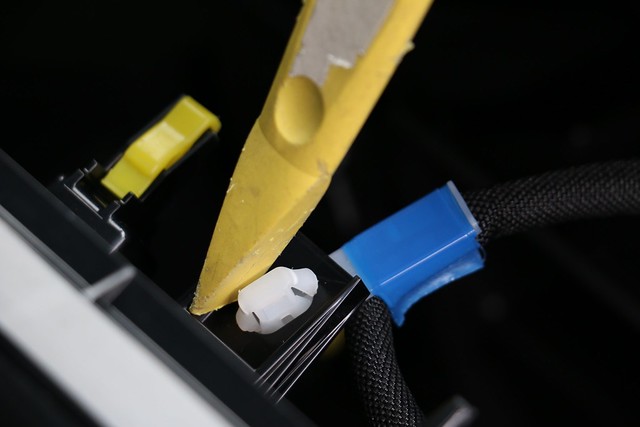
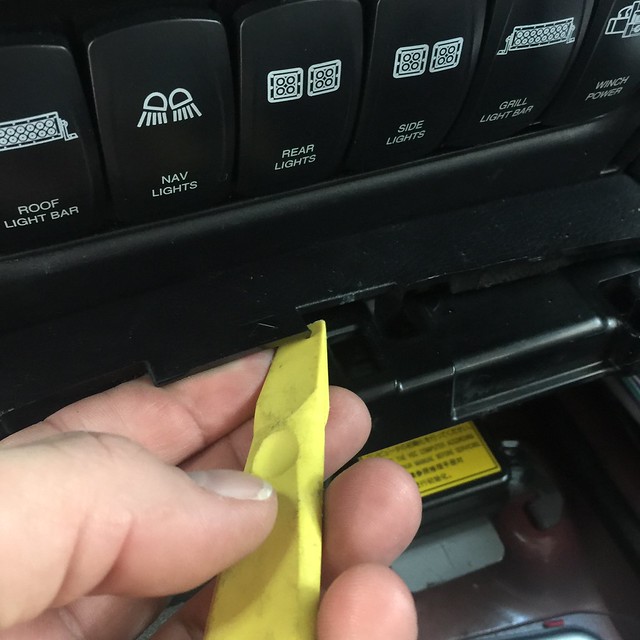
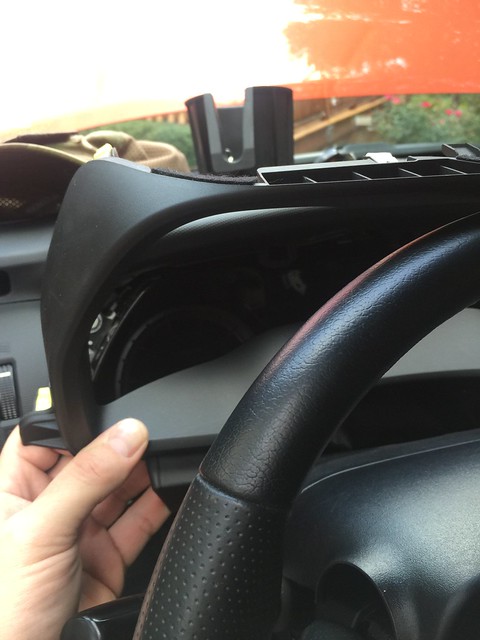
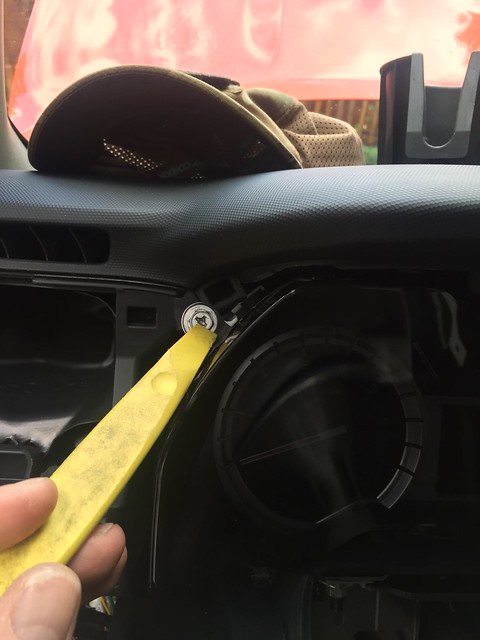
Use the plastic tool to pry away the trim piece from the dash. It will oull towards you. It is held by plastic friction clips.

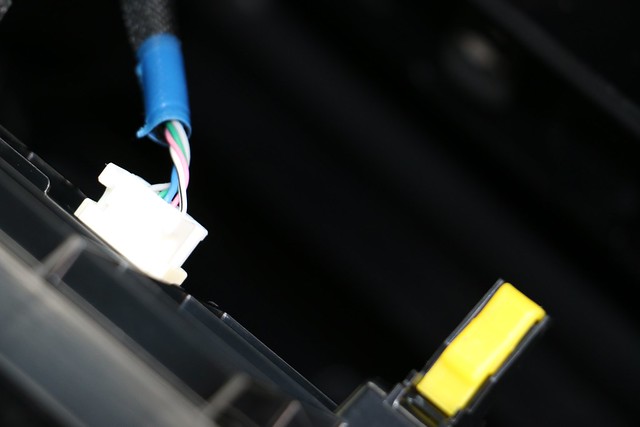
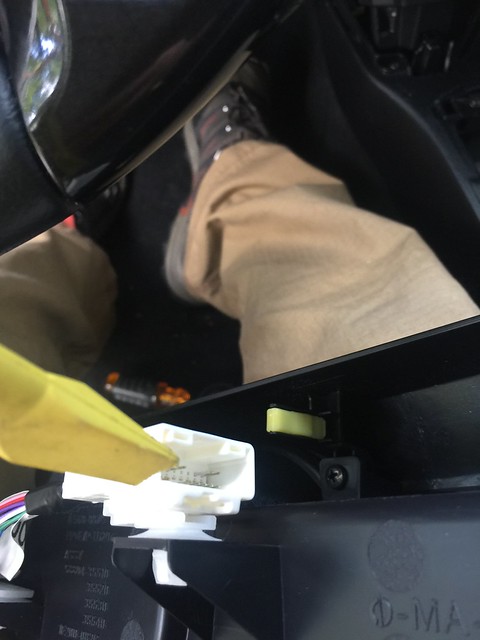
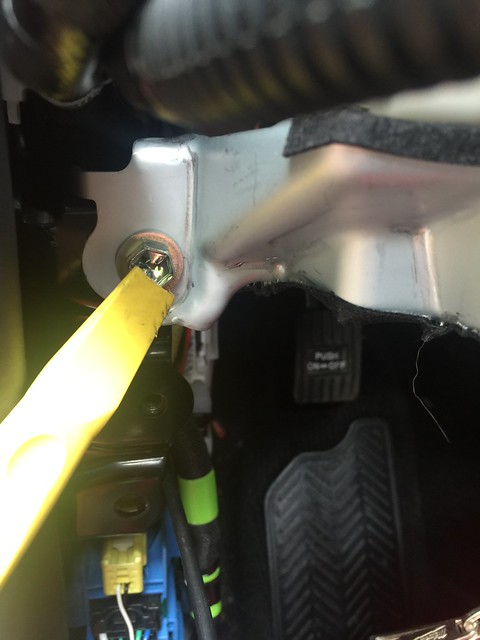
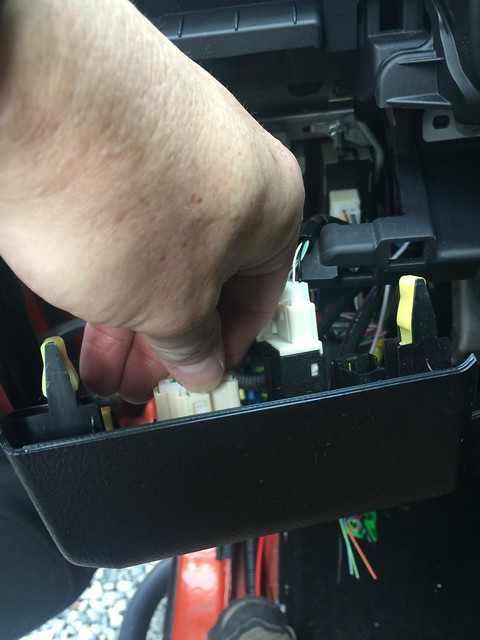
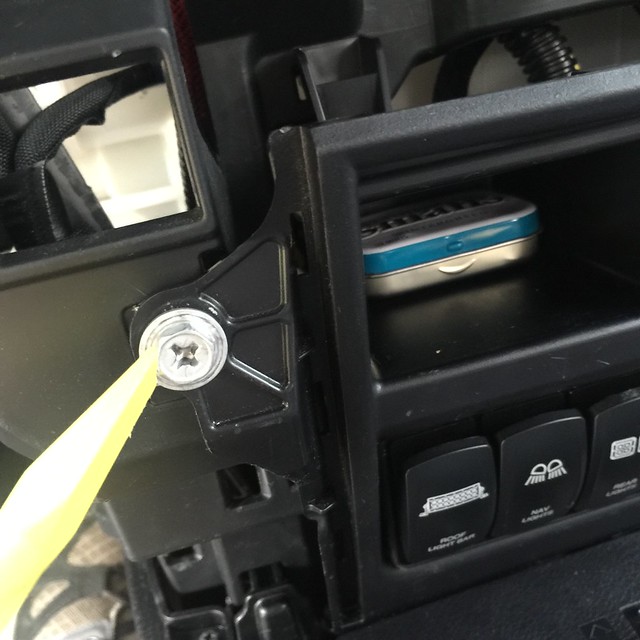
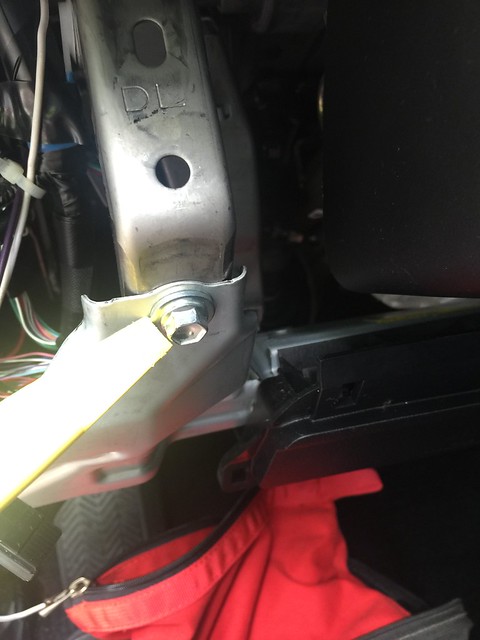
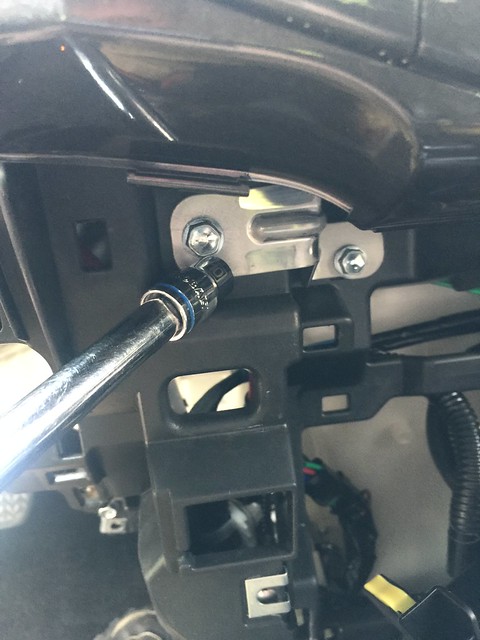
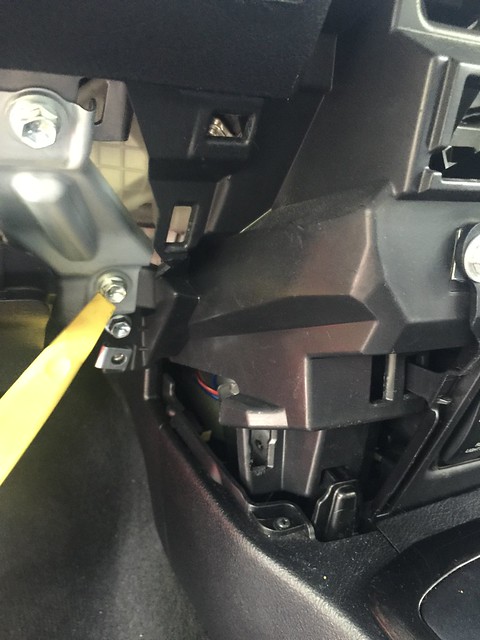
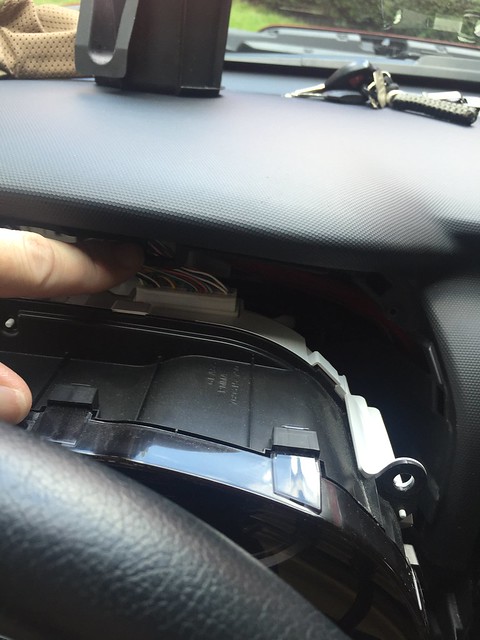
You will alsoneed to use the trim tool to disconnect the electrical connections as documented in the pictures below.


16669059760_ea0db20bb1_z_d.jpg


16668857898_71a86765a5_z_d.jpg


16668859378_ff7954e06a_z_d.jpg


16855298852_c1ccb38f41_z_d.jpg
 
Last edited:
Concl


Taking a break. Man this is pretty time consuming. May finish tomorrow night.
 
Last edited:
Good grief man.. thanks for posting this I'm sure it'll be invaluable to many in the future. I hope I never have to!
 
Good grief man.. thanks for posting this I'm sure it'll be invaluable to many in the future. I hope I never have to!

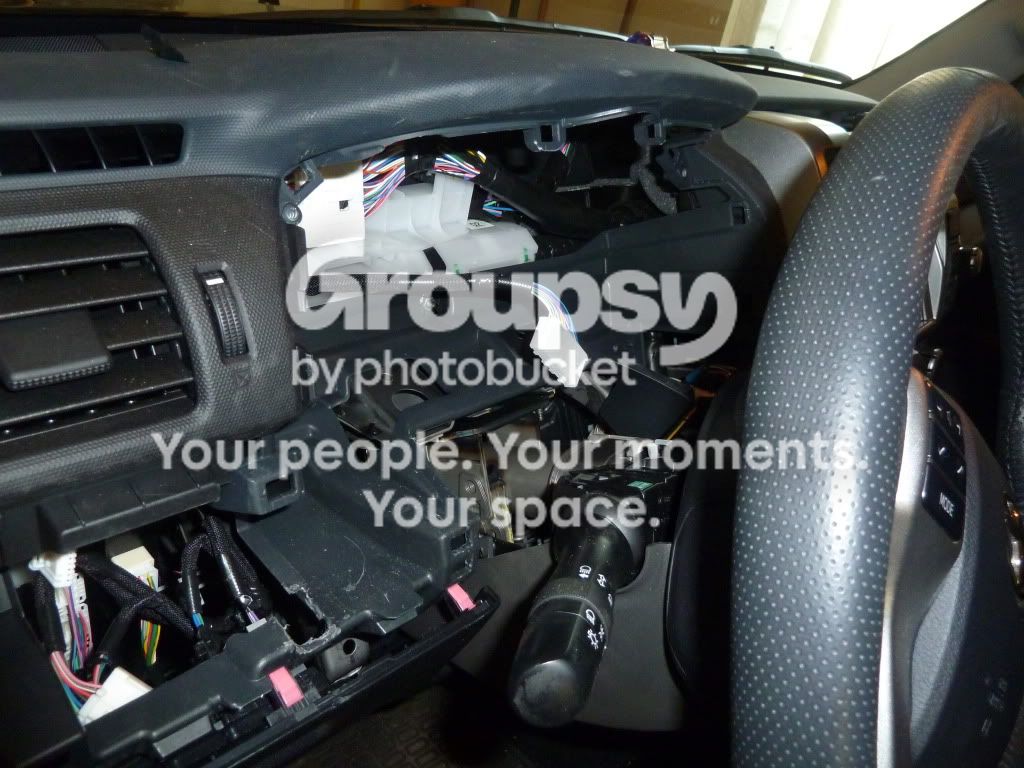
It's not as bad as you would think. Between the dash pad recalls I did in the Bay Area and now all the rodent cars I do up here in Oregon; I get some of these dashes in and out in about an hour or so; some of the HVAC Assemblies I can get in and out in under 6hrs.

Best method I have found for doing dashes/large interior work like that is to pick one side and work your way to the other. i.e. start on the Driver's side and take apart everything you need/can then work your way to the Passenger's side and work back to the driver's side if you need to. Usually by the time to go left to right once the dash pad is ready to come out.

Also something I do as it keeps parts where I need them is to put stuff in the back seats (i.e. I'll set all the driver side panels/pieces in the passenger rear seat and all the passenger side stuff in the driver's rear, this way when I put it all back together I just reach back across the opening and grab the parts I need.)

:) Just be careful and go at a comfortable pace and you'll find it's just like a big puzzle of clips, bolts, screws, and connectors. Kind relaxing work actually...
 
Great write up!

I've always been taught to wait 15 minutes or so for any capacitor in the airbag to discharge before removing it as a safety precaution.

-H-
 
Great write up!

I've always been taught to wait 15 minutes or so for any capacitor in the airbag to discharge before removing it as a safety precaution.

-H-

You are 100% correct.

And it varies depending on vehicle. Some can take 30 minutes according to what I've read.

You do NOT want an airbag blowing up in your face. That would be painful and embarrassing at the E.R. when they are sewing your nose back on to your face. :-)
 
I have the same questions as white4run. Do I need to remove the whole dash, radio panel included, in order for me to replace or add AOB buttons to the bottom dash panel? I know that I at least need to remove the kick plate by the parking brake and the bottom door sill but I do not want to remove the center consul panels if I don't have to.

Thanks
 

Members online

Forum statistics

Threads
278,305
Messages
3,554,042
Members
248,016
Latest member
Advally Service

Trending content

Back
Top