Dirtco’s Camping Trailer - Version 1.2

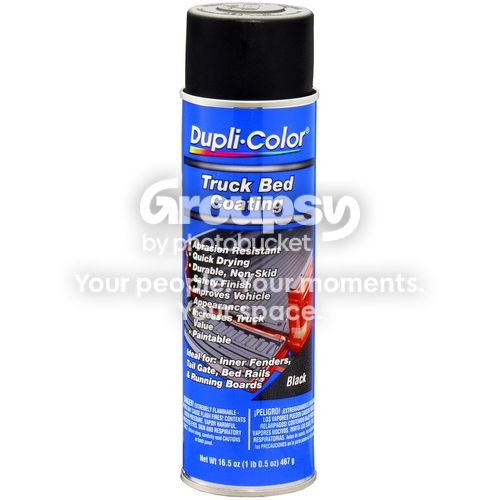
It looks like I possibly got a bad batch of bedliner. I stepped out of my box a little and used the Dupli-Color Bed Armor, it's in the black can.


It rained a couple days after I installed it and the bedliner started to bubble, some how the water soaked into the bedliner and made the bubbles.
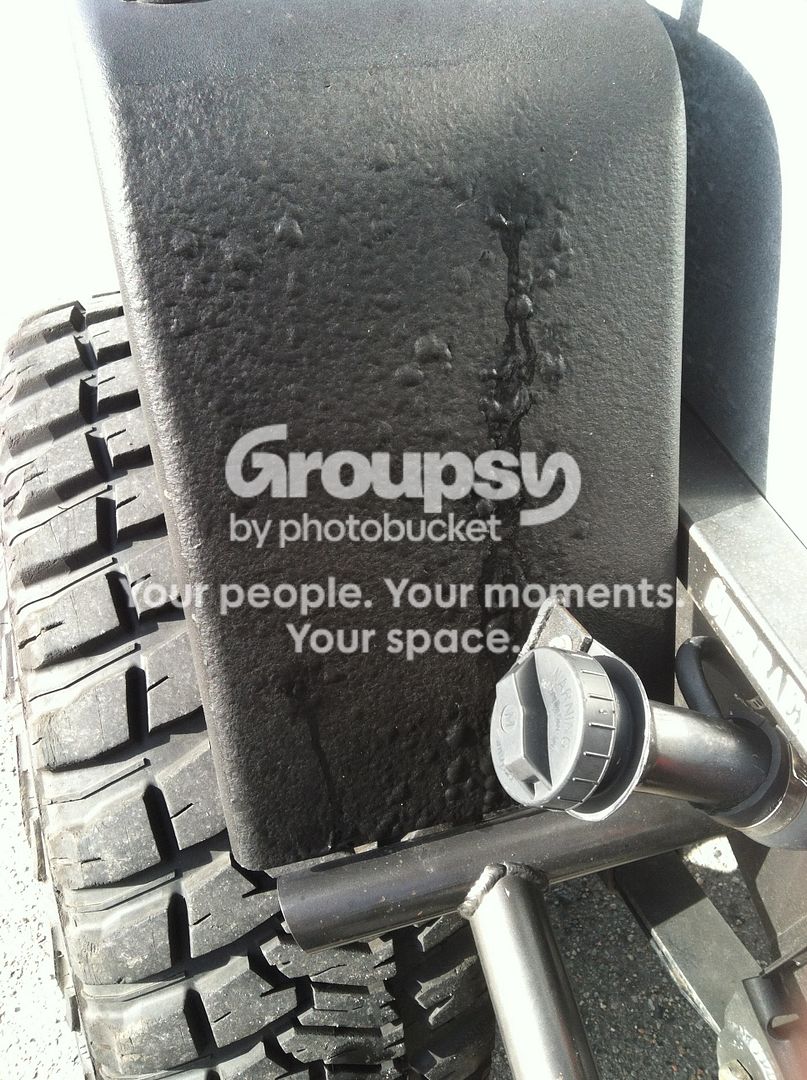
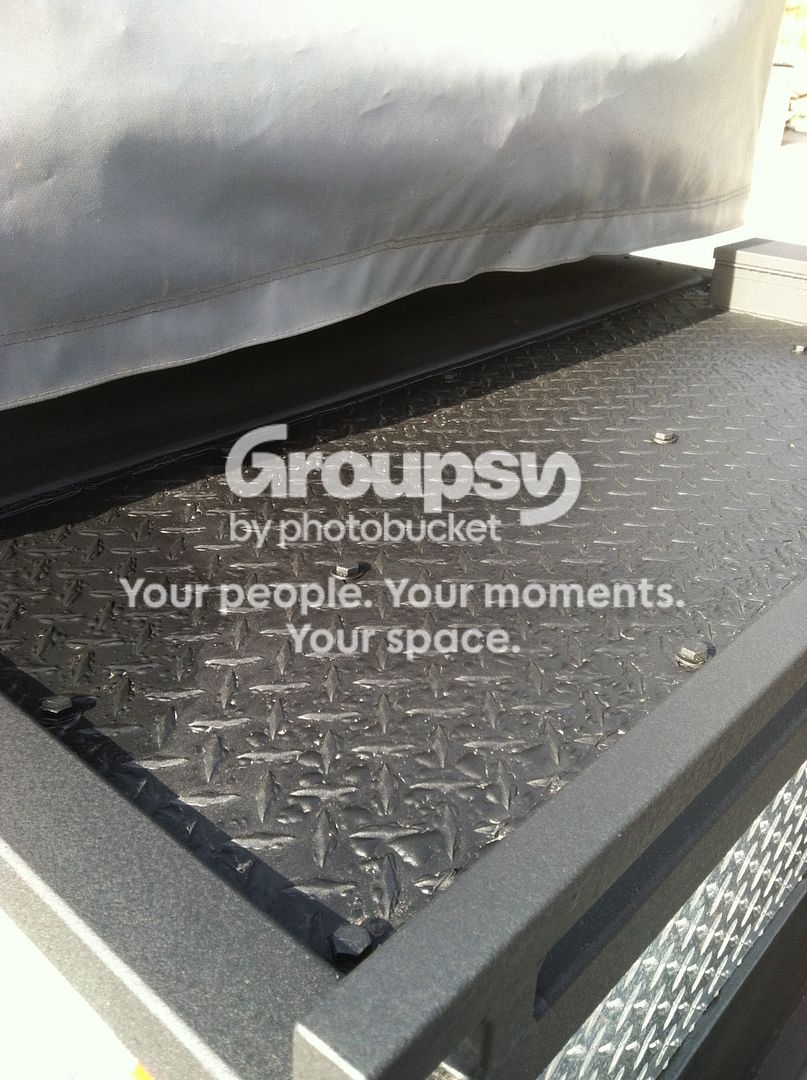


So I went over the parts again with Dupli-Color bedliner in the Blue can, the stuff I have used on most of the trailer. It seems to have done the trick, and sealed it back up.
 
With the Colorado Toyota Jamboree coming up next weekend I have been working hard to wrap up some loose ends and get the trailer ready.

I started by installing some levels, in the past I just did it by eye but this should be faster and more accurate.


I installed a rubber bumper on the fridge slide out last season to keep it from crashing into the door; it was a last minute addition before a trip. It worked better than I thought it would, but it still had an inch or so to move around and I didn’t want the fridge sliding back & forth while driving around. So I added a small extension to put pressure on the “bumper” and hold the fridge in place. There’s no latch to deal with; open the door and slide out the fridge, close the door and everything is secure.

 
Last edited:
Now for the good stuff…

I got the fridge hold downs installed, along with hard wiring the fridge power cord.


I also got the solar panel installed!


The newly added crossbar should do a good job of protecting the solar panel.


And the solar controller to prevent overcharging the battery.


Thank you sir! Your right, I didn't really get into the 12 volt charging system off the truck and to the trailer. To start out I have two trailer plugs, one is a standard 4way flat for the lights, the other is the aux plug that has the reverse light, rock lights, and battery charge wire. I did this because I have 7 circuits and no trailer brakes, if I needed to pull the trailer with another vehicle that had a trailer brake system, I did not want it sending voltage to something other than brakes (lights, etc).


Now for the battery charge wire. (For reference, both my batteries are Die Hard Platinum's, and I don't discharge the trailer battery much below the trucks battery level)

I also looked into the link you have for the Toad-Charge, but after doing some research I felt it wasn't really required for my application. Read this thread: Trailer - Light Charging Wire - Expedition Portal

I have a 4 gauge wire going from the trucks battery to under driver seat where my amp is mounted, from there it goes to a distribution block where an 8 gauge wire goes to the amp and another goes to the rear cargo area where I have an aux fuse block.


From the fuse block I ran a 12 gauge (I think) wire to a HD switch in the cargo area. (Just below and to the left of the fire ext. in this picture). From there the wire runs through the plug and directly to the trailer battery.


Thanks for the response. I see you've now added a solar panel, which runs you up to three potential charging sources for your battery: 12V from the alternator, 12V from the solar, and 110V from your shore power. Is that correct?

How do you have all of them wired? I saw you had the solar leads going to its own charge controller, and I'm assuming based on the post you linked me to that the 12V alternator lead is manually controlled and routed directly to the battery, but what about the shore power? Is that a manual switch as well, and what charge controller do you use for that?
 
Thanks for the response. I see you've now added a solar panel, which runs you up to three potential charging sources for your battery: 12V from the alternator, 12V from the solar, and 110V from your shore power. Is that correct?

How do you have all of them wired? I saw you had the solar leads going to its own charge controller, and I'm assuming based on the post you linked me to that the 12V alternator lead is manually controlled and routed directly to the battery, but what about the shore power? Is that a manual switch as well, and what charge controller do you use for that?

Yes, that is correct.

Each one of those choices has it's time and place; 12v from the truck when I'm driving around, 12v from the solar to keep up with the fridge while it's setting at camp, and the 110 shore power (during storage, before/after trips, and when hook ups are available).

I went over the 12v from the truck (straight from truck with on/off switch. The solar charger goes through the controller (to keep the battery from getting over charged), and directly to the battery. It should do a good job of keeping the battery up when parked, and extend the time the trailer can set at camp without being hooked up to the truck. For the 110 I'm using a marine shore plug that goes to a batteryminder trickle charger, then directly to the battery.


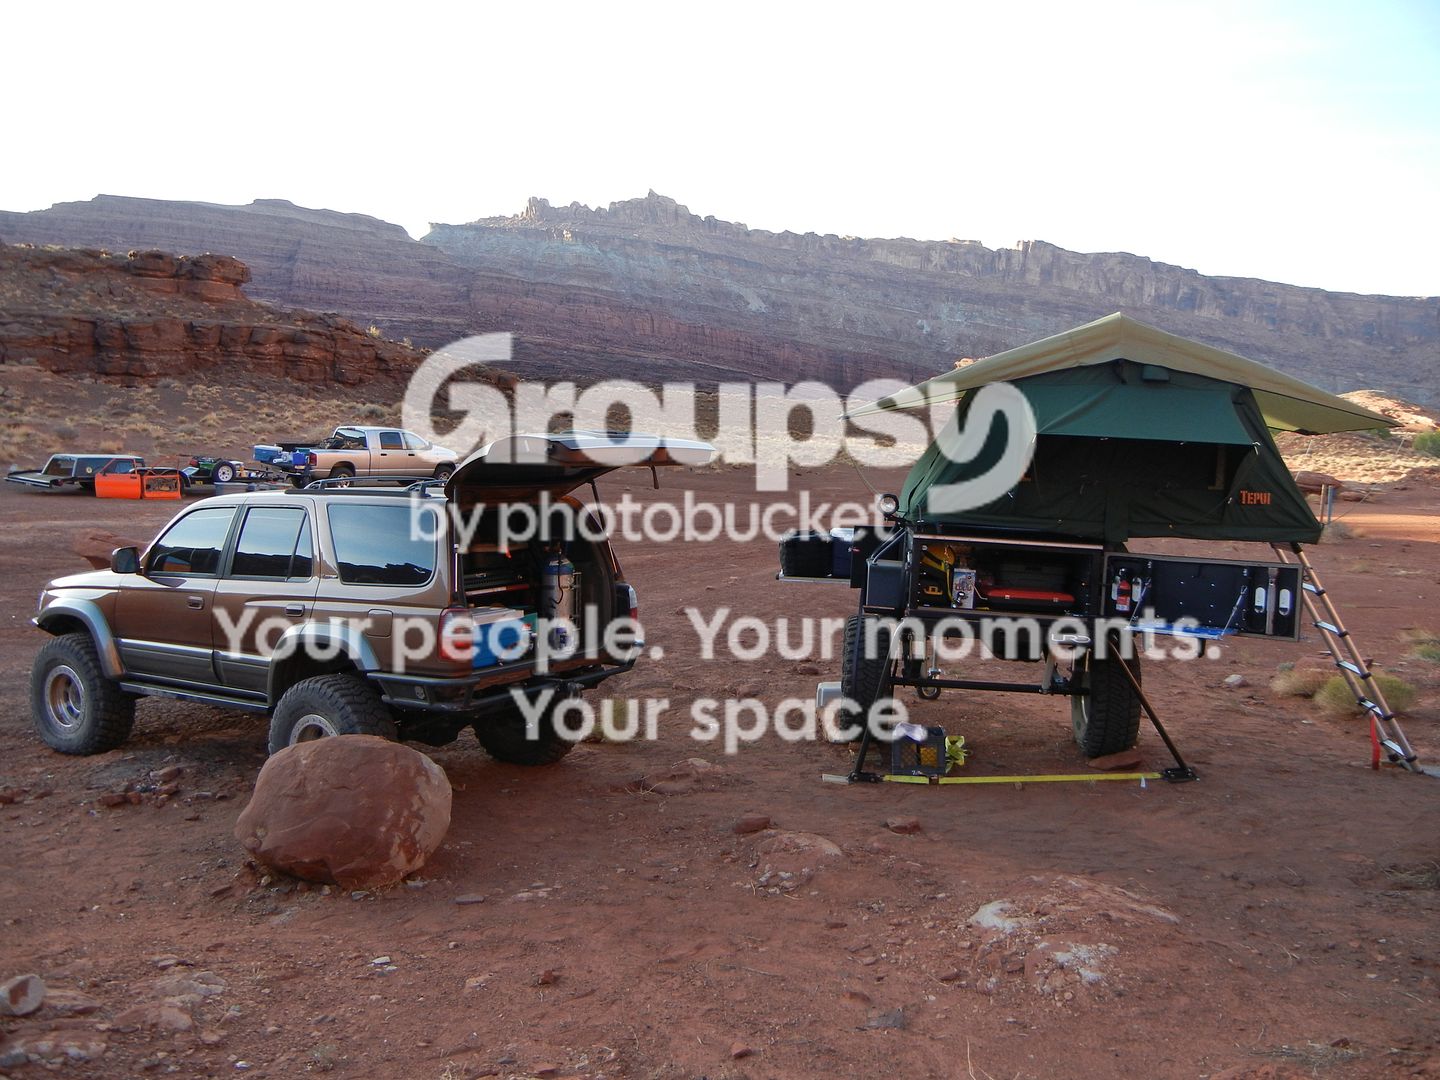
And just to make things even more complicated, I have a fourth option! I installed a standard 12v plug in the back of the trailer, and the 4Runner has one in the back cargo area too. I have a 12v to 12v extension cord that allows me to plug the trailer into the 4Runner when it's parked next to it. This lets me be staged at camp the way I like (4Runner backed up next to the trailer, both tailgates open) and still charge the battery while I'm packing, unpacking, cooking, etc, etc.


Yes, that is correct.

Each one of those choices has it's time and place; 12v from the truck when I'm driving around, 12v from the solar to keep up with the fridge while it's setting at camp, and the 110 shore power (during storage, before/after trips, and when hook ups are available).

I went over the 12v from the truck (straight from truck with on/off switch. The solar charger goes through the controller (to keep the battery from getting over charged), and directly to the battery. It should do a good job of keeping the battery up when parked, and extend the time the trailer can set at camp without being hooked up to the truck. For the 110 I'm using a marine shore plug that goes to a batteryminder trickle charger, then directly to the battery.


And just to make things even more complicated, I have a fourth option! I installed a standard 12v plug in the back of the trailer, and the 4Runner has one in the back cargo area too. I have a 12v to 12v extension cord that allows me to plug the trailer into the 4Runner when it's parked next to it. This lets me be staged at camp the way I like (4Runner backed up next to the trailer, both tailgates open) and still charge the battery while I'm packing, unpacking, cooking, etc, etc.


Awesome! Thanks very much. How you have yours wired is exactly what I was thinking about mine, but I wasn't sure if you had a more complicated solenoid-based setup or something. I've already got the inputs ordered and sitting at the house, but I'm still doing some research on a 110v charge controller that I can easily mount. I'll look into the one you're using. Thanks again!
 
This thing is brilliant. I will build one. I have absolutely no use for it. But I want one. That is all.

You use it for camping, lol! :D Thanks man!

I agree with LINY on this. I'll never need this but if I ever did I will copy this to the weld. This is the single best piece of solo engineering/fabrication I've seen. Is there anything you don't have on this?

Thank you! There are some things I would do different, but overall I'm extremely happy with the outcome. It has been a huge project, and it has really made me think outside the box to make everything work. I still have to figure out the fresh water system, along with a bunch of little stuff, but it's almost there.

Version 2.0 will be incredible, if I ever get the chance to build it! I have a lot of ideas just begging to be put to use!

Man you got the skills to pay the bills!
This is by far the best homebrew trailer I have ever seen.
Huge fabrication props man. Hope to see it sometime!

Thank you, I really appreciate the kind words! If your ever in the area let me know. :)
 
Last edited:
Awesome! Thanks very much. How you have yours wired is exactly what I was thinking about mine, but I wasn't sure if you had a more complicated solenoid-based setup or something. I've already got the inputs ordered and sitting at the house, but I'm still doing some research on a 110v charge controller that I can easily mount. I'll look into the one you're using. Thanks again!

Not a problem! Nothing fancy here, they are wired directly to the battery. The solar panel will always be in use, as long as it has sunlight. The rest of the charging options will be one at a time. The solar controller prevents overcharging, so it will cut out if the voltage gets too high.
 
My first welder was a Lincoln 120v and it served it's purpose well. I still have it and use it for smaller stuff, or when the shop welder is down. If you can afford a larger welder I would buy that, it's easier to use and you will not have to upgrade down the road (and you will want to, trust me). You could build a simple trailer with a smaller welder (with some practice), but if you plan to build your own axle or weld anything over 3/16" you will want a good full size welder. It's an investment and you get what you pay for, I have saved thousands of dollars by building my own stuff and not buying it.

Cool, thanks for the info. Like you suggested, I figured I'll save a little longer and spring for a bigger machine. Should I look for something with 100% duty cycle? I noticed that many of the smaller welders have pretty short duty cycles.

Oh, also, saw your new updates... now you're showing off...... :) :hail:
 
DSCN1634.jpg~original
[/URL]

And that's how I camp in the background with all my crap over my trailer and truckbed, hahaha! Man, that was a fun Moab trip!

Can't wait to see the trailer in action this weekend!
 
Wow this is incredible! Great fab work and sick 4runner and trailer setup! Thank you for sharing your art work, very usable and thoroughly thought out. Great job and thanks for sharing
 
Wow this is incredible! Great fab work and sick 4runner and trailer setup! Thank you for sharing your art work, very usable and thoroughly thought out. Great job and thanks for sharing

Thank you for the compliment, and taking the time to read the build!

I noticed that you have the pintel (spelling) hitch on there again. Didn't the other one work out?

I have two couplers; a normal street coupler (it's easier to connect and disconnect the trailer), and the off road coupler which is a Max Coupler. I never ran a pintel because they clunk around and make a bunch of noise.
 
A couple weeks ago I took the trailer down to Buena Vista for the Colorado Toyota Jamboree. It was a fun trip, and a good three days of wheeling!

On the way home I ran Mosquito Pass with the trailer, from Leadville over to Alma. I think it was my favorite day of the trip!


Crossing over the river from London Mill (Video)


Angle 2 (Video)

 
I posted this in the 4Runner build thread, but I know not everyone makes it over to the 3rd gen forum. Figured I might as well copy and paste it over here too.

I’ve really been itching to go on a more expedition style trip, and with winter quickly approaching I wanted to get in at least one more camping trip. My buddy Aaron has wanted to check out some trails in the area, and also wanted to get in that possible last camping trip of the season.

This network of trails is literally in my backyard and I run these trails several times a year, but not with the trailer! I came up with a route that would hit all the good stuff, and start/end on highway 285 so that Aaron had an easy trip both ways. We came up with the plan of running Red Cone first, part of Webster pass, then Saints John over to North Fork of the Swan, where we would camp off a spur trail that I know of. Sunday would be the rest of North Fork, followed by Georgia Pass.

The plan was to meet Aaron Saturday morning at the trailhead of Red Cone, but that meant I had to run all of Webster Pass to get there. I woke up, looked out my window, and saw snow towards the summit of Georgia pass!


I ran the first part of Webster Pass and dropped the trailer before the switchbacks on the Summit County side. Webster Pass has a tendency to wash out at the top, is extremely narrow, and there is no place to turn around until you get a ways down. The last thing I wanted to do was back the trailer back up the trail if there was an issue, it’s really not a trailer friendly trail (as if any of these trails are :D).

We meant up mid morning at Red Cone and started up the trail. Aaron would be driving his stock FJ cruiser instead of his 1st Gen 4Runner on 40’s, it’s better suited for this terrain and weather. It was obvious that all the trails were going to be wetter, and more washed out than normal with all the extra rain we have been getting. While I had already experienced that on my way to the trailhead, Aaron got is first glimpse of this shortly into the trip. This spot is always washed out, but not like this.


All that moisture really made for some green scenery, and mushrooms everywhere.


Playing on some rocks

 
It was cold, rainy and windy once we got close to the summit, so we stopped for a minute and worked our way back down the hill until the weather eased up a little.

Just before the last descent to Webster


Double rainbow at the top of Webster, end of Red Cone. At this elevation you look down on rainbows. :)


We made our way down to the trailer, where I reconnected with the truck’s other half, and then had lunch. This would be an awesome campsite if the weather was better.


Normally I would take Radical Hill over to Dear Creek, but with the stock FJ and the trailer in tow, we decided it would be best to take Webster down to the main road and connect with Saints John. Running into a washed out section towards the top of Radical would really suck, and after all this was to be a fun, relaxing trip.
 

Members online

No members online now.

Forum statistics

Threads
278,312
Messages
3,554,089
Members
248,016
Latest member
Advally Service

Trending content

Back
Top