Dirtyfingers' build thread..

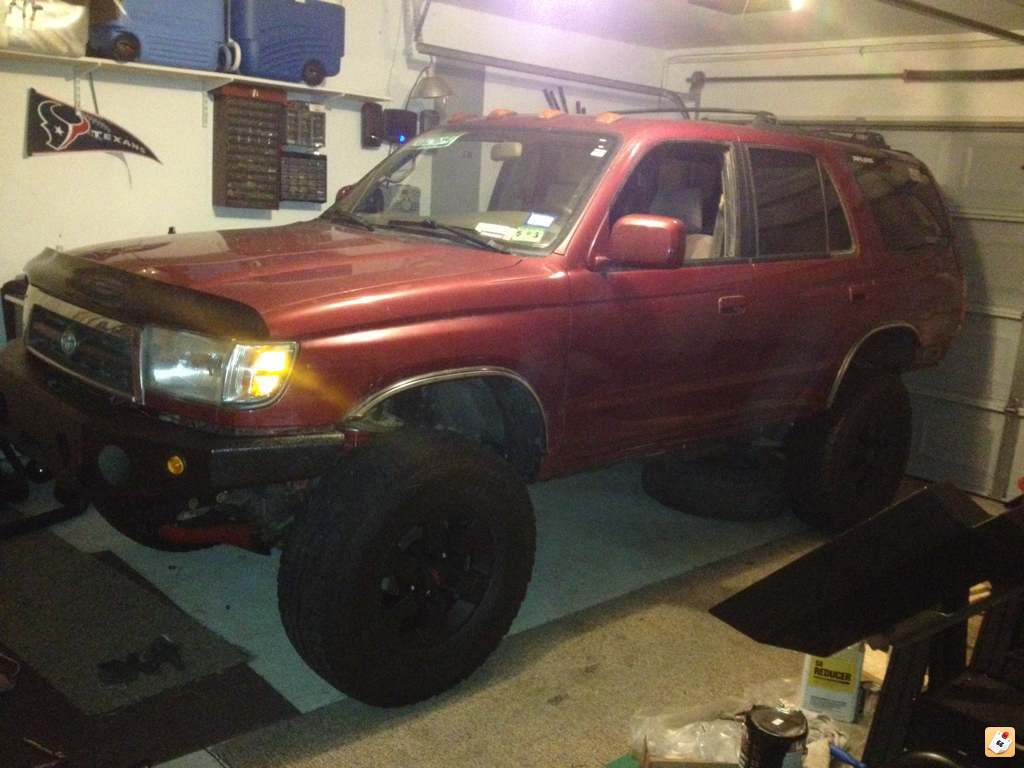
Okay, so, I got a couple of updates and teasers I guess. Kind of out of it right now went to visit the grandparents so with out further ado, I got my body lift
abegejyh.jpg


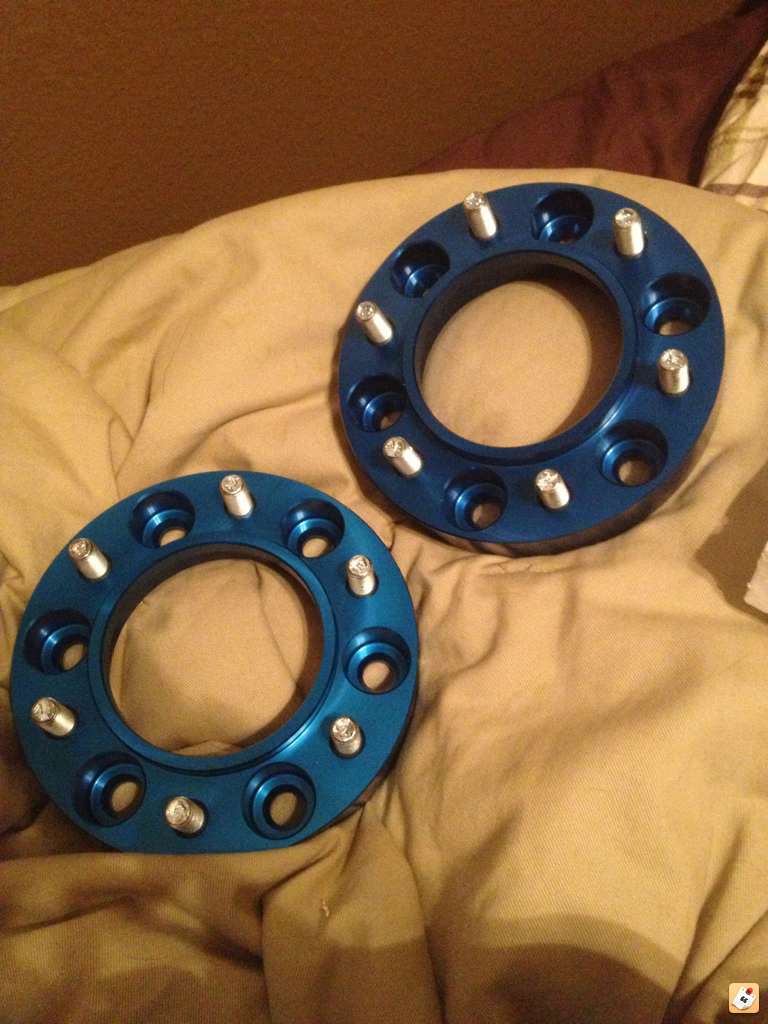
Not the best pic but it'll have to do for now, I also put a flowmaster on and it sounds awesome. Pics of that tomorrow. And last but not least I got a teaser pic
tudysare.jpg

how long did the body lift take to install, also did you use the steering saft extension, and move the shift lever? im about to throw mine on tomorrow and i wanna see how long it will take, Thanks!
 
how long did the body lift take to install, also did you use the steering saft extension, and move the shift lever? im about to throw mine on tomorrow and i wanna see how long it will take, Thanks!

Yeah man no worries! It took about 6 hours for me, improper tools and whatnot...I installed the steering shaft extension and moved the shift lever yes. PM me your email address and I'll send you a PDF file.
 
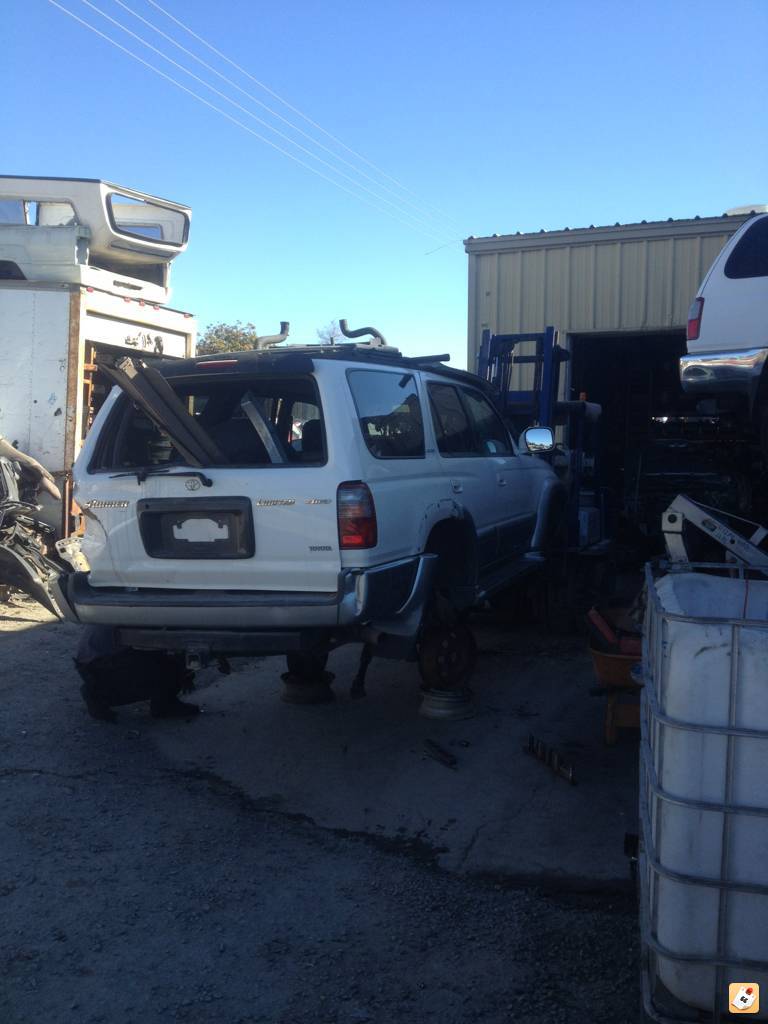
So today I went on a hunch to find a part. That hunch was dang right I tell you what!
yga9e2yn.jpg

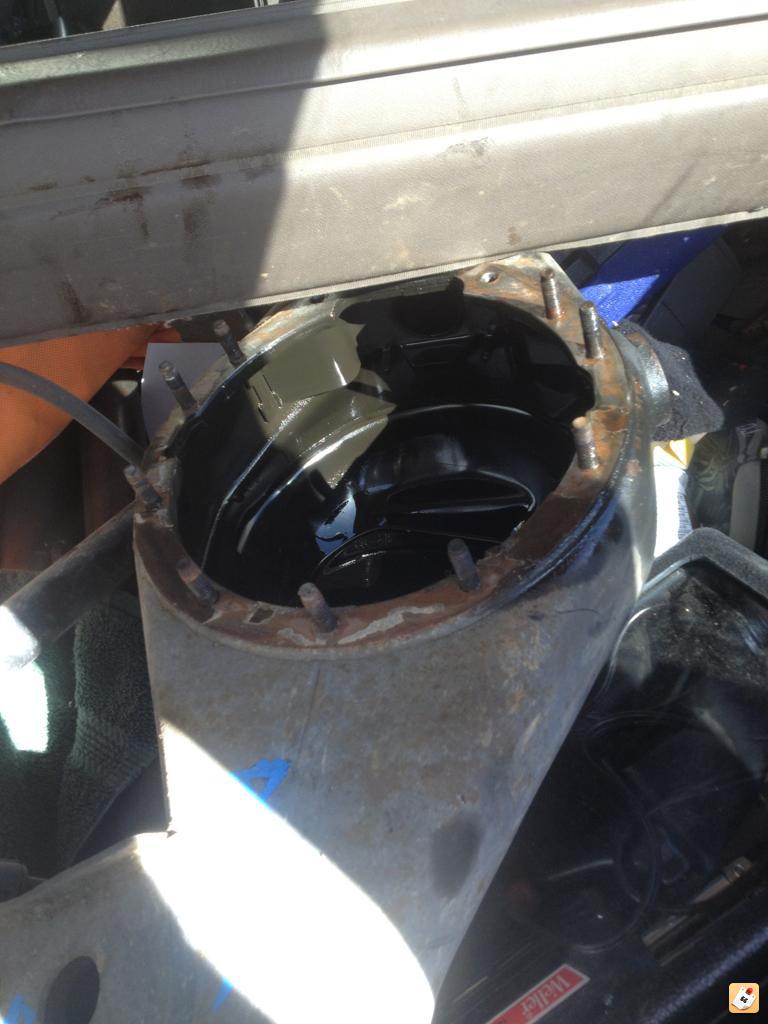
It was 4wd and elocked, don't mind if I do! Pulled this part off for very cheap
vu8umasu.jpg

After I buy the differentials from an undisclosed source, I'll be a very happy wheeler.
 
So I went to do cv boots today. Unfortunately I only was able to do one side. But what I used was as follows:
10mm, 14mm, and 34-35mm sockets
Big ass breaker bar
Pry bar
Shears
A flathead screw driver.

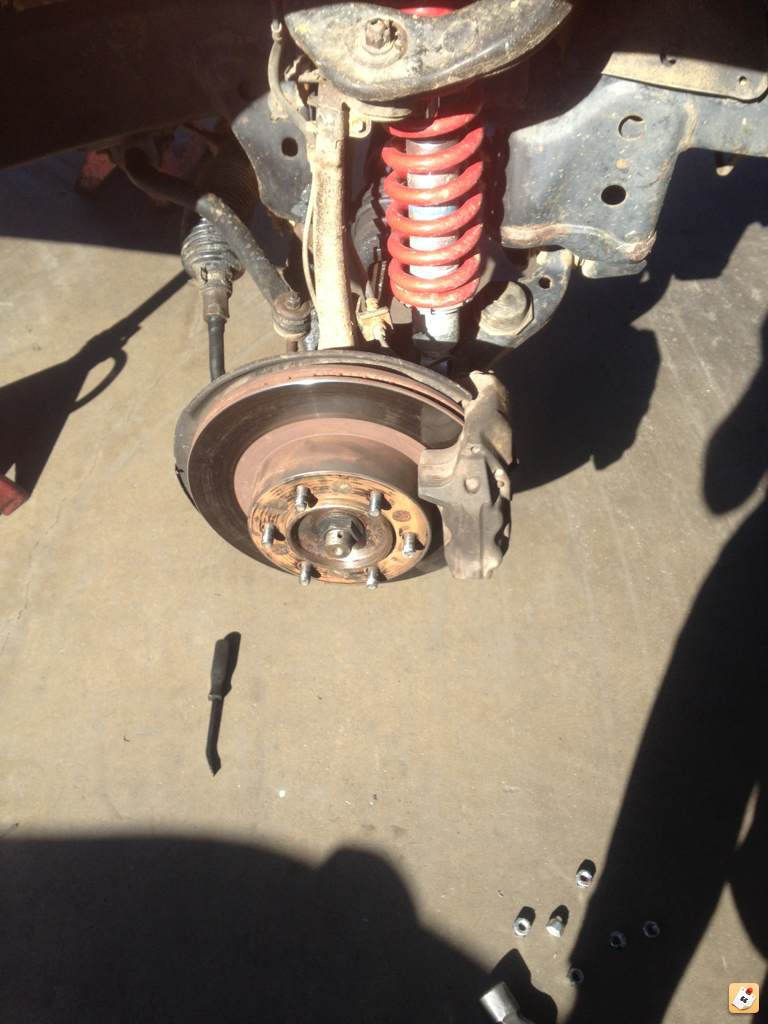
First what I did was take off the wheel of course
e2e3uhyj.jpg

Took off the dust cover with the pry, and removed the cottor pin and whatever the thingie was that holds the nut. You're also going to need to take the four bolts out that holds the LBJ on.

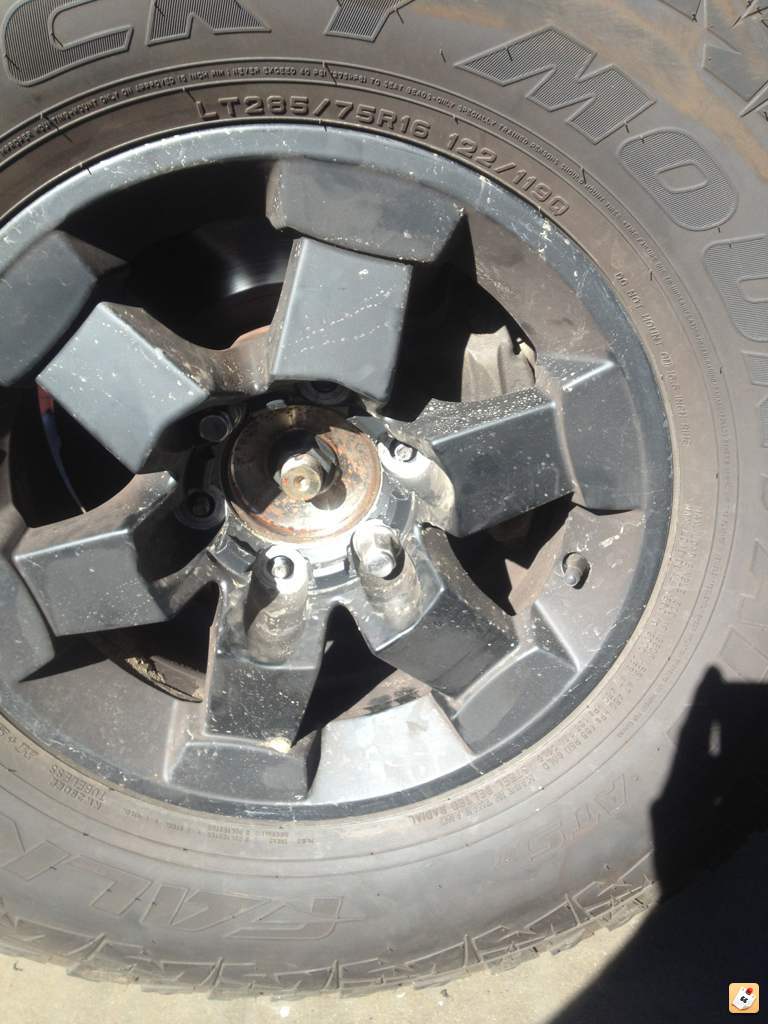
After that I put the wheel back on along with some nuts and lowered the truck back down. To get the big nut off the wheel it is torqued down to some where in the 274ft-lbs area I'm pretty sure.
e3y6atug.jpg

Like so.

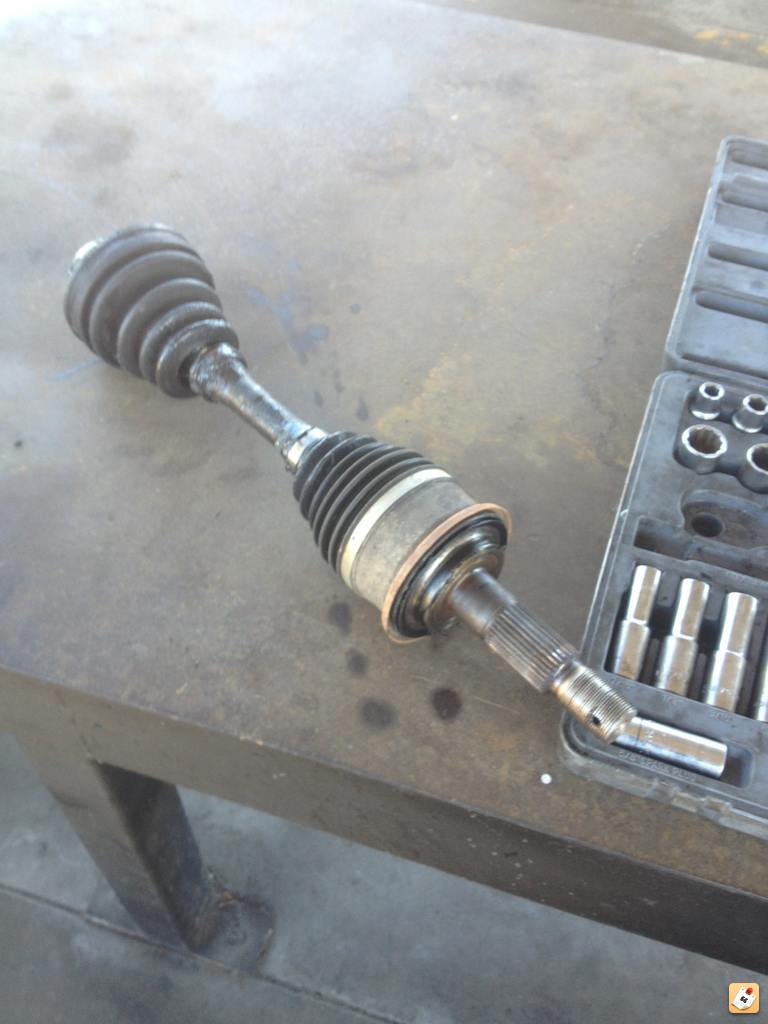
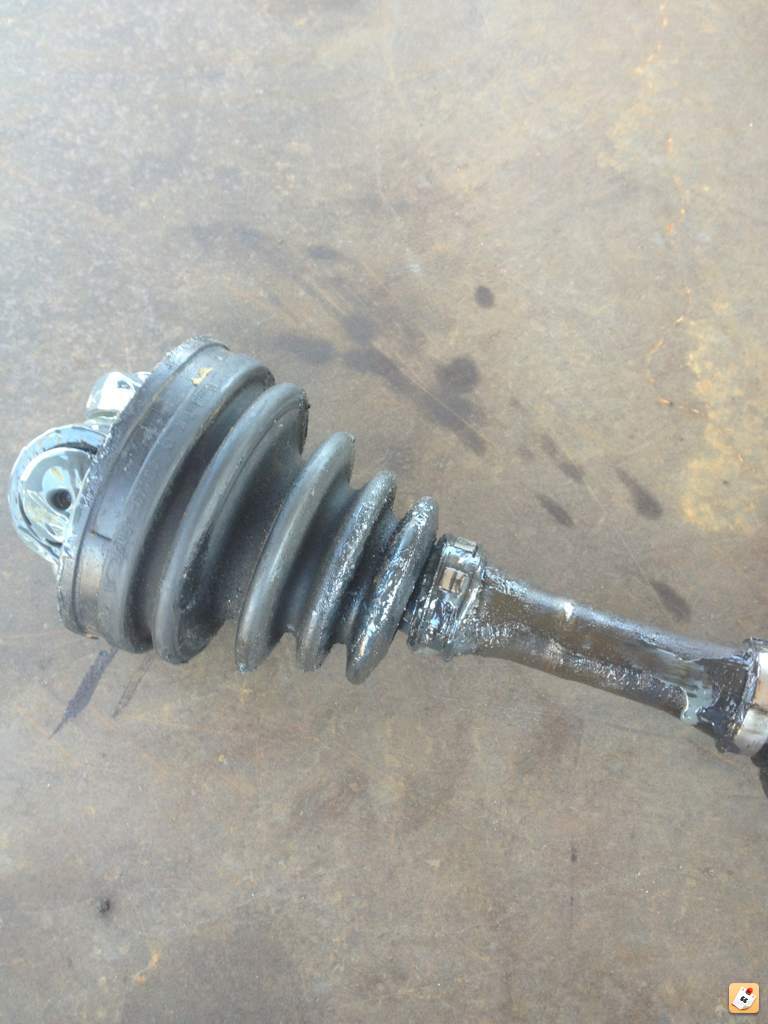
And I'm sure we all know the cv axle. Here is is with the split boot and leaky ends. It was time for some new boots anyways.
a9yta9e6.jpg

pa6e4ury.jpg

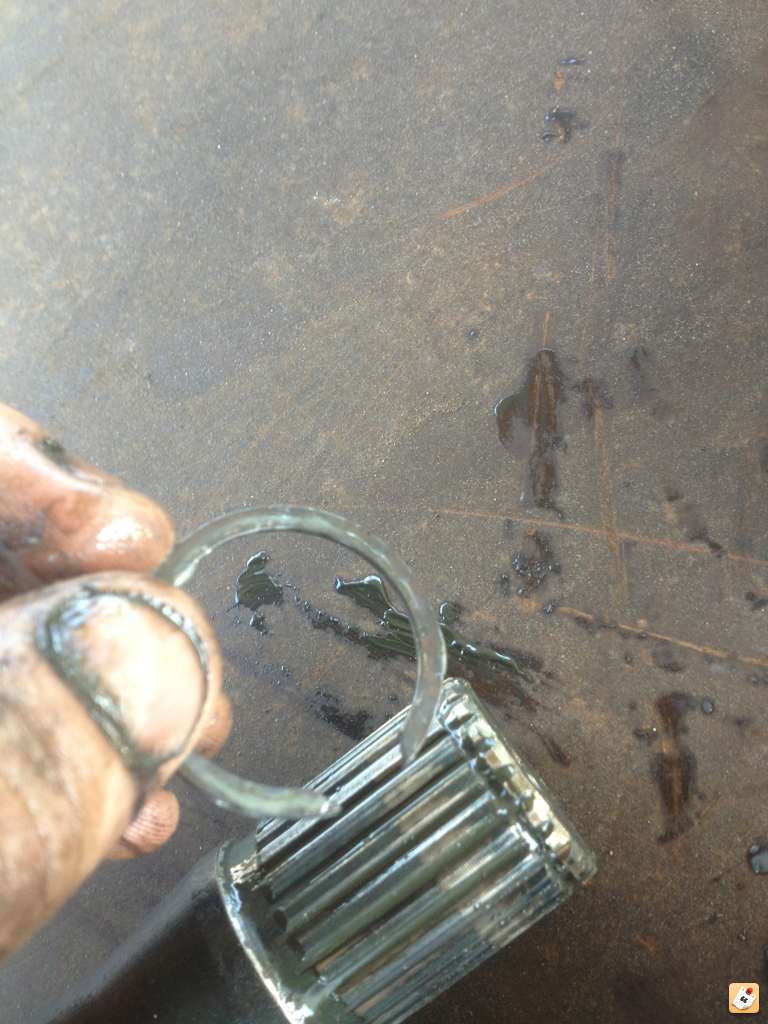
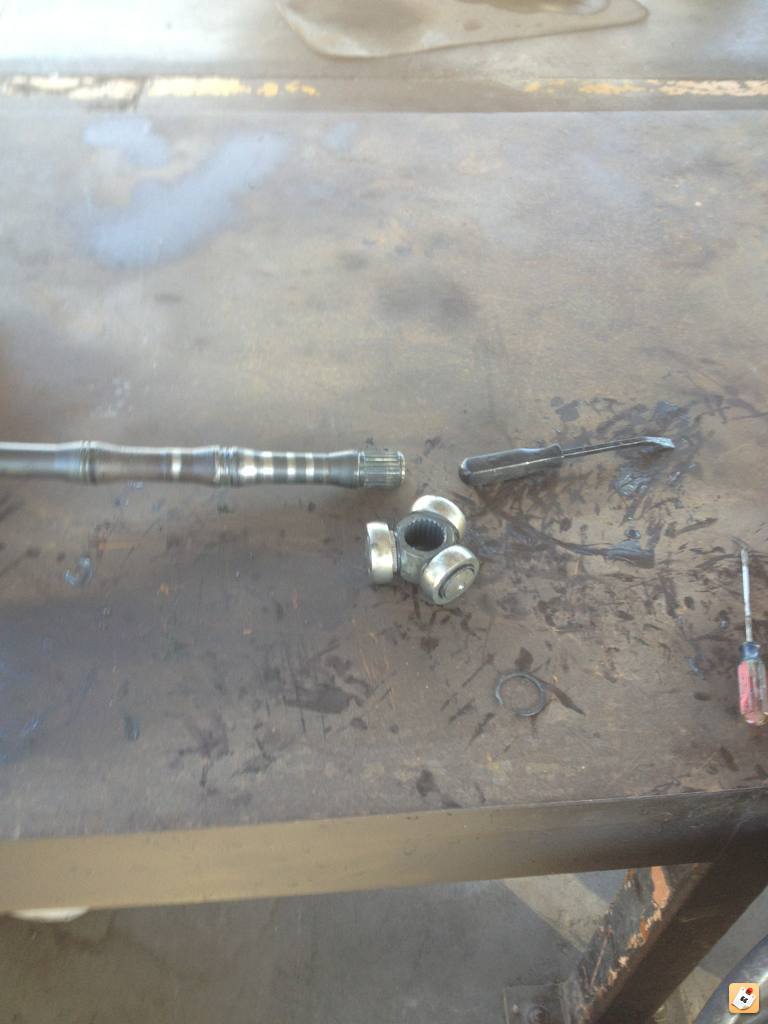
Now, the way you get the boots off with out cussing and throwing tools across the shop is this right here, some sort of retaining pin. Take this out with the flathead. Careful it will fly off and hopefully not hit you in the eye...
dynujeze.jpg

Here is is disassembled.
dypymyda.jpg

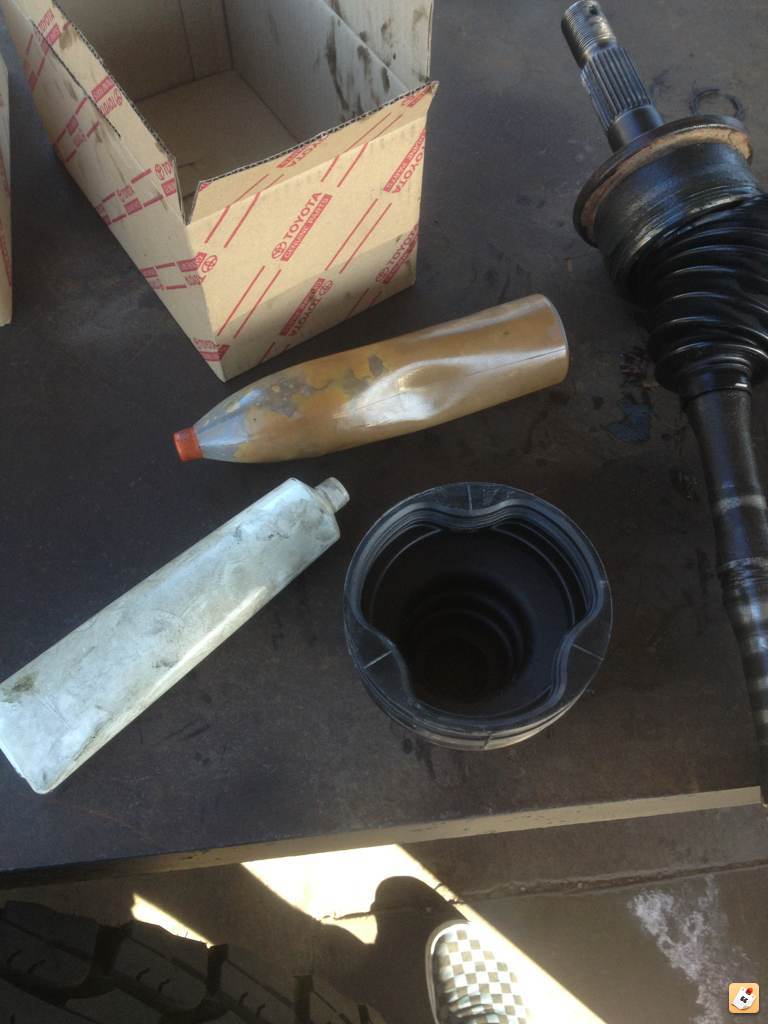
For those of you rebooting such as I did and went with the toyota boot kit, there's two tubes of grease, don't mix the two together! The lighter, or see through one goes into the outter boot, the darker grease or white tube goes into the inner boot.
u7u6e2e6.jpg

That's pretty much it.
 
Transmissions, today me and [MENTION=95206]10ac[/MENTION] tackled a pretty daunting task. Upgrading the transmissions, using the transgo shift kits. It was pretty straight forward with a bunch of that's what she said jokes and good old second guessing ourselves. Over all a very smooth modification.
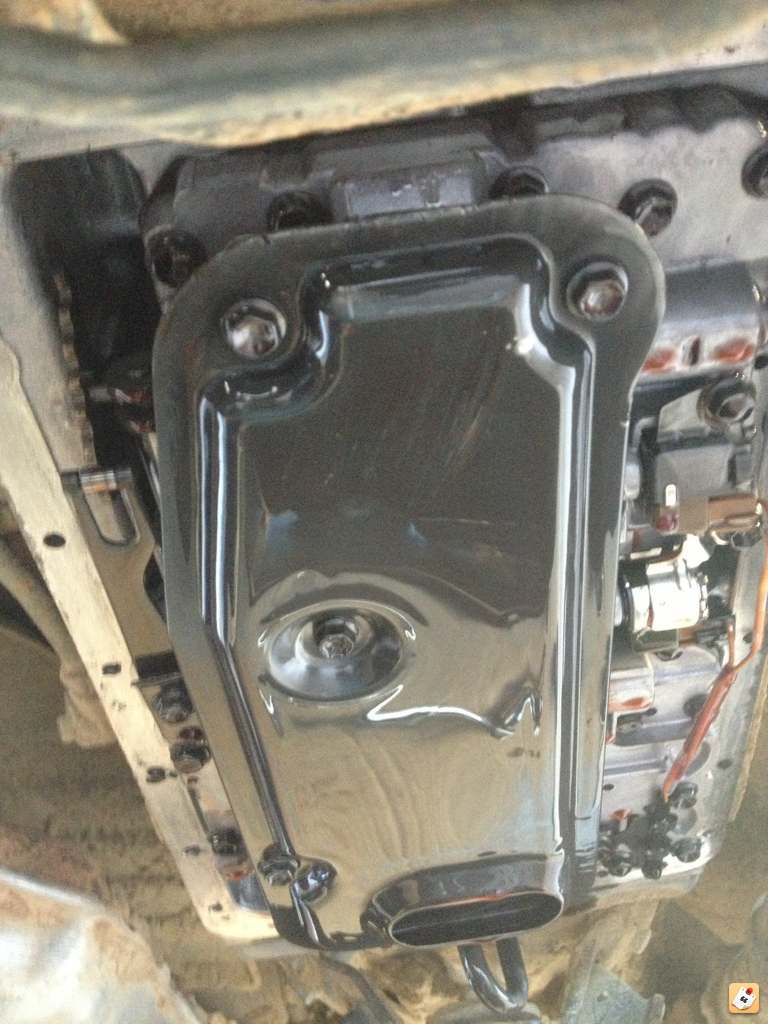
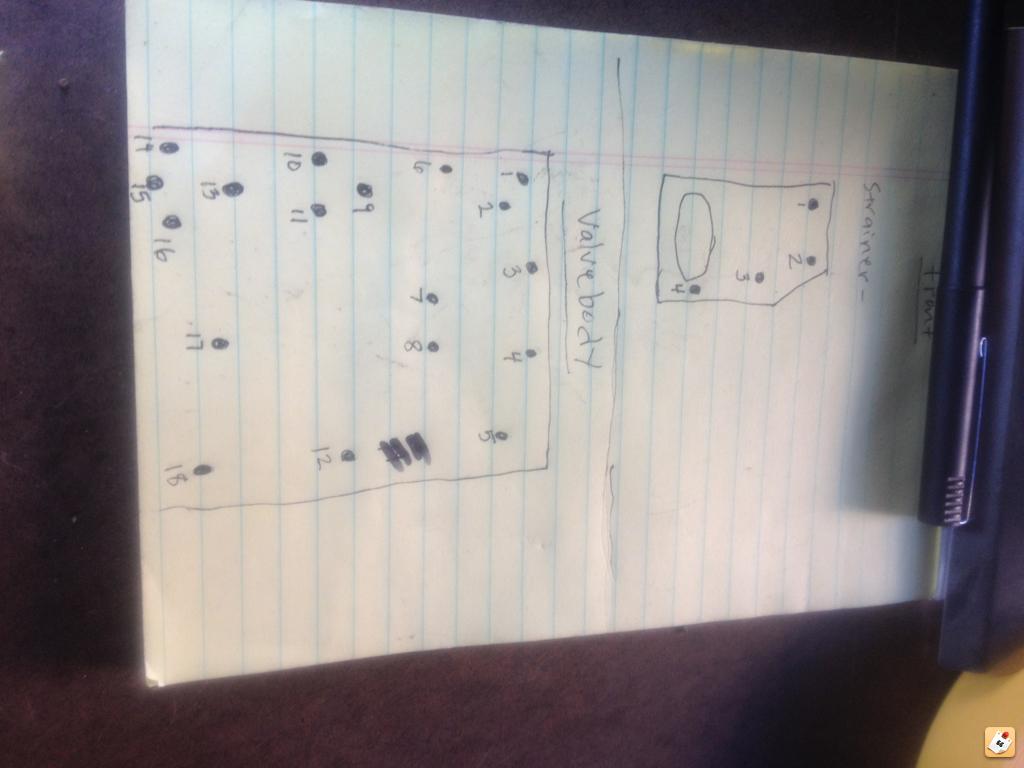
First things first taking off the trans sump, 19bolts later and a little bit of a surprise bump on the head it comes(falls) off! Then you have the strainer you take that off. MARK YOUR BOLTS OFF THE VALVES. The most important thing about this other then the ball valves is the bolts beings they are all different sizes.

herysy2y.jpg


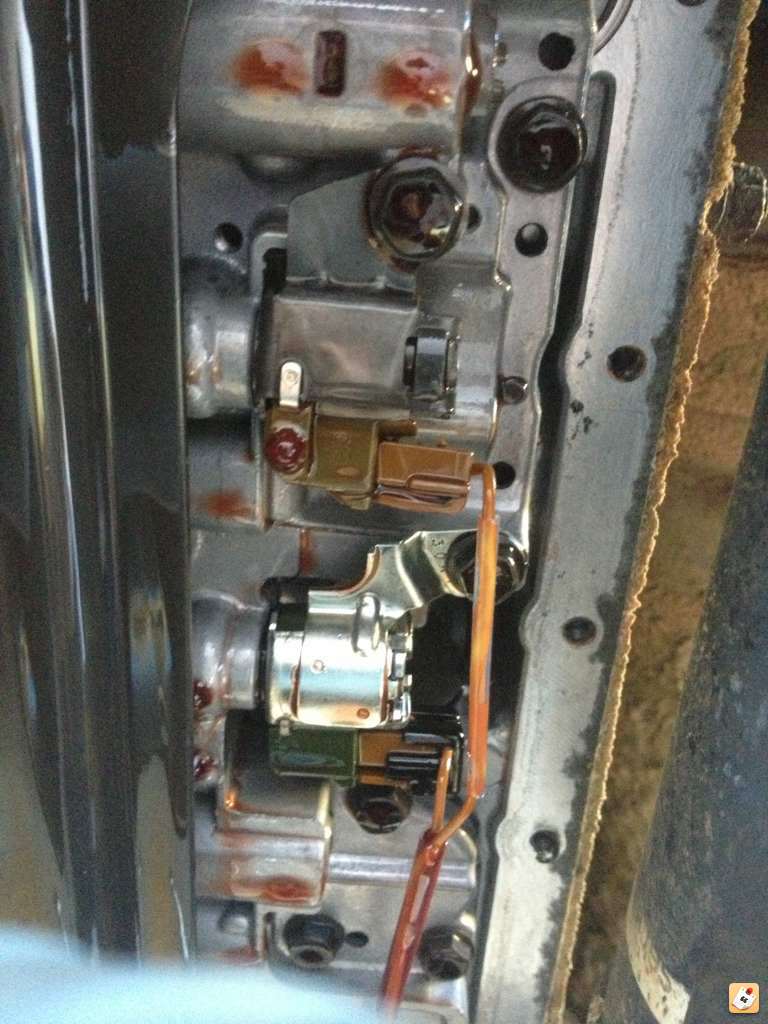
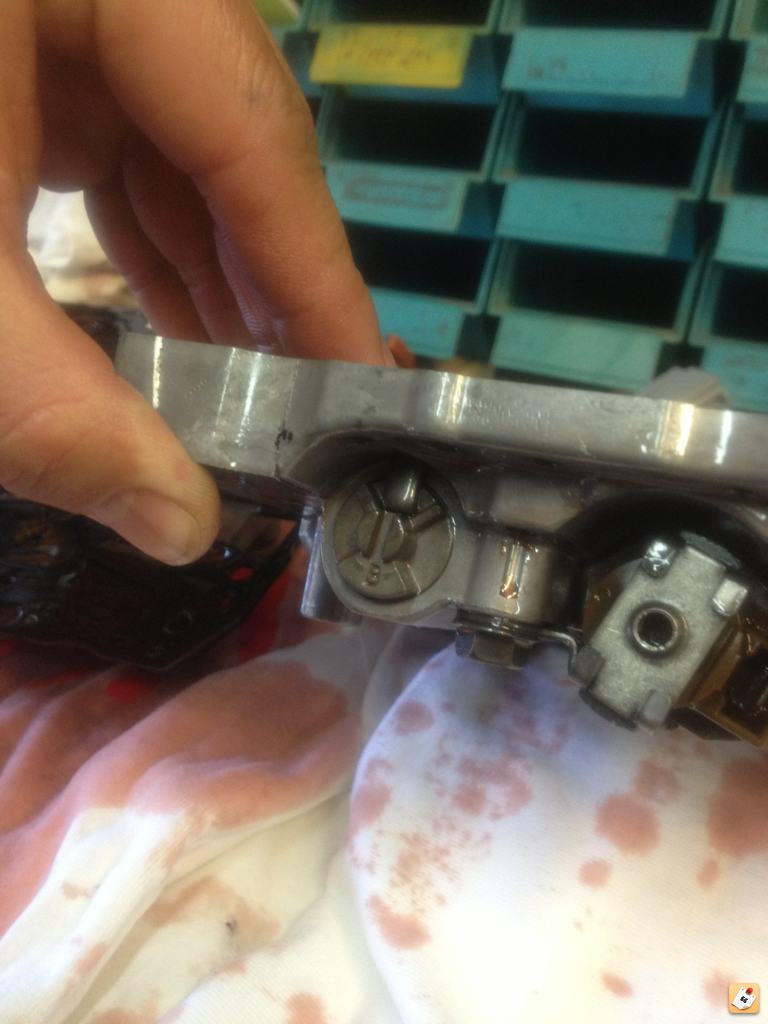
Depending on what year you have the solenoids are arranged differently here they here right there I ended up replacing them with new ones.

eqezaveb.jpg


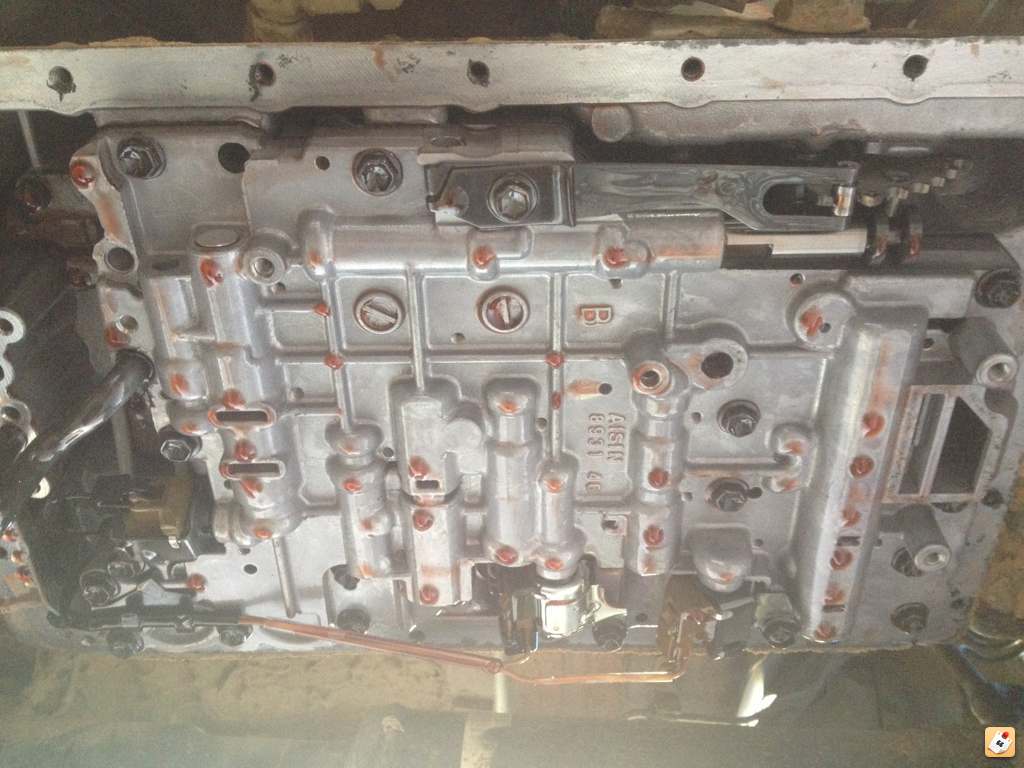
This is the valve body without the strainer.

a2ugu7u9.jpg


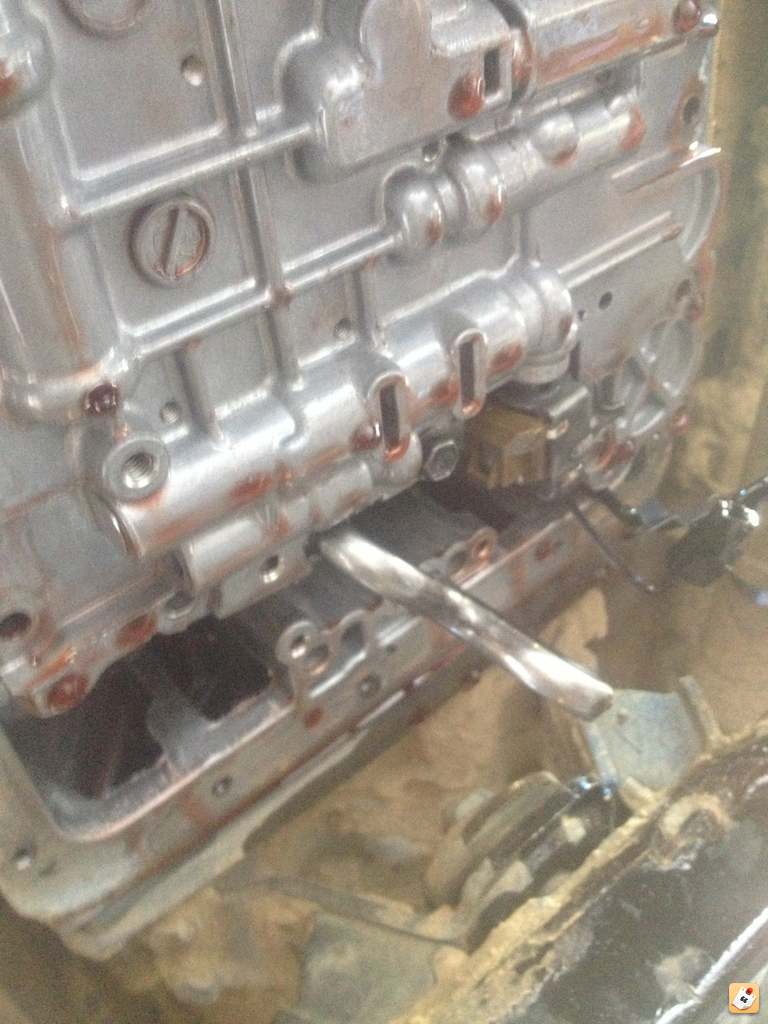
There is a tube on my 98 that you end up pulling down, that's all you really have to do with this one.

7ynagaba.jpg


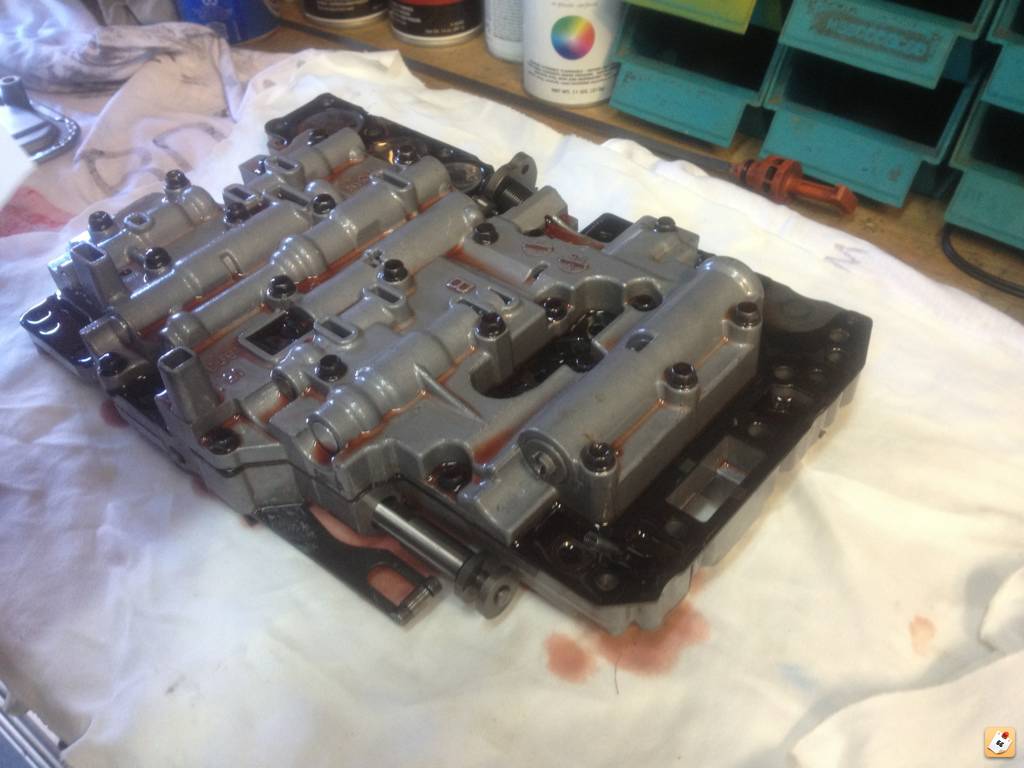
After that here is the valve body by it self out of the trans.

jy4ebyqe.jpg


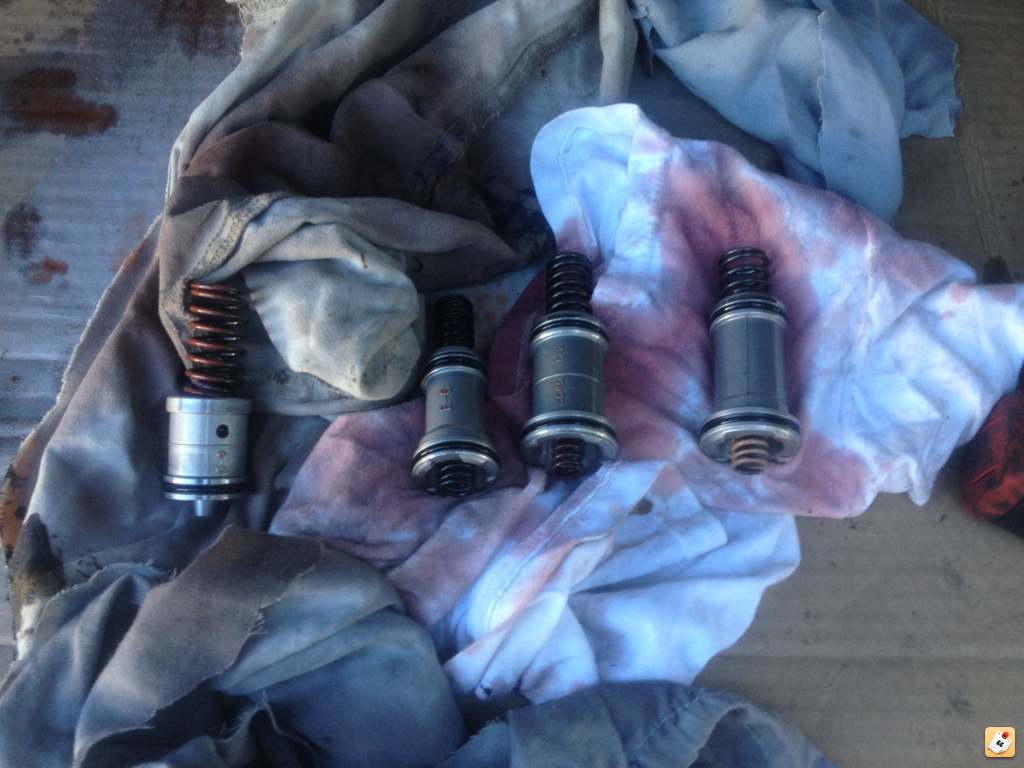
This is the order that the plungers go in from left to right being front to back.

gyrydaqe.jpg


This is how we labeled the bolts, made a diagram, then put the tape on the bolts in accordance with the diagram.

ena9usur.jpg


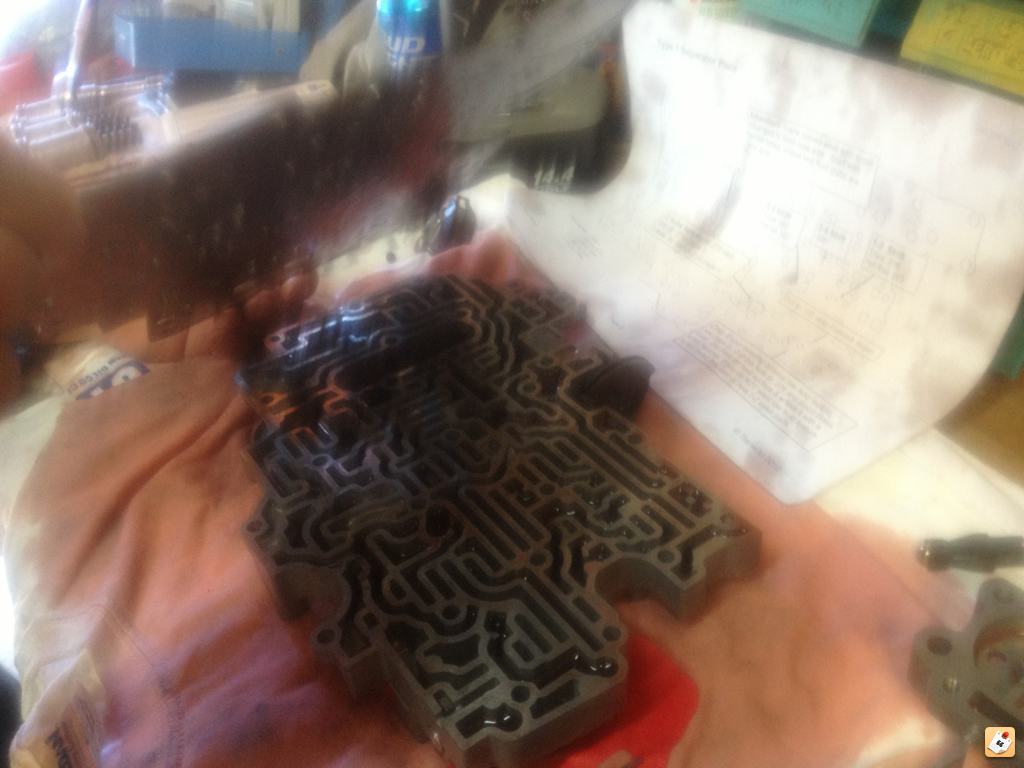
Sorry about the crappy celly pics, but this is the body getting separated. I'm not going to go into too much details because the instructions are actually very easy.

esa6etap.jpg

emydy6ag.jpg


After everything is buttoned up you want yo put the sealant back on and let dry for 2 hours then let it cure for 15 hours. After that put the fluid back in and you can drive it. I'll be sure to make a video tomorrow of how it drives. Cheers!

 
Last edited:
Can you explain more about what the upgrade was? What w was purchased etc?

I think BFAD did something similar.

Did it solve you transmission issues?
 
transgo shift kit

hey Dirty, so yeah, that definitely was a learning experience huh? lol. so yeah fellas, this kit was well worth it. Dirty and i did both his trans and mine at same time. he did his upgrade with the "truck shift" setup and i did mine in the "hotrod shift" setup. little differences in the way they shift. so anyone they has any questions should for sure hit up dirty for more info. Thanks for the help too man!!!
 
hey Dirty, so yeah, that definitely was a learning experience huh? lol. so yeah fellas, this kit was well worth it. Dirty and i did both his trans and mine at same time. he did his upgrade with the "truck shift" setup and i did mine in the "hotrod shift" setup. little differences in the way they shift. so anyone they has any questions should for sure hit up dirty for more info. Thanks for the help too man!!!

No problem man, I'm actually on the look out for a supercharger again so hopefully I can find one. It defiantly shifts better though.
 
hey Dirty, so yeah, that definitely was a learning experience huh? lol. so yeah fellas, this kit was well worth it. Dirty and i did both his trans and mine at same time. he did his upgrade with the "truck shift" setup and i did mine in the "hotrod shift" setup. little differences in the way they shift. so anyone they has any questions should for sure hit up dirty for more info. Thanks for the help too man!!!

Did you guys both get a chance to ride in each others trucks? What is the difference between the hotrod shift kit and the truck shift kit?
 
shift difference

Did you guys both get a chance to ride in each others trucks? What is the difference between the hotrod shift kit and the truck shift kit?

hope you don't mind dirty me chiming in for some info,

Dirty and i should make a video to post for y'all to see. I believe he's working on one soon. ill try to get around to it soon as well.
To me explaining it i would say his shifts at a 50% rate of tight firmer shift over stock "luxury shift" and mine is at about 80% and that rated at 100% being before it shifts so hard it barks second gear....lol.

ill be honest fellas, if you have mechanical skills at all and really need this upgrade such as i did because of my S/C, and i didn't wanna spend the amount IPT charges for a valve body upgrade such as similar to what we did, then this is for you. it worked wonderfully of dirty and i. helping each other out was great. having the second set of hands was great!

some things we used before starting the job:

about 9 quarts of toyota trans fluid or equivalent. mine used 8 1/2 after driving and topping off.
lint free rags
1/4" drive torque wrench
oem toyota sealant or super black sealant or equivalent
acetone or equivalent- for cleaning oil of surfaces
rubber gloves
tape for labeling

I'm sure I'm forgetting something but sure dirty can chime in on what else I'm missing for info.
 
Yeah that's pretty much it, other than a full socket set, but that would be a given. I am still looking for a supercharger but went ahead and put my kit in beings I was replacing the solenoids anyways.

It defiantly shifts like a truck, it's quicker on grabbing the gears. You will defiantly notice the difference on either setting you go with there is no more luxury shift slip.
 
Alright so with the New Years comes new mods that I want to hopefully get done, here is my New Years 4runner resolution knock out list:
•alarm system
•music enhancement upgrade(do I need to explain?)
•sound deadening
•elocker retrofit
•140k mile maintenance
•HID projector retrofit
•project restore paint
•rust preventative and removal

Will add more to the list as I see fit.
 
Last edited:
•music enhancement upgrade(do I need to explain?)
•sound deadening

talk to me bro. do you want to hear my system since you live down the street?

I've installed about 5 systems in my life. Did the entire 4Runner myself - I can help you do the install, just let me know when.


Don't buy a cap. Waste of money. Instead get a better battery (T4R search) and do Big-3 upgrade.


note to world ... please don't rob me :censored:


•snorkel kit
•project restore paint

Shorkel, really? Here in SoCal I don't see the point. Almost no one runs them. The water, when it exists is muddy and horrible for your truck. Also despite what youtube shows our trucks are not waterproof up to the shorkel. Just google sunk 4Runner. A lot of the damage isn't even from getting water in the engine, it is from getting water into everything else on the vehicle due to being basically sunk.

Restore paint ... yes I suggested either do a full buff but since you have peeling and cracking maybe a repaint job is good idea after all.
 
Last edited:

Members online

Forum statistics

Threads
278,310
Messages
3,554,077
Members
248,016
Latest member
Advally Service

Trending content

Back
Top