Passenger side outer tie rod end (removal and instalation)
Alright, so I had some time to kill this morning, before going to pick up the wife's "Pimpala" (aka, piece of crap Chevy Impala), from the windshield shop. As a result, I brought the truck inside the garage, and got to work!
First thing I did was jack up the passenger side, placed a jack stand under the lower control arm and removed the tire.
Next I made sure the wheel was turned so that if I was sitting in the truck... I'd be making a left turn. This exposes the tie rod/lower ball joint, which enables you to remove the cotter pin and place an impact on the castle nut to remove it. I then re-threaded the castle nut so that the top "castle" slots are facing down, and so that the nut was flush with the top of the stud. I couple of whacks and the tie rod dropped down. and took off my tie rod end.
Next I removed the clamps that keep the Tie Rod boot on, and slipped the boot down to the end of the tie rod. Once the boot is off, you see where the inner and outer tie rod are threaded into each other. I chose not to try separating them while they were installed in the truck, and decided to take them out as a unit. The inner tie rod is threaded into the steering rack. In order to remove it, you have to unfold the round washer that is folded over the inner tie rod, and keeps it in place.
Once I unfolded the washer using a hammer and large flat screwdriver, I used a medium sized pipe wrench with a piece of pipe on the end for leverage.
Here's a shot of my pipe wrench setup:
Here's a shot of the wrench on the inner tie rod as I'm removing it from the rack:
I then brought the entire assembly to my bench vice, clamped it into place and used the pipe wrench and pipe to un-thread them apart:
Next, I had to removed the adjustment nut from the old tie rod end. I was having issues, so once again I placed the end of the tie rod with the nut on it, in the vice and used the pipe wrench on the top portion to un-thread them:
I then installed the new outer tie rod on the inner tie rod, and installed it using the reverse instructions I mentioned above.
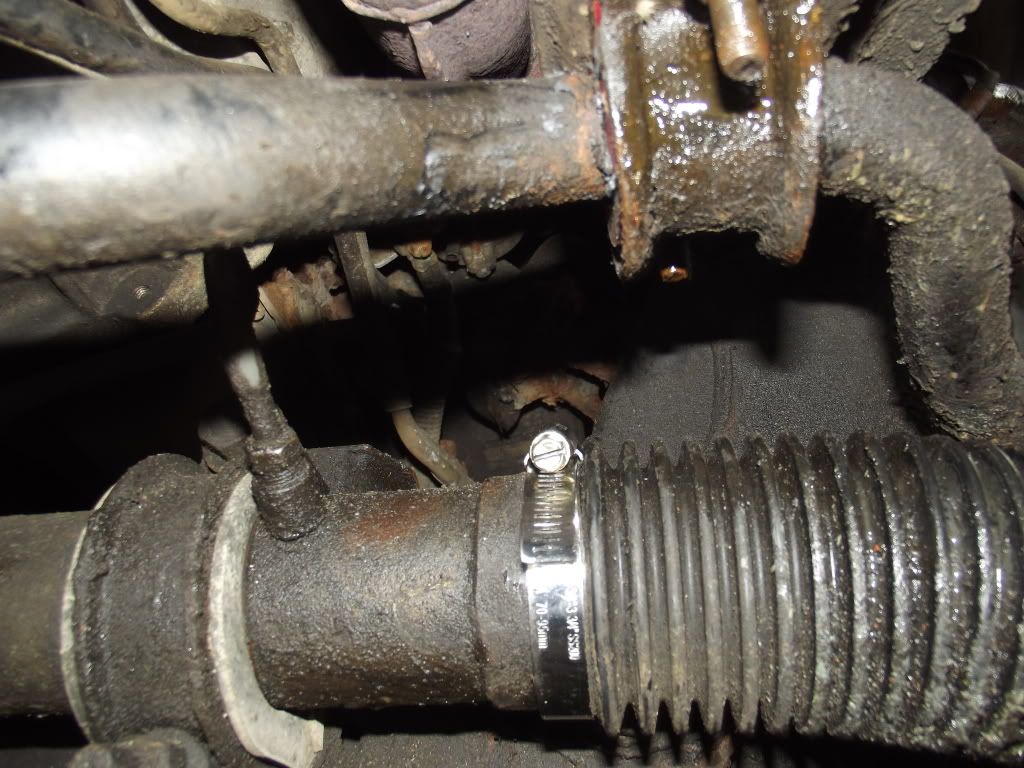
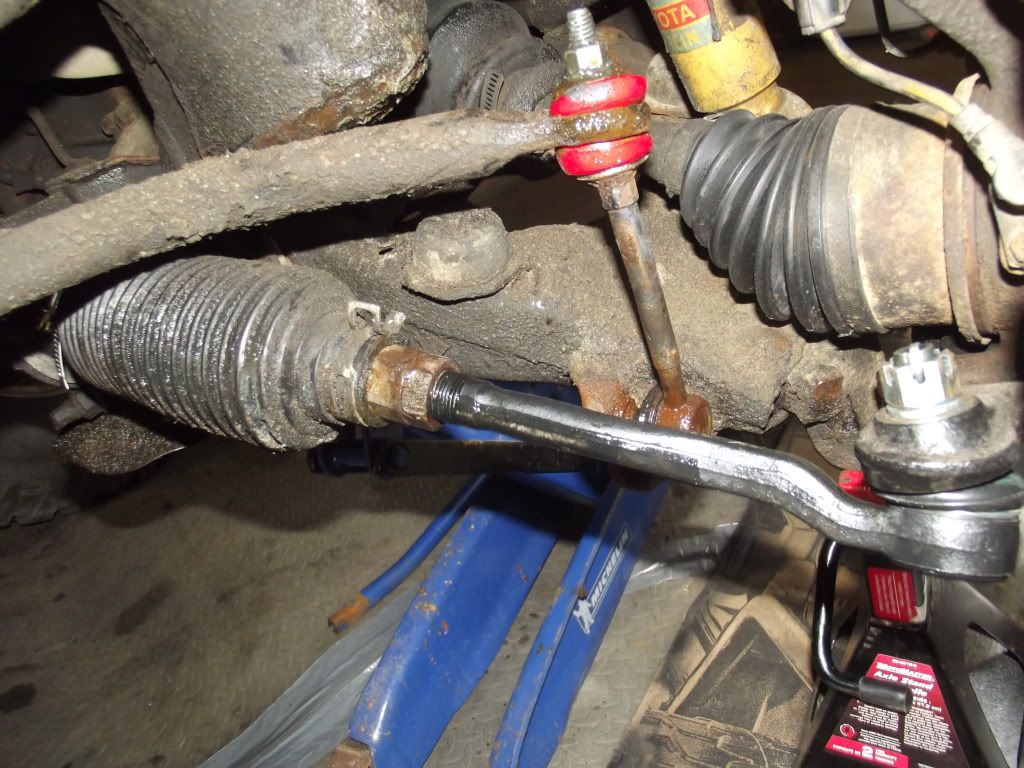
Here's a shot of the assembly in the truck (new hose clamp and all):
Inner hose clamp in place:
Outer tie rod installed and ready for an alignment!
*Yes I'm aware that my stabilizer link is crooked... see previous posts for explanation for that!




 )
)


 eace: i used to do that as a kid, so i don't let it get to me when i do lose them now, man i had one trick:boxer:ed out BMX ... always laced with chrome caps