Fourharts56 Build Thread

fourharts56

New member
This has been my project for the last couple of weeks and there is still more to go like rebuilding the rear end but I wanted to thank everyone for their help over the last couple months.
Mostly maintenance intensive but added a few things here and there.
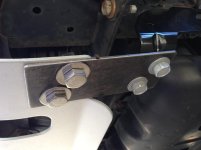
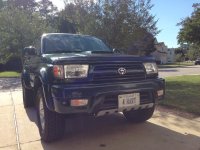
Added the Taco chin spoiler with modification I got from this forum.
 

Attachments

  • IMG_0239.jpg
    IMG_0239.jpg
    136.5 KB · Views: 261
  • IMG_0246.jpg
    IMG_0246.jpg
    123.7 KB · Views: 255
Register to hide this ad
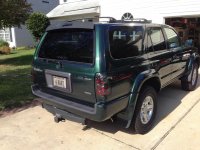
New Tail lights and a smoked out LED brake light.
Also replaced the 2 gray plastic exterior pieces on the tailgate as they were faded and cracked. The plastic around the license plate is a bear to replace, you have to take apart the entire inside panel of the truck as there are several nuts on the inside. Oh yeah and stupid me forgot to hook up the latch back up on the inside so when I put it all together and shut the tailgate to try out the window and lock I could not get the gate back up since the outside handle was not connected. luckily if you remove the inside bottom molding you can get the liftgate inside panel back off while the door is closed, I have my son to thank for thinking of that as I was crying on the side of the house trying to figure out what I had to cut up to get into the door:mad:
Also a new set of Geolander ATX 265/70R16
 

Attachments

  • IMG_0240.jpg
    IMG_0240.jpg
    136.4 KB · Views: 221
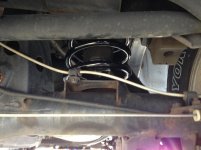
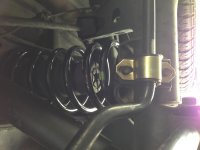
On the rear I put in 99 Highlander tall boy springs, new stock shocks and poly bushings on the sway bar. Also replaced the drums and shoes Raybestos brand components. Got the parts kit with Raybestos and all those parts were perfect fits.
 

Attachments

  • IMG_0241.jpg
    IMG_0241.jpg
    131.8 KB · Views: 228
  • IMG_0242.jpg
    IMG_0242.jpg
    119.5 KB · Views: 230
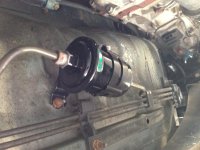
Working my way forward I replaced the fuel filter. No big deal I know but the stupid thing I forgot was to check for leaks after my 4 day marathon of maintenance and when I went for the alignment the mechanic at Toyota told me it was leaking and he got a 1/4 turn out of it to stop the leak.
 

Attachments

  • IMG_0243.jpg
    IMG_0243.jpg
    134.3 KB · Views: 217
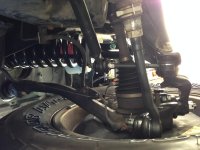
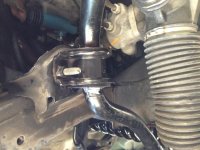
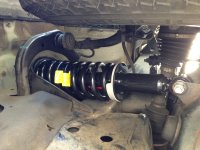
The front is where I spent most of my time.
Struts - Monroe Quick Struts (gave me a 1.5in lift)
Lower Ball Joints
All poly bushings
Tie Rod Ends
Sway bar end links
Discs and ceramic pads Raybestos again
TREs were a PITA after 14 years they did not want to move, as stated before by someone else get a 27 and 28 MM wrench for these things otherwise you will round them off. Also don't make the same mistake I did and look for the "L" and "R" on the TRE and put them on the right sides:mad:
 

Attachments

  • IMG_0244.jpg
    IMG_0244.jpg
    123.6 KB · Views: 218
  • IMG_0245.jpg
    IMG_0245.jpg
    133.8 KB · Views: 219
  • IMG_0247.jpg
    IMG_0247.jpg
    127.2 KB · Views: 222
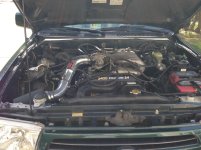
Inside the engine compartment, mostly maintenance
Previously installed INJEN cold air intake but had to clean it and while at it cleaned the MAF and throttle body.
Replaced the plugs with straight up Toyota Denso and wires.
Replaced the clutch master and slave cylinders as the fluid was almost black in the reservoir.
Something to not here is the replacement master cylinder I received was slightly different than the original. In particular the clevis pin was not as long as original so the adjustment range for the pushrod is shorter.
Well that's it for now, I am just happy it still runs and this is the most I have done at once.
Next to tackle is a noisy rear differential.
:party:
 

Attachments

  • IMG_0248.jpg
    IMG_0248.jpg
    132.2 KB · Views: 214

Members online

Forum statistics

Threads
278,307
Messages
3,554,054
Members
248,016
Latest member
Advally Service

Trending content

Back
Top