• If you plan to post to Classified forums, you must follow these rules, or your post will be deleted.

    1. Thread title must include at a minimum: FS or FT, Item(1st, 2nd, 3rd, 4th or 5th gen), Price and Location. For Example: FS: 4th GEN Carpet Floor Mats - Tan, $50 Denver, CO.
    2. All Threads must contain the following information
      • What is for sale/trade (model, specs, etc.)
      • Condition
      • Price/What you want to trade for
      • Location of item
      • At least one picture of the item for sale or for trade
    3. No "Feeler" Threads - Its either for sale or it isn't.
    4. Moderators lock Classified Threads that have not had any activity in 90 days or when the part is announced SOLD.
    5. Threads not complying with the rules will be deleted without notice.

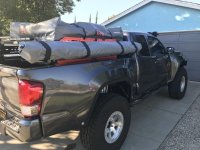
Fox wing Awning GB

This.
 

Attachments

  • 5D7D621D-2E45-4871-9242-10BA171699C8.jpg
    5D7D621D-2E45-4871-9242-10BA171699C8.jpg
    133.8 KB · Views: 385
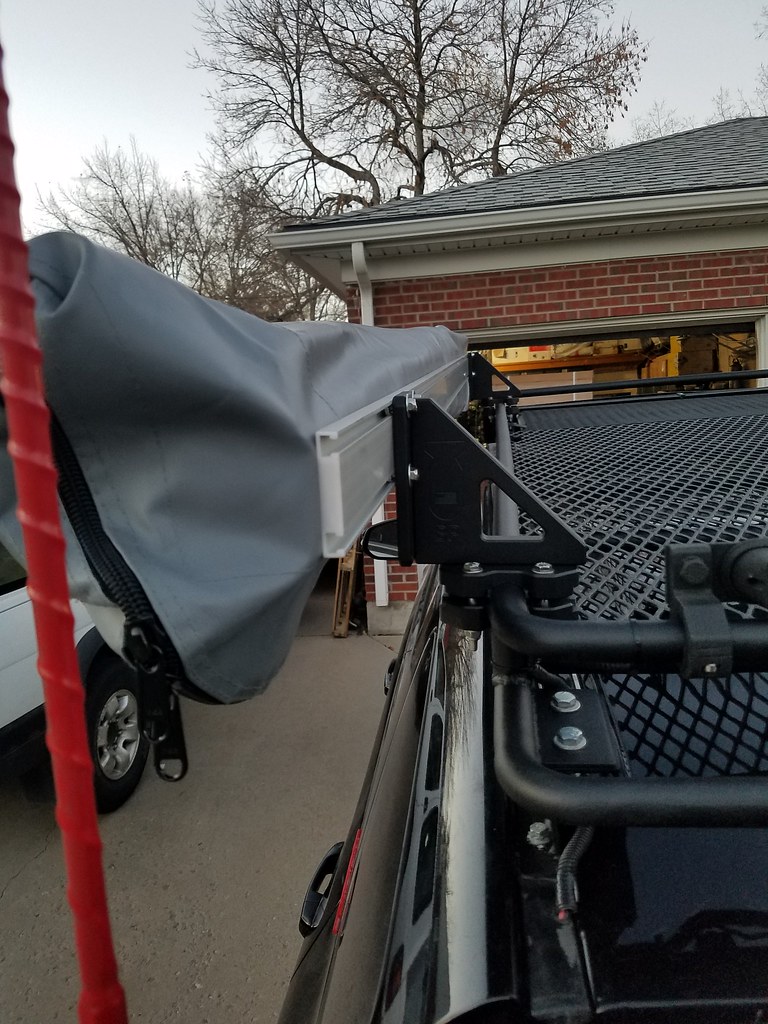
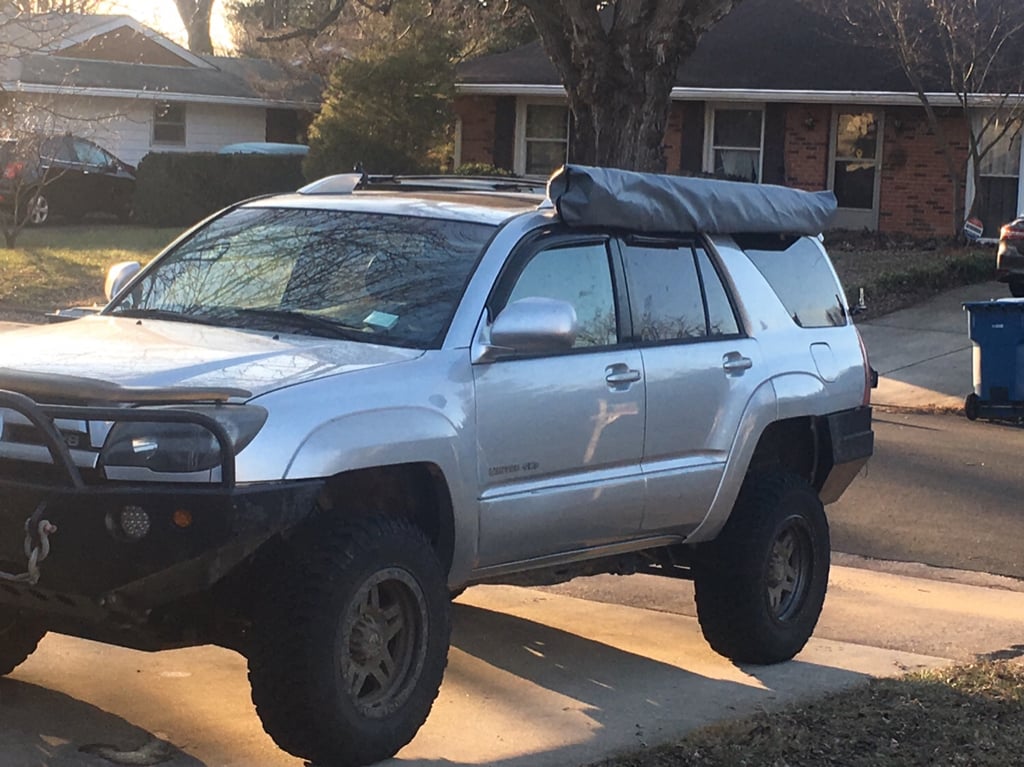
Alright, so I was able to finally get around to mounting the awning. I ended up using the BP awning brackets because I wanted to mount mine a bit higher up so I can still open the hatch somewhat. It does seem a little high for my liking but I'll leave it where it is for now. I can always lower it later.

First impression of the awning is that it is pretty good quality from what I can tell. I don't have any experience with any other awnings so I can't make comparison but for the price we got it for, you can't complain. I did have small tear in the cover so I'll keep an eye out on that. My only concern is in the instructions on page 8. It tells you to put one of the poles through through the designated opening but mine does not have that so the flap just hangs over the pole. It was kinda windy today when I was setting this up and because I don't have that opening to put the first pole through, it does flap around in the wind which is not ideal. [MENTION=138896]Denis_Ruso[/MENTION] did yours have a opening for you to feed the first pole through?

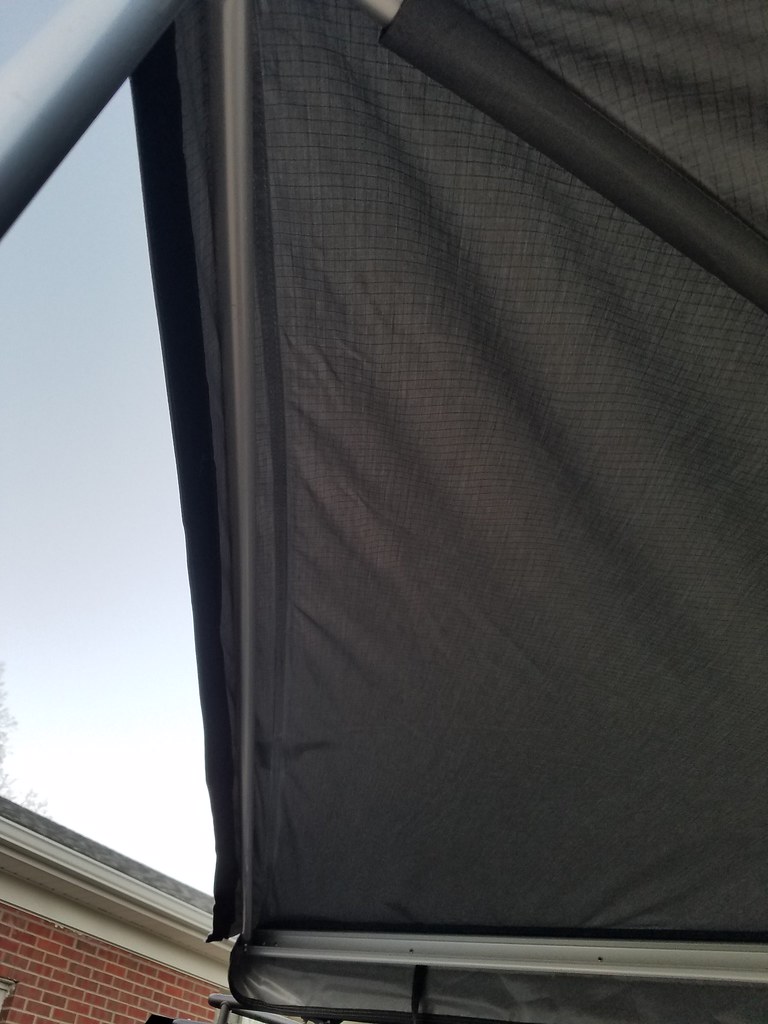
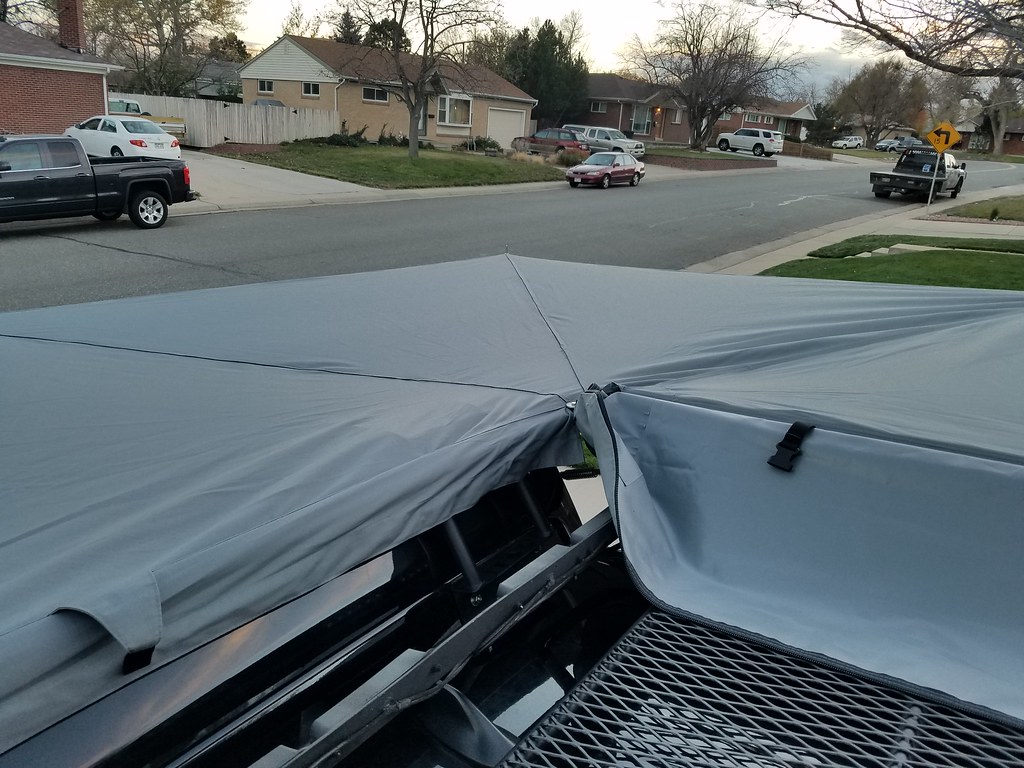
Here is the flap that hangs over the pole. This is where I'm missing the designated opening as specified in the manual.
26397636699_8a17a53da0_b.jpg


As far as setting this up goes, it definitely helps to have 2 people especially if you are on shorter side. I'm 5'6 so setting this up myself would have been a pain. The set up is pretty straight forward. Once you get the first poles connected, you literally rinse and repeat the process until all poles are set up. I set this up twice to see if it would go any faster after setting it up initially and it did. First time took probably about 30 minutes, second time took about 15 minutes.

My tips for setting this up would be to work in sections. Get the first pole connected and up but DO NOT put the cover over the poles until all poles are set up. Once you have all poles in place make sure the cover is lined up correctly with the first pole. When I set it up the first time, I opened up all of the sections up and let them hang and this caused the cover to move 6 inches which made it that much harder to get the holes on the cover to go over the poles do make sure it lines up before you start putting the cover one. Start with the first pole then move onto second pole then skip the 3rd pole and go to the last pole and get the cover over that one first then put the cover over the 3rd pole. This was the easiest way to get the cover over all 4 poles. When you are putting the cover over the poles, it helps to have one person pull the cover towards the pole. If done right, the awning should be nice and tight.

Below are some pictures.

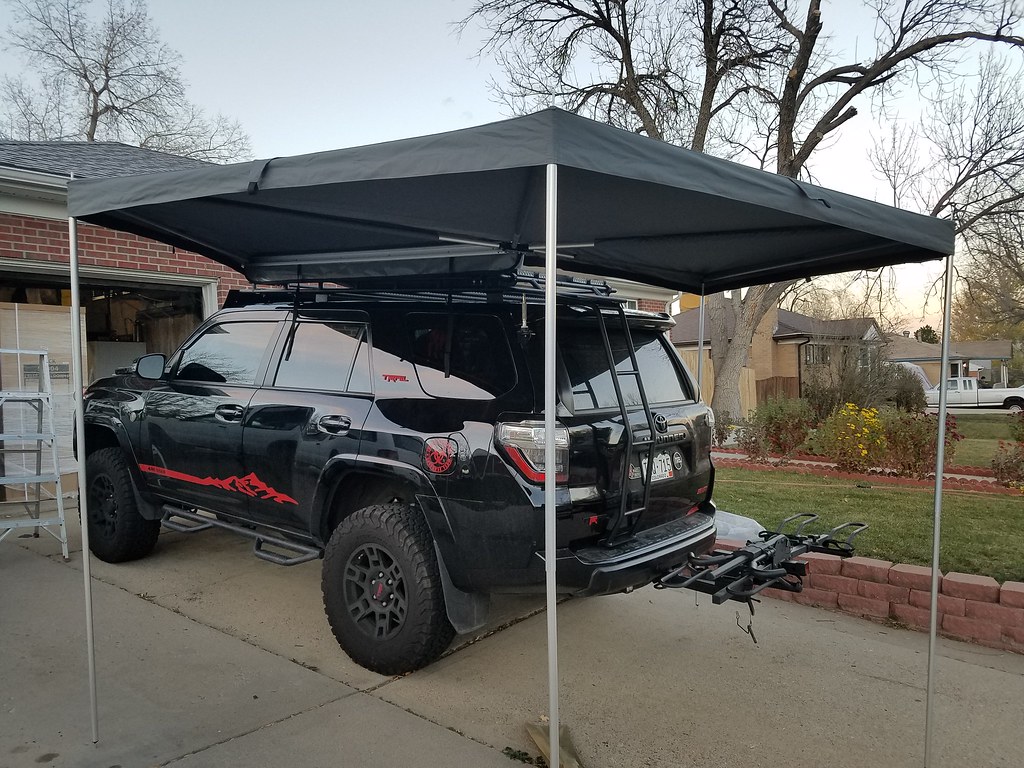
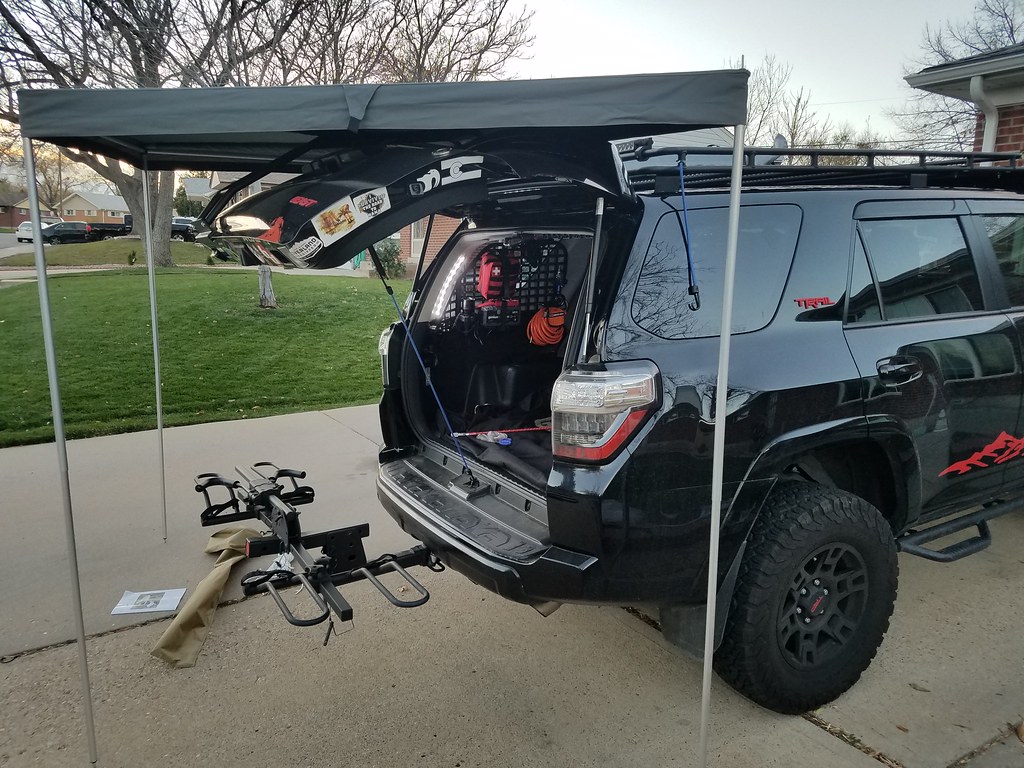
Full deployed - hatch closed
38142508052_fd7af2b856_b.jpg


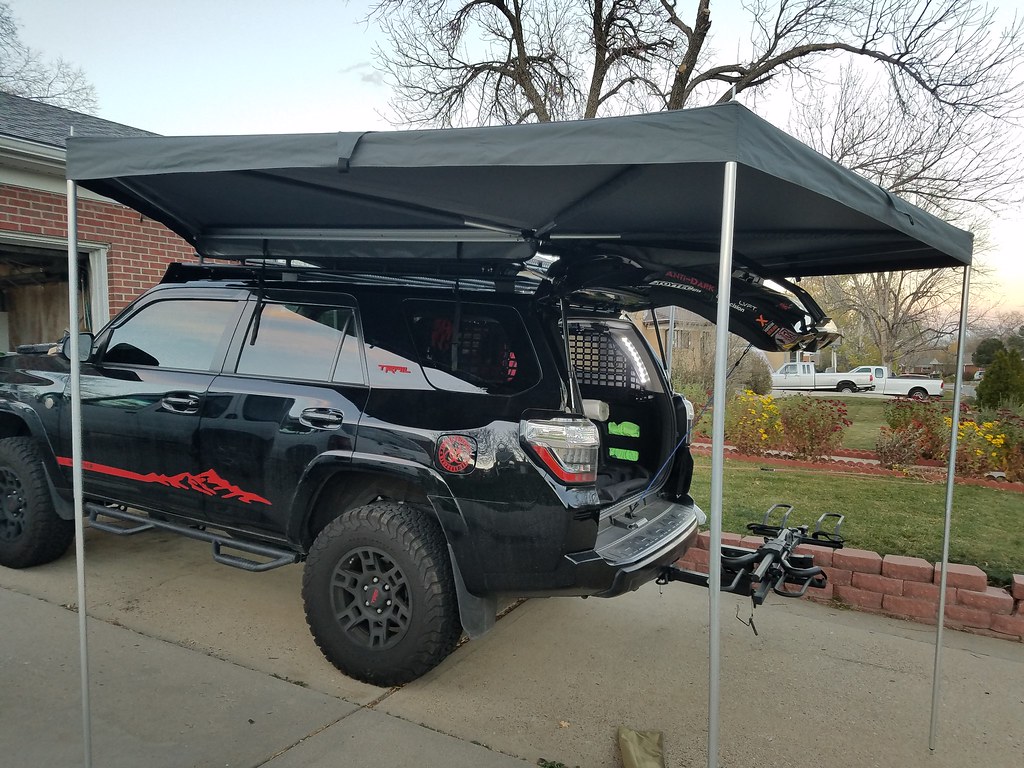
Full deployed - hatch opened. Its not fully opened but it opens up enough that I can access it.
24321875608_1af3a47a51_b.jpg


Full deployed - hatch opened
37464010794_37aa84c143_b.jpg


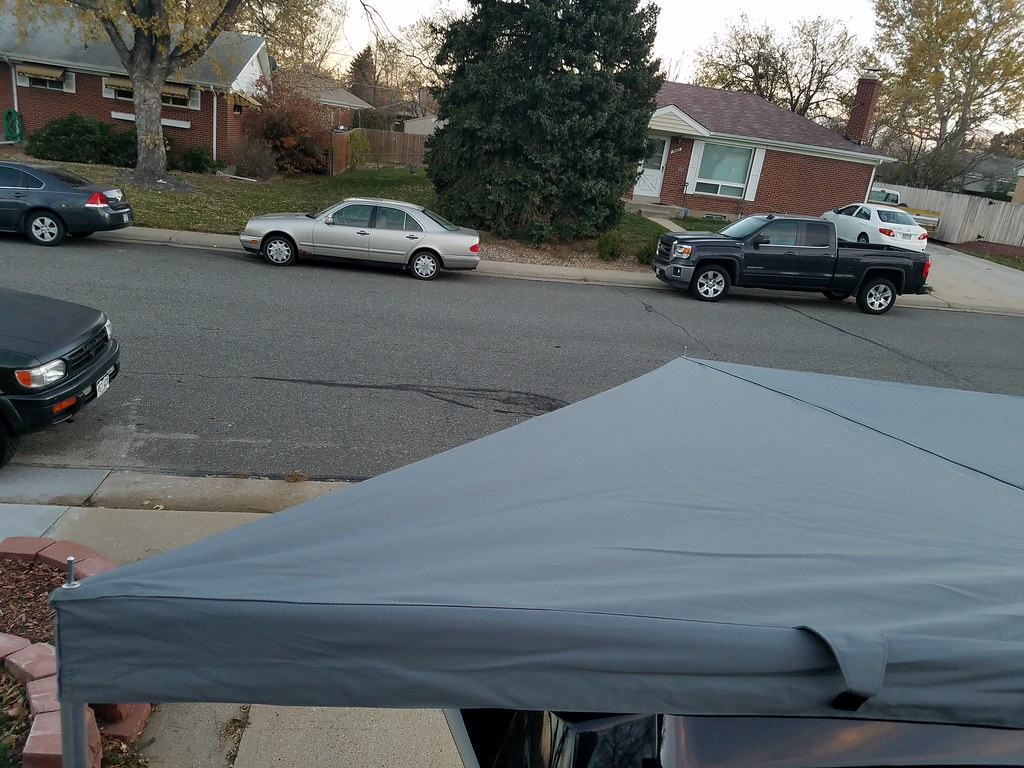
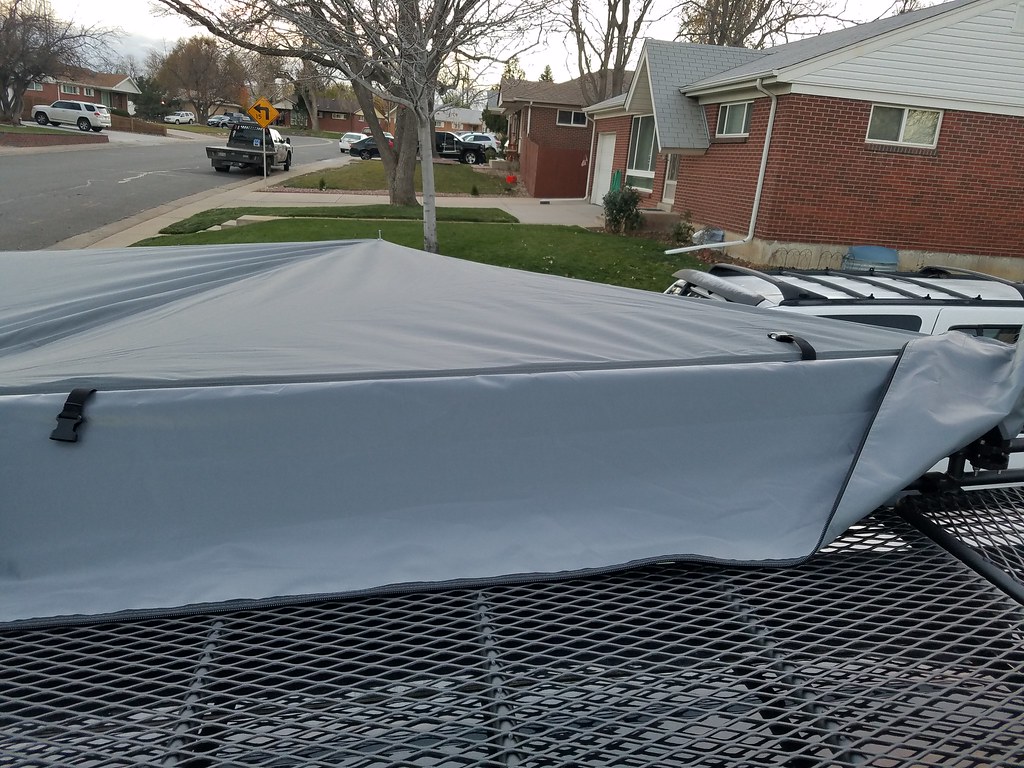
Some views from the top
37464014024_bc9d7d25d3_b.jpg


24321880878_c5c15b91a2_b.jpg


26397641509_6a126dec0d_b.jpg


26397643129_0228a33b6c_b.jpg


For those of you who are considering this, I say do it. I myself cannot wait to put this thing to use. Now to decide whether or not I want to get the annex for it. :decision:
 
Alright, so I was able to finally get around to mounting the awning. I ended up using the BP awning brackets because I wanted to mount mine a bit higher up so I can still open the hatch somewhat. It does seem a little high for my liking but I'll leave it where it is for now. I can always lower it later.

First impression of the awning is that it is pretty good quality from what I can tell. I don't have any experience with any other awnings so I can't make comparison but for the price we got it for, you can't complain. I did have small tear in the cover so I'll keep an eye out on that. My only concern is in the instructions on page 8. It tells you to put one of the poles through through the designated opening but mine does not have that so the flap just hangs over the pole. It was kinda windy today when I was setting this up and because I don't have that opening to put the first pole through, it does flap around in the wind which is not ideal. [MENTION=138896]Denis_Ruso[/MENTION] did yours have a opening for you to feed the first pole through?

Here is the flap that hangs over the pole. This is where I'm missing the designated opening as specified in the manual.
26397636699_8a17a53da0_b.jpg


As far as setting this up goes, it definitely helps to have 2 people especially if you are on shorter side. I'm 5'6 so setting this up myself would have been a pain. The set up is pretty straight forward. Once you get the first poles connected, you literally rinse and repeat the process until all poles are set up. I set this up twice to see if it would go any faster after setting it up initially and it did. First time took probably about 30 minutes, second time took about 15 minutes.

My tips for setting this up would be to work in sections. Get the first pole connected and up but DO NOT put the cover over the poles until all poles are set up. Once you have all poles in place make sure the cover is lined up correctly with the first pole. When I set it up the first time, I opened up all of the sections up and let them hang and this caused the cover to move 6 inches which made it that much harder to get the holes on the cover to go over the poles do make sure it lines up before you start putting the cover one. Start with the first pole then move onto second pole then skip the 3rd pole and go to the last pole and get the cover over that one first then put the cover over the 3rd pole. This was the easiest way to get the cover over all 4 poles. When you are putting the cover over the poles, it helps to have one person pull the cover towards the pole. If done right, the awning should be nice and tight.

Below are some pictures.

Full deployed - hatch closed
38142508052_fd7af2b856_b.jpg


Full deployed - hatch opened. Its not fully opened but it opens up enough that I can access it.
24321875608_1af3a47a51_b.jpg


Full deployed - hatch opened
37464010794_37aa84c143_b.jpg


Some views from the top
37464014024_bc9d7d25d3_b.jpg


24321880878_c5c15b91a2_b.jpg


26397641509_6a126dec0d_b.jpg


26397643129_0228a33b6c_b.jpg


For those of you who are considering this, I say do it. I myself cannot wait to put this thing to use. Now to decide whether or not I want to get the annex for it. :decision:


That looks awesome! And thanks for the detailed setup tips! I'm sure it'll help those that may have fitment questions. Let me know if you decide on the annex!
 
Ya, unfortunately those connection points to the main joint look like a weak point. I'm going to print off a couple extras just to keep in case. Maybe do them out of flexible filament so they have a little bit of "give" in stronger winds.
 
Ya, unfortunately those connection points to the main joint look like a weak point. I'm going to print off a couple extras just to keep in case. Maybe do them out of flexible filament so they have a little bit of "give" in stronger winds.

I considered this before going with this awning. When I asked how much it would cost to replace it with the metal counterpart they quoted me $50 more per unit. I tried to get it closer to our original price but they wouldn't budge. Hopefully, It'll withstand the use.
 
I considered this before going with this awning. When I asked how much it would cost to replace it with the metal counterpart they quoted me $50 more per unit. I tried to get it closer to our original price but they wouldn't budge. Hopefully, It'll withstand the use.

Ya, it's NBD in the grand scheme of things. Worst case just throw a spare or two in the truck if you really need to have the awning in the case of an emergency and you'll be just fine.
 
Ya, unfortunately those connection points to the main joint look like a weak point. I'm going to print off a couple extras just to keep in case. Maybe do them out of flexible filament so they have a little bit of "give" in stronger winds.

If you do print some off, I'd be interest in a couple extras myself!
 
Hey guys, I just went camping this past weekend and used the awning for the first time. It was crazy windy but with the awning tied down, it stood strong and held up very nicely.

Unfortunately, I'm not really liking the limited access to the trunk with the awning deployed so I've decided to sell my awning. I have a drivers side mounted unit.

I'm in Orange County, CA if anyone wants to pick it up from me(i will not be shipping it). I don't mind shaving some cost down since it was used once. PM me if you're interested.
 
[MENTION=138896]Denis_Ruso[/MENTION] did yours have a opening for you to feed the first pole through?

It looks just like yours. Just kind of hangs over which I though was a bit odd.

In my defense I do not read instructions...


Hey guys, I just went camping this past weekend and used the awning for the first time. It was crazy windy but with the awning tied down, it stood strong and held up very nicely.

Great to hear it bears well in the wind.
 
Curious what mounting brackets are you guys using with a gobi rack?

I ordered two foxwing awning brackets from Gobi and had to modify them to fit this awning, I will try and post some pictures once the weather is nice enough to set it up so I wont have to dry it out.
 
I ordered two foxwing awning brackets from Gobi and had to modify them to fit this awning, I will try and post some pictures once the weather is nice enough to set it up so I wont have to dry it out.

I was looking at those but wasn’t sure if they would work. Do you have the set of two or three brackets?
 
I was looking at those but wasn’t sure if they would work. Do you have the set of two or three brackets?

I only have the two.... I am going to run ratchet straps over the awning to tighten it up during transit so I think it should be fine.
 
I have ran into some personal issues and have to sell my Drivers side awning if anyone is interested. I also have two Gobi awning brackets fabricated to fit this awning if anyone is interested PM me. TY
 
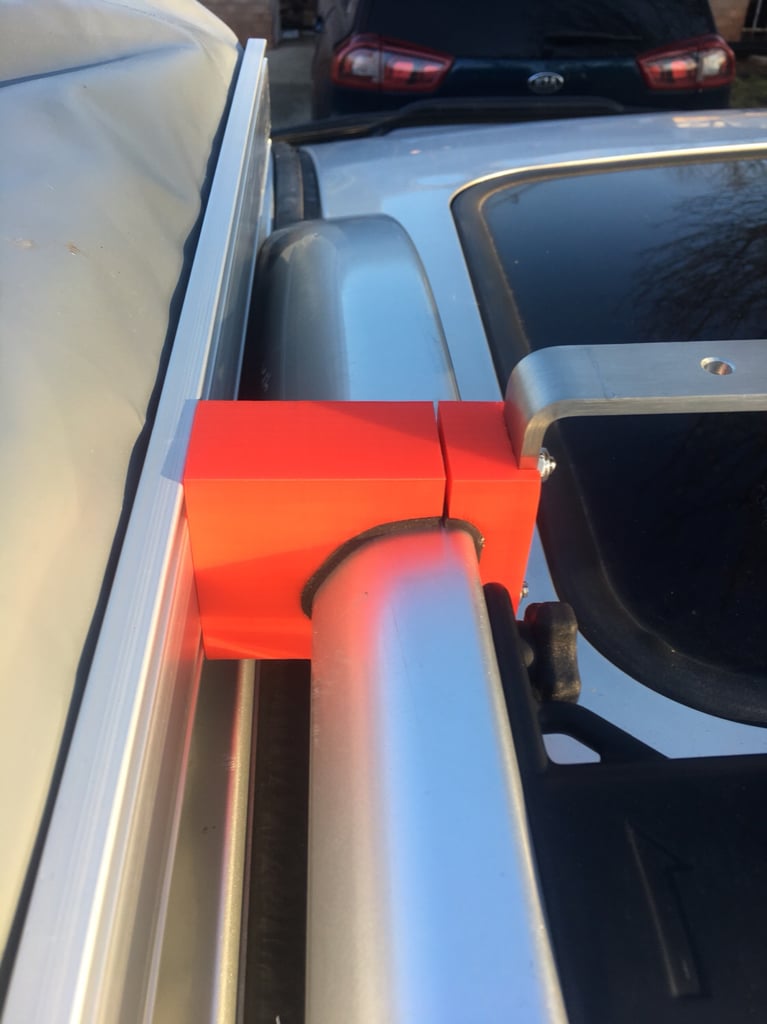
Well, I finally got around to printing the mounts for an OEM 4th gen rack. Im going to keep the original brackets for strength but I’ll cut off the longer arm and just use the plate. Attached are a few photos. It’s definitely frumpy, gonna print a few pieces to fit in the track to affix a few straps to it.

f5e58fa37046b72575fab13f72cebbf9.jpg
d84f6974fd6dc31e5bc731fc51090656.jpg
60f23ee188090ffae41cfc859cd9105e.jpg
766248e22d4399d1d9f8b6fa3193cf8a.jpg
f02a3c6f6b4d696a088cdbd70cef98ec.jpg
28059d77defc00a75925bc8fde0df0ef.jpg
 

Members online

Forum statistics

Threads
278,312
Messages
3,554,087
Members
248,016
Latest member
Advally Service

Trending content

Back
Top