g3ran3t's build thread

g3ran3t

New member
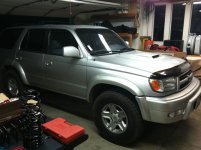
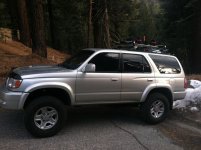
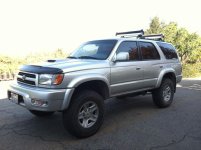
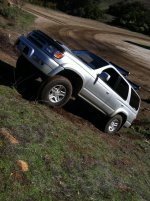
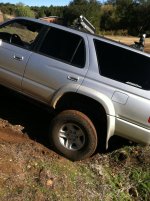
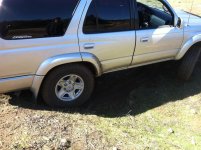
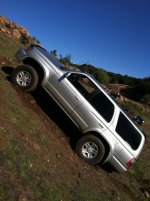
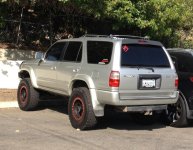
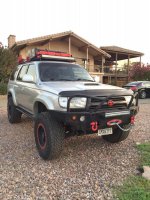
So I finally decided to set aside some time after lurking for months on this forum to start my build thread. I really do have to hand it to everyone on this forum because hooooly moooooly did I get a lot of info and guidance from this forum. It all started off with me just wanting to buy an ol beater that was 4wd that I could take up to the mountains to go snowboarding as my second vehicle. Well that didn't last long considering I ended up just buying the exact 4runner I wanted and then proceeded to dump all my money into it lol. It is a 2000 SR5 Sport 4wd w/ a 5-speed. My other car is an Infiniti G37 Sedan. I got to work quick and have done almost everything I wanted to it already so I figured I would post up all the pictures. This thing started off 100% bone stock. I picked it up with 131,000 miles in October of 2011.

Modifications:

Exterior:
-Outdoor Logic Front Bumper
-Outdoor Logic Sliders
-Whitson Metalworks Roof Rack
-36" LED Light Bar on Whitson Metalworks Roof Rack
-Plasti Dipped front end and emblems
-Clear Corners
-Yakima Spare Tire Carrier (Roof Rack)
-LED Fogs
-Red D-Rings
-Fourtreks 1" Modular Hi-Lift Mounts
-Engo E-9000 Winch
-Poly Performance Winch Fairlead
-20" Rigid Industries Led Light Bar
-48" Hi-Lift Jack
-Rotopax Gas Tanks on Rack
-FrontRunner 18 Gallon Fresh Water Tanks (2)
-Thule Snowboard Racks


Suspension, Wheels, & Tires:
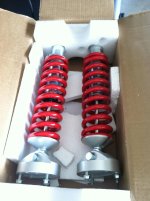
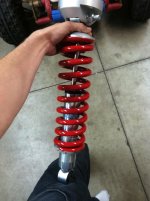
-Radflo 2.5" Coilovers w/ Resis (Front)
-Radflo 2.5 Shocks w/ Resis (Rear)
-Total Chaos Upper Control Arms
-Toyota LC Srings
-Tundra Brake Upgrade
-Sonoran Steel Panhard Bar
-Sonoran Steel Daystar Bumpstops
-BFG All-Terrain 285/75/16
-Mickey Thompson "Classic Lock" 16x8 with red rings


Interior:
-1000w Power Inverter
-Smaller Power Inverter w/ USB (replaced ash tray)
-WeatherTech Floormats
-Cargo Box w/ Drawer and Sleeping Platform
-Hi-Lift Jack Mounts from PATCO
-Labeled Switches for lights
-Wired for Fridge/Freezer
-ARB Fridge/Freezer w/ Slide
-Shovel
-Fire Extinguisher
-Flashlight Holder
-Brake Controller

Under the Hood:
-Ruff Stuff Dual Battery Tray
-Optima Red Top
-Optima Yellow Top
-Painless Performance Dual Battery Wiring Kit w/ Solenoid

Audio:
-Pioneer Head Unit
-Alpine Speakers
-Alpine Digital Amp
-2 10" Alpine Type R Subs

Things that need to be fixed
-Needs a new windshield
-Needs new tires
 

Attachments
  • image13.jpg
    image13.jpg
    128.4 KB · Views: 1,405
Last edited:
Register to hide this ad
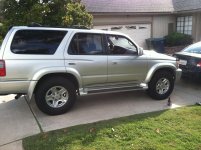
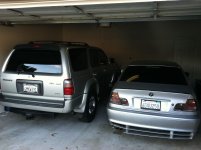
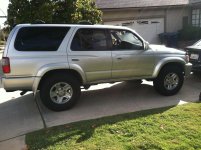
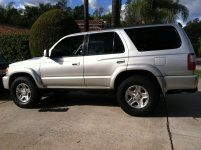
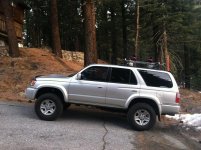
The day I got it

Heres what she looked like the day I brought her home! What a relief to not be stock anymore :D
Photo Oct 06, 4 08 41 PM.jpg
Photo Oct 02, 8 20 23 AM.jpg

First thing I did the day I got my truck was take the running boards off!
Photo Oct 06, 4 13 17 PM.jpg
Photo Oct 06, 4 08 58 PM.jpg
 

Attachments

  • Photo Oct 06, 4 08 41 PM.jpg
    Photo Oct 06, 4 08 41 PM.jpg
    137 KB · Views: 2,991
  • Photo Oct 02, 8 20 23 AM.jpg
    Photo Oct 02, 8 20 23 AM.jpg
    131.6 KB · Views: 3,052
  • Photo Oct 06, 4 13 17 PM.jpg
    Photo Oct 06, 4 13 17 PM.jpg
    137.5 KB · Views: 3,047
  • Photo Oct 06, 4 08 58 PM.jpg
    Photo Oct 06, 4 08 58 PM.jpg
    135.7 KB · Views: 3,024
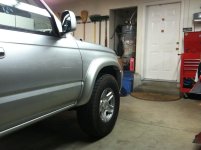
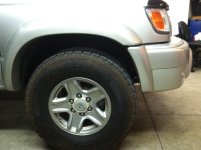
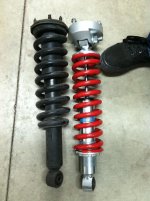
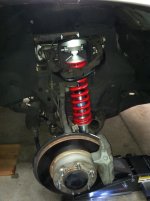
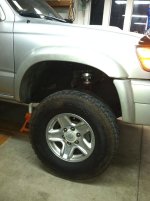
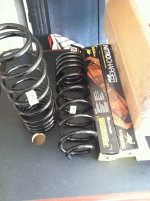
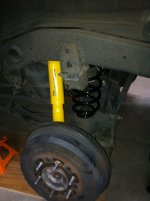
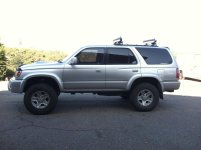
Next, it was time for some suspension work all the way around. After TONS of research I ended up going with the Toytec Ultimate Lift Kit with OME shocks and springs for the rear. I went with the comfort shocks. Here are some pictures of before and after and differences in height of the front. I did every single thing on this truck myself other than install the bumper and winch, which Jimmy from Outdoor Logic installed.
 

Attachments

  • Photo Oct 26, 9 58 31 PM.jpg
    Photo Oct 26, 9 58 31 PM.jpg
    136.3 KB · Views: 2,895
  • Photo Oct 26, 9 57 53 PM.jpg
    Photo Oct 26, 9 57 53 PM.jpg
    132.4 KB · Views: 2,837
  • Photo Oct 26, 9 58 15 PM.jpg
    Photo Oct 26, 9 58 15 PM.jpg
    137.4 KB · Views: 2,873
  • Photo Oct 26, 10 44 44 PM.jpg
    Photo Oct 26, 10 44 44 PM.jpg
    136.8 KB · Views: 2,859
  • Photo Oct 26, 1 29 13 PM.jpg
    Photo Oct 26, 1 29 13 PM.jpg
    125.8 KB · Views: 2,866
  • Photo Oct 26, 9 39 22 PM.jpg
    Photo Oct 26, 9 39 22 PM.jpg
    135.5 KB · Views: 2,880
  • Photo Oct 27, 12 16 58 AM.jpg
    Photo Oct 27, 12 16 58 AM.jpg
    133.3 KB · Views: 2,888
  • Photo Oct 27, 12 29 12 AM.jpg
    Photo Oct 27, 12 29 12 AM.jpg
    134.9 KB · Views: 2,856
And now time for the rear!
 

Attachments

  • Photo Oct 26, 1 29 25 PM.jpg
    Photo Oct 26, 1 29 25 PM.jpg
    134.4 KB · Views: 2,826
  • Photo Oct 28, 8 29 47 PM.jpg
    Photo Oct 28, 8 29 47 PM.jpg
    127.5 KB · Views: 2,840
  • Photo Oct 28, 11 25 58 PM.jpg
    Photo Oct 28, 11 25 58 PM.jpg
    135.6 KB · Views: 2,864
  • Photo Oct 28, 11 26 11 PM.jpg
    Photo Oct 28, 11 26 11 PM.jpg
    139.5 KB · Views: 2,836
In the yard right after I installed the suspension. Just a few little shots trying to settle her in.
 

Attachments

  • Photo Dec 11, 8 09 23 AM.jpg
    Photo Dec 11, 8 09 23 AM.jpg
    134.9 KB · Views: 2,858
  • Photo Dec 11, 8 09 35 AM.jpg
    Photo Dec 11, 8 09 35 AM.jpg
    138.2 KB · Views: 2,826
  • Photo Nov 17, 11 45 47 AM.jpg
    Photo Nov 17, 11 45 47 AM.jpg
    135.4 KB · Views: 2,941
  • Photo Nov 17, 11 45 59 AM.jpg
    Photo Nov 17, 11 45 59 AM.jpg
    134.5 KB · Views: 2,858
  • Photo Nov 22, 9 33 52 AM.jpg
    Photo Nov 22, 9 33 52 AM.jpg
    140.3 KB · Views: 2,789
  • Photo Nov 22, 9 35 39 AM.jpg
    Photo Nov 22, 9 35 39 AM.jpg
    138.6 KB · Views: 2,783
  • Photo Nov 22, 9 36 09 AM.jpg
    Photo Nov 22, 9 36 09 AM.jpg
    139 KB · Views: 2,785
  • Photo Nov 22, 9 33 34 AM.jpg
    Photo Nov 22, 9 33 34 AM.jpg
    136.7 KB · Views: 2,823
Well put together rig you have, how's that winch workin' out for you? Never heard of that name before..:cheers:
 
Last edited:
1000w Power Inverter

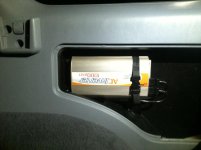
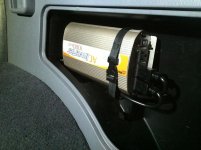
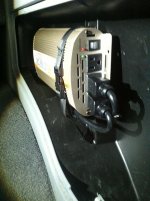
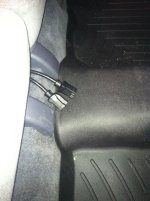
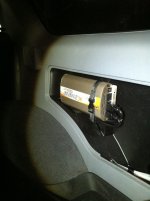
The next thing I did was put in my Weather Tech floor mats that I got for Christmas, and then installed a 1000w power inverter in the back. I found a really cool spot to mount it and it couldn't have worked out more perfect. Just pop out the plastic piece inside the storage area and you can run all of the wires very clean through the truck. Now I know you want the wire coming from the battery to be as close possible, but it still works great! I have two extension cords that run into the back seat that are completely hidden when you don't need them. You can just tuck them under the seat and pull them out when needed. You can see that in the last picture. I also left one open in the back so you can plug in from the rear.

What do you guys think?
 

Attachments

  • Photo Dec 29, 12 55 35 AM.jpg
    Photo Dec 29, 12 55 35 AM.jpg
    145.1 KB · Views: 2,780
  • Photo Dec 29, 12 55 28 AM.jpg
    Photo Dec 29, 12 55 28 AM.jpg
    135.7 KB · Views: 2,766
  • Photo Dec 29, 12 55 01 AM.jpg
    Photo Dec 29, 12 55 01 AM.jpg
    139.6 KB · Views: 2,765
  • Photo Dec 29, 12 55 13 AM.jpg
    Photo Dec 29, 12 55 13 AM.jpg
    135.7 KB · Views: 2,773
  • Photo Dec 29, 11 04 43 AM.jpg
    Photo Dec 29, 11 04 43 AM.jpg
    135.6 KB · Views: 2,763
Awesome truck. Where do you live? Looks like a cool place

I live in the San Diego area, but those first pictures were taken up in Mammoth.

Well put together rig you have, how's that winch workin' out for you? Never heard of that name before..:cheers:

Ya know I have only had to use it once when I was up in Mammoth when we went on some really snowy trails. Jimmy from Outdoor Logic recommended it. I was not as impressed as I thought I would be, but it still did the job. I can report more when I actually really put it to the test.
 
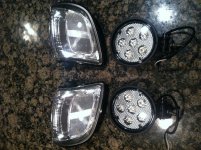
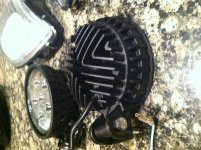
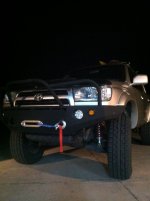
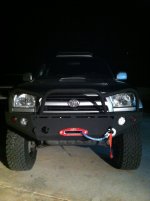
Neeeext, I finally made the hardest choice of all, and that was whiiiiiich front bumper to go with. I really liked the Shrockworks but not really for the money. Outdoor Logic it was! I am SO glad i went with this bumper! I couldn't be more happy with every part of it. I decided on the black krinkle paint and man does it look and feel good. Pictures do it no justice of how awesome the powdercoat and front hoops look. That was the main thing I was unsure of at first was how there hoops were shaped but when you see it in person, WOW!! After I got the bumper, I had to do all the lighting in the front. I ordered a set of 4300k HID's from Xenon Depot and a set of clear corners off of ebay. I also ordered some 4" LED fog lights for the Outdoor Logic front bumper. Also ordered the Rigid Industries 20" E-Series LED Lightbar. I have been waiting for that for a month now. UGH. I also ordered a red Poly Performance winch fairlead. My favorite color scheme is red, black, and silver, so that's kinda what I went with.
 

Attachments

  • fog lights.jpg
    fog lights.jpg
    142.5 KB · Views: 1,247
  • floglights.jpg
    floglights.jpg
    136.9 KB · Views: 1,223
  • Photo Jan 10, 10 26 52 PM.jpg
    Photo Jan 10, 10 26 52 PM.jpg
    141.1 KB · Views: 1,225
  • Photo Jan 17, 8 28 32 PM.jpg
    Photo Jan 17, 8 28 32 PM.jpg
    138.8 KB · Views: 1,205
  • Photo Jan 17, 8 21 34 PM.jpg
    Photo Jan 17, 8 21 34 PM.jpg
    142.6 KB · Views: 1,210
  • wheelsgarage shot.jpg
    wheelsgarage shot.jpg
    134.7 KB · Views: 1,228
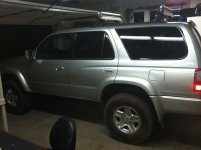
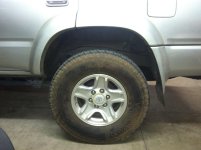
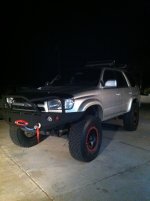
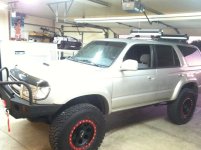
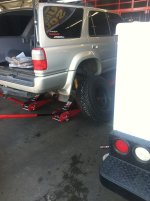
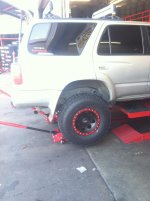
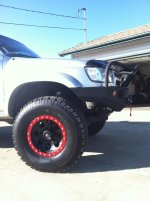
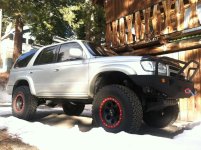
aaaaand the last update for now, I think, would be the wheels and tires. I went with Mickey Thompson "Classic Lock Black", which I had to wait 2 1/2 months for, I was told 4-6 weeks three times before they finally came in. SO GLAD I waited though! Just what I was envisioning. For her shoes, I put on some BFG A/T 285/75/16. Hope you enjoy
 

Attachments

  • new tires.jpg
    new tires.jpg
    132.5 KB · Views: 1,206
  • newtires1.jpg
    newtires1.jpg
    130.2 KB · Views: 1,218
  • new wheels.jpg
    new wheels.jpg
    129.4 KB · Views: 1,258
  • MyFavorite.jpg
    MyFavorite.jpg
    137.3 KB · Views: 1,207
Very nice build! You are one of the few 3rd gens I've seen with beadlocks! Love them! :thumb3: Also like the inverter position and extension cords! Great job, I look forward to more! :cheers:
 

Members online

Forum statistics

Threads
278,305
Messages
3,554,044
Members
248,016
Latest member
Advally Service

Trending content

Back
Top