g3ran3t's build thread

Sawweeeettt

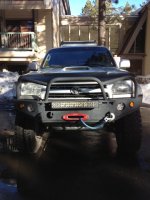
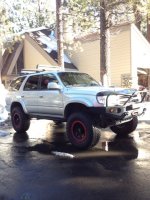
LOve it dude good call on the bumper, I live in Houston and couldnt even get the guts to go with Shrockworks bc of the price. Like the way it sits too cough cough @Ripcord :D ... I run mine at about the same height front and back as well...took me a good month before it broke in nice...where did you order your clear corners from?
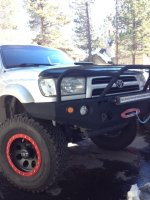
 
i just got them off ebay acutally. Thanks though! I have a Rigid Industries LED bar installed now too just have not really taken many pictures. I will try to post some up later as I have not been on here in forever. Hope all is well with all you mofos!
 
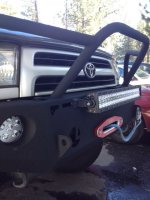
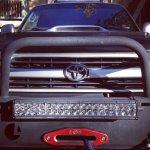
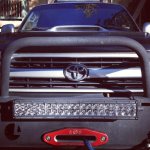
Rigid LED

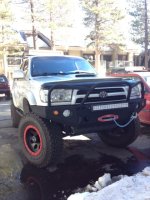
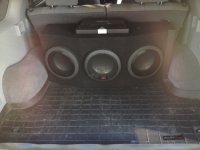
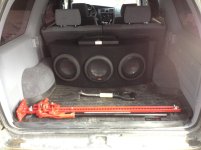
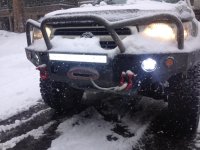
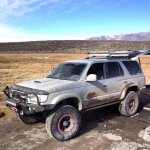
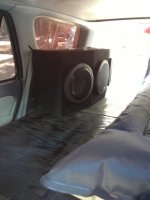
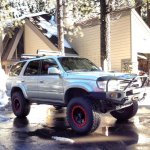
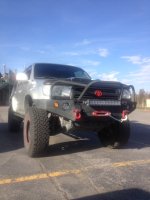
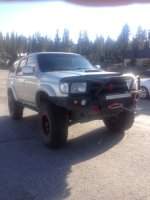
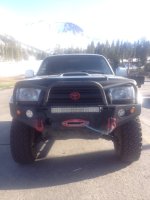
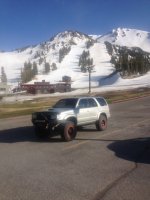
Been so long since I have posted here and I honestly have not done much since to my 4runner. I wanted to post a few pictures of my 20" Rigid LED Lightbar that has been on for almost a year now lol. I also installed 3 10" Alpine Type R's with a Rockford Fosgate 2000 watt amp for the subs. Anyways here are some pictures. Hope ya like it! Next I plan to install a hi-lift jack and some red d-ring shackles.

What are your guys thoughts? Should I install the hi-lift jack to the tubing on the front bumper or in the cargo area in the back where the d-rings currently are?
 

Attachments

  • photo 2.JPG
    photo 2.JPG
    110.3 KB · Views: 905
  • photo 3.JPG
    photo 3.JPG
    97.6 KB · Views: 894
  • photo 1.JPG
    photo 1.JPG
    119.6 KB · Views: 906
  • ads.JPG
    ads.JPG
    94 KB · Views: 885
Hi Lift Jack and Mounts

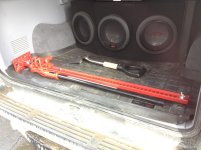
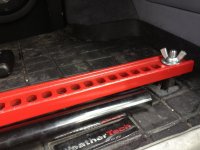
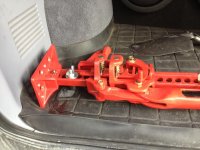
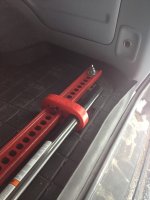
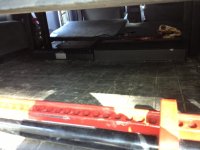
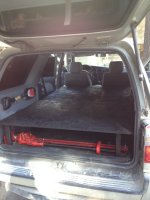
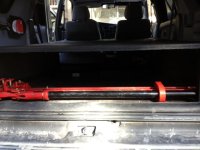
So I finally got my Hi Lift jack and got my mounts from PATCO on the forum. Stand up guy and these mounts fit PERFECT if you want a super clean way to mount the jack and be able to remove it easily as well. You simply just remove the d-rings in the back and replace them with these. Here are a few pictures. Next Im going to mount the shovel to the side. :peace:
 

Attachments

  • photo 1.jpg
    photo 1.jpg
    131.3 KB · Views: 864
  • photo 4.jpg
    photo 4.jpg
    123.2 KB · Views: 856
  • photo 3.jpg
    photo 3.jpg
    128.8 KB · Views: 869
  • photo 2.jpg
    photo 2.jpg
    135.8 KB · Views: 895
Rocker Switch and D-Rings

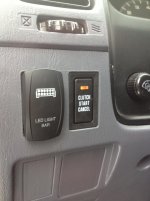
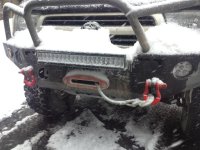
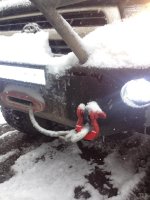
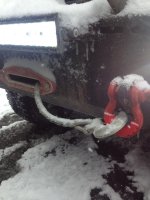
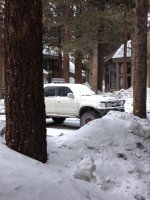
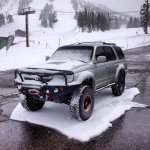
So I finally got my red D-Rings today for my front bumper, along with my hi lift handle holder and I FINALLY got my rocker switch to work for my Rigid Industries light bar. Pictures are kind of bad because it is snowing today but here they are.
 

Attachments

  • image_1.jpg
    image_1.jpg
    129.2 KB · Views: 851
  • image.jpg
    image.jpg
    128.5 KB · Views: 867
  • image_4.jpg
    image_4.jpg
    132.6 KB · Views: 854
  • image_6.jpg
    image_6.jpg
    131.7 KB · Views: 842
  • image_3.jpg
    image_3.jpg
    131.5 KB · Views: 834
  • image_5.jpg
    image_5.jpg
    129 KB · Views: 831
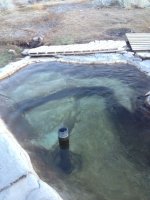
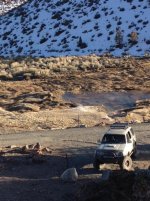
Mammoth Hot Springs

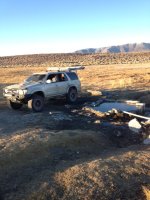
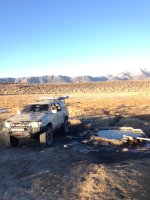
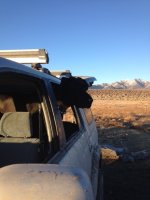
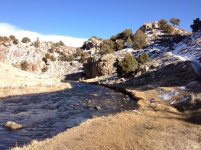
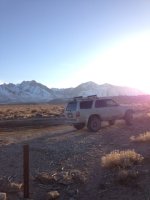
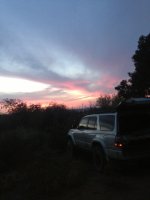
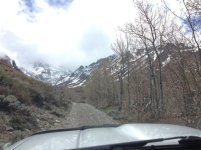
Heres some random pictures I have from whenever we go out to the hot springs near Mammoth. Figured I had em, might as well as well post em. So beautiful up here!
 

Attachments

  • image.jpeg
    image.jpeg
    101 KB · Views: 836
  • image_1.jpeg
    image_1.jpeg
    132.9 KB · Views: 827
  • image_4.jpg
    image_4.jpg
    95.4 KB · Views: 819
  • image_5.jpg
    image_5.jpg
    66.4 KB · Views: 800
  • image_9.jpeg
    image_9.jpeg
    120.7 KB · Views: 809
  • image_10.jpeg
    image_10.jpeg
    123.6 KB · Views: 813
  • image_11.jpeg
    image_11.jpeg
    109.9 KB · Views: 824
  • image_12.jpeg
    image_12.jpeg
    80.4 KB · Views: 830
The rest
 

Attachments

  • image_7.jpg
    image_7.jpg
    83.8 KB · Views: 827
  • image_14.jpg
    image_14.jpg
    67 KB · Views: 808
  • image_15.jpeg
    image_15.jpeg
    106.4 KB · Views: 815
  • image_16.jpeg
    image_16.jpeg
    79.1 KB · Views: 816
  • image_17.jpeg
    image_17.jpeg
    113.2 KB · Views: 822
  • image_18.jpg
    image_18.jpg
    73 KB · Views: 814
sleeping area platform

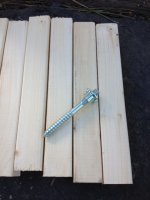
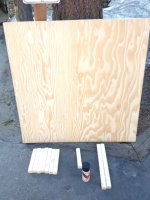
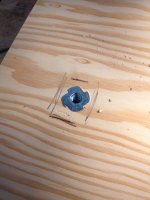
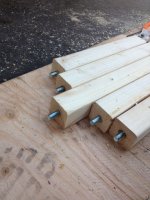
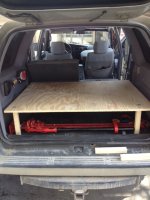
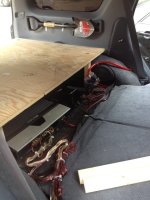
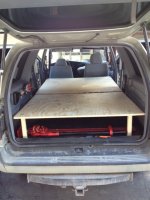
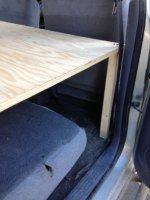
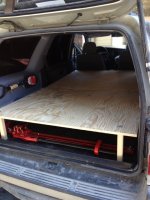
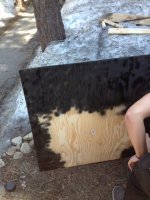
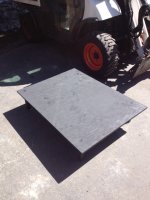
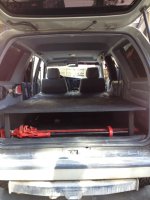
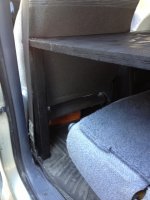
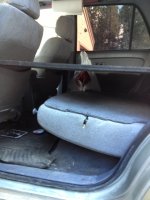
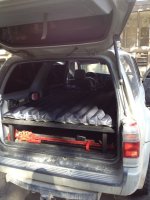
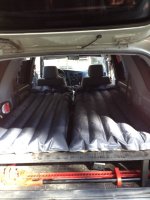
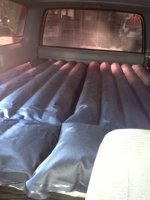
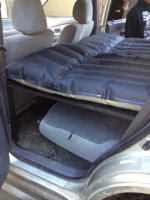
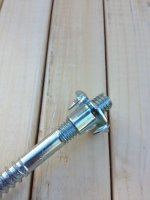
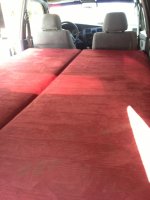
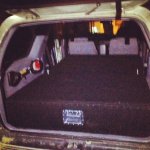
So I am going to a few music festivals soon that I will be camping for 3 days. I decided for my project today, I would build a rear cargo area sleeping platform. I started with two sheets of 4x4 3/4" plywood, and 2x2 for the legs. I used hanger bolts so I could easily remove the legs and store this flat whenever I wanted. I also made it two pieces so as you can see in the pictures, With the rear part in I can still have my rear seats up. If i want the full sleeping area, just fold the seats down, and bam. Painted it with some cheap black spray paint and got a couple perfect sized air mattresses, and what do you know, BOOM! Perfect. The rear legs are all 10" long, the rear on the front platform are 10" long as well and the front legs that go to the floor are 17" long. Very easy project and cost me about $100. Lets go camping!
 

Attachments

  • image_1.jpeg
    image_1.jpeg
    82.6 KB · Views: 790
  • image_2.jpeg
    image_2.jpeg
    101.8 KB · Views: 792
  • image_3.jpeg
    image_3.jpeg
    92.4 KB · Views: 823
  • image_4.jpeg
    image_4.jpeg
    116.2 KB · Views: 794
  • image_5.jpeg
    image_5.jpeg
    100.9 KB · Views: 787
  • image_6.jpeg
    image_6.jpeg
    100 KB · Views: 799
  • image_7.jpeg
    image_7.jpeg
    100.7 KB · Views: 808
  • image_8.jpeg
    image_8.jpeg
    87.2 KB · Views: 785
cargo sleeping platform

The rest
 

Attachments

  • image_9.jpeg
    image_9.jpeg
    101.2 KB · Views: 787
  • image_10.jpeg
    image_10.jpeg
    115.1 KB · Views: 789
  • image_11.jpeg
    image_11.jpeg
    96.4 KB · Views: 780
  • image_12.jpeg
    image_12.jpeg
    87.8 KB · Views: 794
  • image_13.jpeg
    image_13.jpeg
    93.1 KB · Views: 784
  • image_14.jpeg
    image_14.jpeg
    97.7 KB · Views: 770
  • image_15.jpeg
    image_15.jpeg
    88.8 KB · Views: 788
  • image_16.jpeg
    image_16.jpeg
    105.3 KB · Views: 779
Sleeping Cargo Area Platform

The rest
 

Attachments

  • image_17.jpeg
    image_17.jpeg
    103.7 KB · Views: 795
  • image_18.jpeg
    image_18.jpeg
    98.8 KB · Views: 766
  • image_19.jpeg
    image_19.jpeg
    95 KB · Views: 789
  • image_20.jpeg
    image_20.jpeg
    80 KB · Views: 777
  • image_21.jpeg
    image_21.jpeg
    88.5 KB · Views: 791
  • image_22.jpeg
    image_22.jpeg
    79 KB · Views: 771
  • image_23.jpeg
    image_23.jpeg
    76.5 KB · Views: 785
  • image.jpeg
    image.jpeg
    72 KB · Views: 773
Very nice rig! I like the direction you've gone, and that Lightbar on the ODL bumper is pretty sweet! Love the pictures, especially the scenery...

That sleeping platform sure is quick and simple, I like the concept, pretty neat!

Keep it up, Grant! :)
 
Sleeping Platform

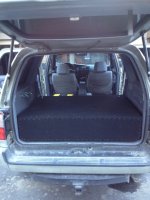
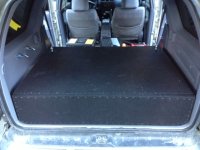
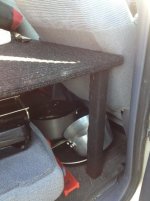
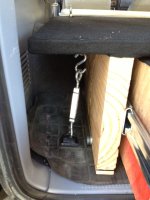
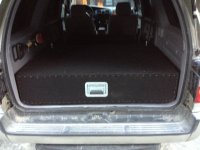
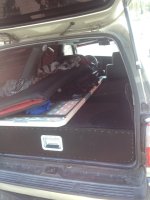
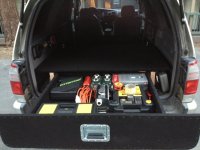
OK, so after I used this sleeping platform once (although it worked perfect), I decided it needed some major upgrades and re did the whole entire thing. I will take better pictures later but here is the now PERFECT sleeping platform and cargo box! The front piece is hinged and folds in half and can be removied in minutes.
 

Attachments

  • box no handle far view.jpeg
    box no handle far view.jpeg
    130.7 KB · Views: 1,066
  • box no handle.jpeg
    box no handle.jpeg
    124.9 KB · Views: 1,165
  • finished legs.jpg
    finished legs.jpg
    41 KB · Views: 889
  • left mount.jpeg
    left mount.jpeg
    129 KB · Views: 869
  • complete.jpeg
    complete.jpeg
    118.8 KB · Views: 1,555
  • junk.jpeg
    junk.jpeg
    120.2 KB · Views: 892
  • complete drawer out.jpeg
    complete drawer out.jpeg
    123.1 KB · Views: 2,723
  • finishedwithpad.jpeg
    finishedwithpad.jpeg
    113.1 KB · Views: 870
Here are a few pictures of my 4runner lately. Plasti dipped a lot of stuff. some of the picture are a little old still.
 

Attachments

  • image_6.jpeg
    image_6.jpeg
    128.1 KB · Views: 863
  • photo 2.jpg
    photo 2.jpg
    66.4 KB · Views: 855
  • photo 3.jpg
    photo 3.jpg
    68.8 KB · Views: 862
  • image_1.jpeg
    image_1.jpeg
    96 KB · Views: 879
  • image_8.jpg
    image_8.jpg
    51.7 KB · Views: 854
  • image_9.jpg
    image_9.jpg
    85.6 KB · Views: 863
  • photo 1.jpg
    photo 1.jpg
    95.4 KB · Views: 863
  • photo 4.jpg
    photo 4.jpg
    75.8 KB · Views: 856
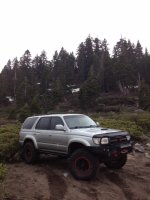
SOOOO BORED at work so I snapped a few shots of just what she looks like today. My next plans are to get the Toytec Superflex Coils and the Bilstein 5100 LT shocks in the rear. It is starting to sag a bunch with my subs and cargo box in the rear. I also got another Optima battery so my next project will be a Painless Performance Dual Battery Wiring Kit and a Ruff Stuff Dual Optima battery tray. Should be some fun mods soon! Hope you like!
 

Attachments

  • image.jpeg
    image.jpeg
    99.5 KB · Views: 874
  • image_1.jpeg
    image_1.jpeg
    122.3 KB · Views: 864
  • image_3.jpeg
    image_3.jpeg
    123.4 KB · Views: 866
  • image_4.jpeg
    image_4.jpeg
    116.9 KB · Views: 856
  • image_5.jpeg
    image_5.jpeg
    131.3 KB · Views: 837
do you happen to have any build specs or plans you can share?
how does the front portion of your sleep platform hinge, and how does it attach securely to the cargo storage drawer portion?
 
Sleeping Platform

I have been getting a lot of questions, so in the few days I will take legit pictures and take measurements of everything and actually make a seperate thread specifically for this sleeping platform and cargo box!
 
Mammoth

So did you permanently move to Mammoth?

I sure did! You would not believe how awesome and beautiful the summer is here! I can literally go anywhere I want on a trail literally all day long. I have never gone wheeling as much as I ever have before and the trails are awesome!
 

Members online

Forum statistics

Threads
278,306
Messages
3,554,045
Members
248,016
Latest member
Advally Service

Trending content

Back
Top