Gauging Interest In 3rd Gen Projector Retrofits (very small # to be made)

<img src="http://i1350.photobucket.com/albums/p779/zacforsale/5EC68F0A-FA53-4CA8-942F-CA4CE8A3E4C6_zpsfspinw6f.jpg" border="0">


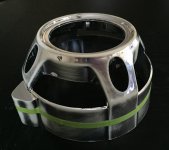
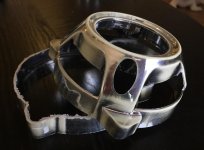
That is how much I had to trim off. I don't know about the taping off because like you said I just removed the screws and the plastic because I painted mine
 
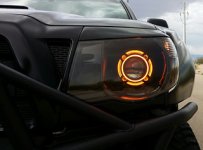
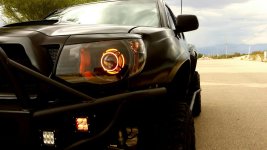
This is what I'll be going for with my own build on the next modification.

Except NO smallest ring.

:bat:
 

Attachments

  • 14656754652_0fa0c7dd57_n.jpg
    14656754652_0fa0c7dd57_n.jpg
    23.8 KB · Views: 379
  • 14634155226_c07dcfb9b1_o.jpg
    14634155226_c07dcfb9b1_o.jpg
    134.6 KB · Views: 753
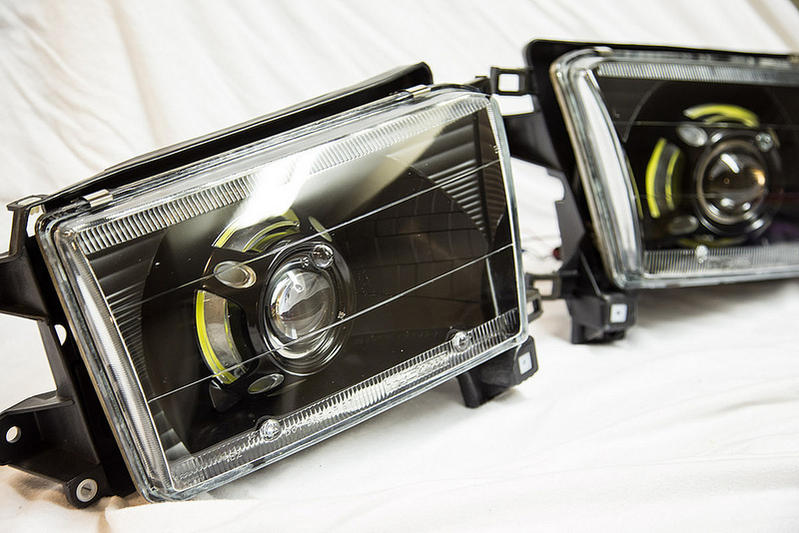
Well, looks like I now know what design I want to emulate once I finally get around to doing mine. I'd just rather use the square projector with the pana-square shrouds.

169969d1440258312-gauging-interest-3rd-gen-projector-retrofits-very-small-made-5.jpg


Brian, care to share the details about that custom washer and why you use it, or you keeping that proprietary info?
 
Well, looks like I now know what design I want to emulate once I finally get around to doing mine. I'd just rather use the square projector with the pana-square shrouds.

169969d1440258312-gauging-interest-3rd-gen-projector-retrofits-very-small-made-5.jpg


Brian, care to share the details about that custom washer and why you use it, or you keeping that proprietary info?


Do they make a cheap square halo for pana-square? Also do they make a pana-square shroud at all?

What washer? A-Wilson uses a washer. I used jb-weld to hold the Morimoto keyed metal piece in place during install. The pictures are on page 1.
 
Ah, I must have mixed the two of you up in my memory. I haven't done a retro with the mini D2S yet, only FX-Rs, which involved a lot of cutting.

There is a Panamera style shroud for the square projectors, and they call them the Pana-squares. I'll dig up a picture in a sec.
 
panasquare_1_1.jpg


Though now that I'm looking at them, I'm not liking the square style as much. The Apollo 1.0 seem to fit better.

apollo_1.0_square_shrouds_2_1.jpg
 
Last edited:
Hah, now I feel like a jackass after going back through the tread again and seeing your first set is basically what I'm talking about. I do like the idea of having the switch back halos wired to the corner lights/turn signals.
 
I like the look of both the square and round. Also I don't think you can even tell a square vs round if you are more than 10 feet away.

The biggest drawback to the squares is the lack of affordable square Halos. They exist but the are pricy. The TRS square switchback halo would would but it is pricy $70 and I couldn't include it in my retrofit.
 
The show must march on!

Here we go again. Next set is in the making.

Today I did the following:

* Disassembled the housings
* Baked the lights then took them apart
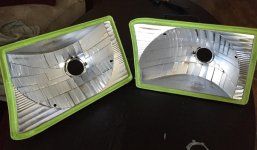
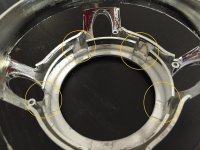
* Wet scratch pad scuffed up the housings then the Panorama Shrouds
* Taped up the housings, covering up the glue so it isn't painted
* Taped the shrouds, marking them to be cut
* Broke off the alignment tabs on the Panorama shrouds, they don't fully engage and they let light out. 3M tape will be more than good enough.
* Used my dremel to cut the Panorma shrouds along the tape line
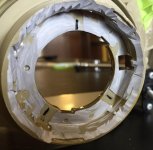
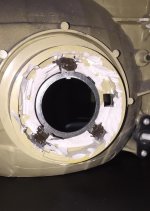
* Used my dremel to cut the light housings as shown
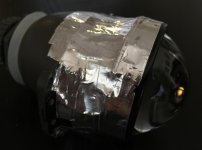
* Sealed up each Mini D2S 3.0 projector with metal tape to remove all light pollution (this took an hour for both BTW)
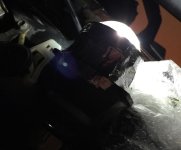
* Installed bulbs and op tested the projectors with the ballasts on my truck
* Painted the shrouds, 5 coats (primer 2x, paint 2x, clear 1x)
* Painted the housings, 5 coats (primer 2x, paint 2x, clear 1x)
* JB Welded the metal alignment key into the housing


I decided to seal up the projector lights on this one because with the panorama shrouds I want the only light in the housing to be from the LED Halos.


Pics below!

:laser:
 

Attachments

  • 01a.jpg
    01a.jpg
    133.1 KB · Views: 549
  • 02 Shroud Pre-Cuta.jpg
    02 Shroud Pre-Cuta.jpg
    127.8 KB · Views: 543
  • 03 - After cuttinga.jpg
    03 - After cuttinga.jpg
    103.1 KB · Views: 484
  • 04 Housing Trimmed Dremmela.jpg
    04 Housing Trimmed Dremmela.jpg
    109 KB · Views: 490
  • 4Ba.jpg
    4Ba.jpg
    102.1 KB · Views: 519
  • 05 - Panorama Shroud Clipsa.jpg
    05 - Panorama Shroud Clipsa.jpg
    131.2 KB · Views: 643
  • 06 - Projector Sealed Upa.jpg
    06 - Projector Sealed Upa.jpg
    70.8 KB · Views: 520
  • 07Ba.jpg
    07Ba.jpg
    67.3 KB · Views: 472
Last edited:
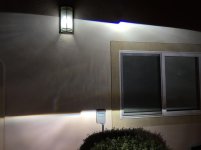
Check out the light cutoff with the D2S 3.0 and Morimoto 5500K bulb.

The one in the top of the picture is the D2S 3.0 projector in the raw (no light housing) and the bottom is from my FXR inside the TYC housing. The housing bends the light slightly making it a bit less sharp.
 

Attachments

  • 08.jpg
    08.jpg
    131.3 KB · Views: 516

Members online

Forum statistics

Threads
278,316
Messages
3,554,124
Members
248,016
Latest member
Advally Service

Trending content

Back
Top