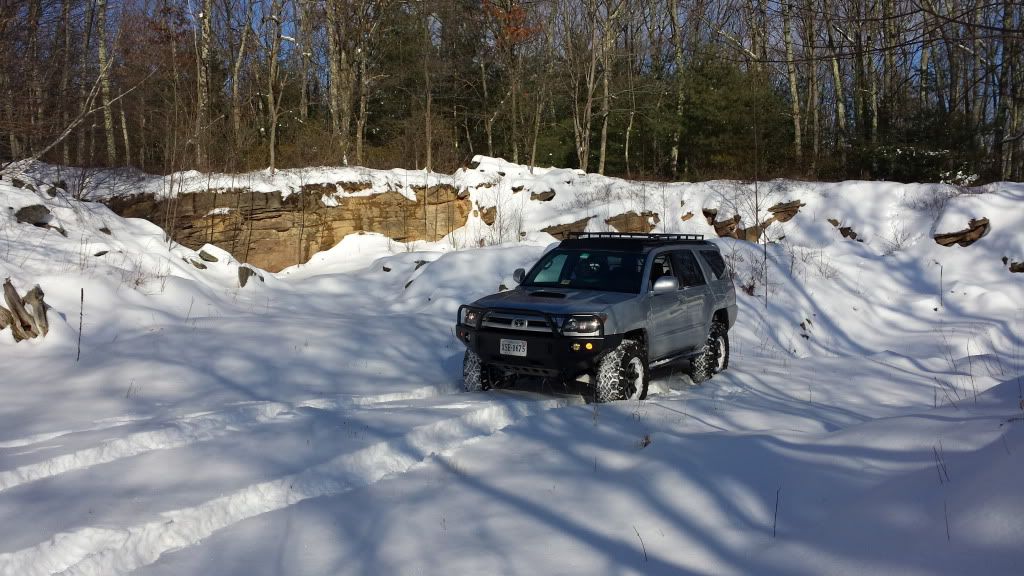
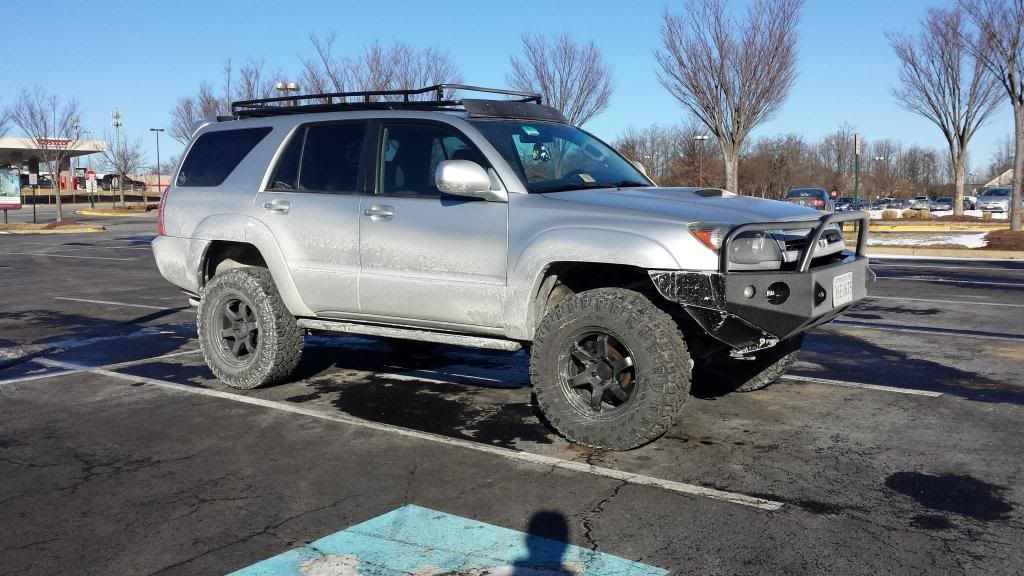
Lower Control Arm bushing replacement/ upgrade to Energy Suspension Poly
I replaced my LCA bushings about a year ago with Energy Suspension Poly bushings. The rubber OEM ones were shot after about 125k miles and were causing an annoying vibration in the steering wheel at highway speeds.
This is not a hard job but it is time consuming and a PITA. I was in no rush and worked at it on and off for about 8 hours which included wire brushing, priming and repainting the LCAs as well as dealing with 2 seized cam alignment bolts. Without those issues/complications, the bushing swap can probably be done in a few hours a side.
Energy Suspension poly bushing P/N: 8.3128R (for black bushings use 'G' instead of 'R': 8.3128G)
Thanks to [MENTION=87178]NuclearN8[/MENTION] for the heads up on the black poly part coding.
Helpful tools:
-Dremel with sharp, carbide metal cutting bit
-Steel wire brush/sandpaper
-Torch
-Bench vise (some ppl will opt for the bottle jack method)
Without further adieu, here's the process:
1. Remove the LCAs from the truck. Be prepared to deal with seized cam alignment bolts. If you're lucky they won't be seized. If they are seized, you may be lucky and heat and an air hammer will knock them loose. If that doesn't work, break out the sawzall like I did and be prepared to pony over some $$ for new bushing/sleeve assembly.
2. Sleeve/bushing removal: Throw the LCA in a bench vise. Using the dremel and metal cutting bit, remove enough metal from the end of the sleeve that you can pull off the inner washers.
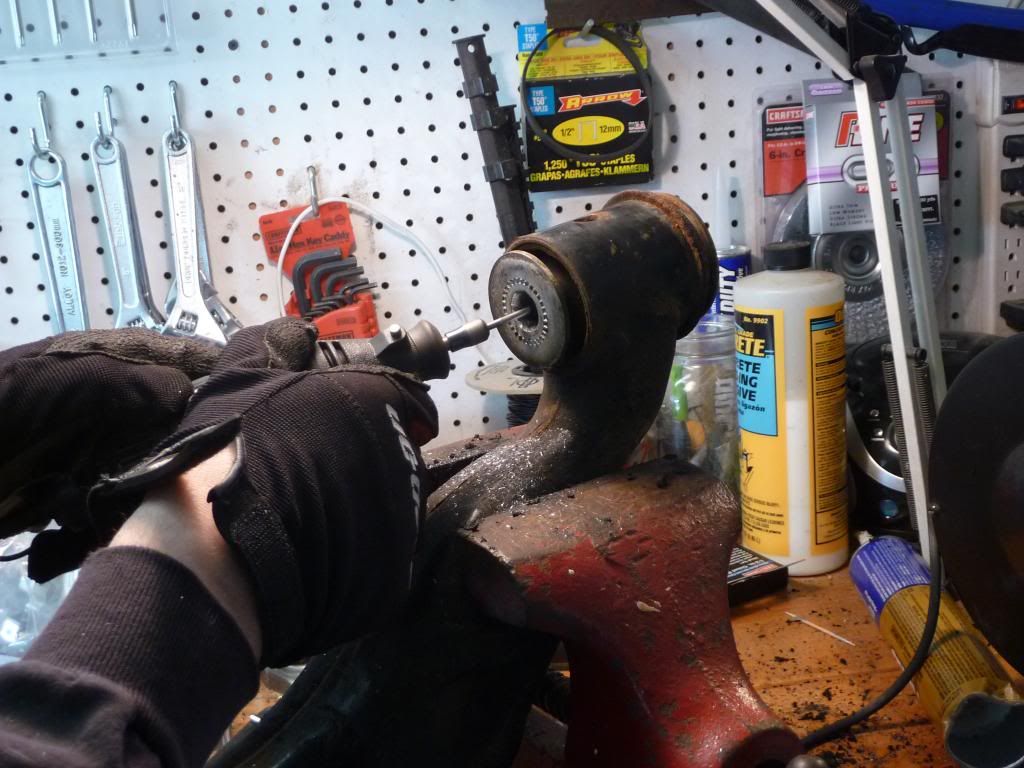
Remove washer:
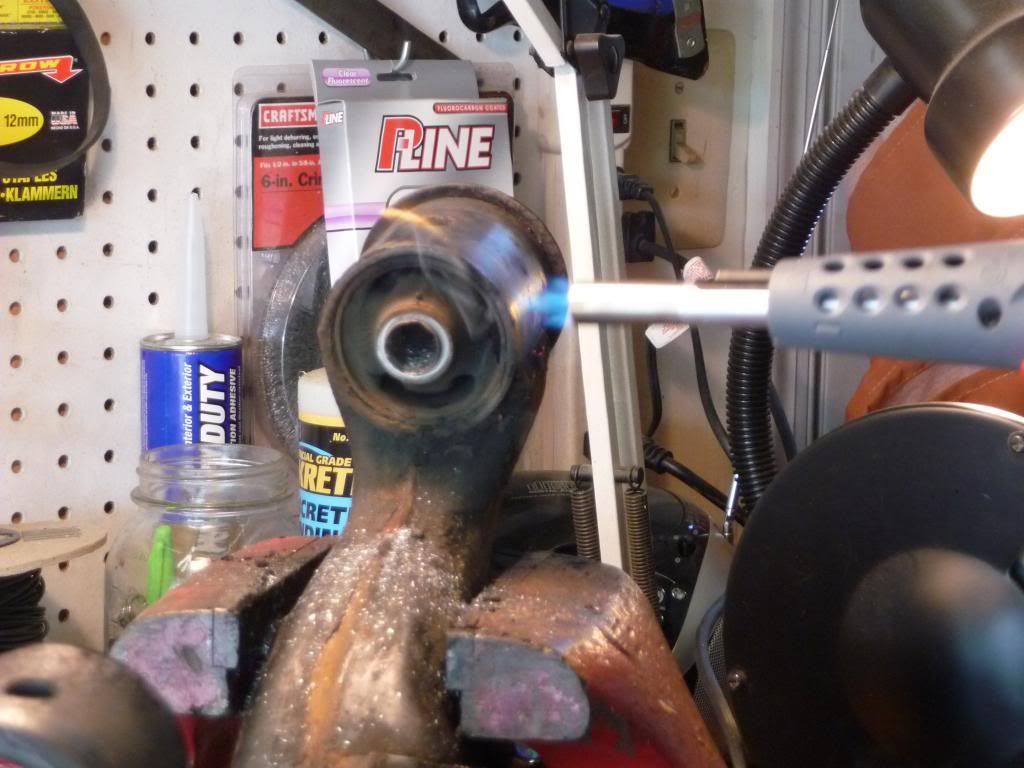
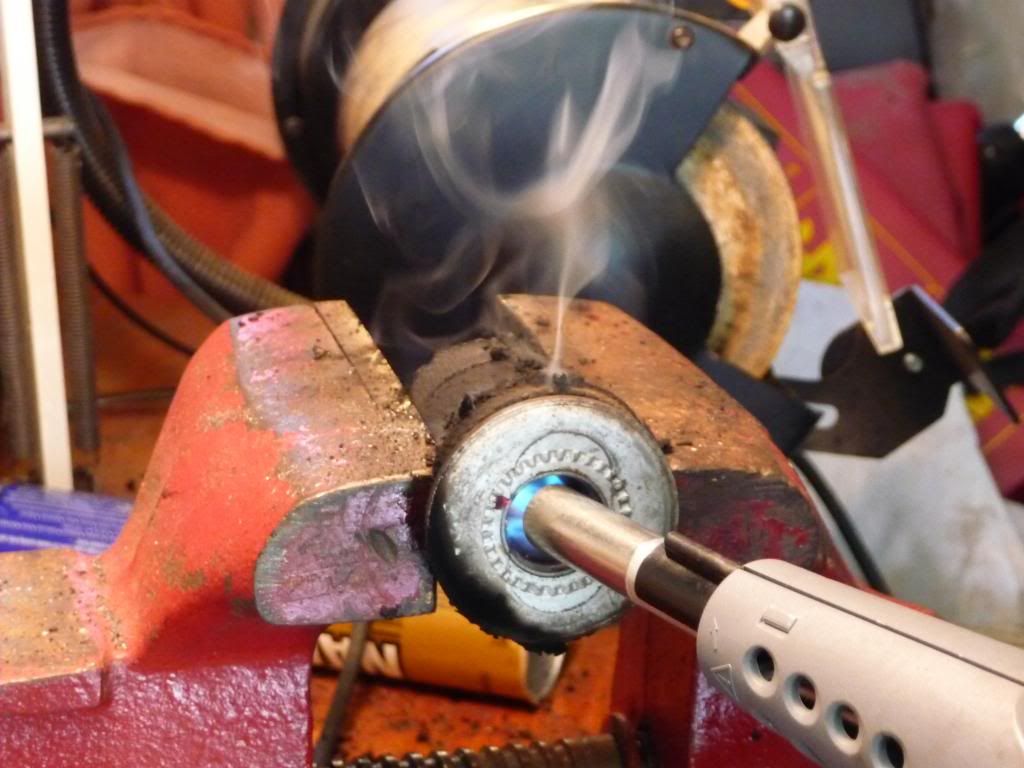
Apply even heat all around the LCA outer sleeve. It will make a 'pop' sound as the rubber detaches from metal. Yes - you can use the bottle jack method but I'd be concerned that the jack pushing on the inner sleeve may deform the metal you will eventually fold back around the inner washer. I'm sure it works - just to each their own. I just heated it until the bushing simply pushed out with a screwdriver. A bit of smoke off the bushing is fine but don't light it on fire.
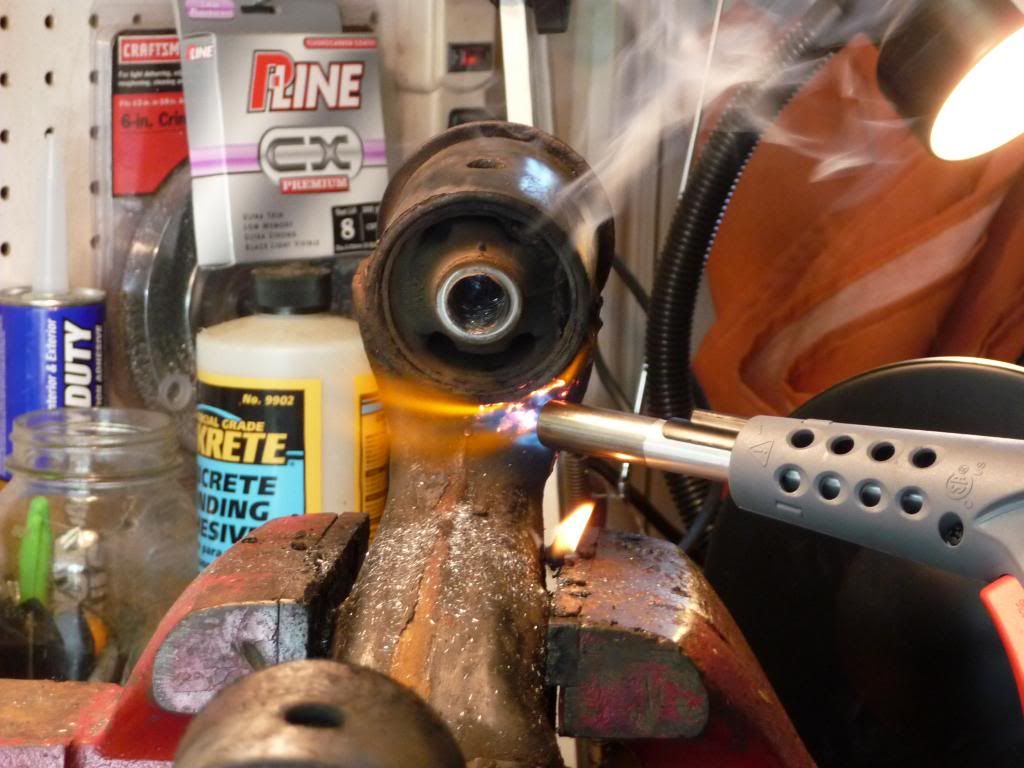
Push/pull out the bushing (and yes - be careful because it's freaking hot)
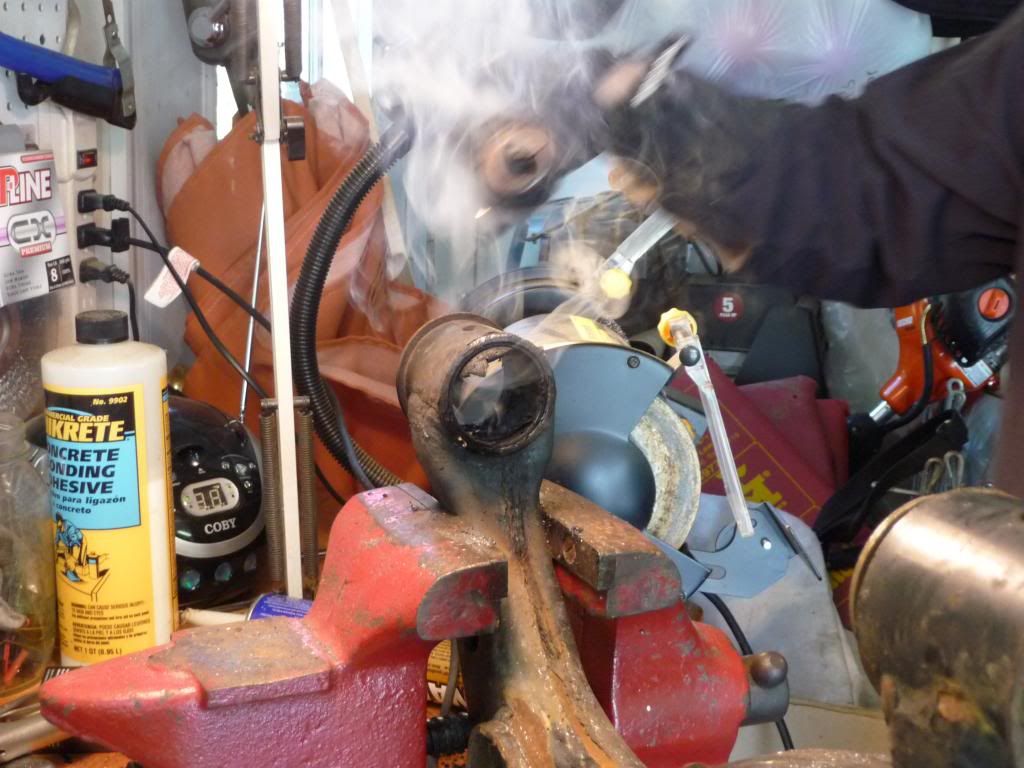
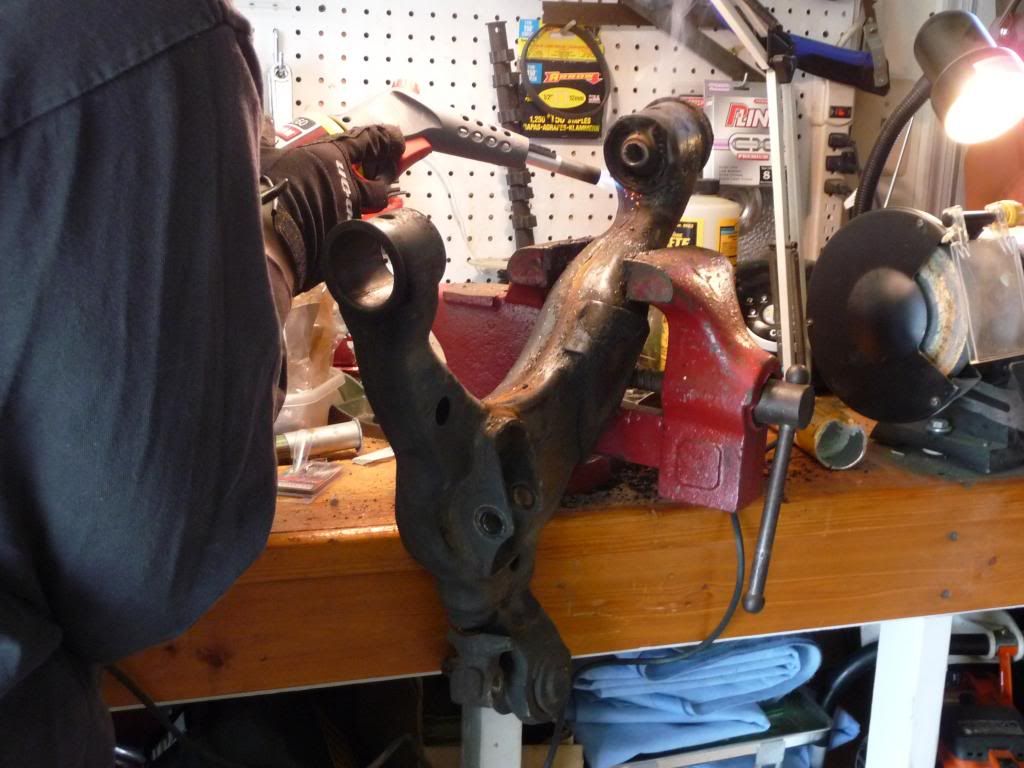
Place the bushing/inner sleeve in the bench vice. Using a sharp blade, cut a slit down the bushing. Heat the inside of the sleeve and again - after the rubber has 'popped' and separated, use pliers to peel off the old bushing.
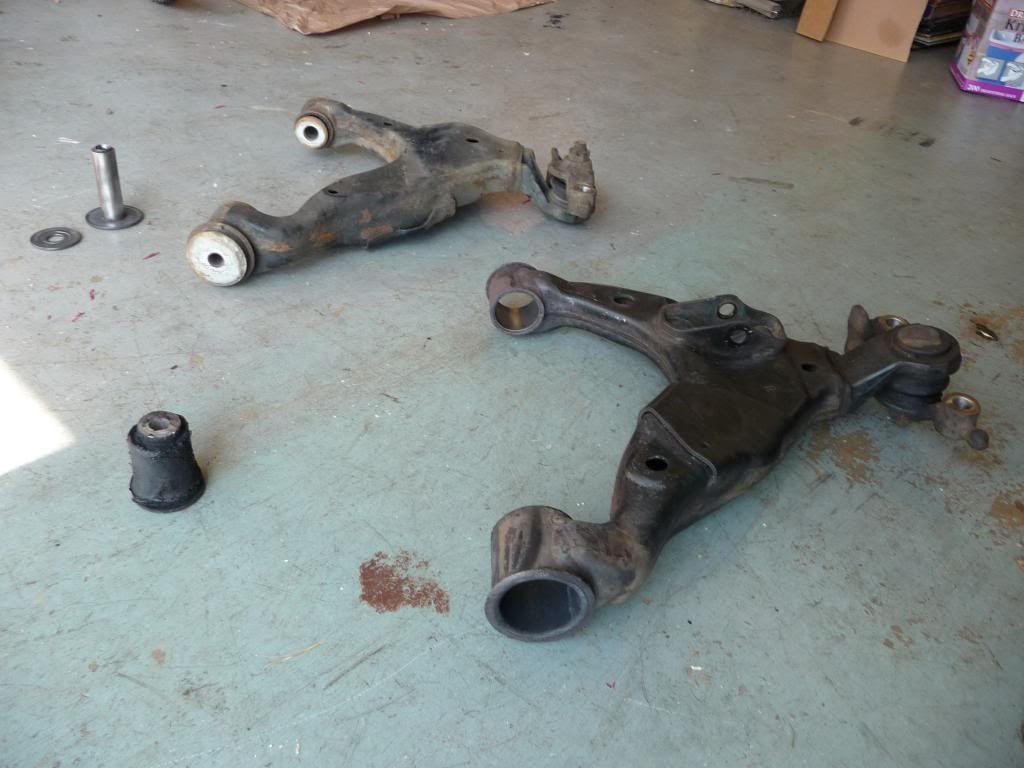
Clean up all the metal surfaces with a wire brush/sand paper. Good time to refinish the LCAs too.
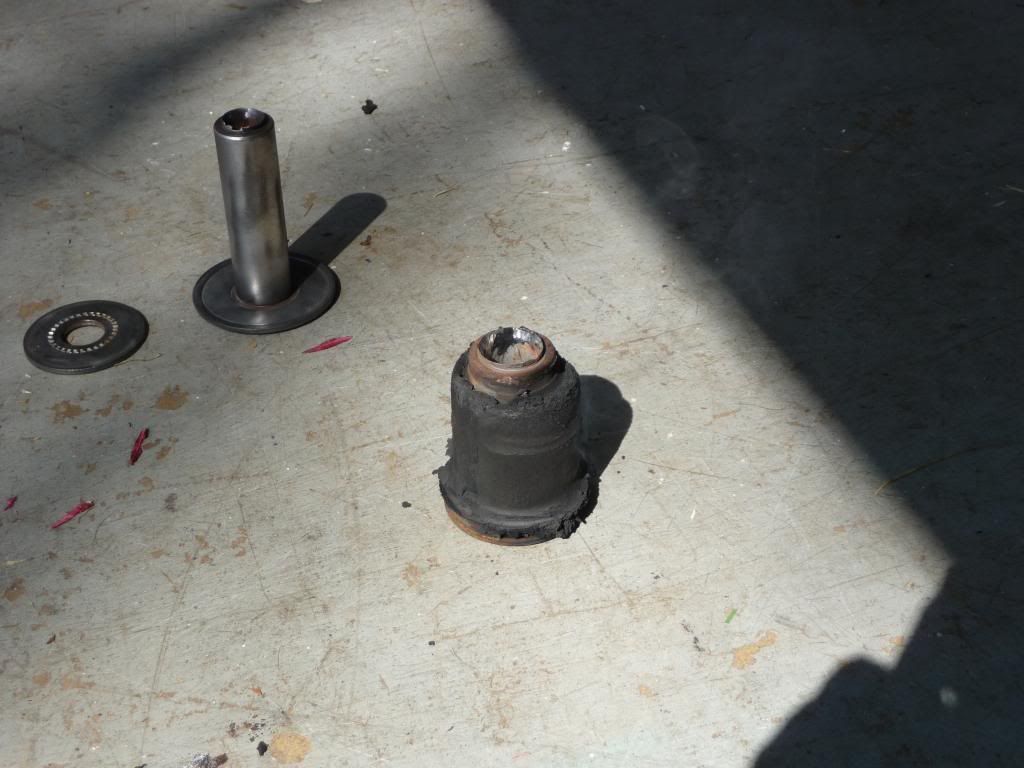
Original vs. halfway there:
3. New bushing assembly. Using the provided white grease - coat all the mating surfaces. It's better to use more than less as this is the only time you get to grease these. Once they're on - they're on. First press in the inner sleeve. Then place the LCA in a bench vise and press in the new assembly. *Other presses will work just fine - I just happened to have a bench vise.
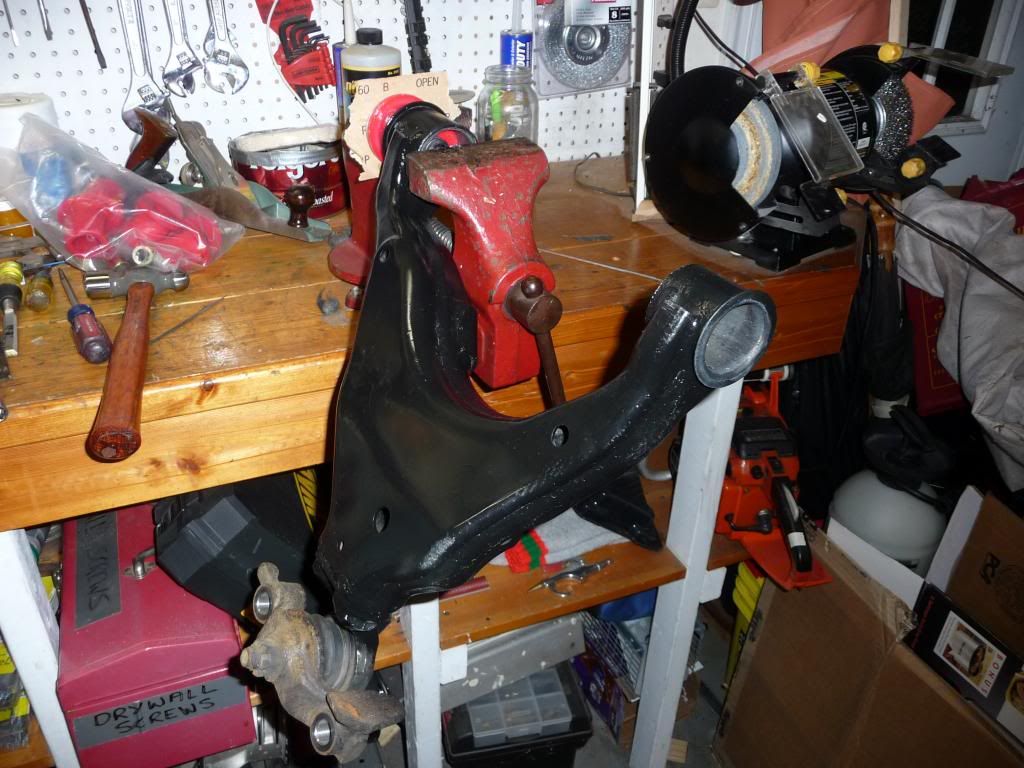
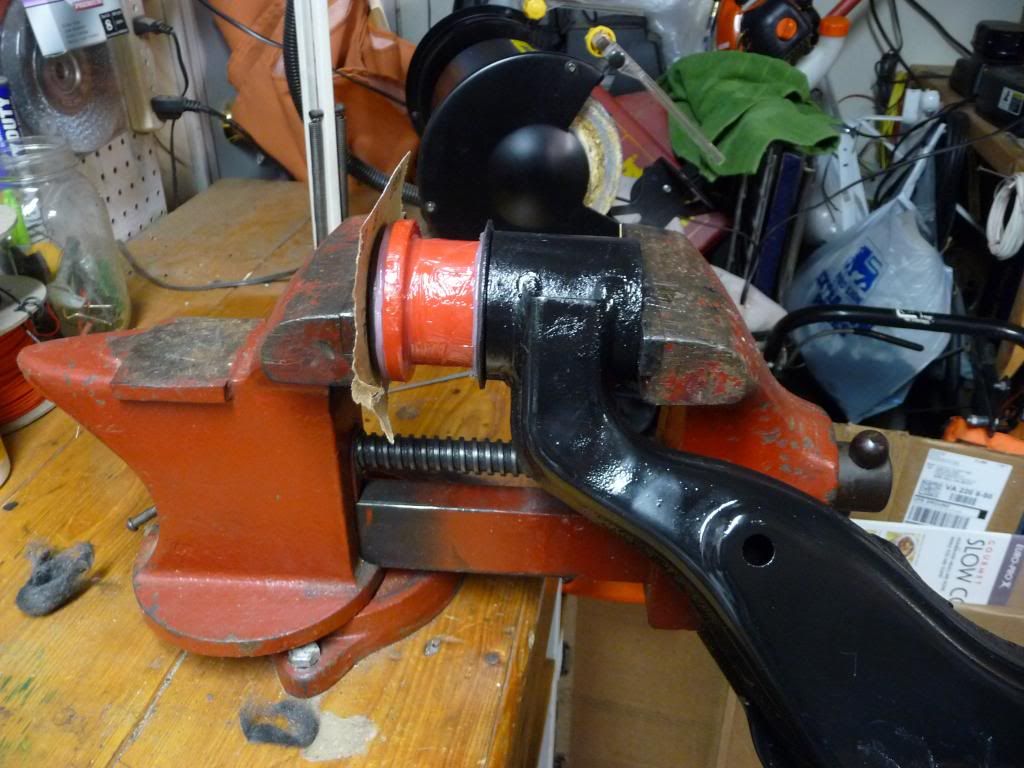
Once the bushing is properly seated - push the inner washer back on. Using a ball hammer or large ball bearing, re-seat the inner sleeve around the washer. That completes the bushing replacement.
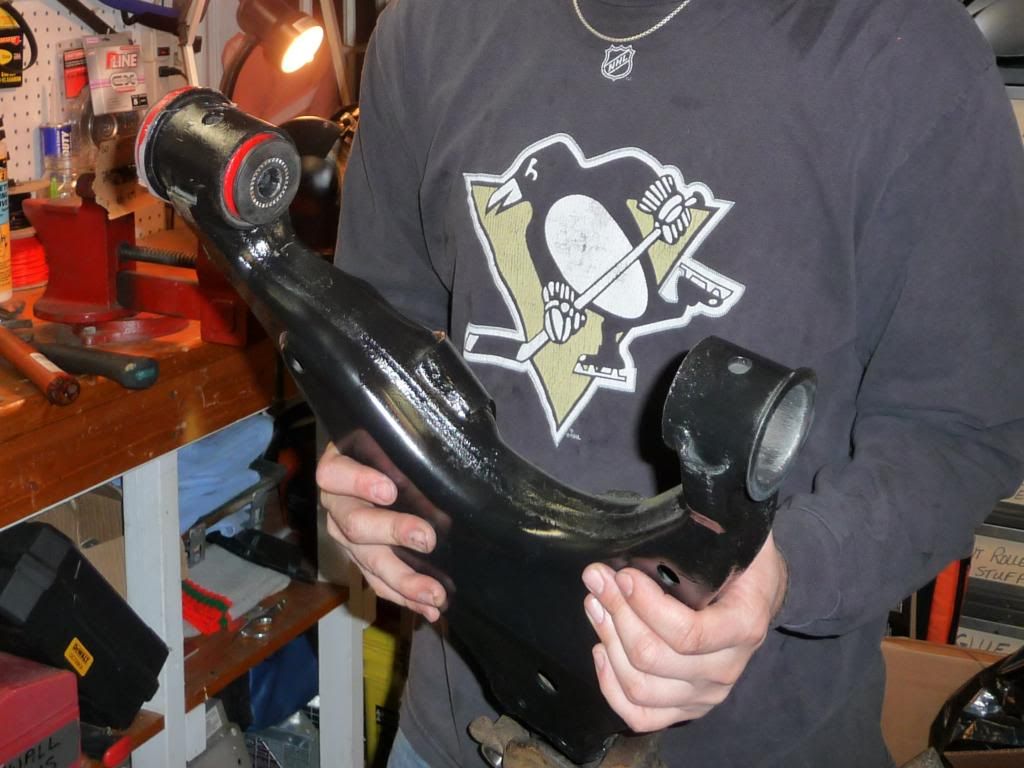
4. Re-install the LCA on the truck and get an alignment. Enjoy the smooth and solid steering wheel feel!
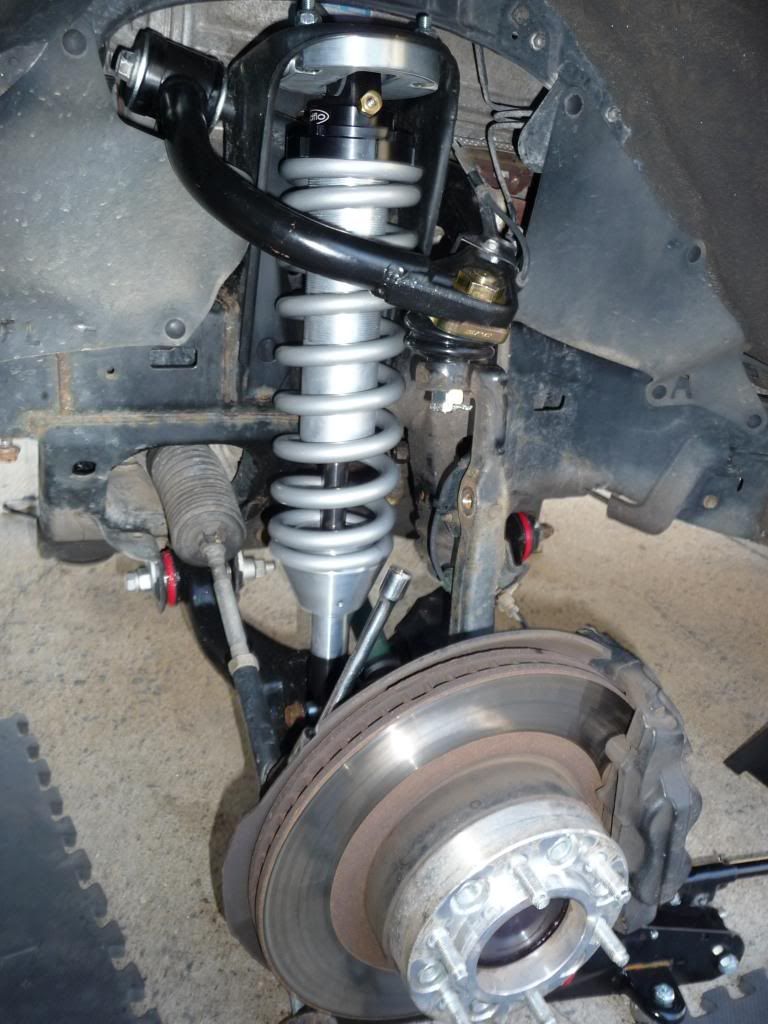
Let me know if you have any questions. While having the LCA off or while doing this work - it's a great time to replace the Lower ball joint as well. Of course - some folks would probably just opt to throw on a new LCA at that point.