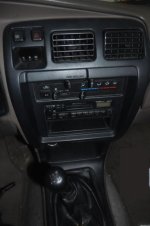
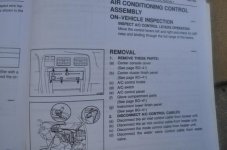
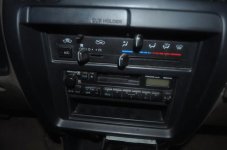
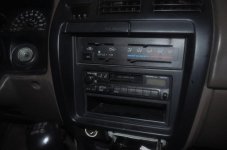
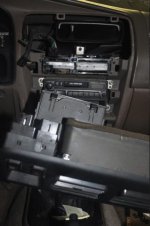
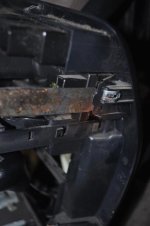
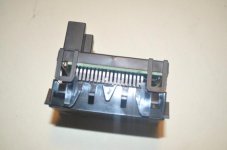
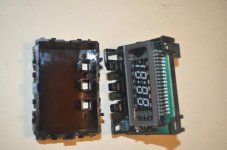
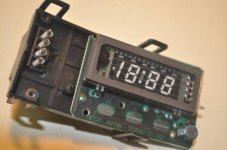
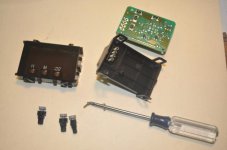
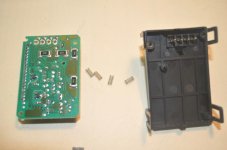
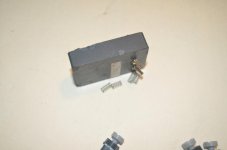
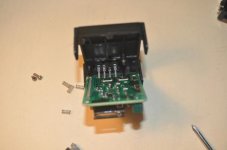
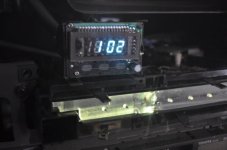
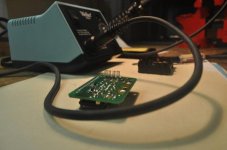
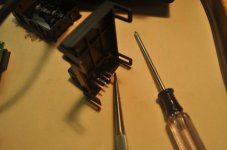
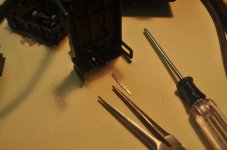
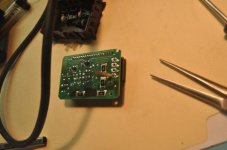
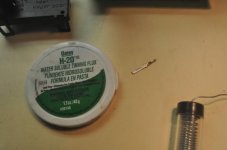
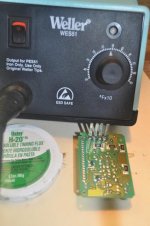
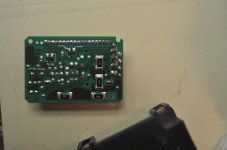
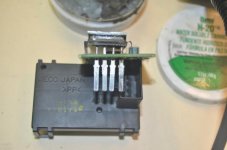
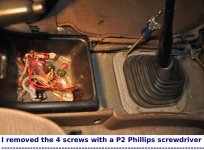
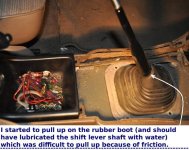
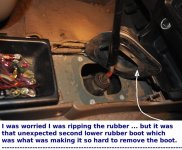
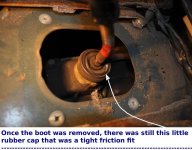
How do you post text interspersed with pictures for a DIY (What am I doing wrong?)

Status
Not open for further replies.

mom

Banned
I simply want to post a DIY with text interspersed with pictures.

Plan A fails:
- When I press the yellow [insert-image] button, it wants a URL; but the images are on my hard disk.

Plan B fails:
- When I press the [manage attachments] button, it uploads the image from my hard disk just fine; but it doesn't allow me to intersperse text between the images.

What's the trick to upload an image and insert it in between text, e.g.,
... blah blah blah ...
IMAGE 1
... blah blah blah ...
IMAGE 2
... blah blah blah ...
IMAGE 3 ...
etc.

Also, since my DIY has 50 images, what's the trick to get more than 8 images into a single post?


Attachments

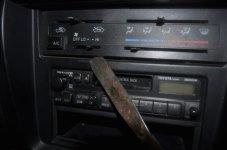
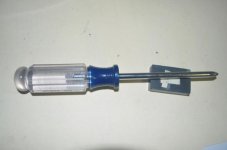
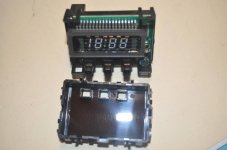
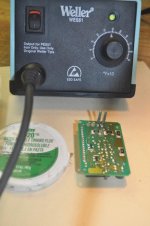
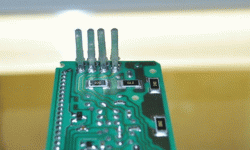
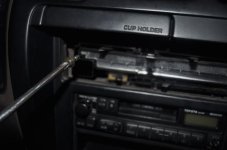
  • 4runner_clock_fix_00.jpg
    4runner_clock_fix_00.jpg
    26.4 KB · Views: 28,796
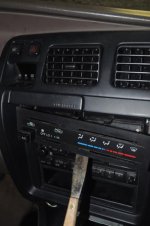
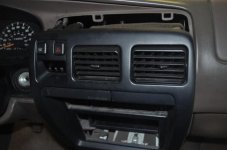
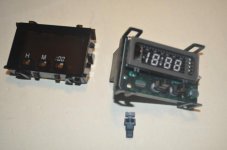
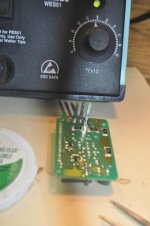
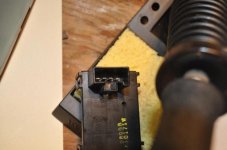
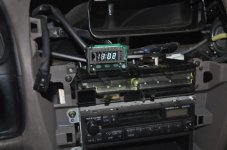
  • 4runner_clock_fix_01.jpg
    4runner_clock_fix_01.jpg
    32 KB · Views: 29,134
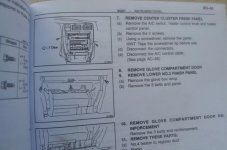
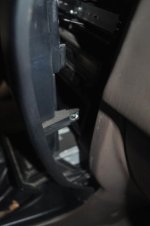
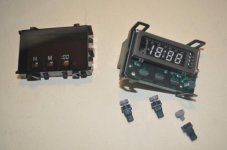
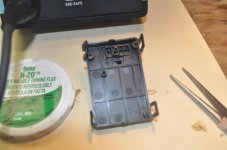
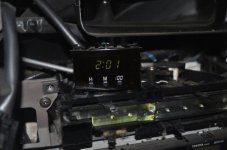
  • 4runner_clock_fix_02.jpg
    4runner_clock_fix_02.jpg
    22.3 KB · Views: 28,506
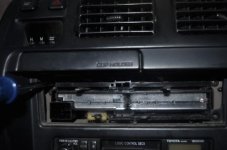
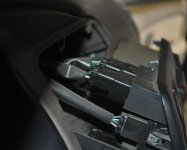
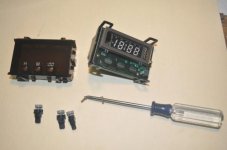
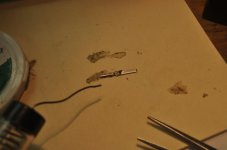
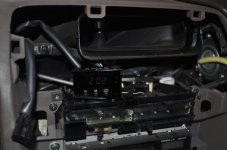
  • 4runner_clock_fix_03.jpg
    4runner_clock_fix_03.jpg
    23.8 KB · Views: 27,668
  • 4runner_clock_fix_04.jpg
    4runner_clock_fix_04.jpg
    25.1 KB · Views: 28,039
  • 4runner_clock_fix_05.jpg
    4runner_clock_fix_05.jpg
    30 KB · Views: 27,449
  • 4runner_clock_fix_06.jpg
    4runner_clock_fix_06.jpg
    24.4 KB · Views: 27,346
  • 4runner_clock_fix_07.jpg
    4runner_clock_fix_07.jpg
    32.7 KB · Views: 27,666
Last edited:
Register to hide this ad
My workaround is to load the images (anywhere), here is as good as anywhere else. And then, in the DIY, I can refer to the link to these images.

But there must be a better way to create a post with text interspersed with images and to have more than 8 images in the DIY???

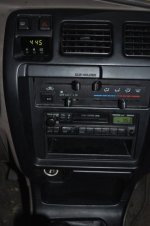
Here are the next 8 images.
 

Attachments

  • 4runner_clock_fix_08.jpg
    4runner_clock_fix_08.jpg
    26.2 KB · Views: 27,299
  • 4runner_clock_fix_09.jpg
    4runner_clock_fix_09.jpg
    28.3 KB · Views: 27,259
  • 4runner_clock_fix_10.jpg
    4runner_clock_fix_10.jpg
    15.9 KB · Views: 26,785
  • 4runner_clock_fix_11.jpg
    4runner_clock_fix_11.jpg
    22.1 KB · Views: 26,843
  • 4runner_clock_fix_12.jpg
    4runner_clock_fix_12.jpg
    26.9 KB · Views: 27,710
  • 4runner_clock_fix_13.jpg
    4runner_clock_fix_13.jpg
    17.4 KB · Views: 26,656
  • 4runner_clock_fix_14.jpg
    4runner_clock_fix_14.jpg
    20.5 KB · Views: 26,546
  • 4runner_clock_fix_15.jpg
    4runner_clock_fix_15.jpg
    21.1 KB · Views: 26,677
There has got to be a better way to upload images interspersed with text!
 

Attachments

  • 4runner_clock_fix_16.jpg
    4runner_clock_fix_16.jpg
    23.7 KB · Views: 26,699
  • 4runner_clock_fix_17.gif
    4runner_clock_fix_17.gif
    31.1 KB · Views: 28,495
  • 4runner_clock_fix_18.gif
    4runner_clock_fix_18.gif
    134.1 KB · Views: 37,025
  • 4runner_clock_fix_19.jpg
    4runner_clock_fix_19.jpg
    29 KB · Views: 26,352
  • 4runner_clock_fix_20.jpg
    4runner_clock_fix_20.jpg
    22.4 KB · Views: 26,151
  • 4runner_clock_fix_21.jpg
    4runner_clock_fix_21.jpg
    19.3 KB · Views: 26,147
  • 4runner_clock_fix_22.jpg
    4runner_clock_fix_22.jpg
    25.4 KB · Views: 26,342
  • 4runner_clock_fix_23.jpg
    4runner_clock_fix_23.jpg
    24.6 KB · Views: 26,136
There must be a better way to write a DIY!
 

Attachments

  • 4runner_clock_fix_24.jpg
    4runner_clock_fix_24.jpg
    20.3 KB · Views: 26,115
  • 4runner_clock_fix_25.jpg
    4runner_clock_fix_25.jpg
    21.2 KB · Views: 26,416
  • 4runner_clock_fix_26.jpg
    4runner_clock_fix_26.jpg
    21.4 KB · Views: 28,876
  • 4runner_clock_fix_27.jpg
    4runner_clock_fix_27.jpg
    29.5 KB · Views: 29,085
  • 4runner_clock_fix_28.jpg
    4runner_clock_fix_28.jpg
    24 KB · Views: 405
  • 4runner_clock_fix_29.jpg
    4runner_clock_fix_29.jpg
    24.3 KB · Views: 25,948
  • 4runner_clock_fix_30.jpg
    4runner_clock_fix_30.jpg
    11.7 KB · Views: 25,868
  • 4runner_clock_fix_31.jpg
    4runner_clock_fix_31.jpg
    18.2 KB · Views: 26,070
Here are images 32 to 39 (there has just got to be another way to write a DIY!).
 

Attachments

  • 4runner_clock_fix_32.jpg
    4runner_clock_fix_32.jpg
    19.4 KB · Views: 25,831
  • 4runner_clock_fix_33.jpg
    4runner_clock_fix_33.jpg
    23.9 KB · Views: 25,984
  • 4runner_clock_fix_34.jpg
    4runner_clock_fix_34.jpg
    32.7 KB · Views: 38,898
  • 4runner_clock_fix_35.jpg
    4runner_clock_fix_35.jpg
    28.3 KB · Views: 25,843
  • 4runner_clock_fix_36.jpg
    4runner_clock_fix_36.jpg
    29.1 KB · Views: 25,806
  • 4runner_clock_fix_37.jpg
    4runner_clock_fix_37.jpg
    27.3 KB · Views: 25,992
  • 4runner_clock_fix_38.jpg
    4runner_clock_fix_38.jpg
    28.1 KB · Views: 25,713
  • 4runner_clock_fix_39.jpg
    4runner_clock_fix_39.jpg
    26.2 KB · Views: 25,711
Images 40 to 47. It's taking now from about five to ten minutes per picture to upload, so, even this method of trying to write a DIY is failing.

I supposed the forums are designed NOT to have pictorial DIYs with text interspersed?
 

Attachments

  • 4runner_clock_fix_40.jpg
    4runner_clock_fix_40.jpg
    22.6 KB · Views: 25,686
  • 4runner_clock_fix_41.jpg
    4runner_clock_fix_41.jpg
    23.4 KB · Views: 25,607
  • 4runner_clock_fix_42.jpg
    4runner_clock_fix_42.jpg
    26.7 KB · Views: 25,669
  • 4runner_clock_fix_43.jpg
    4runner_clock_fix_43.jpg
    21.1 KB · Views: 25,619
  • 4runner_clock_fix_44.jpg
    4runner_clock_fix_44.jpg
    34 KB · Views: 25,638
  • 4runner_clock_fix_45.jpg
    4runner_clock_fix_45.jpg
    32.9 KB · Views: 25,528
  • 4runner_clock_fix_46.jpg
    4runner_clock_fix_46.jpg
    30.2 KB · Views: 25,500
  • 4runner_clock_fix_47.jpg
    4runner_clock_fix_47.jpg
    17.3 KB · Views: 25,475
48 to 55 (almost done).

This method is too tedius for a DIY.

Someone must tell me "the" better way.
 

Attachments

  • 4runner_clock_fix_48.gif
    4runner_clock_fix_48.gif
    128.5 KB · Views: 25,623
  • 4runner_clock_fix_49.jpg
    4runner_clock_fix_49.jpg
    36.7 KB · Views: 26,215
  • 4runner_clock_fix_50.jpg
    4runner_clock_fix_50.jpg
    21.1 KB · Views: 25,417
  • 4runner_clock_fix_51.jpg
    4runner_clock_fix_51.jpg
    15.3 KB · Views: 25,384
  • 4runner_clock_fix_52.jpg
    4runner_clock_fix_52.jpg
    25.2 KB · Views: 25,511
  • 4runner_clock_fix_53.jpg
    4runner_clock_fix_53.jpg
    42.5 KB · Views: 25,417
  • 4runner_clock_fix_54.gif
    4runner_clock_fix_54.gif
    129.8 KB · Views: 25,501
  • 4runner_clock_fix_55.jpg
    4runner_clock_fix_55.jpg
    27.2 KB · Views: 25,329
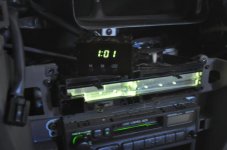
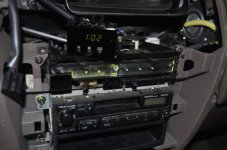
56 to 58, the last batch, showing the repaired 4-runner clock now working in situ!

Now I will write the DIY (while it's still fresh) and refer to these pictures interspersed with the text.
 

Attachments

  • 4runner_clock_fix_56.jpg
    4runner_clock_fix_56.jpg
    25.6 KB · Views: 25,357
  • 4runner_clock_fix_57.jpg
    4runner_clock_fix_57.jpg
    33.6 KB · Views: 25,908
  • 4runner_clock_fix_58.jpg
    4runner_clock_fix_58.jpg
    27.4 KB · Views: 25,444
youve gotta upload the images onto photobucket then copy the IMG code and paste it after the text

step 1
charliesnewride2.jpg~original


step 2
charliesnewride1.jpg~original


im hoping thats what u were asking for.
 
youve gotta upload the images onto photobucket

Bummer.

I understand what you're saying.

What you're saying is that the way people write DIYs here is to upload images via the URL mechanism and not via the "manage attachments" mechanism.

That's too bad. Now I have to find a hosting service to host my images. I guess you recommend "photobucket"or "picturepush", huh?

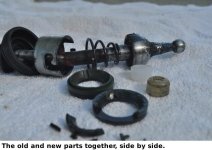
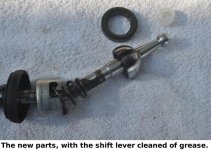
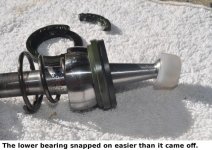
EDIT: I think this works to attach in one thread and then use in another! The problem is finding a thread that users don't necessarily 'read' for the attachments.
 

Attachments

  • 1_old_and_new.JPG
    1_old_and_new.JPG
    36.9 KB · Views: 5,891
  • 2_new_parts.JPG
    2_new_parts.JPG
    55.9 KB · Views: 5,889
  • 3_snapped_on.JPG
    3_snapped_on.JPG
    52.1 KB · Views: 5,724
  • 4_in_situ.JPG
    4_in_situ.JPG
    34.2 KB · Views: 5,802
  • 5_black_clips.JPG
    5_black_clips.JPG
    49 KB · Views: 5,693
  • 6_brown_clips.JPG
    6_brown_clips.JPG
    45.2 KB · Views: 5,681
Last edited:
Bummer.

I understand what you're saying.

What you're saying is that the way people write DIYs here is to upload images via the URL mechanism and not via the "manage attachments" mechanism.

That's too bad. Now I have to find a hosting service to host my images. I guess you recommend "photobucket" huh?

Yep, photobucket seems to be "service-du-jour" for image hosting... :cheers:
 
Yep, photobucket seems to be "service-du-jour" for image hosting...

I'll use photobucket for the next DIY (if I ever do a next DIY because posting this one was absolutely miserable!).

Here's the DIY, if you're interested:
- 3rd generation 4Runner digital clock repair DIY

Here's a note to the admins regarding the difficulty in posting informative DIYs:

This site is absolutely miserable (compared to comparable forums) for posting a DIY. You made it so hard, in fact, that this is probably both my first & last DIY here. It was harder to post this DIY intact than to perform the digital clock repair! You can't upload more than 8 pictures at a time (what's with that?); you can't type more than 15,000 characters (this is over 25,000 characters and it's not exactly verbose); and the "system" logs you out time and time again while you're in the middle of typing it up (no other comparable forum I'm on does that to me). Worse yet, one by one you find out these restrictions, e.g., you can only have 11 images in a post & the file size limits are ridiculously tiny compared to other forums such that I could not post the PDF of the repair procedure in the shop manuals. So after writing this DIY up for the fifth time over the span of two days, I am just about to give up on posting DIYs to this site because it took longer to post this once I had it written than it took to do the job in the first place. I'm thoroughly exasperated! (Other forums are not anywhere this horrid for creating a simple yet detailed DIY!)


Mom - Agreed, but I doubt it'll change.

I too, refuse to use photobucket.

It is a little easier, I posted my technique here http://www.toyota-4runner.org/general-discussions/68320-adding-text-between-pictures.html

I do not think there's a workaround for the 8 pic limit on this site (yes, that bites).

Using my instructions, you can intersperse text/pics. And I *believe* you can string longer DIY's together by first posting the first 8 pics/text, and then "editing" that post with successive 8 pic sets. I believe a Mod told me this, but I don't remember trying it.

Yeah, it could be friendlier -- who knows, maybe there's a legitimate reason?
 
I posted my technique here

I too put a lot of effort into my posts and don't like when an archive no longer has any of the attachments still working.

Let me try the trick proposed in post #6 now ...

0) I typed some text ...
1) I uploaded a picture using "Manage Attachments" ...
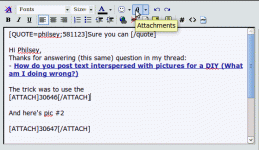
2) I pressed the paperclip icon (which added [ attach ] 33319 [ / attach ] tags)
rtfm.jpg
3. Then I typed this line of text.

- 1997 Toyota factory "Repair Manual" (engine, chassis, body, electrical)
- 1997 Toyota factory "Repair Manual" (maintenance, preparation, specifications, diagnostics)
- 1997 Toyota factory "Electrical Wiring Diagrams"
- 1997-2000 Chilton Toyota Pick-Ups/Land Cruiser/4Runner "Repair Manual" (#68604)


I do not think there's a workaround for the 8 pic limit
Drat.

Using my instructions, you can intersperse text/pics.

Indeed. It worked! What a wonderful trick. Something like that was EXACTLY what I was looking for. At least it will work for puny DIYs of fewer than 8 pictures (also there is an 11 picture limit)

a) 8 attachments per post
b) 11 included pictures (via urls) per post

by first posting the first 8 pics/text, and then "editing" that post with successive 8 pic sets.

ooooooh. I'm soooo glad you found me. I will try this NEXT time (as I don't have another DIY coming up at the moment).

You are wonderful. This seems like a viable workaround (if it works).
 

Attachments

  • rtfm.jpg
    rtfm.jpg
    58.2 KB · Views: 425
Last edited:
I just tried your wonderful hint and it works great!

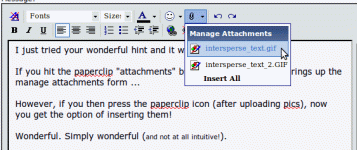
If you hit the paperclip "attachments" button initially, it simply brings up the manage attachments form ...
intersperse_text.gif

However, if you then press the paperclip icon (after uploading pics), now you get the option of inserting them in between the text!
intersperse_text_3.gif

Wonderful. Simply wonderful (and not at all intuitive!). This is something you do not find in the manuals!

Here I will test a URL link to a picture that is subsequently deleted (I'll delete the thread where this picture was uploaded).

33313d1285142124-suggestions-references-learn-best-about-repairing-my-new-me-1997-t4runner-rtfm.jpg
 

Attachments

  • intersperse_text.gif
    intersperse_text.gif
    18.6 KB · Views: 447
  • intersperse_text_3.gif
    intersperse_text_3.gif
    17.2 KB · Views: 371
Last edited:
THERE IS A BETTER WAY

Upload your pictures to imageshack.us

That is what I do.

* You will NOT have to login or create an account, just upload away
* The pictures are there forever
* Anyone (even you) can click on the picture and be taken to it directly
* You can choose your size or set "do not re-size"
* Direct forum linking
* Direct HTML for Craigslist ect.

Steps

1) go to ImageShack® - Online Photo and Video Hosting
2) upload the picture. I use 17" setting.
3) after the upload copy text from the "forum" field
4) paste into t4R.org


You can look through my posts, I have used imageshack for everything without a problem for a long time. Don't use flicker or photobucket, both require registration and delete the pictures rather quickly. Imageshack stays up forever.

:surfer:
 
Upload your pictures to imageshack.us

That works for many but for me, I don't wish to maintain two separate locations for the same item.

Plus, I've been to far too many forum sites where the pictures are no longer on the photobucket/imageshack/whatever site.

At least if you attach the picture directly to the thread, it will be archived as long as the thread is available.
 

Attachments

  • 01_how_to_remove_panel.JPG
    01_how_to_remove_panel.JPG
    38.2 KB · Views: 5,567
  • 02_looking_in_the_manual.JPG
    02_looking_in_the_manual.JPG
    55 KB · Views: 5,829
  • 03_manual_stinks.JPG
    03_manual_stinks.JPG
    43.3 KB · Views: 5,523
  • 04_remove_phillips_head_screw.JPG
    04_remove_phillips_head_screw.JPG
    35.4 KB · Views: 5,545
  • 05_remove_other_phillips_head_screw.JPG
    05_remove_other_phillips_head_screw.JPG
    39.2 KB · Views: 5,522
  • 06_not_how_to_remove_the_pin.JPG
    06_not_how_to_remove_the_pin.JPG
    27.1 KB · Views: 5,420
  • 07_again_not_how_to_remove_pin.JPG
    07_again_not_how_to_remove_pin.JPG
    35.4 KB · Views: 5,381
  • 08_pin.JPG
    08_pin.JPG
    29.2 KB · Views: 5,428

Attachments

  • 09_pushing_in_the_center_pin.JPG
    09_pushing_in_the_center_pin.JPG
    33.5 KB · Views: 5,480
  • 010_this_removes_the_pin_reasonably_well.JPG
    010_this_removes_the_pin_reasonably_well.JPG
    39.4 KB · Views: 5,362
  • diy.jpg
    diy.jpg
    74.3 KB · Views: 5,979
  • 03_remove_shifter_knob_first.JPG
    03_remove_shifter_knob_first.JPG
    36.2 KB · Views: 6,178
  • seats.jpg
    seats.jpg
    73 KB · Views: 6,790
  • 1_pry_up.JPG
    1_pry_up.JPG
    50.4 KB · Views: 6,040
  • 2_liftandtwist.JPG
    2_liftandtwist.JPG
    70.6 KB · Views: 5,924
  • 3_pullaway.JPG
    3_pullaway.JPG
    36.7 KB · Views: 5,951
Last edited:
Attachments

  • z1_remove_bolts.JPG
    z1_remove_bolts.JPG
    49 KB · Views: 5,297
  • z2_lift_and_pull.JPG
    z2_lift_and_pull.JPG
    62.6 KB · Views: 5,377
  • z3_rubber_on_both_sides.JPG
    z3_rubber_on_both_sides.JPG
    60.7 KB · Views: 5,360
  • z4_rubber_cap.JPG
    z4_rubber_cap.JPG
    52.8 KB · Views: 5,384
  • z5_rubber_cap_removed.JPG
    z5_rubber_cap_removed.JPG
    50.1 KB · Views: 5,470
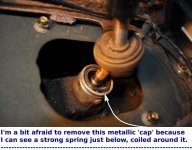
  • shift_lever_cover.JPG
    shift_lever_cover.JPG
    86.9 KB · Views: 6,088
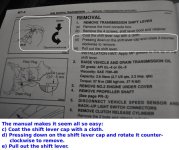
  • manual_shift_lever_removal.jpg
    manual_shift_lever_removal.jpg
    81.7 KB · Views: 6,288
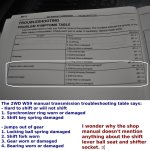
  • troubleshooting.jpg
    troubleshooting.jpg
    97.1 KB · Views: 6,144
Last edited:
Status
Not open for further replies.

Members online

No members online now.

Forum statistics

Threads
278,316
Messages
3,554,120
Members
248,016
Latest member
Advally Service

Trending content

Back
Top