KodeRush
New member
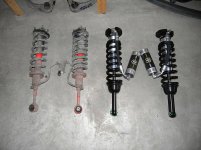
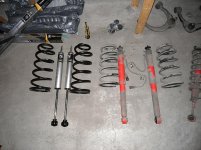
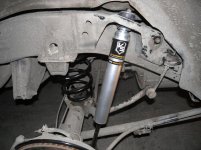
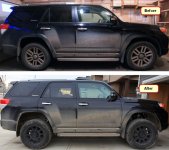
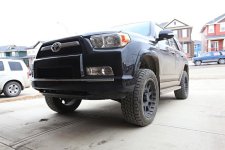
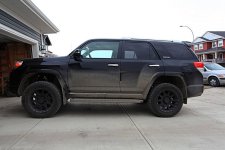
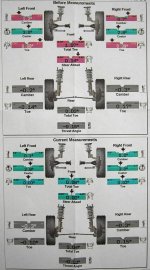
I finally finished my ICON suspension installation by myself on my 2011 Limited. It’s about 3” lift in the front, and 2” lift in the rear. The ICON suspension is stiffer than the XREAS, I have less body roll in turns, and less brake nose dive. Haven’t tried real off-road yet, just tried to run over some concrete parking stoppers in the parking lot, it’s much easier and feel much better than doing this with XREAS. I'm very happy about the result.
The installation was not as hard as I expected, just lots of work to do. Some steps were a little bit tricky. Other than those, it's kinda straight forward if you follow the Toyota Factory Repair Manual, ICON and LightRacing UCA instructions. And it’s a one person job, my wife only periodically came and checked if I’m safe and still alive.
A bit about myself, it's my first time to install suspension and I had zero experience before. As hobbies, I do some woodworking, electronics, I can built deck, fence, etc, so kind of handy, but pretty amateur. So a newbie should be confident to handle this job.
Ok, without further ado, let’s get to the business. My truck is a black 2011 Limited with XREAS. The parts I put on are:
ICON Extended Travel Remote Reservoir Front Coilover Shock Kit (SKU: ICON-5-8747)
2010+ 5th Gen 4Runner Extended Remote Reservoir Coilovers
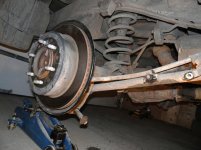
ICON 2003-Current 4Runner Rear 2.0 VS Series Shocks (SKU: ICON-5-6505)
2003-Current 4Runner Icon 2.0 VS Series Aluminum Rear Shocks
Light Racing UCA (SKU: LR-25480)
Light Racing Upper Control Arms - FJ Cruiser/4Runner - Metal Tech 4x4
ICON 03-Current 4Runner 2" Lift Rear Coil Springs (SKU: ICON-5-2700)
03-Current 4Runner 2" Lift Rear Coil Springs - Metal Tech 4x4
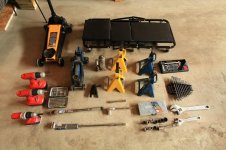
Before started, you need to get some tools. Some decent jacks, jack stands, assorted sockets and wrenches, torque wrench are necessary. A rolling board will be very helpful. I think the only tool I specifically bought is the tie-rod puller. You may also need a 32mm socket for UCA tie-rod top nut, but I haven’t bought it yet, just let the dealer shop to tighten it to specification, because I don’t think I need to tighten that nut in a while. Some other tools may include impact driver, crowbar, protection goggle, head lamp, gloves, WD-40, Loctite(thread locker), etc.
Some of my tools:
I’m not gonna go with every detail of each step, I just want to list some tricky/confusing/important steps.
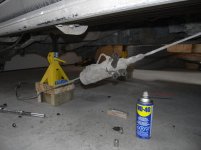
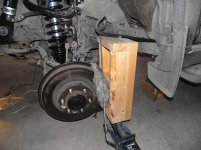
The first thing is to jack up the truck. Because you are gonna jack it up pretty high, you’d better do it in several steps. Jack up front a couple inches, then rear, then front another couple inches, then rear... It’s much stabler and safer.
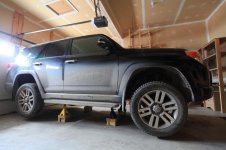
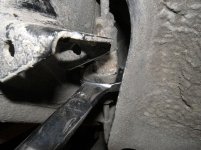
Taking off the upper control arm first will make taking off front shock easier. There shouldn't be any problem taking that long pivot bolt out(You may need to move a AC pipe a bit in engine bay to get the right hand pivot bolt out, that’s easy).
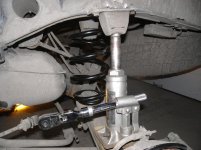
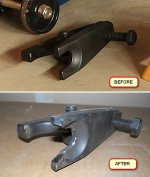
Now use the tie rod puller to disconnect UCA and steering knuckle. My tie rod puller didn't fit, so I had to use angle grinder to modify it to use. So please buy a U-shape puller, not this A-shape type puller.
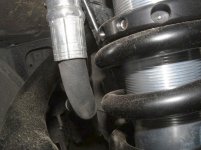
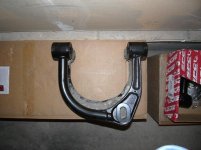
Compare the factory UCA and LR UCA, LR UCA has much more inner clearance for the coil and hose for remote reservoir.
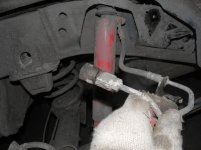
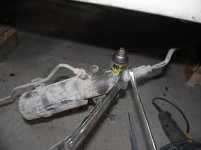
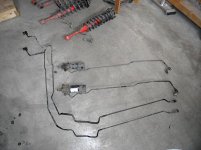
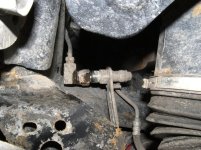
After taking off some underbody cover, sway bar, you can start taking off the front suspension. Don’t freak out about the XREAS and disconnecting those valves. That’s super easy. Because when you loosen the valves, they shut off automatically, it’s like valve stem on wheel.
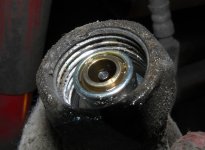
Notice the centre pin of the valve.
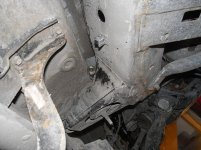
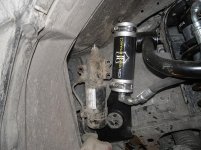
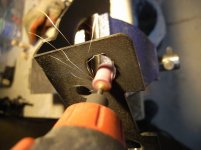
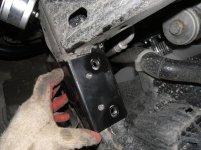
I don’t know how about KDSS, but on XREAS, sway bar does NOT need to be relocated, just sandwich the bracket between sway bar and frame in original place. The remote reservoir fits pretty tight on the right side as our washer fluid reservoir takes a lot of space. But it’ll fit anyways. On the left, the bracket doesn’t fit very well, so I had to do some Dremel work to enlarge the mounting hole.
The installation was not as hard as I expected, just lots of work to do. Some steps were a little bit tricky. Other than those, it's kinda straight forward if you follow the Toyota Factory Repair Manual, ICON and LightRacing UCA instructions. And it’s a one person job, my wife only periodically came and checked if I’m safe and still alive.
A bit about myself, it's my first time to install suspension and I had zero experience before. As hobbies, I do some woodworking, electronics, I can built deck, fence, etc, so kind of handy, but pretty amateur. So a newbie should be confident to handle this job.
Ok, without further ado, let’s get to the business. My truck is a black 2011 Limited with XREAS. The parts I put on are:
ICON Extended Travel Remote Reservoir Front Coilover Shock Kit (SKU: ICON-5-8747)
2010+ 5th Gen 4Runner Extended Remote Reservoir Coilovers
ICON 2003-Current 4Runner Rear 2.0 VS Series Shocks (SKU: ICON-5-6505)
2003-Current 4Runner Icon 2.0 VS Series Aluminum Rear Shocks
Light Racing UCA (SKU: LR-25480)
Light Racing Upper Control Arms - FJ Cruiser/4Runner - Metal Tech 4x4
ICON 03-Current 4Runner 2" Lift Rear Coil Springs (SKU: ICON-5-2700)
03-Current 4Runner 2" Lift Rear Coil Springs - Metal Tech 4x4
Before started, you need to get some tools. Some decent jacks, jack stands, assorted sockets and wrenches, torque wrench are necessary. A rolling board will be very helpful. I think the only tool I specifically bought is the tie-rod puller. You may also need a 32mm socket for UCA tie-rod top nut, but I haven’t bought it yet, just let the dealer shop to tighten it to specification, because I don’t think I need to tighten that nut in a while. Some other tools may include impact driver, crowbar, protection goggle, head lamp, gloves, WD-40, Loctite(thread locker), etc.
Some of my tools:
I’m not gonna go with every detail of each step, I just want to list some tricky/confusing/important steps.
The first thing is to jack up the truck. Because you are gonna jack it up pretty high, you’d better do it in several steps. Jack up front a couple inches, then rear, then front another couple inches, then rear... It’s much stabler and safer.
Taking off the upper control arm first will make taking off front shock easier. There shouldn't be any problem taking that long pivot bolt out(You may need to move a AC pipe a bit in engine bay to get the right hand pivot bolt out, that’s easy).
Now use the tie rod puller to disconnect UCA and steering knuckle. My tie rod puller didn't fit, so I had to use angle grinder to modify it to use. So please buy a U-shape puller, not this A-shape type puller.
Compare the factory UCA and LR UCA, LR UCA has much more inner clearance for the coil and hose for remote reservoir.
After taking off some underbody cover, sway bar, you can start taking off the front suspension. Don’t freak out about the XREAS and disconnecting those valves. That’s super easy. Because when you loosen the valves, they shut off automatically, it’s like valve stem on wheel.
Notice the centre pin of the valve.
I don’t know how about KDSS, but on XREAS, sway bar does NOT need to be relocated, just sandwich the bracket between sway bar and frame in original place. The remote reservoir fits pretty tight on the right side as our washer fluid reservoir takes a lot of space. But it’ll fit anyways. On the left, the bracket doesn’t fit very well, so I had to do some Dremel work to enlarge the mounting hole.
Attachments
-
 IMG_6118.jpg65.7 KB · Views: 10,989
 -
 IMG_6135.jpg53.1 KB · Views: 14,276
 -
 R0016197.jpg95.7 KB · Views: 10,788
 -
 R0016210.jpg58.6 KB · Views: 10,984
 -
 Tie_Rod_Puller.jpg89.8 KB · Views: 11,470
 -
 R0016261.jpg57.8 KB · Views: 10,786
 -
 R0016242.jpg47.1 KB · Views: 10,683
 -
 R0016244.jpg83.9 KB · Views: 10,986
Last edited: