

4Runner4Leon
Senior Member
Final product upfront:
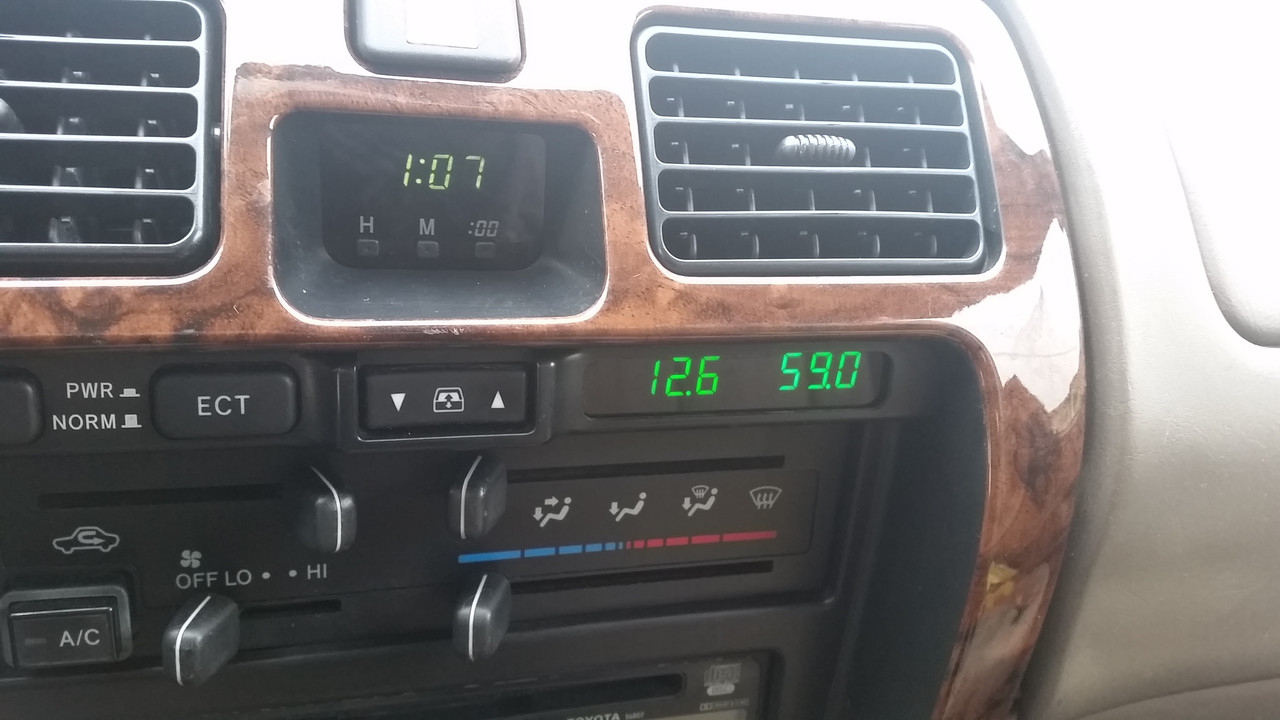
One of the things I miss in our 4Runner is having an outside (ambient) temperature gauge, something that I’ve come to rely on in our other cars. So the more I stared at the useless “Passenger” area of the center dash switch panel (below), the more it called for me to upgrade it with a digital thermometer. And while at it, why not add a digital voltmeter as well.
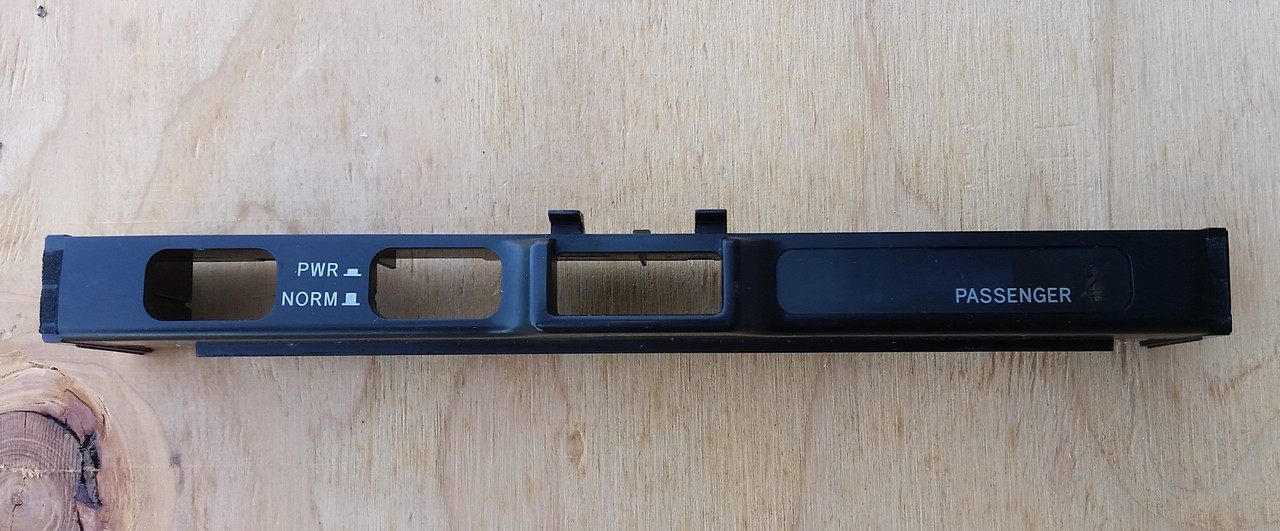
I started out by dremeling out the whole rectangular “Passenger” portion. Fortunately there is a slight groove all around it, so that was my guideline for the dremel. The groove is good at helping hide mistakes (within reason!). I also ground away all the plastic webbing behind the “Passenger” portion of the panel.

Here is the section removed and filed smooth. I used some fine sandpaper to bring the plastic edge to a finished appearance:

I made a smoked window for the gauges out of a center cluster panel from a 2001 Lexus GS430 – it’s smoked and flat, and I found one at a junkyard. You can find one in most any other car these days, I just picked that one because I have this model Lexus and saw that it would be the perfect donor. I cut it in half to give me a spare in case I screwed up; here is the half I started with:
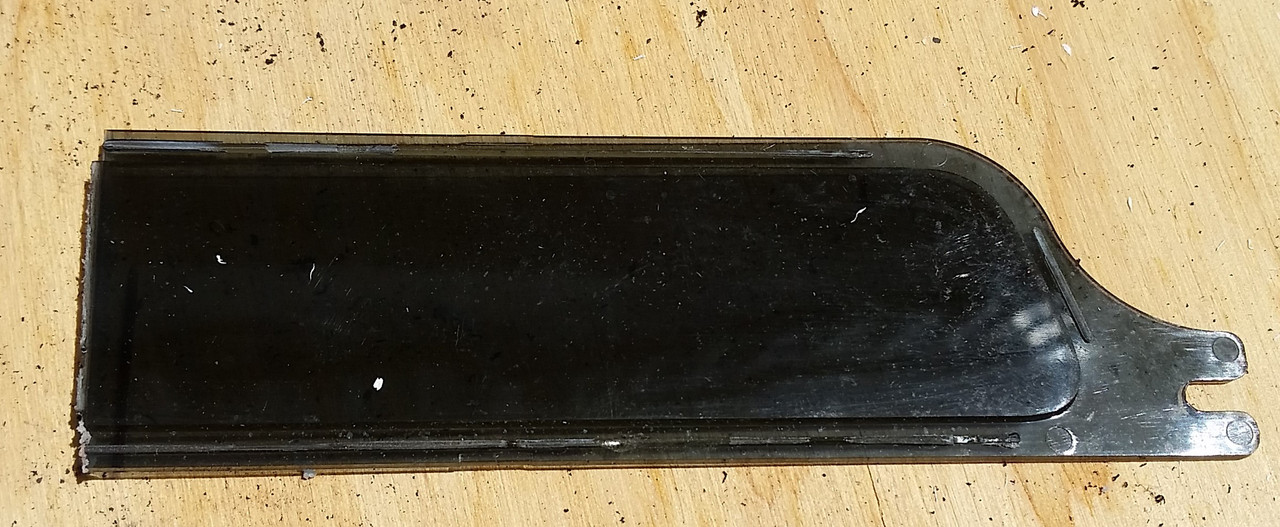
I used a sander to shape the plastic piece to be just slightly larger than the opening I made in the center switch panel:
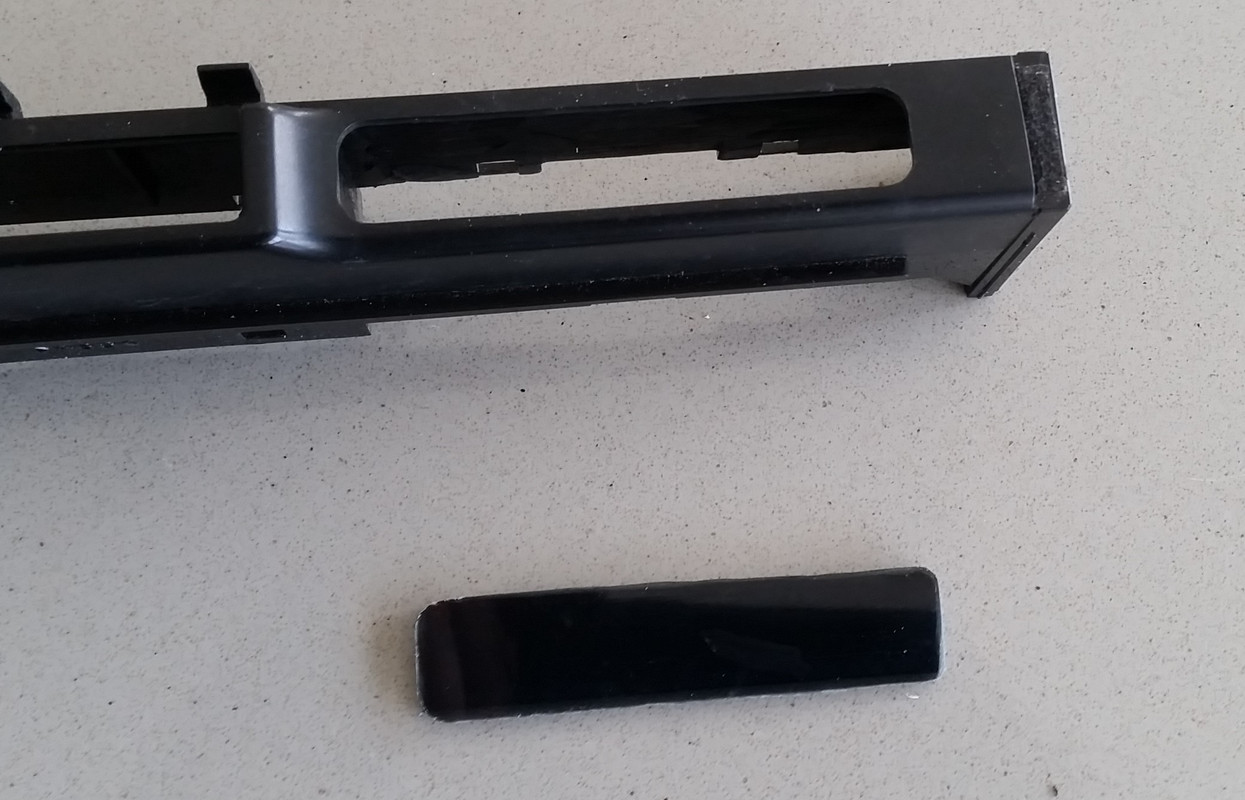
It looks way too small in the photo, but it’s an optical illusion. I then hot-melt-glued the smoked plastic to the panel:
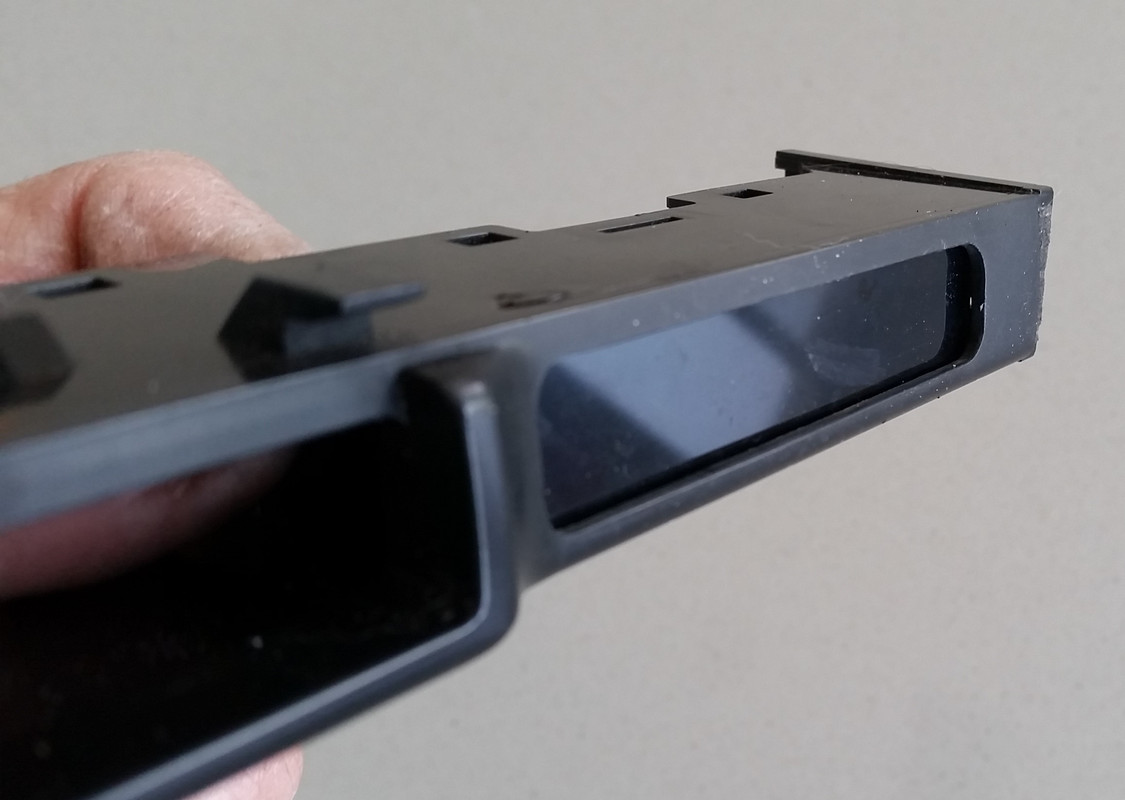

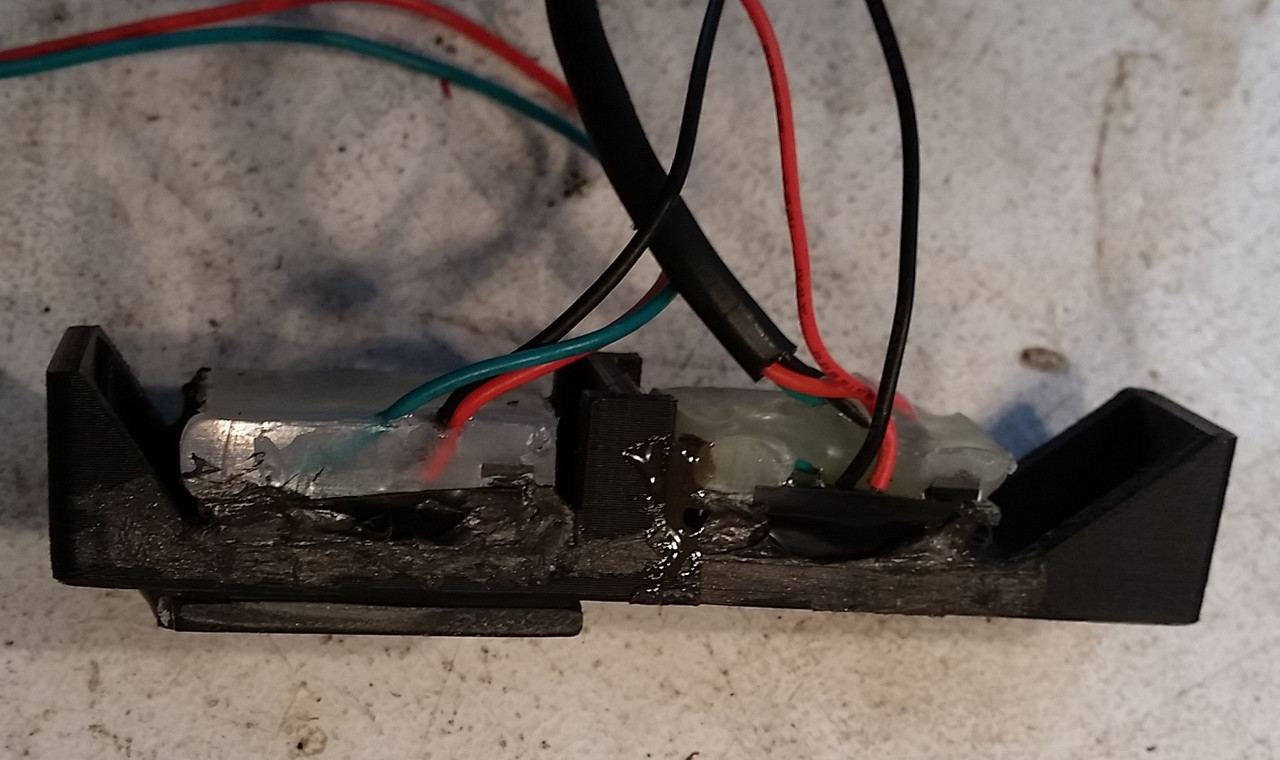
I needed some type of a holder for the actual gauges, so I went with a 3D printed solution to build a frame that would fit tightly inside the panel, and would hold the gauges well. You can use whatever you have handy to make a similar mount.
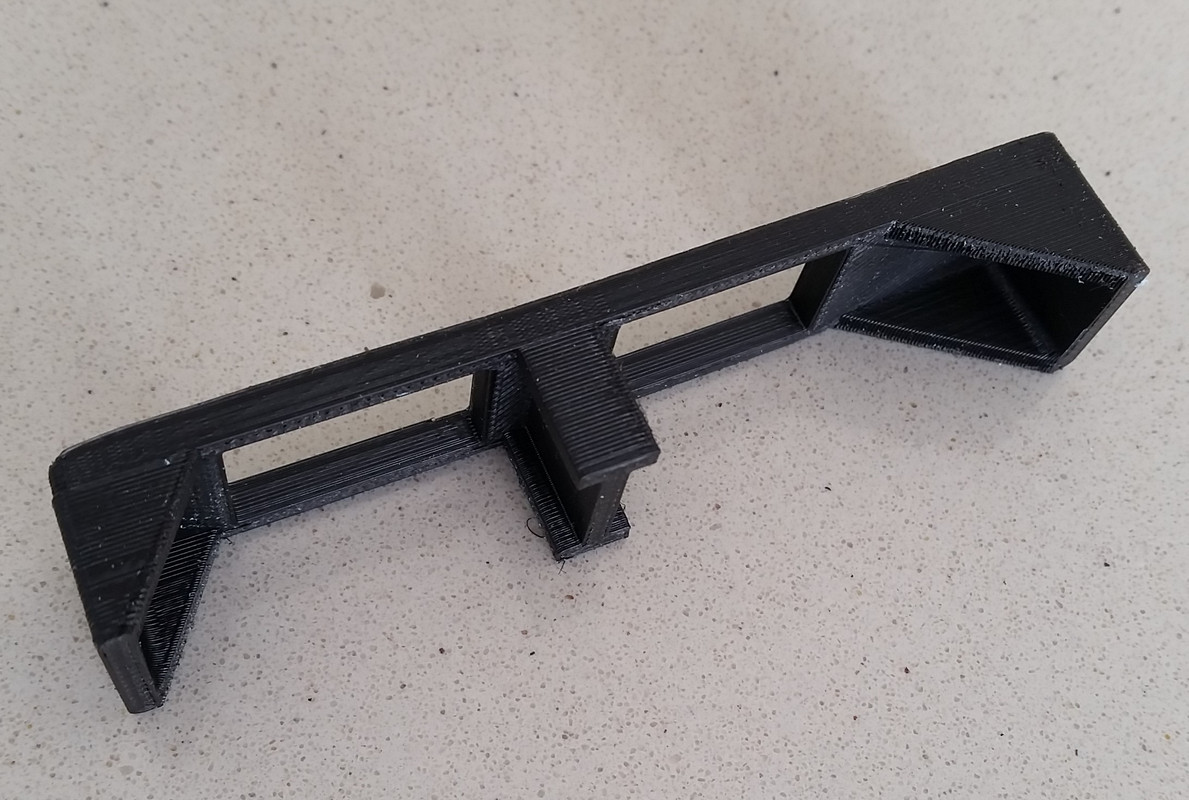
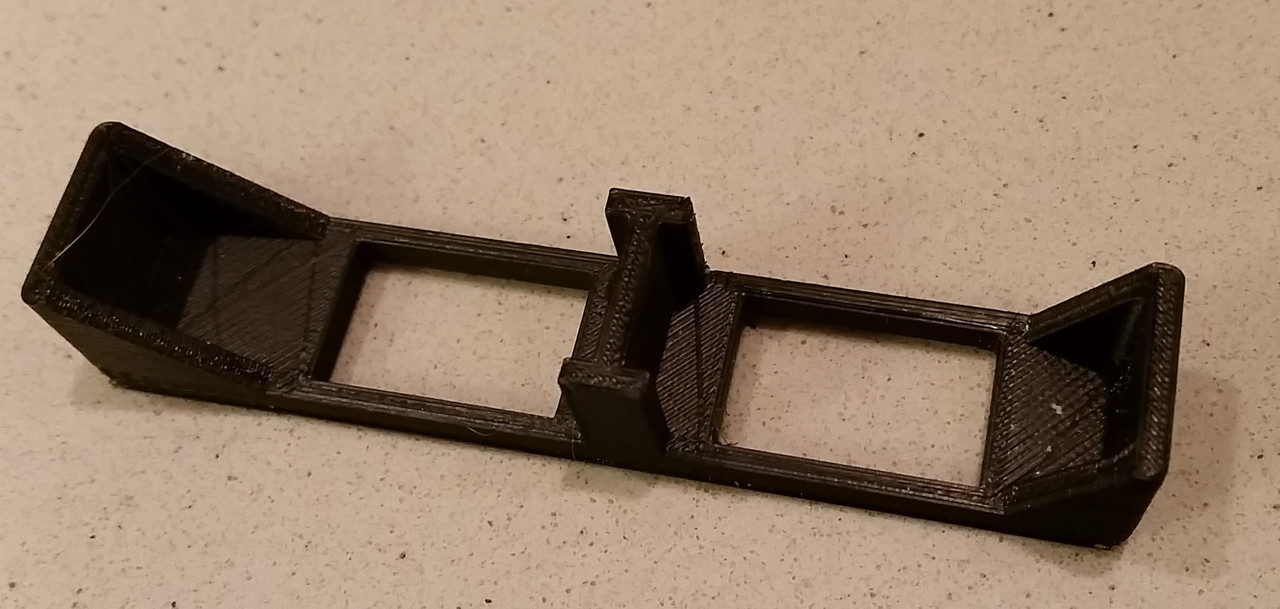
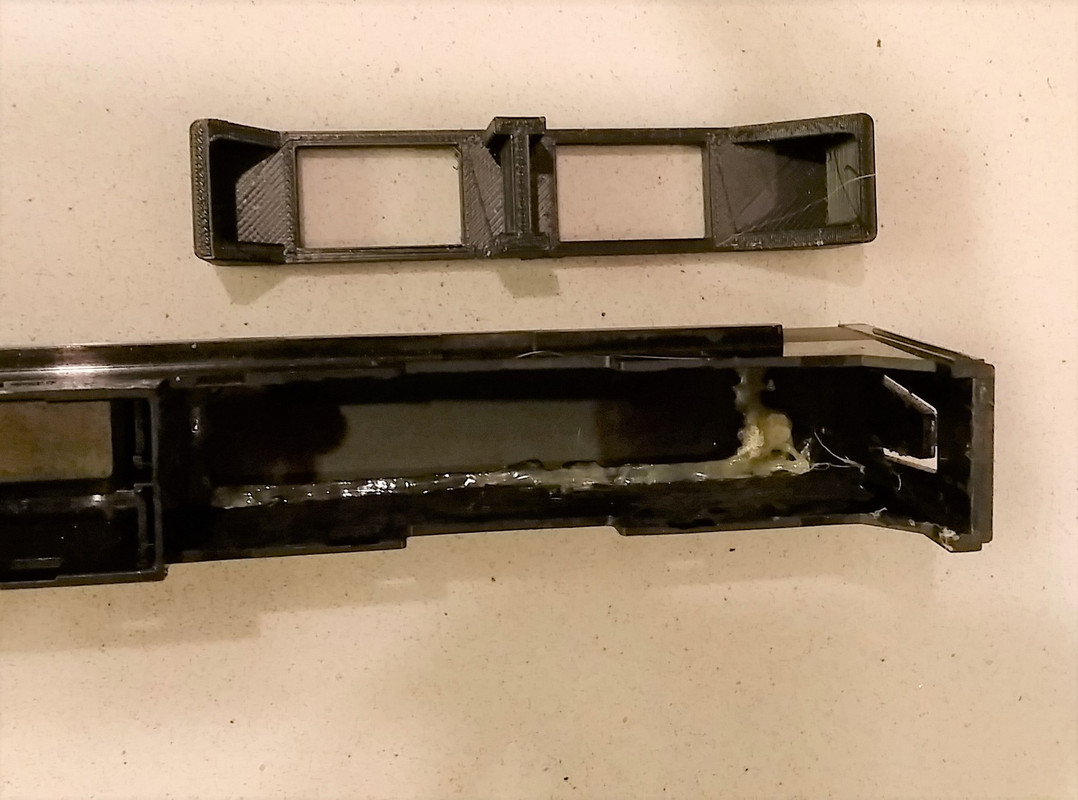
Frame installed in the switch panel:
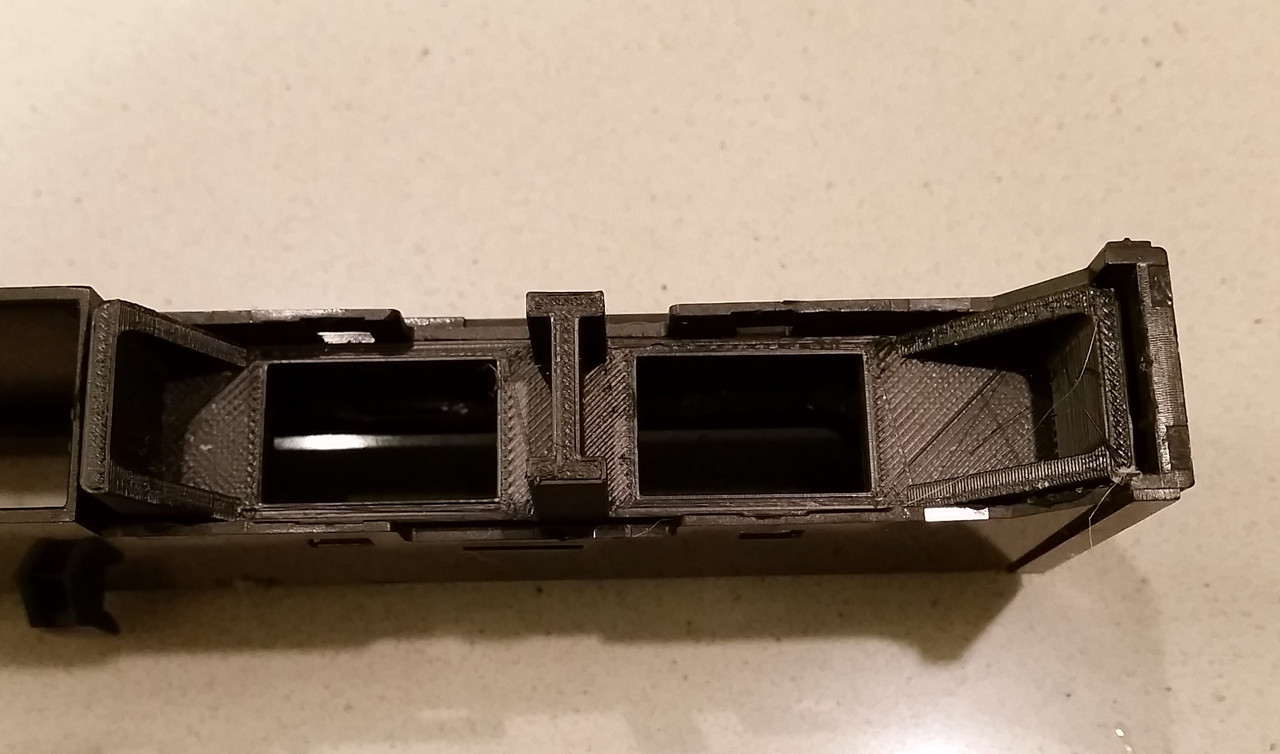
Here are the gauges installed in the frame:


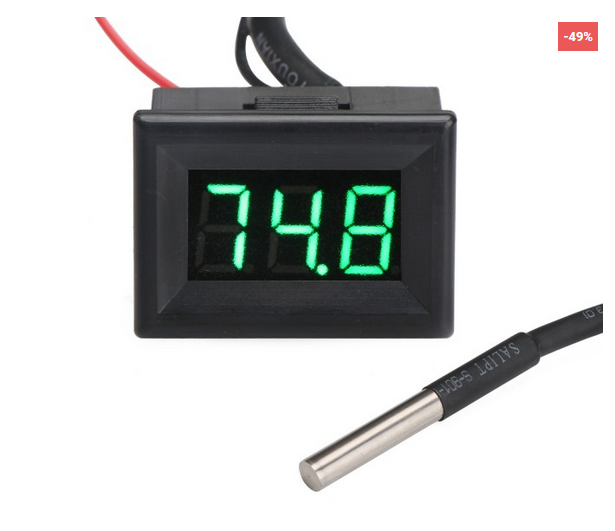
For the gauges, I wanted to go with 0.36” LED gauges in green. It took me a while to find a decent pair of gauges. To start with, it’s hard to find a digital gauge in Fahrenheit. The first one I ordered from Amazon was DOA. I ordered another one, but it had a leading zero, so 65F would display as 065. I finally ended up going with this DROK item:
Digital Meter DC 12V 24V Red/Blue/Yellow/Green Led Thermometer -67~+257 Fahrenheit Degrees Digital Temperature Meter for Car/Indoor/Outdoor/Pet House/Greenhouse etc
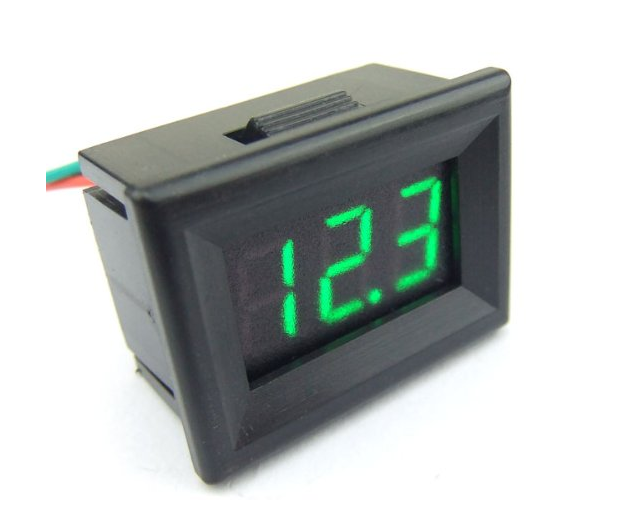
I also went through some trials with the voltmeter. One was supposed to be green but was more yellowish, so it clashed with the thermometer. Another one started smoking when connected to 12V. I finally settled on this one, also from DROK:
https://smile.amazon.com/gp/product/B00C62CIWS/ref=oh_aui_detailpage_o05_s00?ie=UTF8&psc=1.
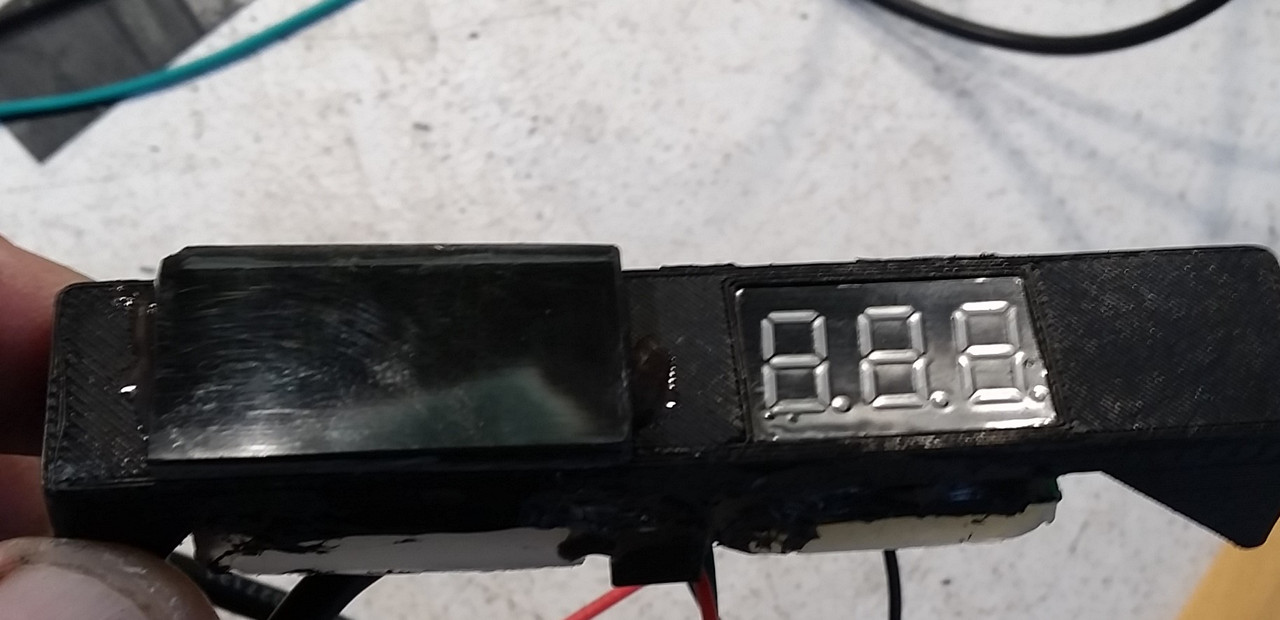
When I had them both on, the color match was good, but the voltmeter was way brighter than the thermometer. So I made a second smoked plastic piece, to place over the voltmeter:
Using window film might have been an easier option, but I didn’t have any film and I had the smoked plastic on hand.
After inserting the gauges into the frame, and the frame into the switch panel, I used some epoxy to stake everything together.
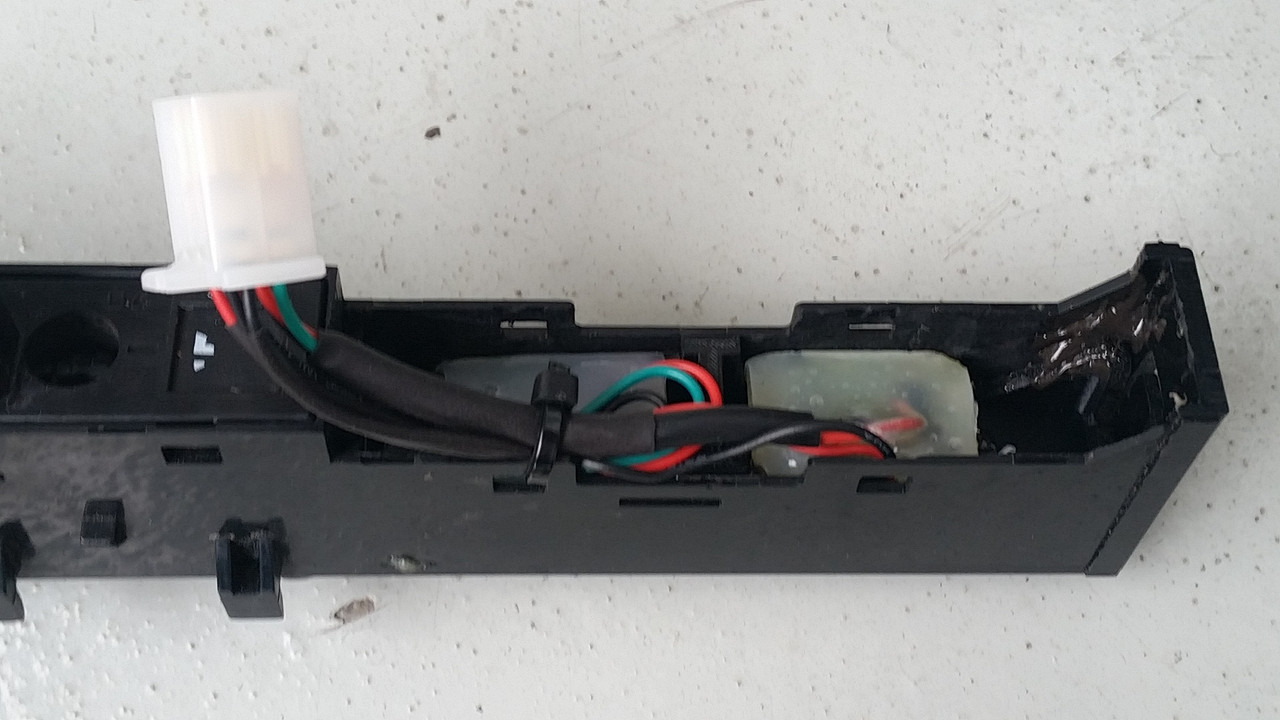
I tied all the wires together into a connector (five terminals), to make any future dash bezel removals easier:
On the vehicle side, I tapped into a switched 12V source, and a ground (both from the power outlet wiring behind the dash). I also routed the sensor probe wires to the dash bezel area. I used a 3 meter temperature probe harness, and placed the probe behind the front bumper. Here is the probe I bought:
https://smile.amazon.com/gp/product/B00KLZQ0P8/ref=oh_aui_detailpage_o01_s00?ie=UTF8&psc=1
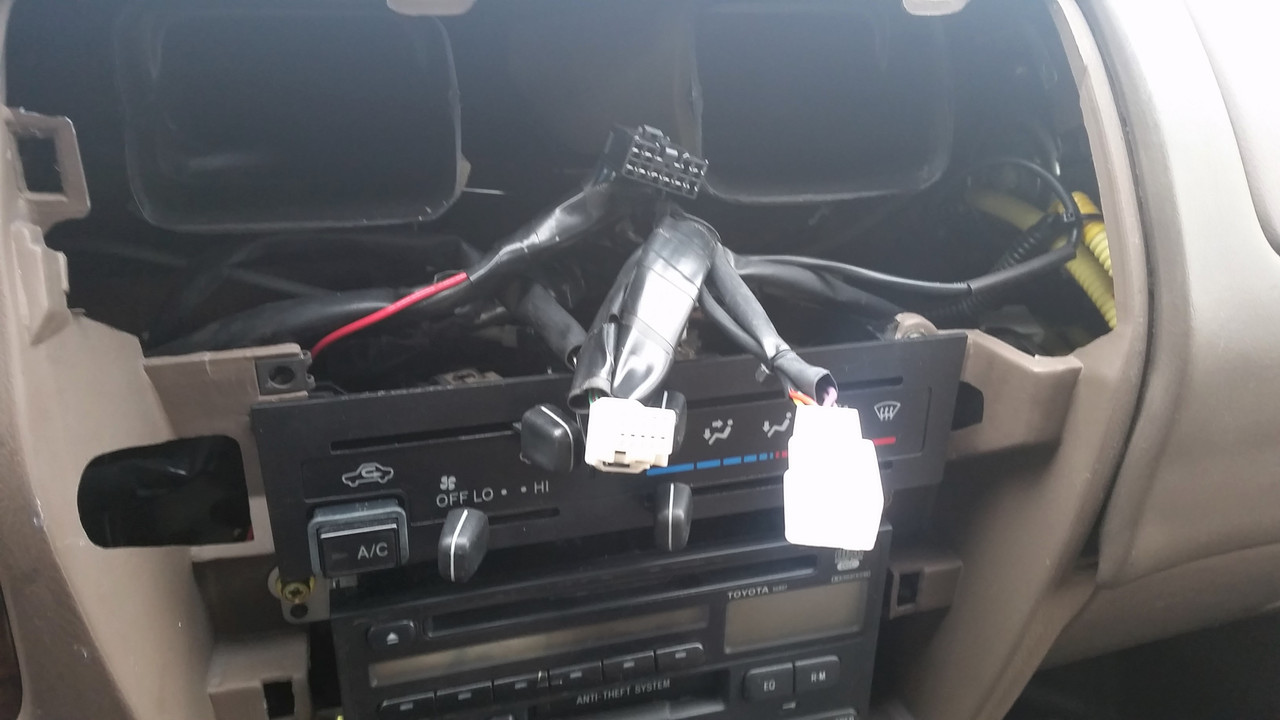
Here are all the vehicle-side wires assembled into a connector to match the one in the switch panel (the white thing towards the right):
One of the things I miss in our 4Runner is having an outside (ambient) temperature gauge, something that I’ve come to rely on in our other cars. So the more I stared at the useless “Passenger” area of the center dash switch panel (below), the more it called for me to upgrade it with a digital thermometer. And while at it, why not add a digital voltmeter as well.
I started out by dremeling out the whole rectangular “Passenger” portion. Fortunately there is a slight groove all around it, so that was my guideline for the dremel. The groove is good at helping hide mistakes (within reason!). I also ground away all the plastic webbing behind the “Passenger” portion of the panel.
Here is the section removed and filed smooth. I used some fine sandpaper to bring the plastic edge to a finished appearance:
I made a smoked window for the gauges out of a center cluster panel from a 2001 Lexus GS430 – it’s smoked and flat, and I found one at a junkyard. You can find one in most any other car these days, I just picked that one because I have this model Lexus and saw that it would be the perfect donor. I cut it in half to give me a spare in case I screwed up; here is the half I started with:
I used a sander to shape the plastic piece to be just slightly larger than the opening I made in the center switch panel:
It looks way too small in the photo, but it’s an optical illusion. I then hot-melt-glued the smoked plastic to the panel:
I needed some type of a holder for the actual gauges, so I went with a 3D printed solution to build a frame that would fit tightly inside the panel, and would hold the gauges well. You can use whatever you have handy to make a similar mount.
Frame installed in the switch panel:
Here are the gauges installed in the frame:
For the gauges, I wanted to go with 0.36” LED gauges in green. It took me a while to find a decent pair of gauges. To start with, it’s hard to find a digital gauge in Fahrenheit. The first one I ordered from Amazon was DOA. I ordered another one, but it had a leading zero, so 65F would display as 065. I finally ended up going with this DROK item:
Digital Meter DC 12V 24V Red/Blue/Yellow/Green Led Thermometer -67~+257 Fahrenheit Degrees Digital Temperature Meter for Car/Indoor/Outdoor/Pet House/Greenhouse etc
I also went through some trials with the voltmeter. One was supposed to be green but was more yellowish, so it clashed with the thermometer. Another one started smoking when connected to 12V. I finally settled on this one, also from DROK:
https://smile.amazon.com/gp/product/B00C62CIWS/ref=oh_aui_detailpage_o05_s00?ie=UTF8&psc=1.
When I had them both on, the color match was good, but the voltmeter was way brighter than the thermometer. So I made a second smoked plastic piece, to place over the voltmeter:
Using window film might have been an easier option, but I didn’t have any film and I had the smoked plastic on hand.
After inserting the gauges into the frame, and the frame into the switch panel, I used some epoxy to stake everything together.
I tied all the wires together into a connector (five terminals), to make any future dash bezel removals easier:
On the vehicle side, I tapped into a switched 12V source, and a ground (both from the power outlet wiring behind the dash). I also routed the sensor probe wires to the dash bezel area. I used a 3 meter temperature probe harness, and placed the probe behind the front bumper. Here is the probe I bought:
https://smile.amazon.com/gp/product/B00KLZQ0P8/ref=oh_aui_detailpage_o01_s00?ie=UTF8&psc=1
Here are all the vehicle-side wires assembled into a connector to match the one in the switch panel (the white thing towards the right):
Last edited:
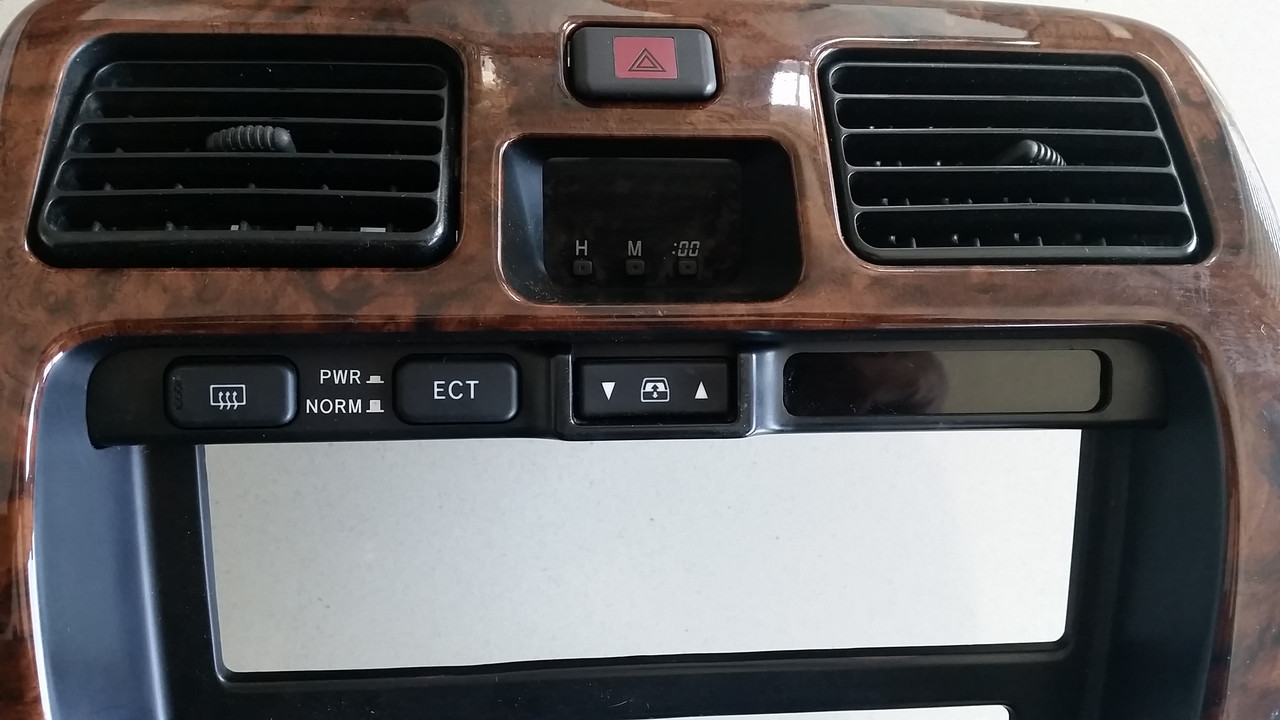


 . Note the trans temp gauge mount, that's 3D printed as well.


