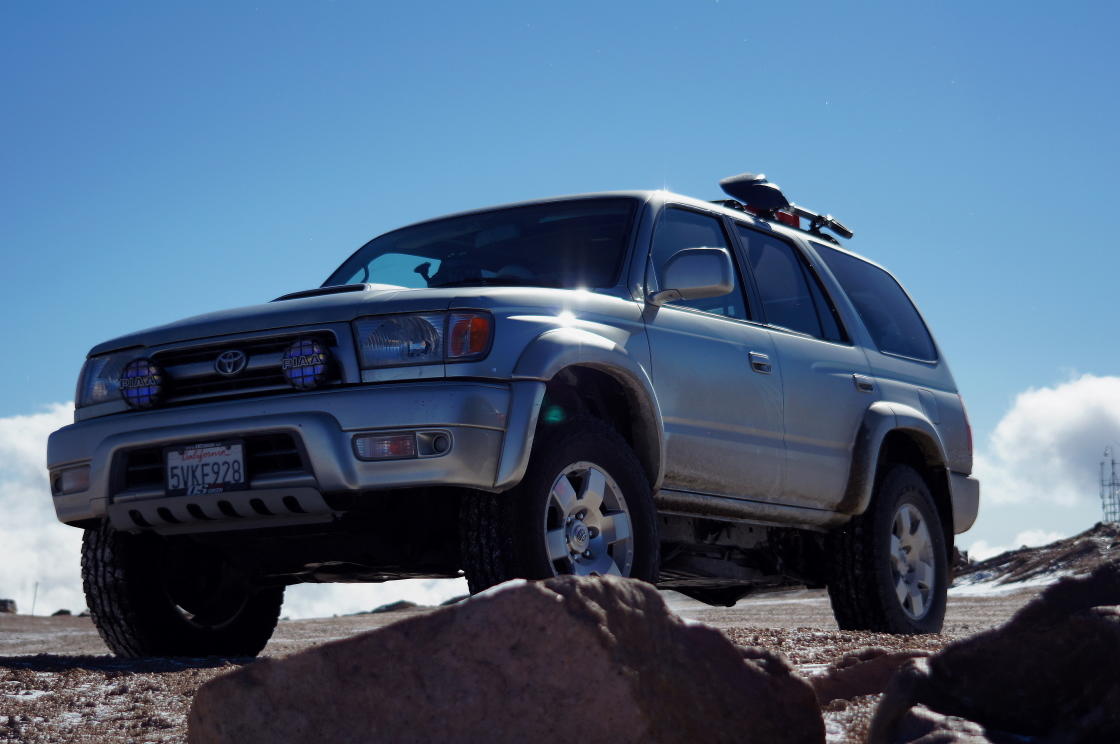
Introduction, and eventualy upgrade thread......

A few years ago I took a week off around spring break and went camping and hiking in Yosemite. It was in April and the snow had thawed just a few weeks before. The park was amazingly beautiful. I went on two all day hikes and a few short ones. There were very few people there at the time. I have also been in the summer but like you mentioned, it is a different experience.
 
The biggest change by far recently has been the sleeping platform build ... http://www.toyota-4runner.org/3rd-gen-t4rs/128789-started-my-hide-bed-build.html

but in addition to that I'm working on some other changes.

4runner%20bed10001.JPG~original


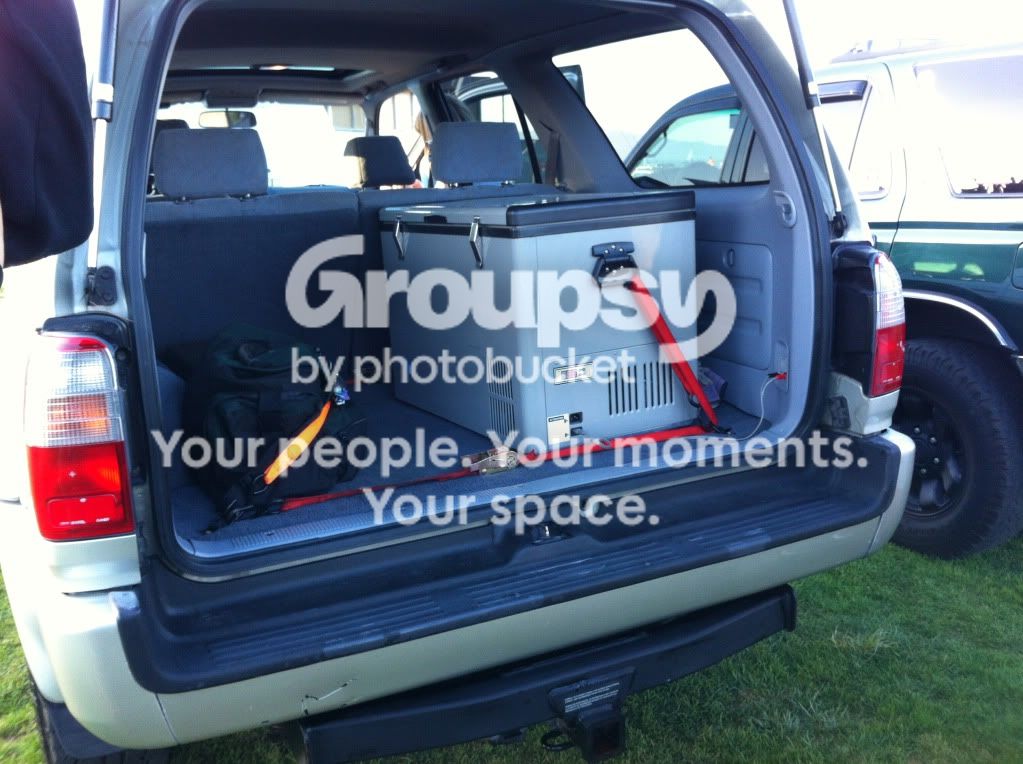
I wasn't at all happy with the tie down method of the fridge in its new location.

The old location wasn't much better ...

IMG_3478.jpg~original


but at least the straps weren't pulling on the cheap plastic handles at an angle. So a change had to be made.


The new design:

Fridge0004.JPG~original


Fridge0002.JPG~original


This will give me something a bit stronger than the plastic handles to tie down to and move the straps much lower to give me a little be better use of the space on the sides of the fridge. Cut outs were only for weight reduction and the "cool" look.

I've got some more maintenance, to finish up as well as the Rotopax mount to make still this week, but I think that will about finish up this round of mods/repairs.
 
Well I finished the last project up on my list before our upcoming trip...

I wanted to carry extra fuel this year. We have had issues in the past (usually with a trailer) with the fuel gauge getting wonky at the wrong time, and then conviently fixing itself before we get it home to diagnose it. We are also planning to take a few more remote "roads" this year and with the weather factor at play, a few extra gallons wouldn't hurt. So I picked up a pair of 2 gallon Rotopax cans. I wasn't 100% sure how or exactly where to mount them at the time, so I didn't buy any mounts until I had made a decision.

Saturday I finally came up with how I wanted to do it and the only place I could find the 1" x 1" square tubing neglected to tell me they stored it outside in the rain, so the frame work took a LOT of clean up. Originally I had thought about building my own mounts but after the bed, the fridge mounts, new drivers seat foam. and a bit of maintenance i was getting tired and running out of time so I was all set to give in and buy the Rotopax mounts but of course 4wheel parts was out of stock on them. So I was back to making my own.

the result:

IMAG0489.jpg


IMAG0488.jpg


IMAG0487.jpg


IMAG0490.jpg


I ended up just replacing two of the stock cross bars with my part and securing it with just regular bolts rather than the tie down points the stock cross bars use. I know my method isn't quite as quick to remove as the Rotopax version, but it was cheaper, available with out leaving the shop, and does provide a bit more security than the standard mount that they sell.

If you are thinking of doing this, I'll warn you ahead of time that the roof is not nearly as flat as it may look. My 1" x 1" square tube is actually scalloped at the center up to 1/2" for clearance. When I welded the new material in to the cut outs, I managed to tweak it a bit more (in the right direction thankfully) to give even a bit more clearance.


Sorry for the crappy cell phone pics, but if they were good pics they would still be on the camera and not posted yet anyway.

 
Your locking mounts came out real nice..I like this alternative method you devised man. Genius!:biggrin2:

Thanks, hopefully they hold up over the 3500 mile trip we are about to start. I'm thinking maybe a full rack build will be in my future, not sure I can fit much more on the stock one at this point.
 
Sweet baby Jesus, I'm glad I found this thread. Great work, and awesome ideas. Keep up the great work.

Thanks!

Finally got a little bit of time to post a few more of the pre "vacation" pics.

Drivers seat:

After 207k miles the seat wasn't quite and comfortable as it once was. I stopped and talked with an upholstery shop that wanted $100 to fix the foam. A quick email to Aaron at Lithia Toyota had the same piece foam located for only $120 for the complete new part.

Whats left of the crappy old foam:

4Runner%20990007.JPG


Stripped:

4Runner%20990009.JPG


I really should have replaced the sinuous springs as well at the same time, but I opted to just flip the lighter one 180 degree to help give some added support.

New foam installed and ready to get the cover re-installed
4Runner%20990010.JPG


I would have liked to have done more while it was apart, but I think I will be replacing the bottom foam in the near future anyway. The seat back made such a huge improvement to my back comfort especially when you consider we have put around 2200 miles on it in just over the last week.


One of my other interior annoyances has been the brake pedal.

4Runner%20990012.JPG


The oddest things start to wear out at higher mileage. In the last order from Toyota I had them throw in a new cover for this as well.

4Runner%20990013.JPG


For under $5 it was a welcome change to not have it catch on the bottom of my boot when going from brake to gas.

I've got a lot more to post as I get some free time and internet access. Usually tethering through Sprint works far better than it does here.
 
Quick cell phone shot of its new playmate ...

<img src="http://www.mostdesigns.com/zgallery/albums/Personal%20Vehicles/Multiple/IMAG0597.jpg" width="808" height="456" alt=" ">

The 98 Limited is Toyota number 6 (in the current line up), and yes it is 4WD and yes it has the easy button. I picked it up for mom and dad for x-mas, too bad I had to leave it in Nebraska, and even worse I'm going to have to walk my dad through the maintenance and upgrades over phone/email.
 
Thanks for sharing those Yosemite pics, from someone who's never been to the park it seems like an amazing place.

Your platform build is ingenious and so are you new fridge and Rotopax mounts. Keep up the good moves as usual.
 
Thanks!

Finally got a little bit of time to post a few more of the pre "vacation" pics.

Drivers seat:

After 207k miles the seat wasn't quite and comfortable as it once was. I stopped and talked with an upholstery shop that wanted $100 to fix the foam. A quick email to Aaron at Lithia Toyota had the same piece foam located for only $120 for the complete new part.

Whats left of the crappy old foam:


Stripped:


I really should have replaced the sinuous springs as well at the same time, but I opted to just flip the lighter one 180 degree to help give some added support.

New foam installed and ready to get the cover re-installed


I would have liked to have done more while it was apart, but I think I will be replacing the bottom foam in the near future anyway. The seat back made such a huge improvement to my back comfort especially when you consider we have put around 2200 miles on it in just over the last week.


One of my other interior annoyances has been the brake pedal.


The oddest things start to wear out at higher mileage. In the last order from Toyota I had them throw in a new cover for this as well.


For under $5 it was a welcome change to not have it catch on the bottom of my boot when going from brake to gas.

I've got a lot more to post as I get some free time and internet access. Usually tethering through Sprint works far better than it does here.

I am in the exact same boat, except you've fixed your seat and brake pedal, and that stuff is still on my list of things to do hahaha

Is that new piece of foam worth it rather than just buying a new reclining seat for ~$180-$200? Since you haven't done the bottom cushion yet, I figure it would be around the same price to buy a whole new seat. Thoughts?
 
Kudos for buying your parents a 4runner. If that is not keeping it in the family, I do not know what is.

When I go to visit my parents, I have to earmark at least half a day for fluid changes and general maintenance for the six cars and trucks that are driven by two people. Two trucks are twenty + years old. Explaining how to check OBD-I codes over the phone to retirees can be taxing to say the least.
 
Thanks for sharing those Yosemite pics, from someone who's never been to the park it seems like an amazing place.

Your platform build is ingenious and so are you new fridge and Rotopax mounts. Keep up the good moves as usual.

Yosemite is a beautiful place to visit, and highly recommend at least seeing it in person once. It would not be my first choice just because of the large number of people that attend though. Thanks for the compliments on the other. Overall everything has worked really well for this trip, but I'll save that info for a few more days until I get home and can upload all of the pics and do a full write up.

I am in the exact same boat, except you've fixed your seat and brake pedal, and that stuff is still on my list of things to do hahaha

Is that new piece of foam worth it rather than just buying a new reclining seat for ~$180-$200? Since you haven't done the bottom cushion yet, I figure it would be around the same price to buy a whole new seat. Thoughts?

The seat was killing my back, causing me to sit in a hunched position, so to me $120 was worth that. Of course after feeling the difference I am thinking about doing the bottom as well. Which like you said brings it in to the new seat price range. Problem is a new used Toyota seat could have the same issue before too long, and a new aftermarket seat in that price range probably won't be the best quality, and will most likely require custom mounting brackets to fit. I love being creative and doing fab work, but sometimes it just isn't worth the effort when it really only took maybe an hour total to pull the front seat swap the cushion and re-install everything.

Kudos for buying your parents a 4runner. If that is not keeping it in the family, I do not know what is.

When I go to visit my parents, I have to earmark at least half a day for fluid changes and general maintenance for the six cars and trucks that are driven by two people. Two trucks are twenty + years old. Explaining how to check OBD-I codes over the phone to retirees can be taxing to say the least.

I wish I could have stuck around to help do more stuff before leaving, but time was running out for us. I did pick up a trans cooler, and the tools he would need to change all the diff fluids. I will have to order a set of LBJ's and help him figure out the o2 sensor code (B1S1 issue) from home. At least I know this vehicle inside and out to be able to answer questions. The Taurus beater they were driving I didn't know anything about and felt bad to just keep telling them to sell it. lol
 
Started editing photos from the trip today....

A_84Bd0CEAAunRQ.jpg:large


I can now safely say that Rotopax cans filled at 87ft above sea level are good to 14,110ft and back without issue! :wow:
 
Here's a couple from while we were in Omaha:

Zoo:

zoo0037.JPG


zoo0005.JPG


zoo0033.JPG


zoo0149.JPG


zoo0106.JPG


zoo0135.JPG


zoo0194.JPG


zoo0053.JPG


zoo0175.JPG


and a couple of my recent addition to the Toyota family

Santa was good to my parents this year:
98_4Runner0010.JPG


one with mine

98_4Runner0030.JPG


As always there is more here: http://mostdesigns.com/?p=686 and there is quite a bit more from the return trip that I haven't quite gotten written up yet.
 
Last edited:
hey any chance i can bother you for a cut list on your tri-fold sleeping platform?
mainly just looking for the 3 main big sheets (LXW) so i can get them cut at home depot tomorrow. :eyebrows:
the other bits wouldn't be bad if you cared to put them much effort in.
 
I kind of built as I went, but the main 3 pieces are 4' wide by 22". If you are going to duplicate the fold method you do have to cut some corners off as well to allow it to have room to swing up in the fold/unfold process. If you need better dimensions or anything I'll probably be by the shop tomorrow and can take some.
 
I kind of built as I went, but the main 3 pieces are 4' wide by 22". If you are going to duplicate the fold method you do have to cut some corners off as well to allow it to have room to swing up in the fold/unfold process. If you need better dimensions or anything I'll probably be by the shop tomorrow and can take some.

no that's fine, i figured i'd have to do most of the work, but having the dims for those 3 big pieces will cut down on work immensely, as when i did my last 2 that hardest part was sorting out the fold lengths to get them right, but that may have been becuase my previous ones were shorter, below the wheel wells, anyways, you know how much work something like this ends up being and just being able to go to home depot and get a few of the big pieces cut perfectly on the sheet cutter makes things alot easier! thanks again!!!!!

btw, nice pics, i like your style!
 

Members online

Forum statistics

Threads
278,310
Messages
3,554,080
Members
248,016
Latest member
Advally Service

Trending content

Back
Top