JR's basic boring "build" - dog hauler and ski transport

99blkx

New member
I've pretty much kept a build log on all my vehicles to track what I did and when so why should this truck be any different...

THANK YOU TO TIMMY AND ABSALOM. Your videos and posts have already been helpful.

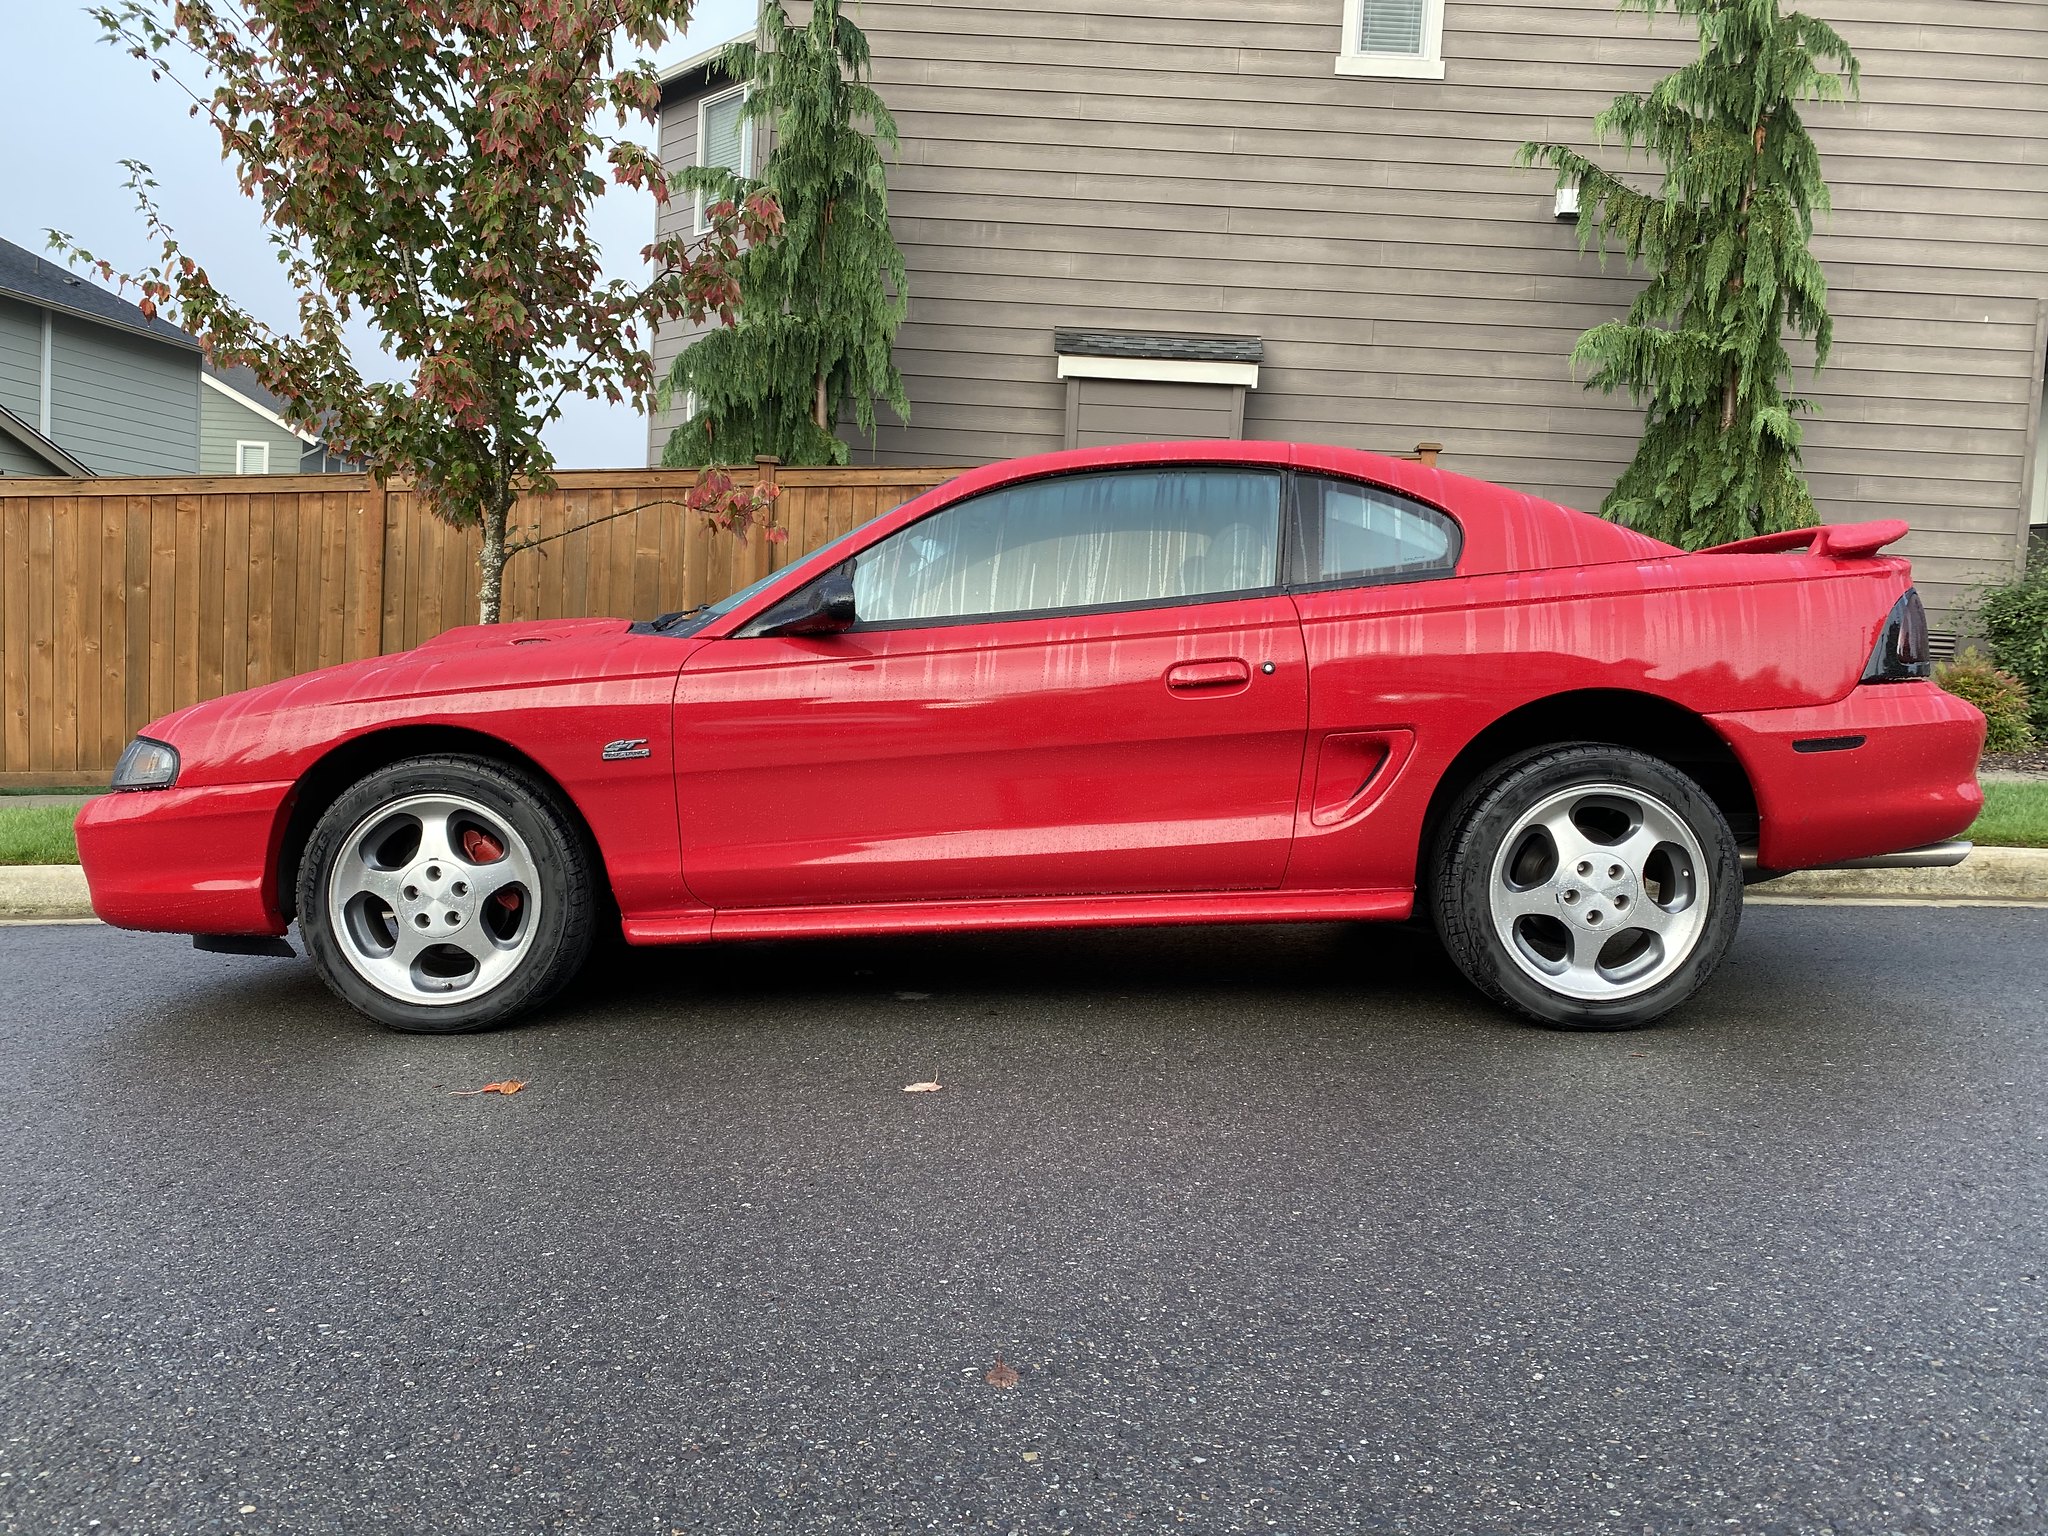
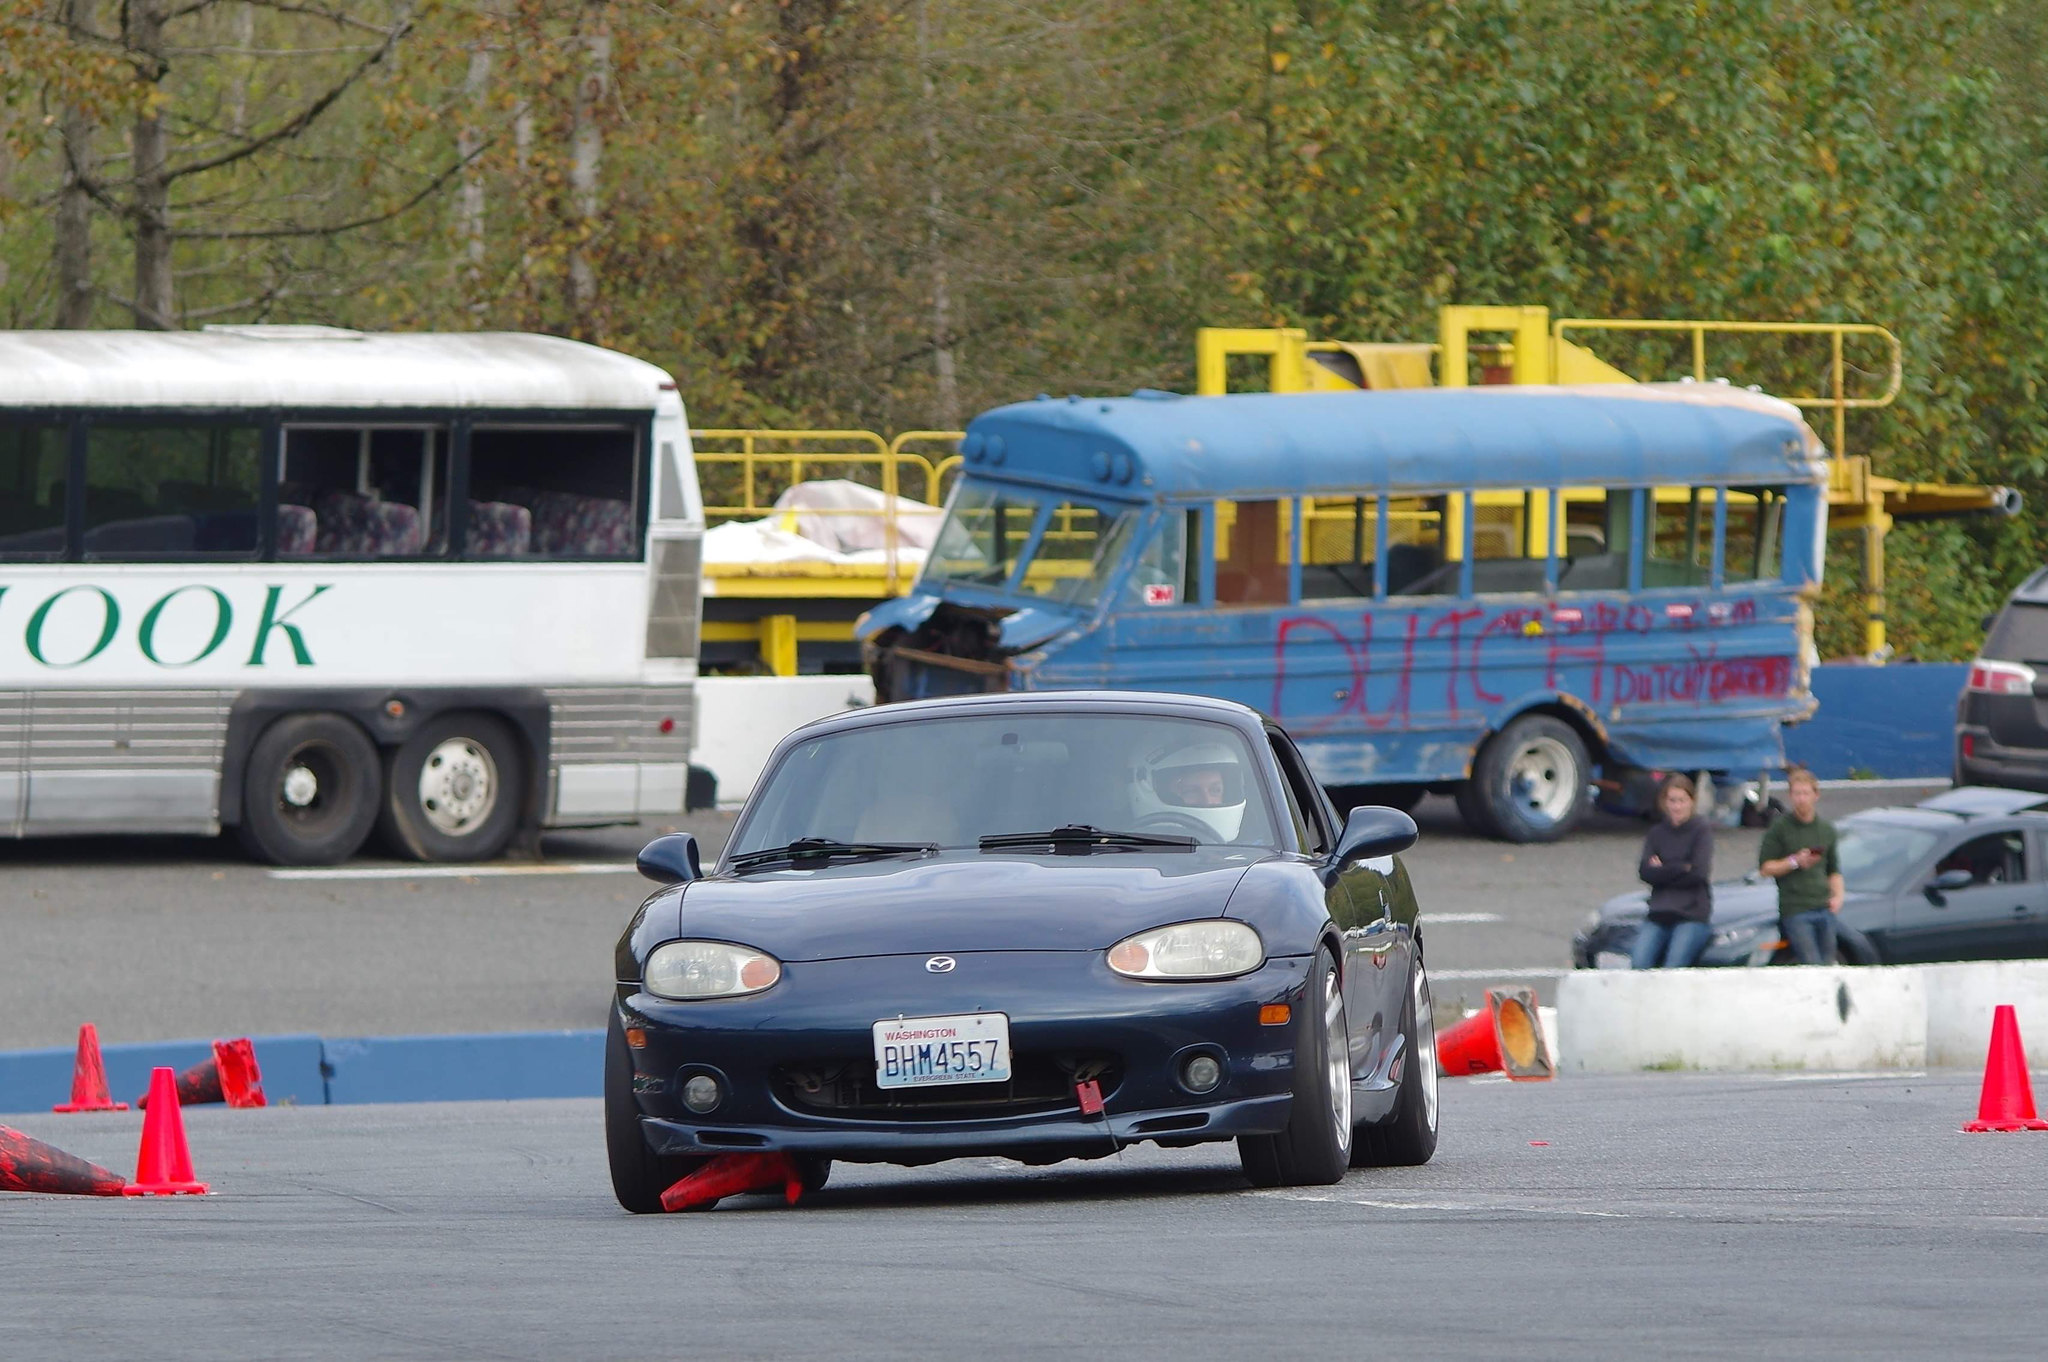
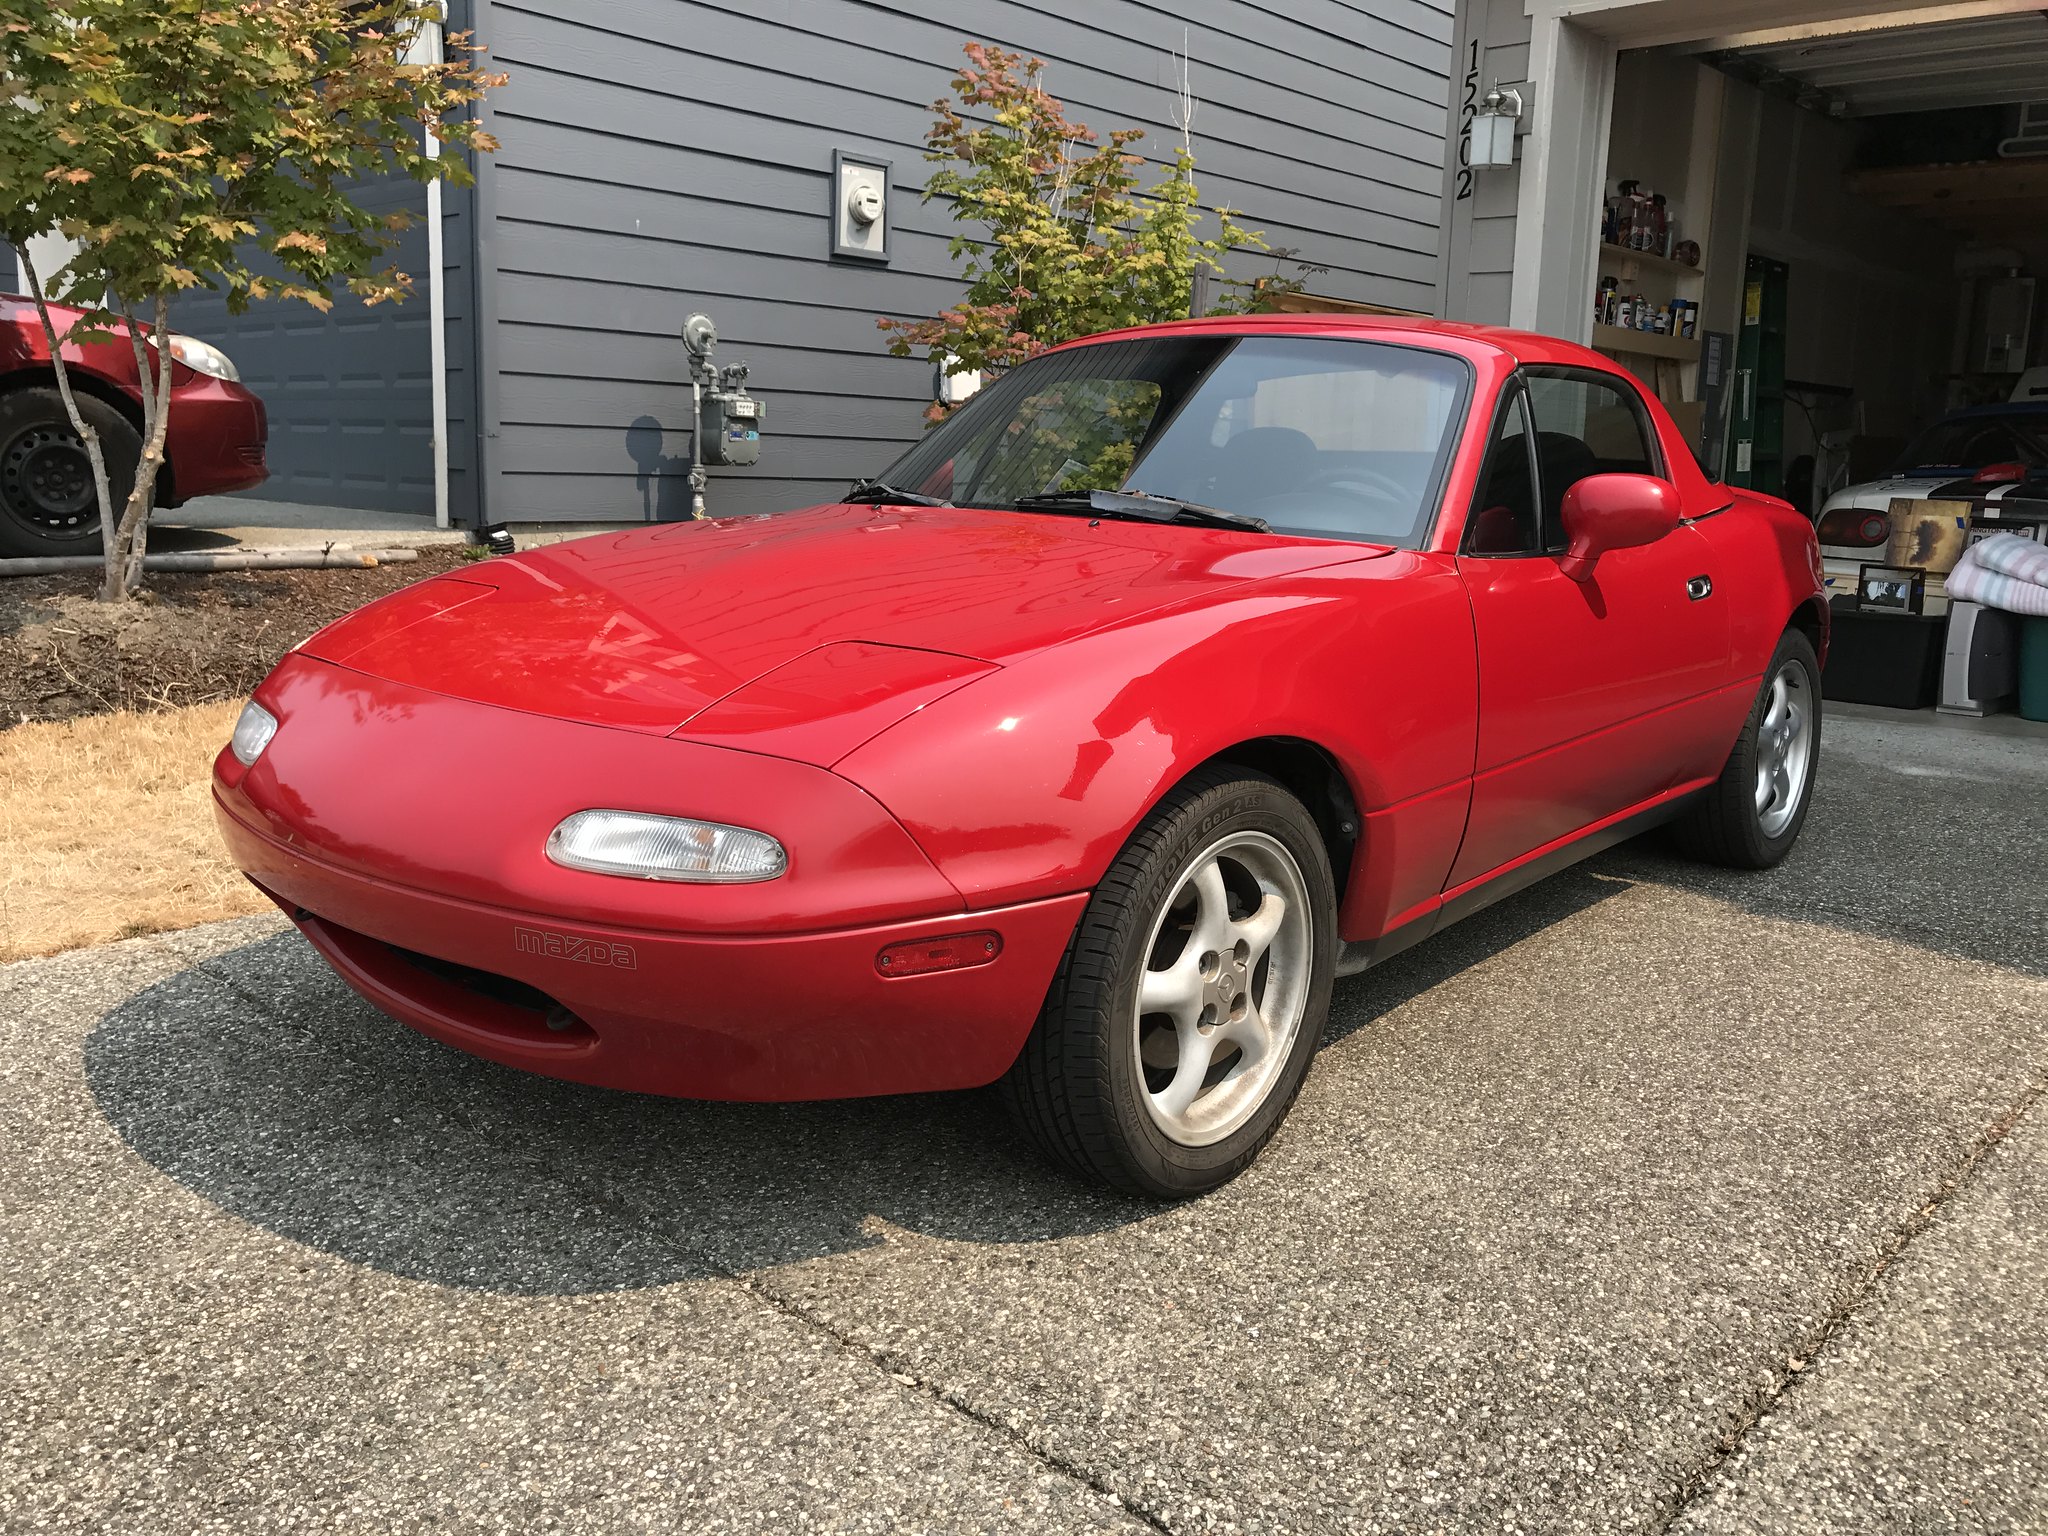
I sometimes have vehicular ADD. Buy em, build em, part em, sell em, rinse and repeat. I've been into Miatas for a while and have built a few different ways. My last was a beautiful and capable track car. But I didn't track it enough and I wanted a v8. When my dog died a few months ago I made a grief purchase of a 94 Mustang GT with 213k miles. That's a build for another forum.

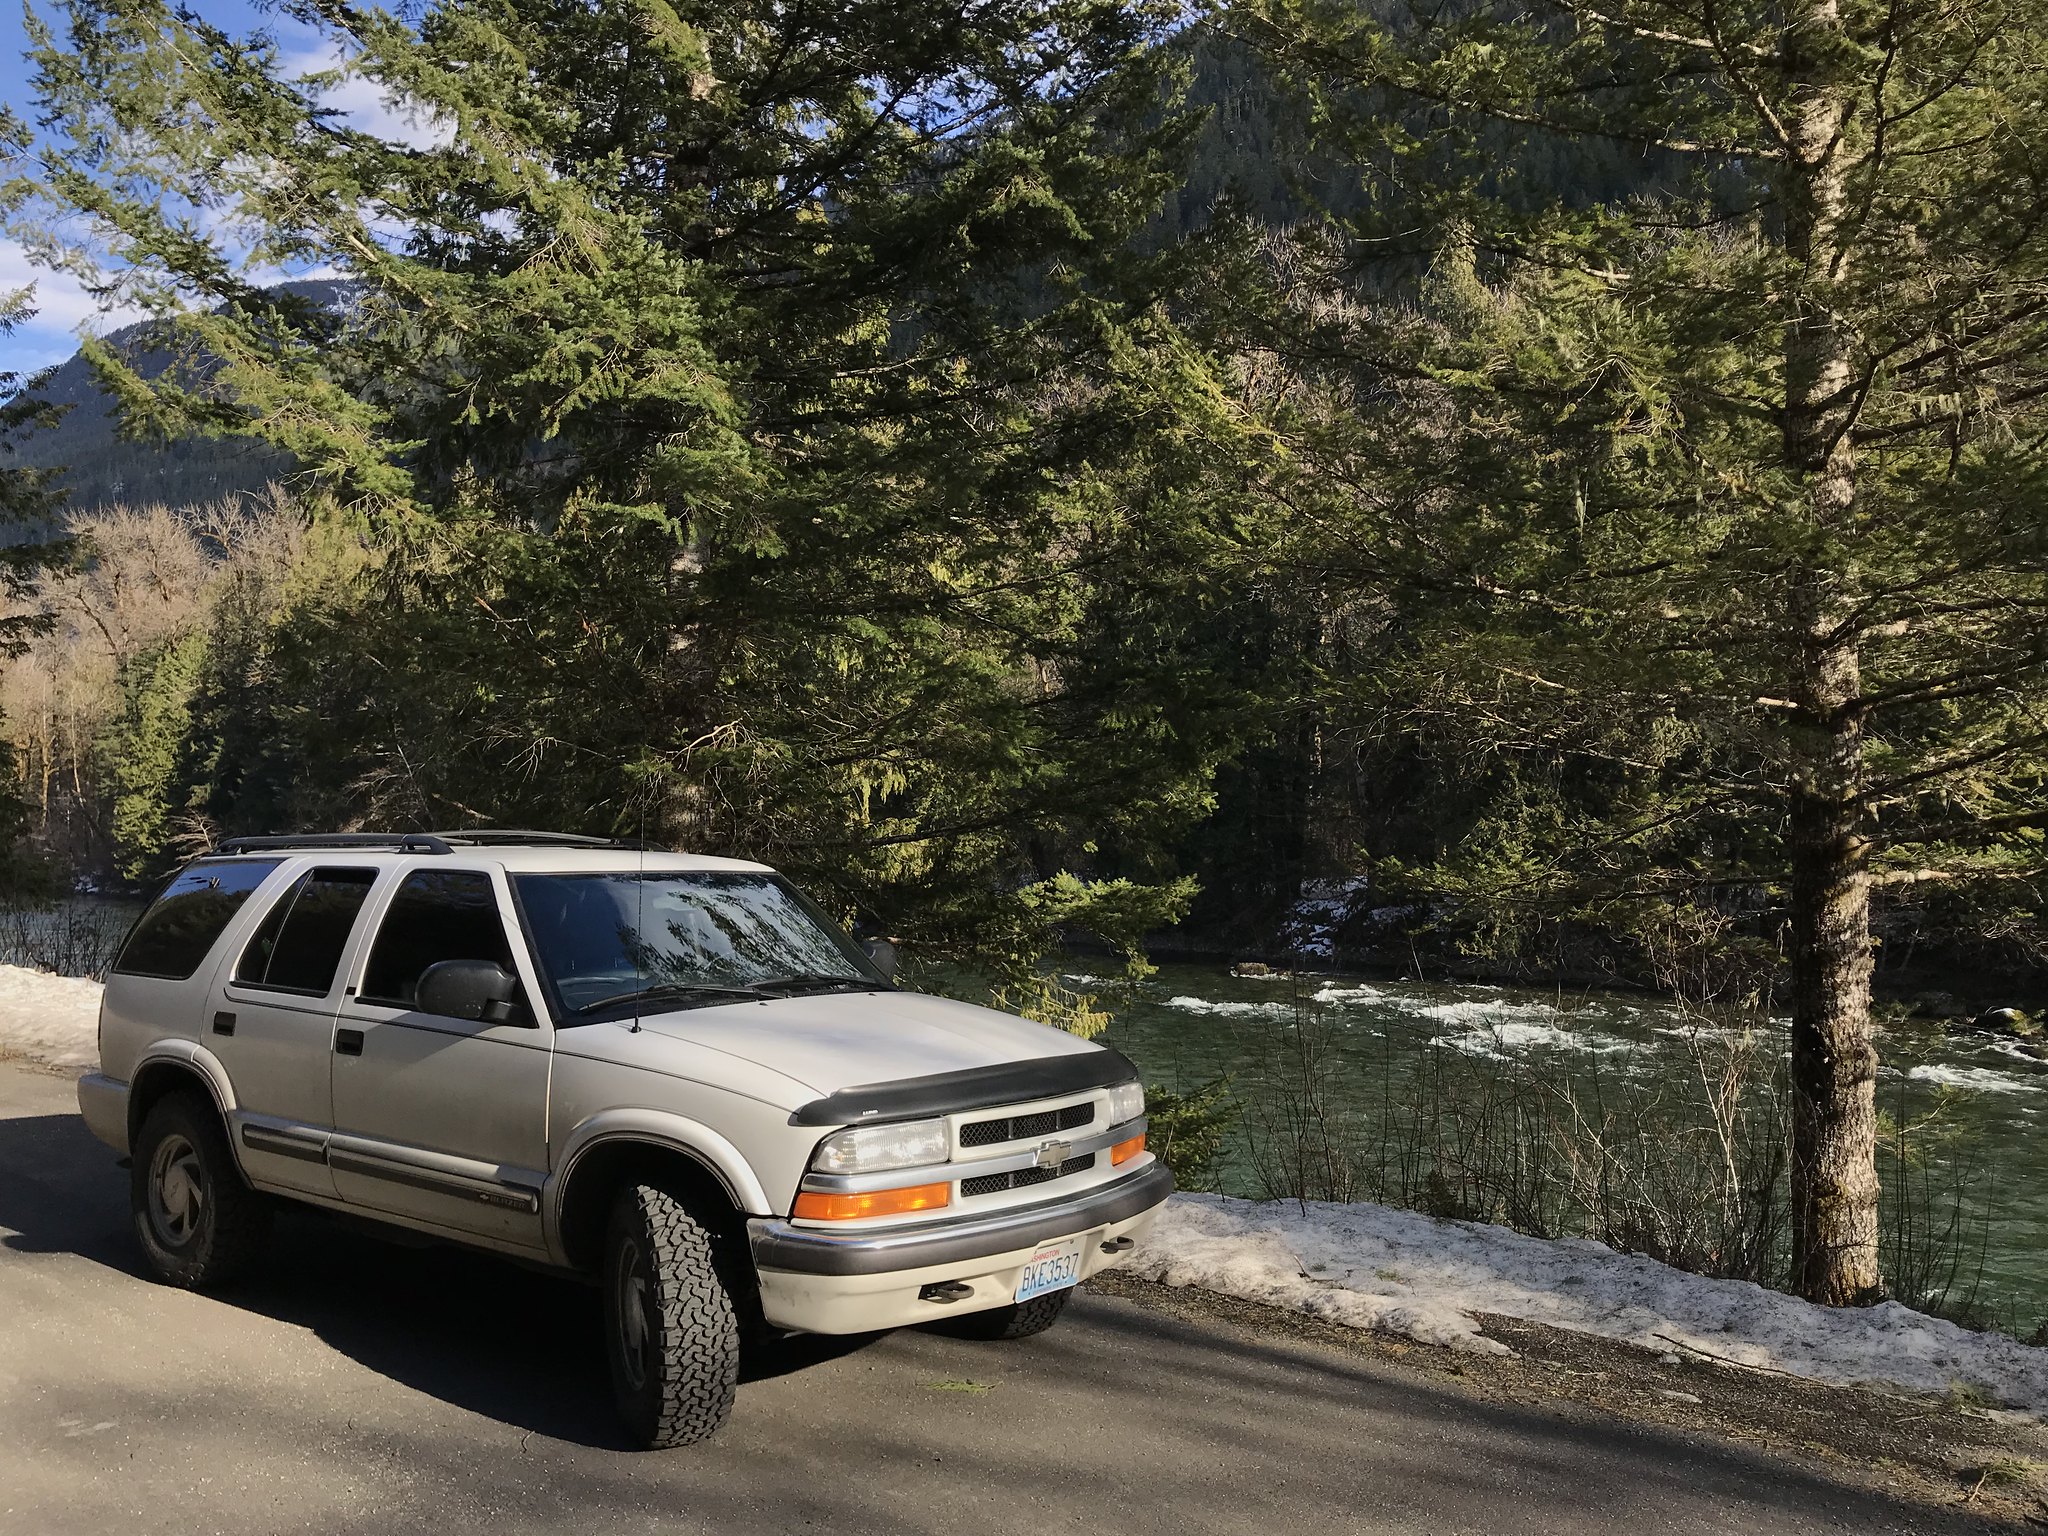
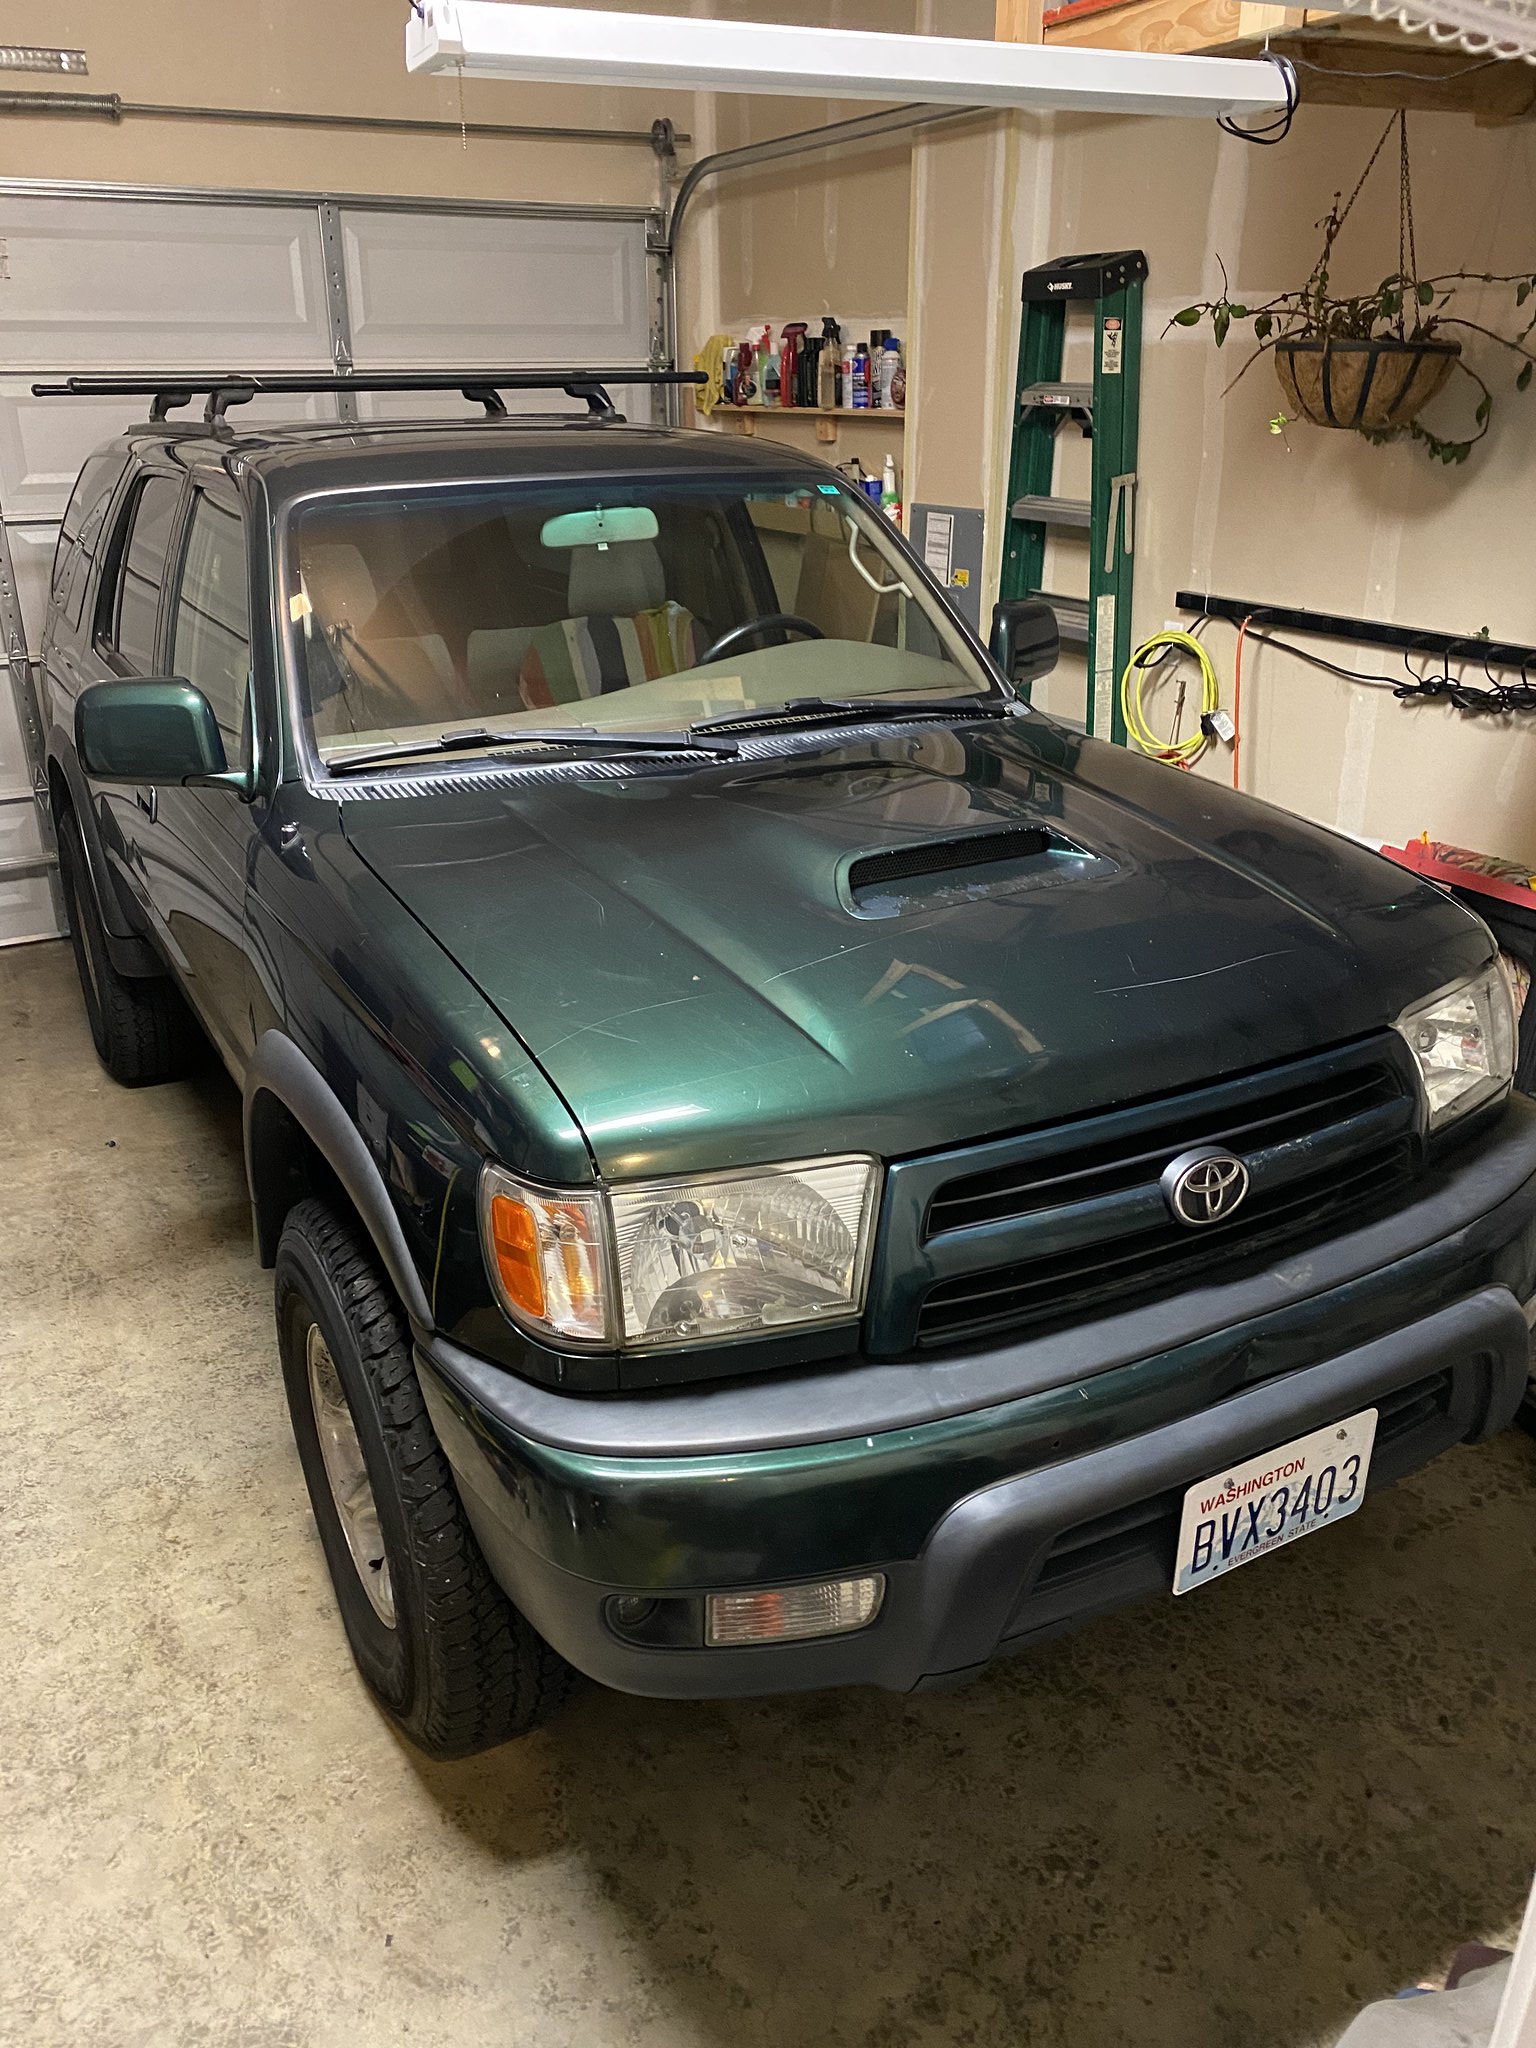
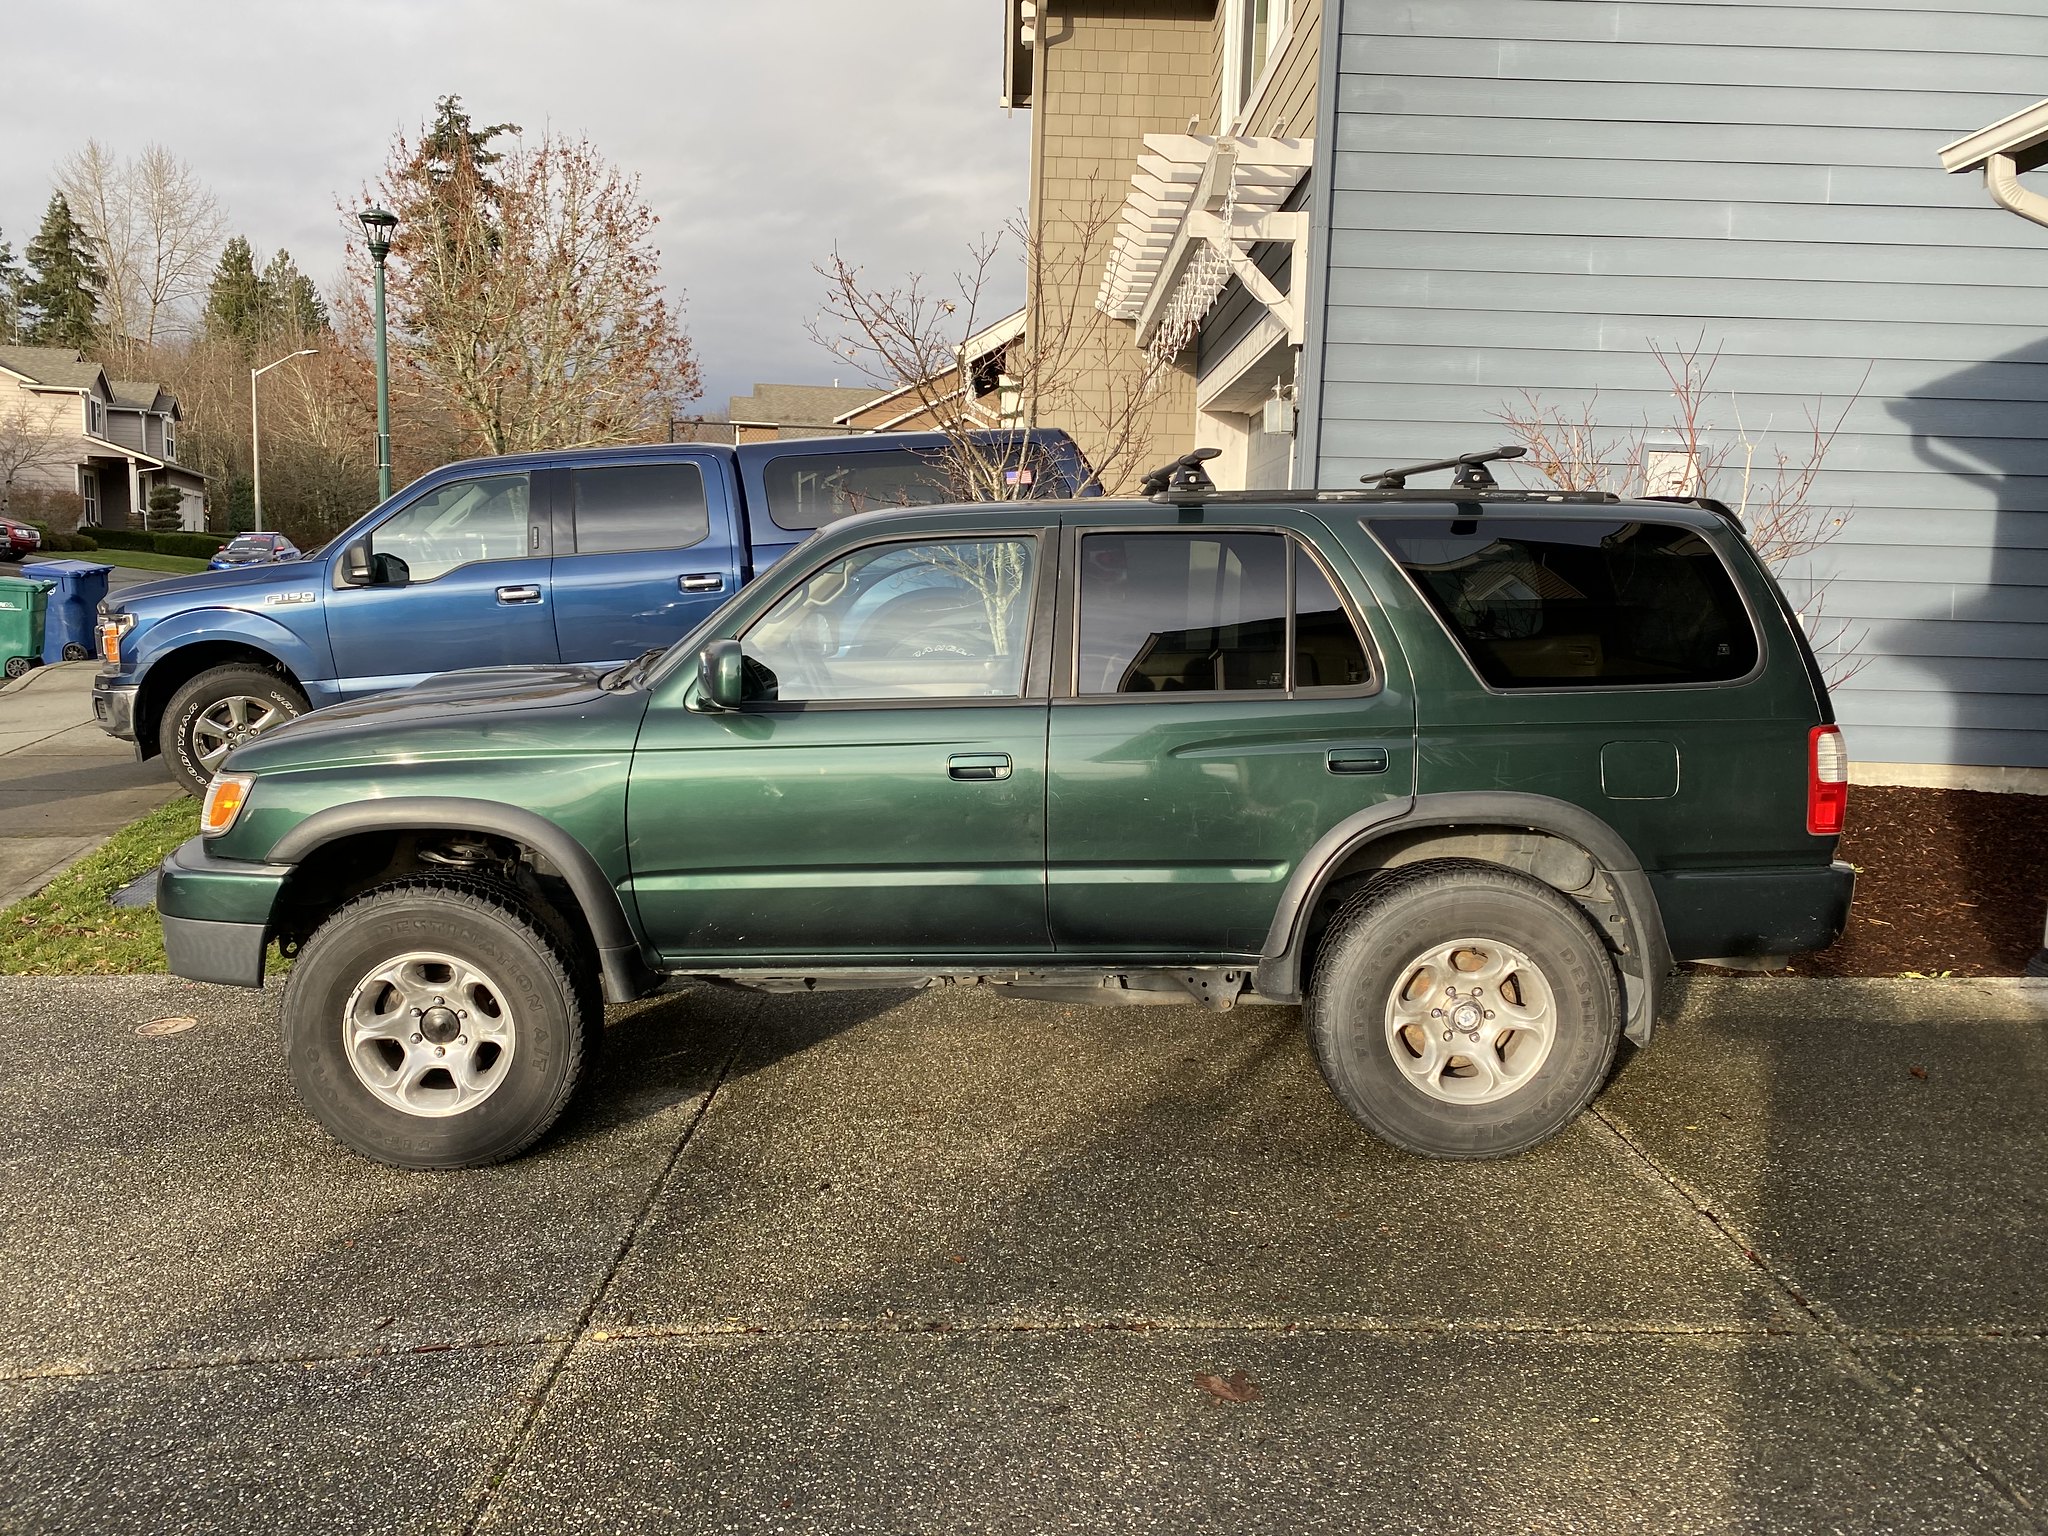
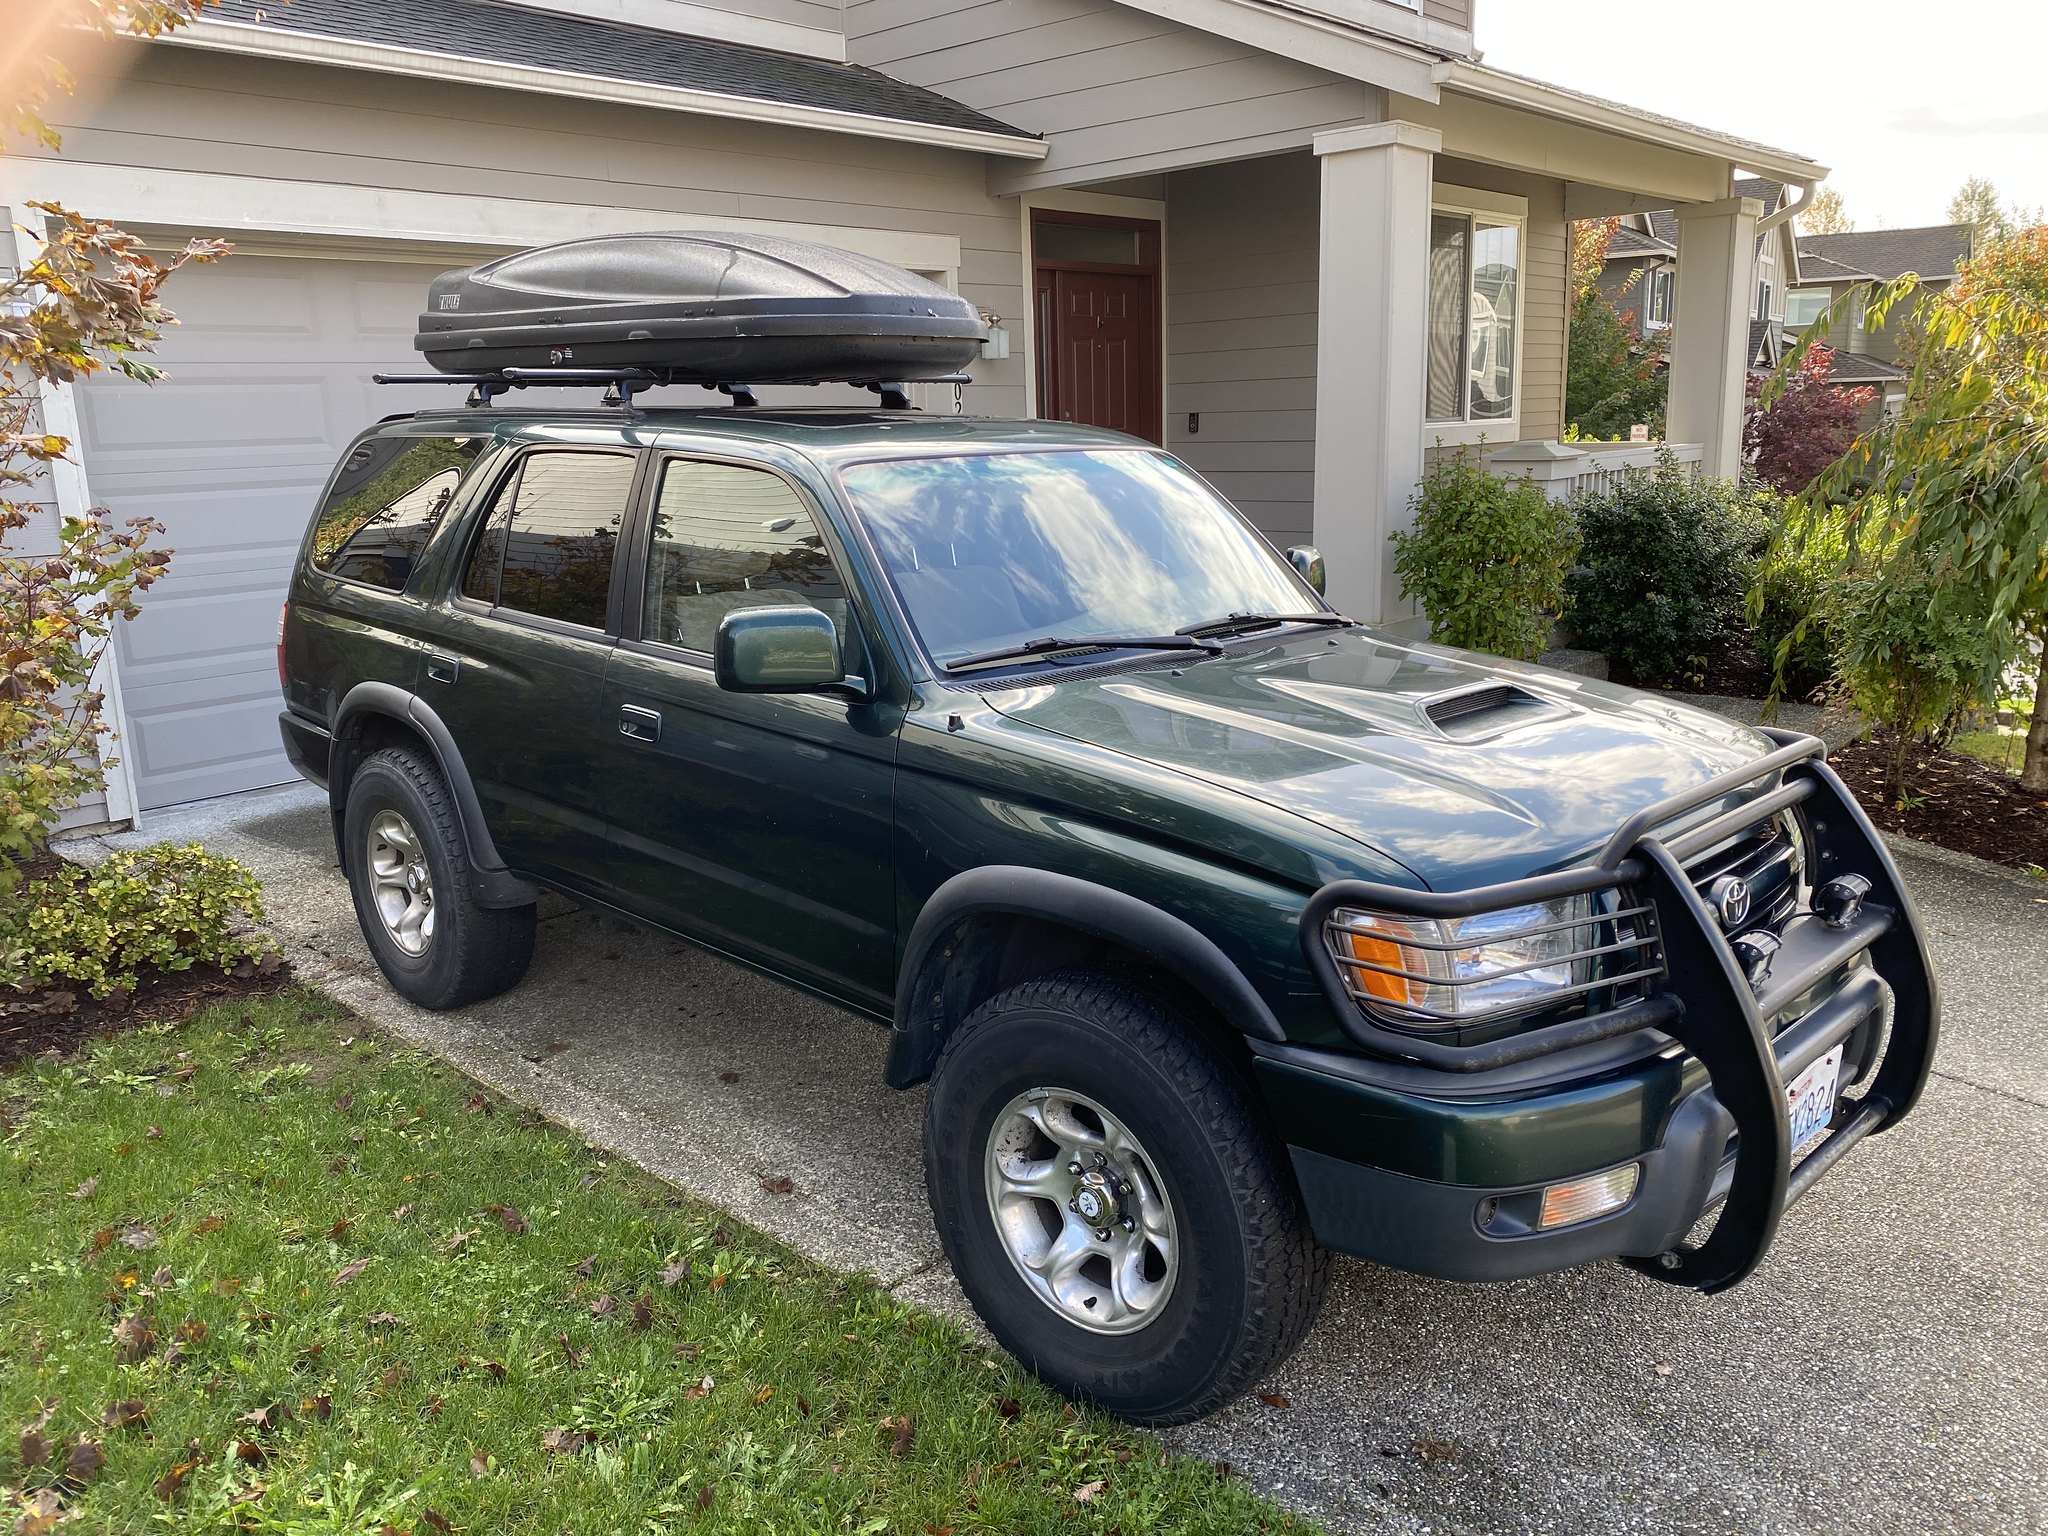
With ski season approaching, even though I may not ski this year, I wanted another rig. I was searching 4Runners, Pathfinders, Blazers, etc. and came across this. 1999 SR5 with sport hood, e-locker, and 270k miles. It's a 20' car. Looks a lot better in pictures than it does up close. Absolutely no service records. Has a sticker for timing belt at 218k and radiator looks newer. Pisses a bit of oil and everything underneath has a nice coating. I'll be paying a buddy to do valve cover gaskets. He's done about a dozen of them.

Cost: $4100
Sold: Cargo box ($350) and Blizzaks ($420)
Purchases so far:
5th gen wheels: $150
Duratracs: $350
Rock Auto parts: $460
Rock Auto returns: ($120)
New cam bolts secondhand: $100
New OEM steering rack: $585
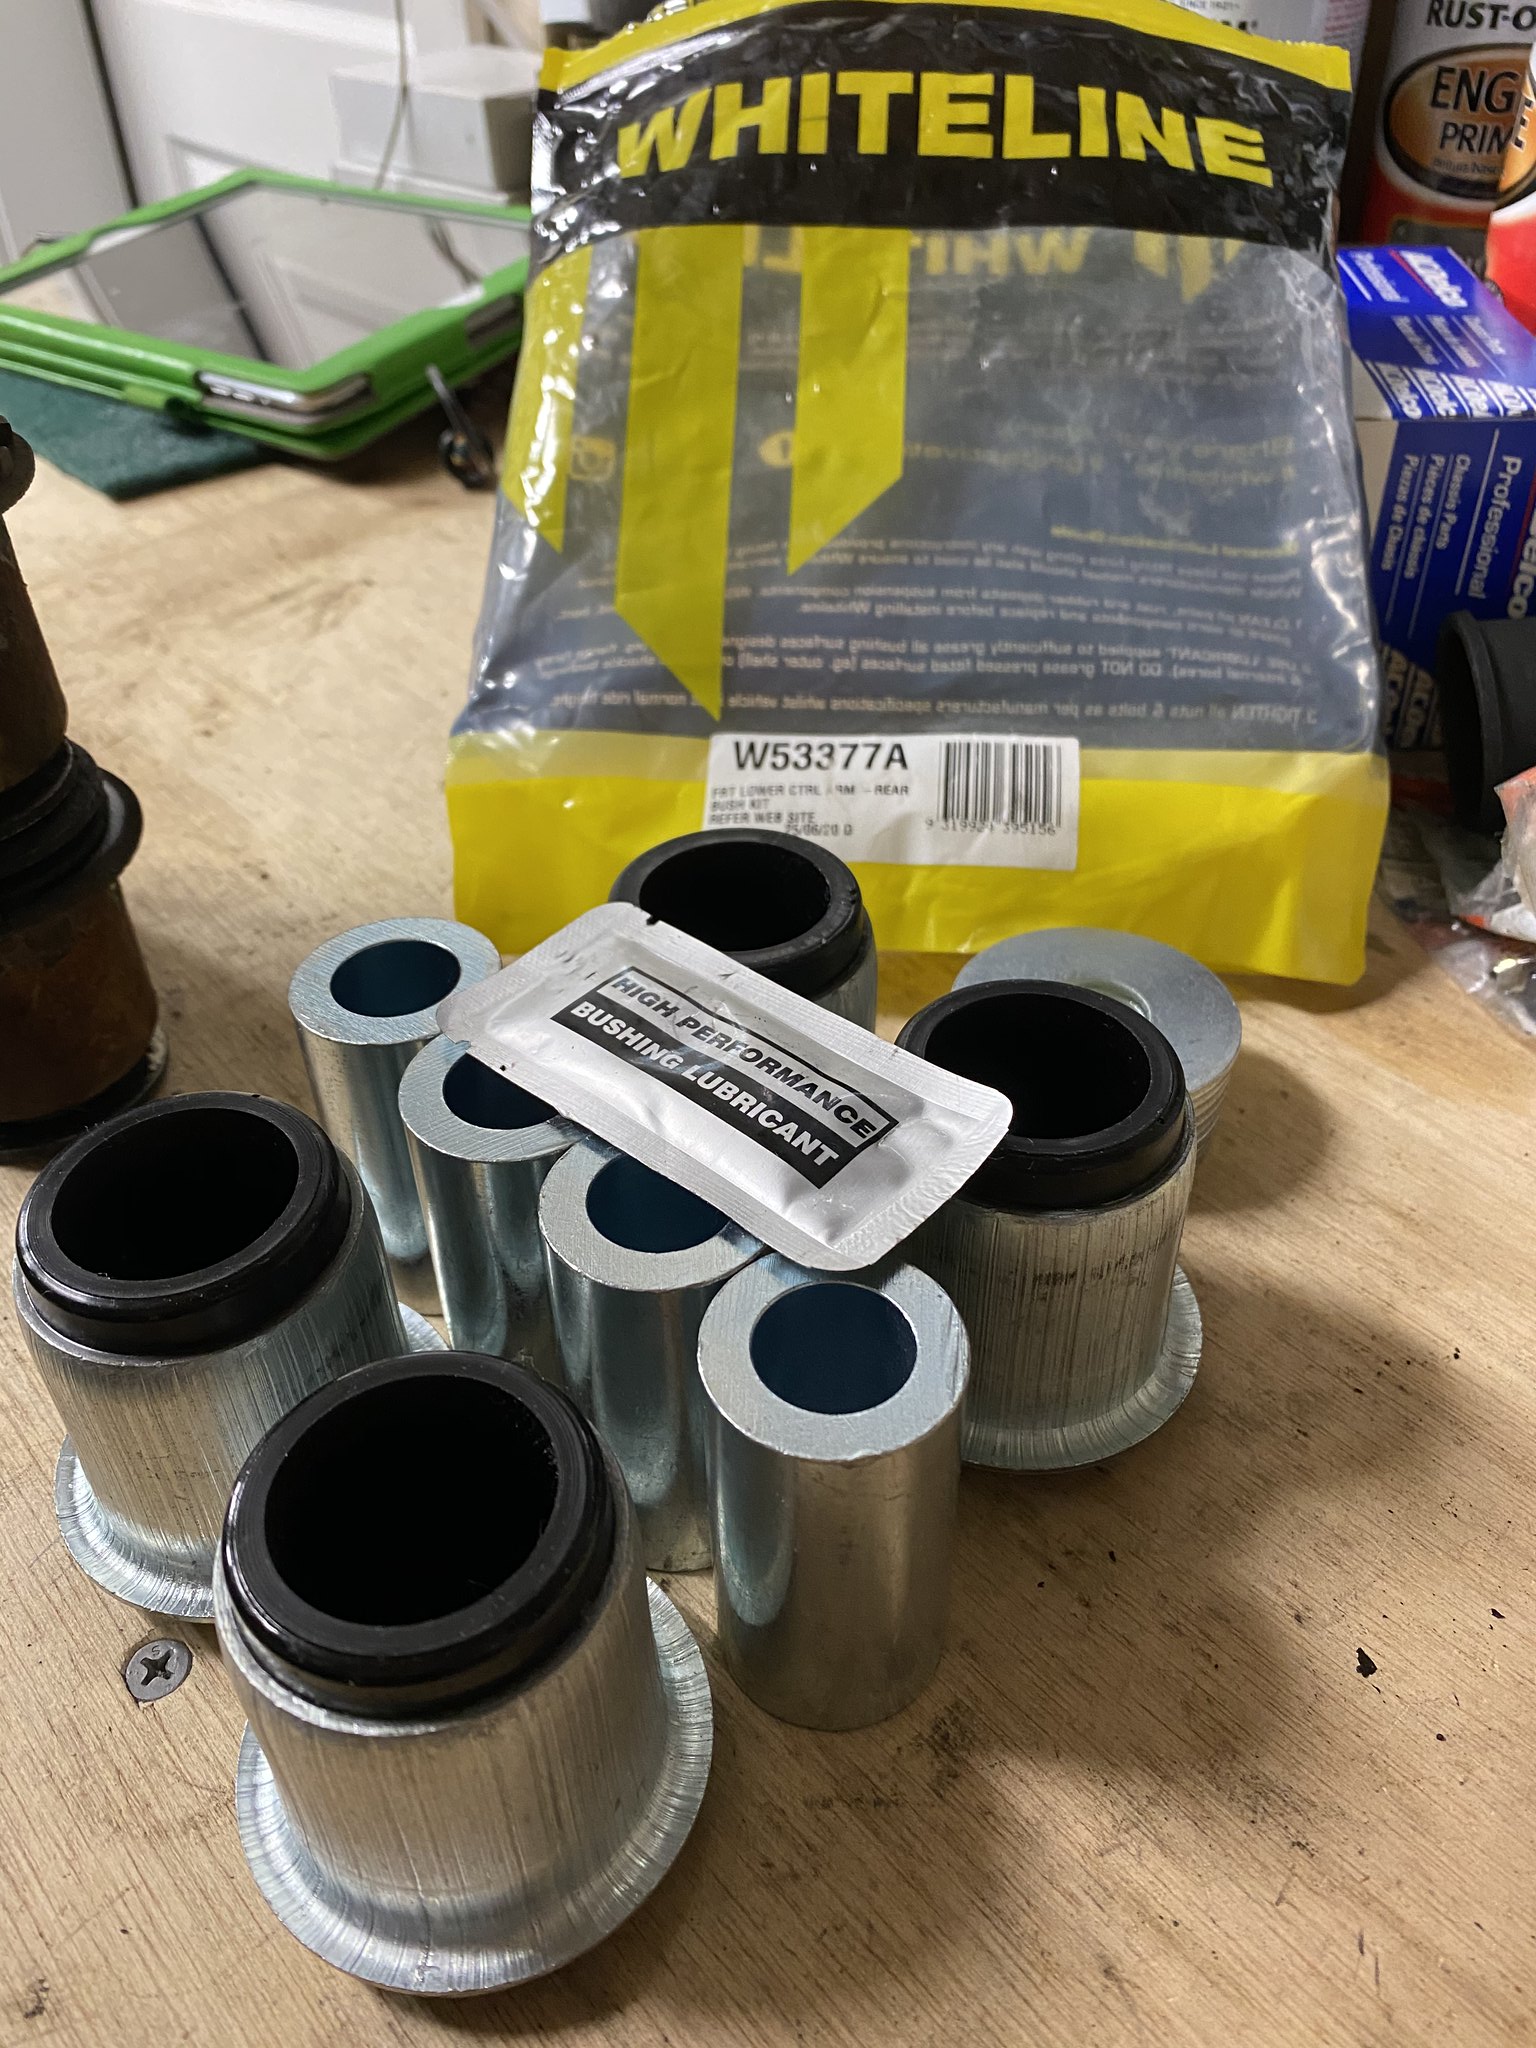
Whiteline bushings: $65

The steering rack was unexpected. I found that it was dead when I went to do the inner tie rods. Passenger side boot full of PS fluid. Neat. Yes I am using some Moog ball joints and sway bar bits plus AC Delco OTRE's. I expect to be banned from this alone.

Woke up the next morning... what did I do??
Untitled by 99blkx, on Flickr

Untitled by 99blkx, on Flickr
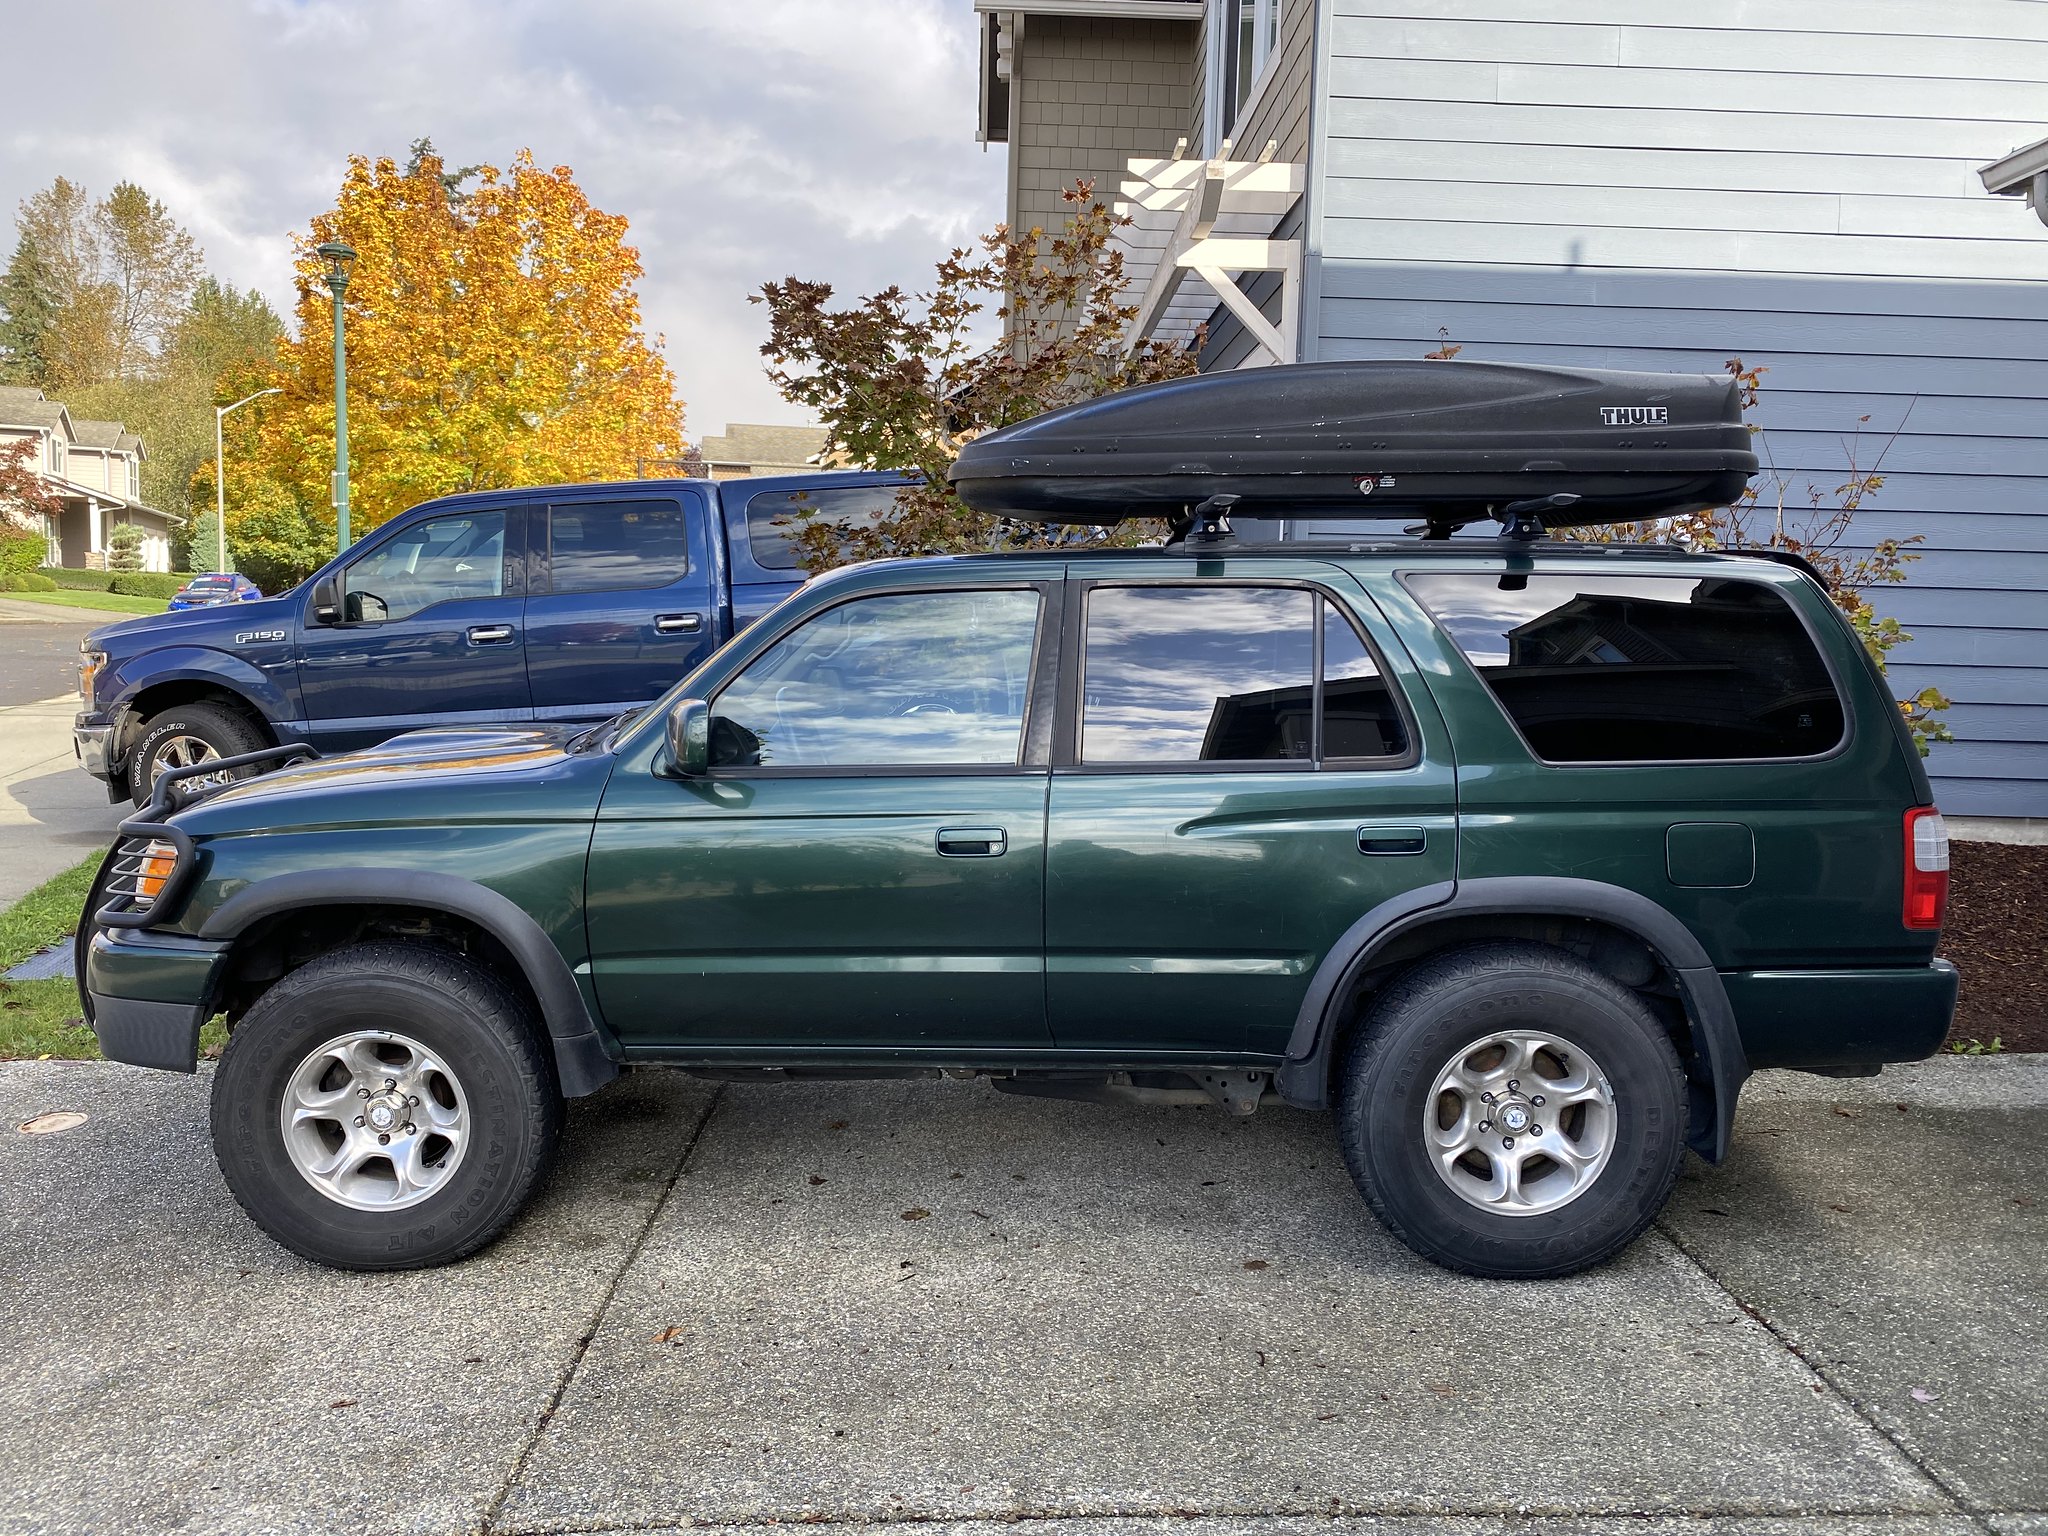
Sold these but they came with it.
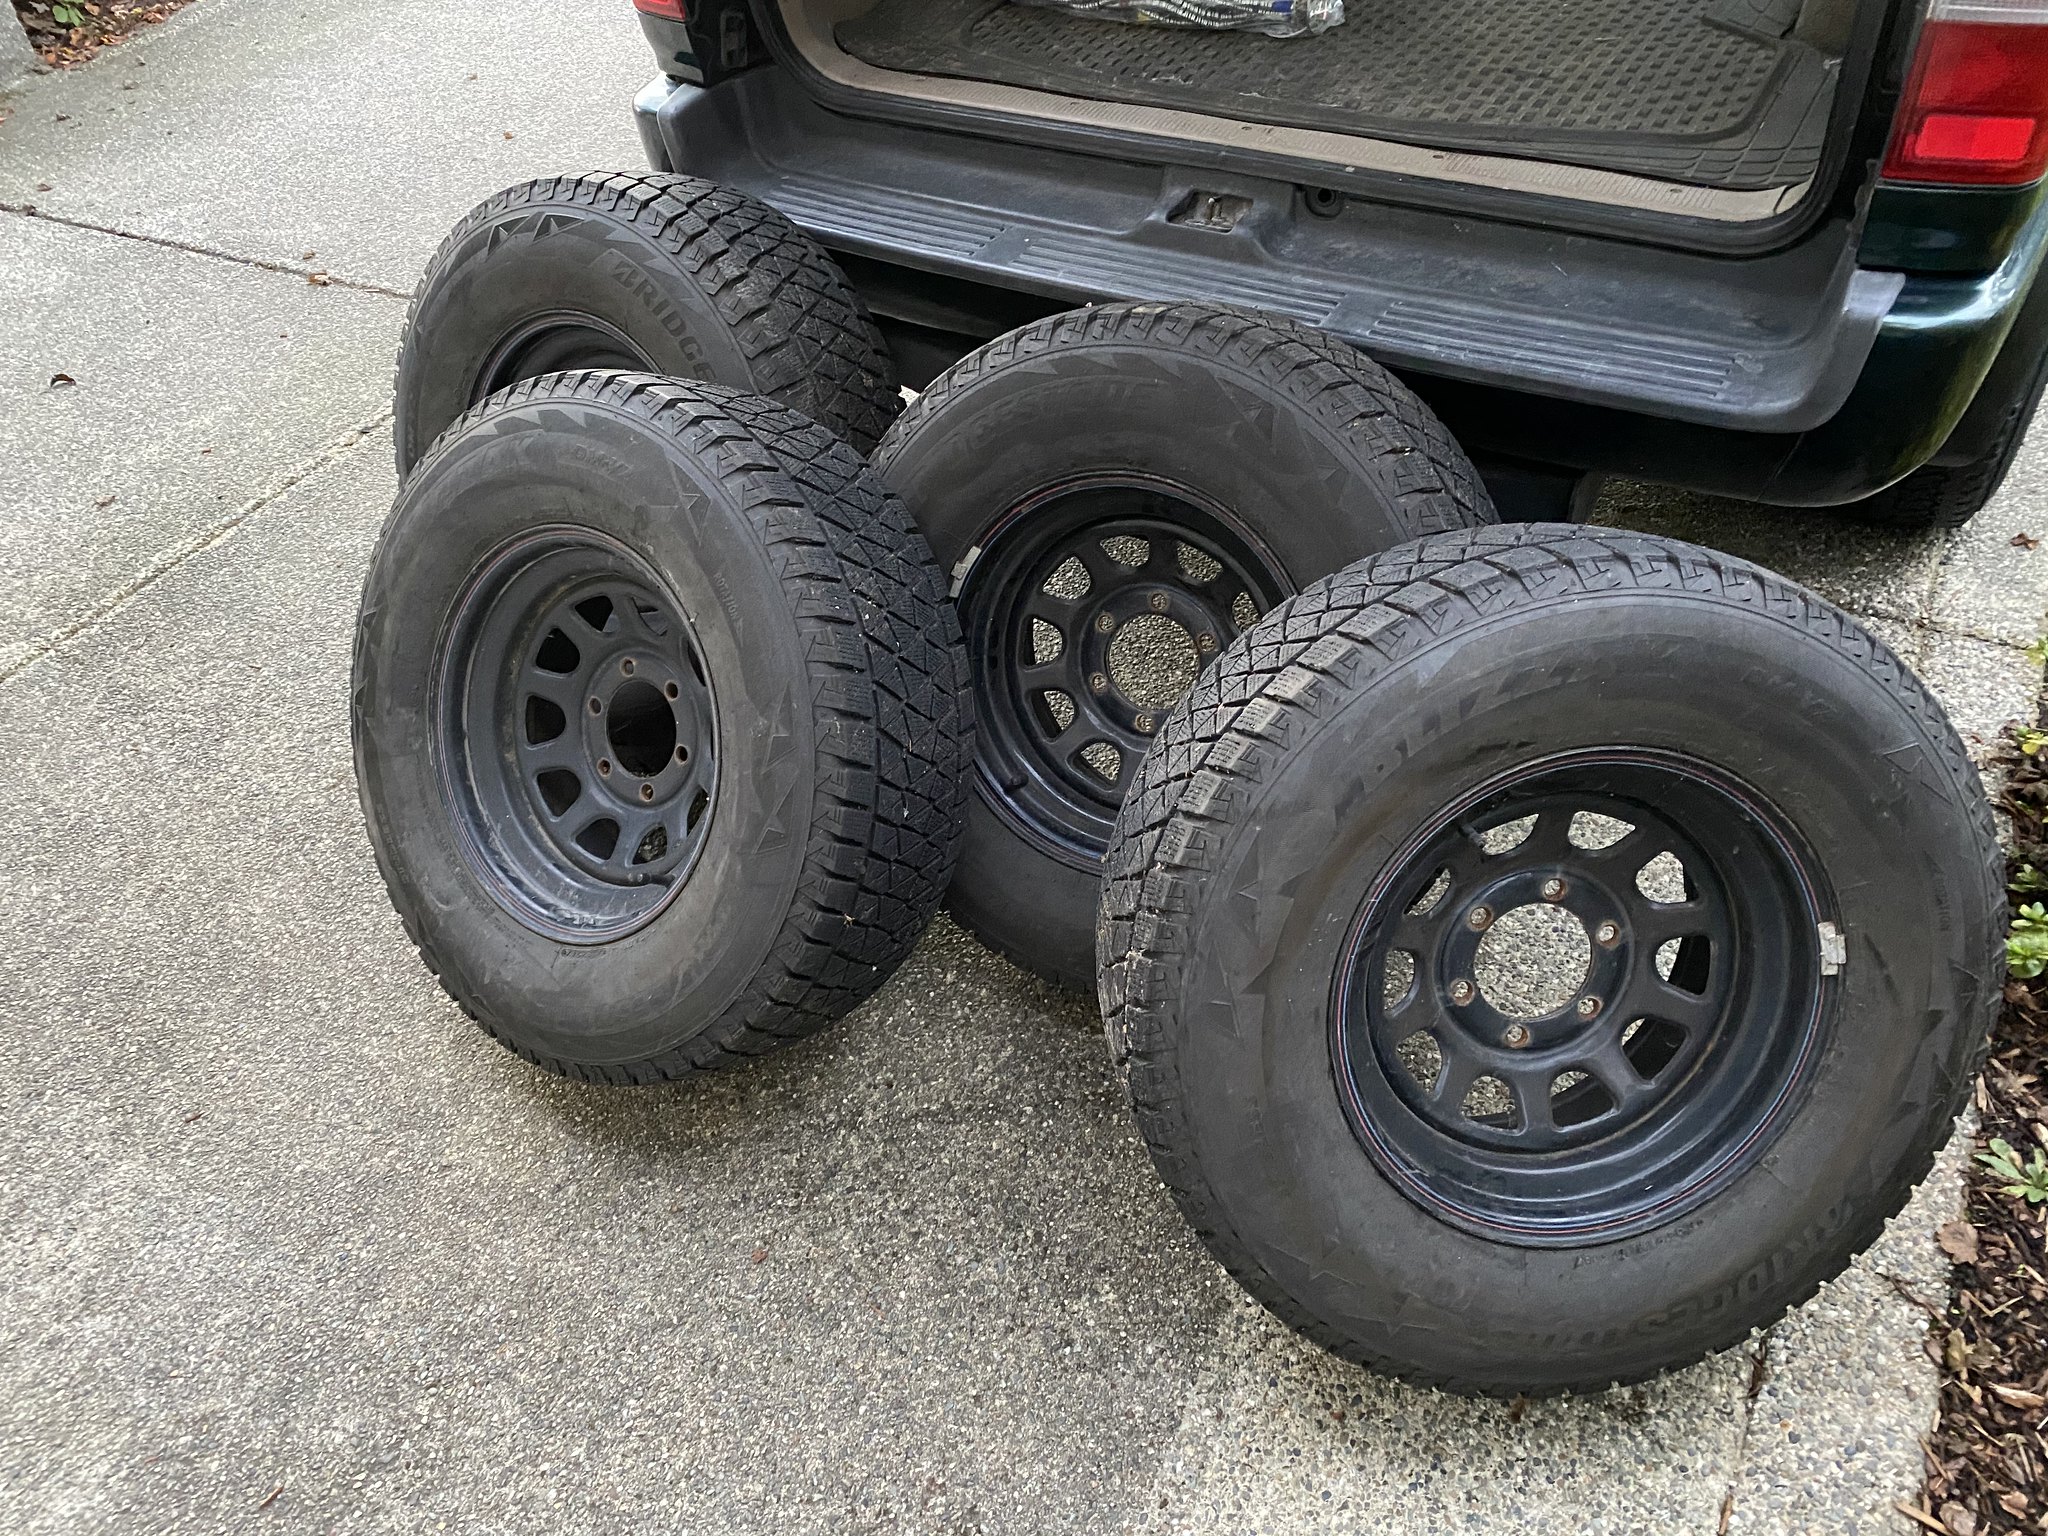
Untitled by 99blkx, on Flickr

Bath time.
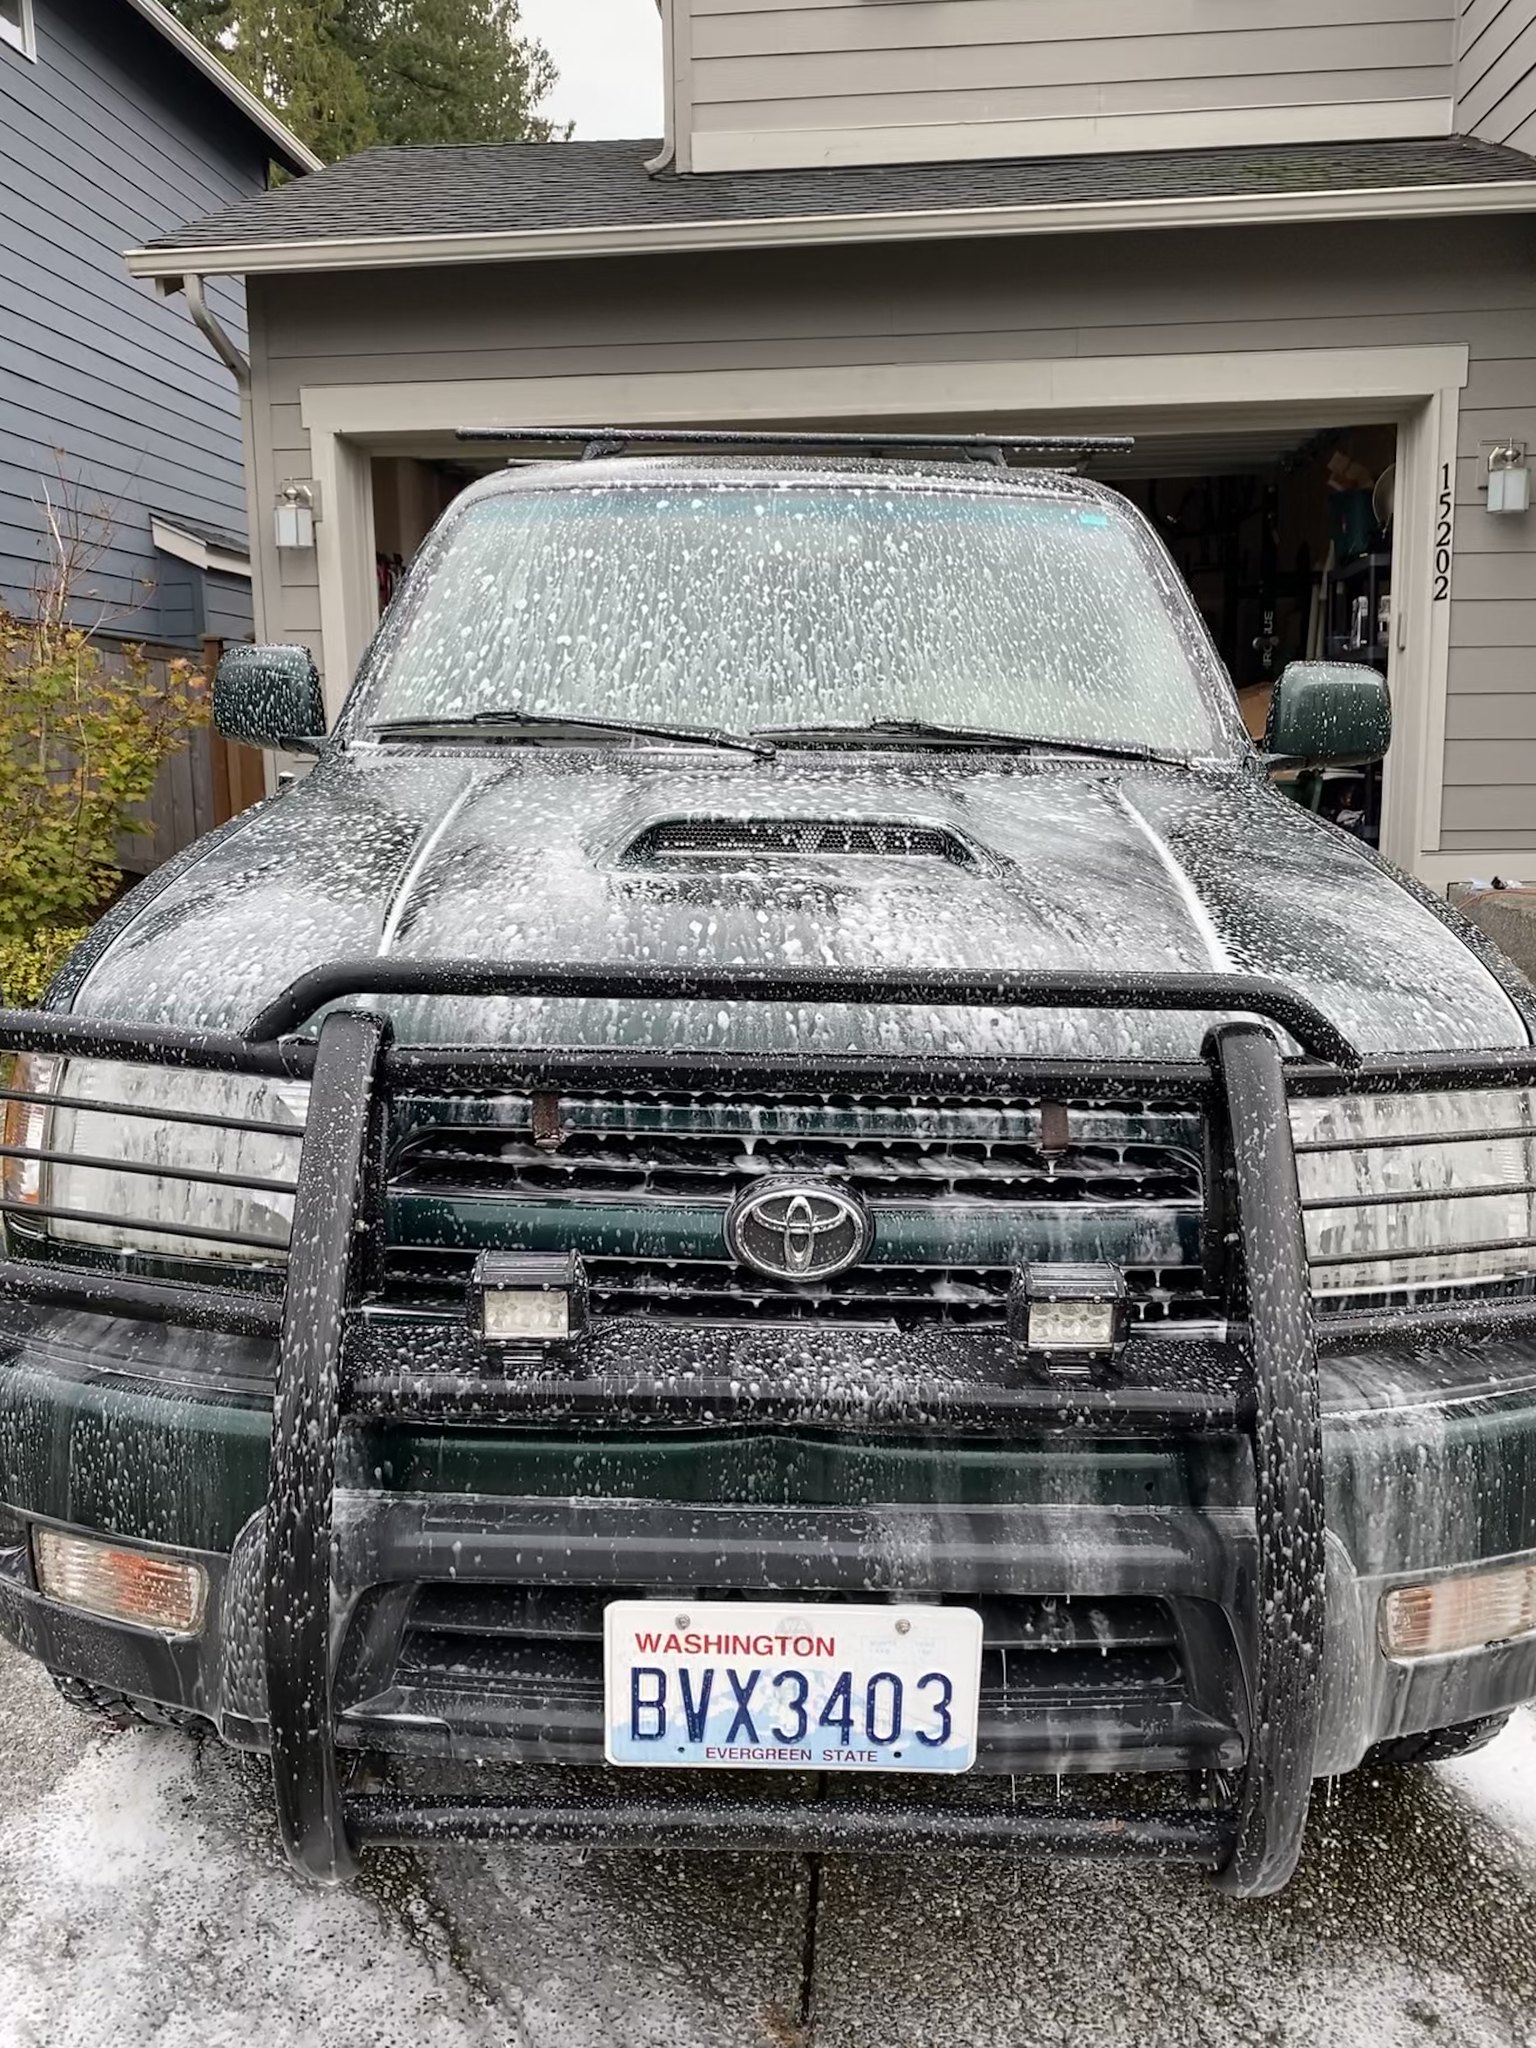
Untitled by 99blkx, on Flickr

20 footer...
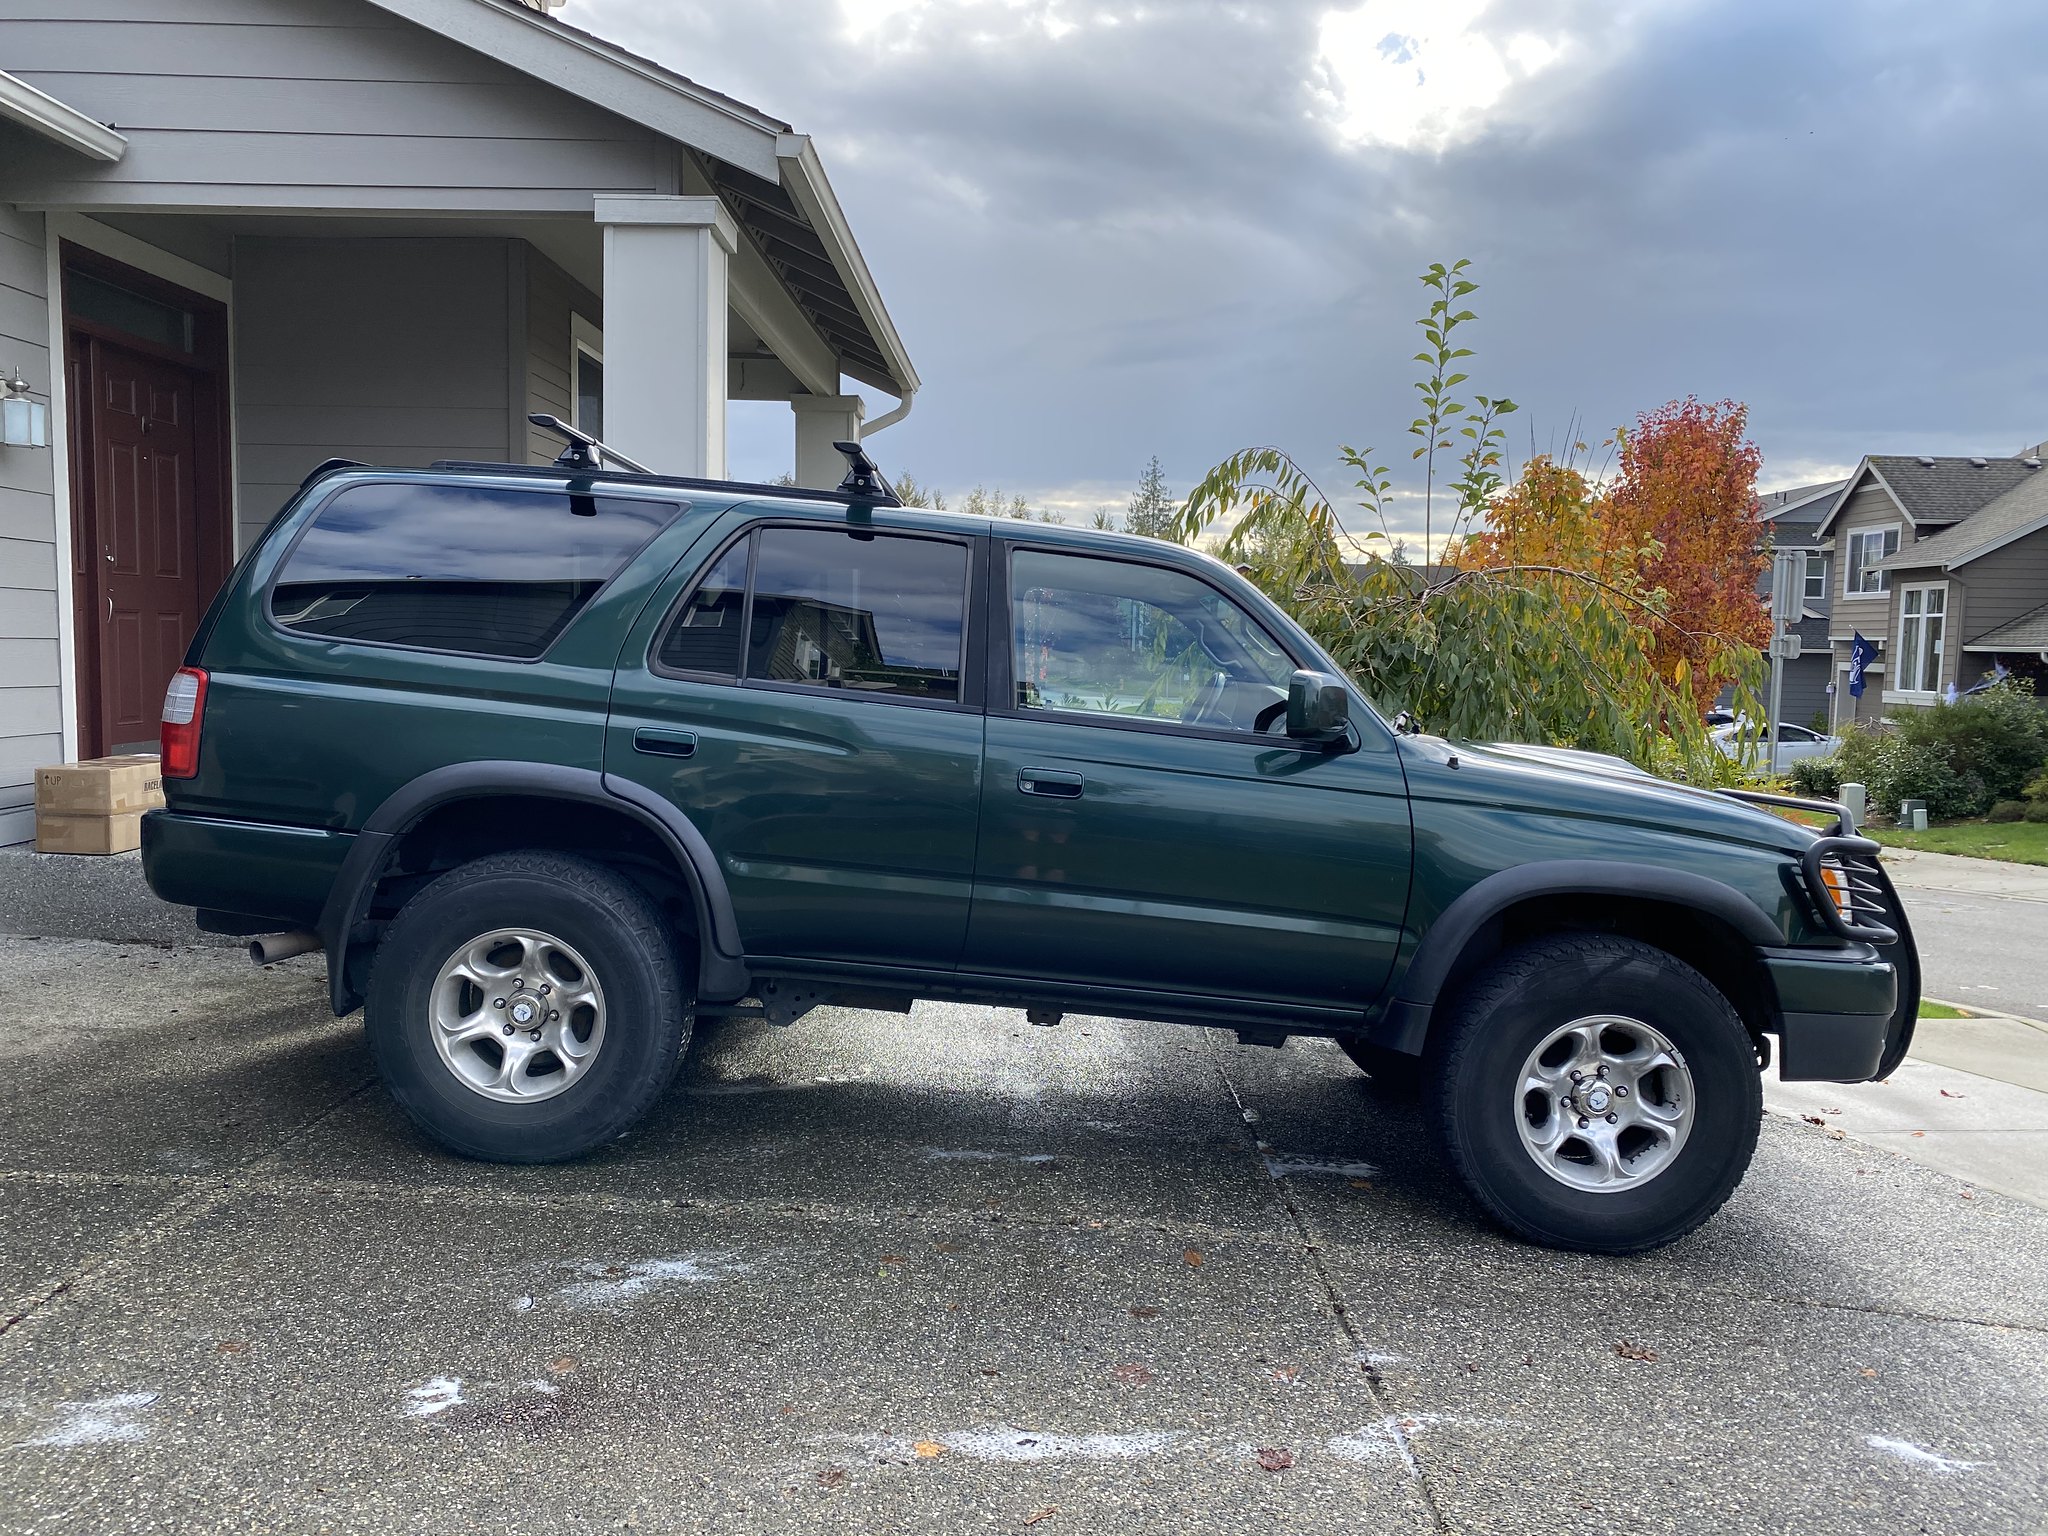
Untitled by 99blkx, on Flickr

"Records"
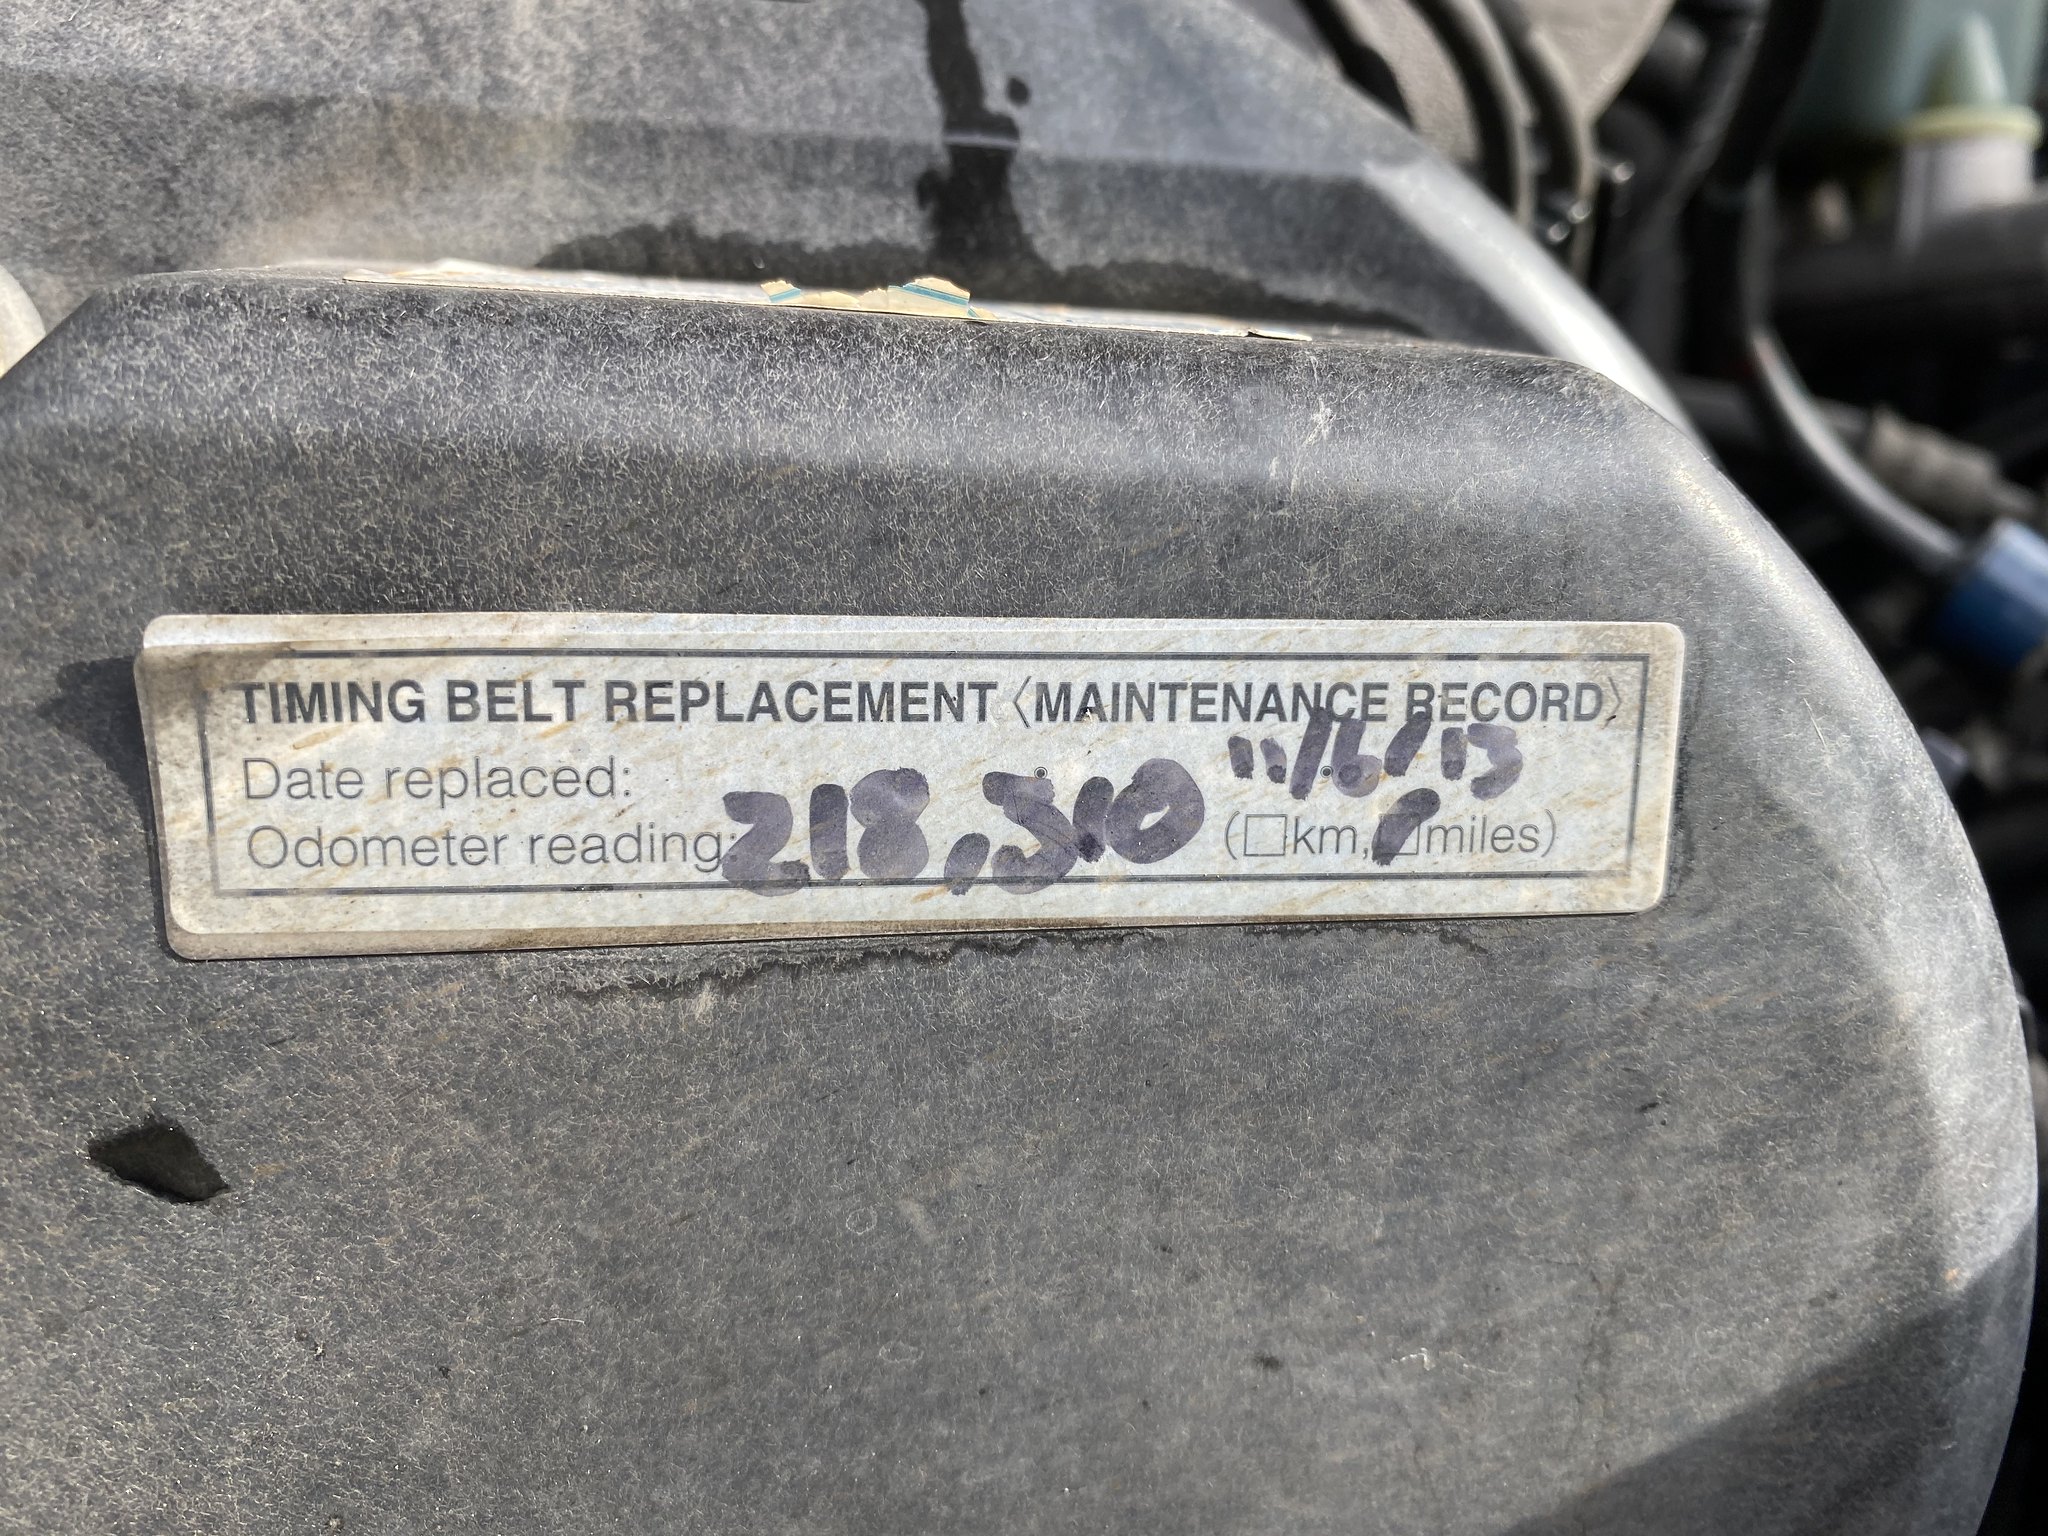
Untitled by 99blkx, on Flickr

Parts pile.
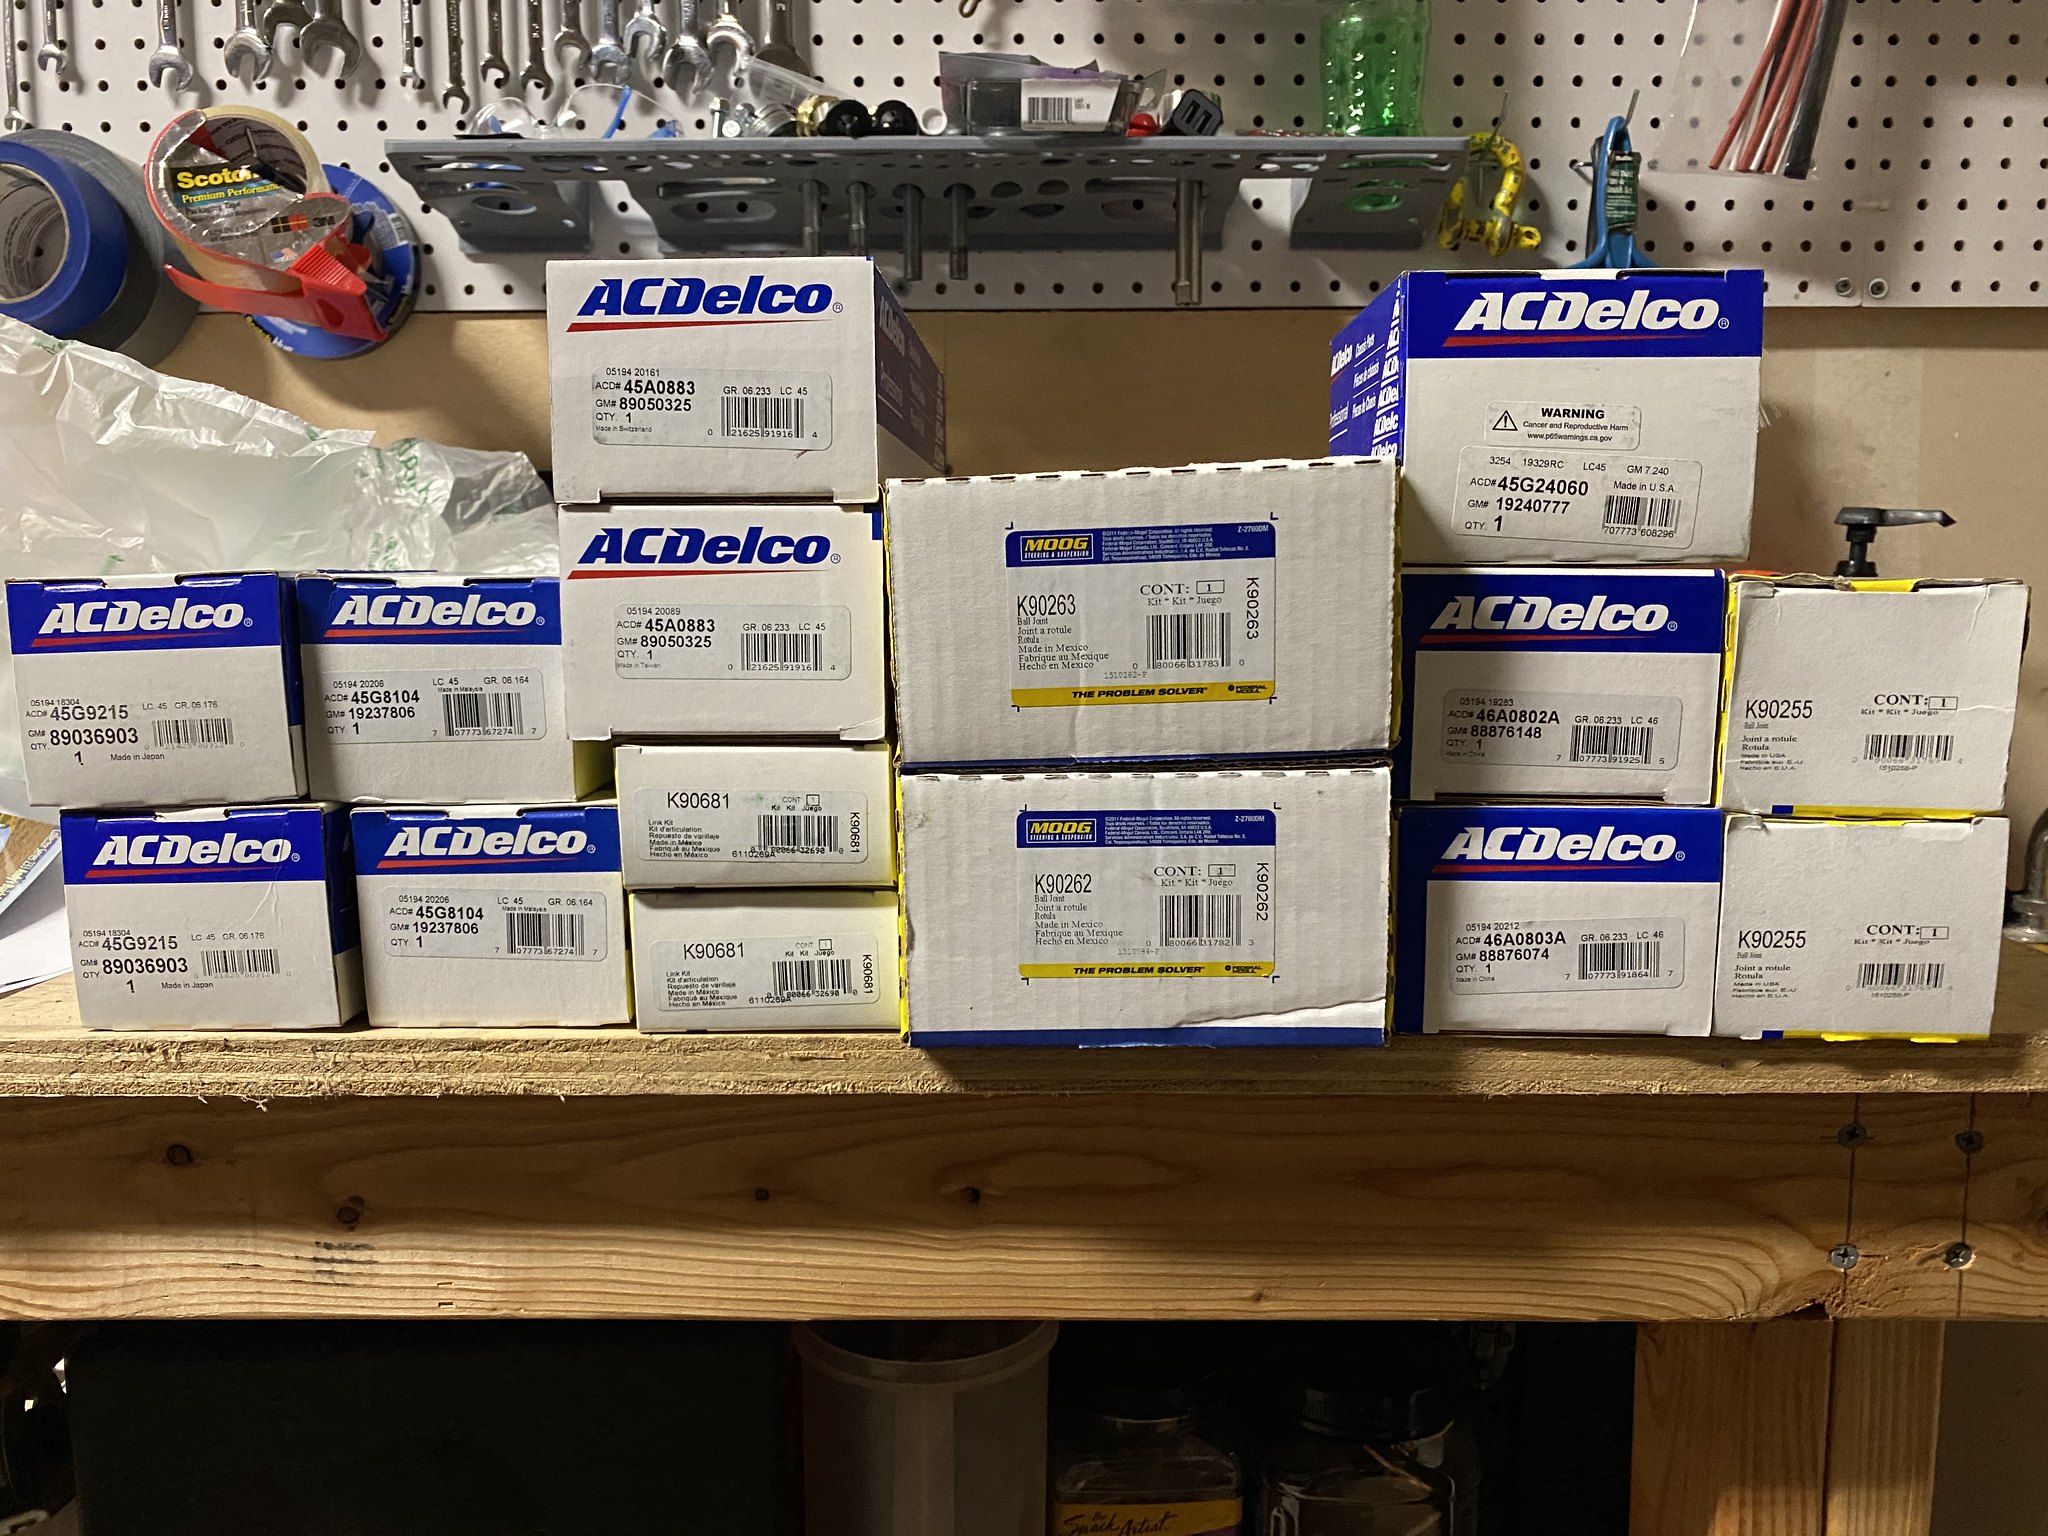
Untitled by 99blkx, on Flickr

This little guy is handy. He gets the spot light but the tie rod separator rocks too.
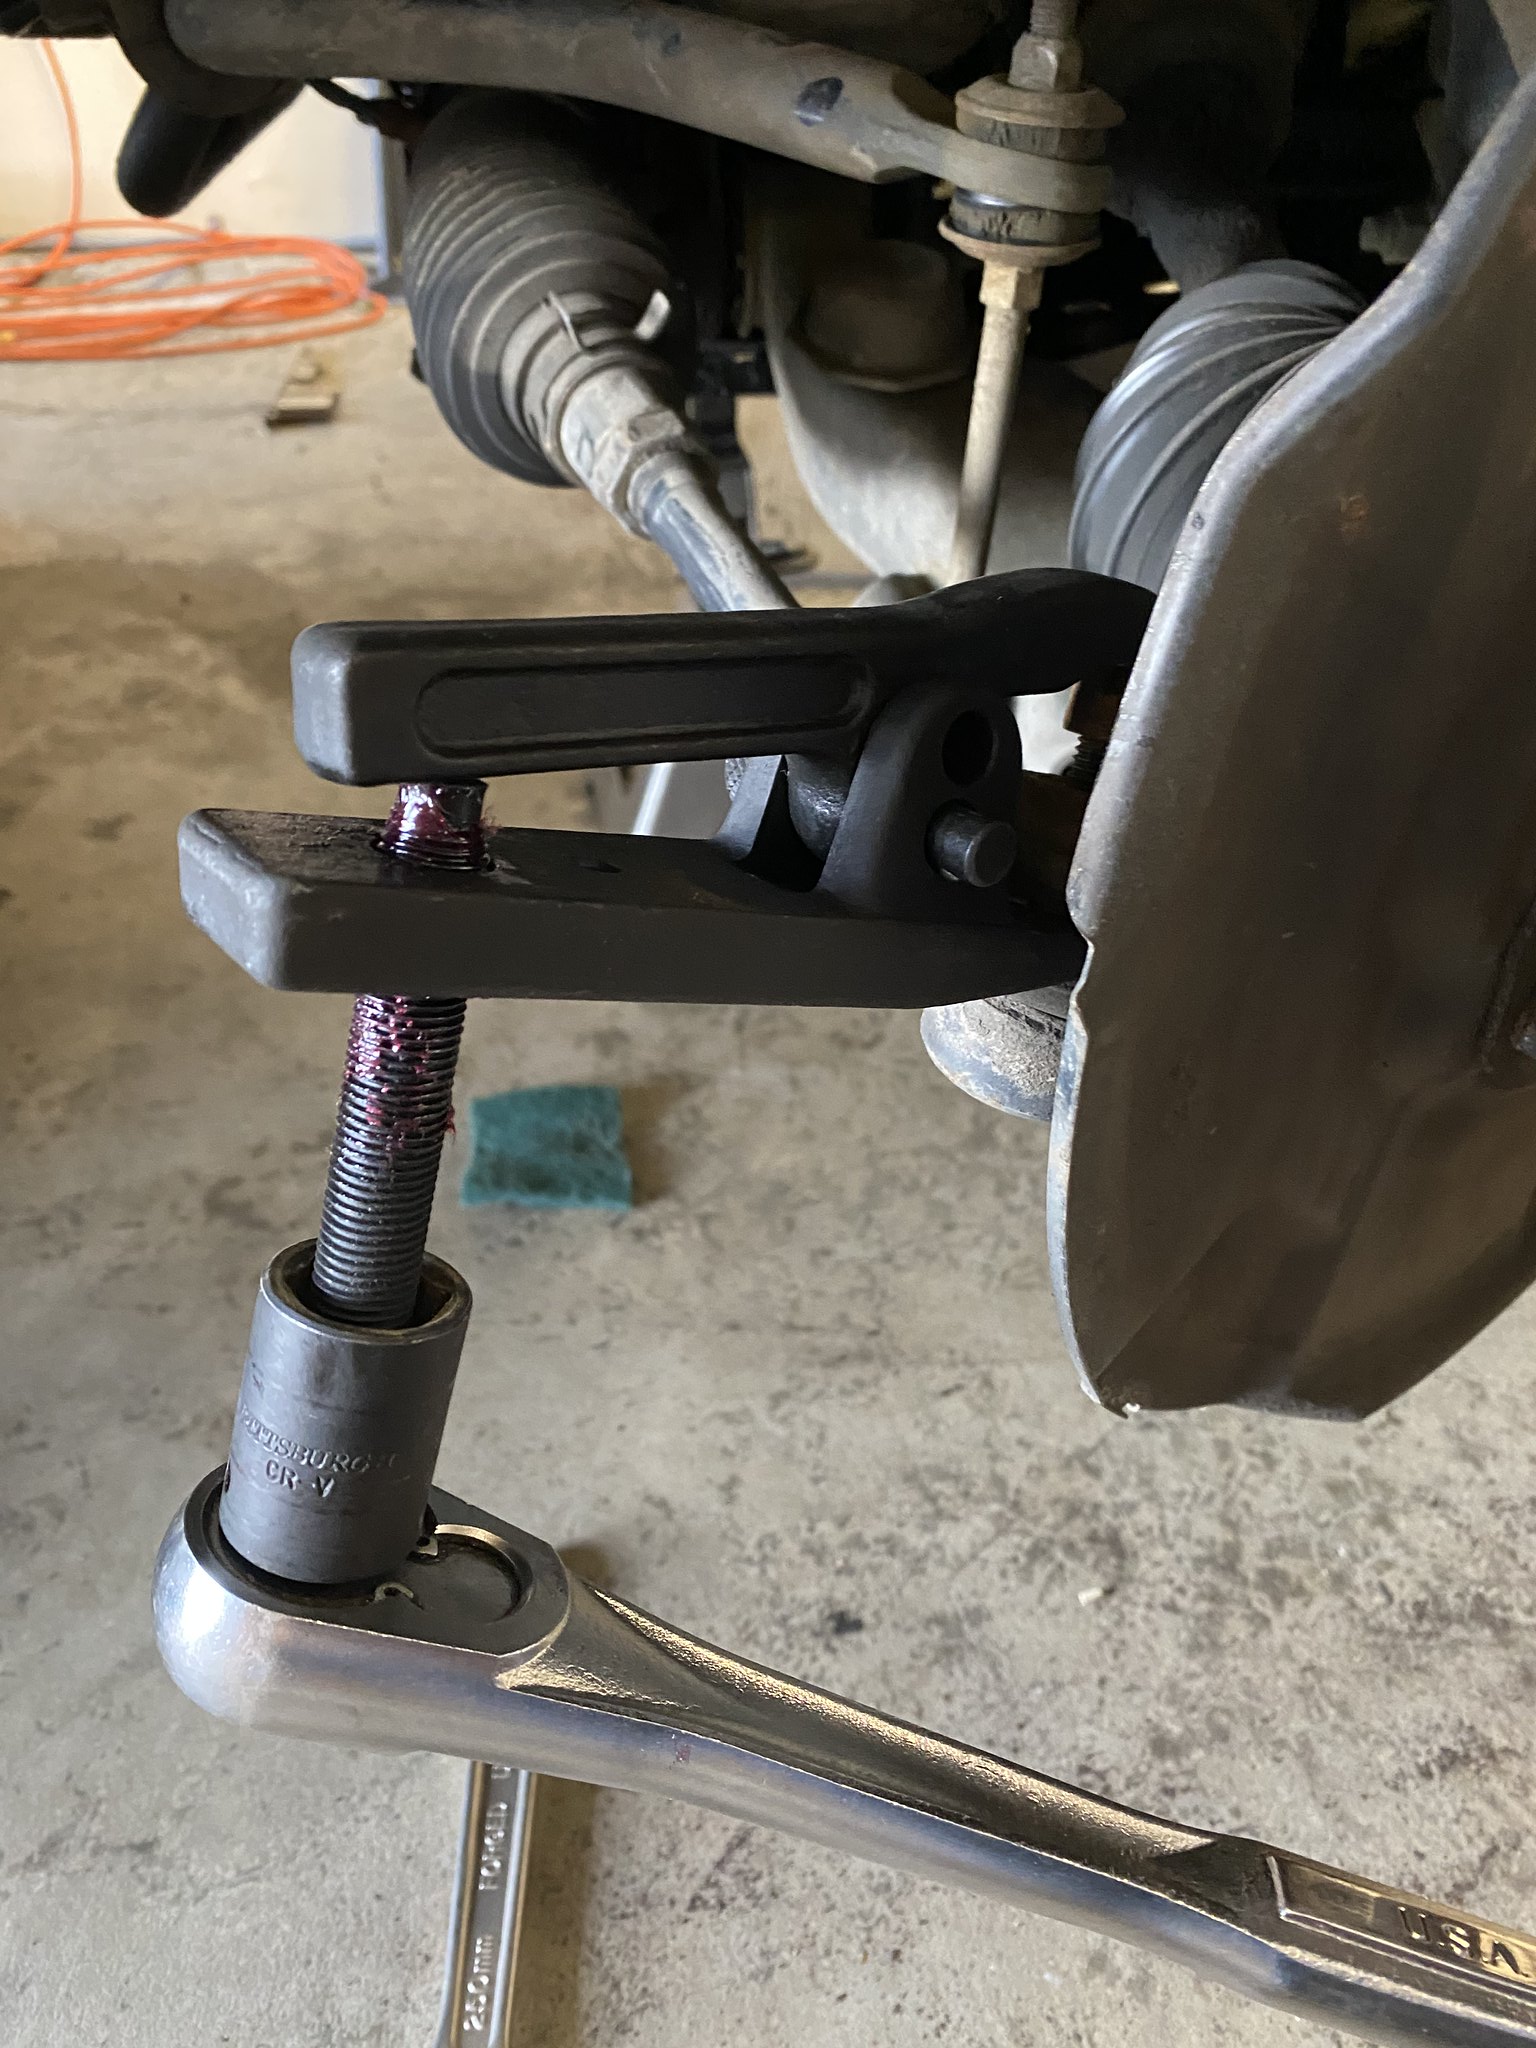
Untitled by 99blkx, on Flickr

Passenger side was bad.
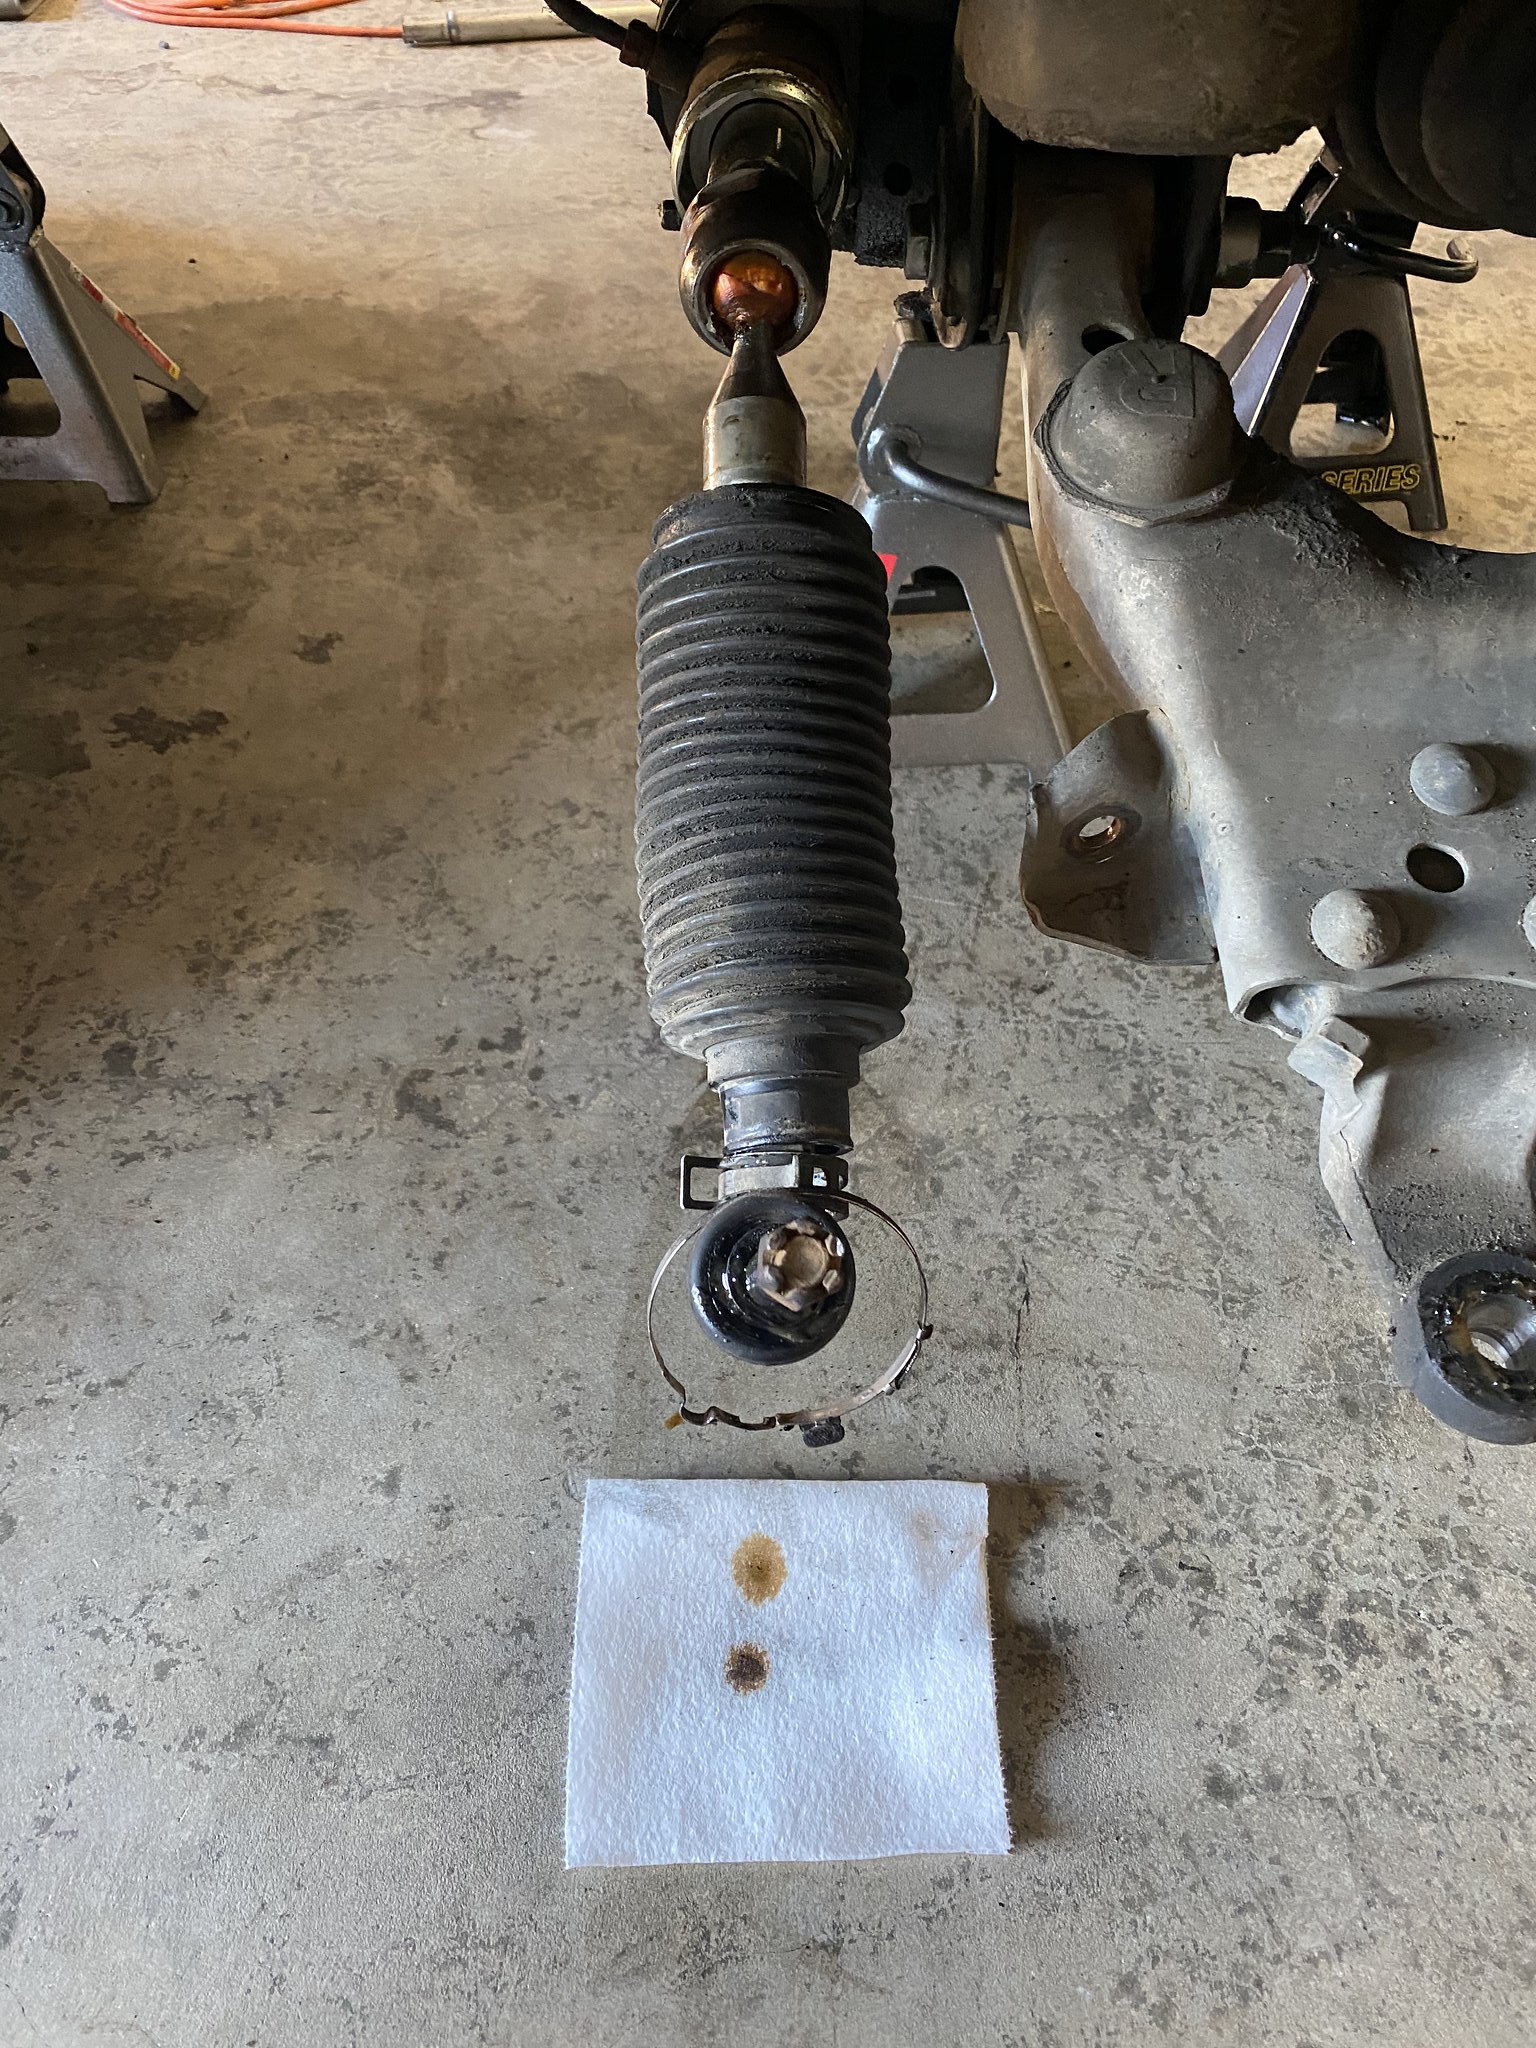
Untitled by 99blkx, on Flickr

That was after I caught a cup full and dumped it out. Boot was FULL.

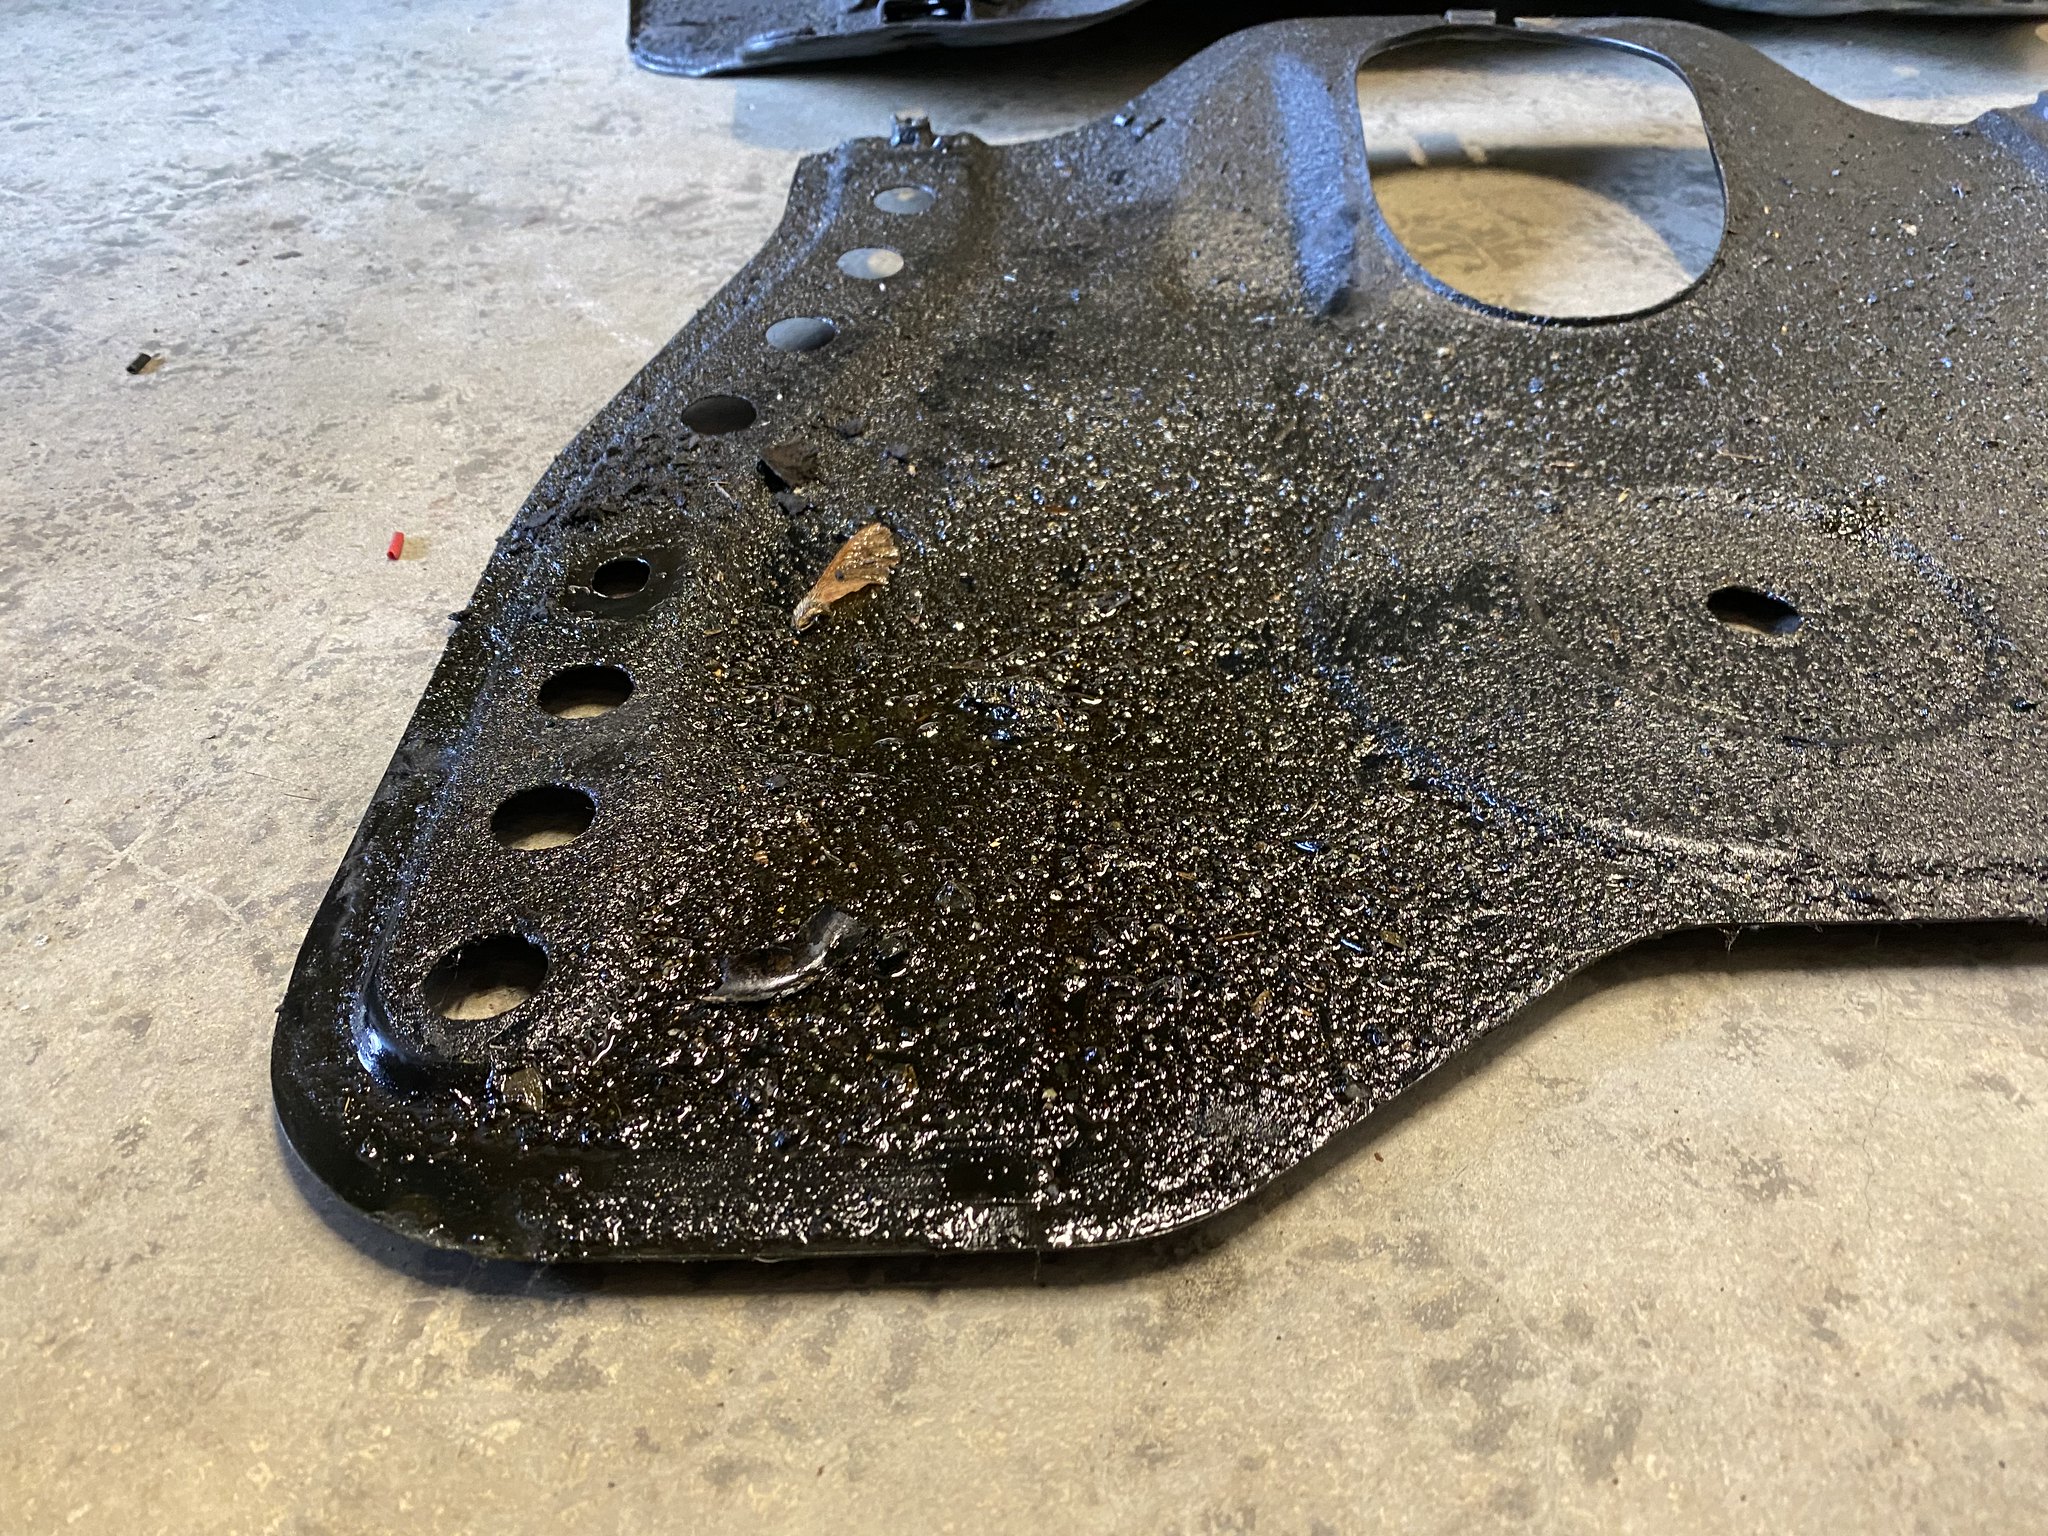
Skid plate is rust proof.
Untitled by 99blkx, on Flickr

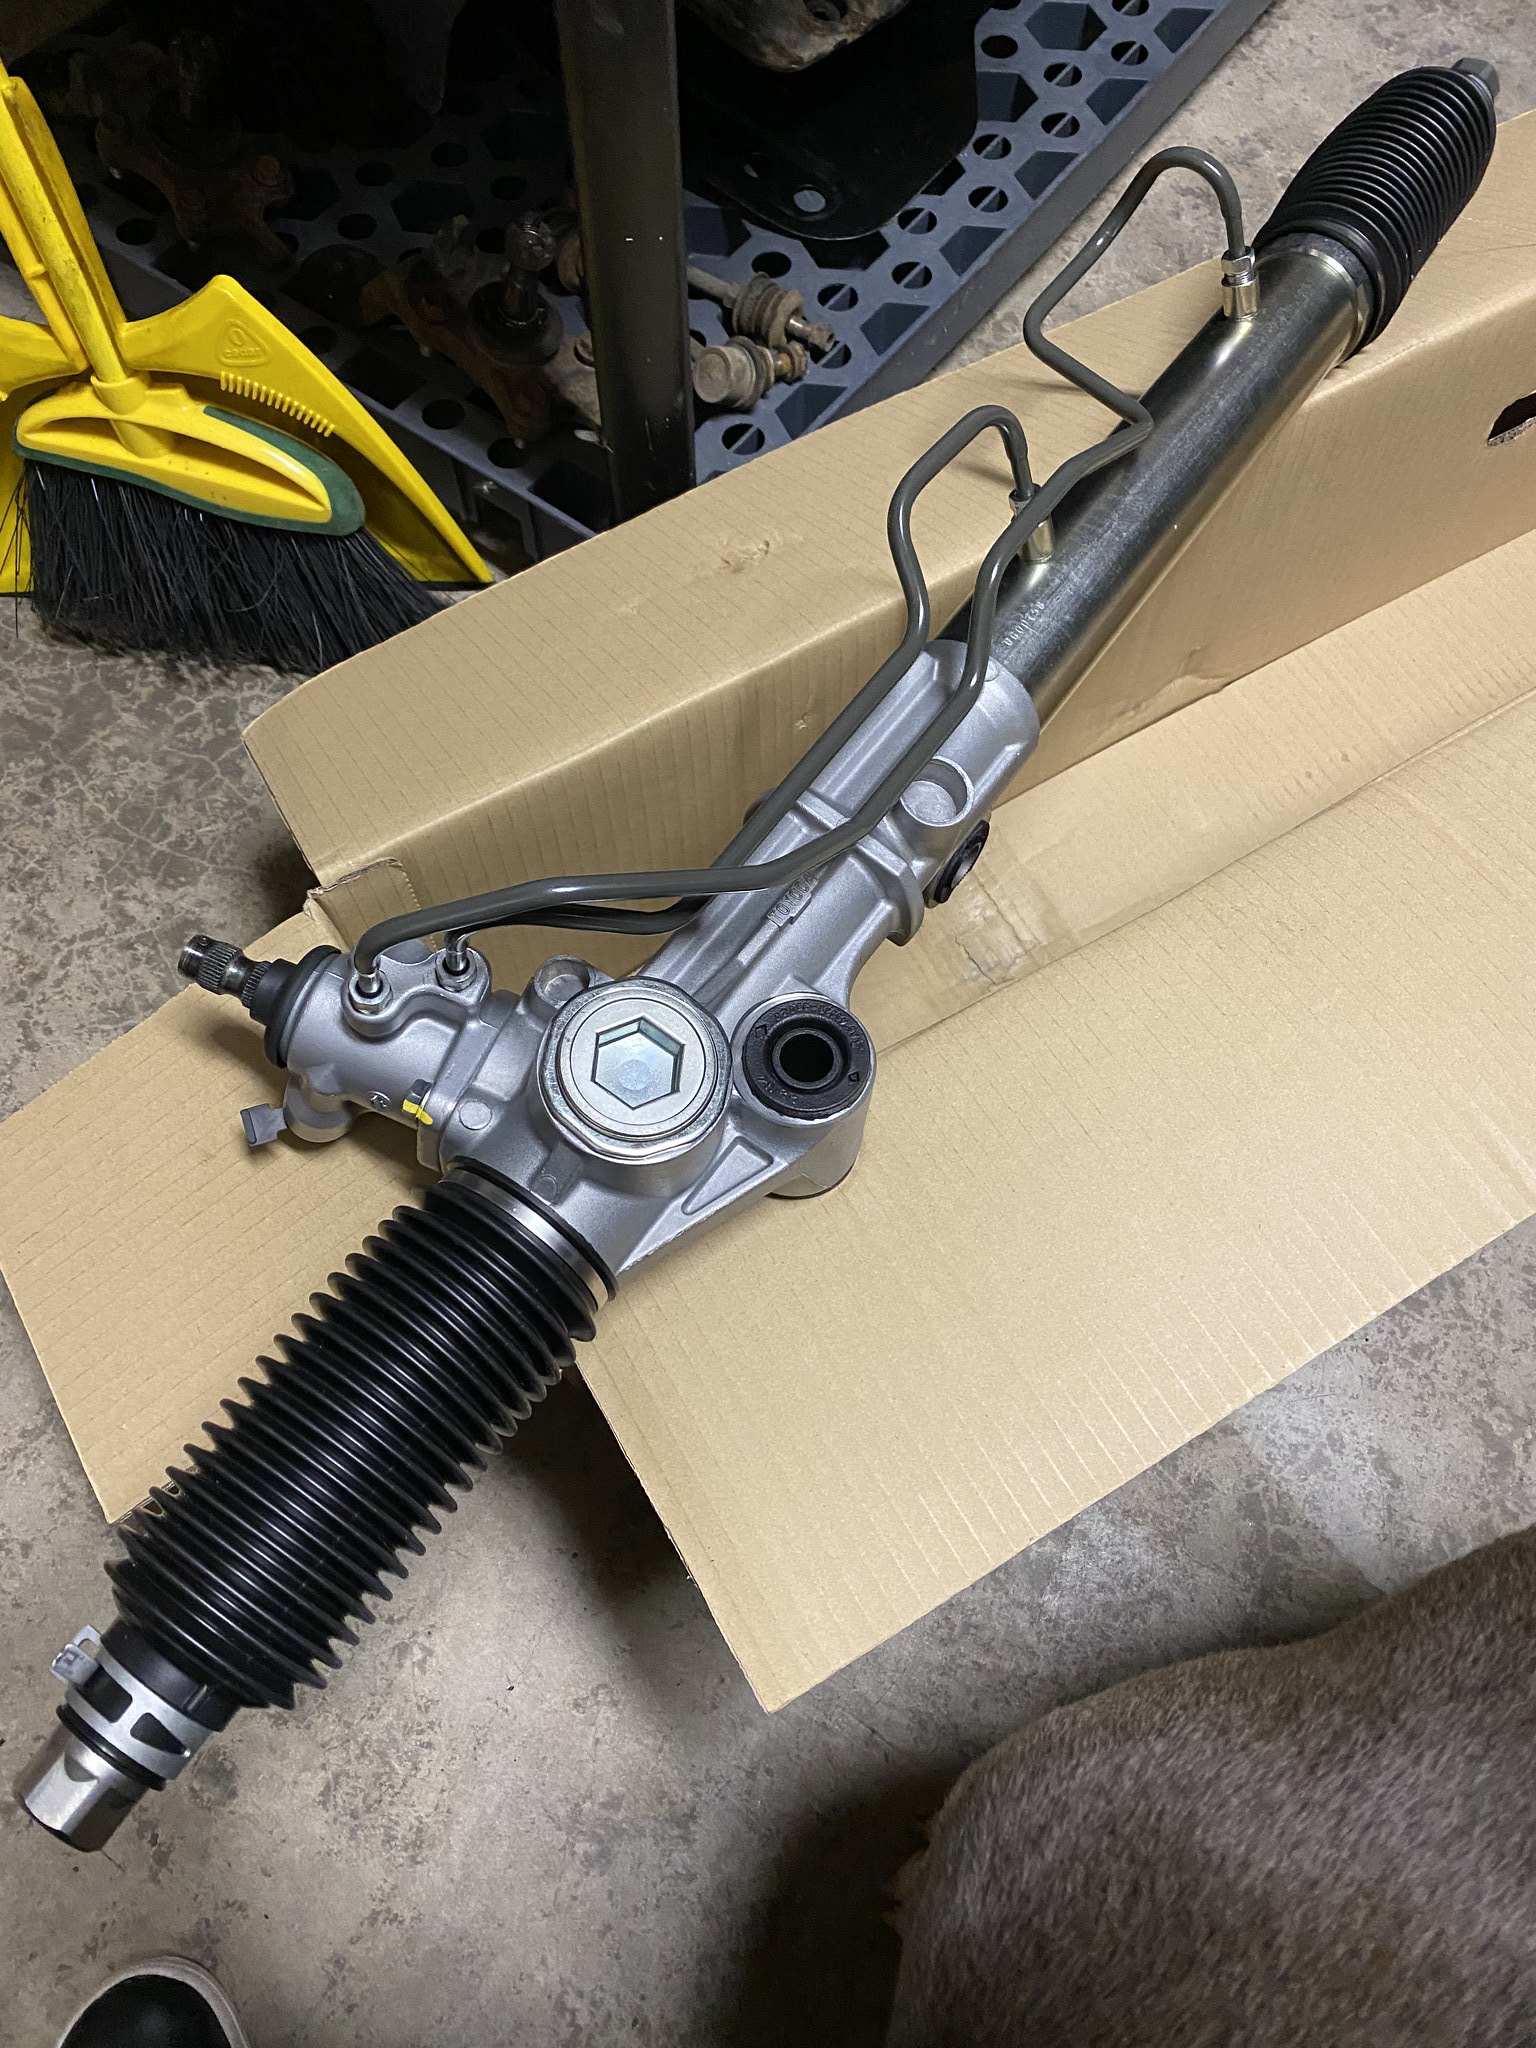
Fooooooooooooooooooooo
Untitled by 99blkx, on Flickr

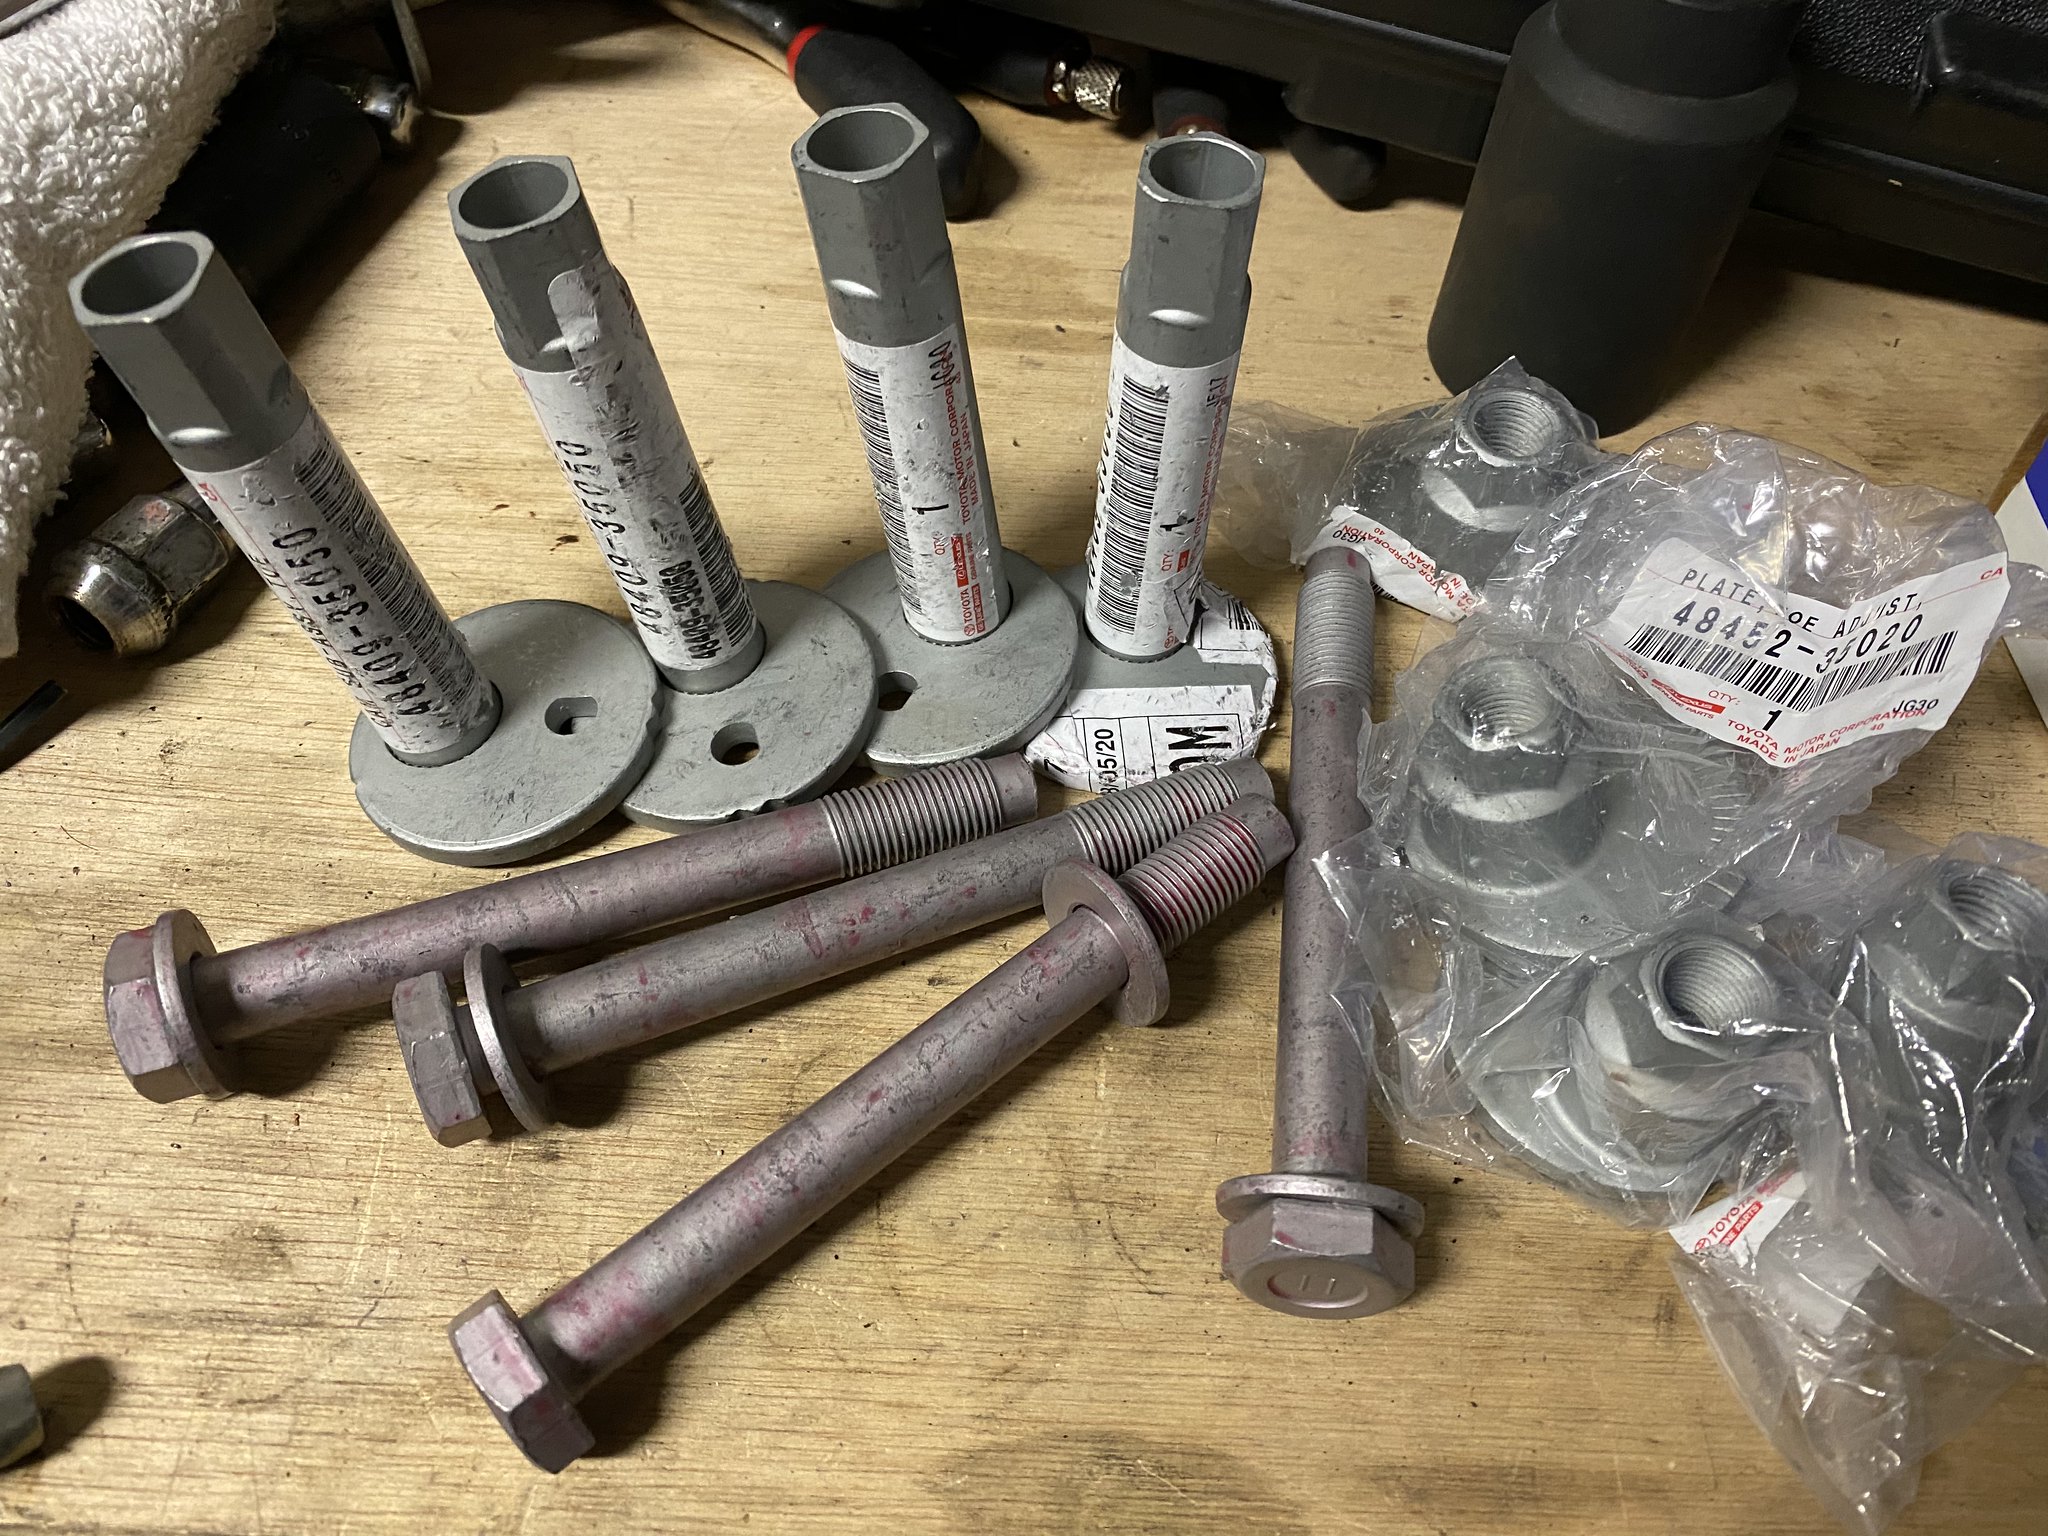
Asinine sticker placement.
Untitled by 99blkx, on Flickr

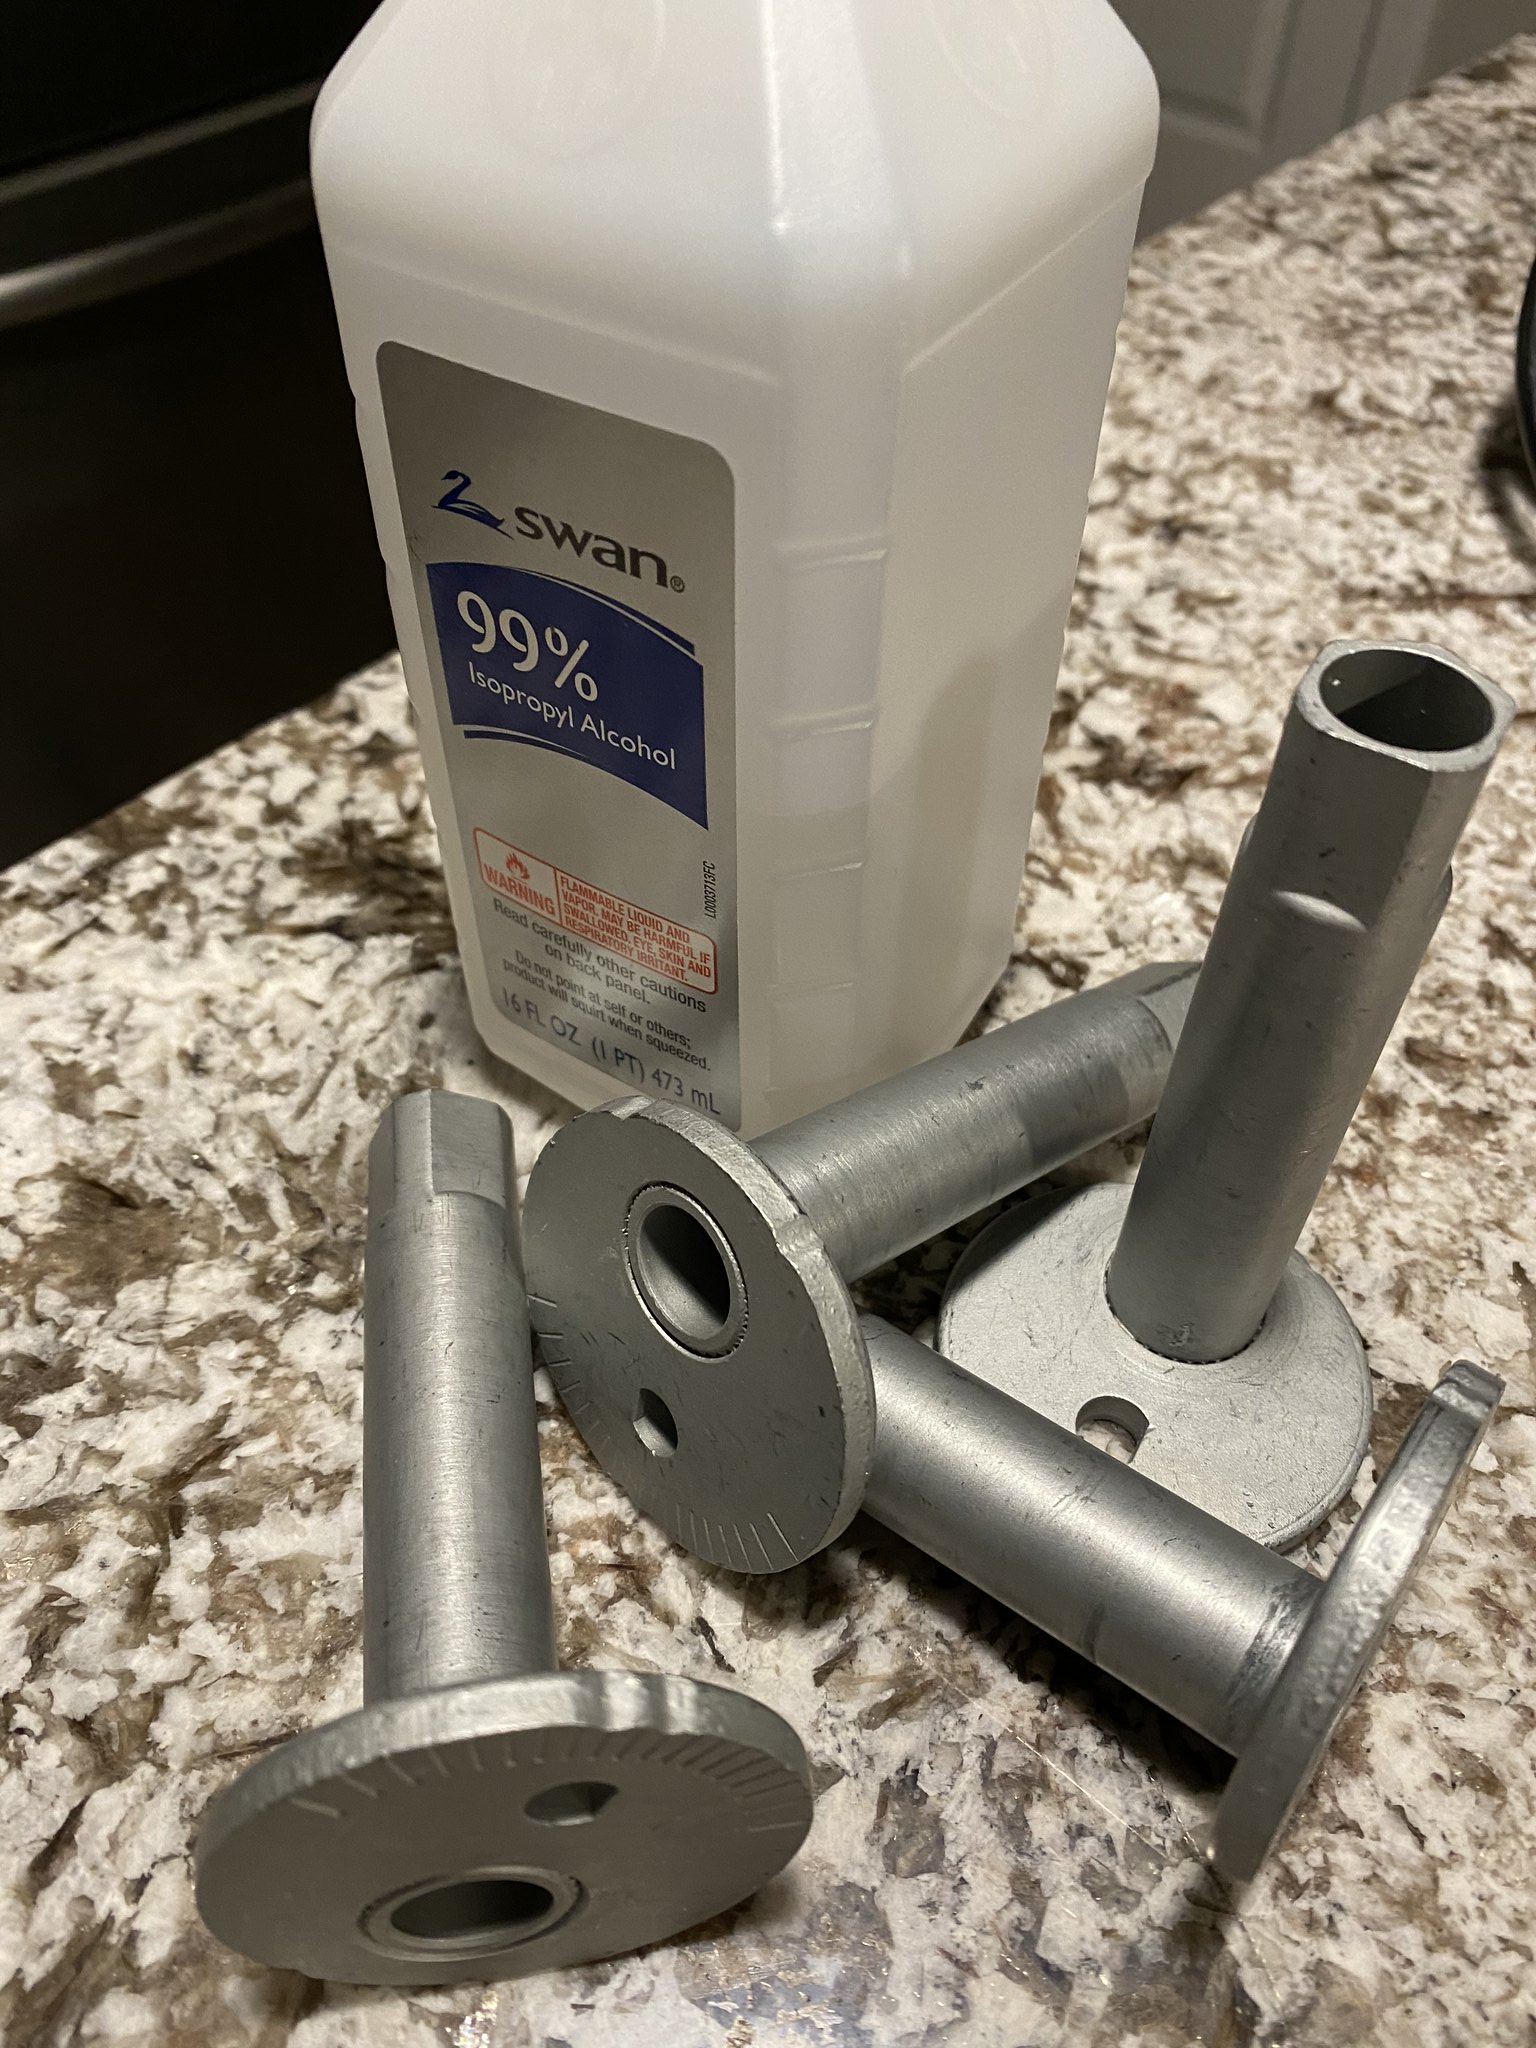
Much better.
Untitled by 99blkx, on Flickr

Not good but didn't have to cut any out. Whew!
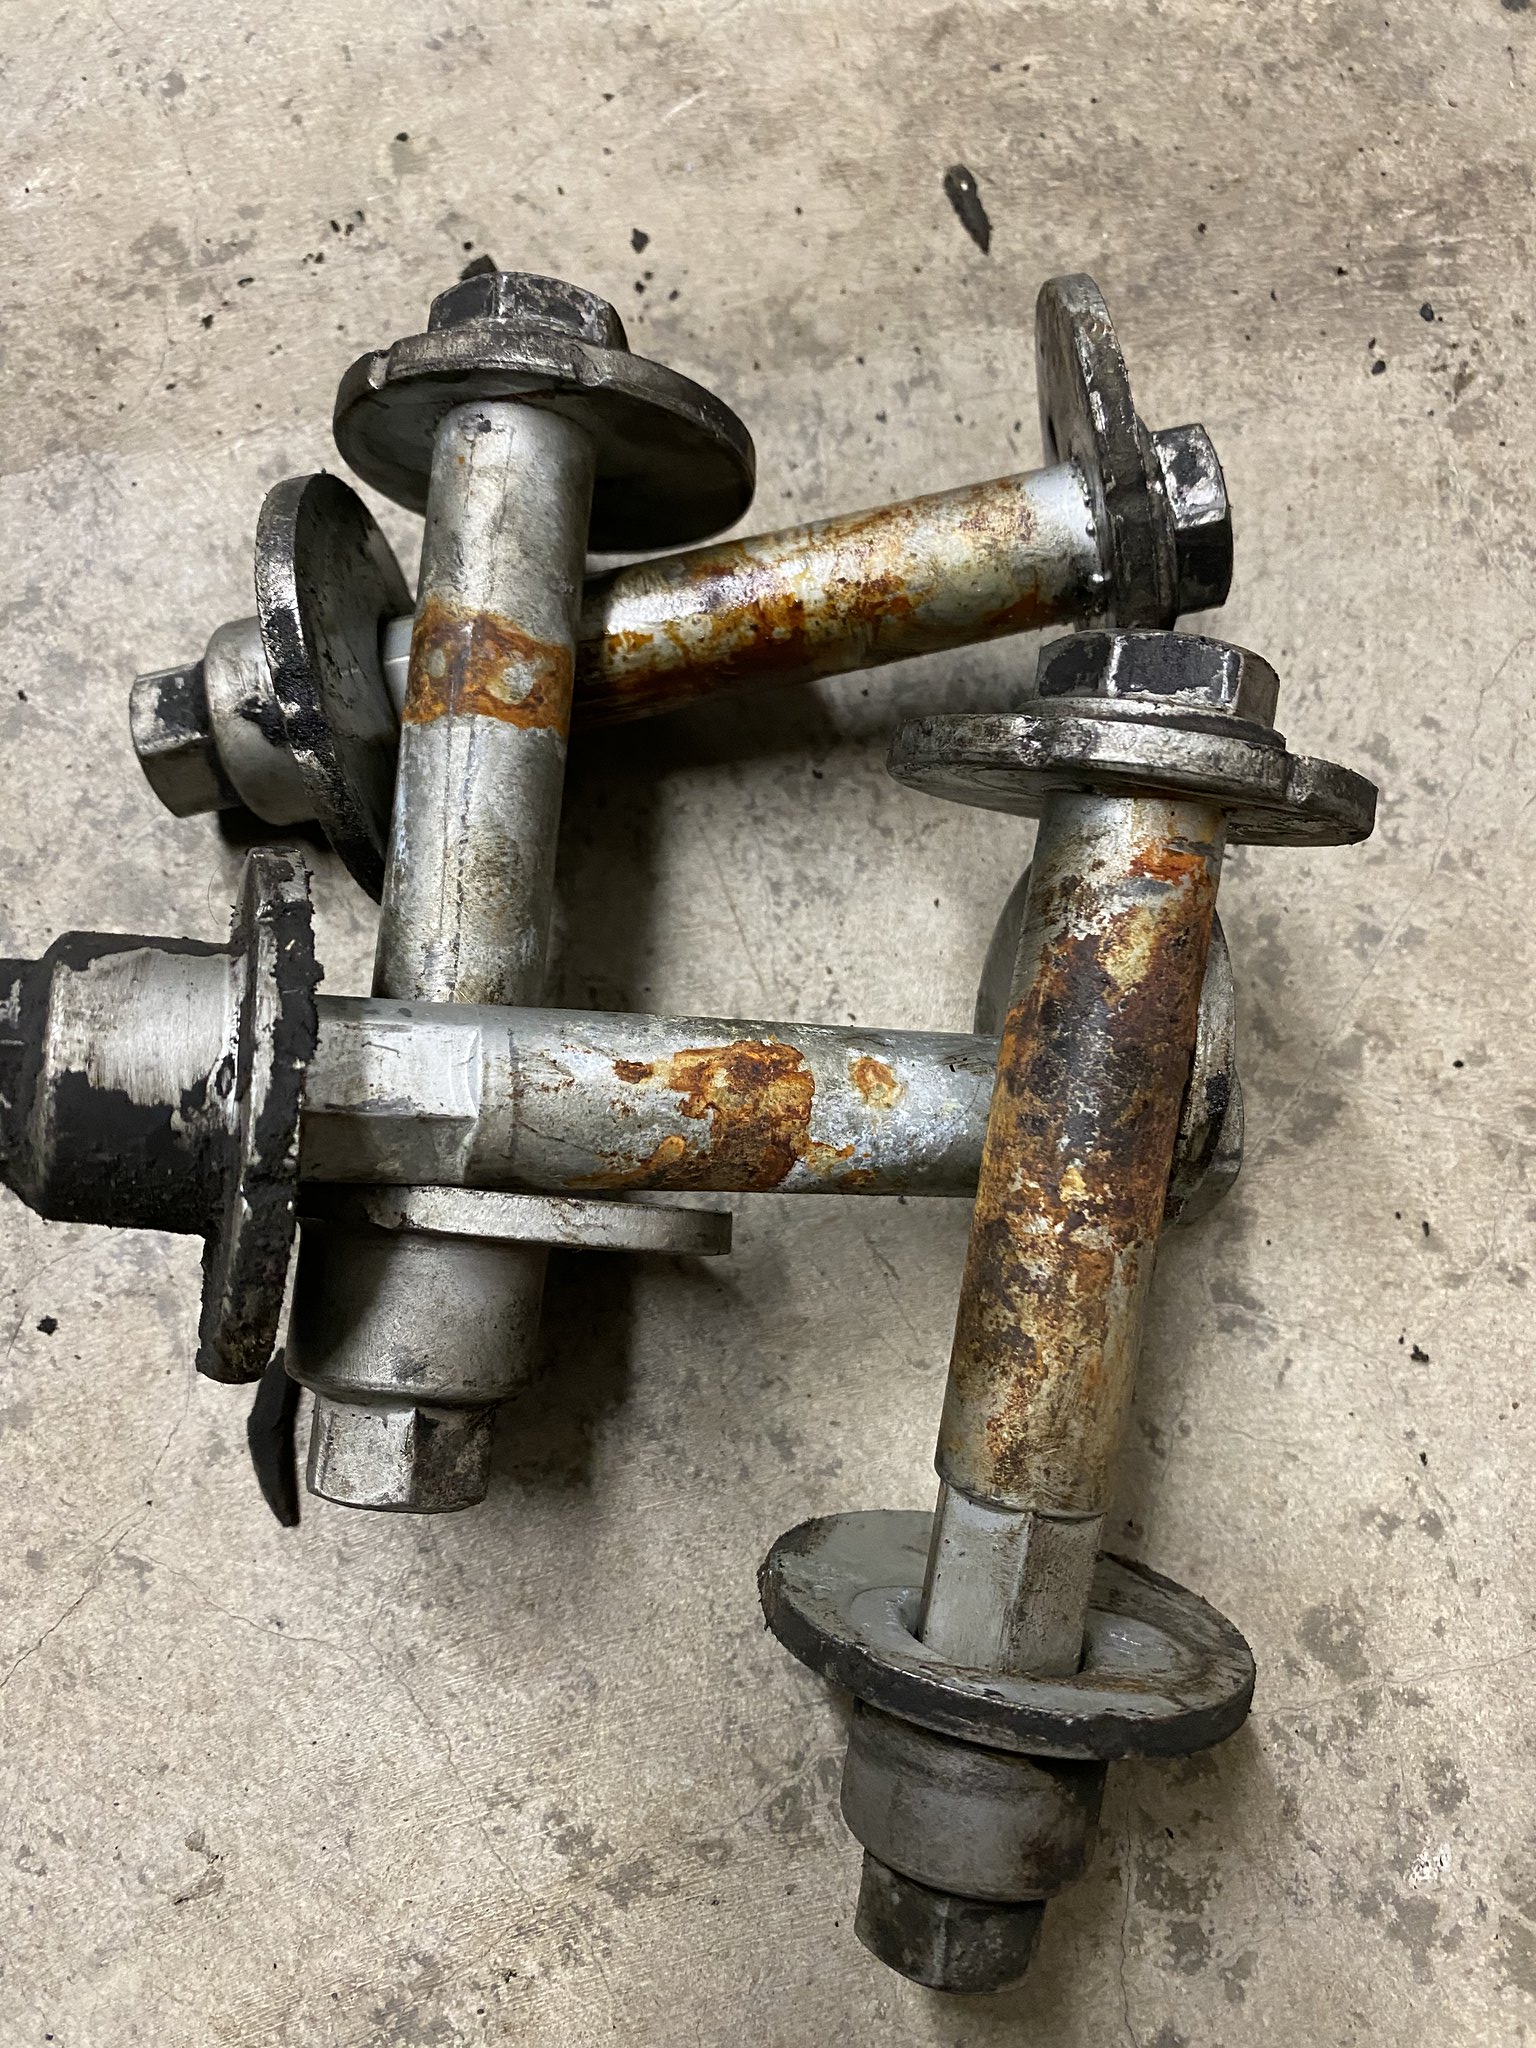
Untitled by 99blkx, on Flickr

Pulled this off. Not my thing.
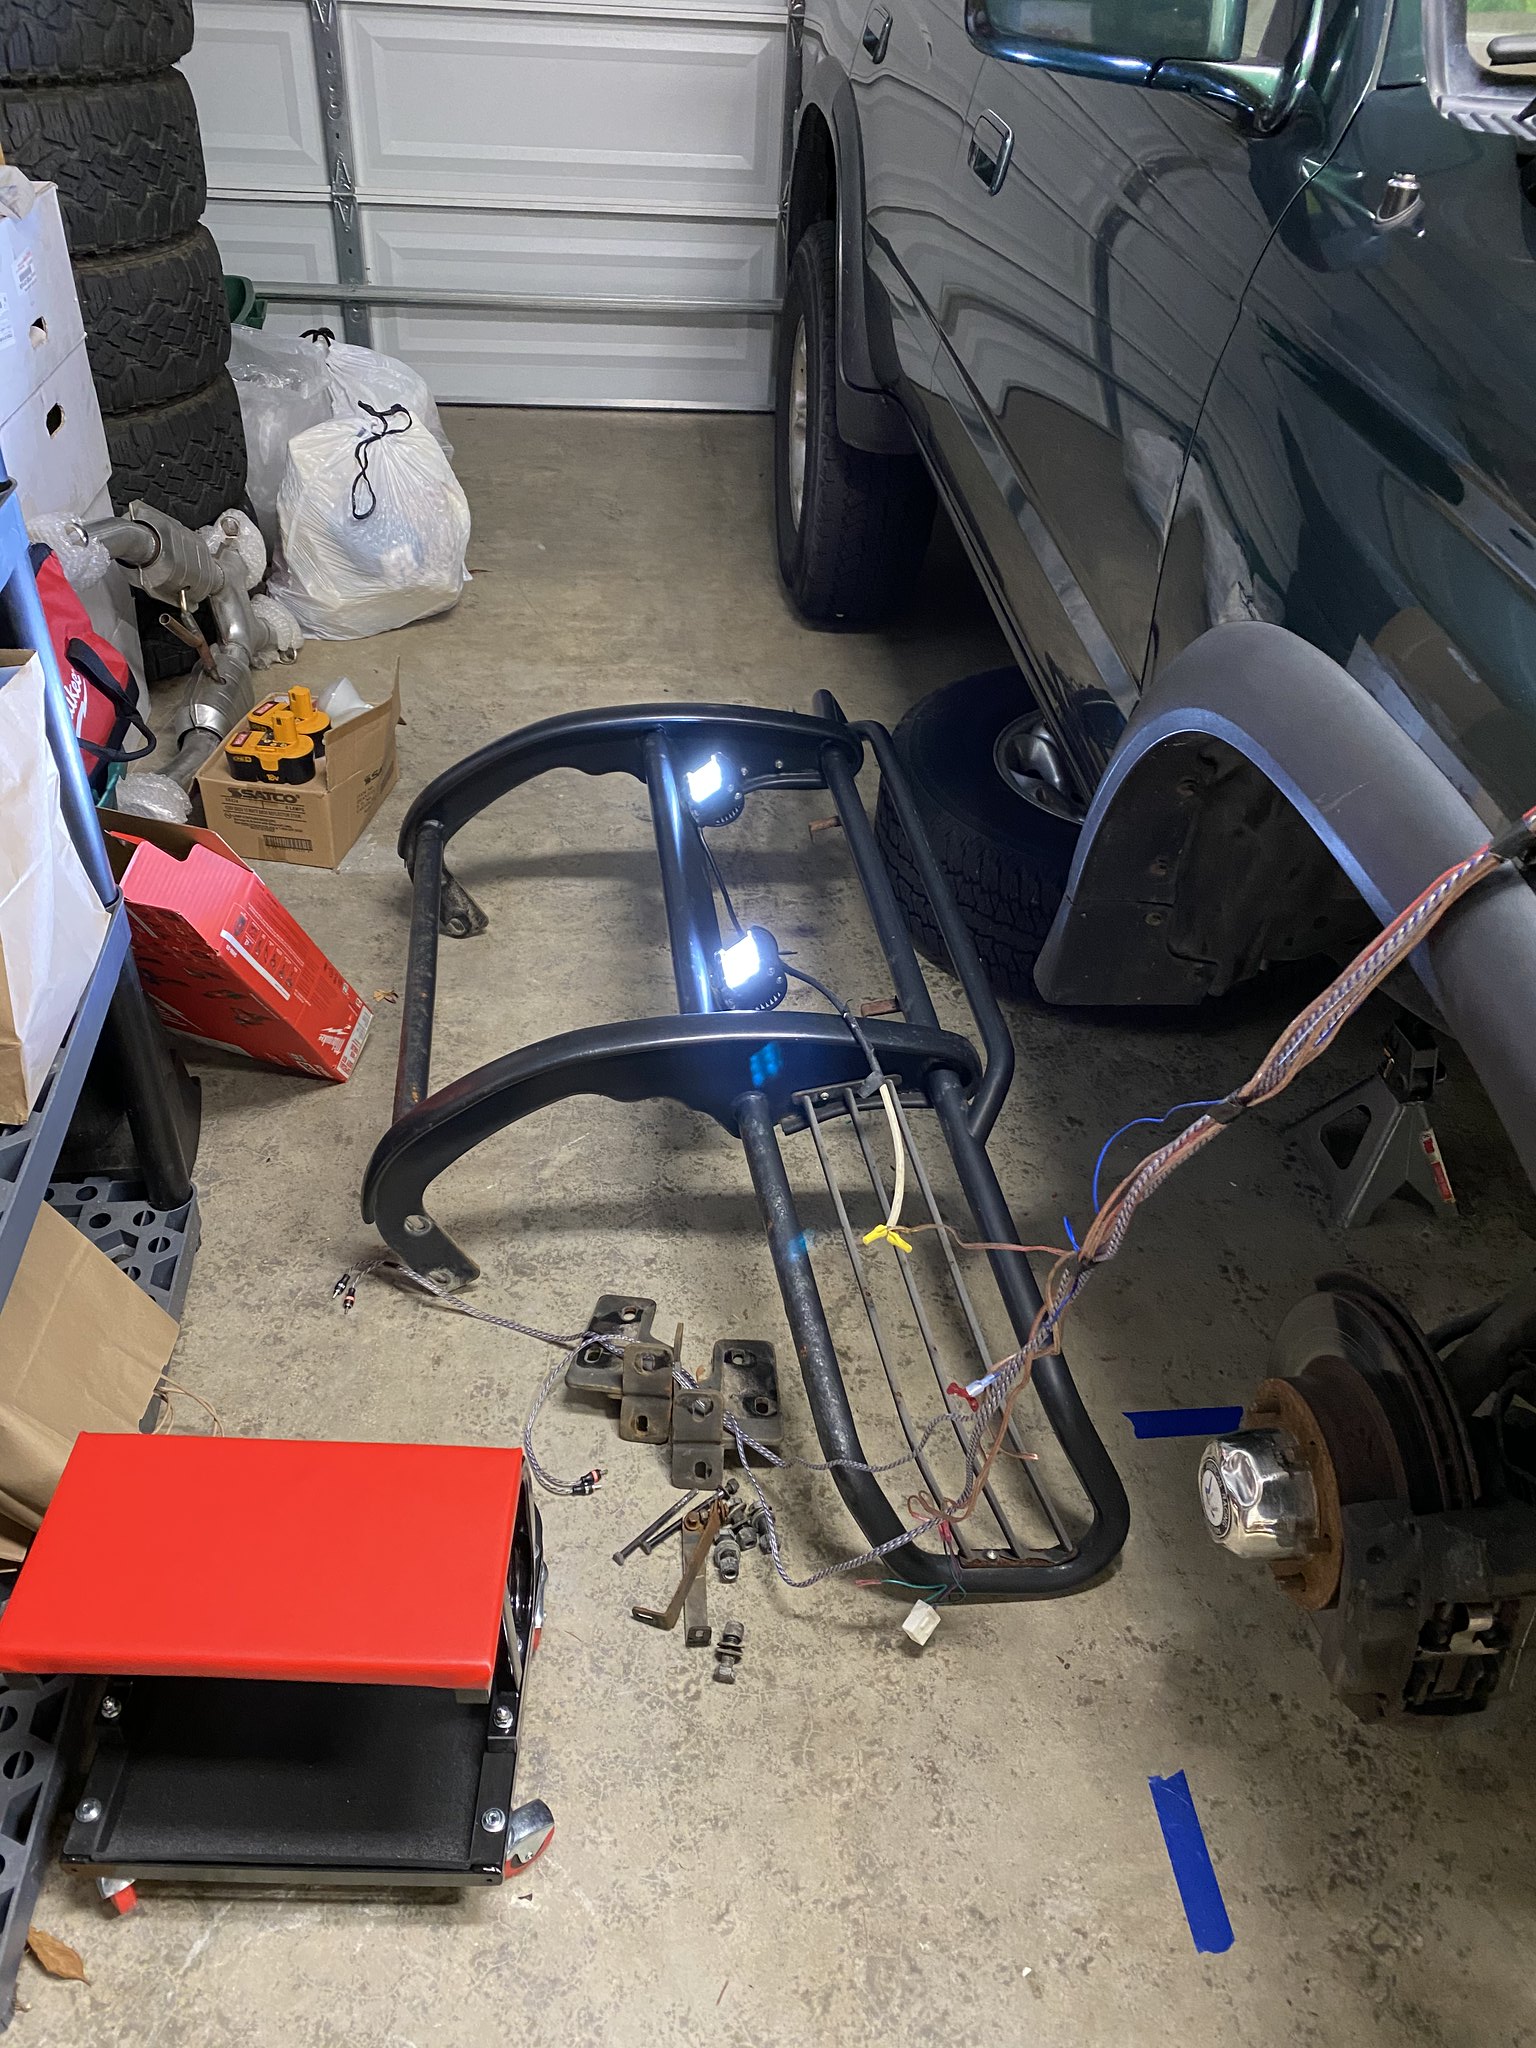
Untitled by 99blkx, on Flickr

Better. Still a fat lip with a dent.
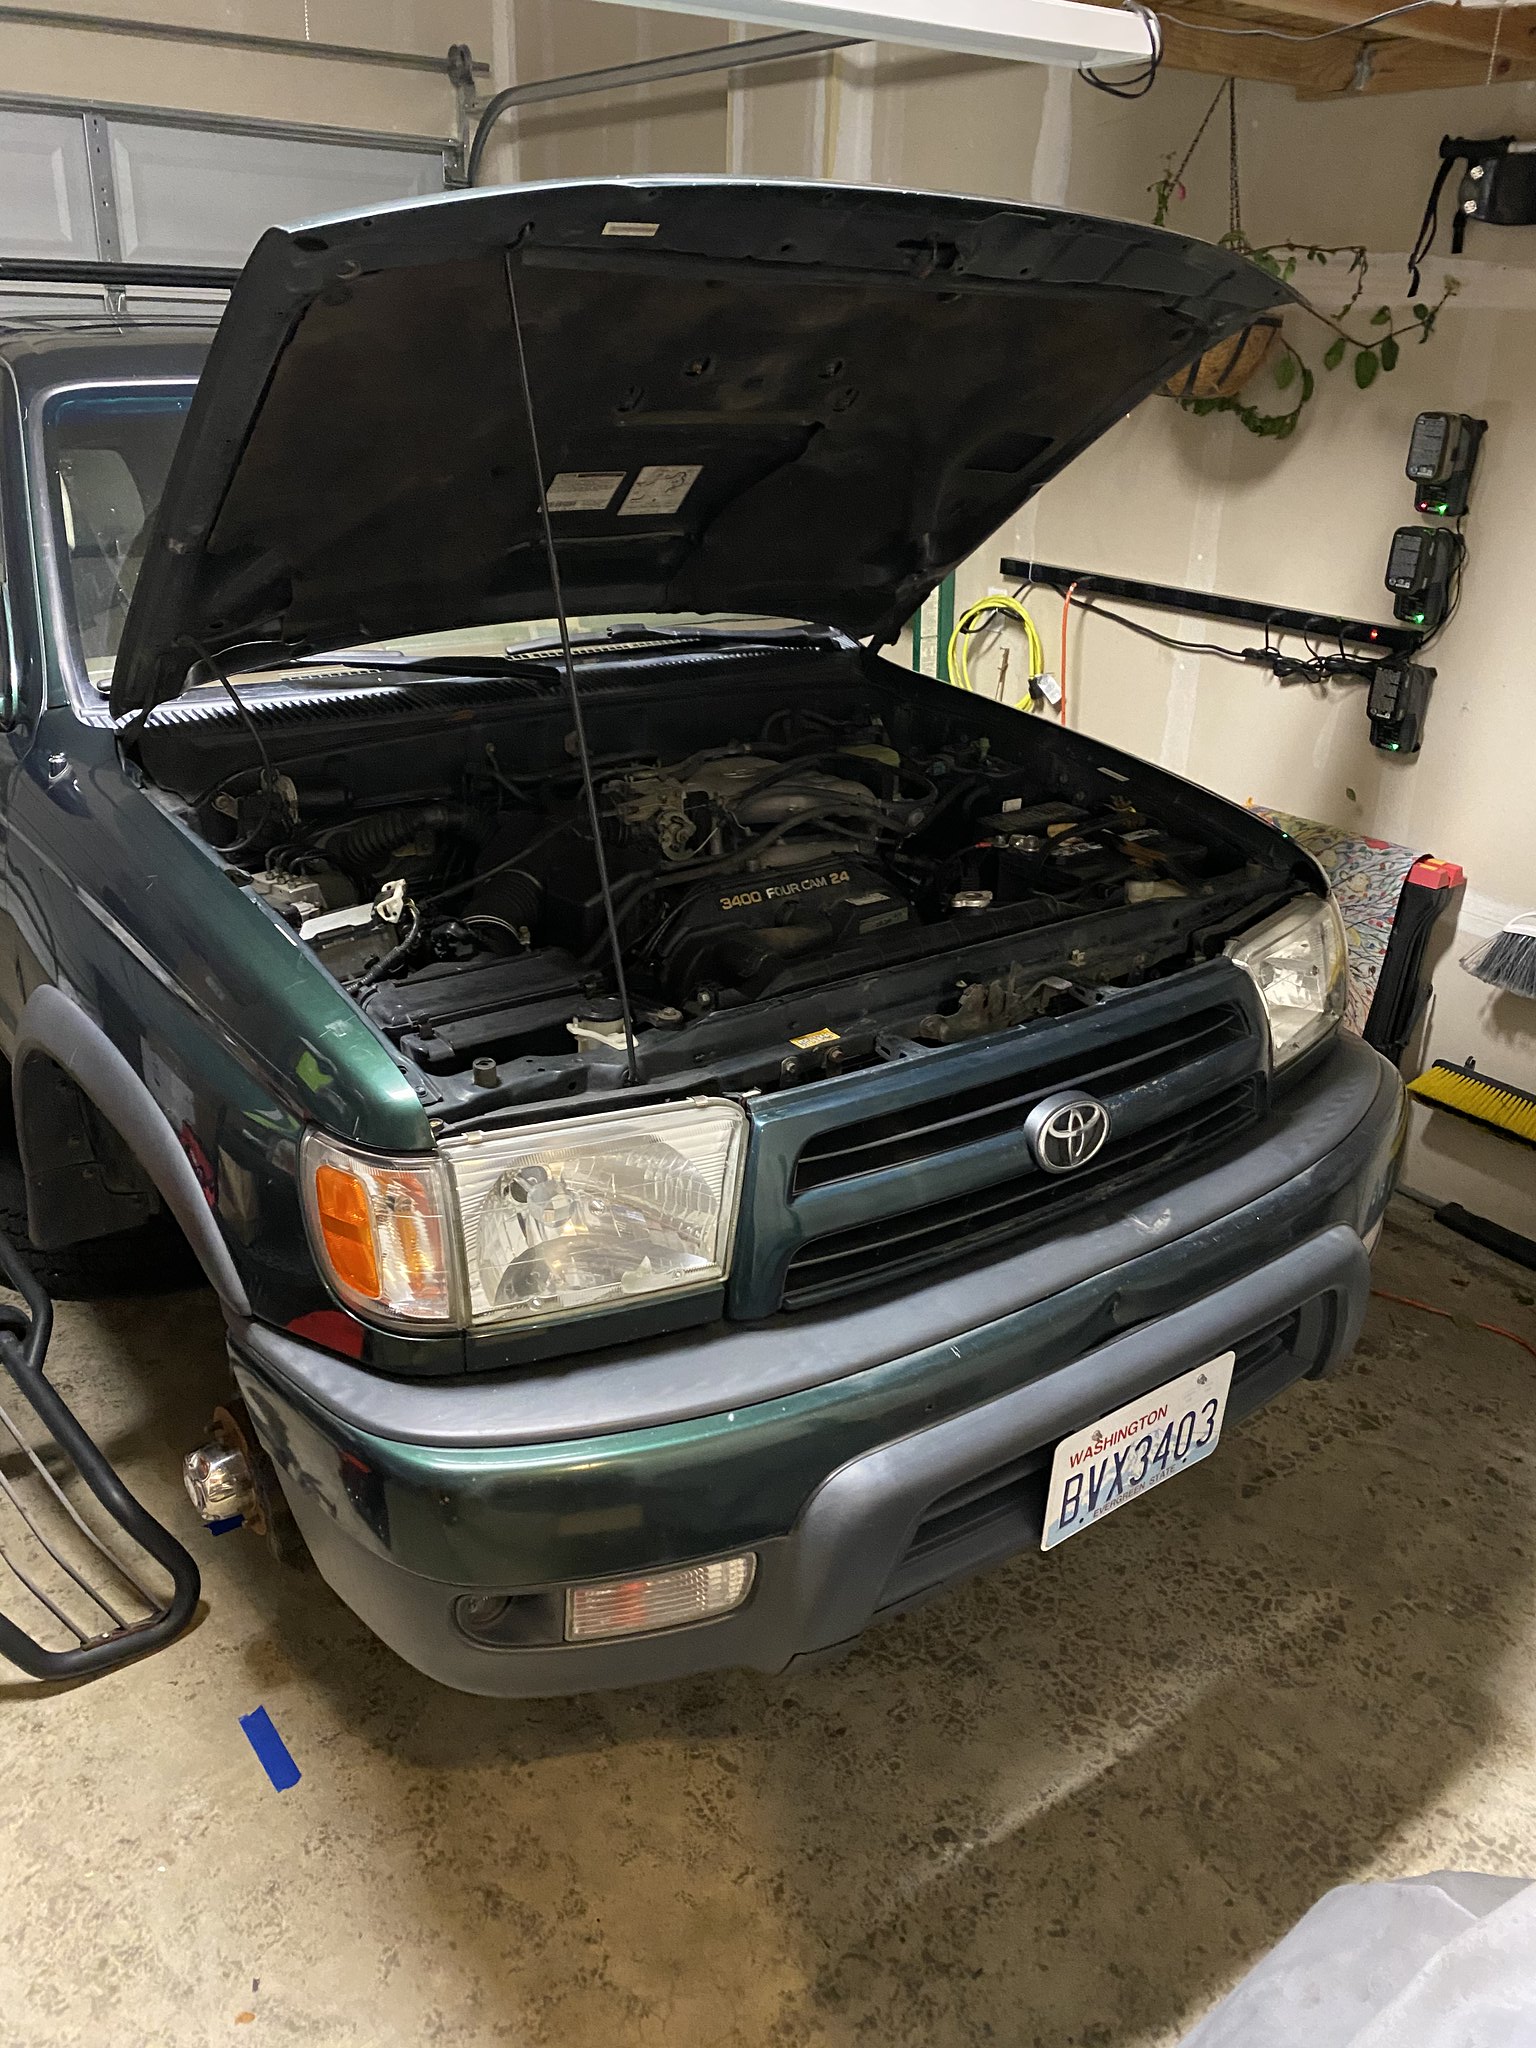
Untitled by 99blkx, on Flickr

Bought a new thing.
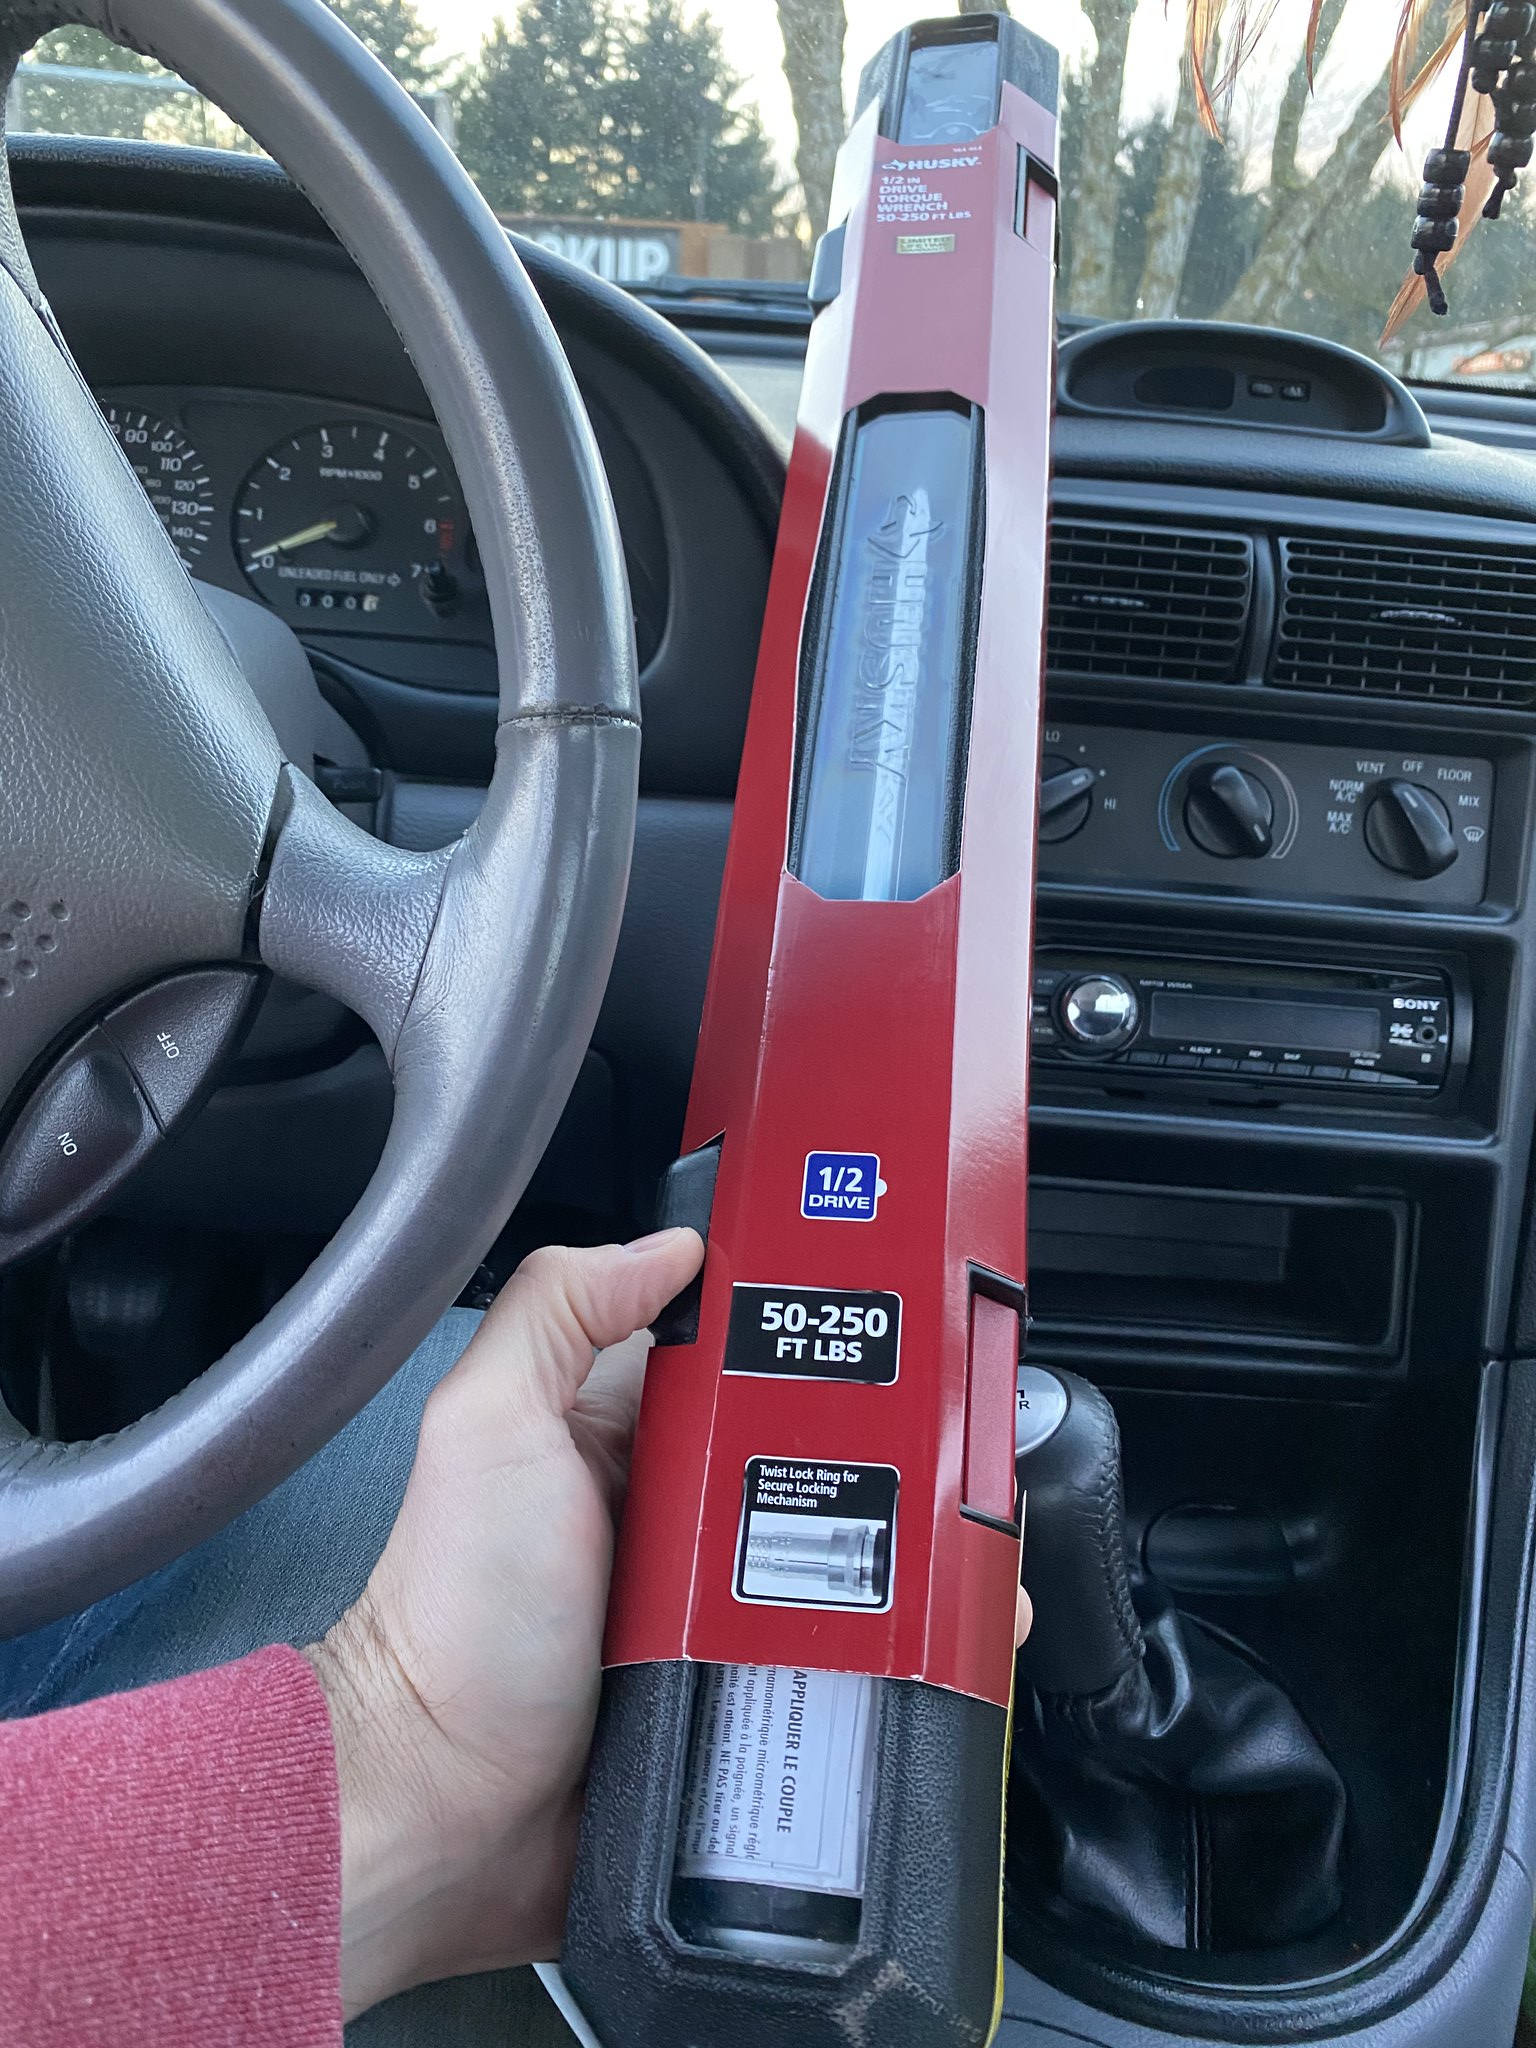
Untitled by 99blkx, on Flickr

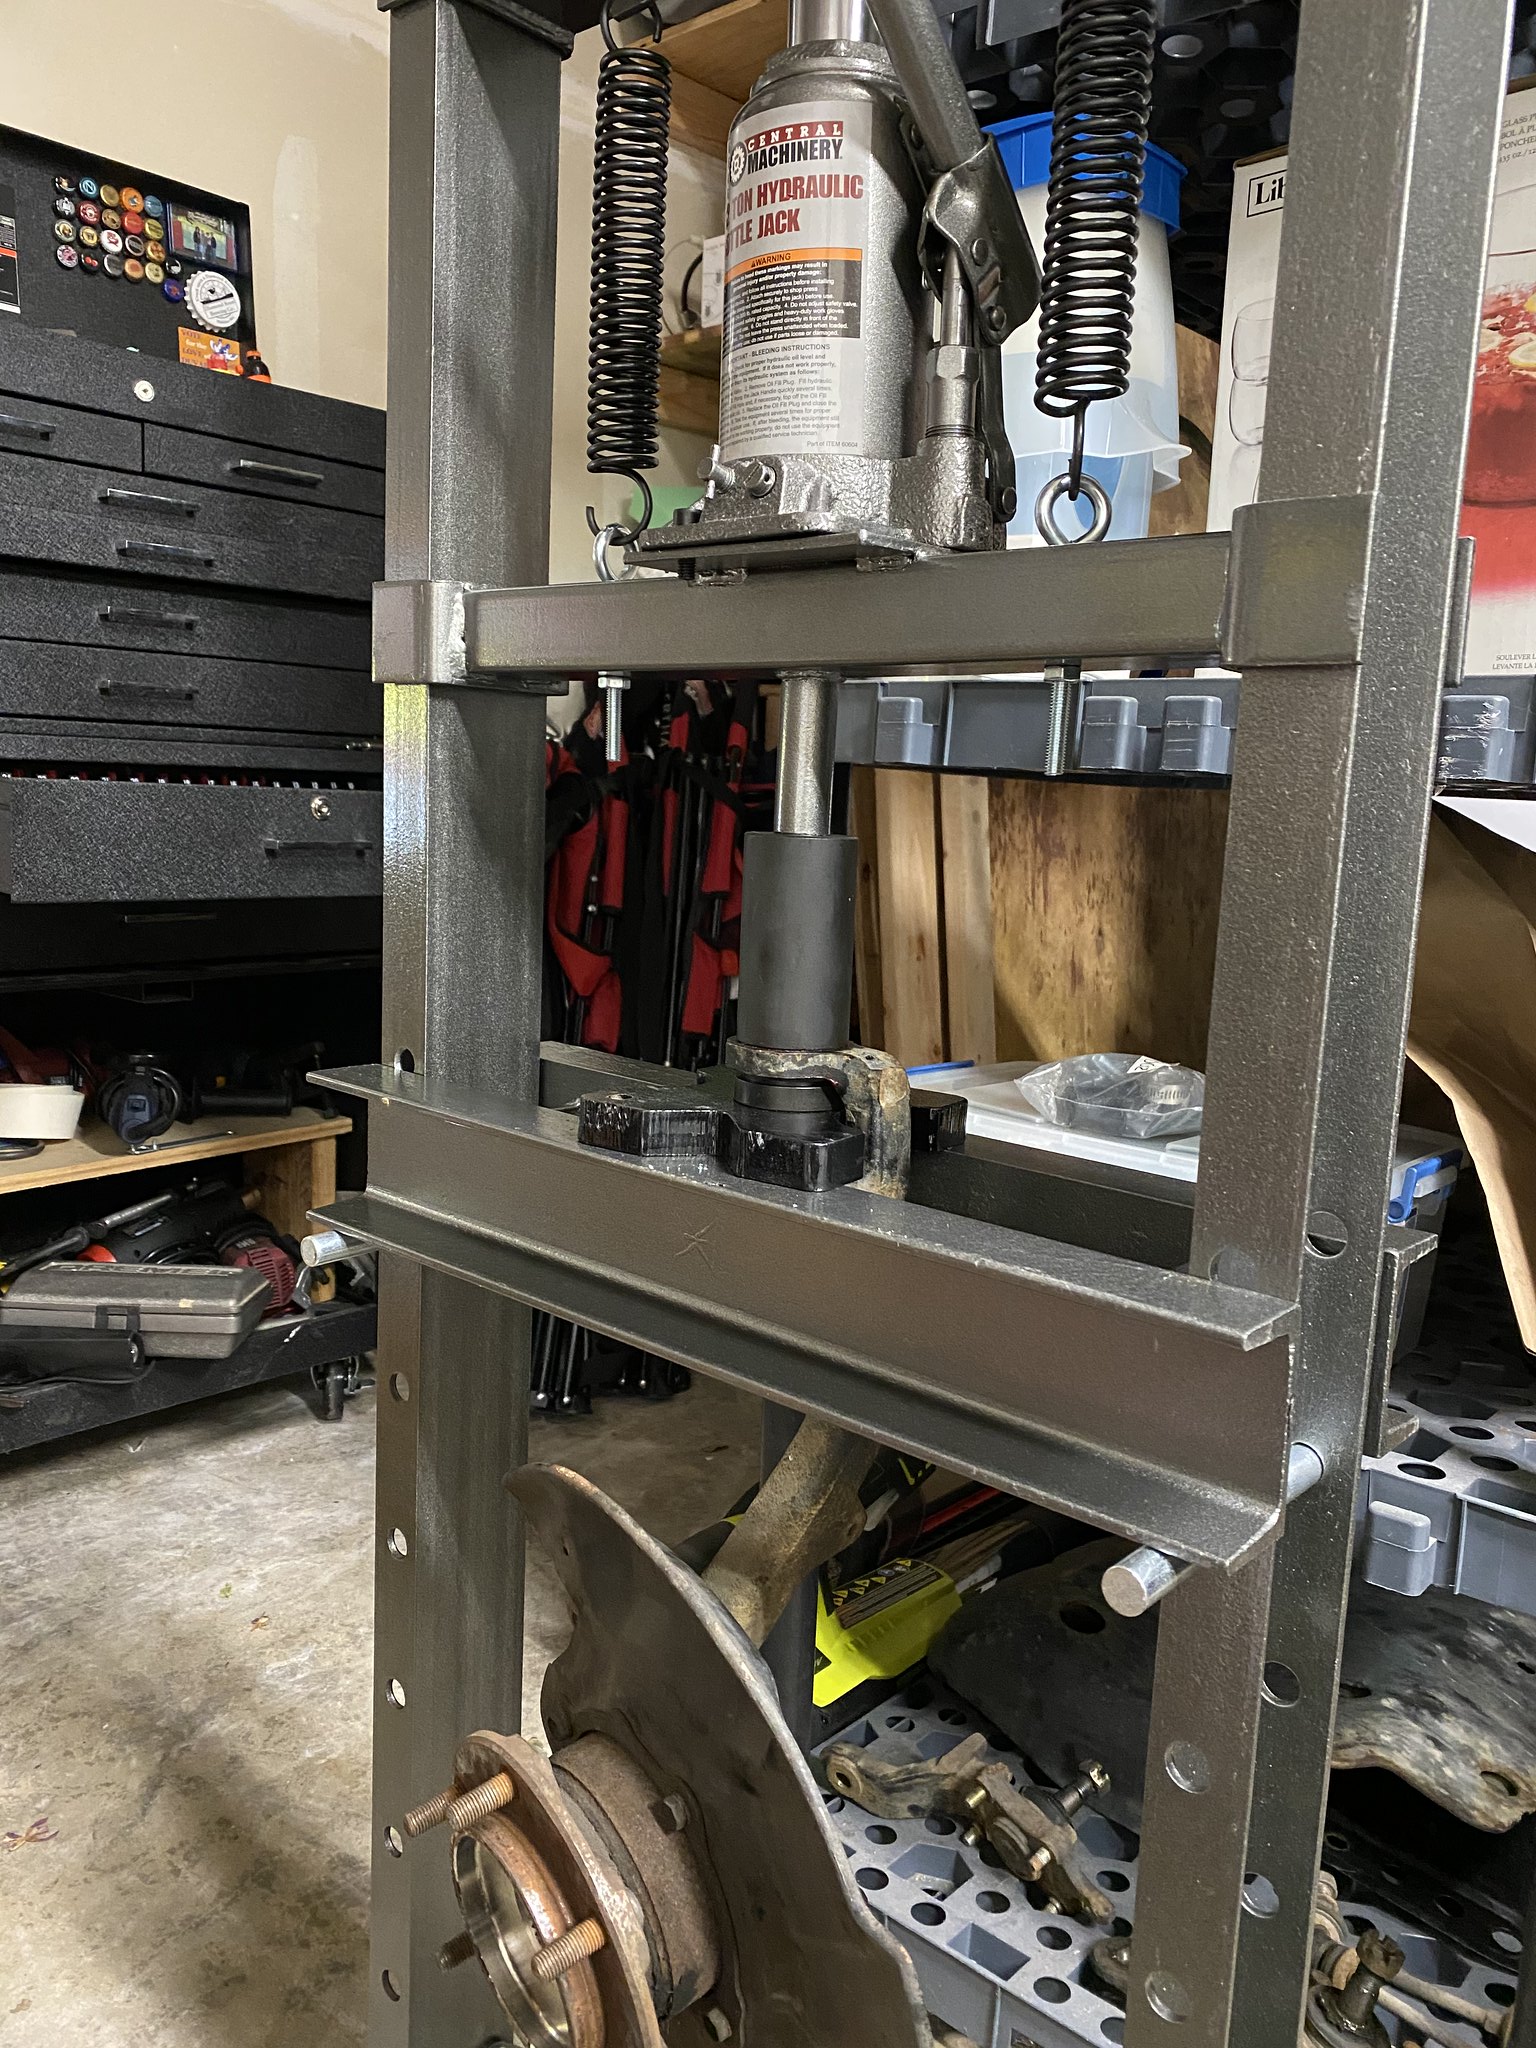
Bought another thing.
Untitled by 99blkx, on Flickr

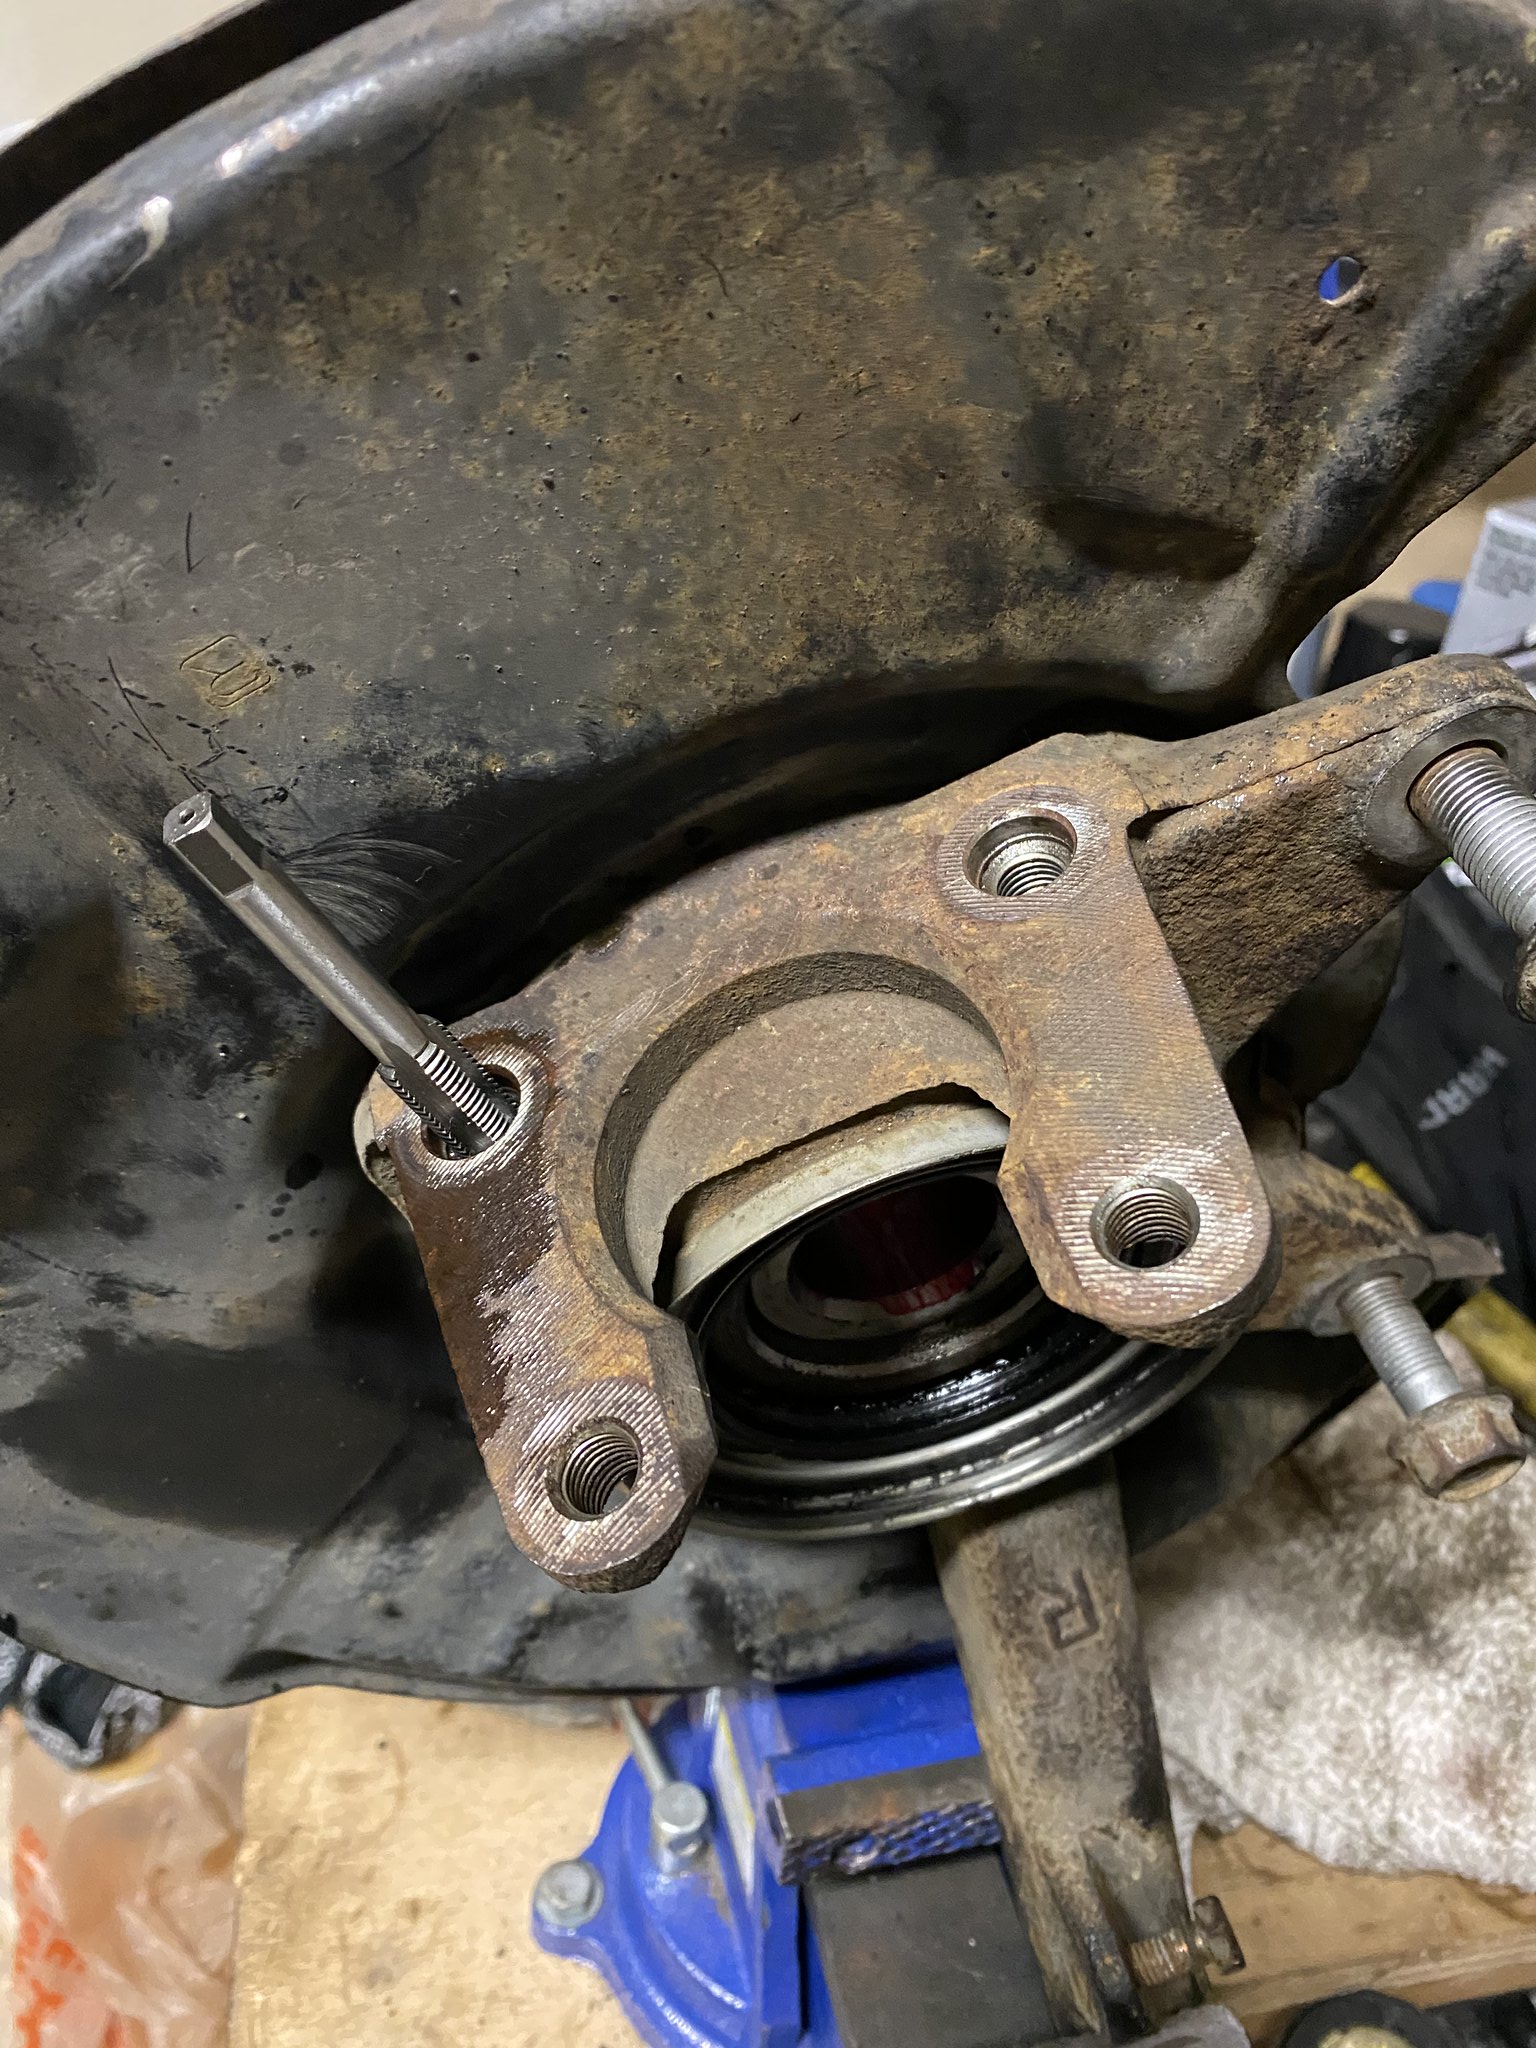
A must for UBJ. The C clamp tool wasn't getting it done. I even hit it with an impact.

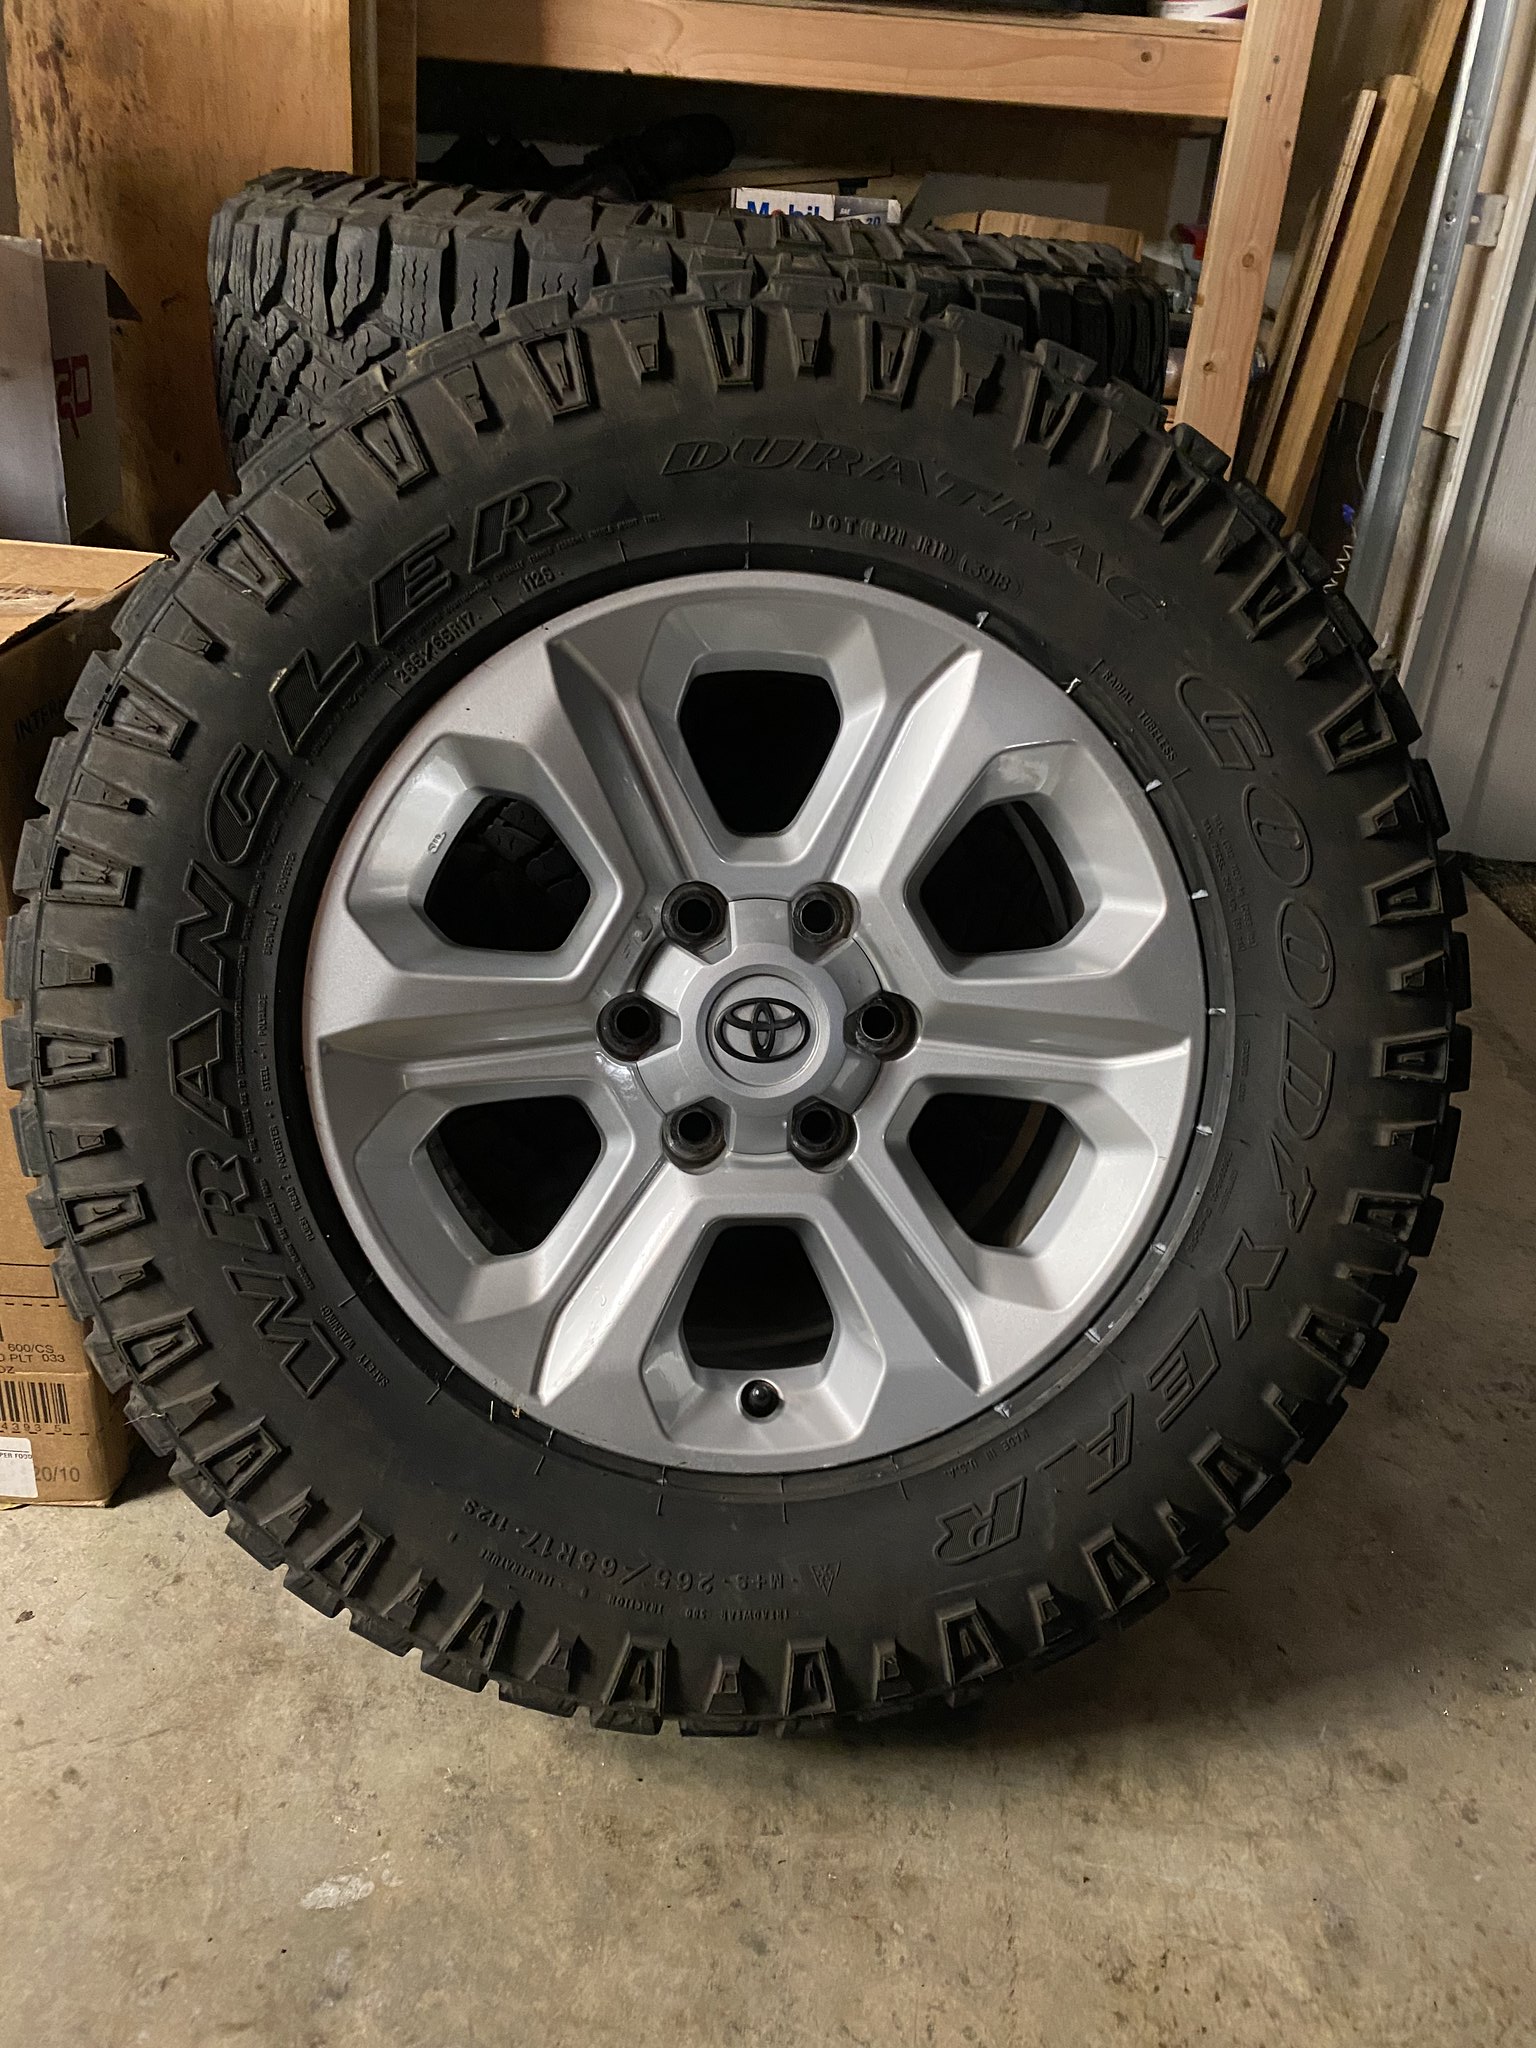
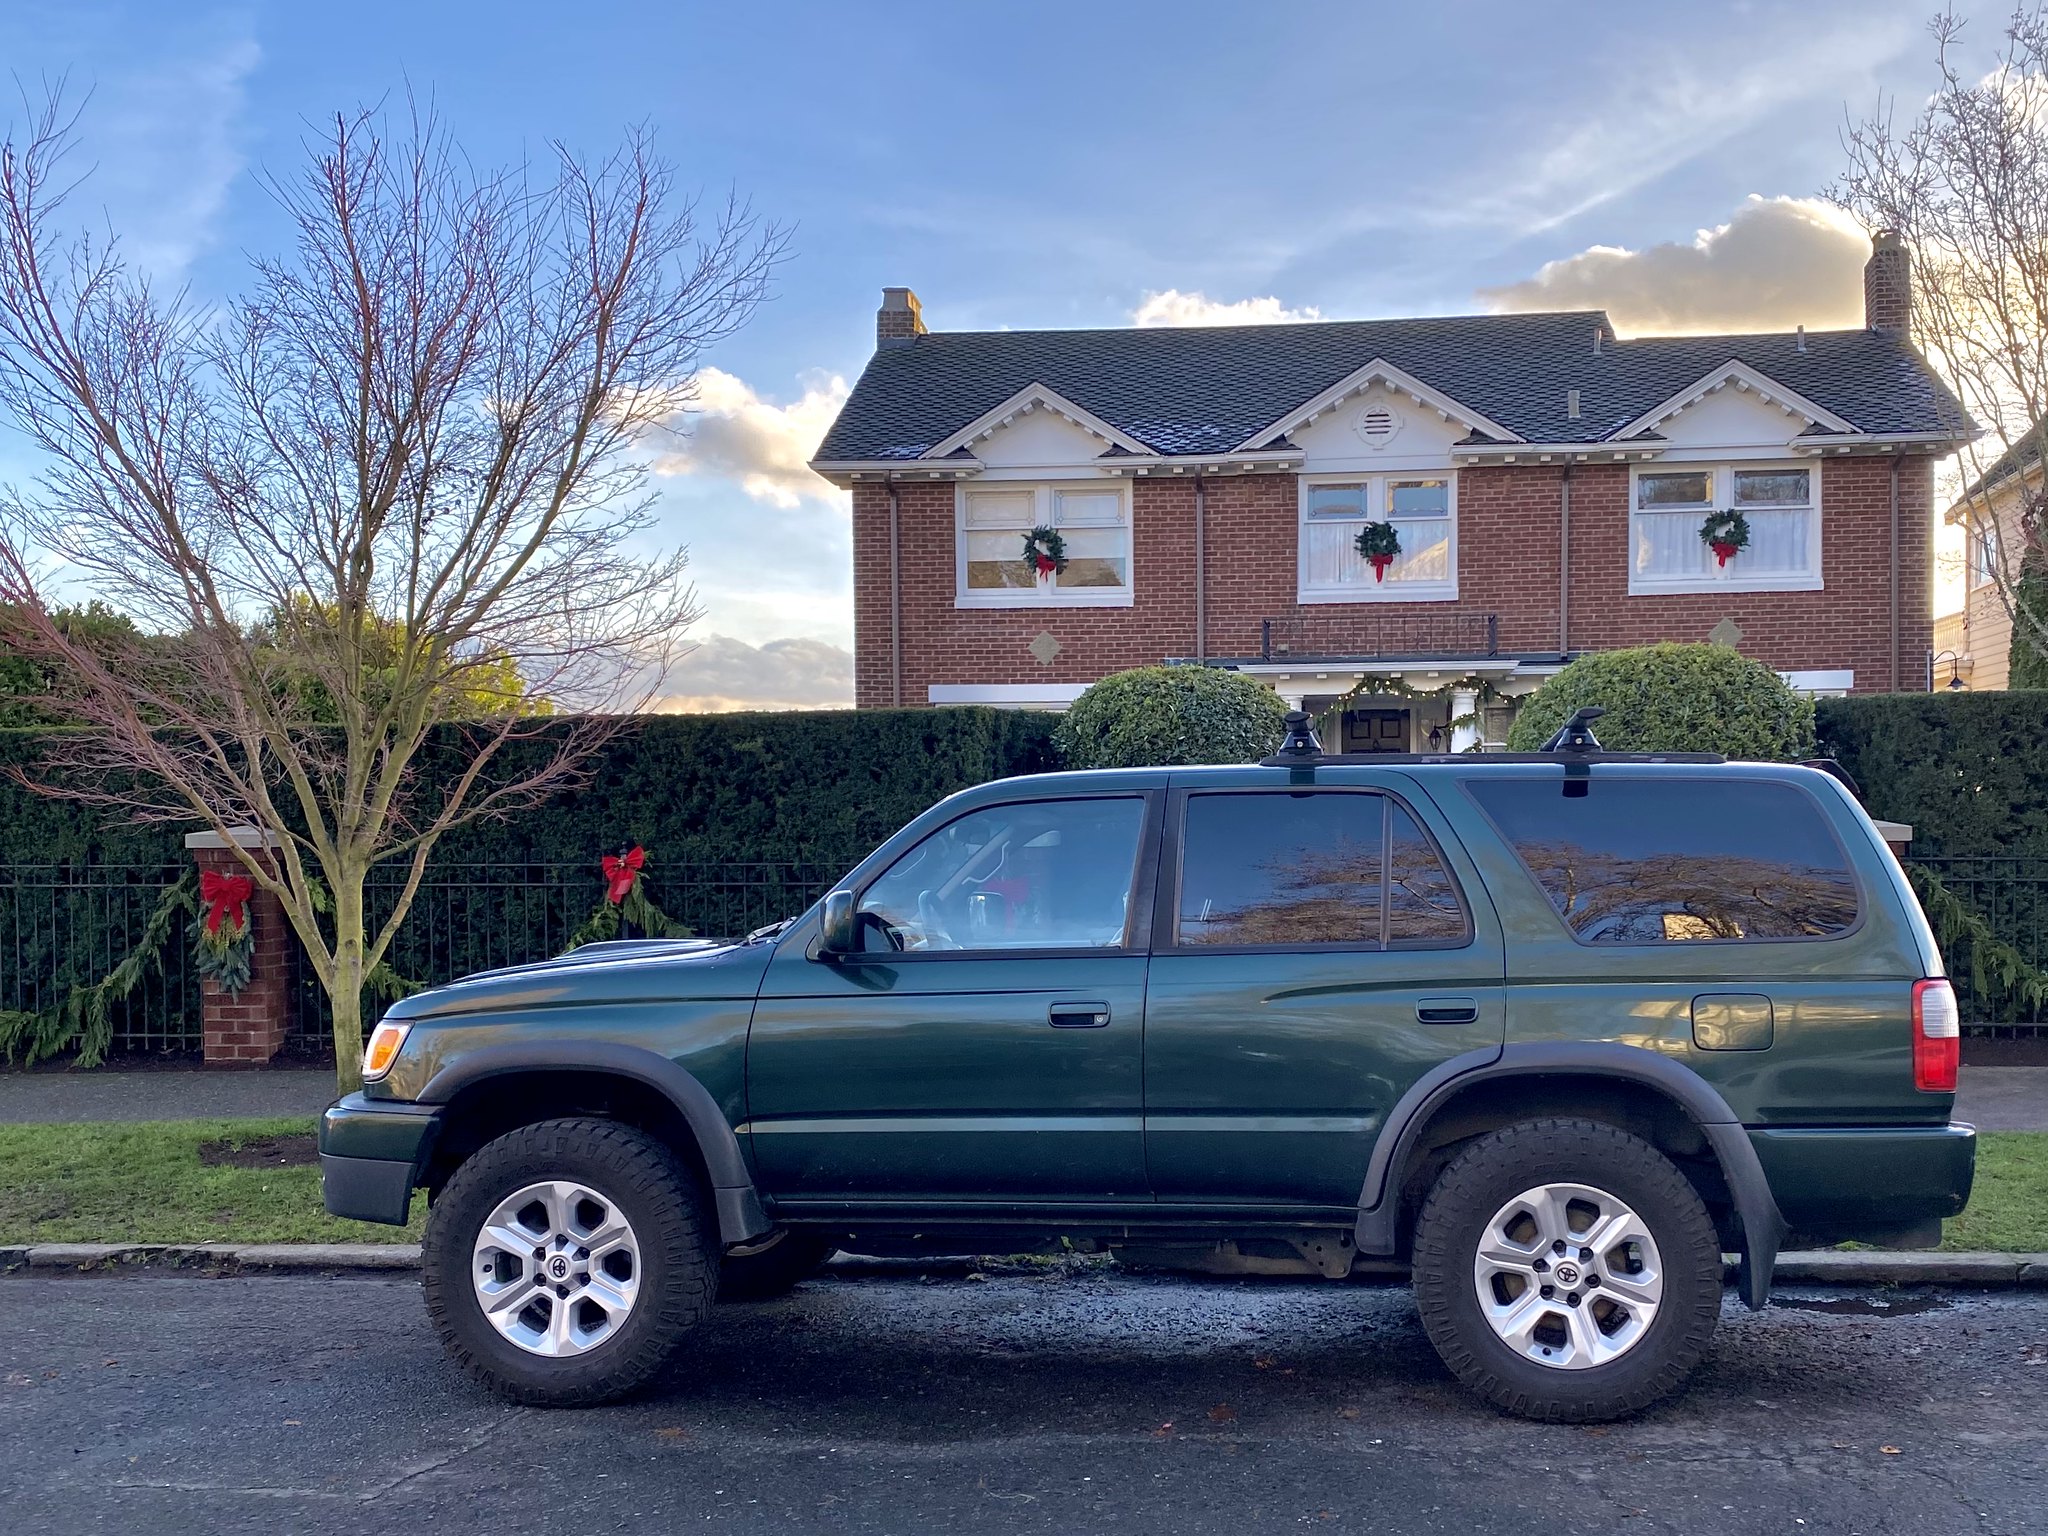
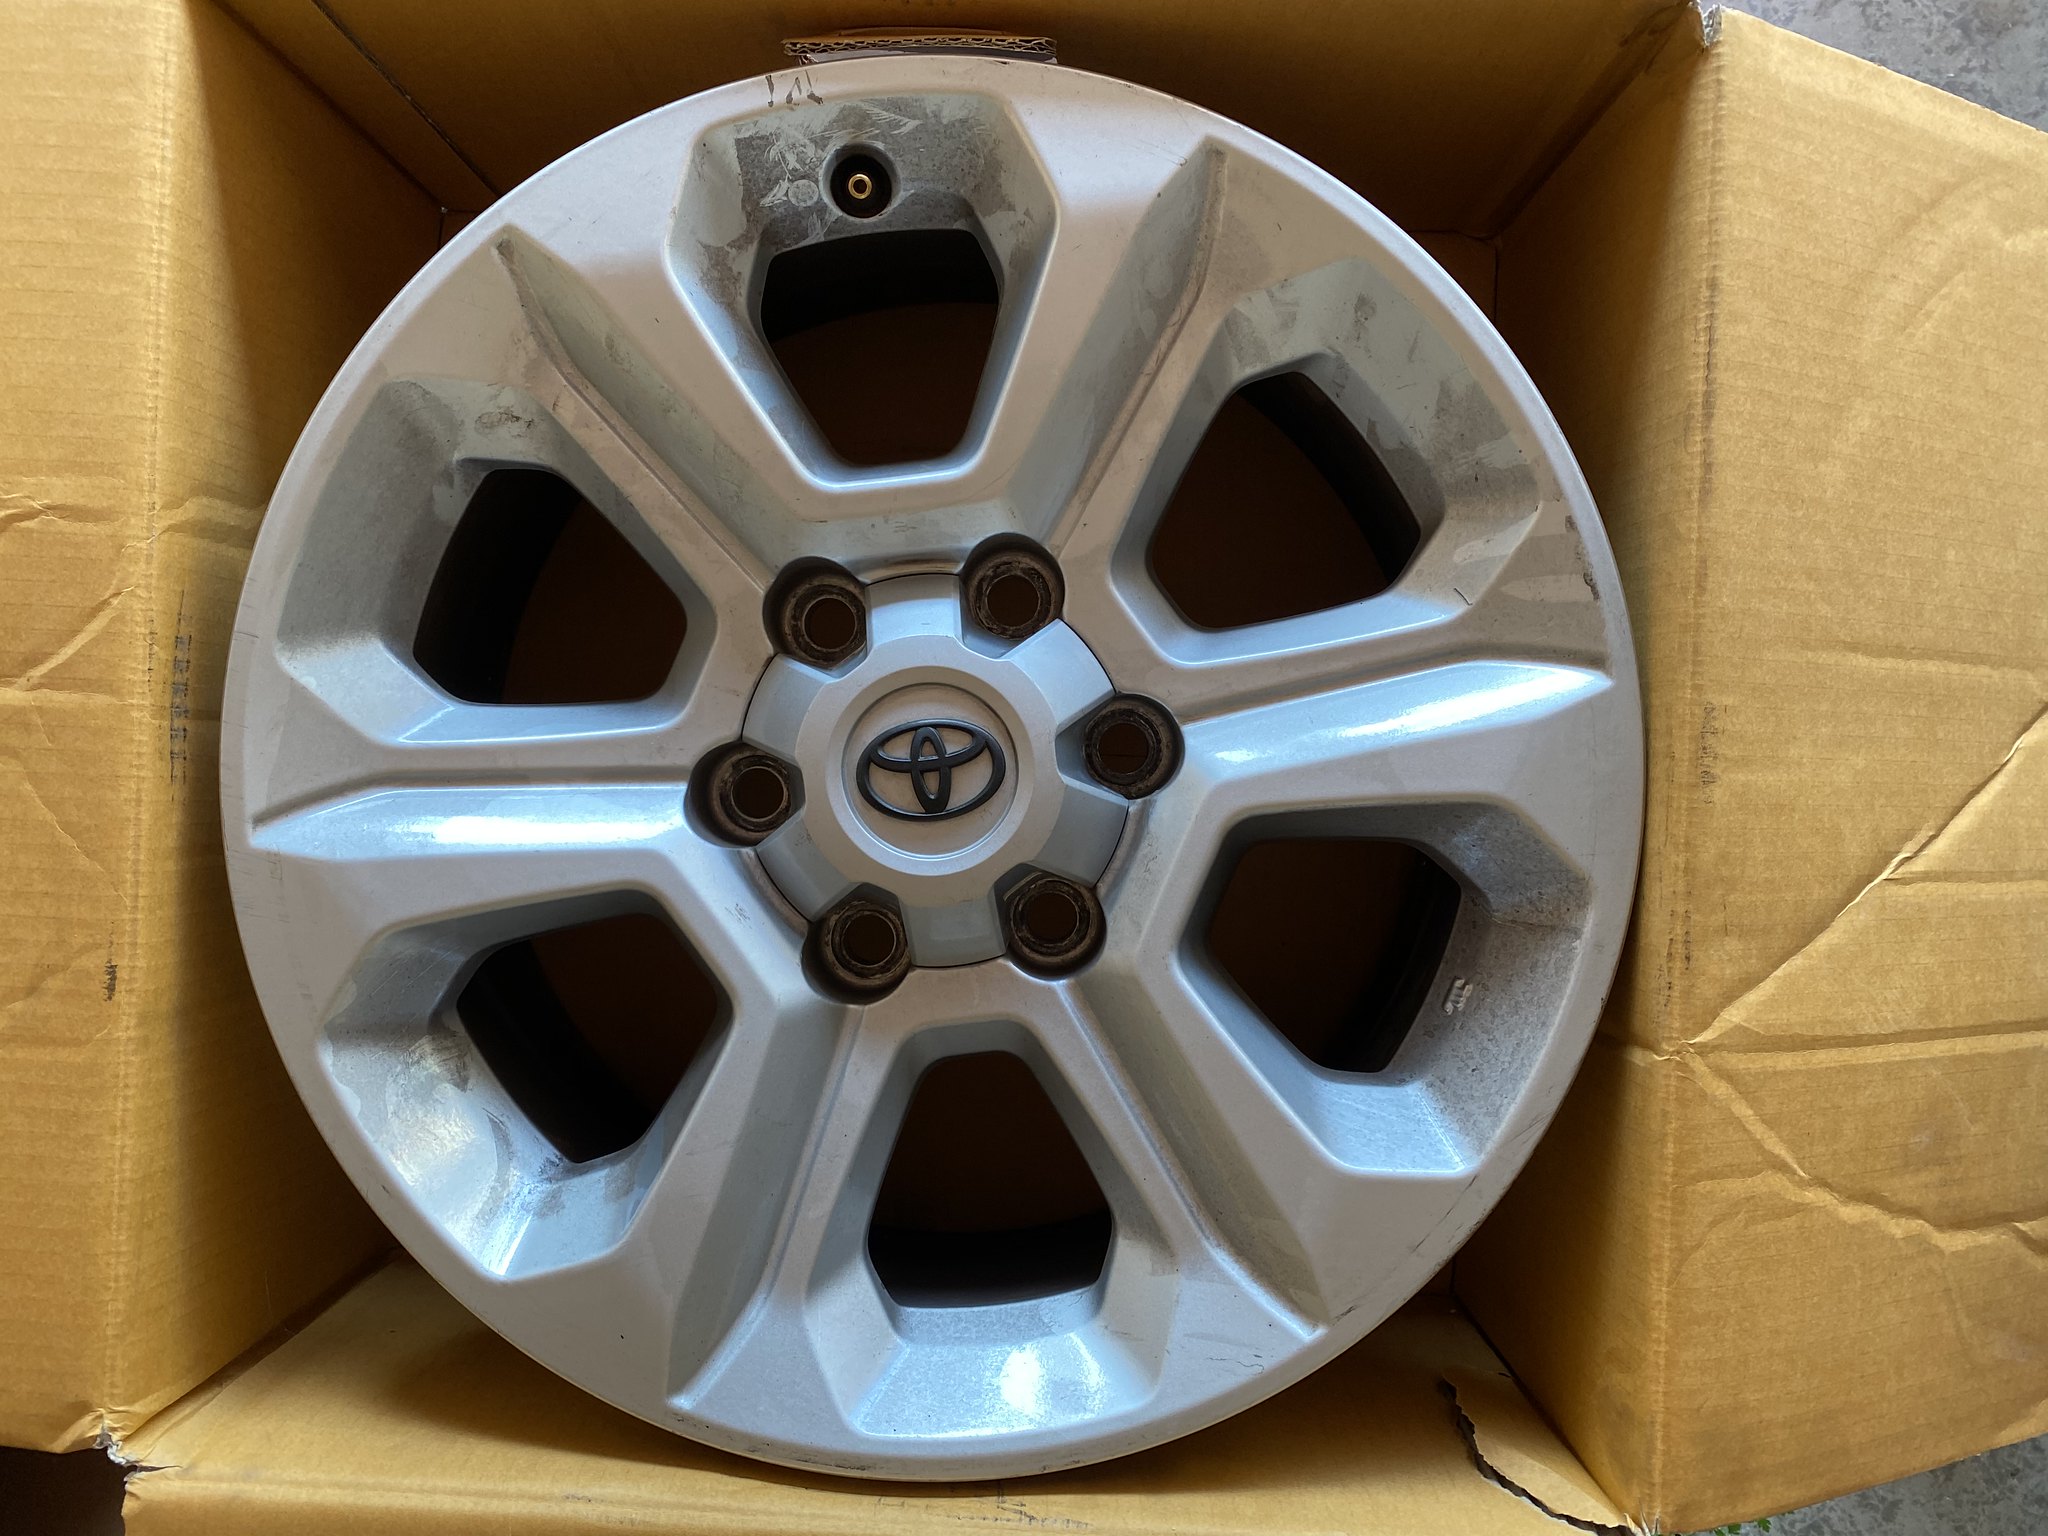
New wheels.
Untitled by 99blkx, on Flickr

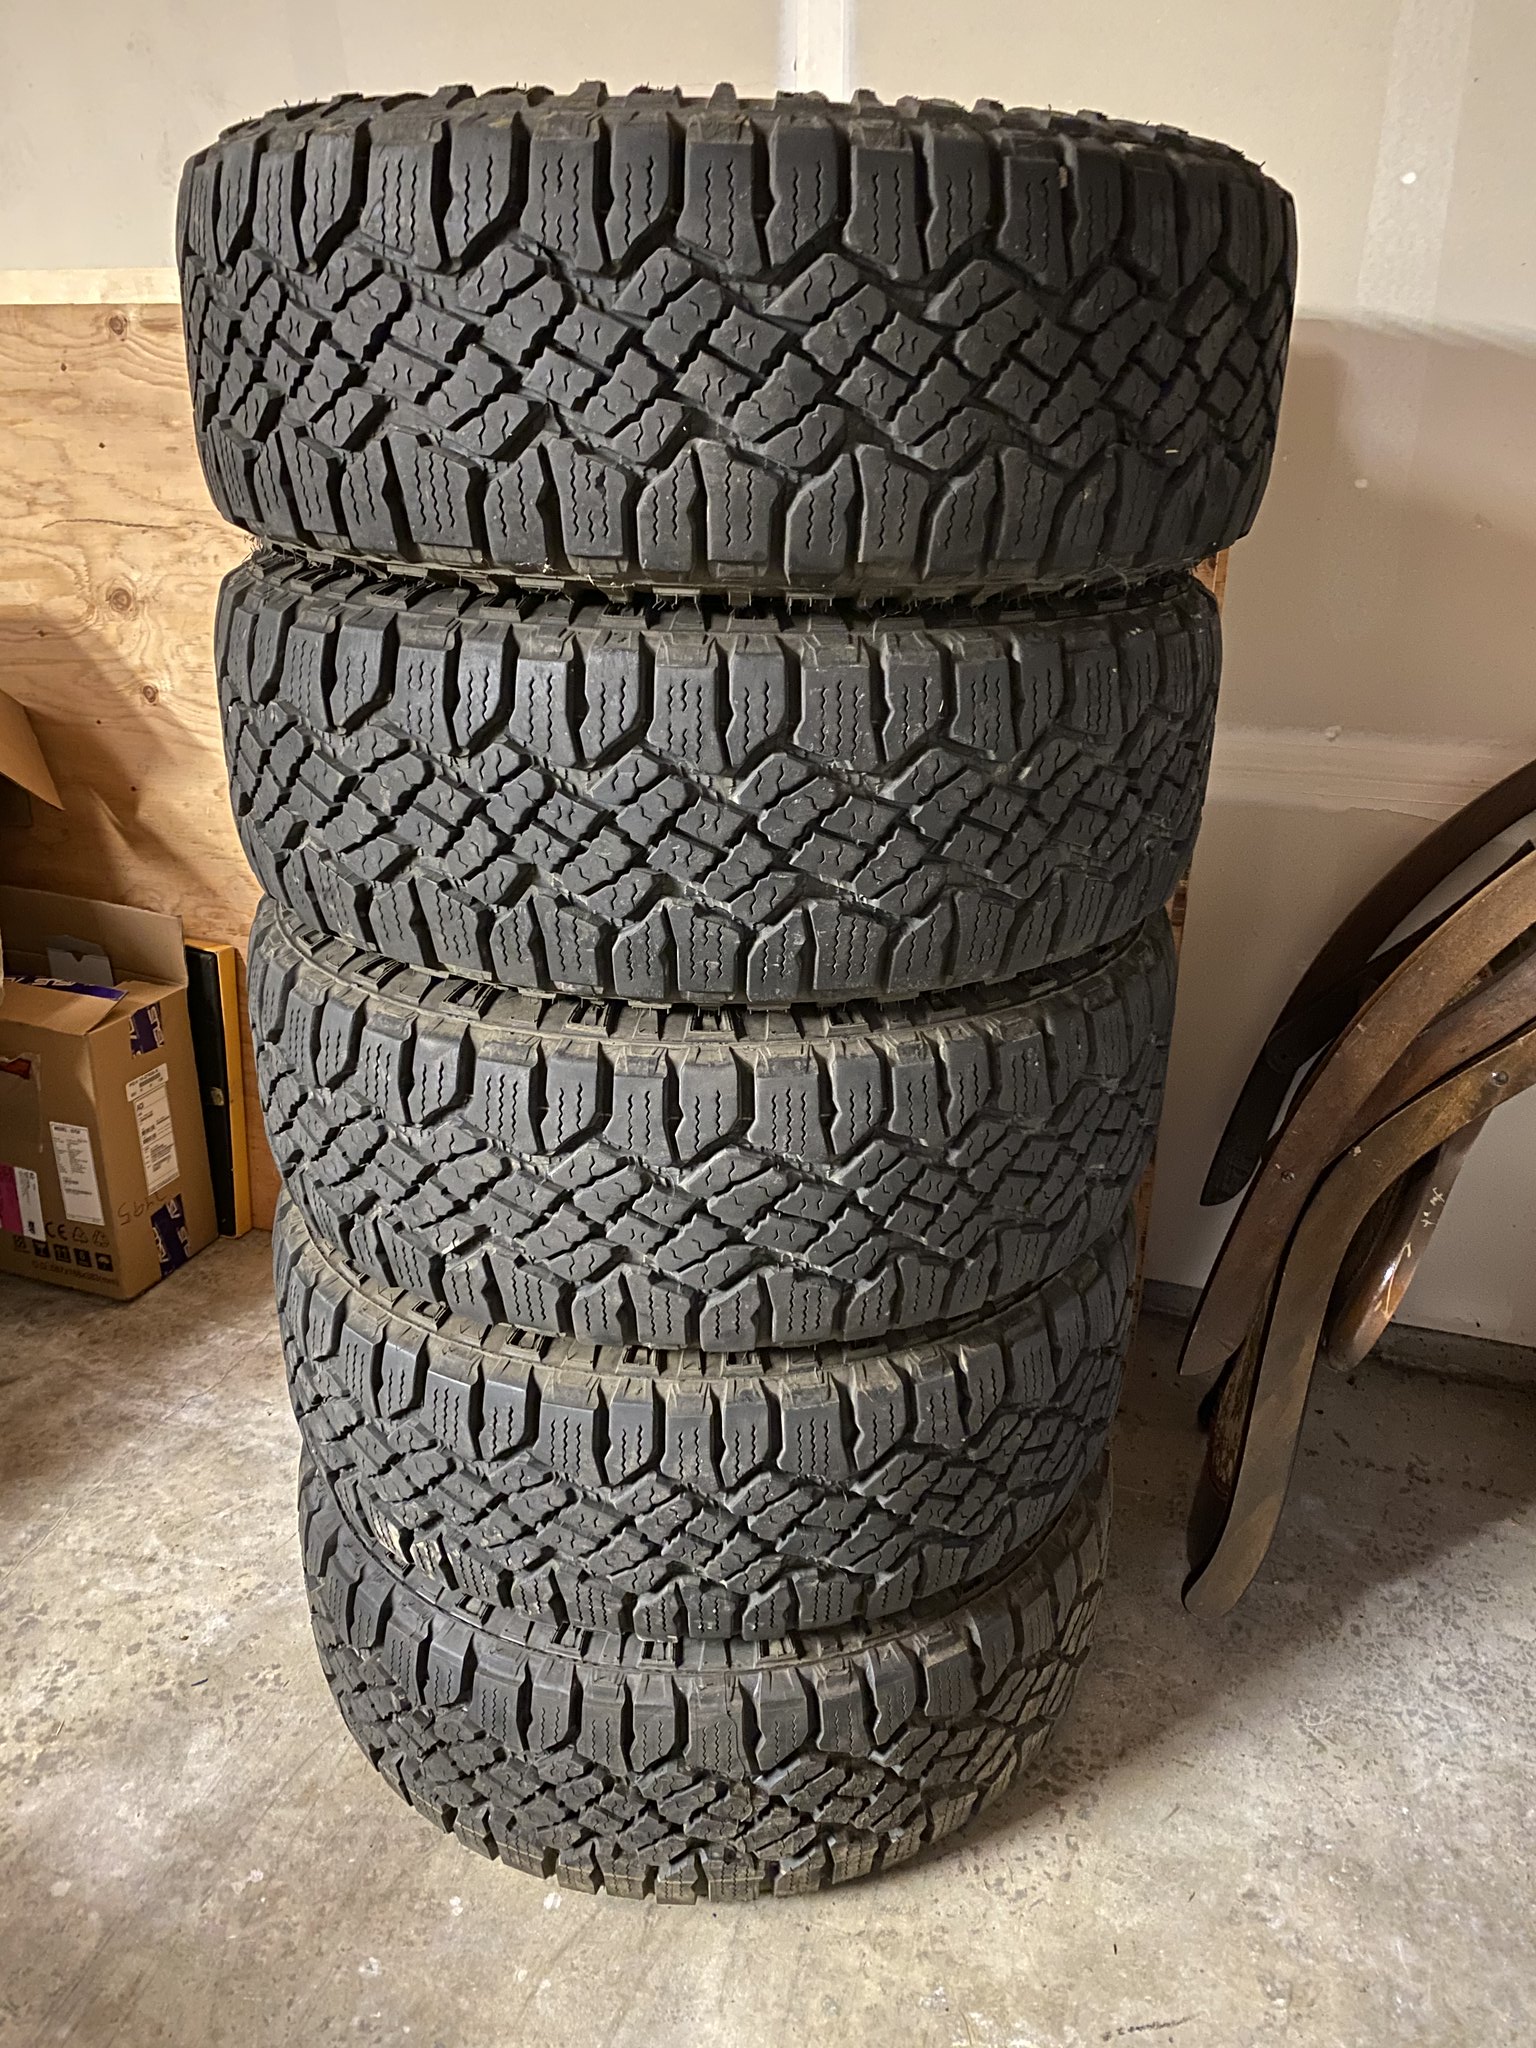
New tires. Need to find a fifth wheel.
Untitled by 99blkx, on Flickr
 
Register to hide this ad
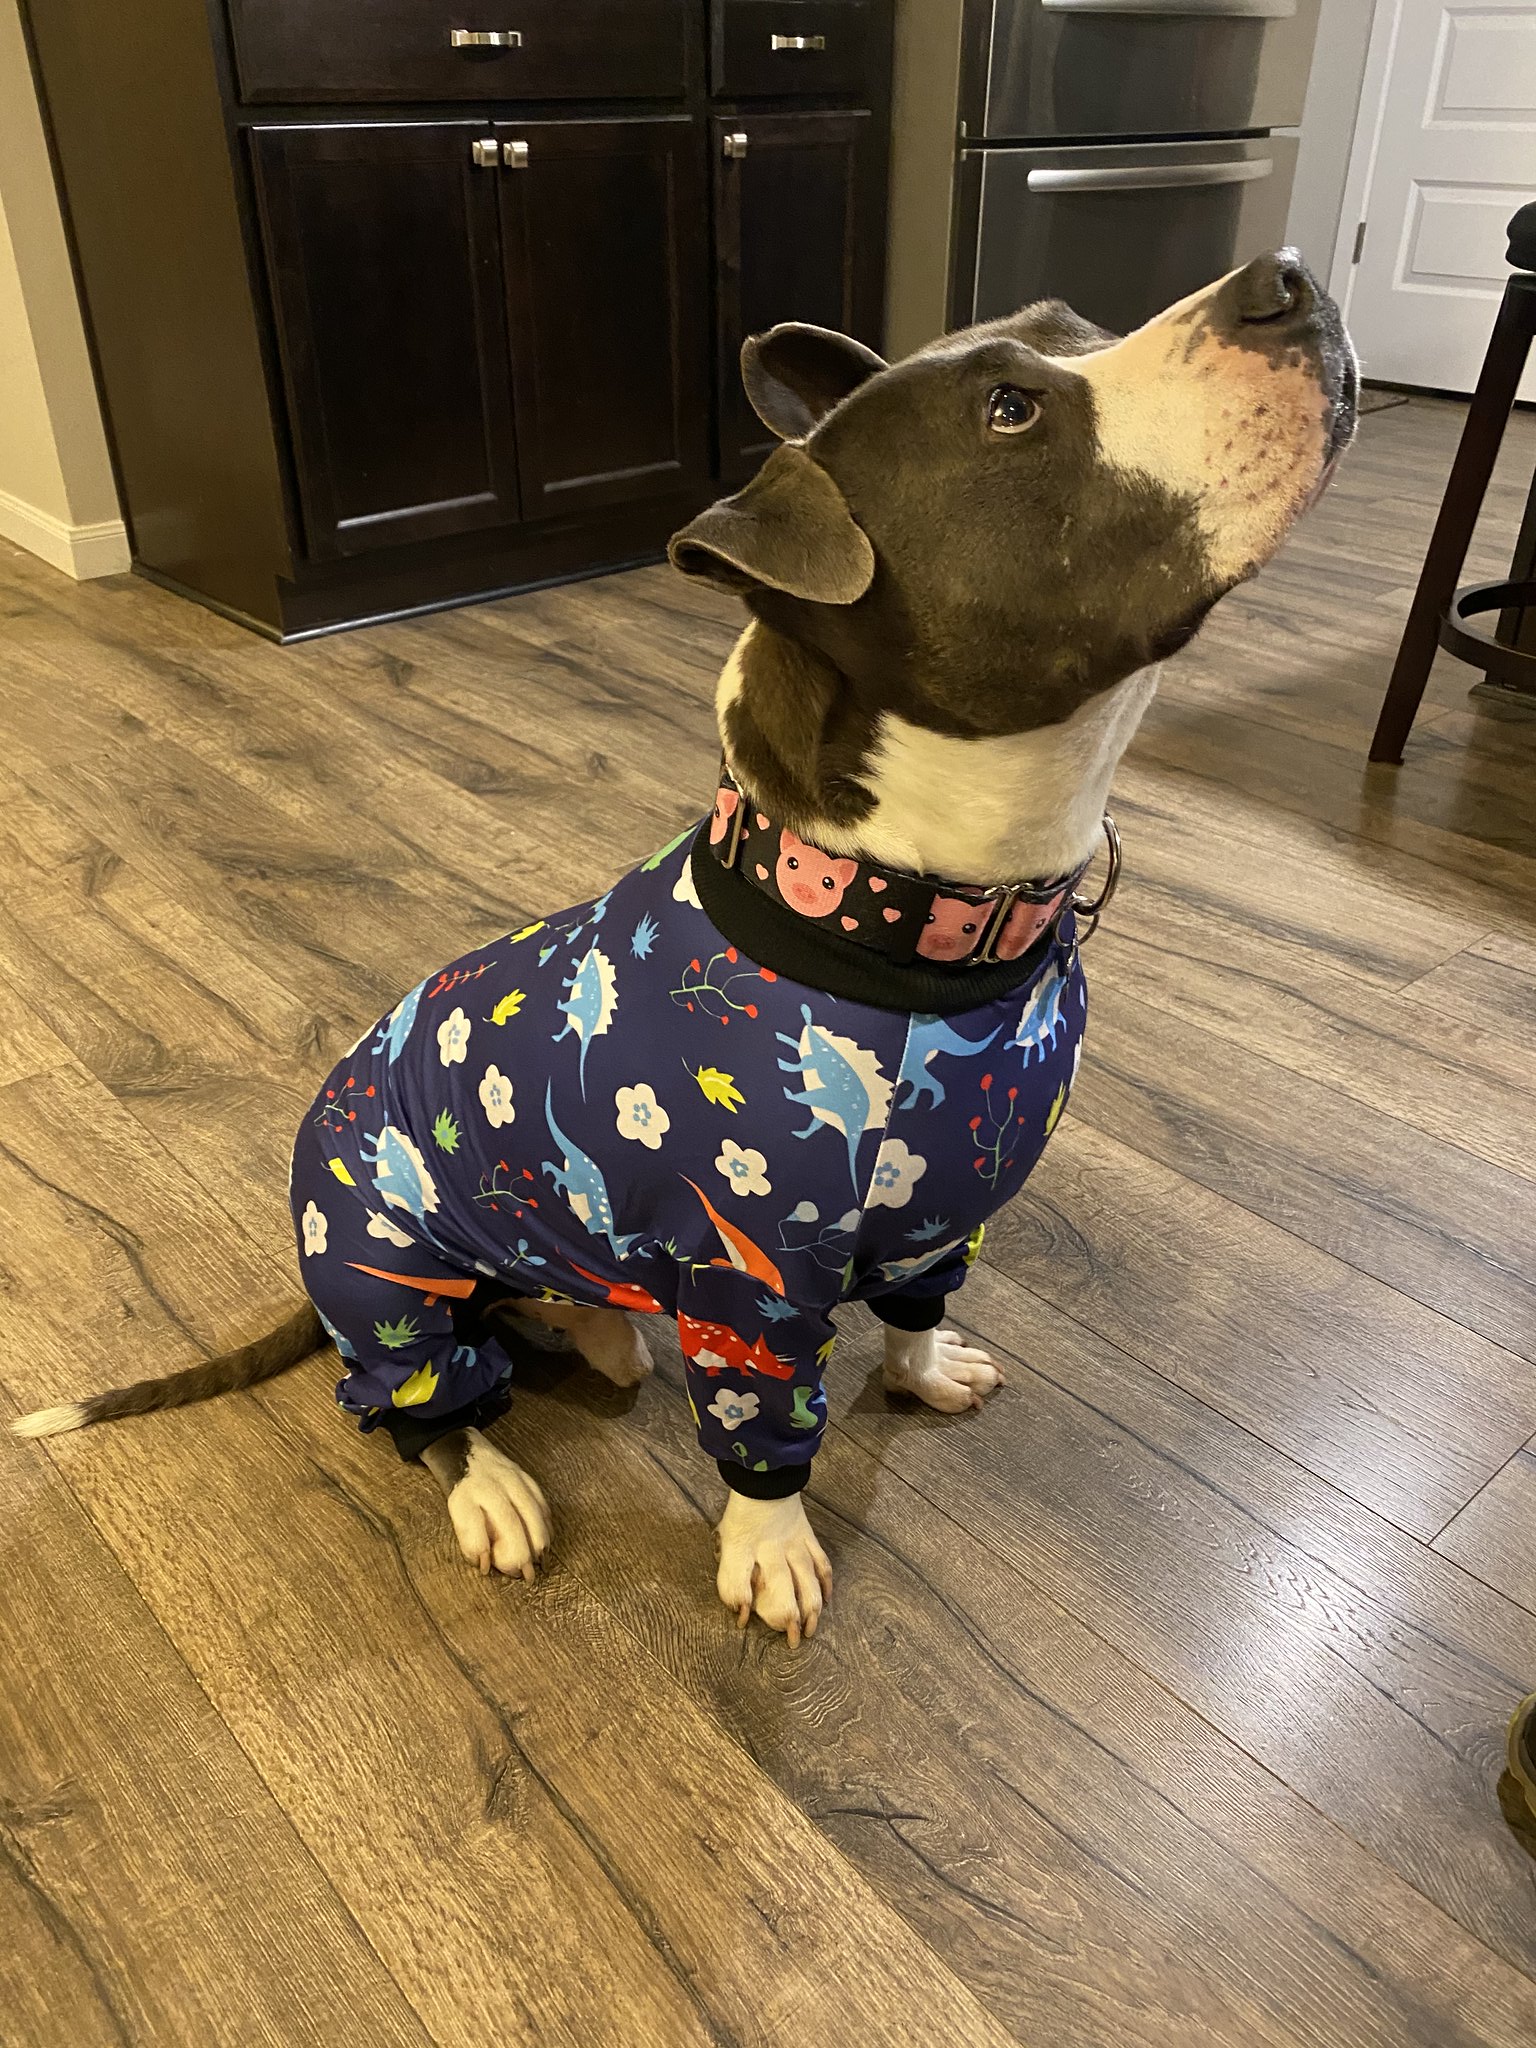
After we lost our pup, we started fostering right away. I figure since this is the dog transport vehicle, must include a pic of this monster. He might be a keeper. We'll see. :)

Untitled by 99blkx, on Flickr

Yes, he has a permanent party ear.

Here is the real project. Once the 4Runner is back together it'll spend the winter on jack stands.

Untitled by 99blkx, on Flickr

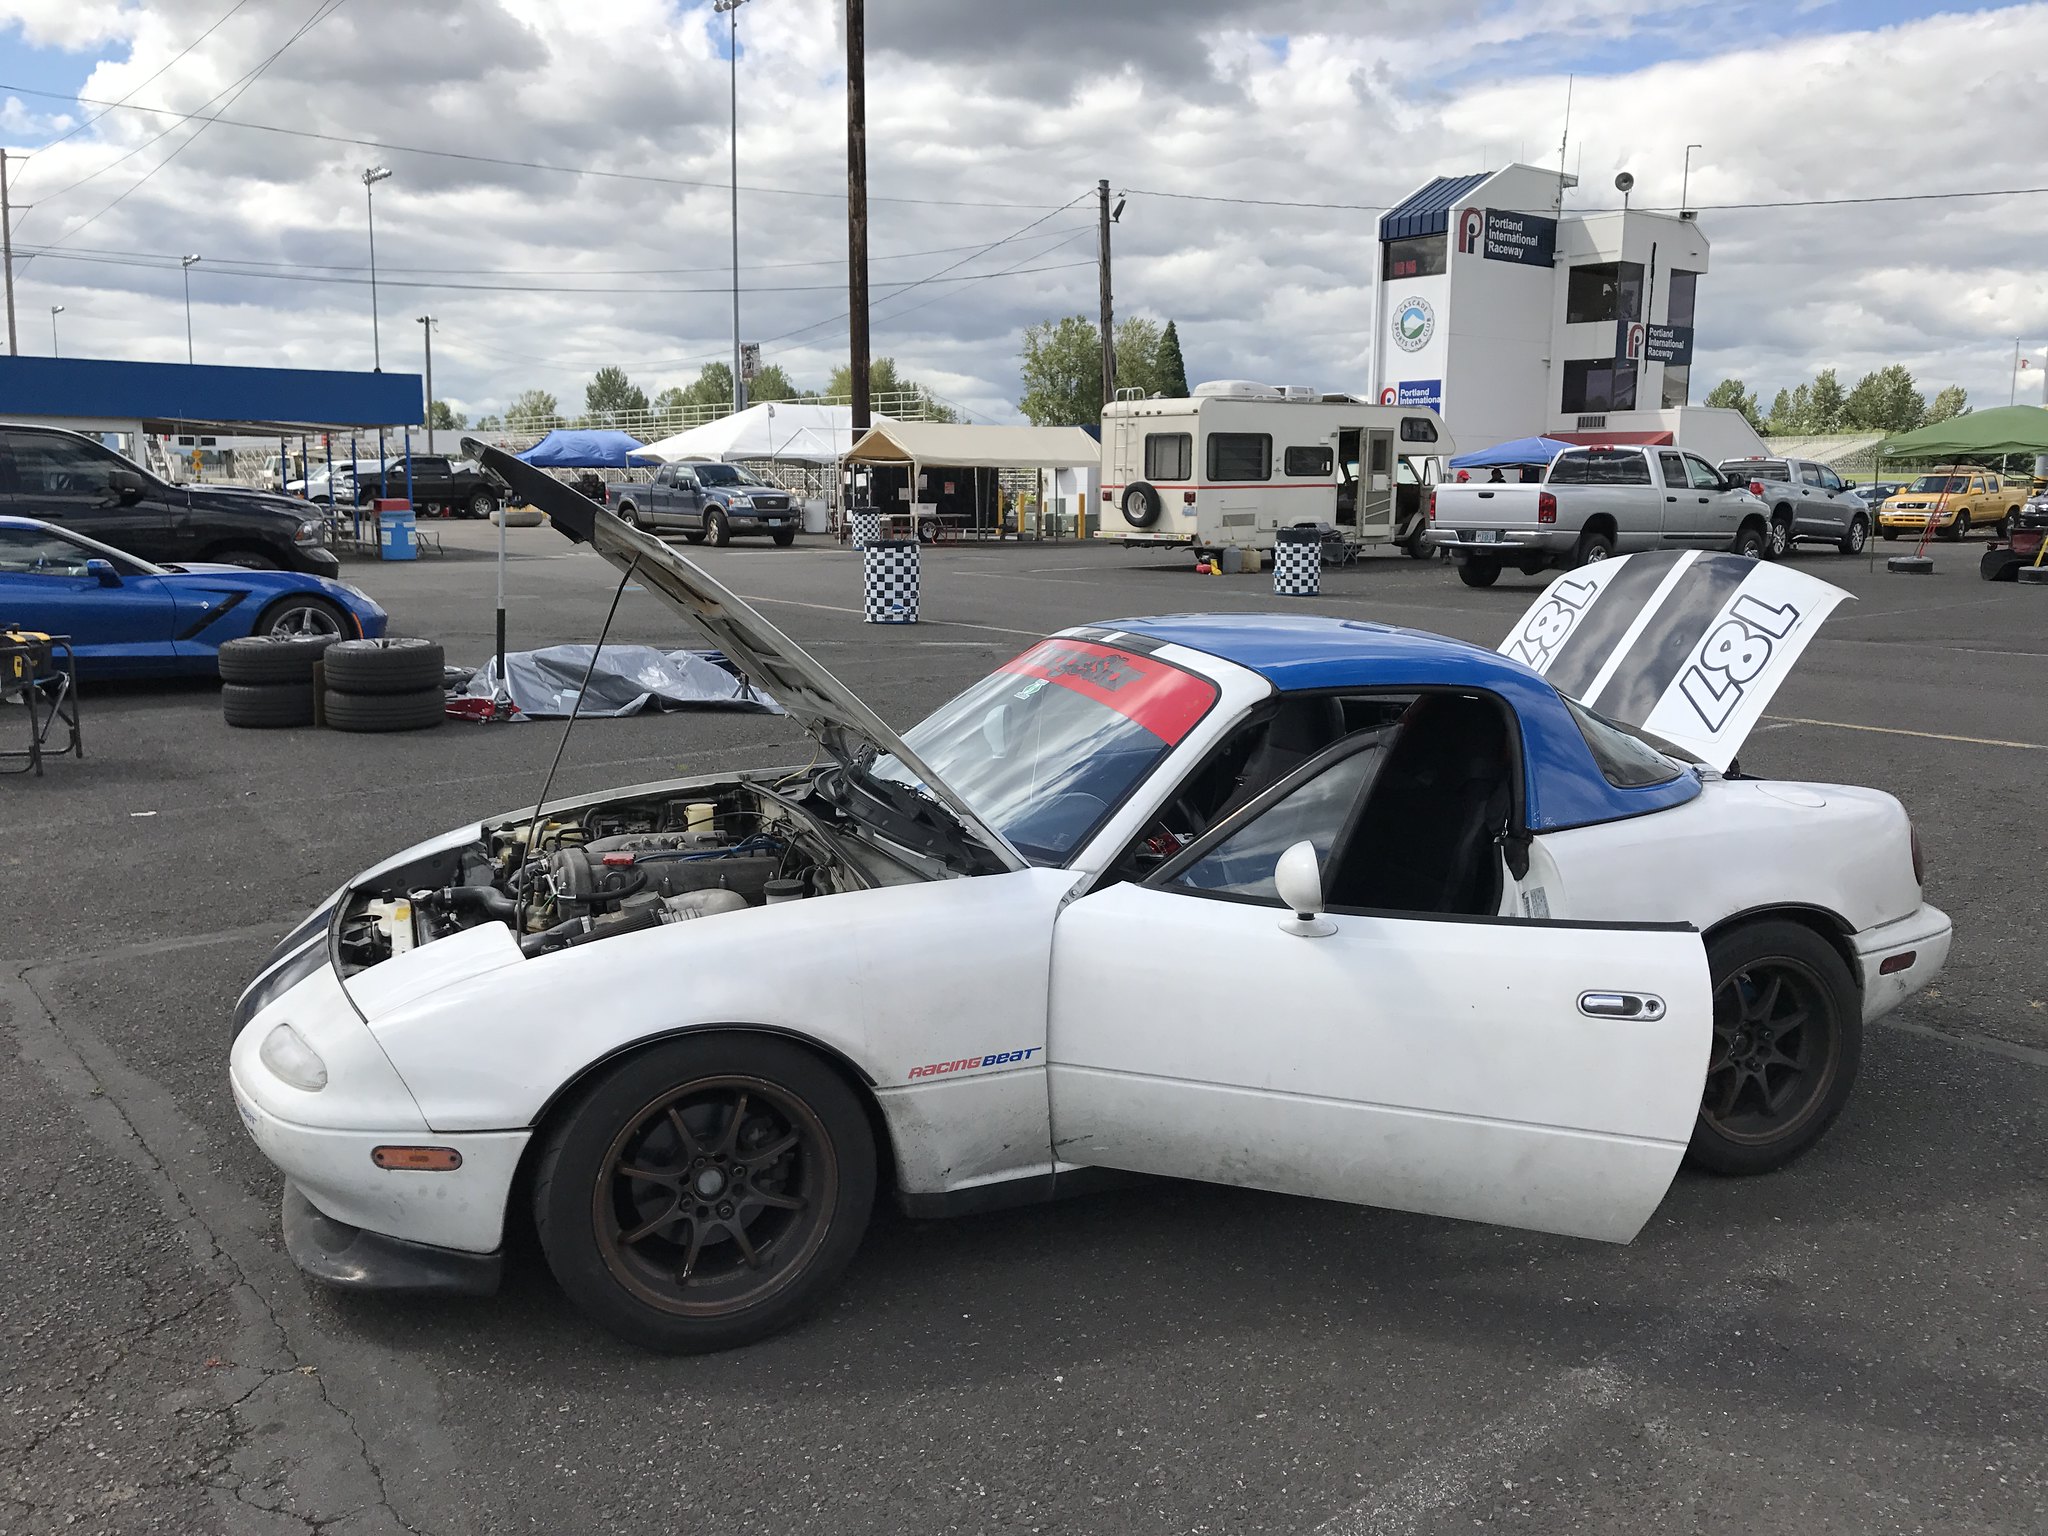
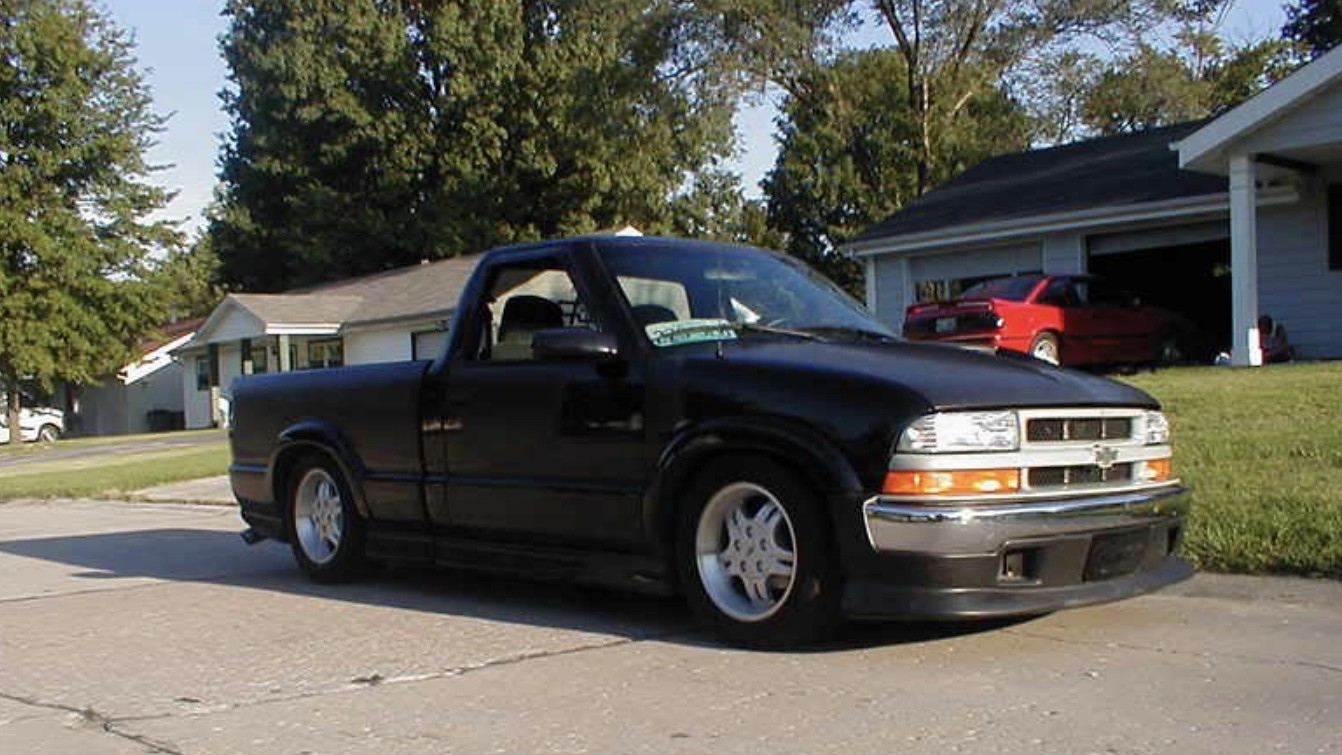
And just for fun... a couple of past projects...

Untitled by 99blkx, on Flickr

Untitled by 99blkx, on Flickr

Untitled by 99blkx, on Flickr

Untitled by 99blkx, on Flickr

Untitled by 99blkx, on Flickr

Untitled by 99blkx, on Flickr
 
Lessons learned so far:
  • This forum has all the info if you look for it - such was the case with Miatas, not so much with Mustangs
  • PNW vehicles can be a pain even without rust
  • Buy once cry once (steering rack, we'll see about the LBJ's)
  • Old vehicles with old oil leaks suck to work on - covered in grime
  • I didn't need upper bushings so I'm not touching them
  • UBJ's are a pain to press in, unless you're using a press
  • Tear into it and then decide what to buy/replace/fix instead of just ordering a bunch of parts, lol

I think that's it for now. Off to shop for Mustang parts.

This thread was brought to you by waking up at 5am on a Saturday for no reason.
 
Where’d you order the steering rack? Mine needs to be replaced too... I like the Miatas and the dog.
 
Where’d you order the steering rack? Mine needs to be replaced too... I like the Miatas and the dog.

Thanks man! I got it from a local dealership. I have a friend who owns a used car lot with a shop so he can sometimes get a hookup on parts. I priced it directly before ordering and it can vary greatly.

This should be a very familiar setup for many of you.

Untitled by 99blkx, on Flickr

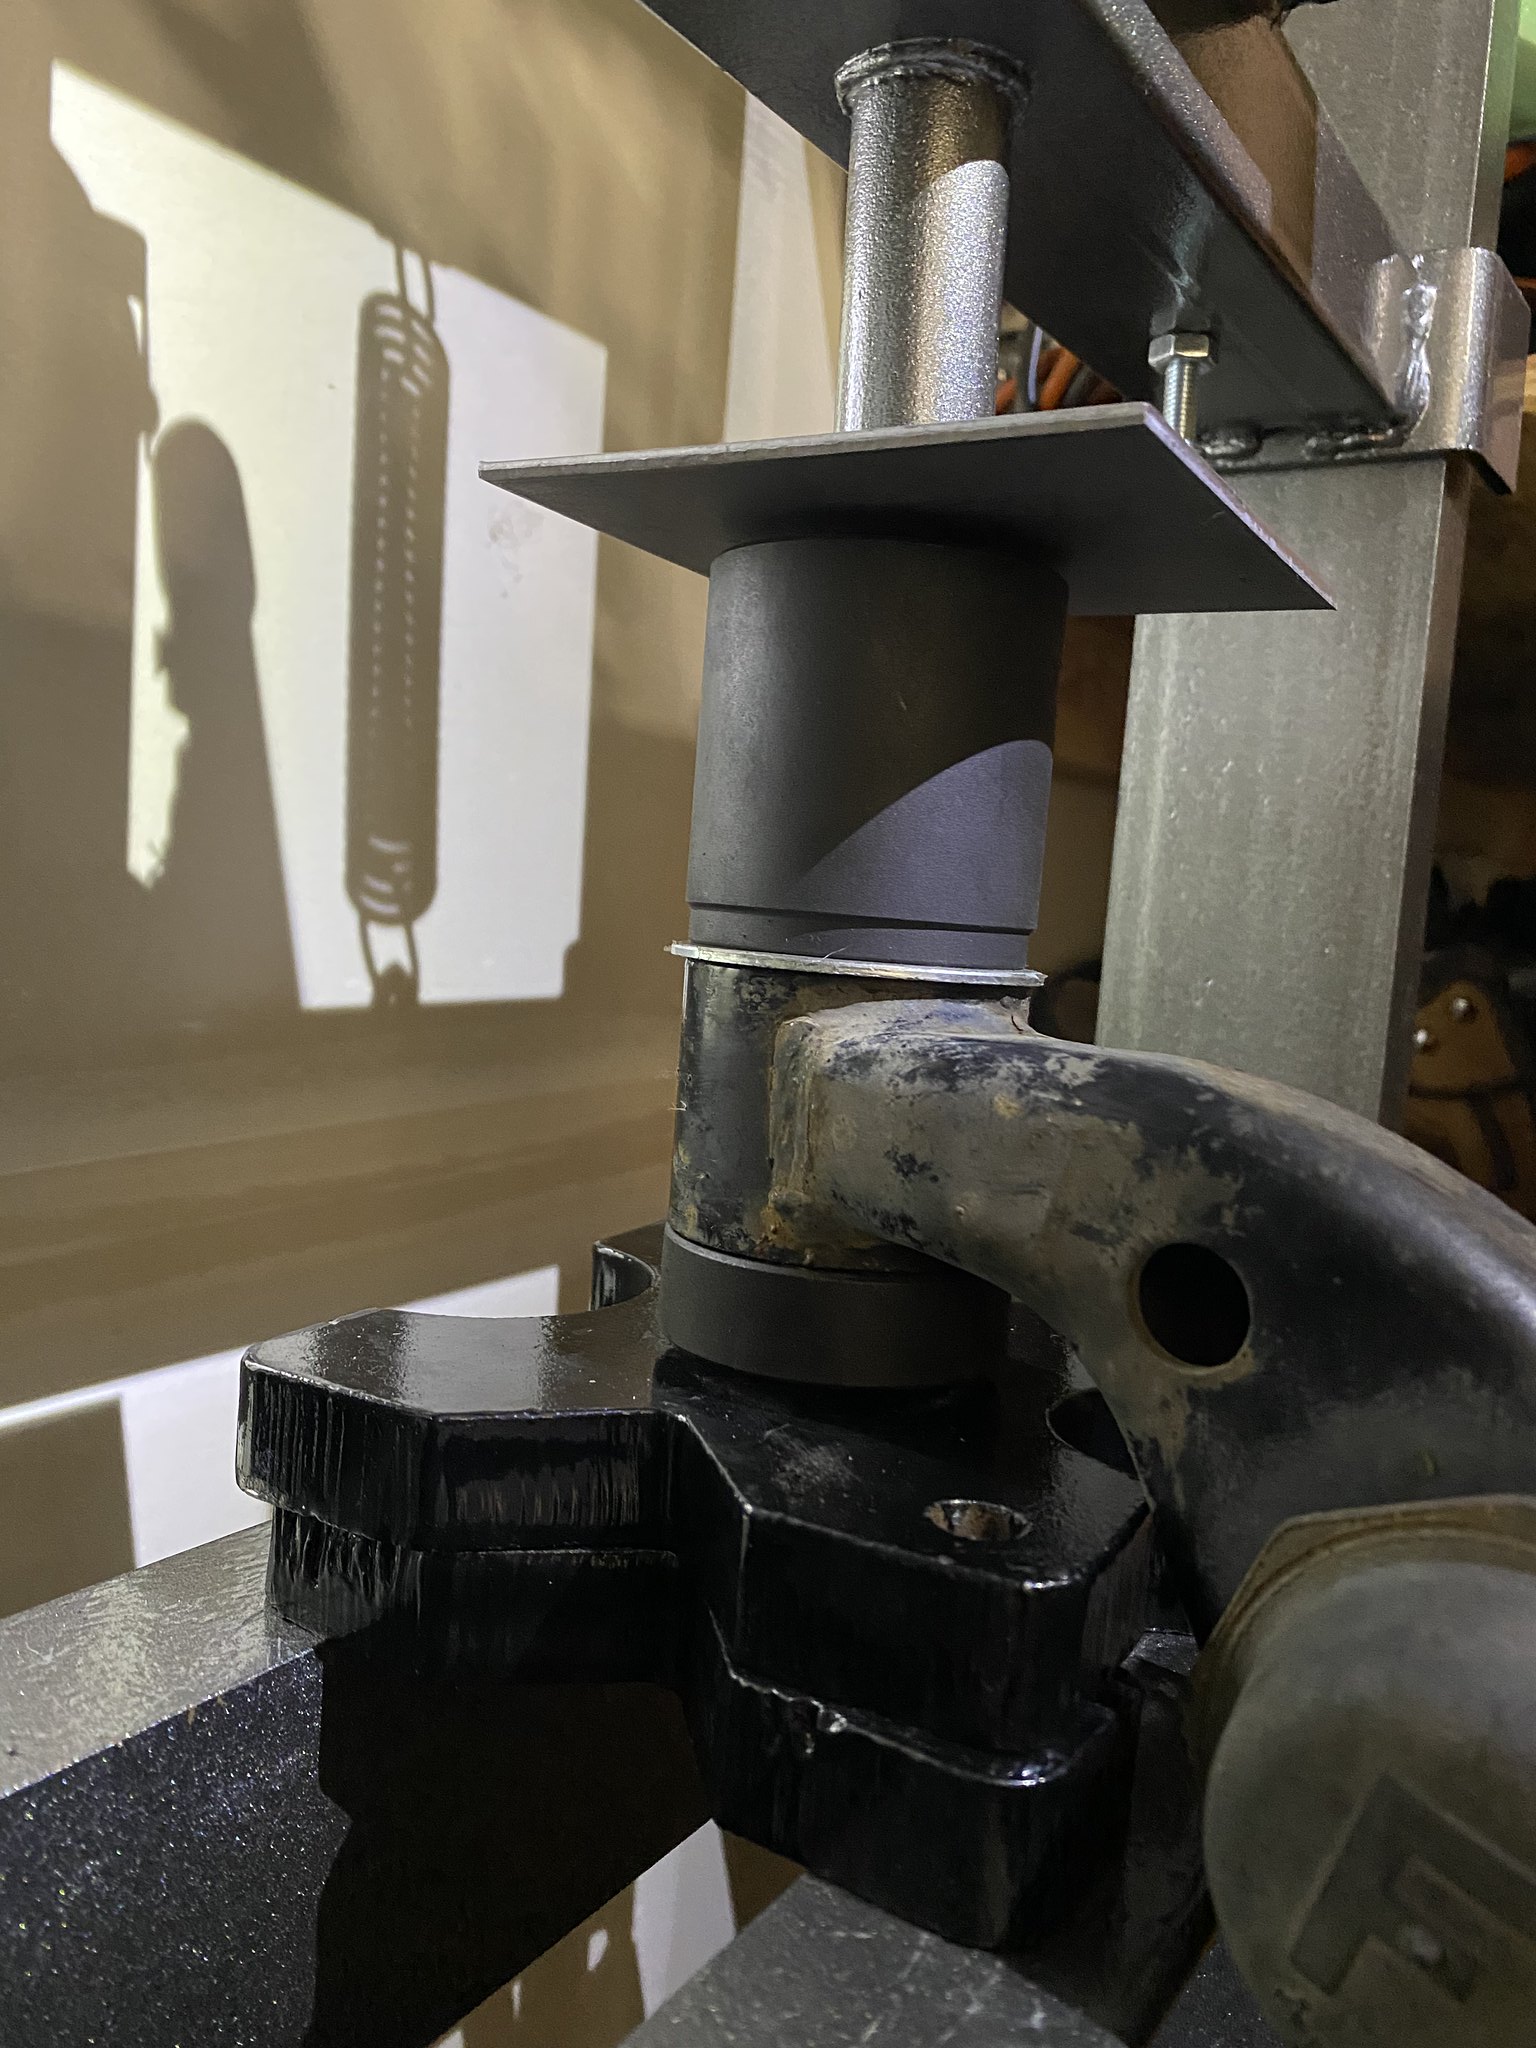
All 4 bushings popped right out with the metal sleeve. No soaking for days, no heat. I did drill a hole through each sleeve using the existing hole in the control arm.

Untitled by 99blkx, on Flickr

Interestingly the bushing on the base of the jack side popped first in both arms. After the second bushing nearly launched itself into orbit I used the old champagne cork trick and wrapped a rag around them.

Untitled by 99blkx, on Flickr

And if anyone is curious what the popping is like, I recorded the second arm. Enjoy my theatrical overreaction while I drop almost everything.

<iframe width="560" height="315" src="https://www.youtube.com/embed/yFPrf0uM1ZE" frameborder="0" allowfullscreen></iframe>


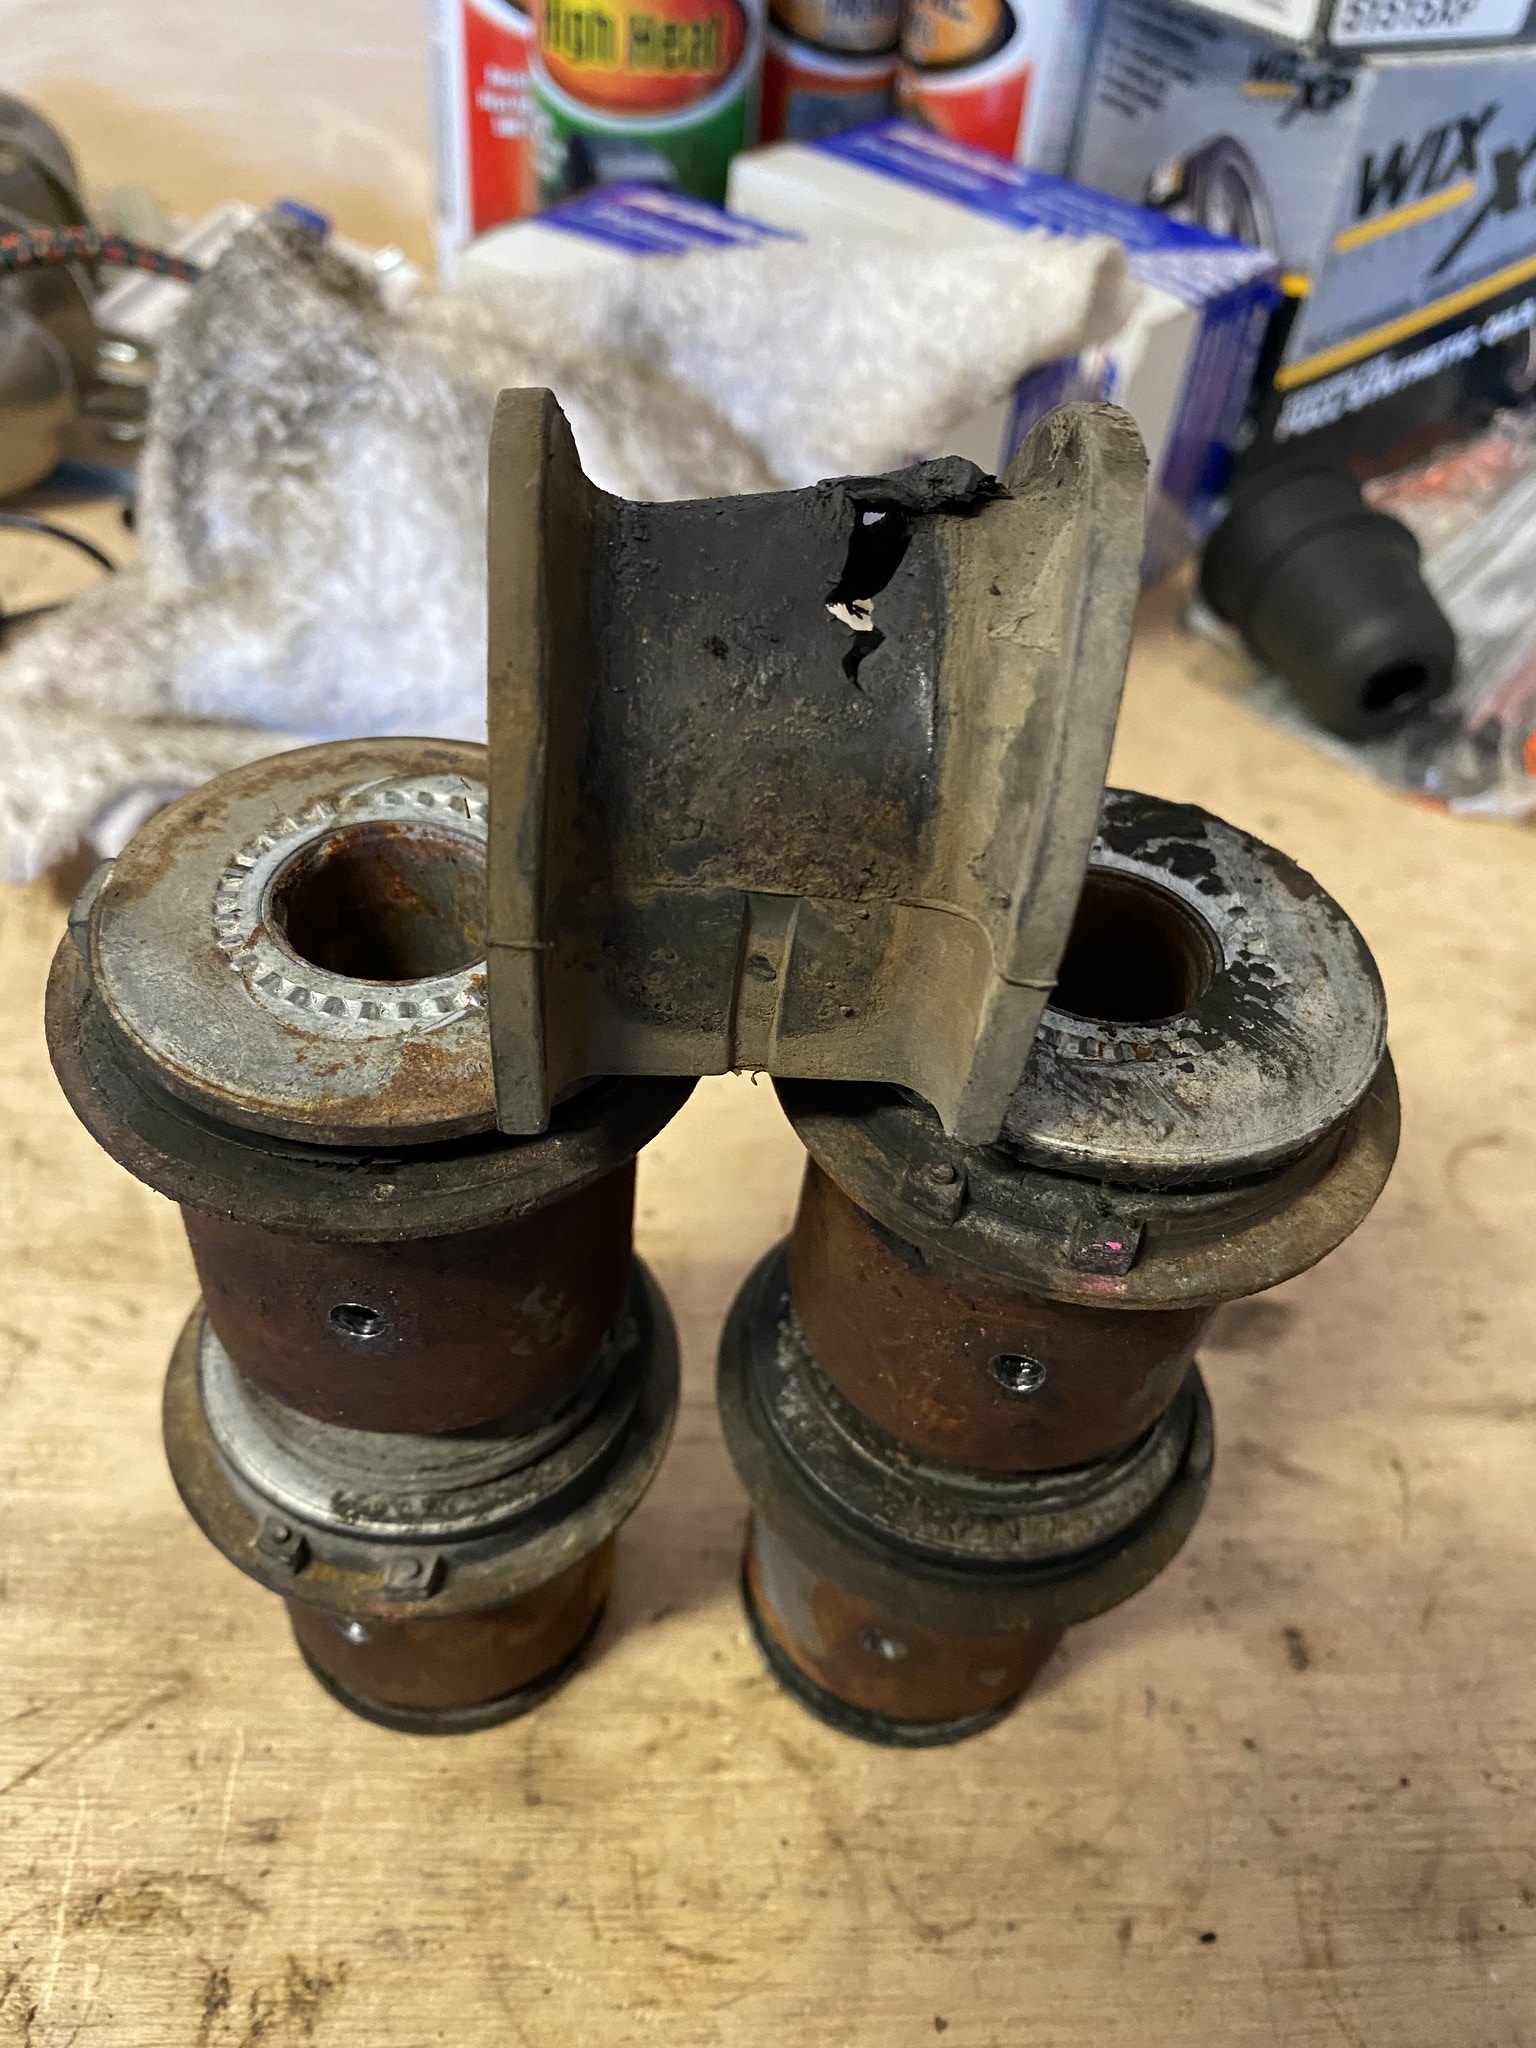
And lastly... this is one nasty bushing. My sway bar has a bit of rust happening that likely contributed to this.

Untitled by 99blkx, on Flickr

Cleaned up a few other bits and finally got the rag joint off my old rack. It was frozen up good. Probably a little more cleaning under the truck and then I'll start reassembly. Taking it slow and steady on purpose. No need to rush.
 
After we lost our pup, we started fostering right away. I figure since this is the dog transport vehicle, must include a pic of this monster. He might be a keeper. We'll see. :)

Untitled by 99blkx, on Flickr

Yes, he has a permanent party ear.

Here is the real project. Once the 4Runner is back together it'll spend the winter on jack stands.

Untitled by 99blkx, on Flickr

And just for fun... a couple of past projects...

Untitled by 99blkx, on Flickr

Untitled by 99blkx, on Flickr

Untitled by 99blkx, on Flickr

Untitled by 99blkx, on Flickr

Untitled by 99blkx, on Flickr

Untitled by 99blkx, on Flickr

Looks like you have more or less the same tools I have! I bought my large torque wrench when I did an engine replacement in 14'. In 15', I convinced the Wife to let me buy a press on Sale--- to enable my son's rear suspension swap (Mitsubishi Eclipse drum to disc brake swap) when we got the rear suspension dropped, we realized the bushings were toast-- hence the need for the press! Mine looks exactly the same as yours, except mine is painted red...

My son is really interested in Miata's. In College, he carpooled with a classmate that had 93'. It was a RBLT status, as the body had severe hale damage.. but mechanically sound... they had a lot of fun coming and going to Kelowna! His buddy was the webmaster for the Okanagan Miata Club and when left town my son took over the position... he's been looking for one he can afford now for a year... Unfortunately for him, all club events have been cancelled for almost 10mo., due to the catastrophe... Any buying advise you can provide would be appreciated!

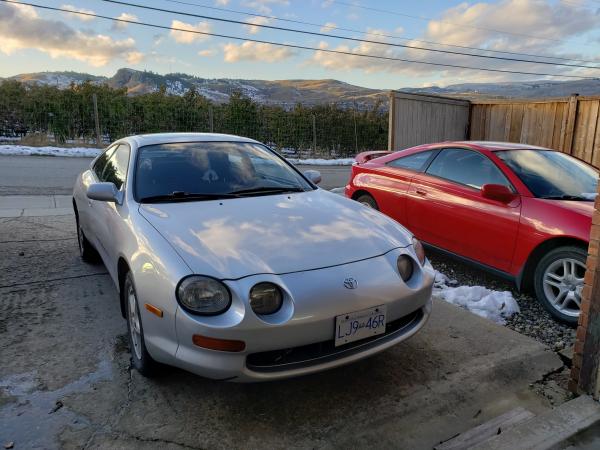
He did buy a 94 Celica for Winter a few weeks ago... maybe to tease me, as I attempted to find one of these as a DD, for a long time, and settled for a 02'... I'm a bit of a Toyota guy....
poleclimber63-albums-progress--picture59548-94-celica1-resized.jpg
 
My son is really interested in Miata's. In College, he carpooled with a classmate that had 93'. It was a RBLT status, as the body had severe hale damage.. but mechanically sound... they had a lot of fun coming and going to Kelowna!

Celica looks awesome! You can't get much more fun for the buck than a Miata... as evidence by the 4 I've owned, lol. I'll have another someday just not today.

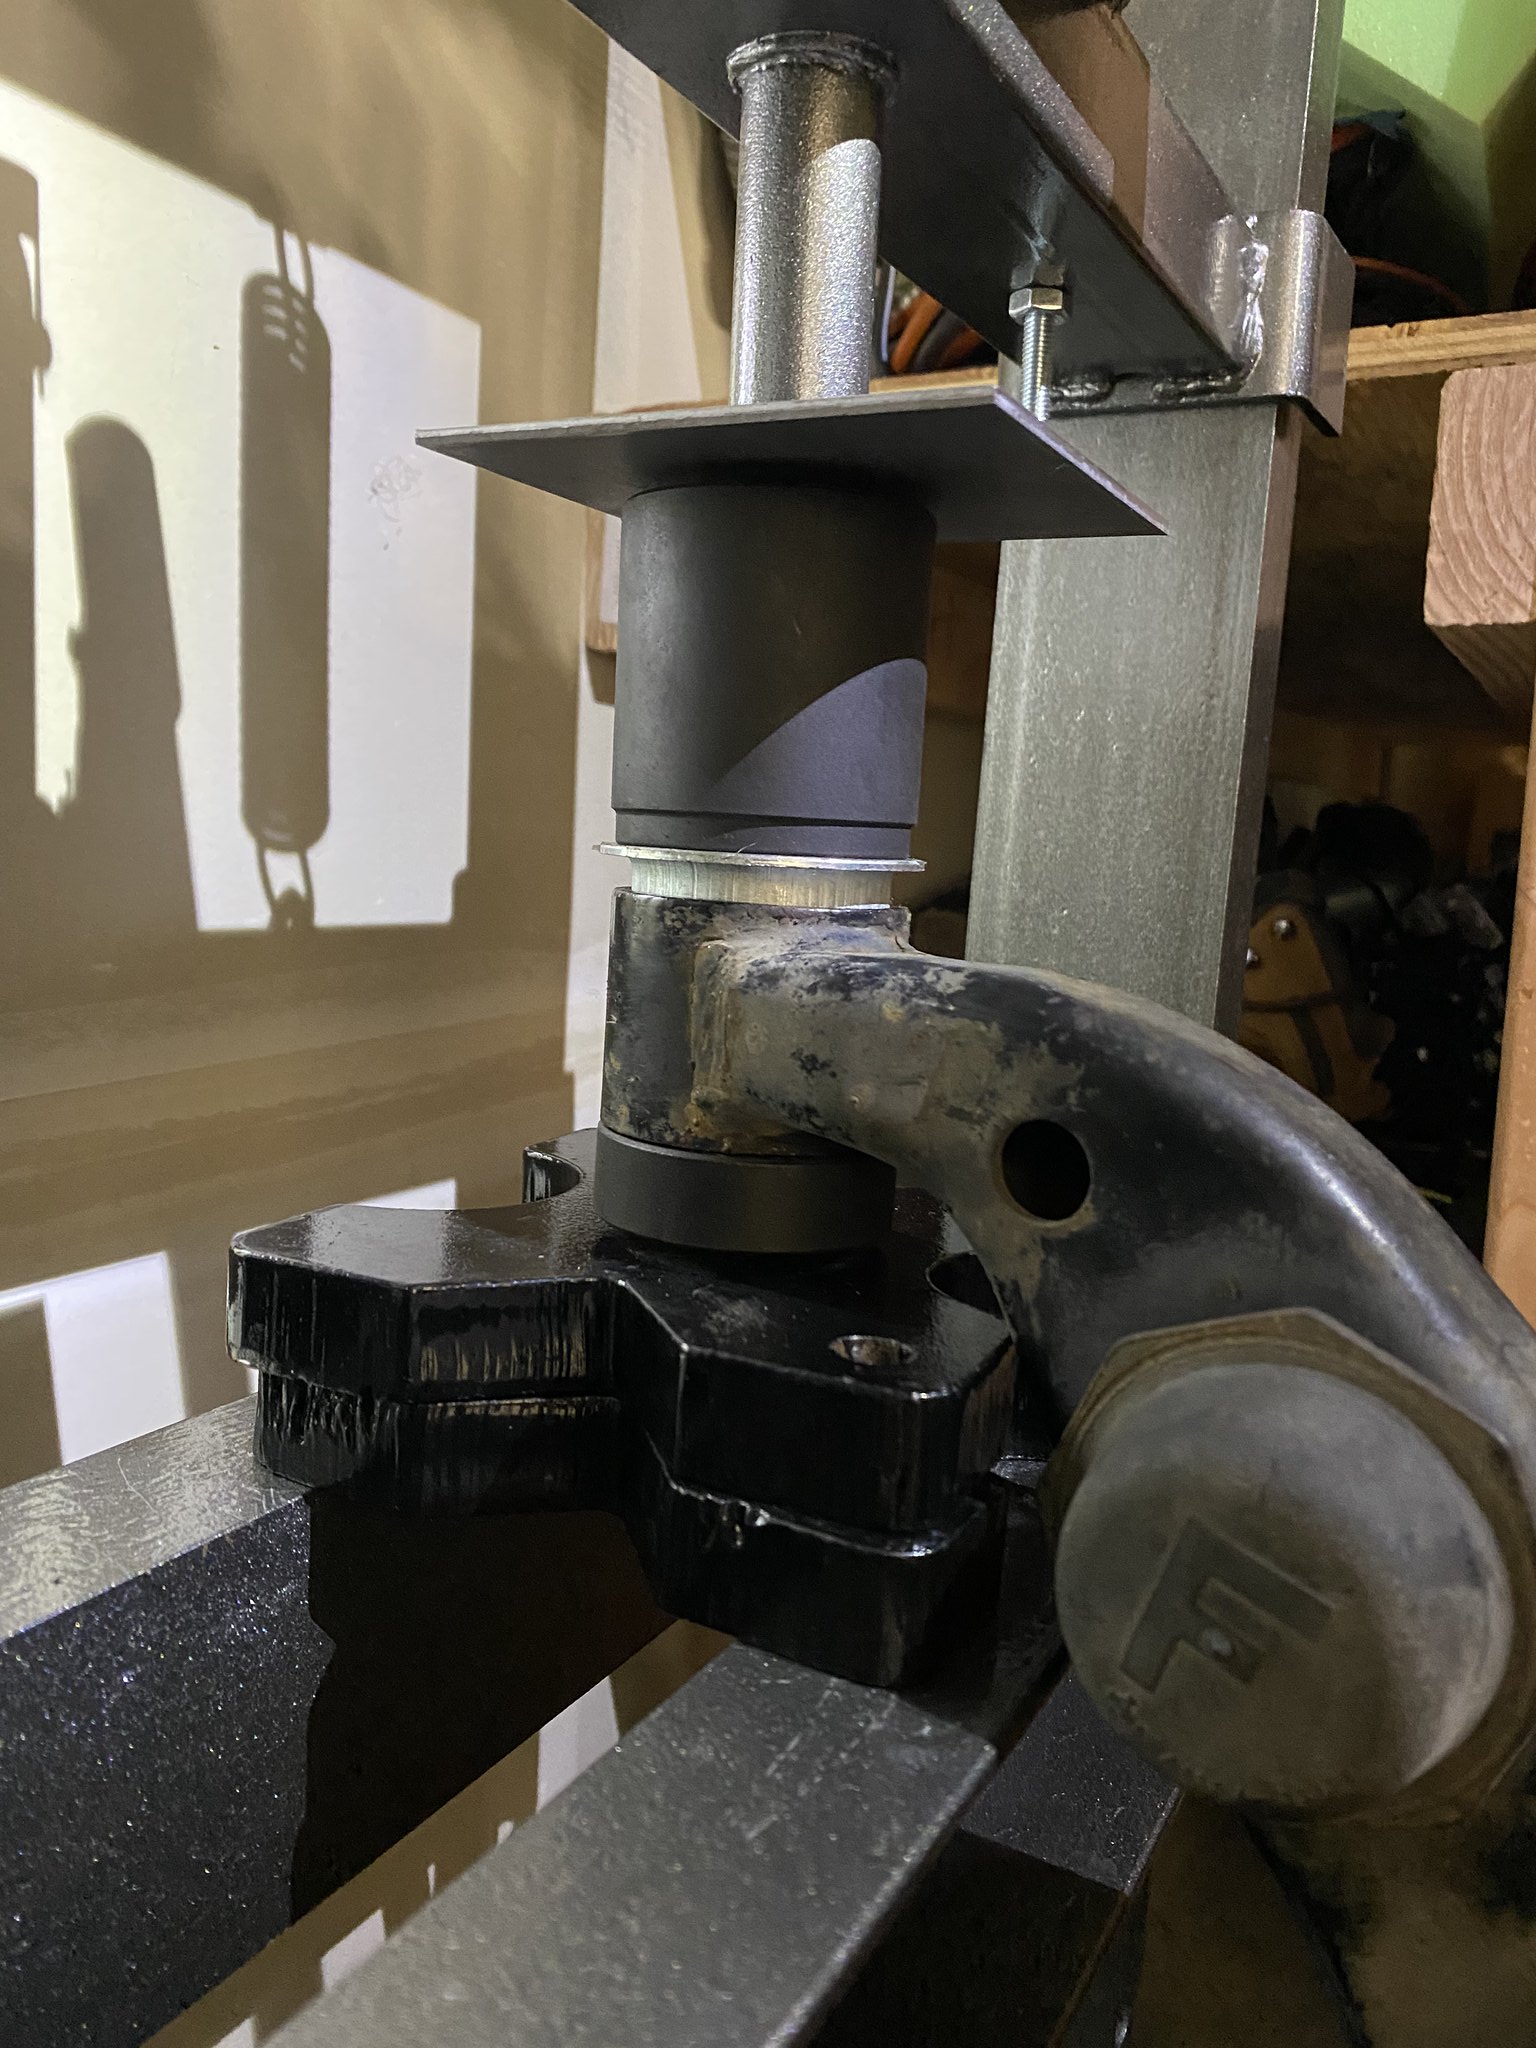
These things are nice.

Untitled by 99blkx, on Flickr

Went in like butter. They only press fit the last quarter inch or so. Used the couple of plates to have enough space for the early bend in the front of the control arms.

Untitled by 99blkx, on Flickr

Untitled by 99blkx, on Flickr

The cups I used are both from the O'Reilly's loaner tool 4wd tool kit 45068. Once those were in I used the provided grease on the bushings then the sleeves slid right in.

Got the control arms loosely installed so I could get the rack in. I was working solo and found that loosely installing the shock bolt was a nice extra set of hands. About 6 of the 8 washers went in easy but a couple took some persuasion. Used a couple of screwdrivers and the back side of a chisel to get the holes lined up.

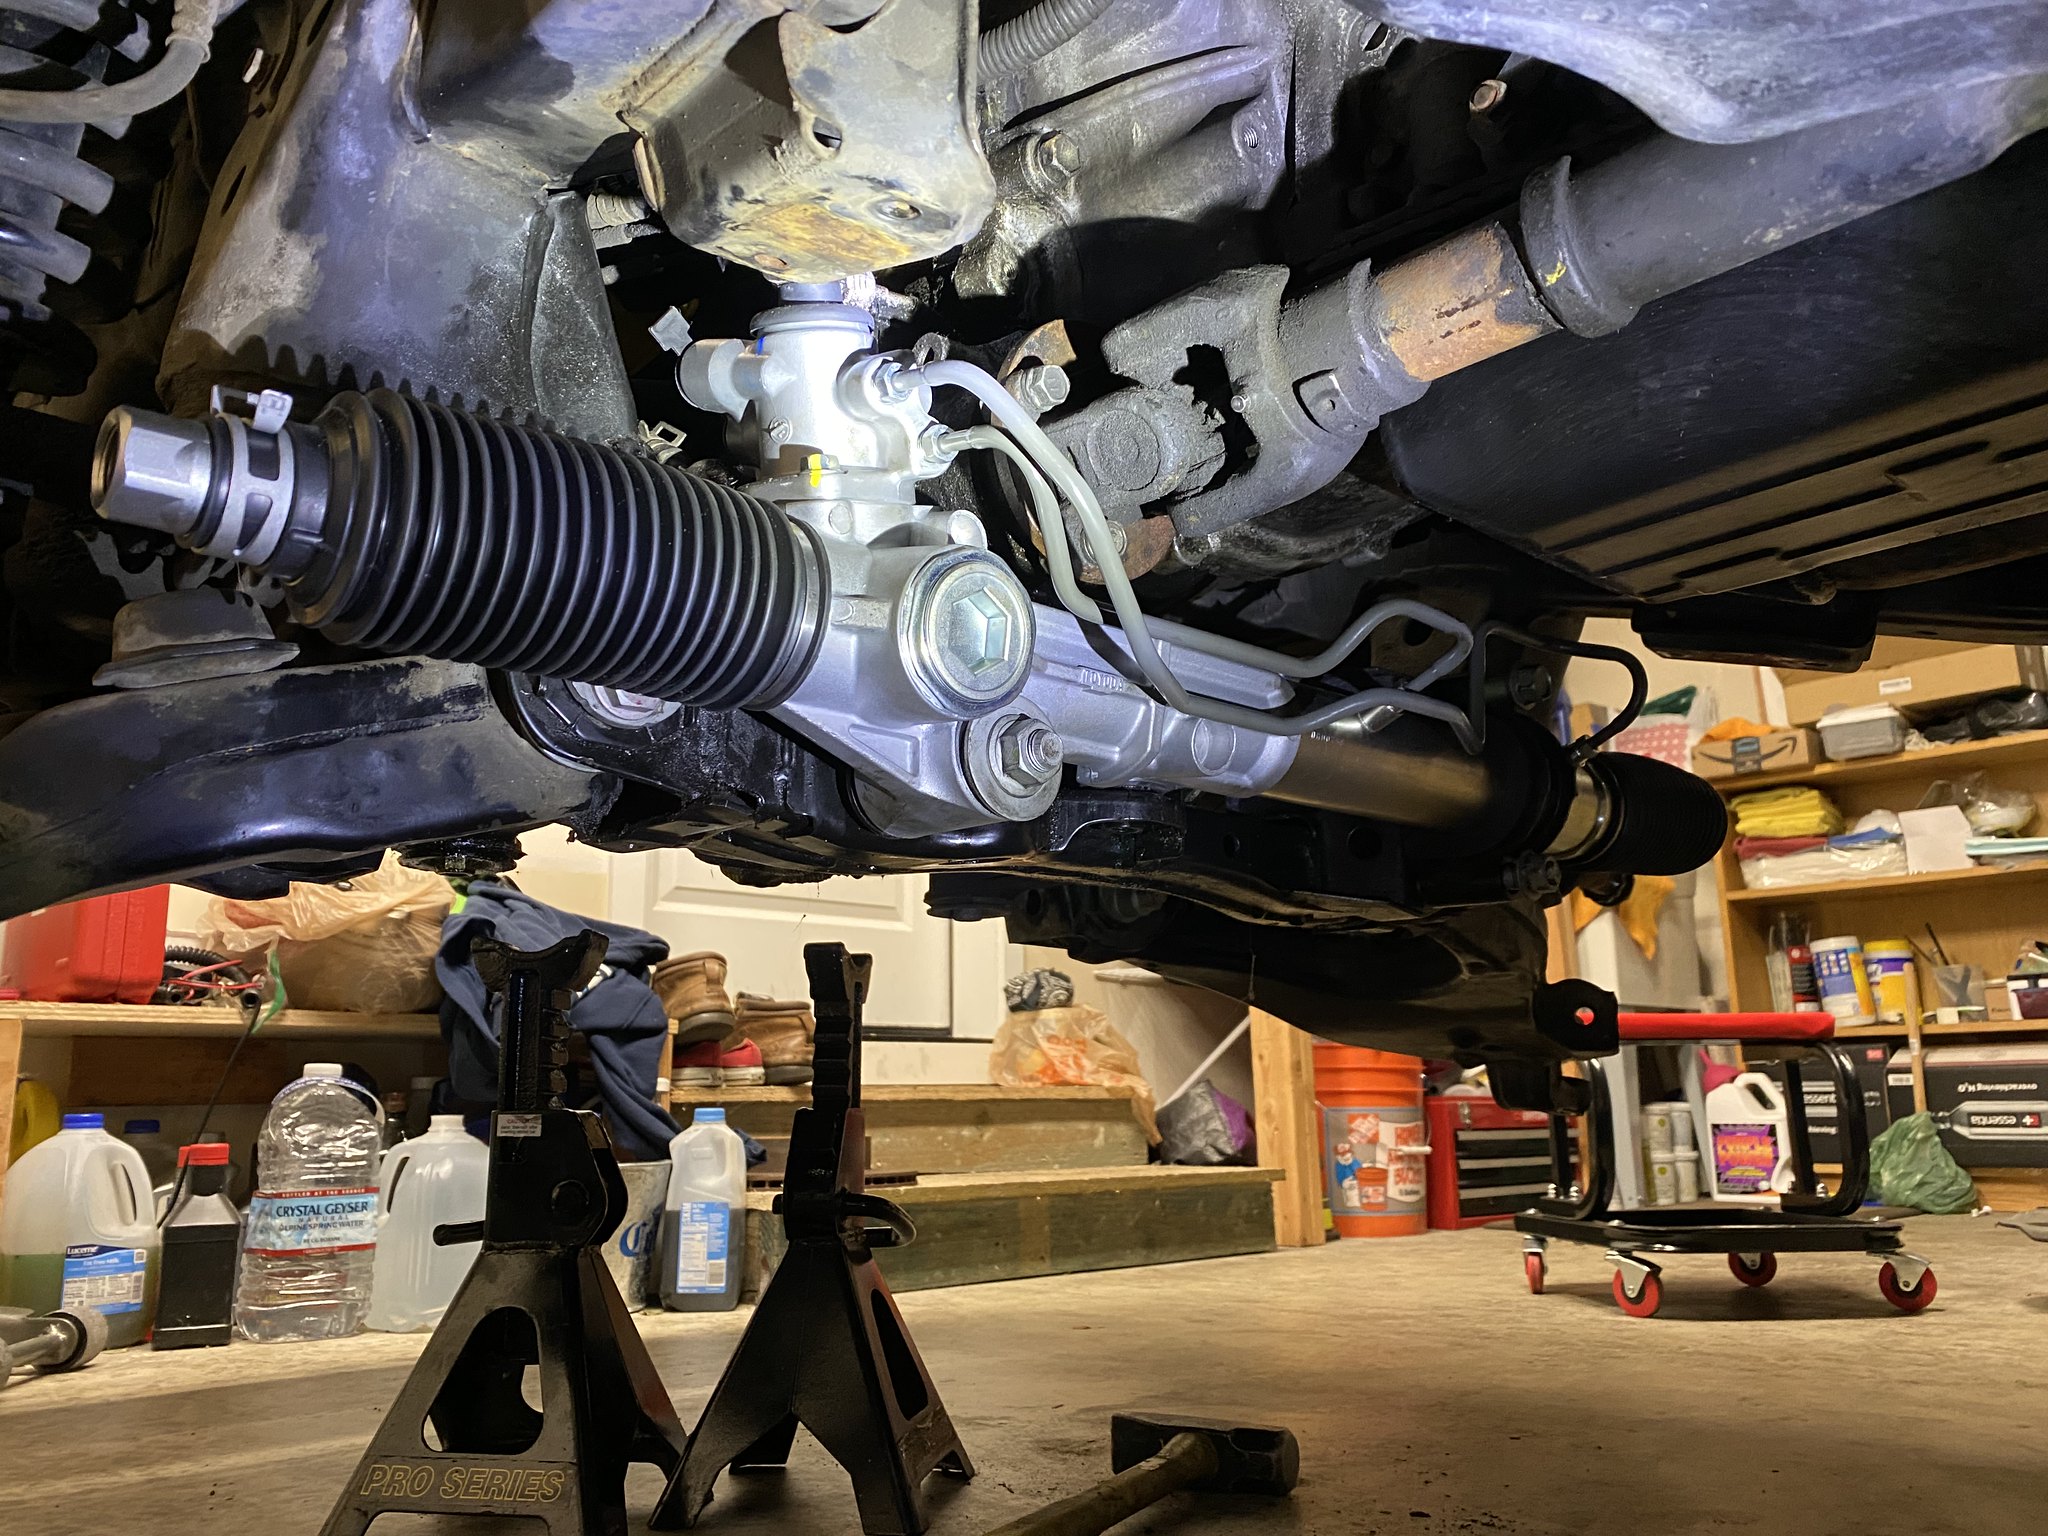
Rack is plumbed and torqued (just loose in this pic).

Untitled by 99blkx, on Flickr

The maiden voyage for this beauty.

Untitled by 99blkx, on Flickr

Will be on the road by the weekend for sure... maybe tomorrow or the next day. Just depends on when I get rolling and the distractions.
 
They press from the inside out, so no.

Good work on the suspension!

Thanks! Maybe I'll see your truck around some day.

And just confirming on the bushing removal... There's no way to brace the control arm and push the bushing out. I guess technically you could cut the washer off but that's a huge waste of time, effort, and sawzall blades. The jack method is tried and true. Literally only took a few minutes per arm and minimal effort.
 
I like the Miatas, I rescued a rust free 90 out of a field over the summer, repainted it, new top, tons of maintenance to make it run right and then parked it for the winter. As much as I love the 4runner I’ll be excited to get it out in the spring.

What Miata forums are you on?
 
I like the Miatas, I rescued a rust free 90 out of a field over the summer, repainted it, new top, tons of maintenance to make it run right and then parked it for the winter. As much as I love the 4runner I’ll be excited to get it out in the spring.

What Miata forums are you on?

Nice save! I'm on Miata.net and ClubRoadster. I spend more time on the latter, but the former can be a lifesaver for info.

Wrapping up the workday to go put in some labor on the truck. My back already hurts, lol.
 
Got the LCA bolts and cams all lined up with my marks. Snugged em enough to hold but won't torque until it's got weight on it.

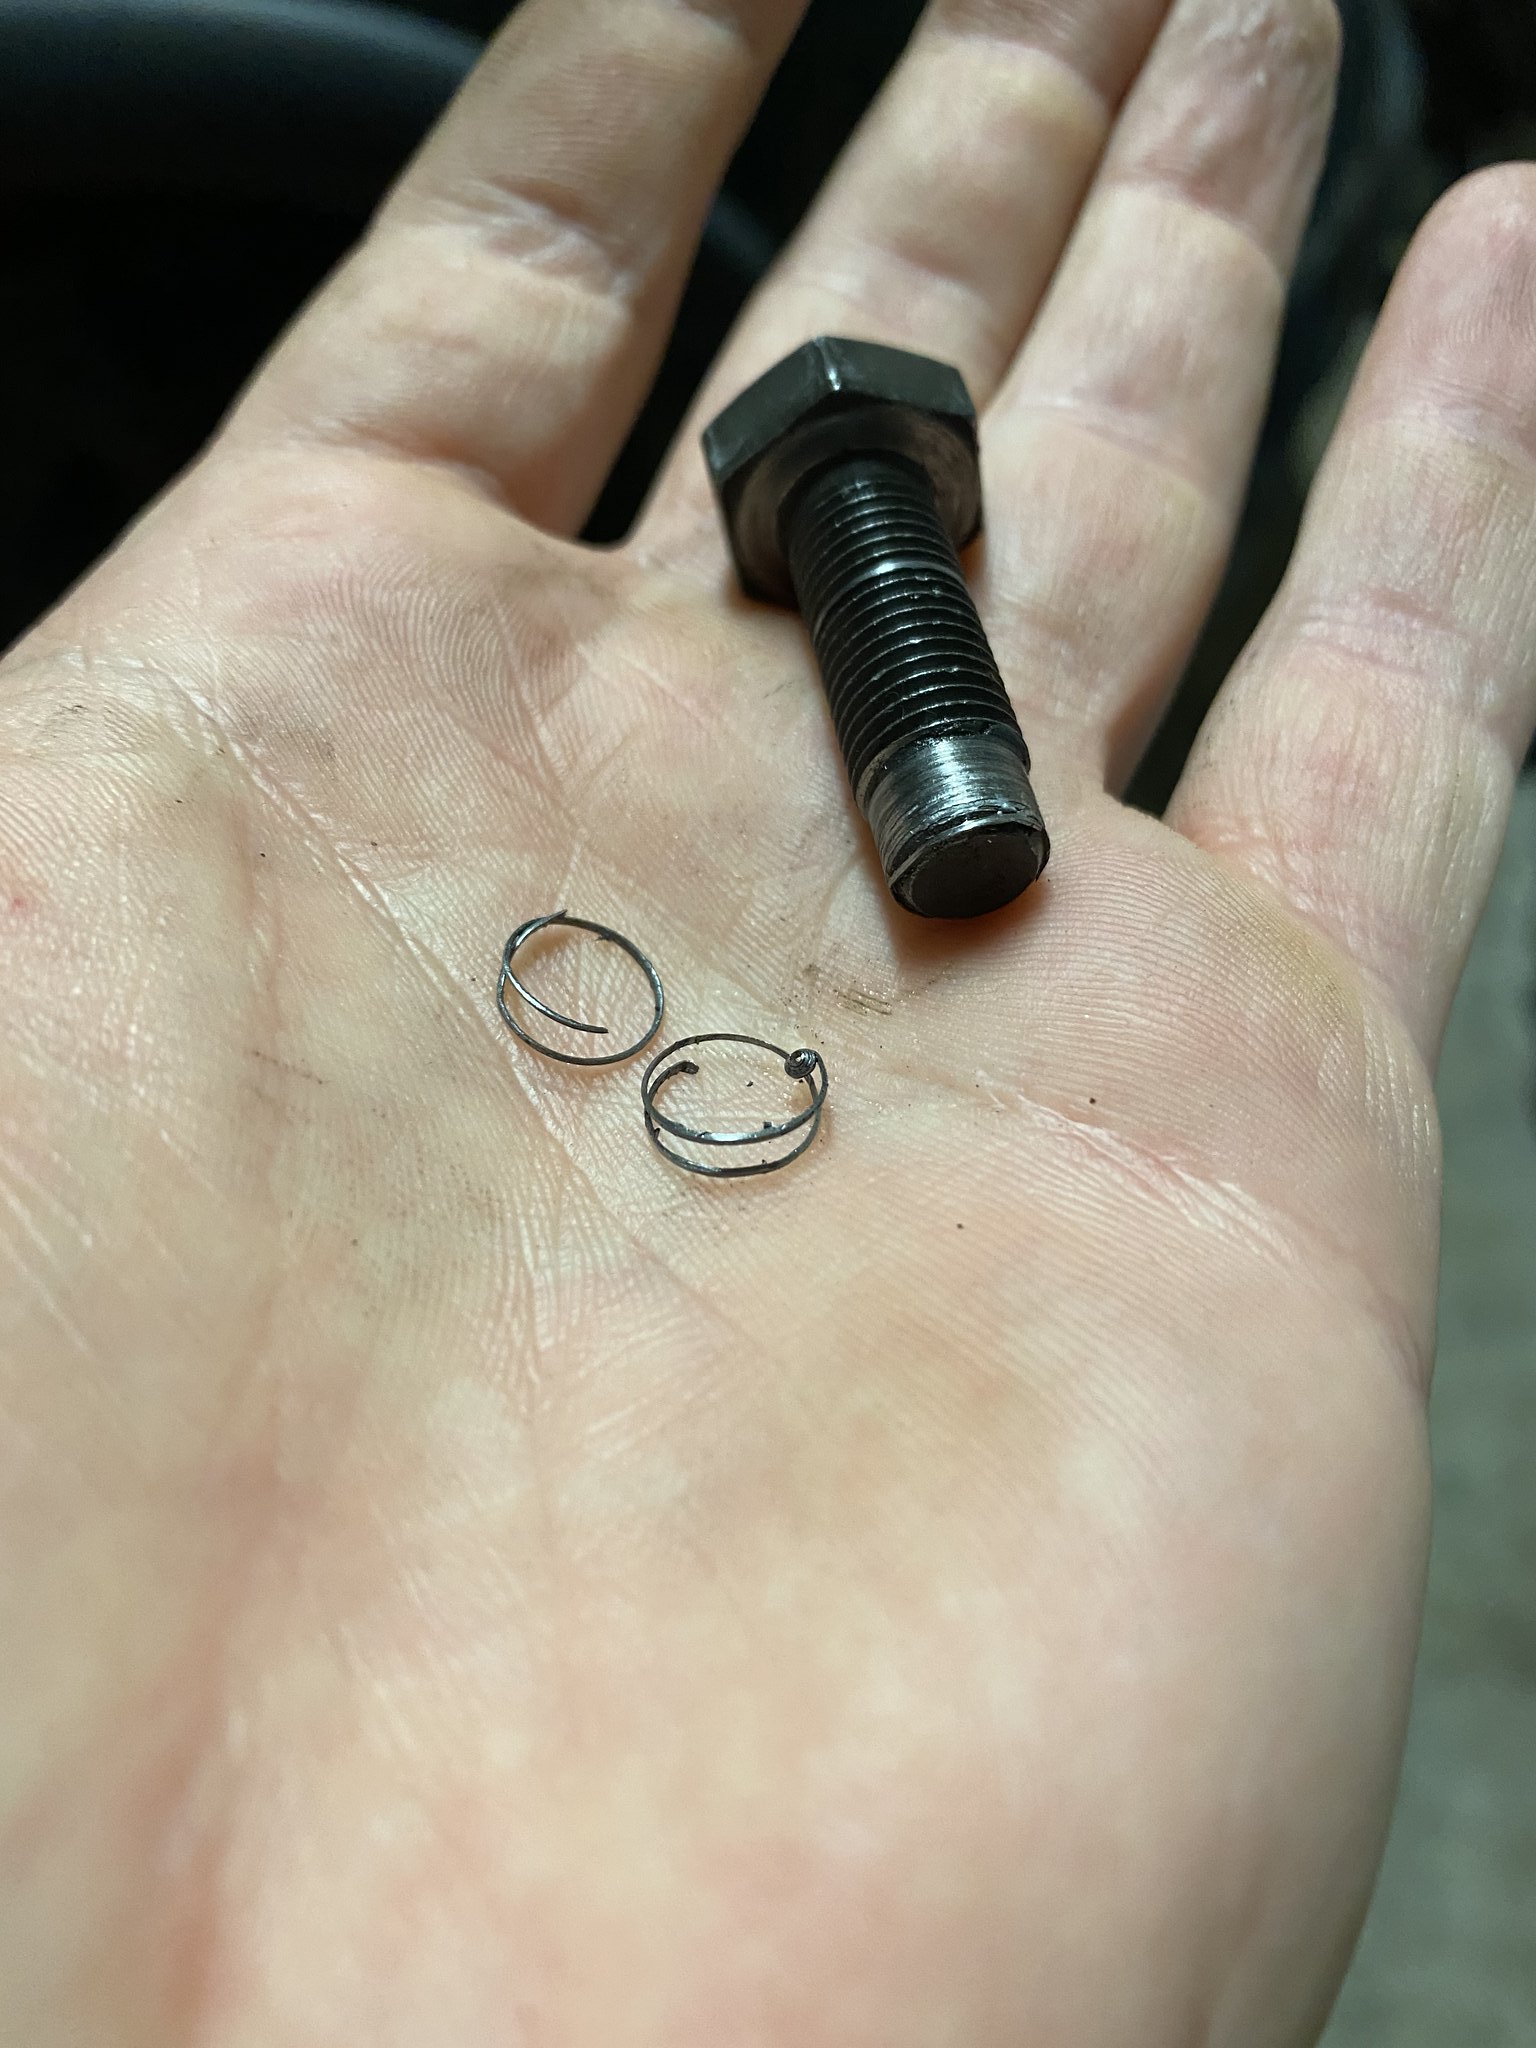
Keeping with reassembly I got the LBJ's bolted on and put the uprights in place so I could torque them down. Driver side went smooth but passenger side... was a problem. 3/4 were fine... 1 stripped. F*&@&@*!!! Pulled it apart and it was just a shit bolt. Threads cleaned up fine.

Untitled by 99blkx, on Flickr

Queue up "Cuz I had a bad day..."

Untitled by 99blkx, on Flickr

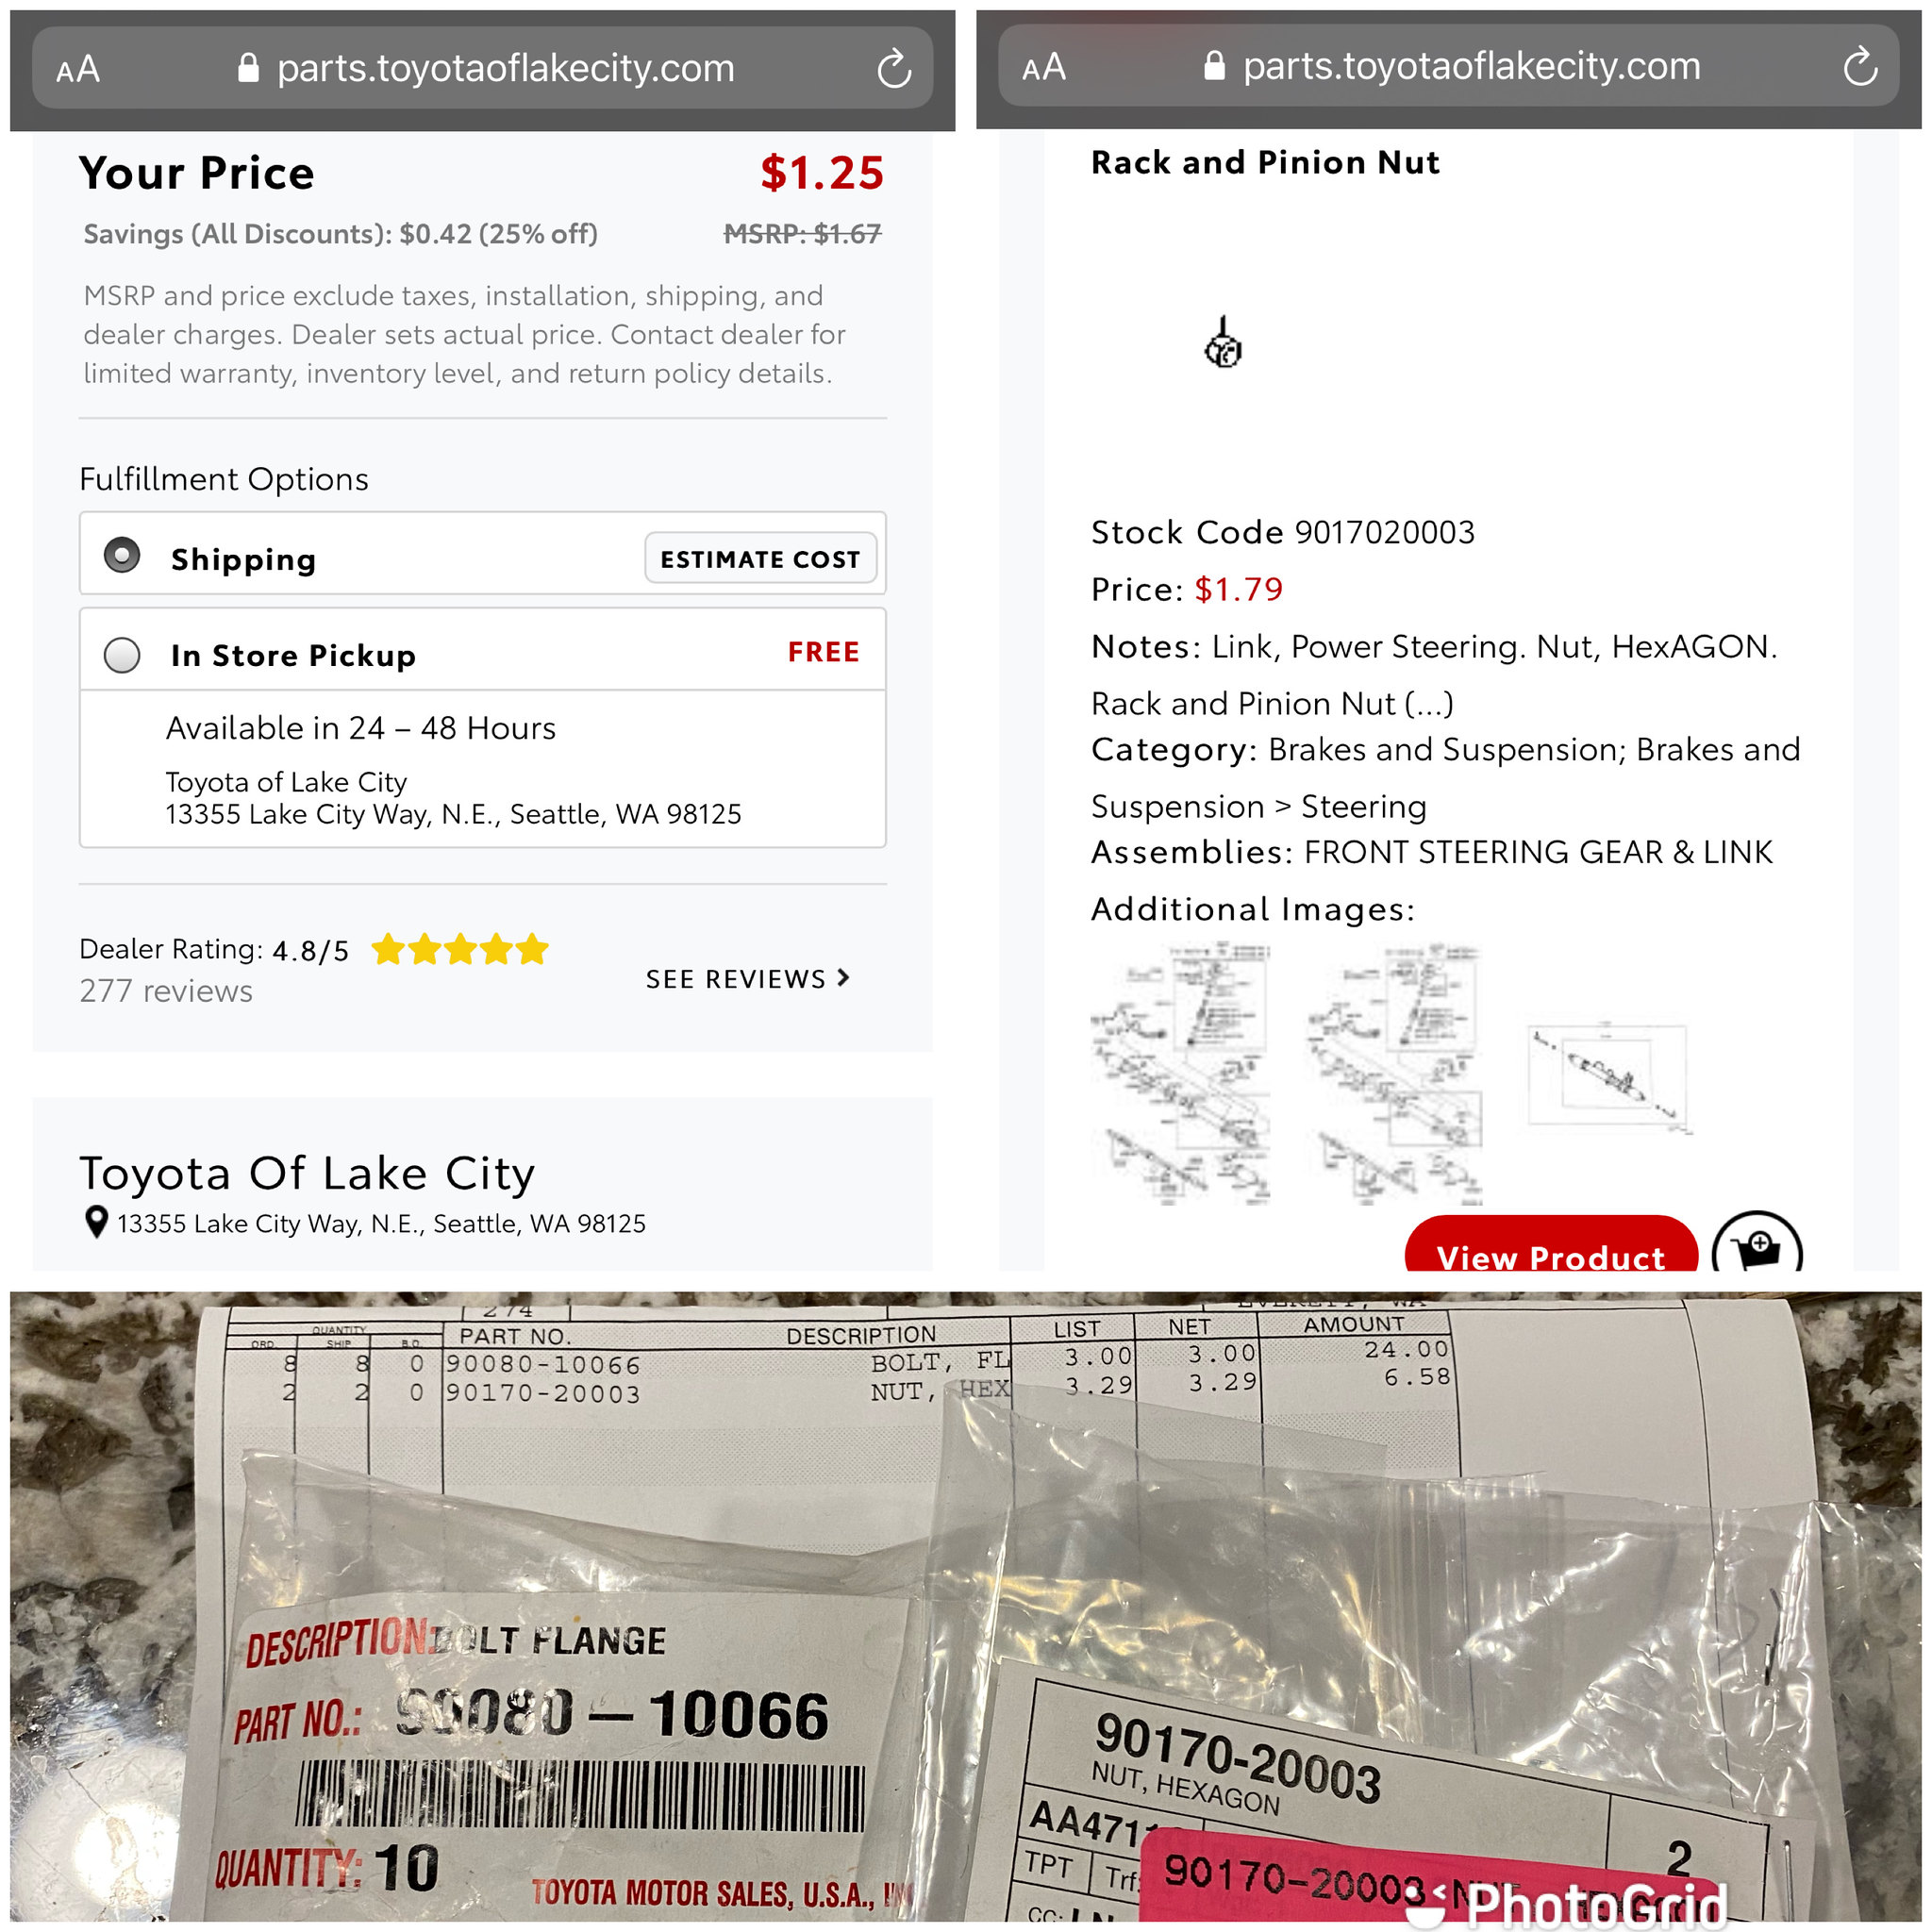
Tomorrow I'll be ordering 8 new Toyota bolts. Guess this is lesson 1 that I shouldn't be using Moog and should be using OEM.

Another interesting lesson... I ordered the new Toyota steering rack, which comes with ITR's. I also ordered new OTRE. The geniuses at Toyota include jam nuts with the ITR, but not with the rack, so now I'm stuck without jam nuts. I'll also be ordering those tomorrow. Oof.

And now I finish a beer before bed. Cheers.
 
Celica looks awesome! You can't get much more fun for the buck than a Miata... as evidence by the 4 I've owned, lol. I'll have another someday just not today.

These things are nice.


Went in like butter. They only press fit the last quarter inch or so. Used the couple of plates to have enough space for the early bend in the front of the control arms.


The cups I used are both from the O'Reilly's loaner tool 4wd tool kit

Once those were in I used the provided grease on the bushings then the sleeves slid right in.

Got the control arms loosely installed so I could get the rack in. I was working solo and found that loosely installing the shock bolt was a nice extra set of hands. About 6 of the 8 washers went in easy but a couple took some persuasion. Used a couple of screwdrivers and the back side of a chisel to get the holes lined up.

Rack is plumbed and torqued (just loose in this pic).


The maiden voyage for this beauty.


Will be on the road by the weekend for sure... maybe tomorrow or the next day. Just depends on when I get rolling and the distractions.

Thanks for posting pics of the bushing/rack replacement! I'll definitely keep note of your post on this! I'm sure I'll refer to your post when I get around to doing this job-- in the Spring?!
I bought a set of Energy suspension poly bushings last year when they were on Sale, but I've heard a few bad things about them recently--- that they actually don't last very long! I certainly don't want to do this job again in a couple of years! What were your feelings on this, or did you decide to go with the Whiteline bushings by default?
 
I bought a set of Energy suspension poly bushings last year when they were on Sale, but I've heard a few bad things about them recently--- that they actually don't last very long! I certainly don't want to do this job again in a couple of years! What were your feelings on this, or did you decide to go with the Whiteline bushings by default?

Poly in general depends on the application. I did a full Energy Suspension kit on my Miata and it was fine. Only mildly regrettable in the bushings that need to flex and not just pivot.

For the truck I chose whiteline since everyone swears by them and the install doesn’t reuse the factory metal sleeve. ES sounded like more work and these were a cheap upgrade over a stock bushing.

Waiting on breakfast and then it’ll be time to work on the truck. Hoping to drive it this afternoon. Still plotting my attack on the power steering fluid. I bought a gallon and want to be nice to my new billion dollar rack.
 
Just had same thing happen when I went to do inner tie rods this morning. Both sides had fluid. If anyone out there thinking about doing them do yourself a favor and open up the outer clamps first to check for fluid before ordering parts.
 
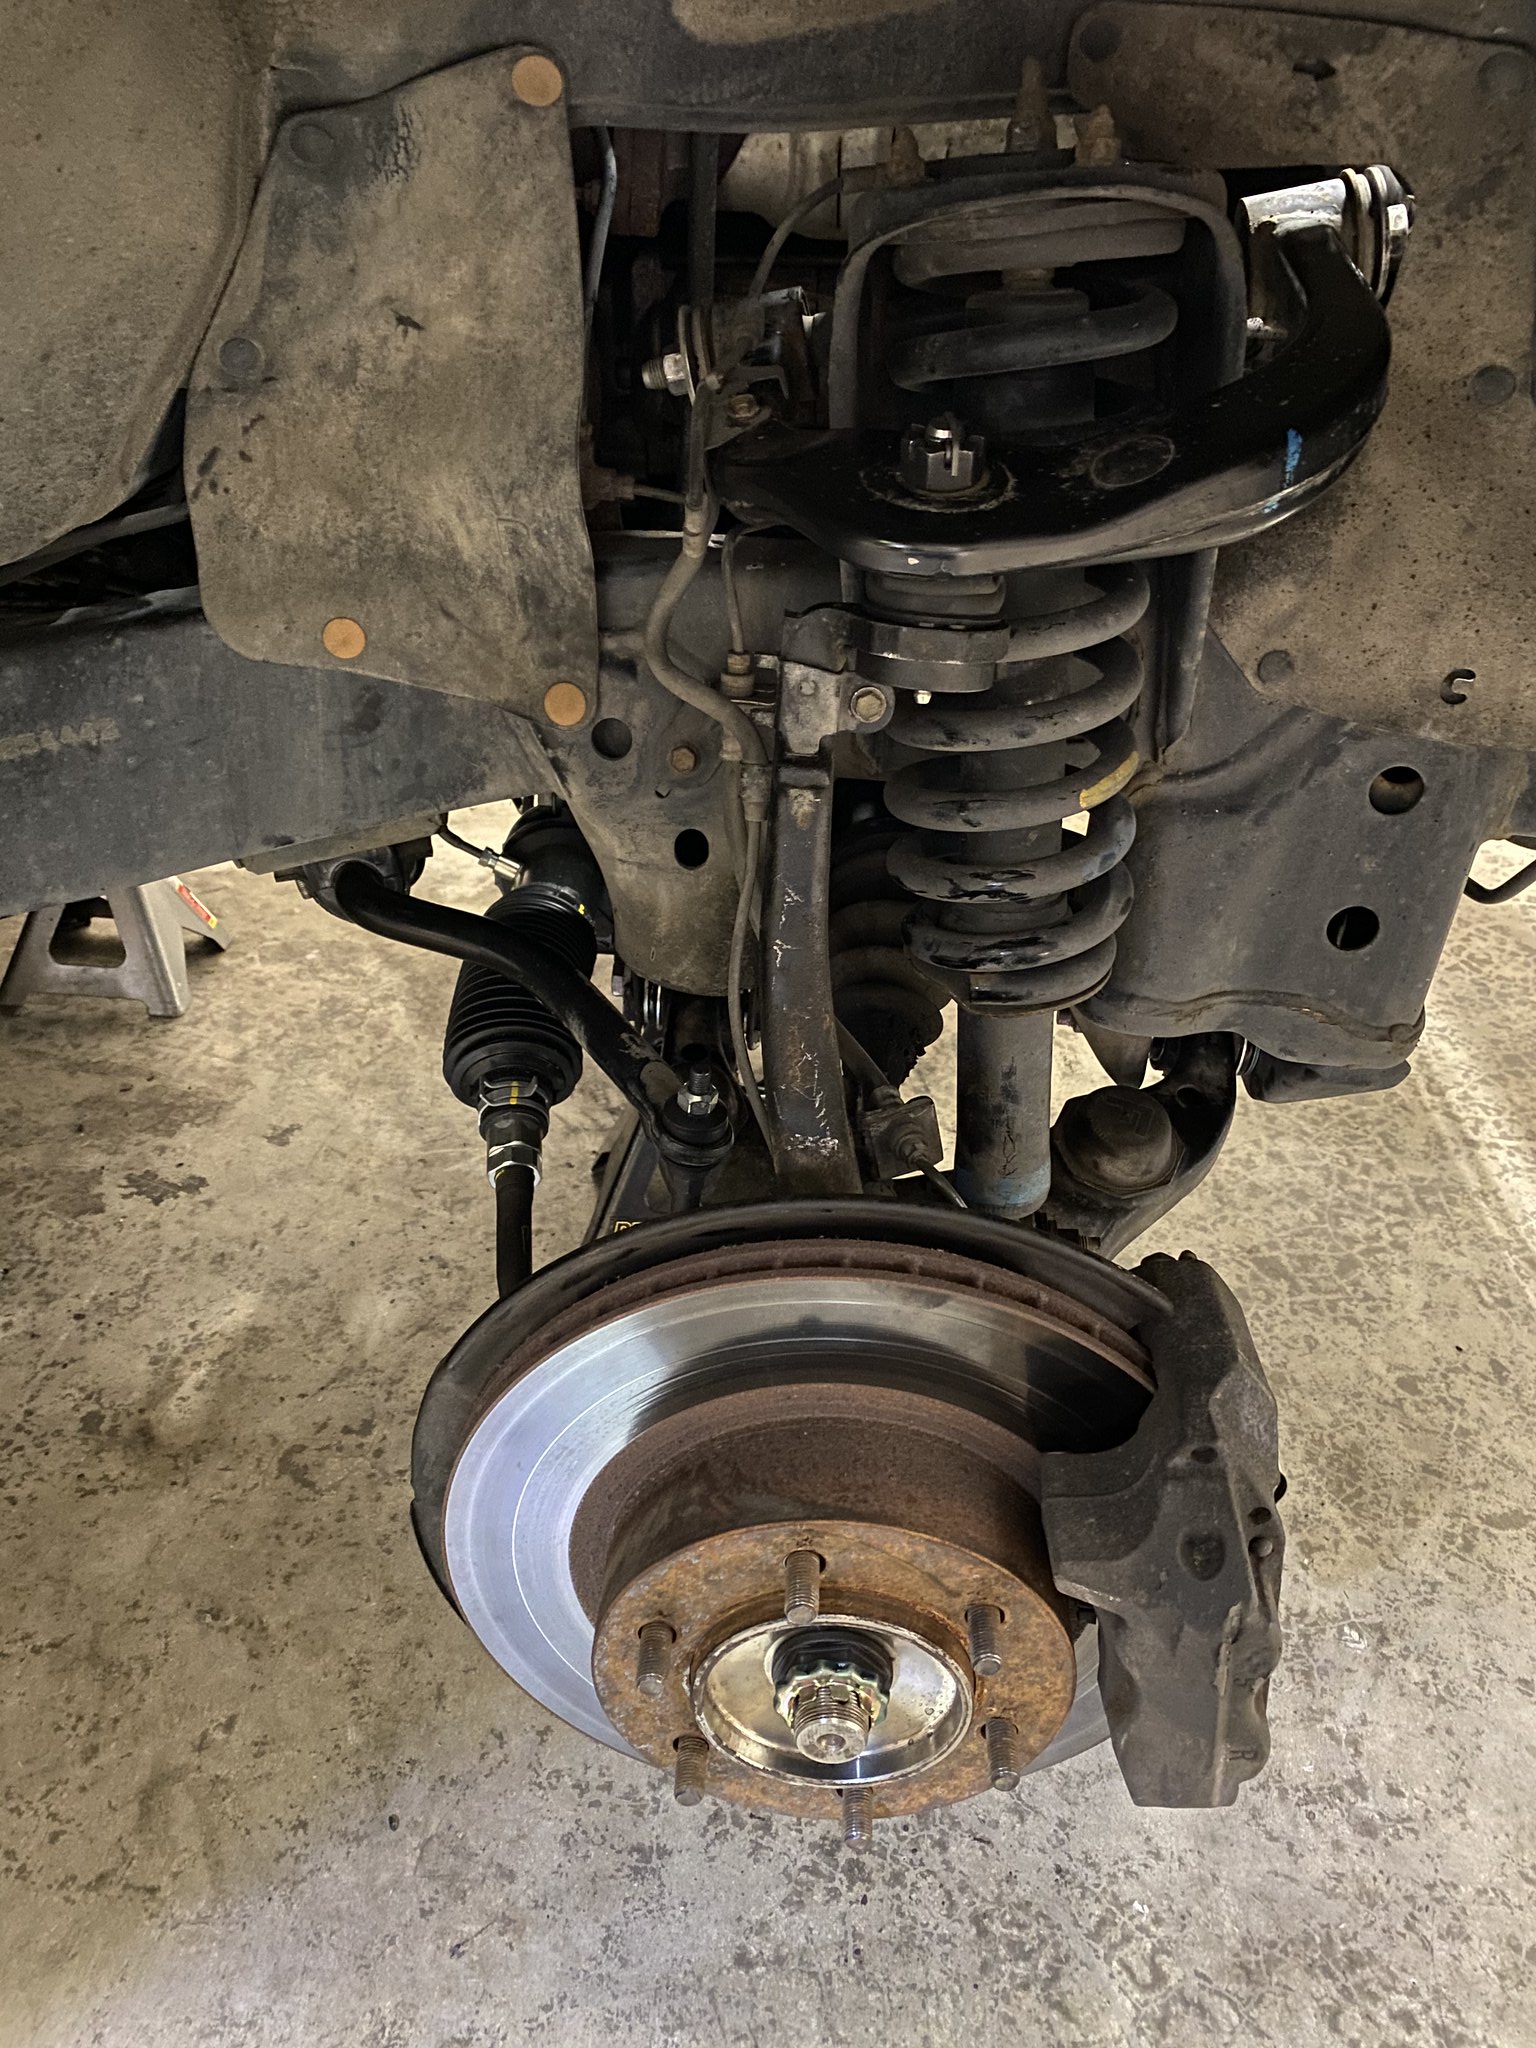
Front end is all back together! Took her for a spin around the neighborhood and the front end is quite tight. No more wandering around down the road. I like.

Before tightening the control arm bolts I jacked that corner of the truck up until it just lifted from the stands. It's my experience that you want those bushings loaded when you tighten everything.

Untitled by 99blkx, on Flickr

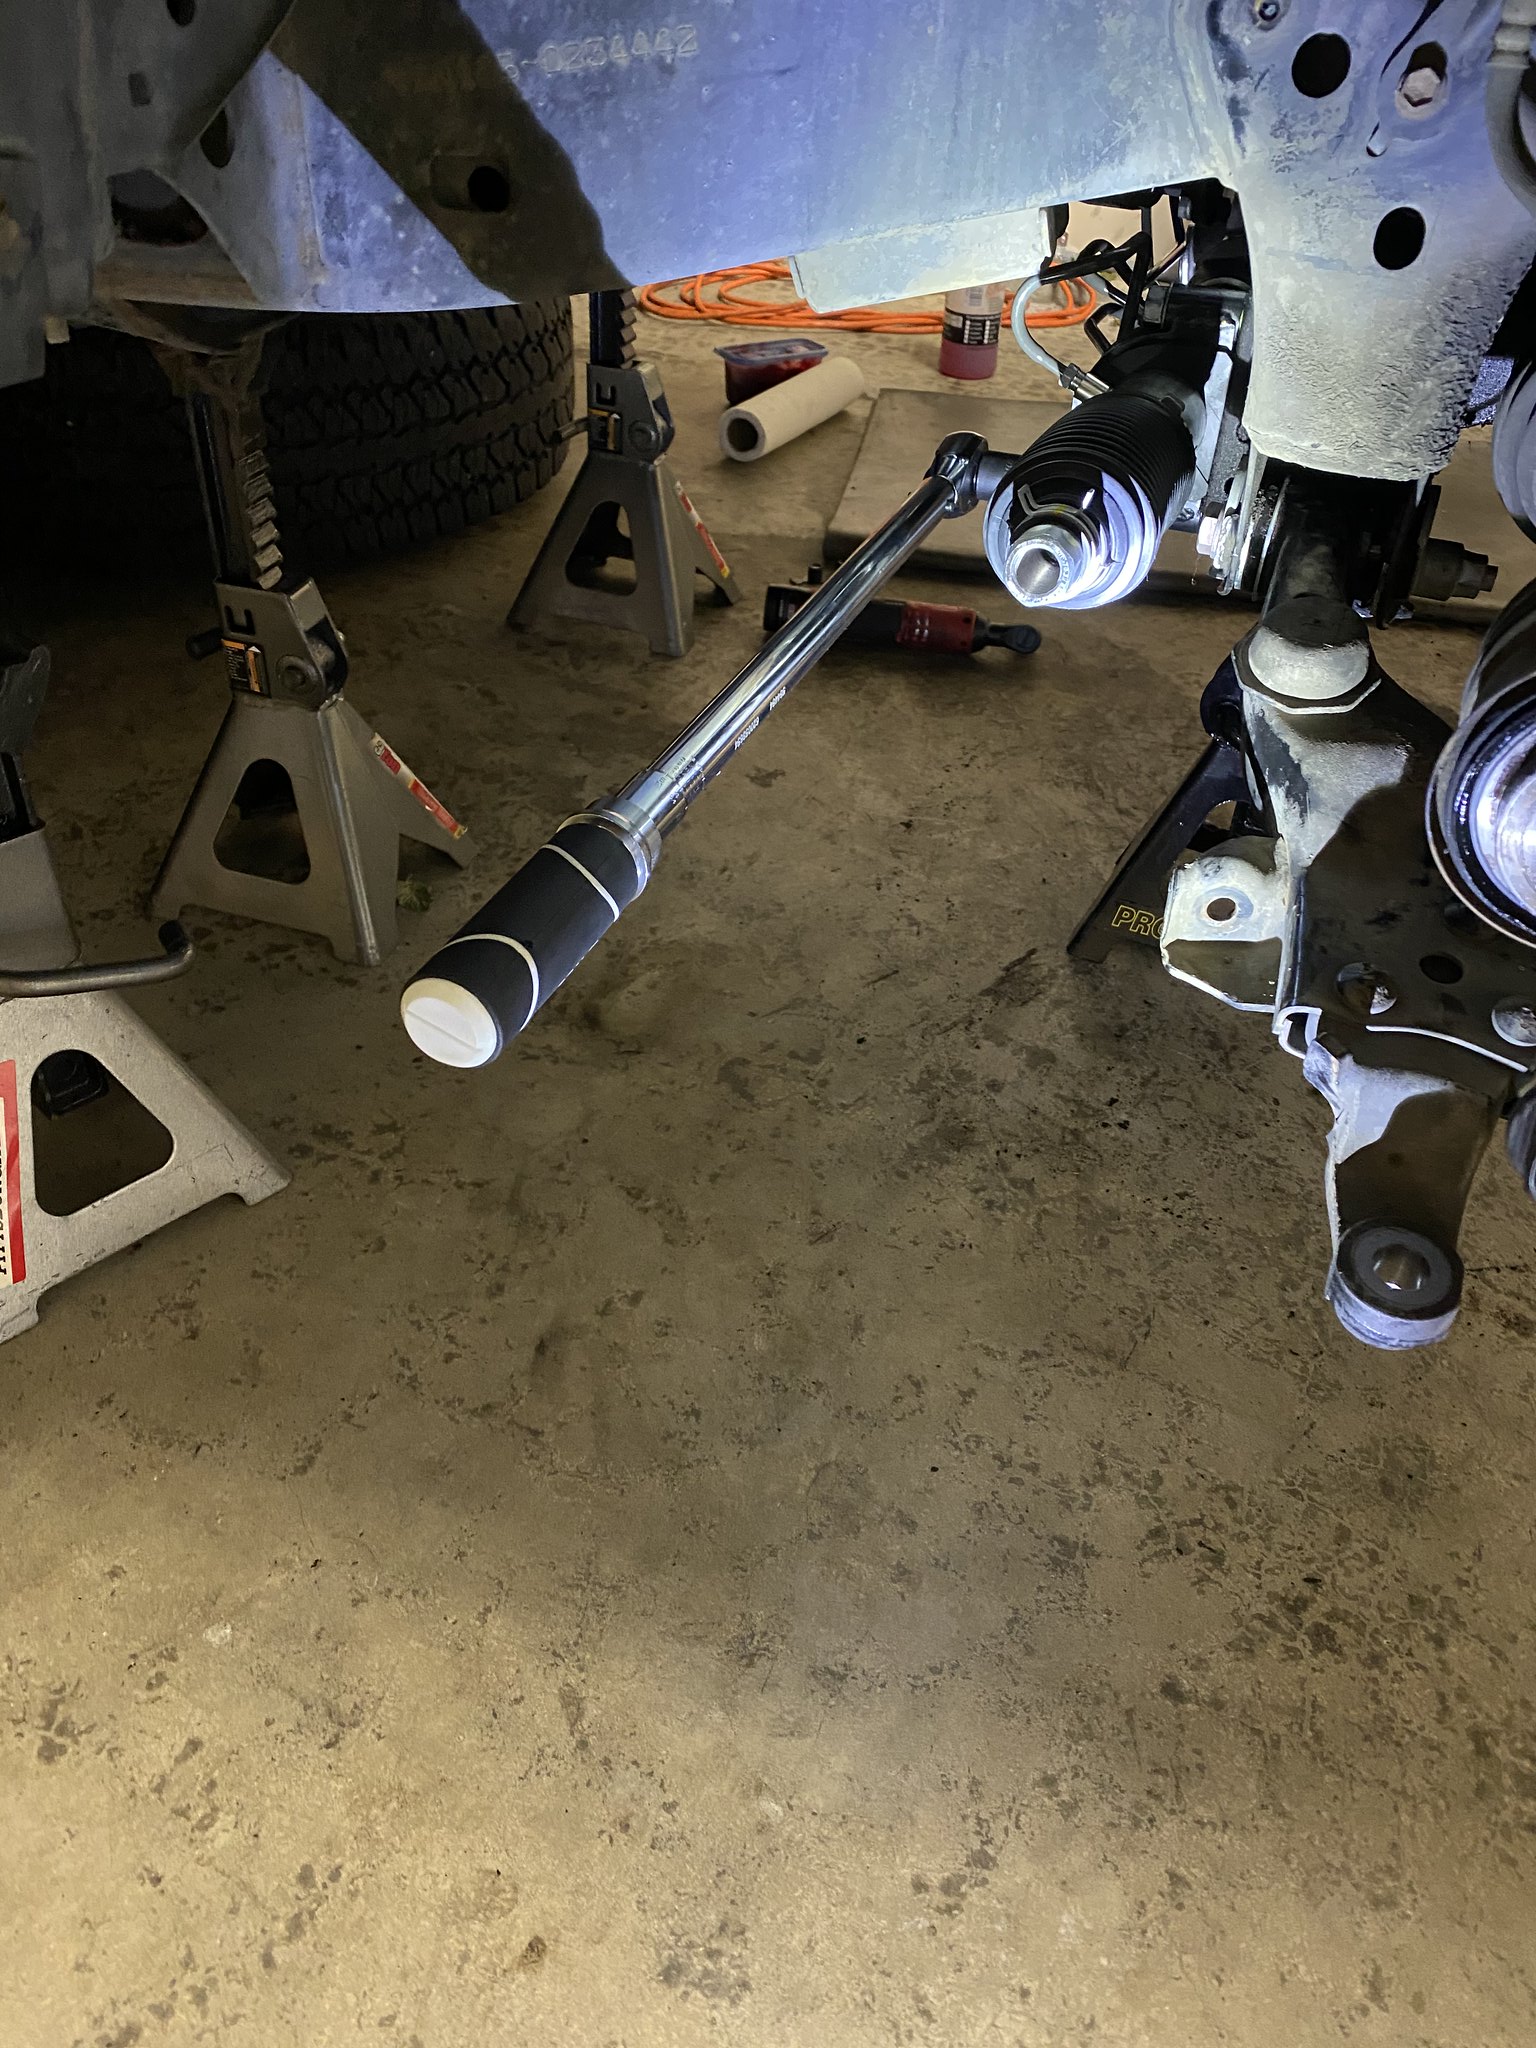
One lesson learned here. You can't get a torque wrench on the rear LCA bolt with the steering rack in place. If I did it again, I'd either buy a 22mm crows foot or leave the rack loose until the LCA's were torqued. Instead I torqued the fronts, then tightened the rears to "about the same." :)

One more look at that nice rack.

Untitled by 99blkx, on Flickr

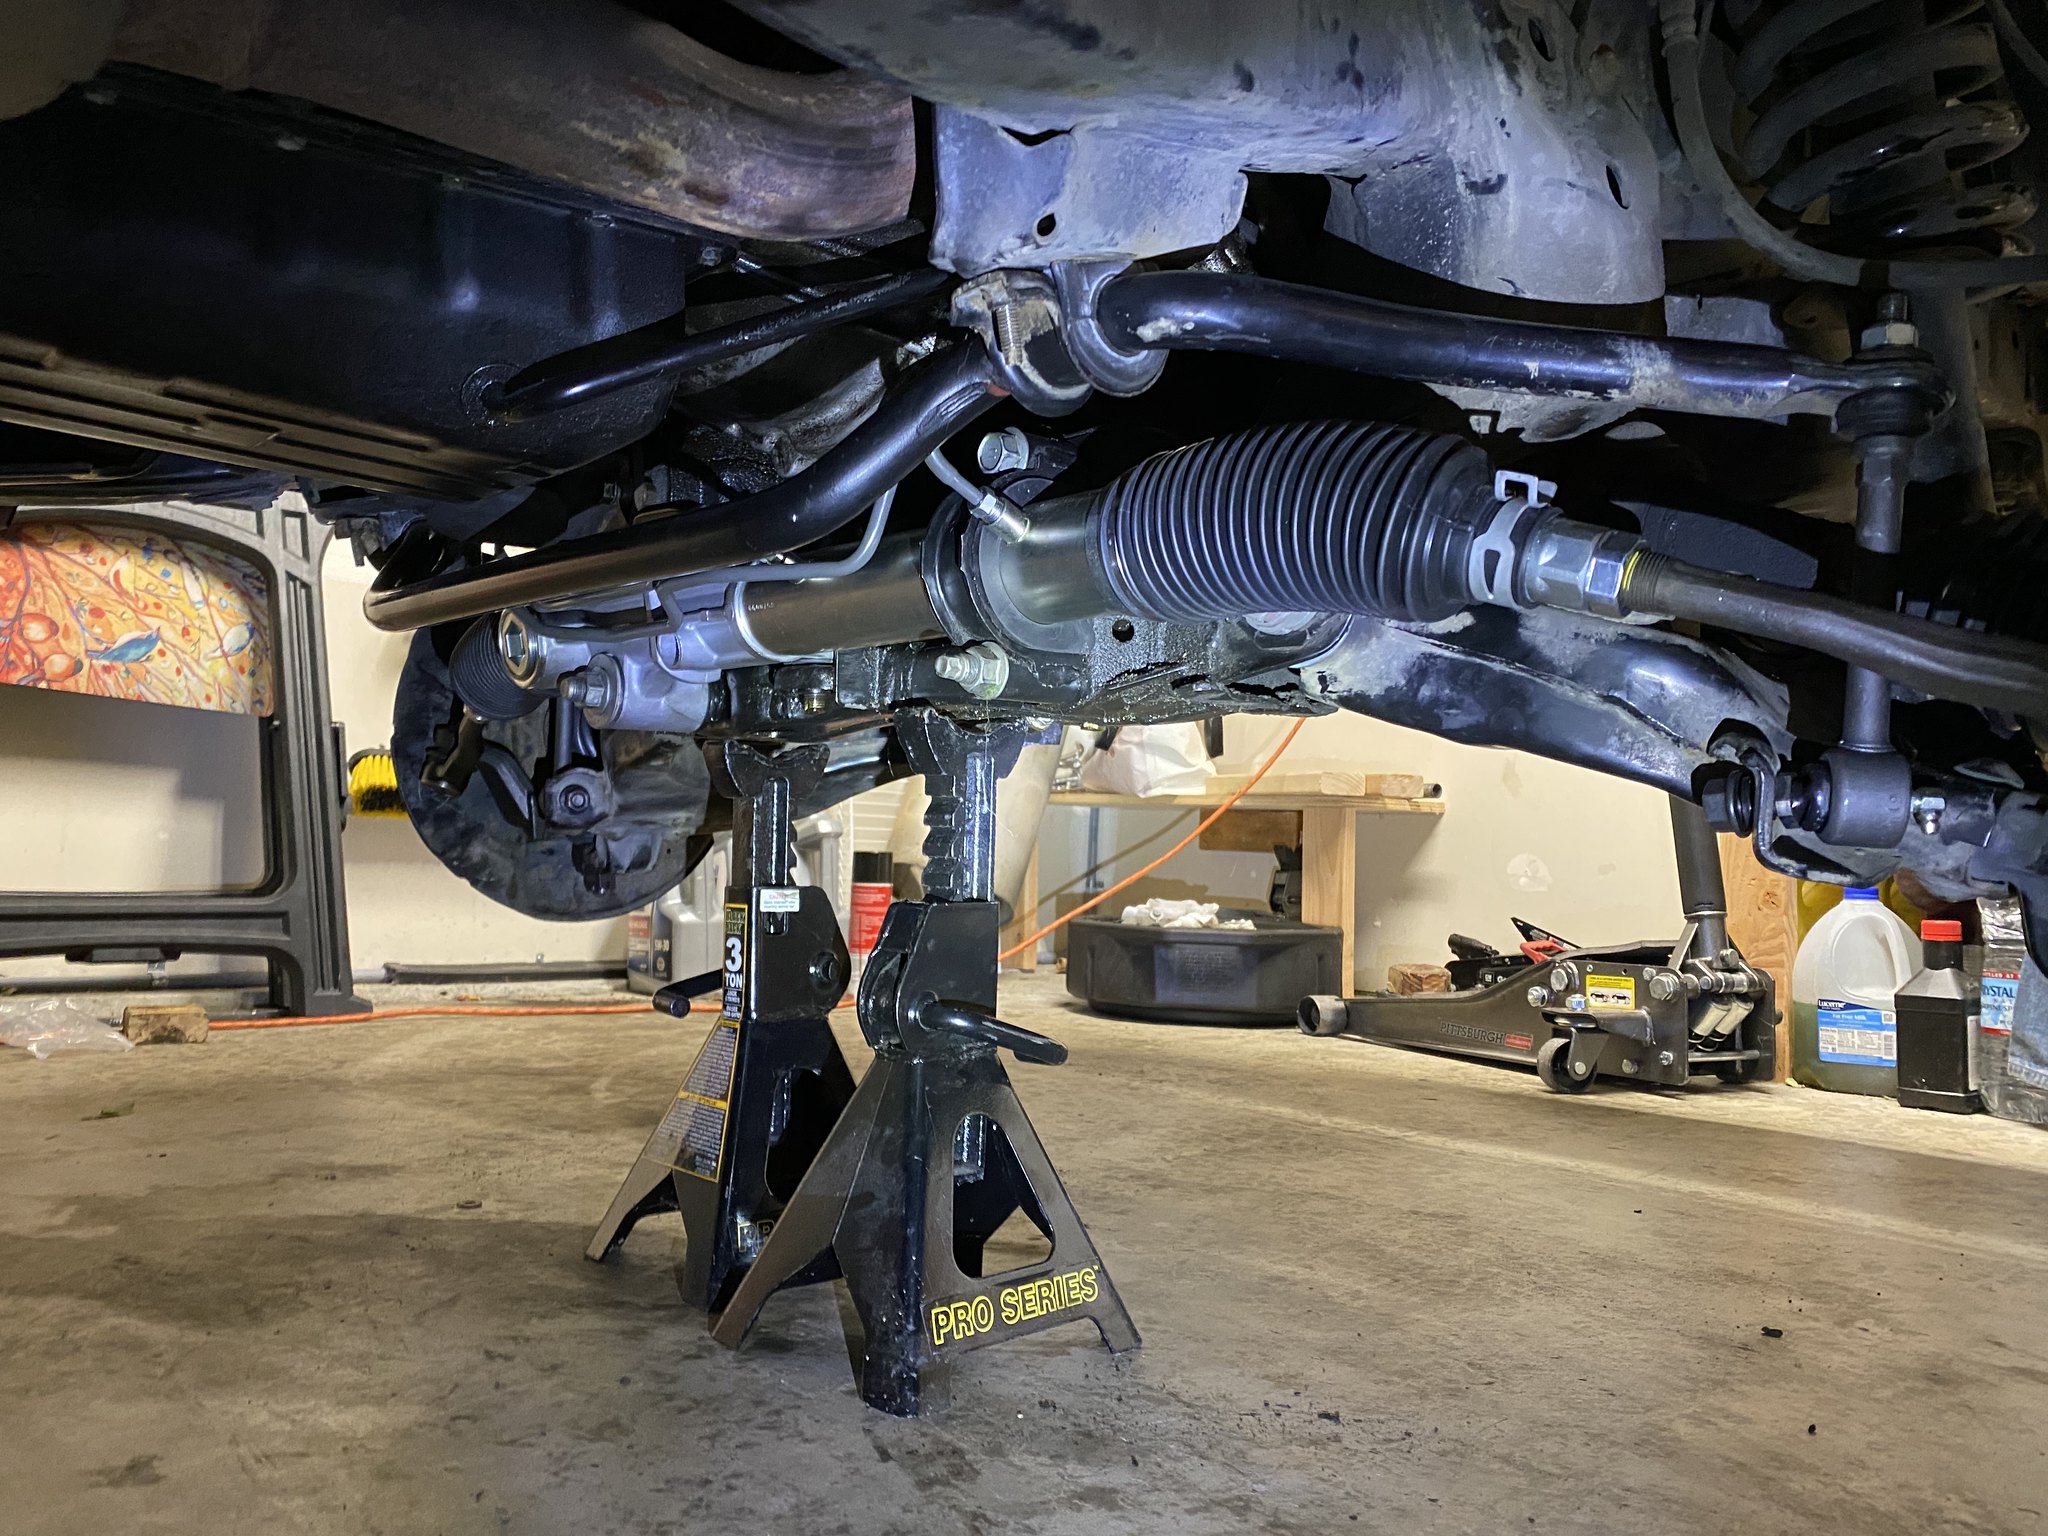
You can see a couple of things here... the paint pen I used to mark the new OTRE's to be about the same length as the old ones. Everyone knows that trick. Also a couple of JIC OH SHIT jack stands under the cross member for working on the truck when one corner is on a jack. The actual stands are further back.

Now for a quick rant about dealers. I got a deal on my steering rack through a friend. As a result, I chose the same dealer for those bolts I needed. It was a $15 lesson learned... heads up to my fellow Seattleites. I paid too much by going to Rodland in Everett.

Untitled by 99blkx, on Flickr

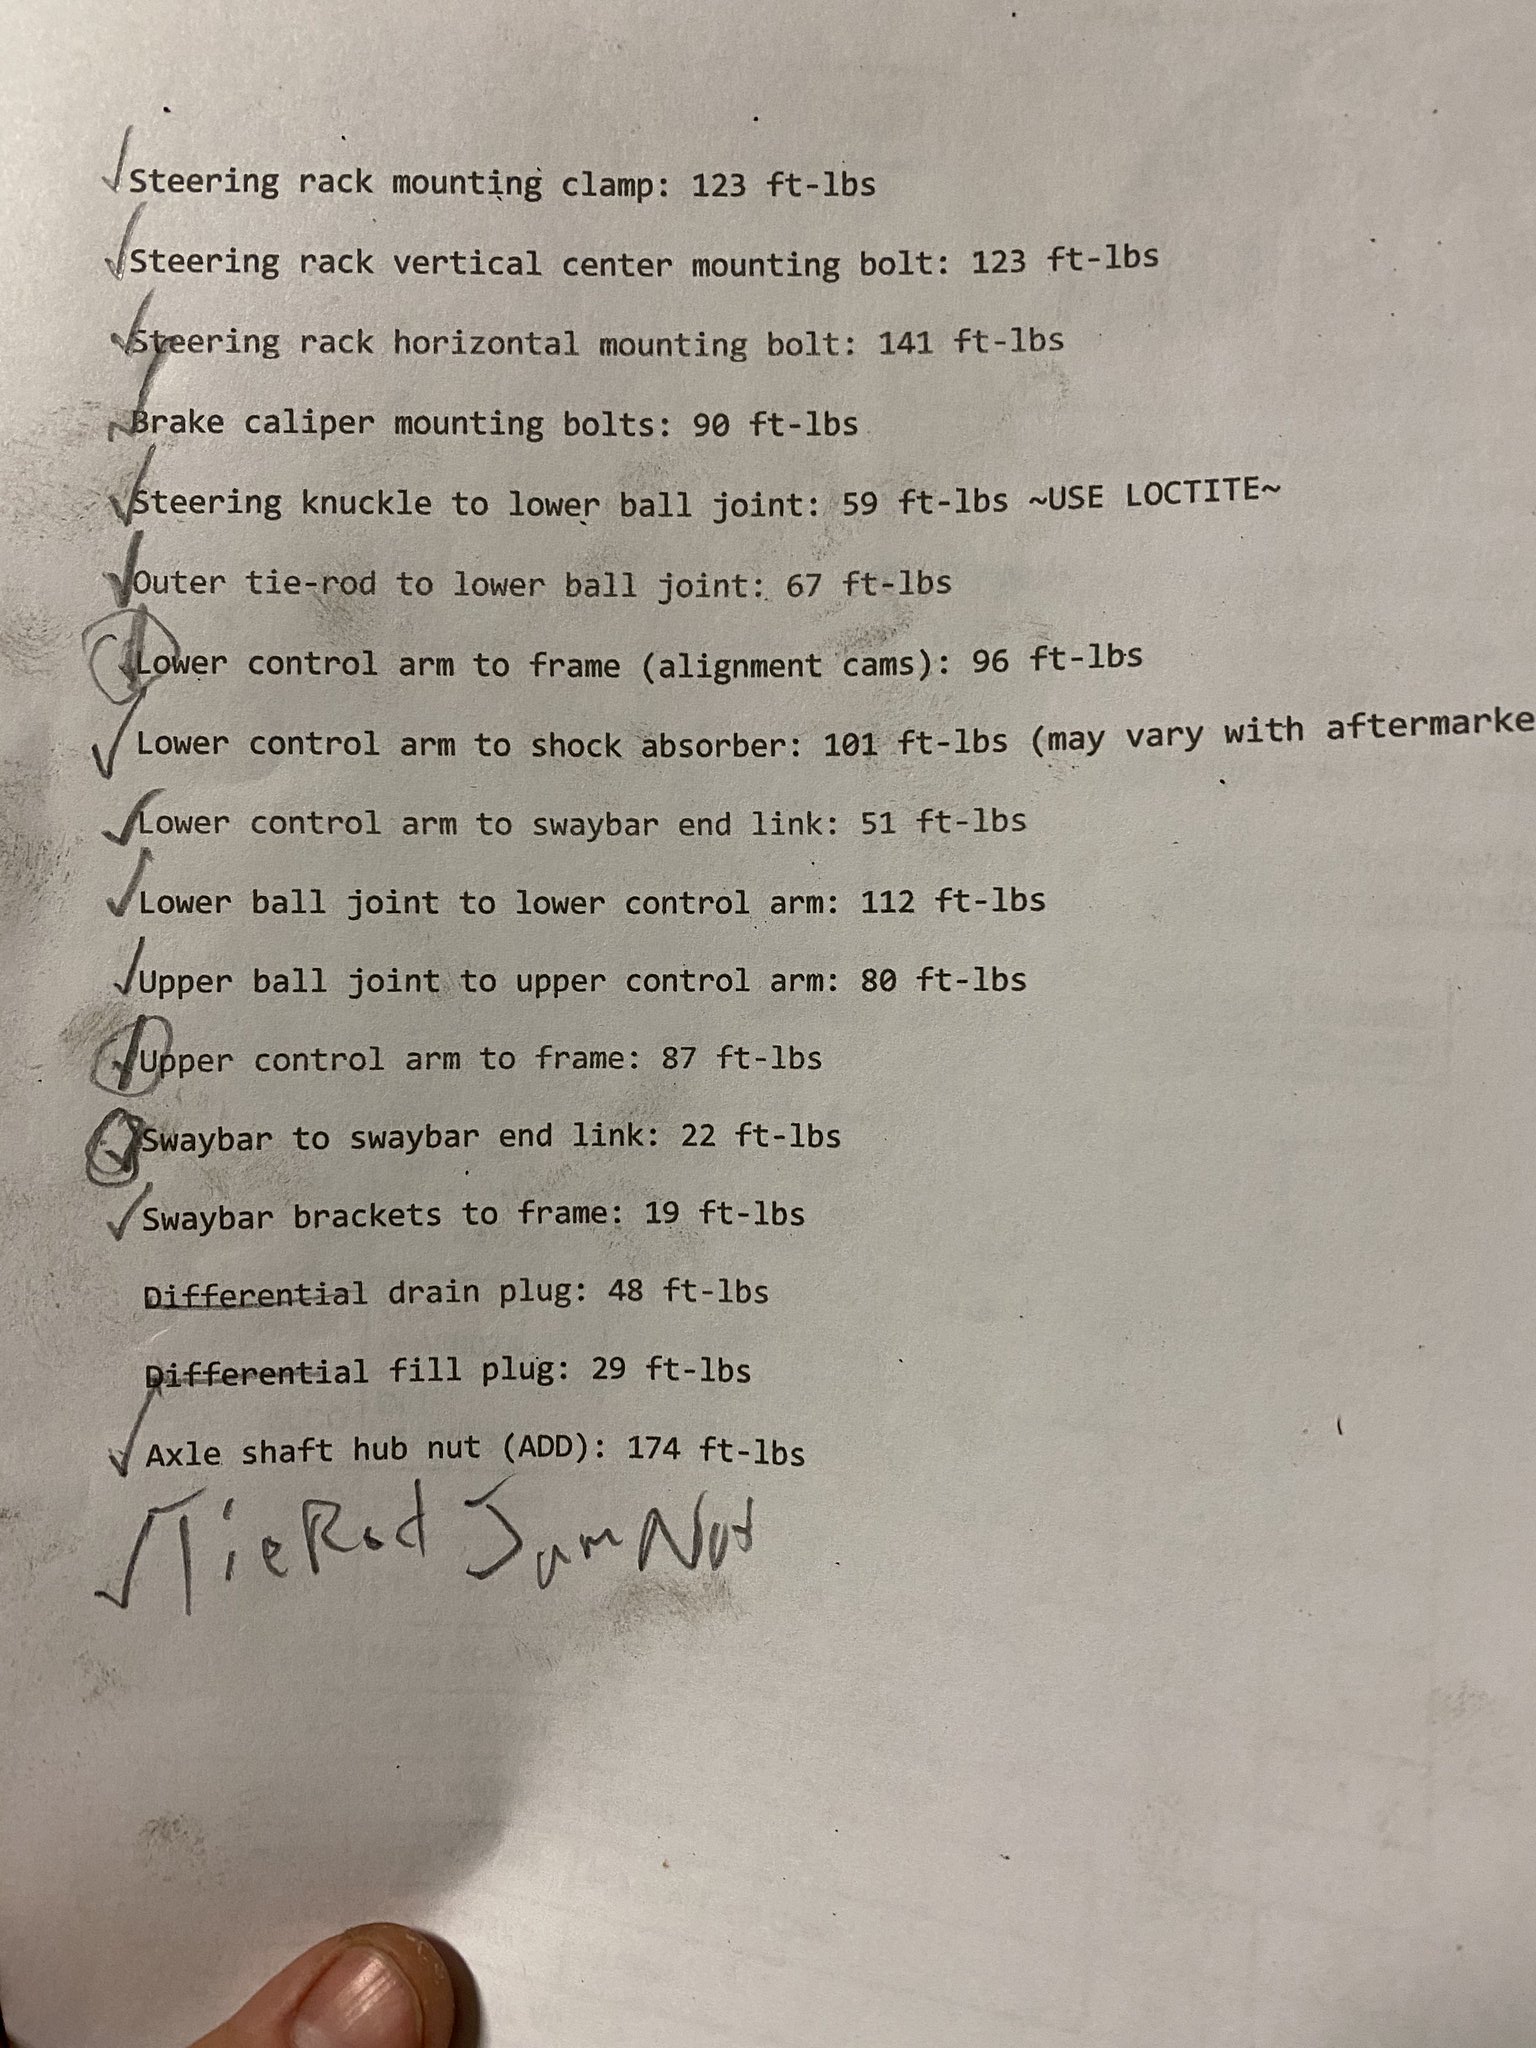
I also printed a torque spec checklist. This comes in handy when you're going "did I remember to..."

Untitled by 99blkx, on Flickr

I feel like I have to say my handwriting isn't that bad. The list was hanging on the wall at the back of my workbench when I did my write in, lol.

Looking happy as a clam. And I made a few dollars selling the brush guard.

Untitled by 99blkx, on Flickr

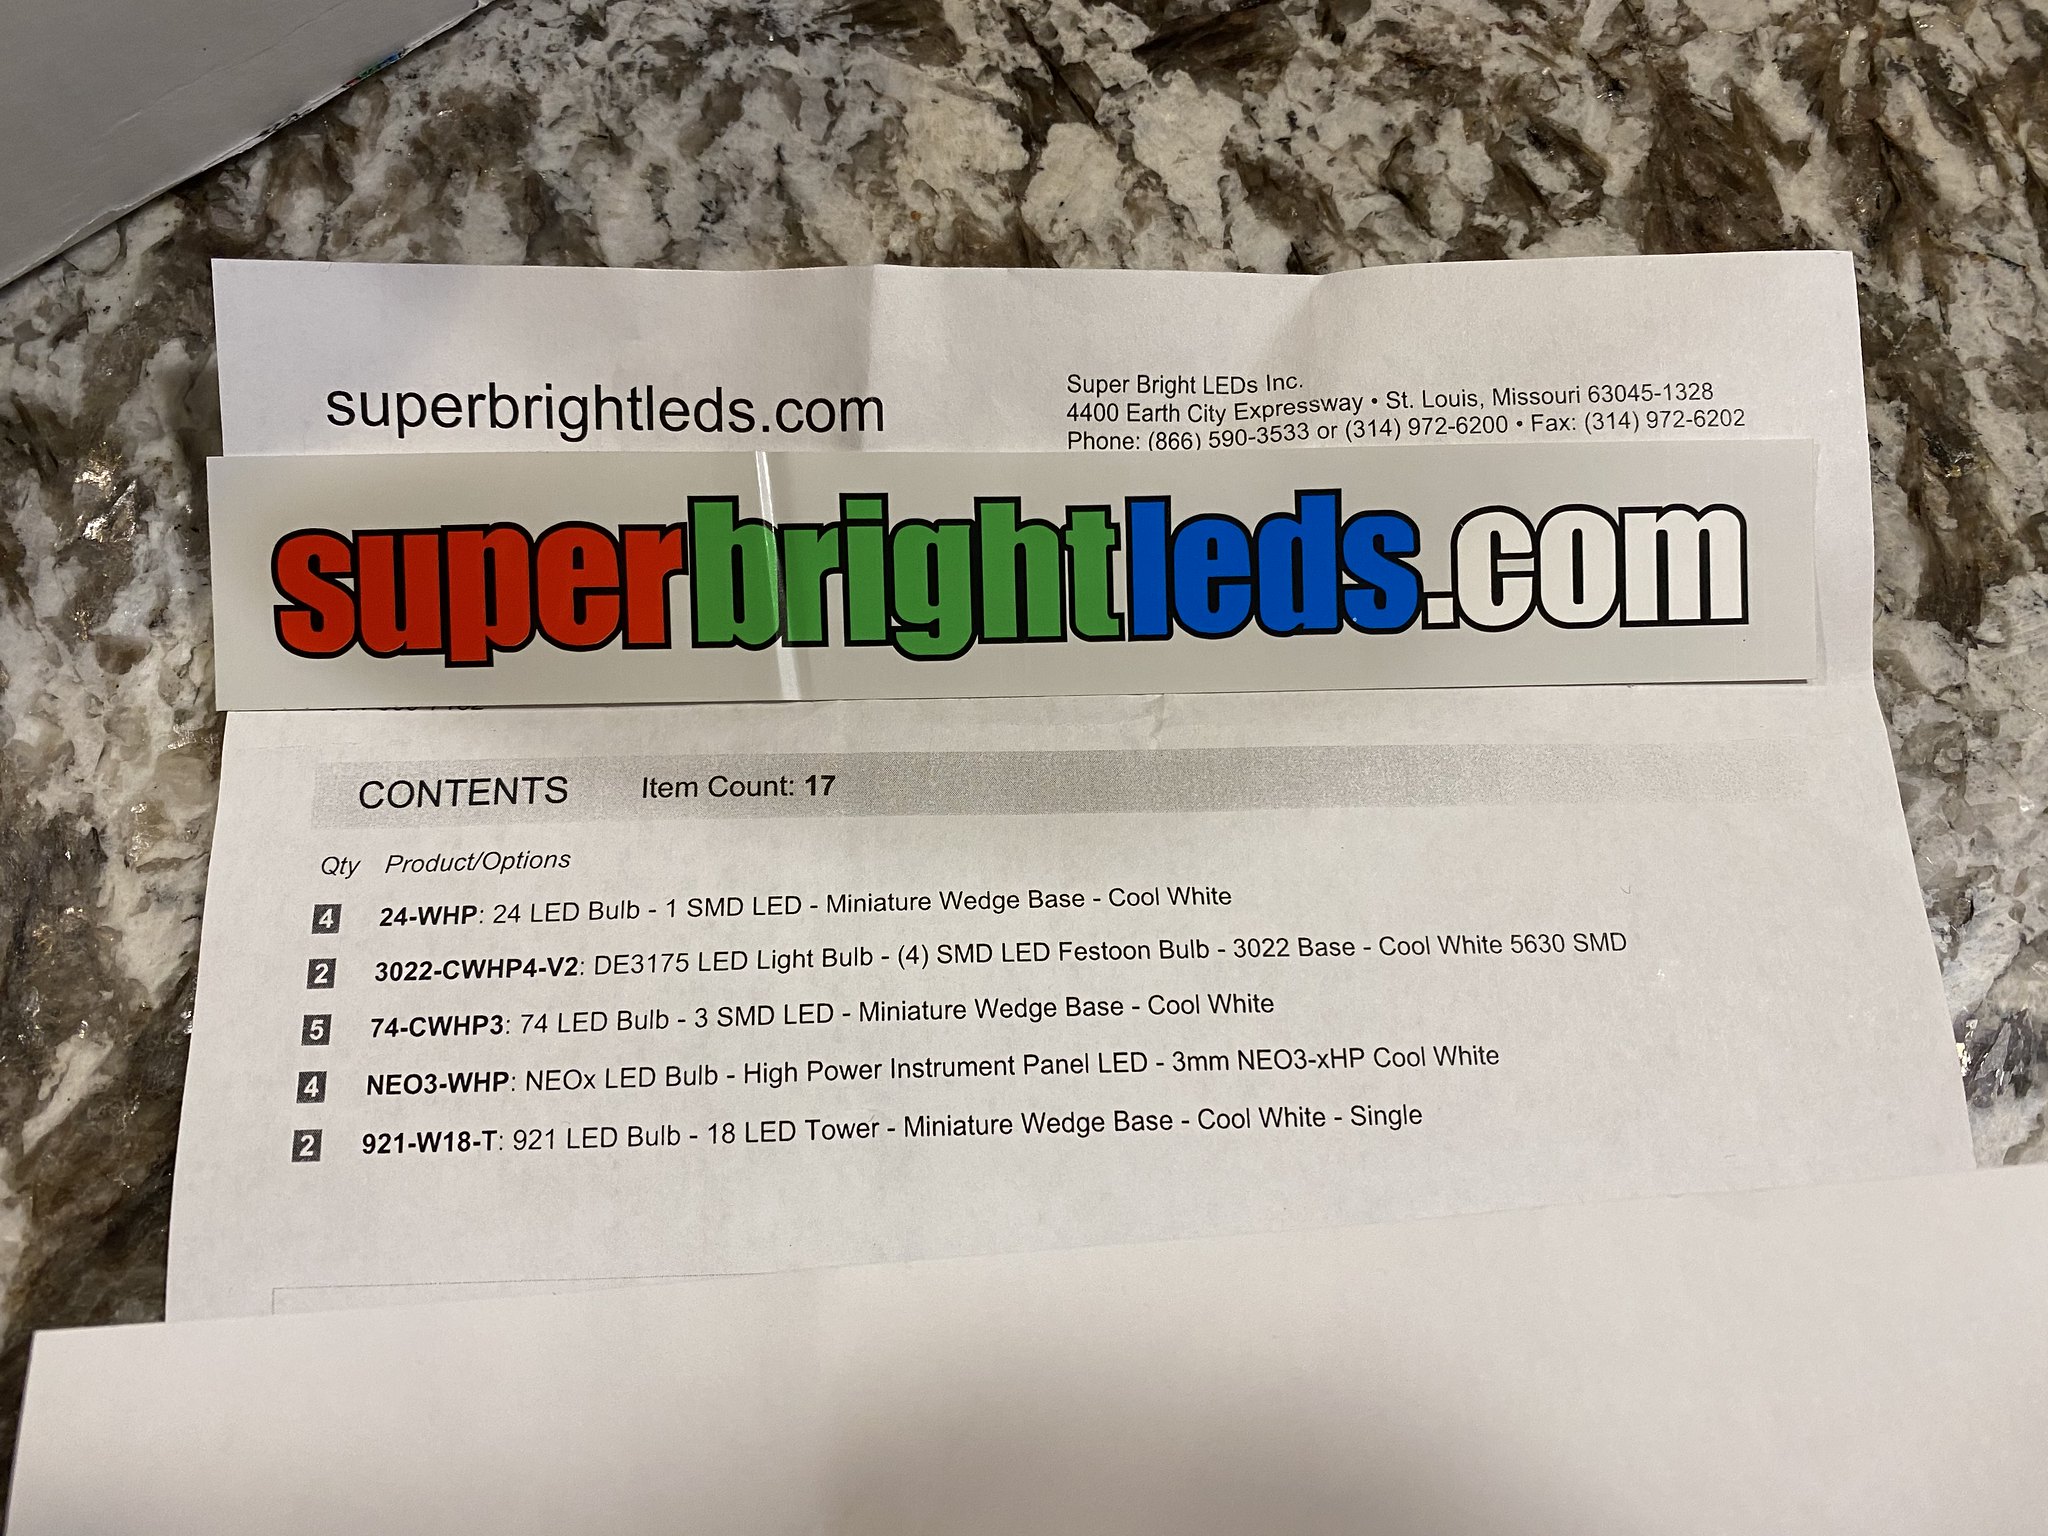
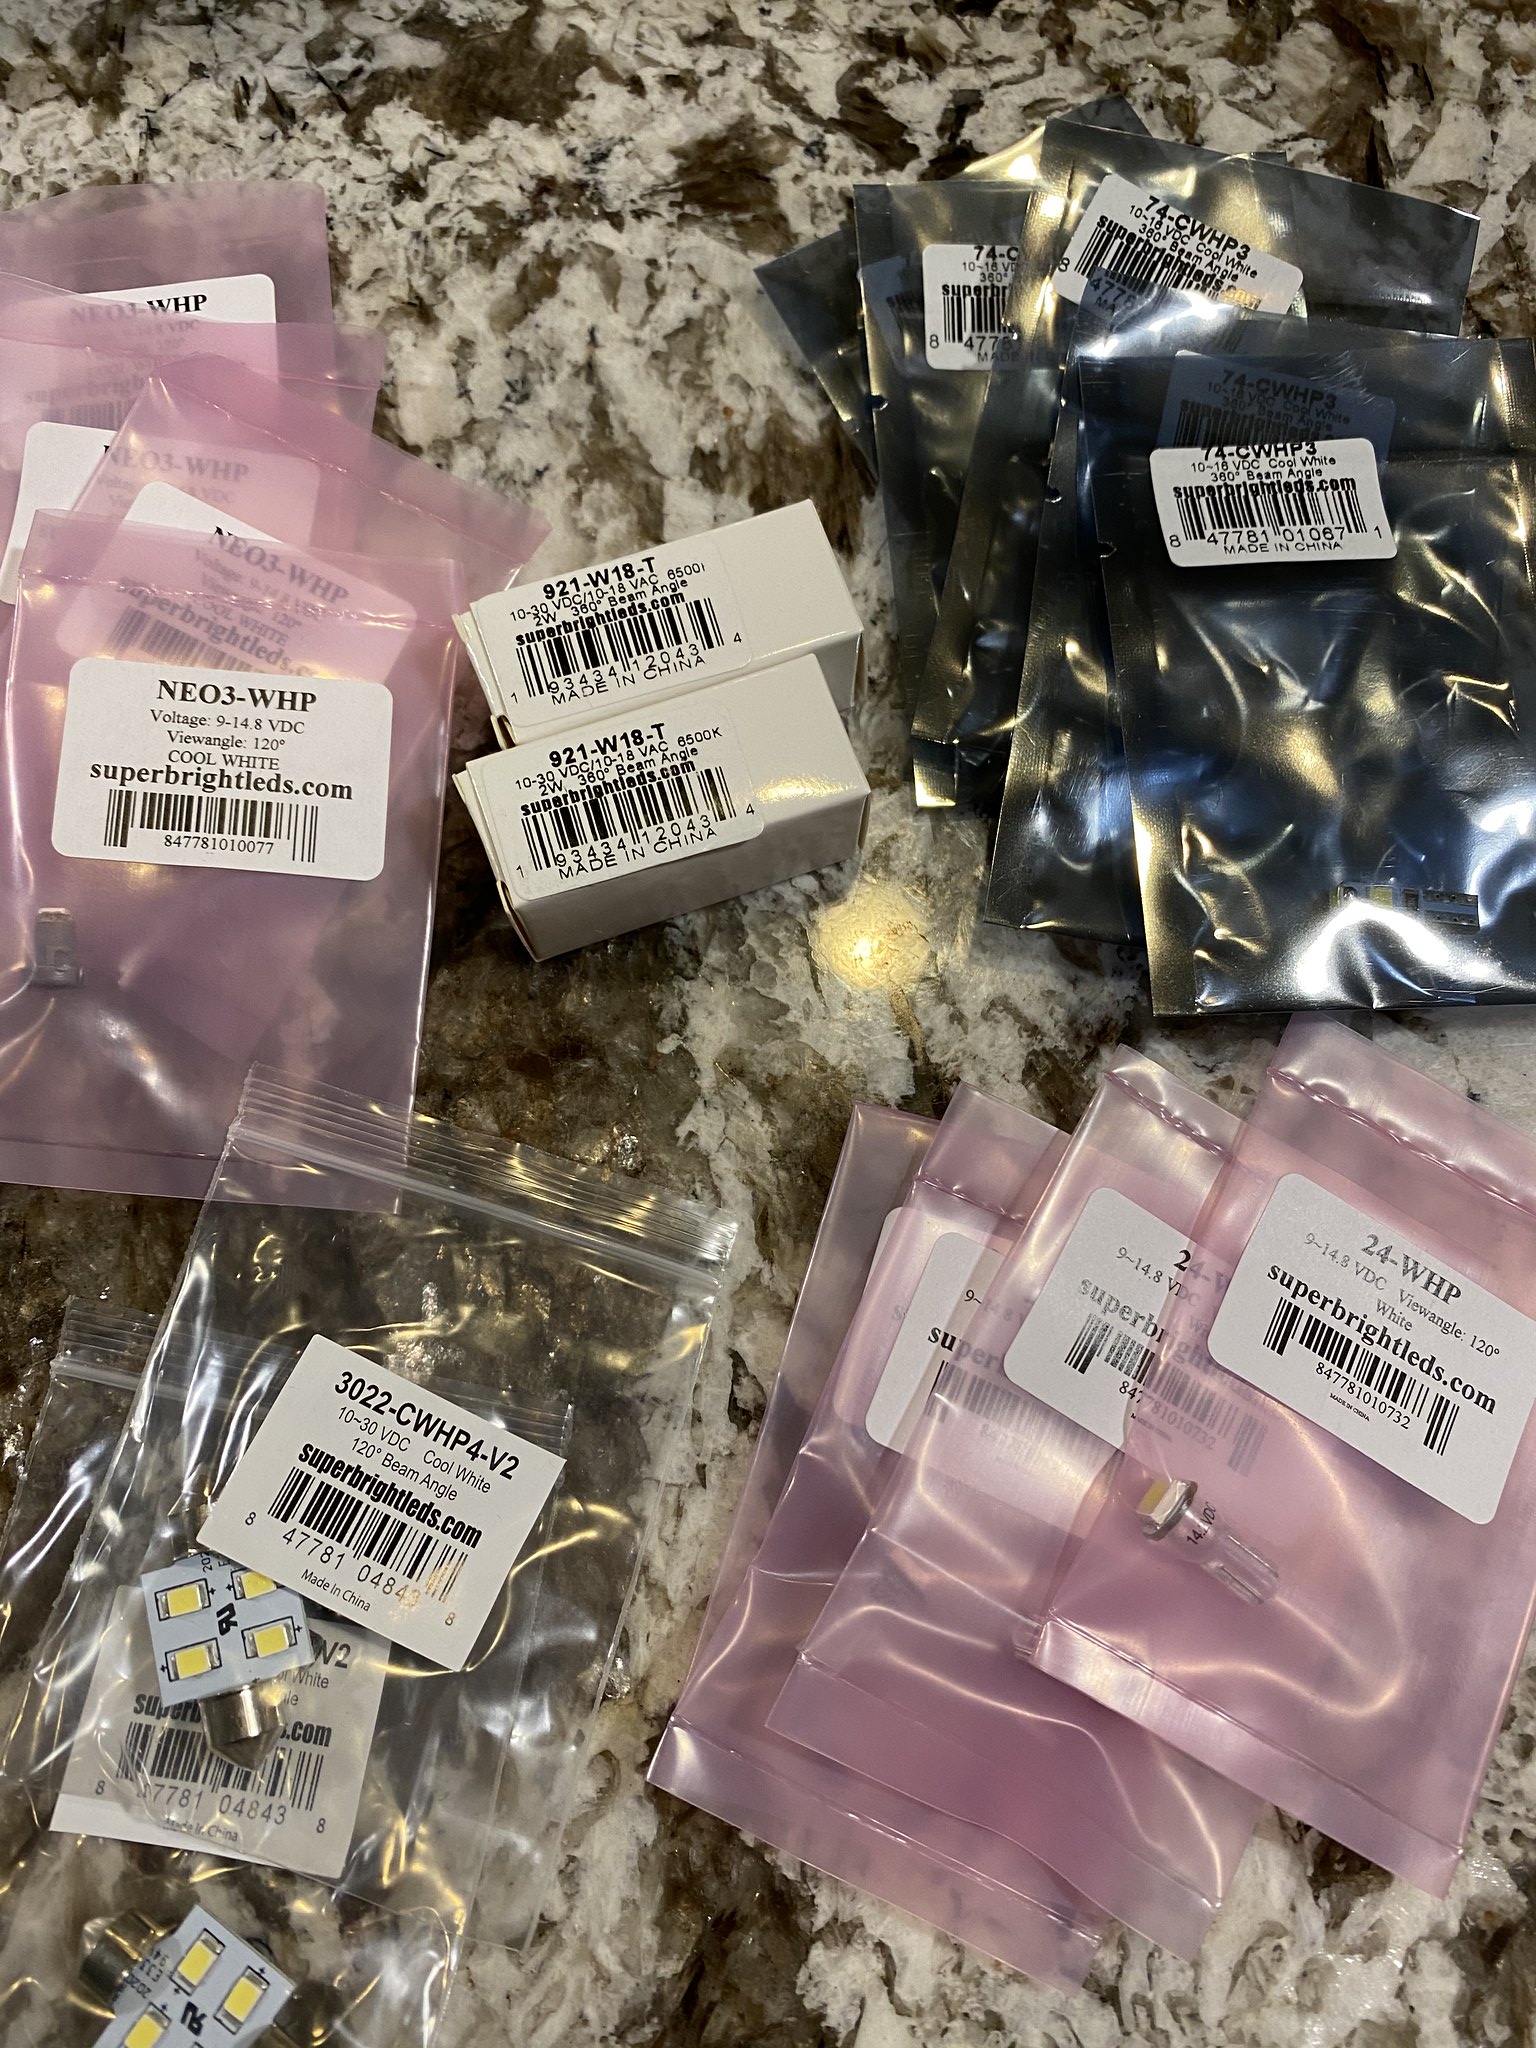
And parts for the next project came in...

Untitled by 99blkx, on Flickr

I feel like I got a shipment of drugs in, lol.

Untitled by 99blkx, on Flickr
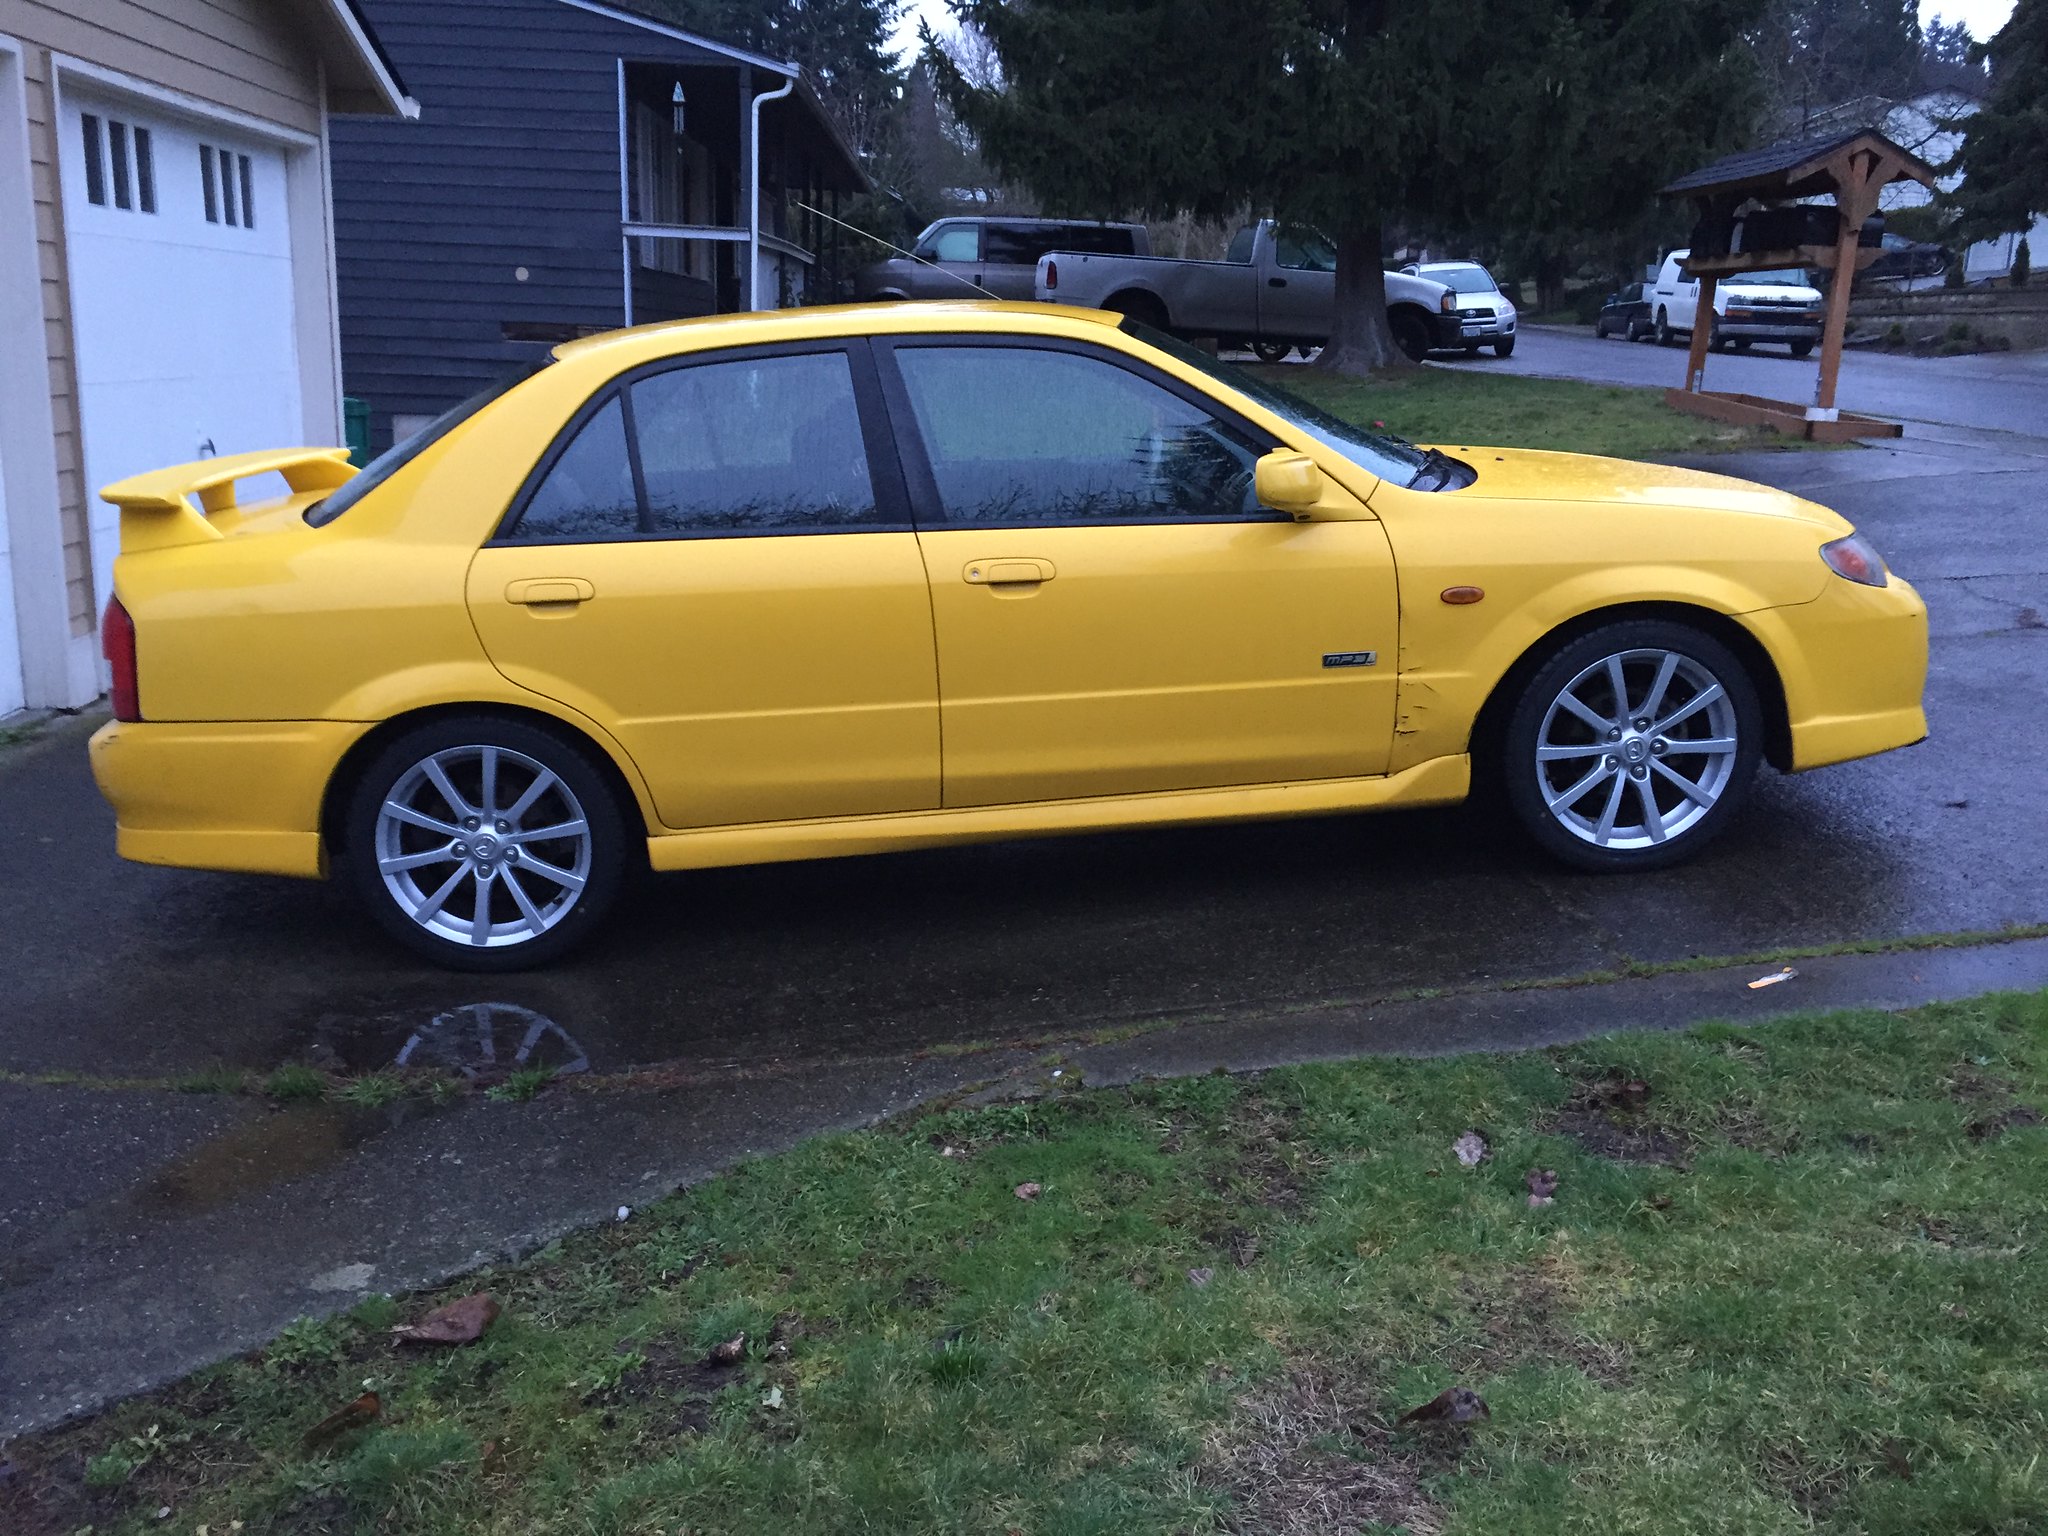
And lastly I arranged for a buddy of mine to do my valve cover gaskets. He's done several already and I just don't feel like digging into it myself. For $250 or so labor I'll write the check this one time. Going to call my alignment guy on Monday to get that and mount/balance scheduled.

Now I'm pondering shocks. I don't want to lift it so maybe Bilstein 4600 or the old faithful 5100. At <$100/corner I figure it's a smart choice. If I have time tomorrow I may look at the fog lights. I think the PO butchered the harness for the brush guard lights. Might need to source a couple of plugs and then some amber bulbs.
 
Poly in general depends on the application. I did a full Energy Suspension kit on my Miata and it was fine. Only mildly regrettable in the bushings that need to flex and not just pivot.

For the truck I chose whiteline since everyone swears by them and the install doesn’t reuse the factory metal sleeve. ES sounded like more work and these were a cheap upgrade over a stock bushing.

Waiting on breakfast and then it’ll be time to work on the truck. Hoping to drive it this afternoon. Still plotting my attack on the power steering fluid. I bought a gallon and want to be nice to my new billion dollar rack.

Come to think of it, bushing requirements may be somewhat difference! 4R=flex, Miata=firmness... (I used ES bushings on my son's Eclipse when we did his rear suspension) Made a noticeable difference, car felt more planted. I imagine rubber would be more flexible...
Definitely let us know how it drives once you get it back on the pavement... hopefully, it feels like a new truck!! I think my reluctance to do this job, comes from the fact, that rack is so expensive! I have a supplier I've bought Toyota parts from up here in Canada, and I was surprised to find the factory rack (4425035042) was listed as "unavailable" !! I have ordered parts from Camelback, but haven't done this in a while since duties were slapped on them a couple of years ago, importing parts... Camelback has it listed for $609 USD... that's $761CDN crap... before duties/taxes... I guess I better start saving!!!!
 
Poly bushings are fine when it's a linear up and down motion like our LCA's. They become a problem when more twist and flex is needed. I think the fact that Whiteline only press fit a small portion of the sleeve allow for some twist.

Got the tires mounted on the new wheels.

Untitled by 99blkx, on Flickr

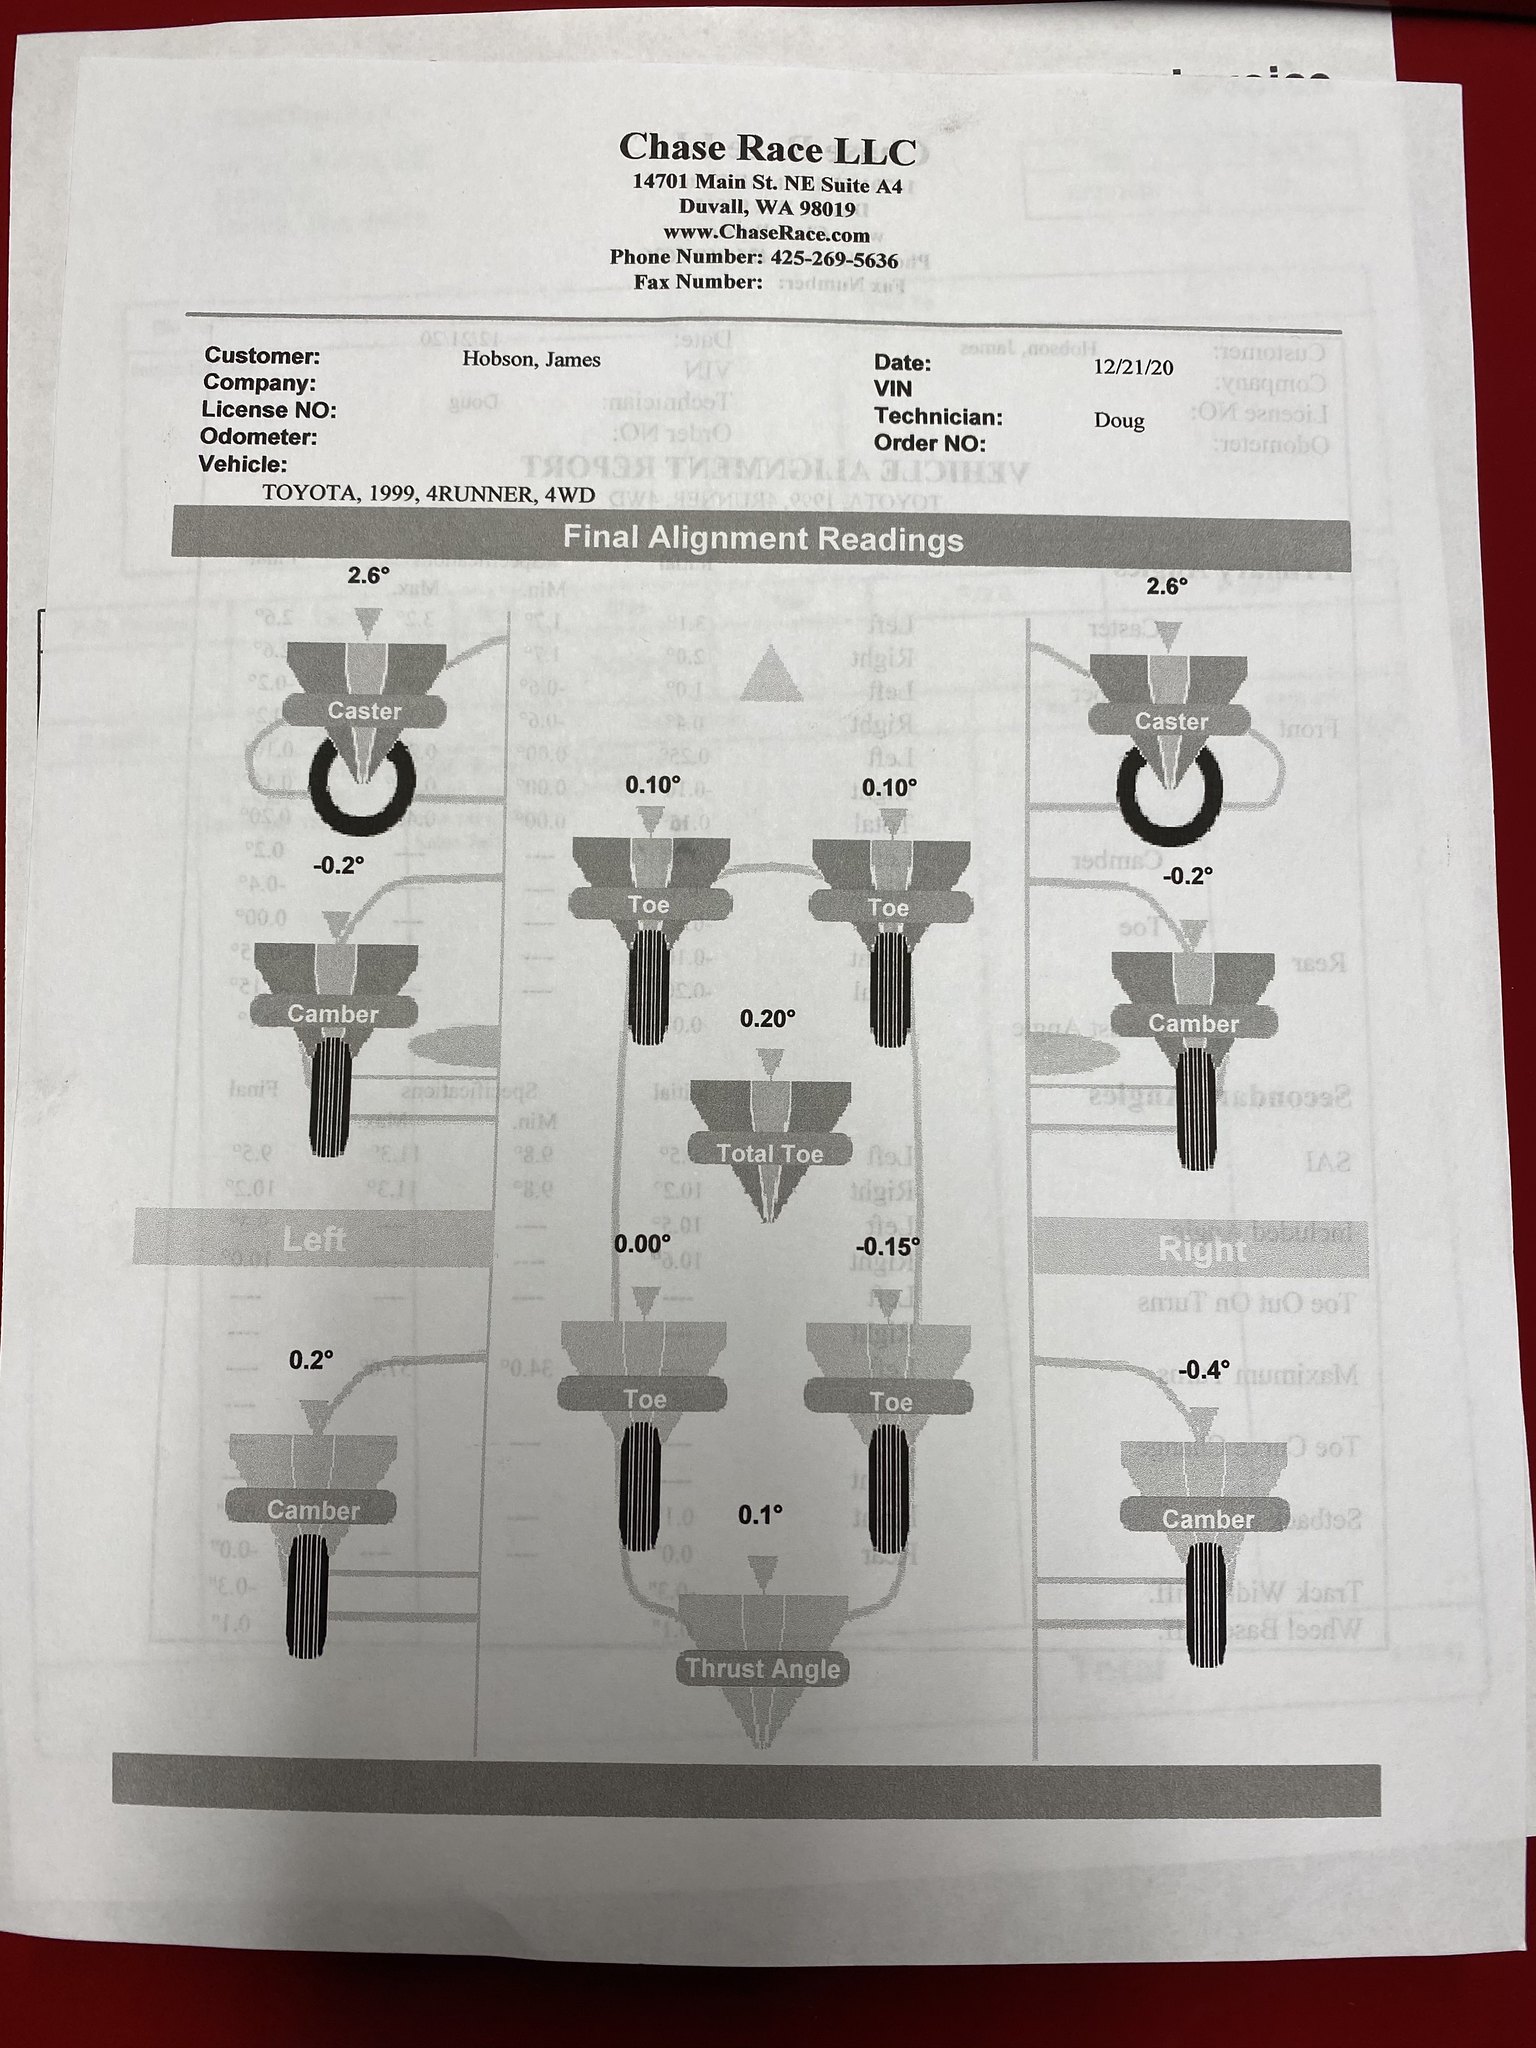
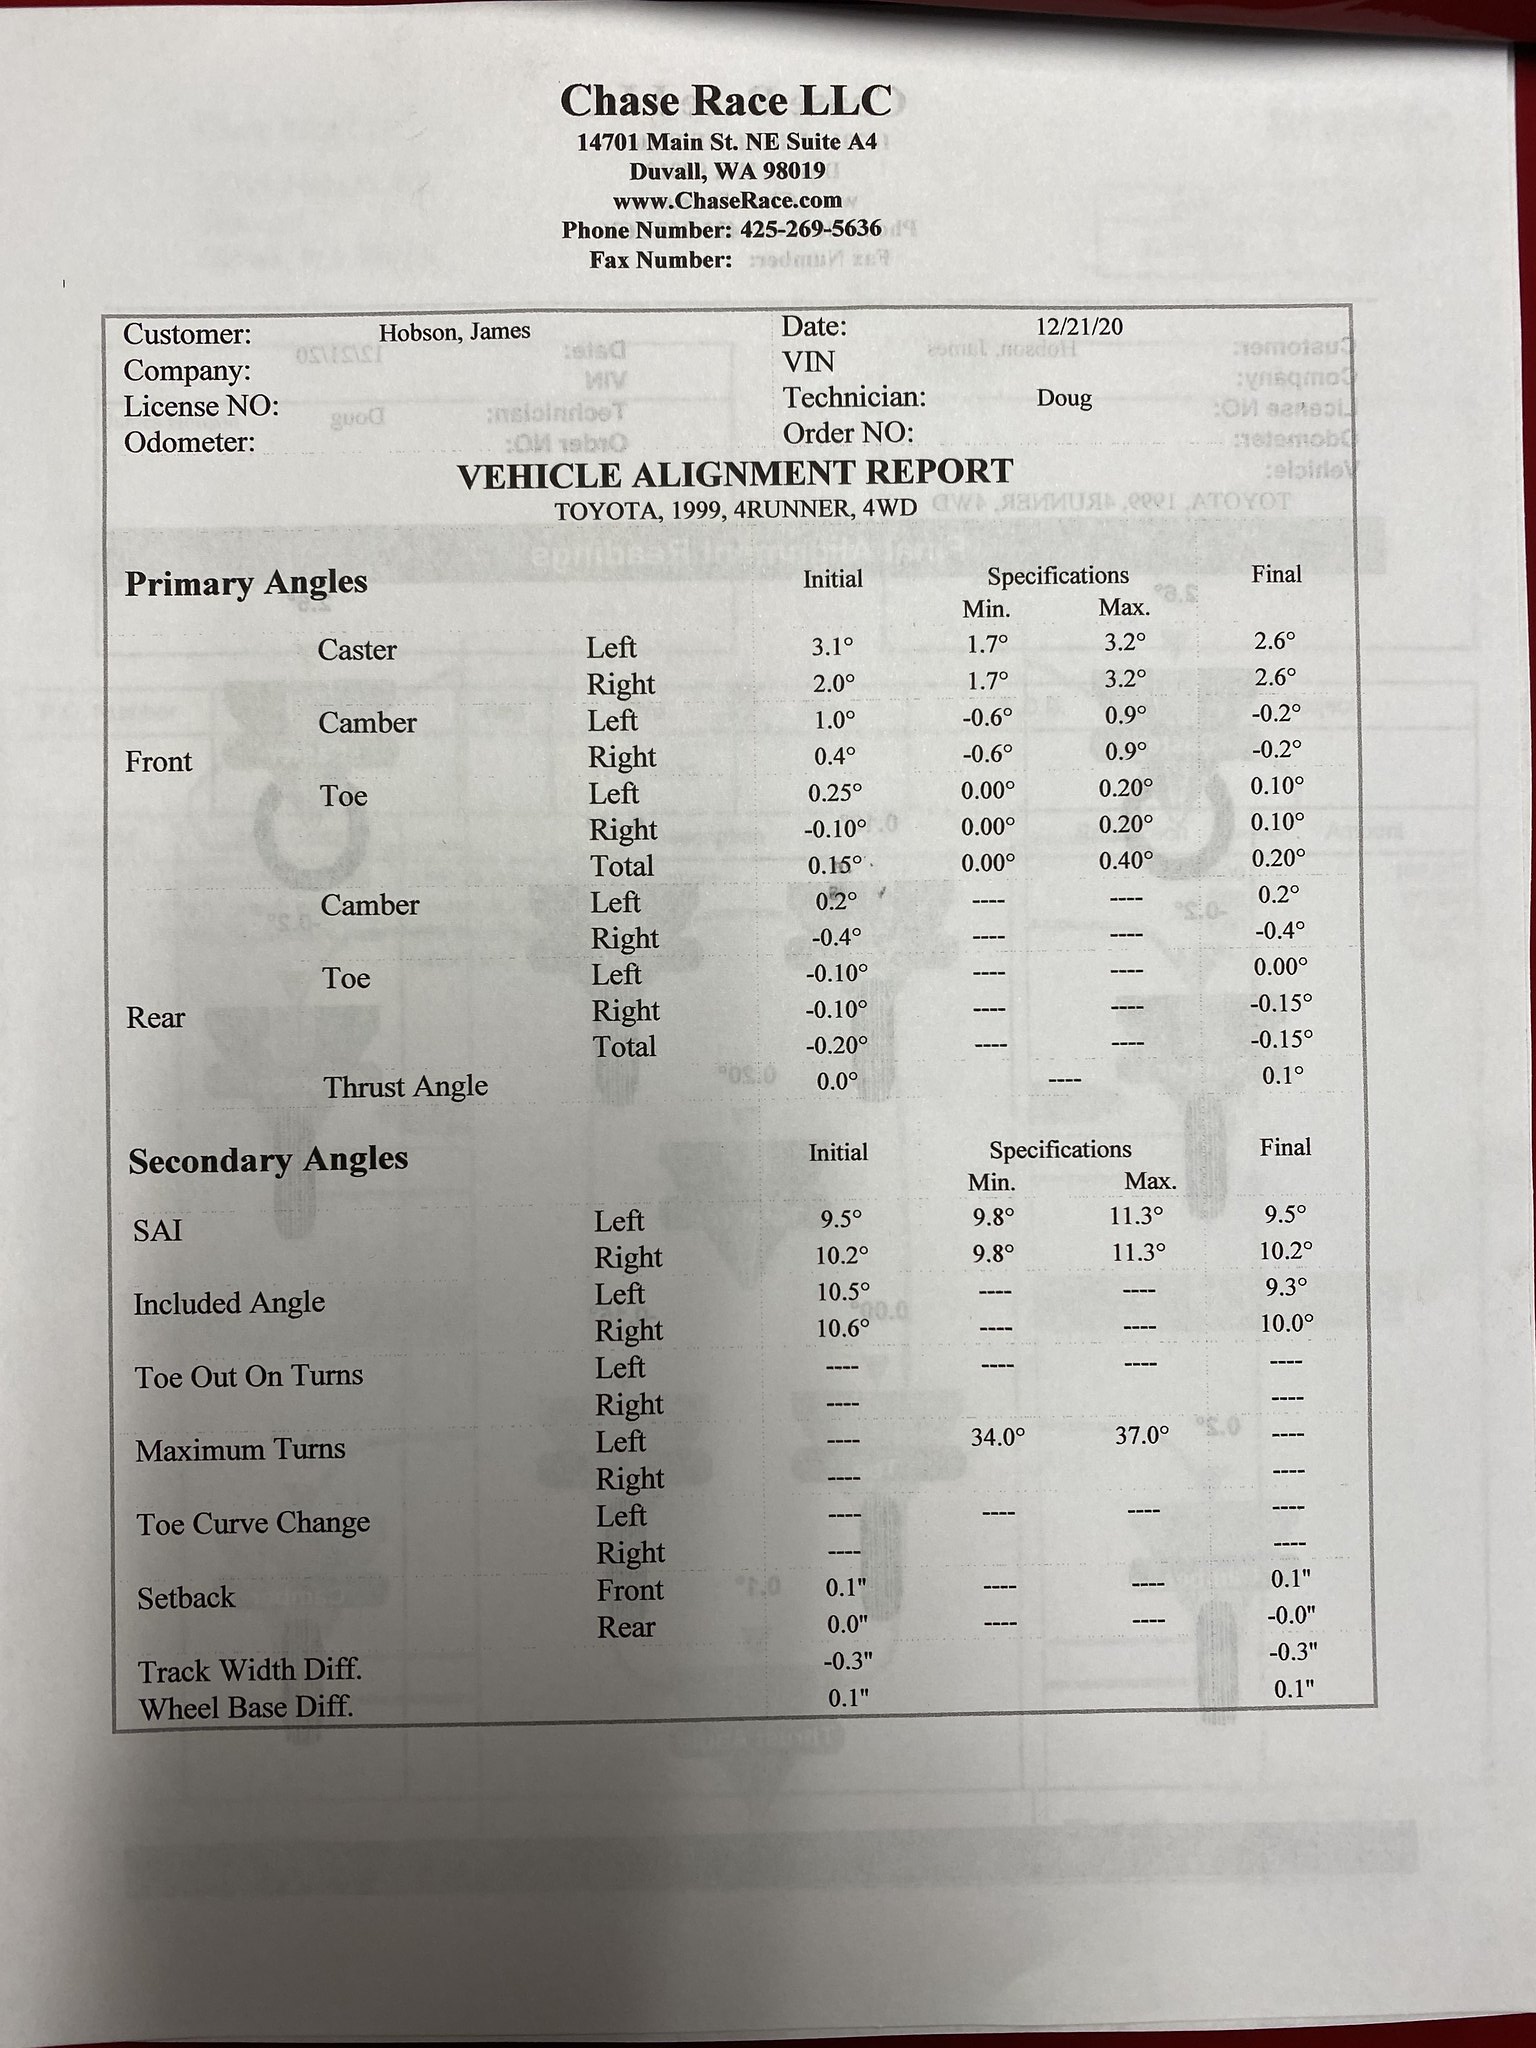
And that was done by my alignment guy.

Untitled by 99blkx, on Flickr
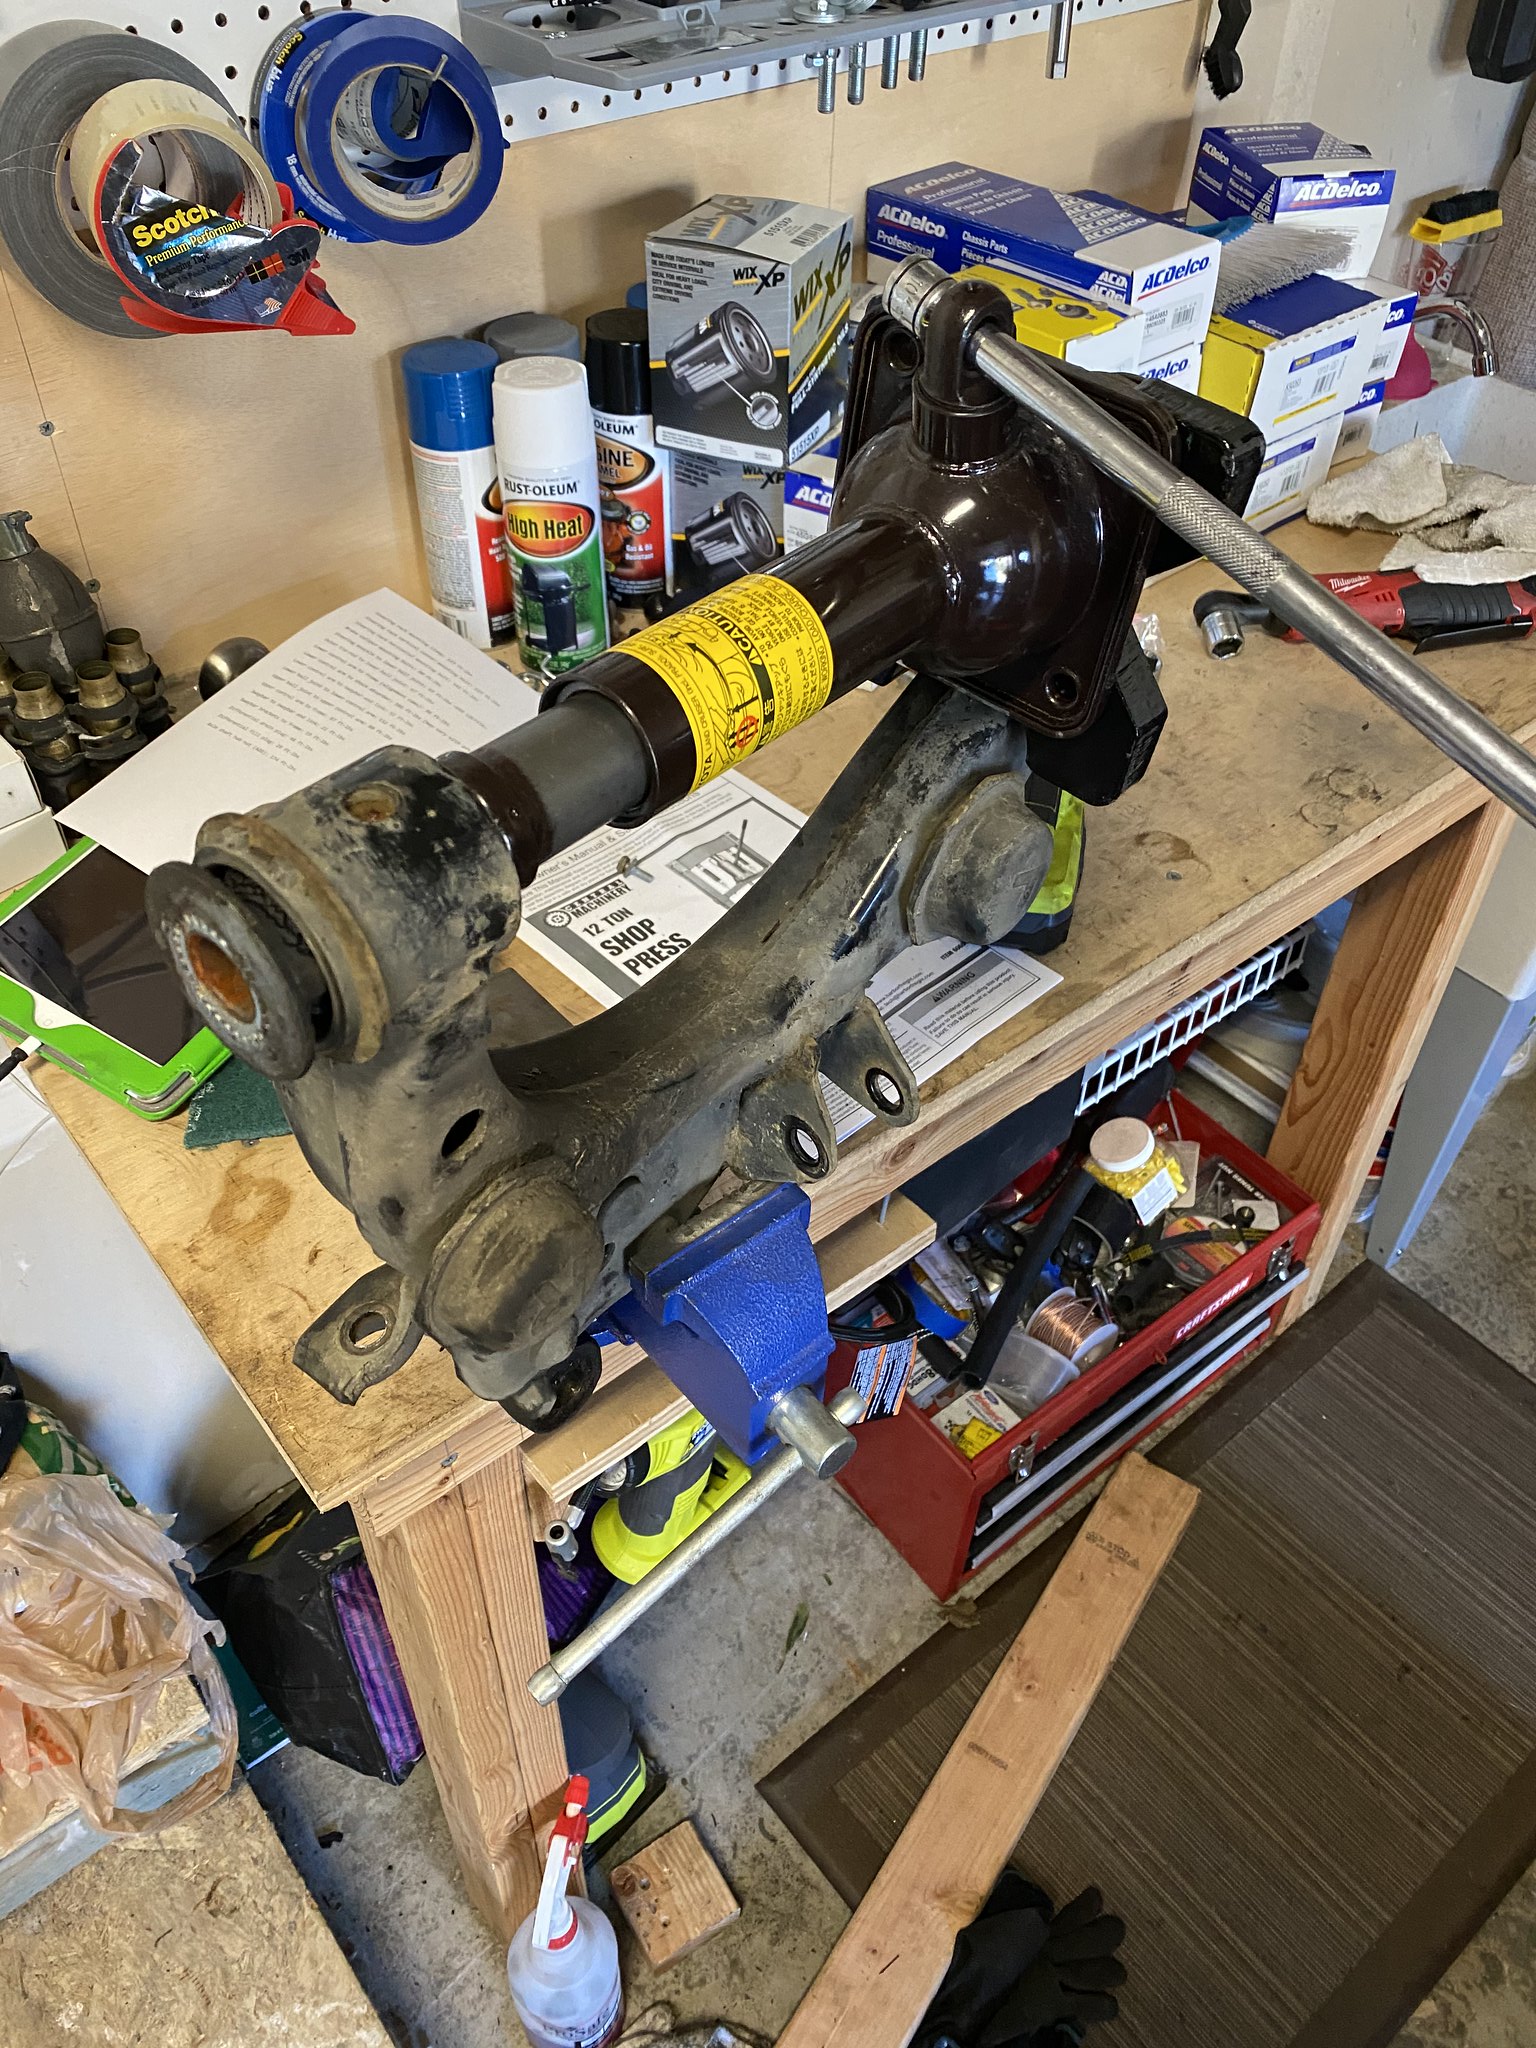
Untitled by 99blkx, on Flickr
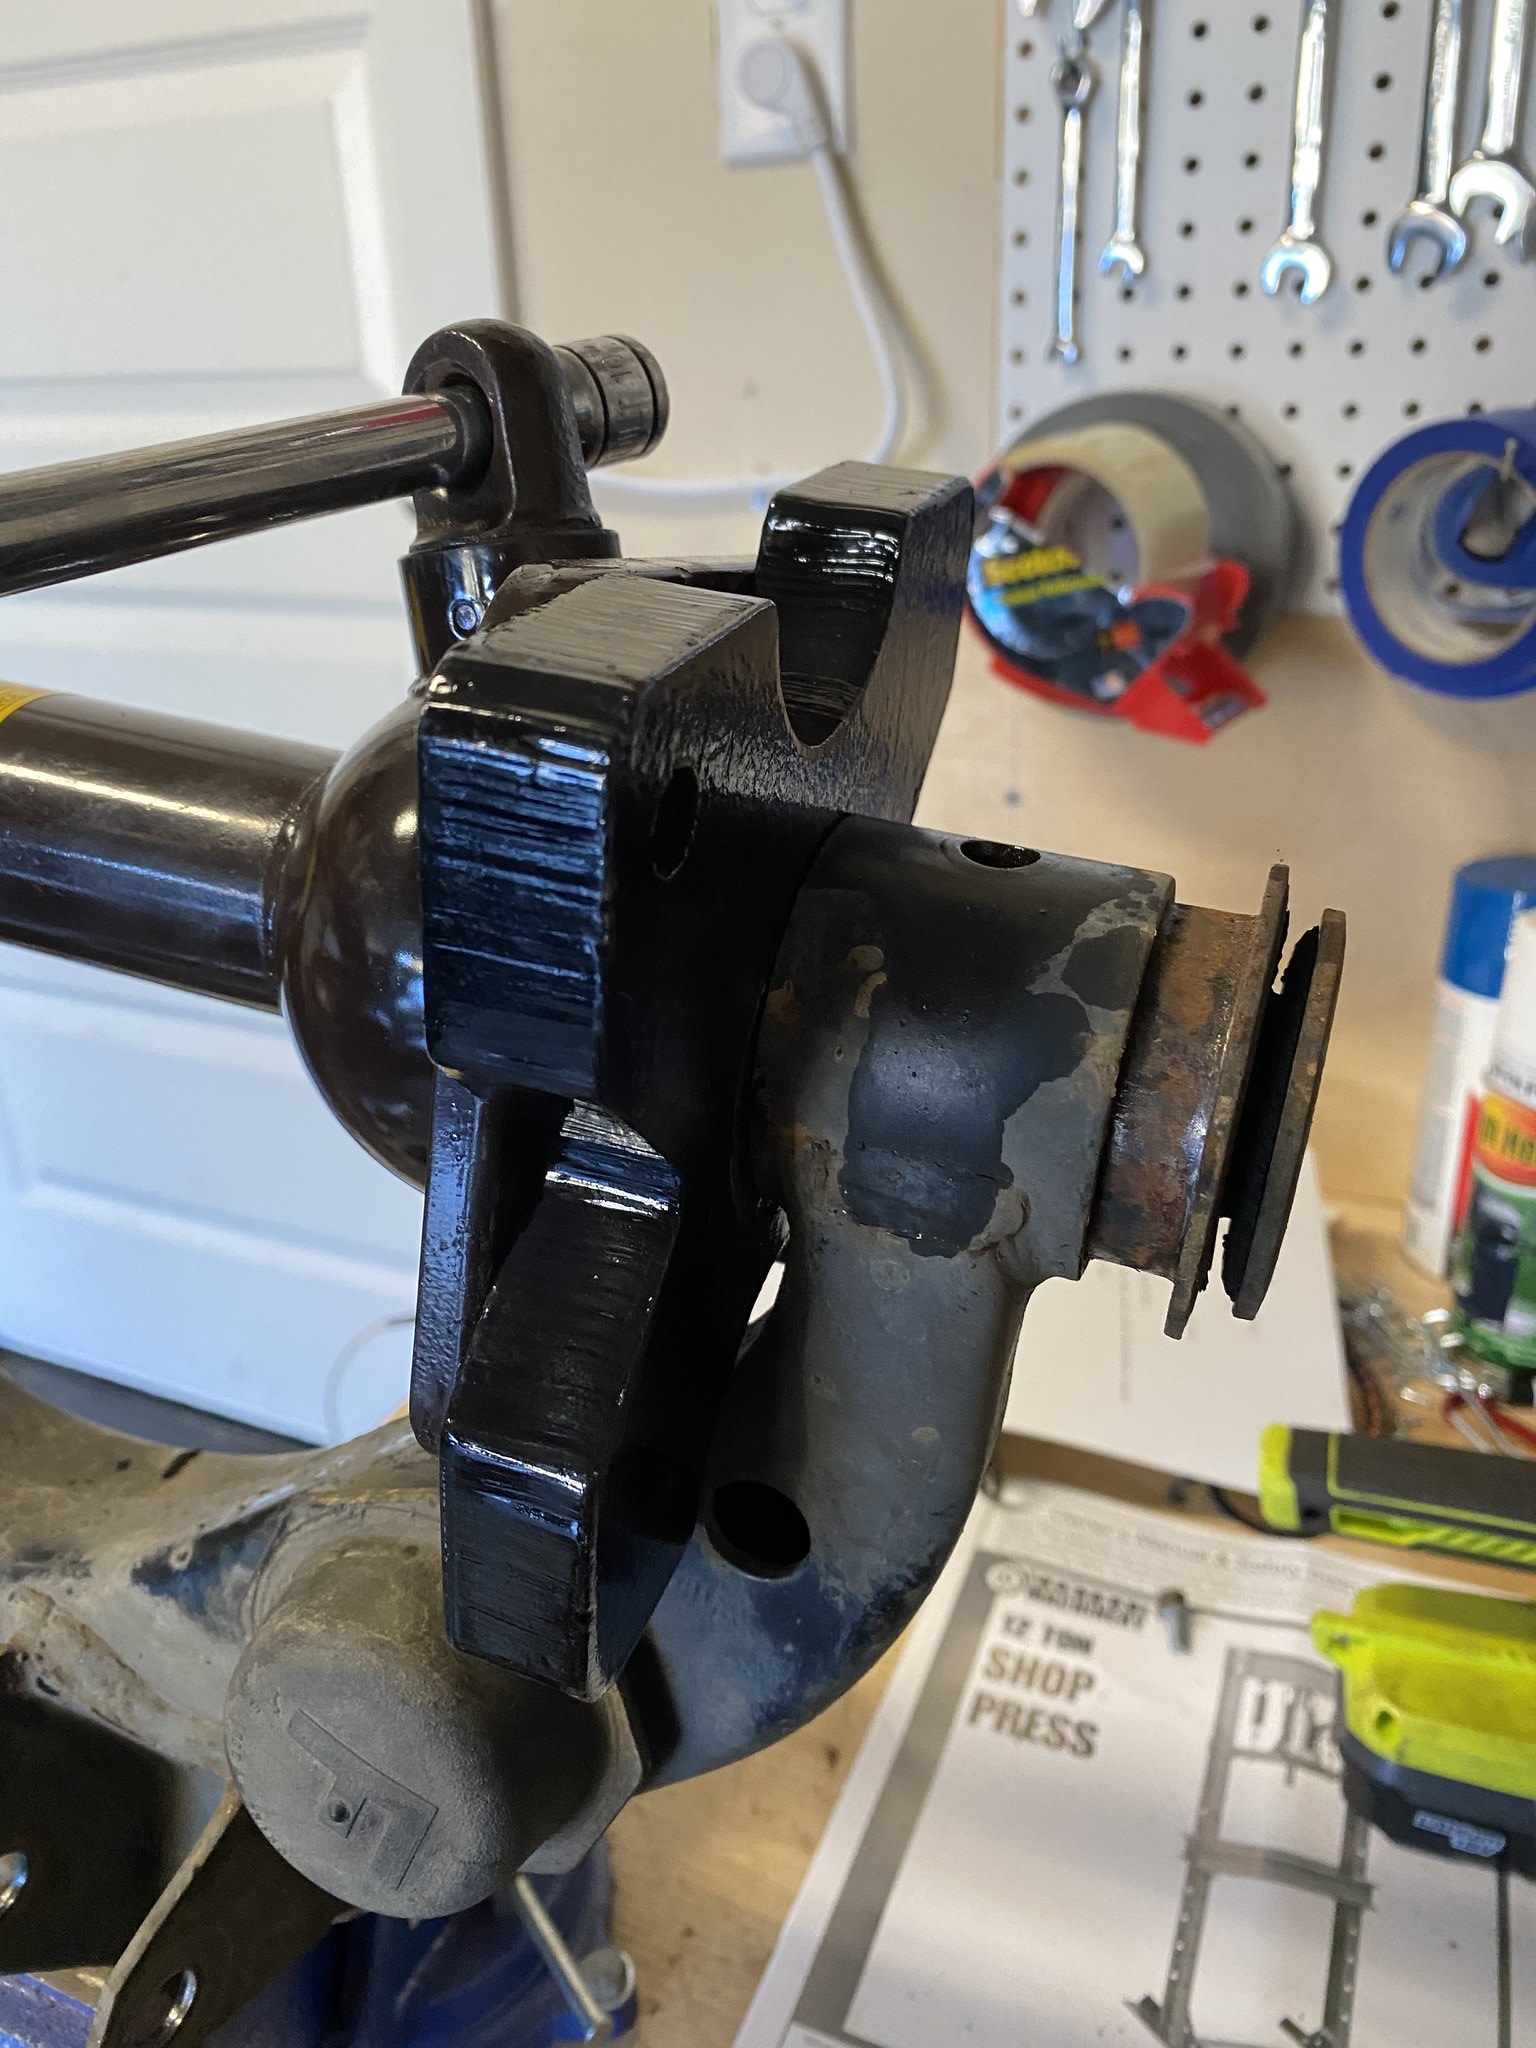
I've trusted this guy to do my track car alignments and tires so why not the beater. He did an awesome job as always.

Perspective matters.

Untitled by 99blkx, on Flickr
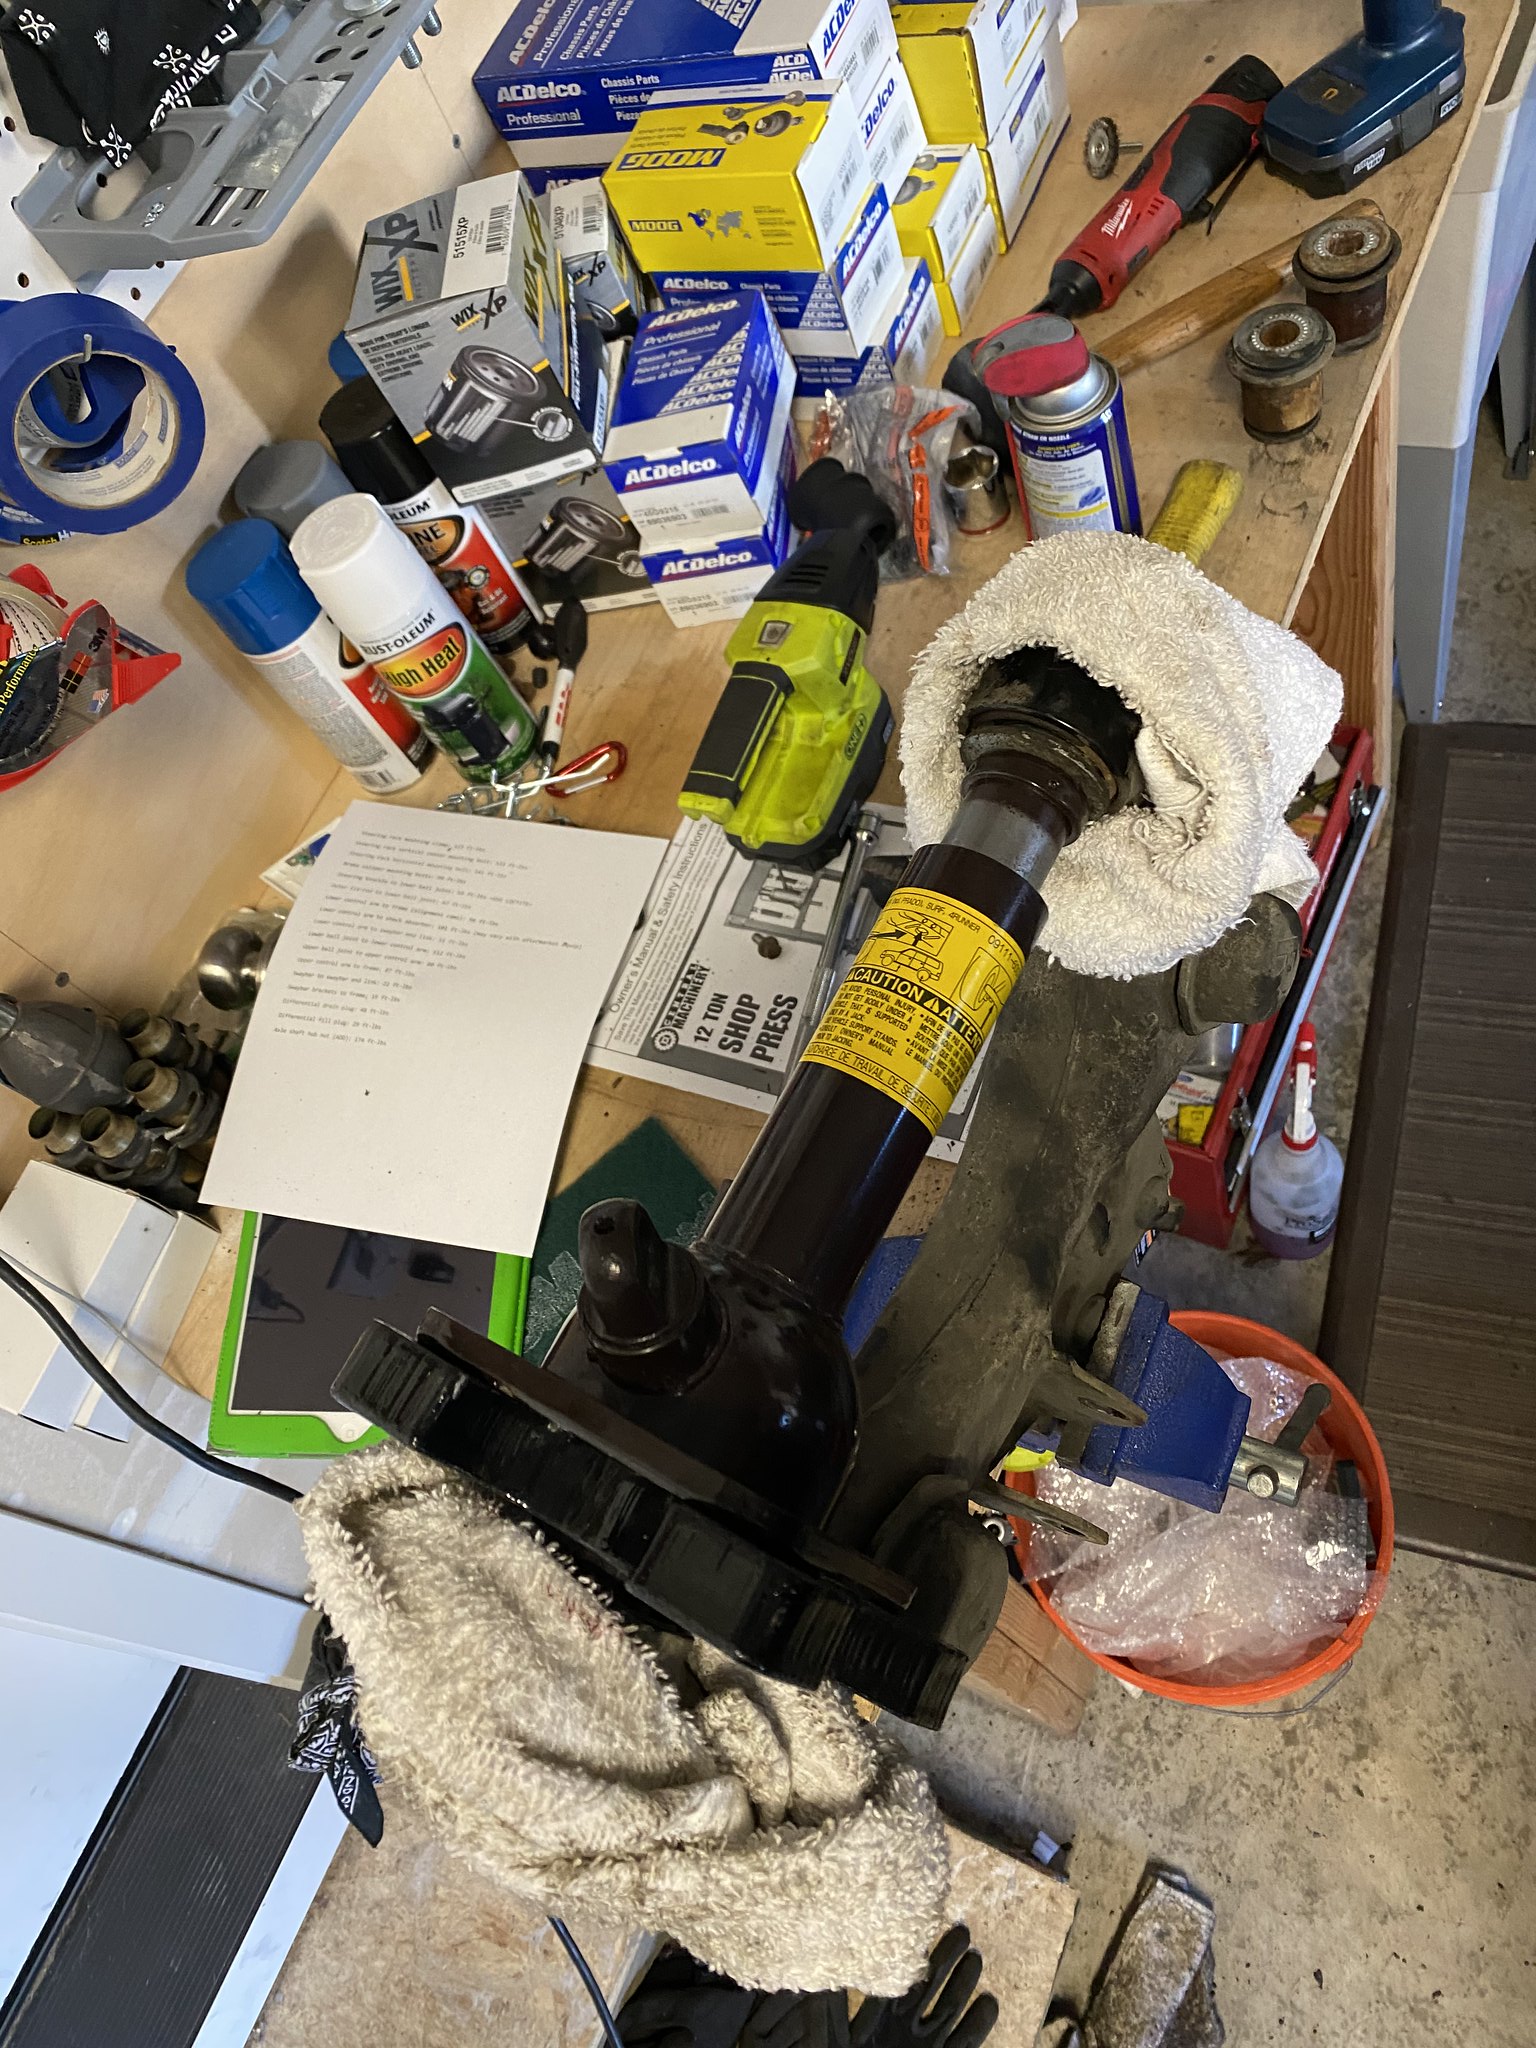
Last pic with old setup:

Untitled by 99blkx, on Flickr
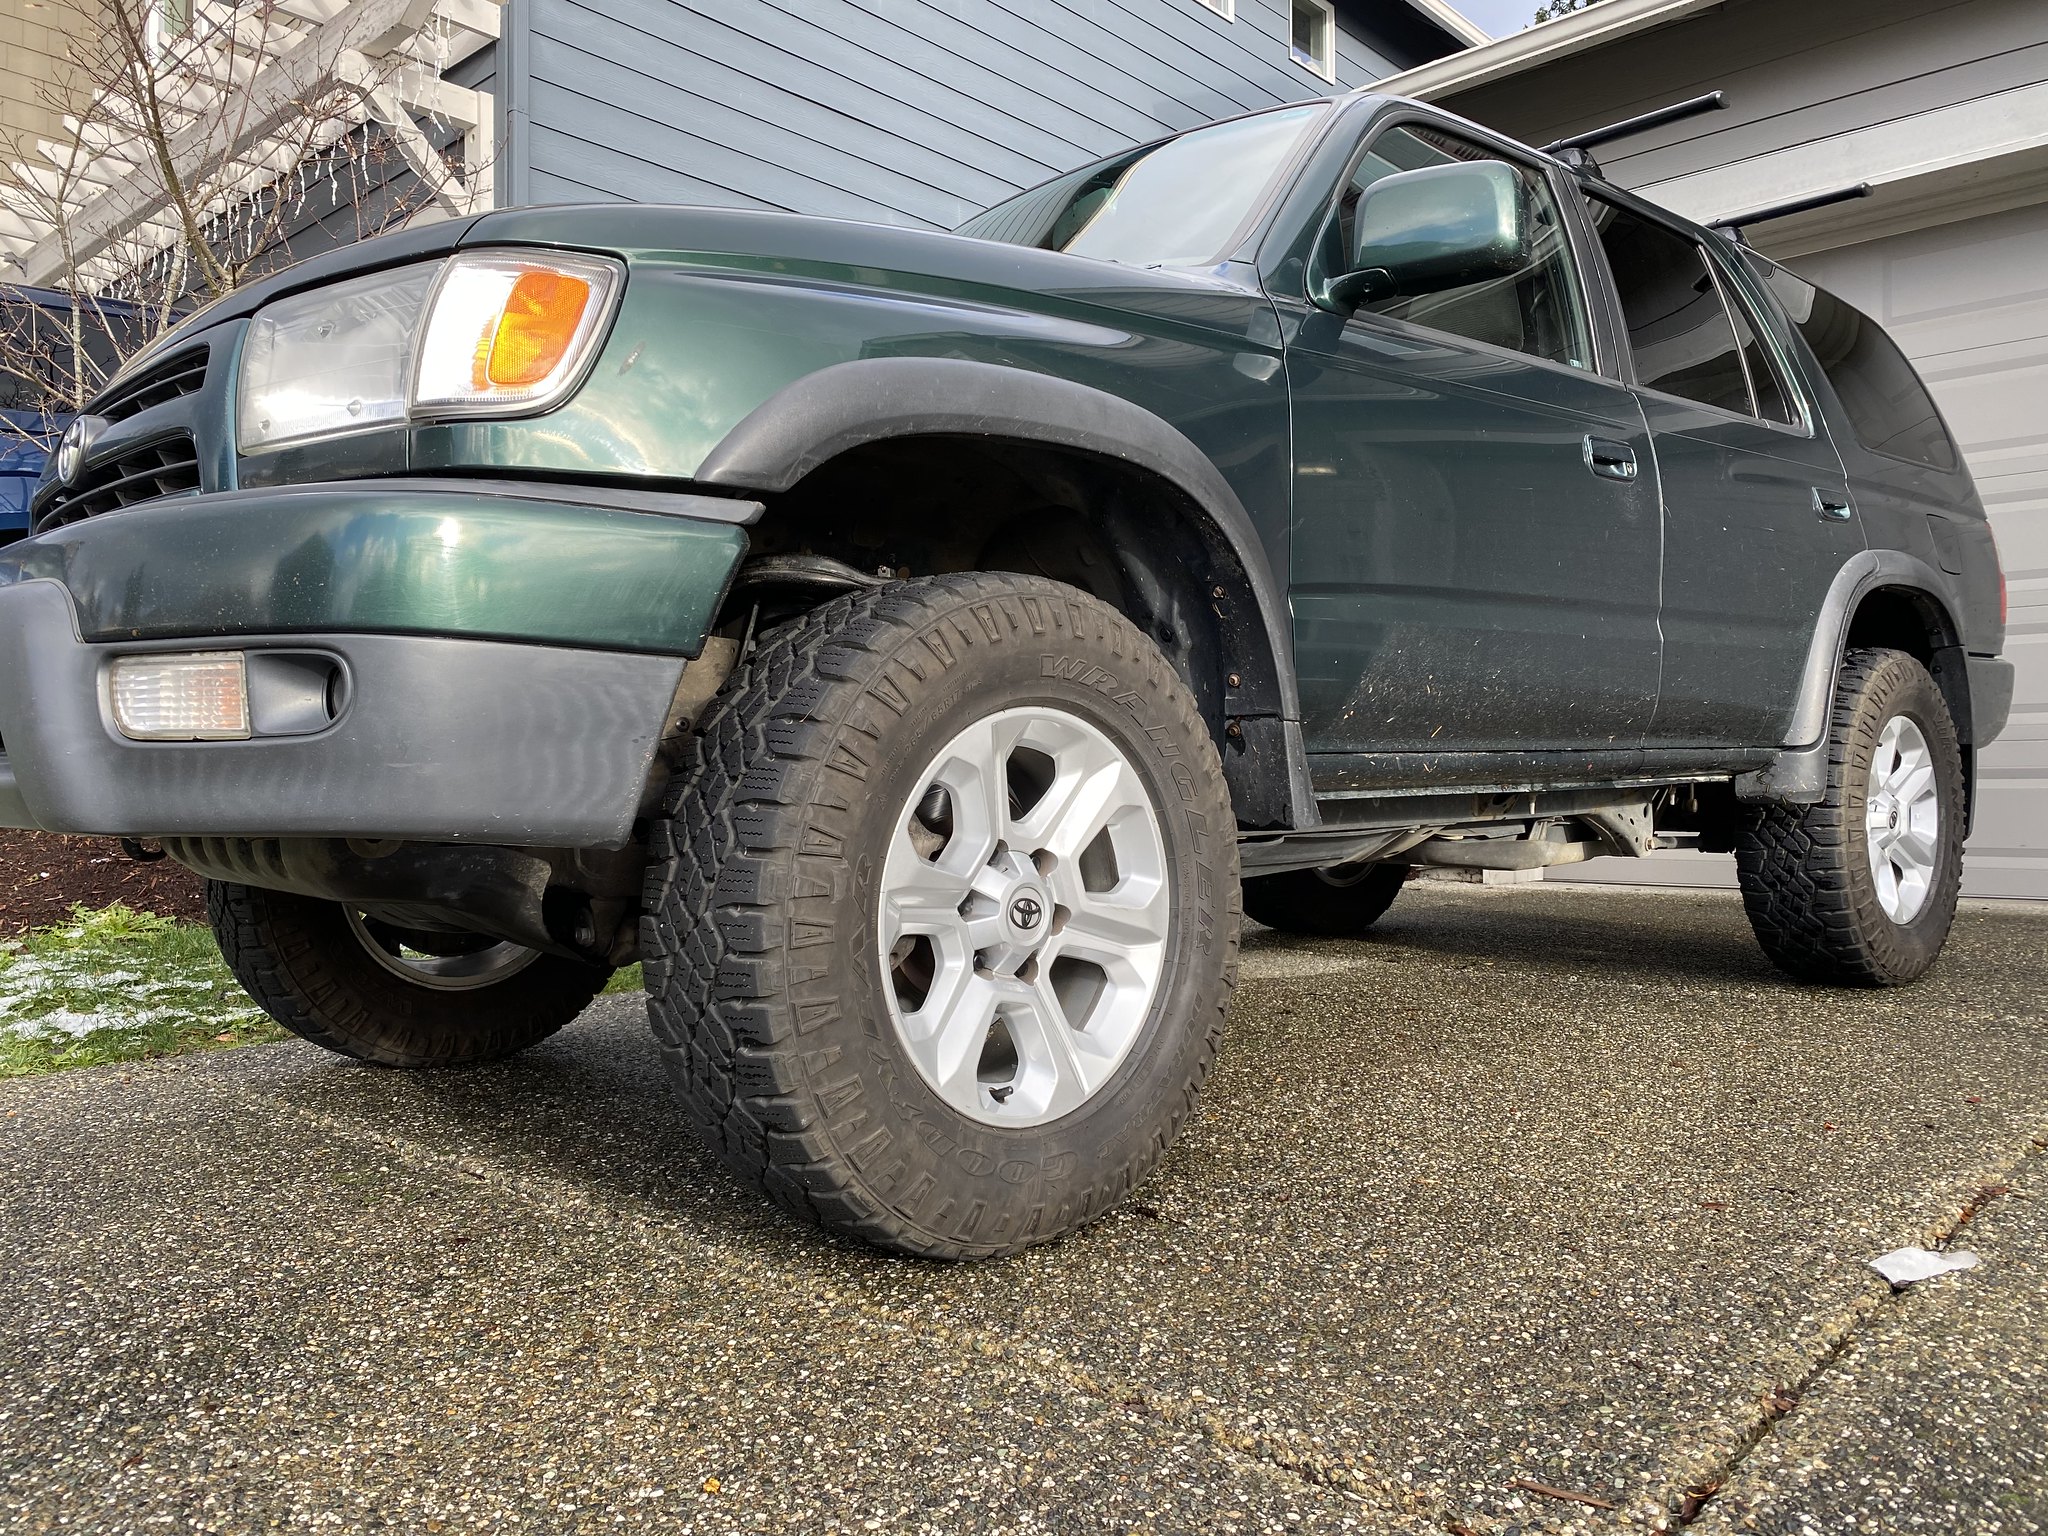
That new new:

Untitled by 99blkx, on Flickr

The 5th gen wheels really look great on here. I'm so glad I went with this choice. I wish I had gone a bit larger on the tires but this was too good of a deal. ($150 wheels, $350 tires including a brand new 5th tire, $60 mount/balance for $560 all in). I lost a half inch in tire diameter but I can live with that.

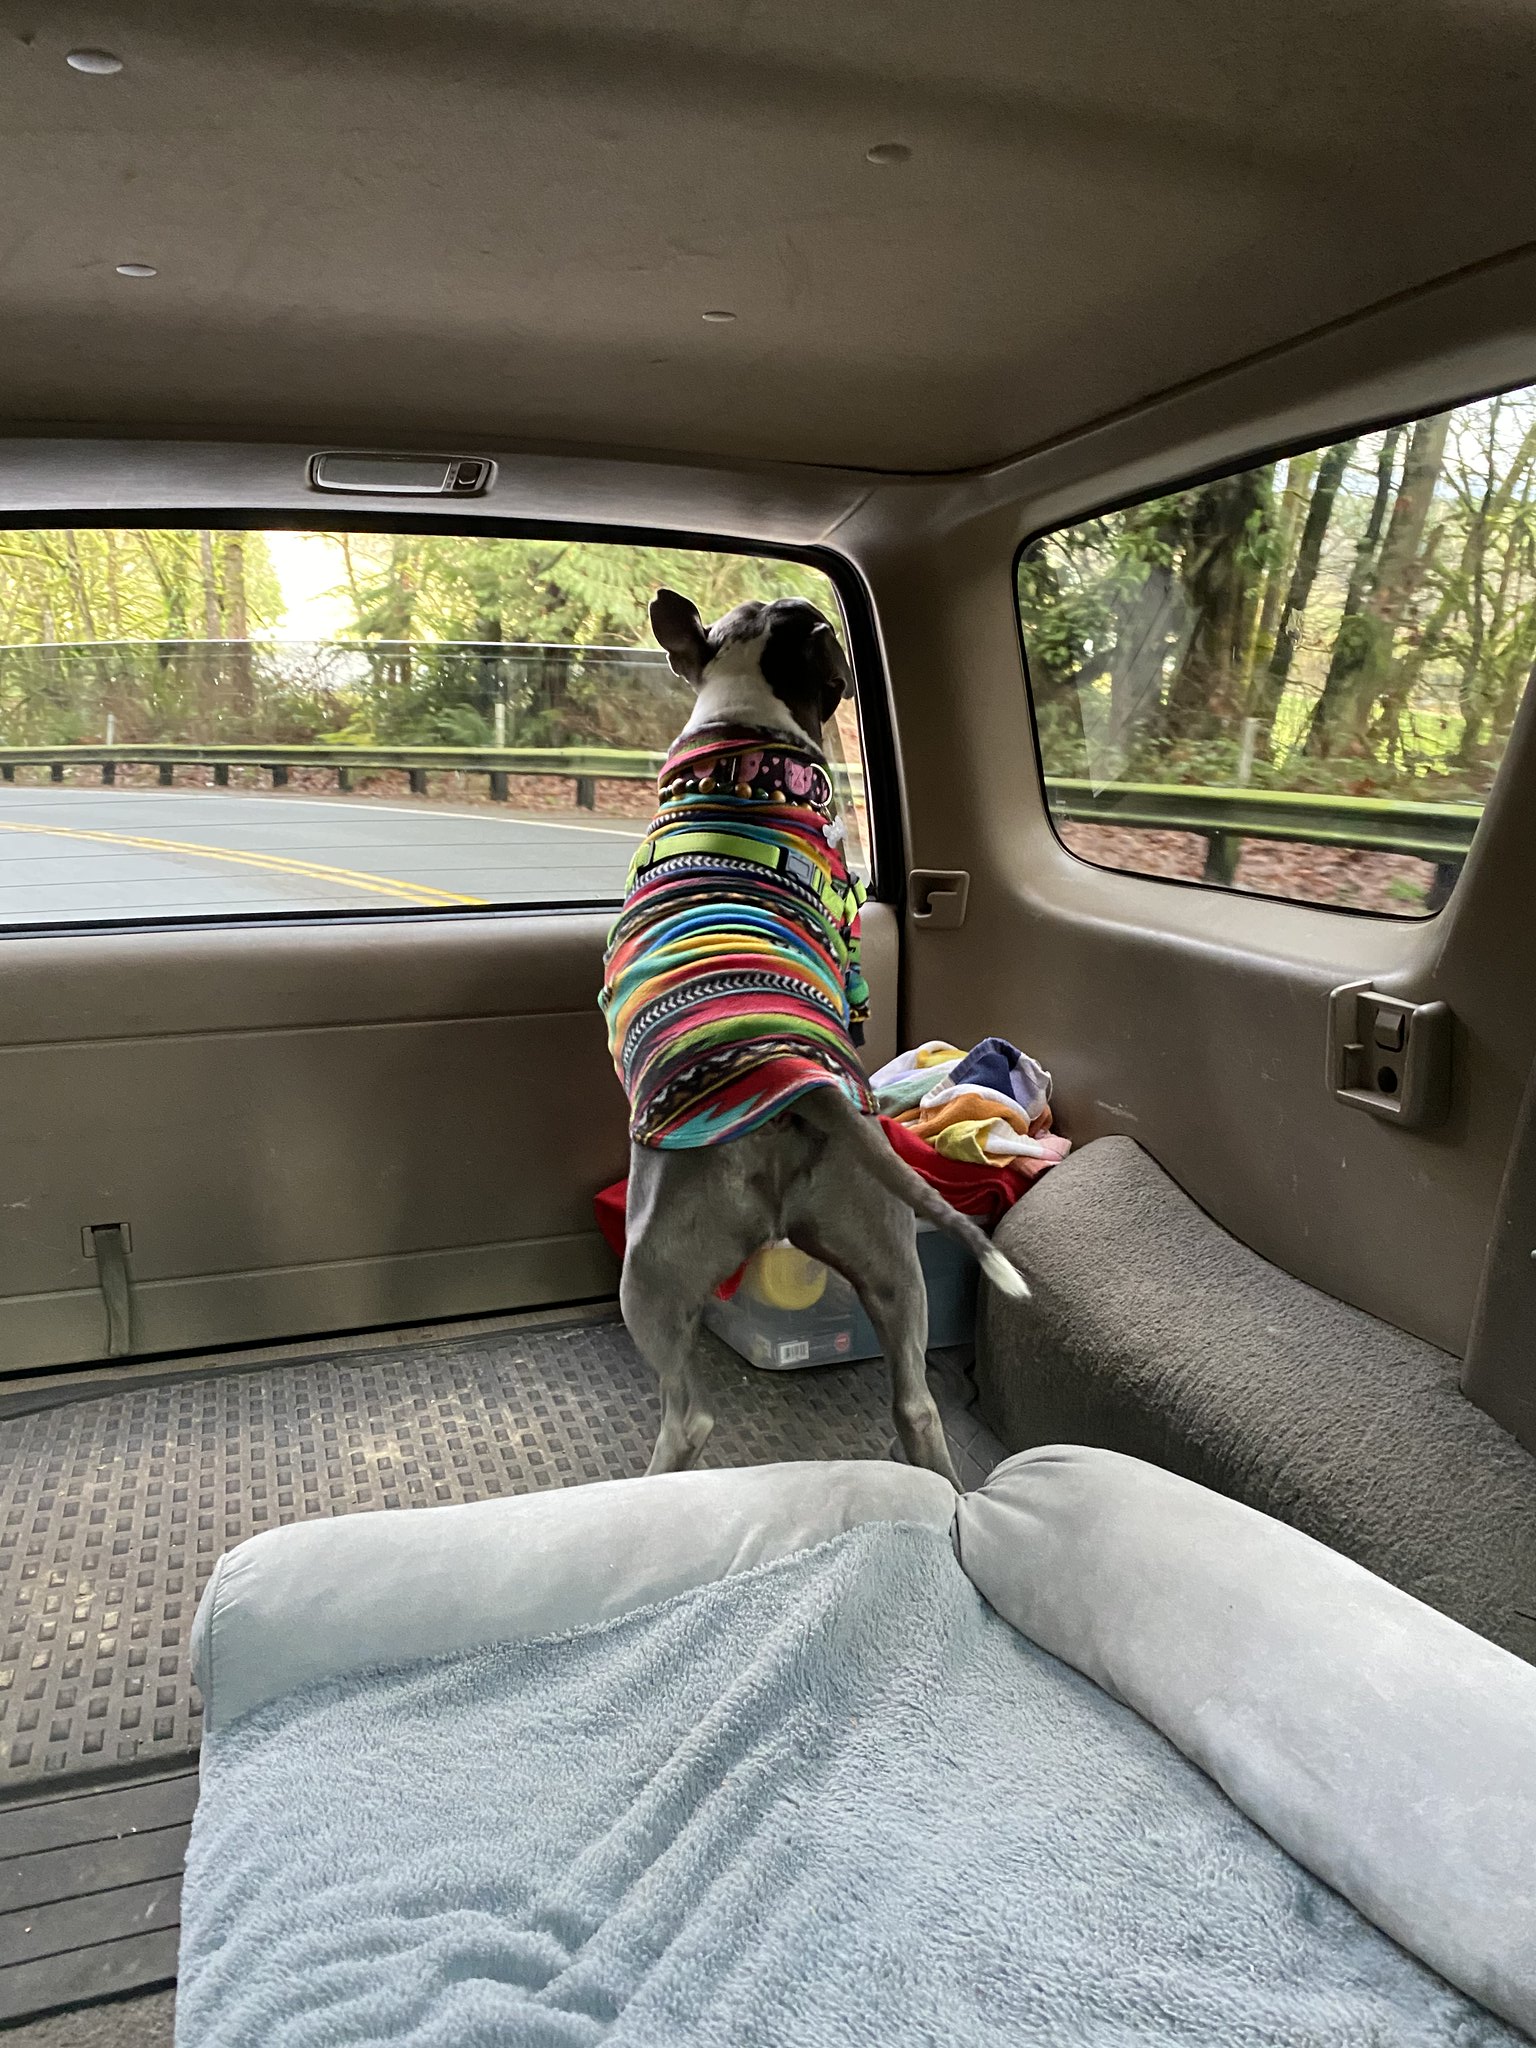
Oh... and isn't this a dog hauler? He really loves that rear window...

Untitled by 99blkx, on Flickr
 
Starting Friday afternoon, I drove from the Seattle area to the Denver area. Not sure of the actual weight but I'm guessing 400+ pounds in the cargo area and 50-100 on the rear carrier. Up and over all the mountain passes running AC occasionally and probably averaging 80mph I netted about 18 mpg. Not bad for the old truck... just wish I had a better seat, lol.
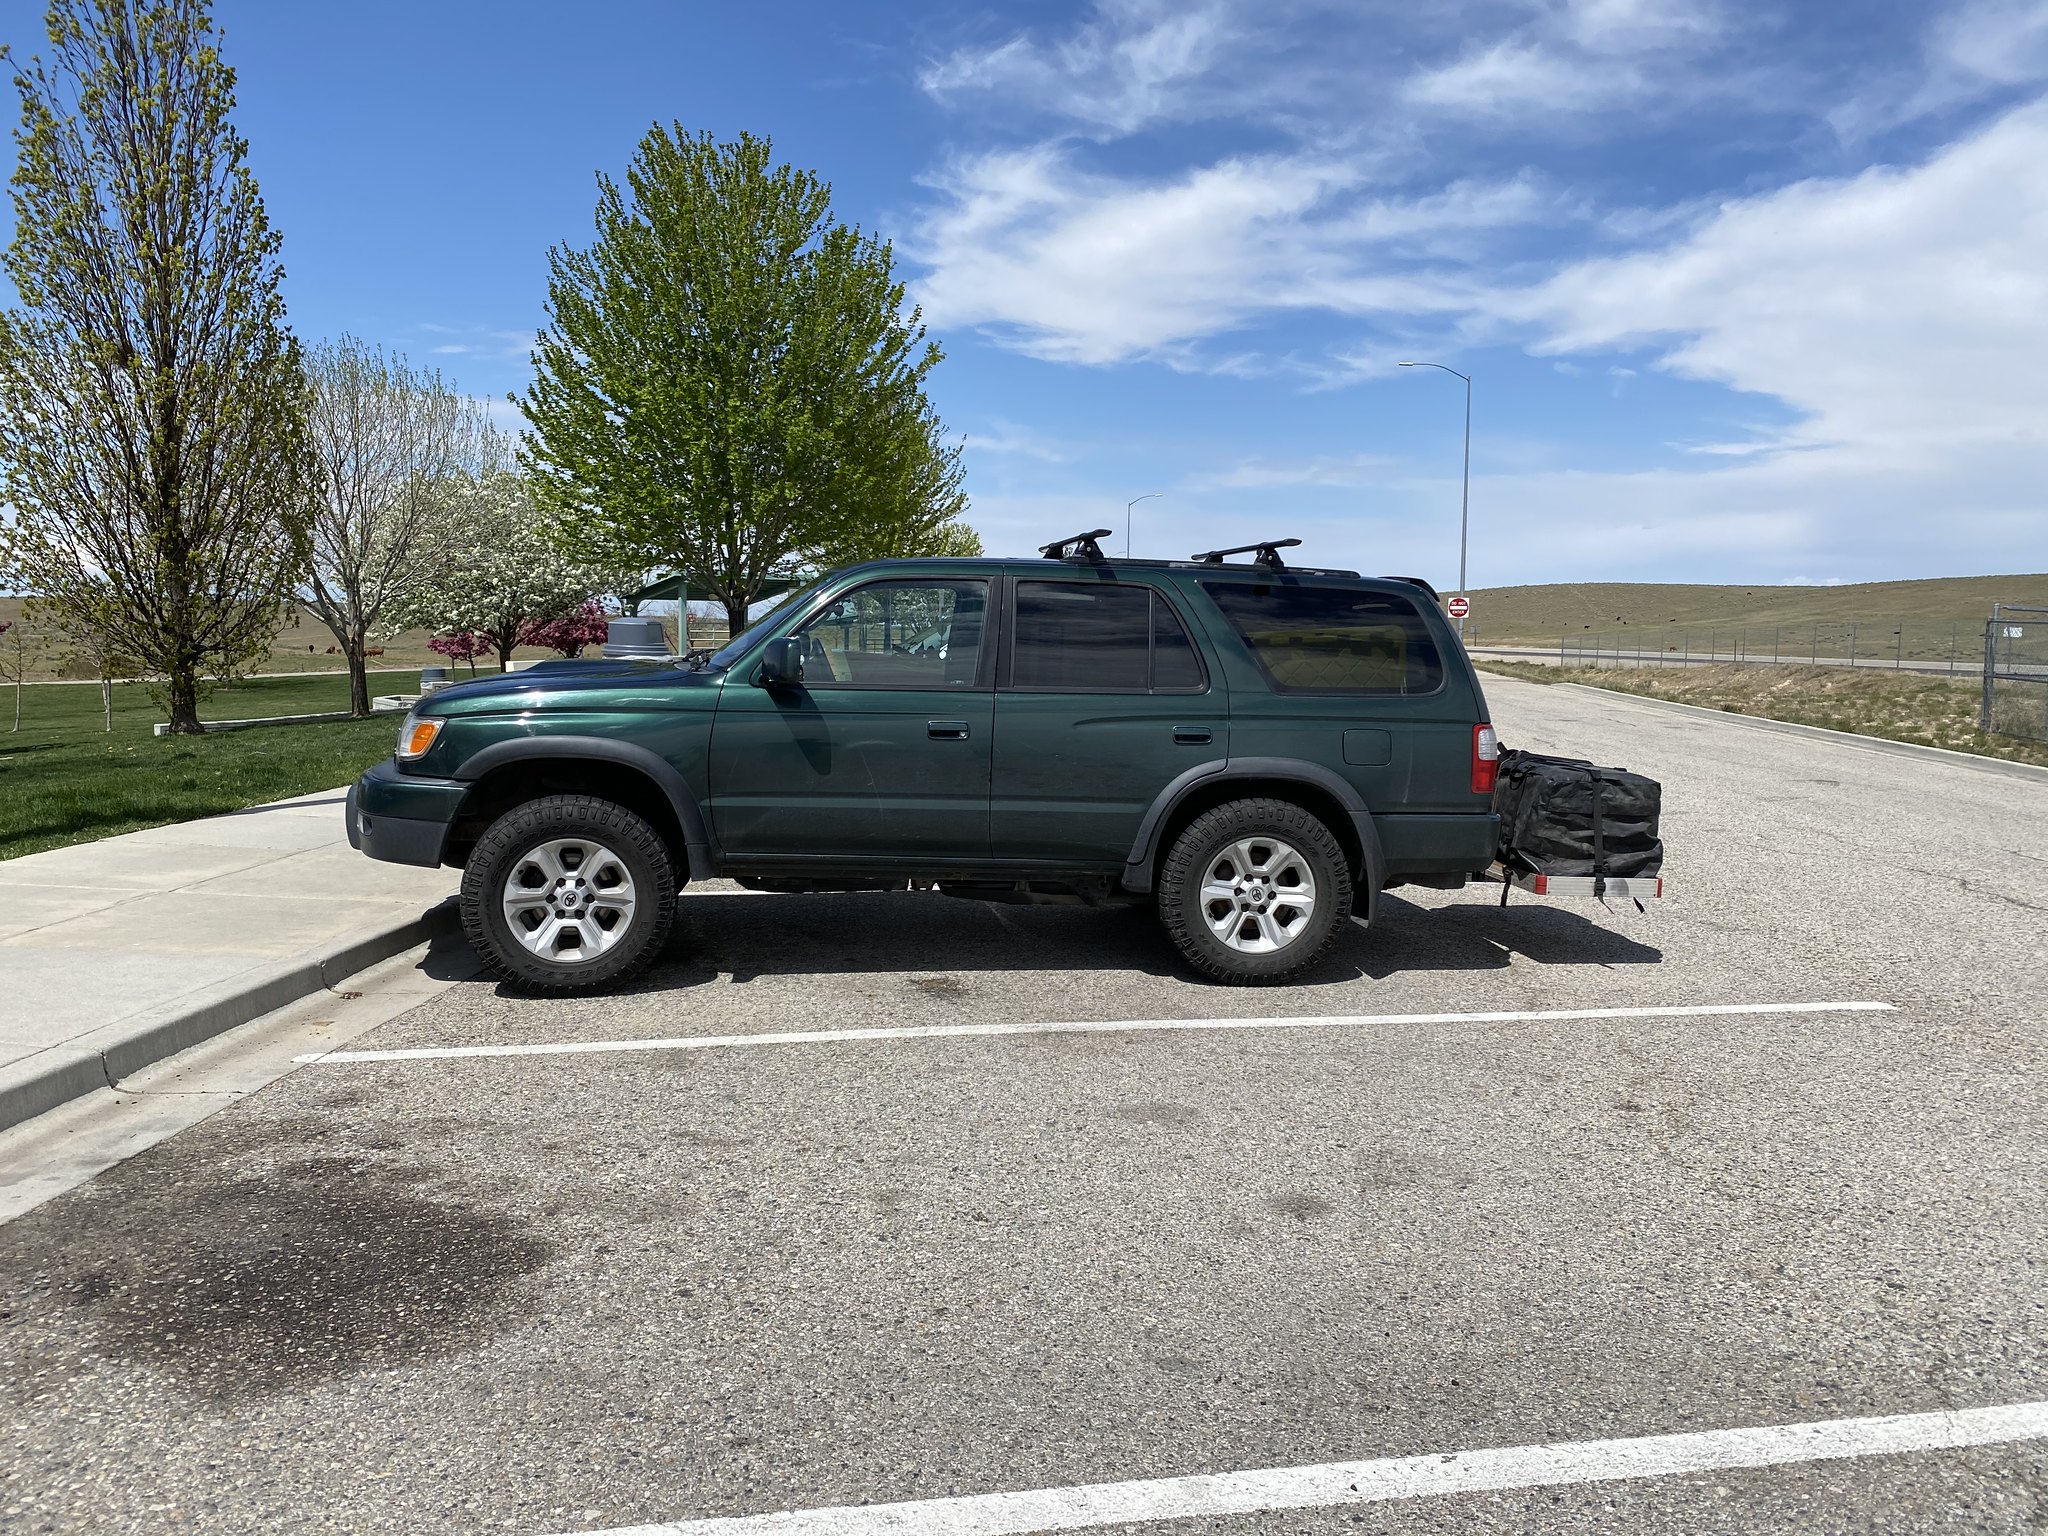
51154868412_8d9f5a8e74_k.jpg


May be time for a suspension refresh. The springs popped back to life once it was unloaded but I just feel bad for the old girl.

Cross posting everywhere, lol.
 

Members online

Forum statistics

Threads
278,316
Messages
3,554,111
Members
248,016
Latest member
Advally Service

Trending content

Back
Top