JVC8790's Daily Duty Cruiser "Build" Thread

Yes and [MENTION=119302]4RunnerAquasport[/MENTION] modified his too.
I did things a little backwards. I had the DT Y installed before I ever pulled the trigger on the headers. I did not install the Y, but my buddy who owns a pretty reputable repair shop and a built 3rd gen, did the job. He told me they tried every angle and config they could think of, but could not get the Y to match up to the stock driver side manifold. They did a pretty good job on the cut and repo.

Now fast fwd 10 months and the modified Y won't match up when I installed the headers lol. So it needed to be modified again, and I drove it over to his shop wide open 4.7 hittin the airwaves. I will say his welder does pretty good, and my bud being a T4R fan, helps my wallet with cash deals after close of business. That way his welder gets paid off the books too.

I wonder if I had done this the right way if the DT Y would have matched up to their headers. Now if I want to have CATS put back on, guess what? The Frankenstein Y gets modified.....(Forest Gump voice) AGAIN......

The strange thing is the passenger side matched perfectly with both installs, never had to do anything to it.

I also wondered how much variation of manifold fitment might be across all the different models and years of Yotas that have the 2UZ, and how many cross referenced parts were used over the years.
Hell DT's donor truck (or mine) could have had a drivers side Tundra manifold stuck on there at some point over the years, throwing off the geometry a little.
So I really have no evidence to offer because I was too busy and wasn't there for the initial mod of the DT Y last year, and will never know if it was their fault or not.
Learning the hard way is how it goes, seeking power out of 4Runners lol.
Can't say I'm not happy with how they sound and perform though. I just re-torqued the header bolts after a couple thousand miles and only got an 1/8 to 1/4 turn out of just a few of them. So they're sealed up tight with the gaskets and heads and breaking in pretty well.
[MENTION=287783]JVC8790[/MENTION] Sorry your going through this crap.
 
I did things a little backwards. I had the DT Y installed before I ever pulled the trigger on the headers. I did not install the Y, but my buddy who owns a pretty reputable repair shop and a built 3rd gen, did the job. He told me they tried every angle and config they could think of, but could not get the Y to match up to the stock driver side manifold. They did a pretty good job on the cut and repo.

Now fast fwd 10 months and the modified Y won't match up when I installed the headers lol. So it needed to be modified again, and I drove it over to his shop wide open 4.7 hittin the airwaves. I will say his welder does pretty good, and my bud being a T4R fan, helps my wallet with cash deals after close of business. That way his welder gets paid off the books too.

I wonder if I had done this the right way if the DT Y would have matched up to their headers. Now if I want to have CATS put back on, guess what? The Frankenstein Y gets modified.....(Forest Gump voice) AGAIN......

The strange thing is the passenger side matched perfectly with both installs, never had to do anything to it.

I also wondered how much variation of manifold fitment might be across all the different models and years of Yotas that have the 2UZ, and how many cross referenced parts were used over the years.
Hell DT's donor truck (or mine) could have had a drivers side Tundra manifold stuck on there at some point over the years, throwing off the geometry a little.
So I really have no evidence to offer because I was too busy and wasn't there for the initial mod of the DT Y last year, and will never know if it was their fault or not.
Learning the hard way is how it goes, seeking power out of 4Runners lol.
Can't say I'm not happy with how they sound and perform though. I just re-torqued the header bolts after a couple thousand miles and only got an 1/8 to 1/4 turn out of just a few of them. So they're sealed up tight with the gaskets and heads and breaking in pretty well.
[MENTION=287783]JVC8790[/MENTION] Sorry your going through this crap.

Damn! I didn't realize so many people were having issues with these things. Makes me kinda glad I didn't also buy the Y pipe if it wasn't going to fit. Has anyone brought this up to Doug Thorley or Jason Burtman? I may have to go look through that thread again even though I don't want to because it brings up PTSD with how long I waited for these.

I'll check the torque on mine after a few hundred miles since I'm really not driving it at all these days working from home.
 
Well, I've been getting busy with small projects while couped up at home. So here's yesterdays project!

The first speaker took about 1.5hrs to trim the adapter and figure everything out, but the rear doors were quick, and the passenger front was quick once I knew what I had to do.

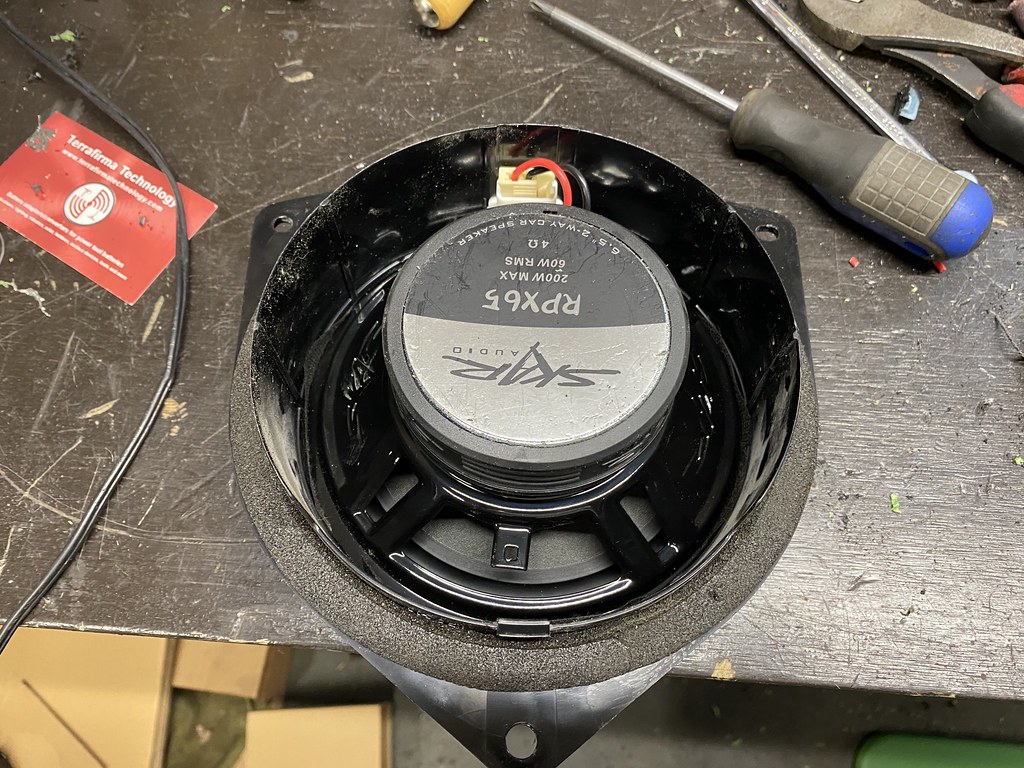
Bought some 6.5" Components for the front doors, and 6.5 2 ways for the rear. I used the Skar 8" woofer to replace my JBL unit so I figured I'd give their door speakers a try. Pricing is pretty good on these and overall I'm happy with the upgrade.

49856511693_1796e59abe_b.jpg


49856511733_125350eb87_b.jpg


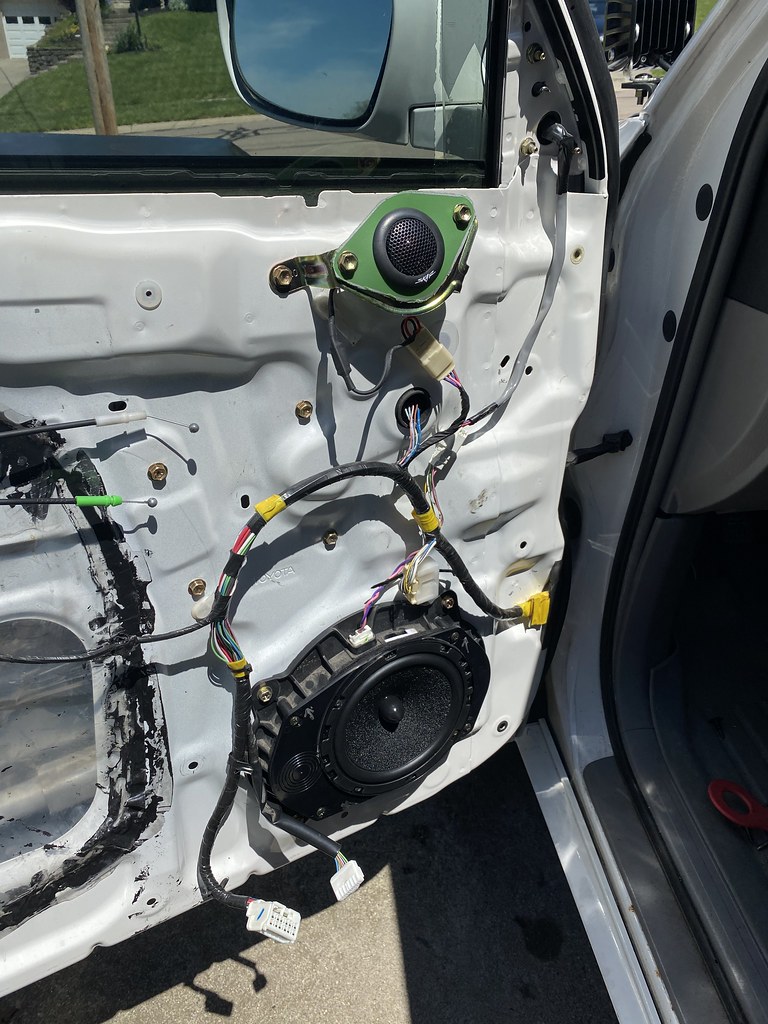
Took the front door speakers out, it looks like the JBL setup has a resistor/filter built in to the housing/wiring. I decided to bypass this which seems like it worked alright.

49856510663_cb00ce96df_b.jpg


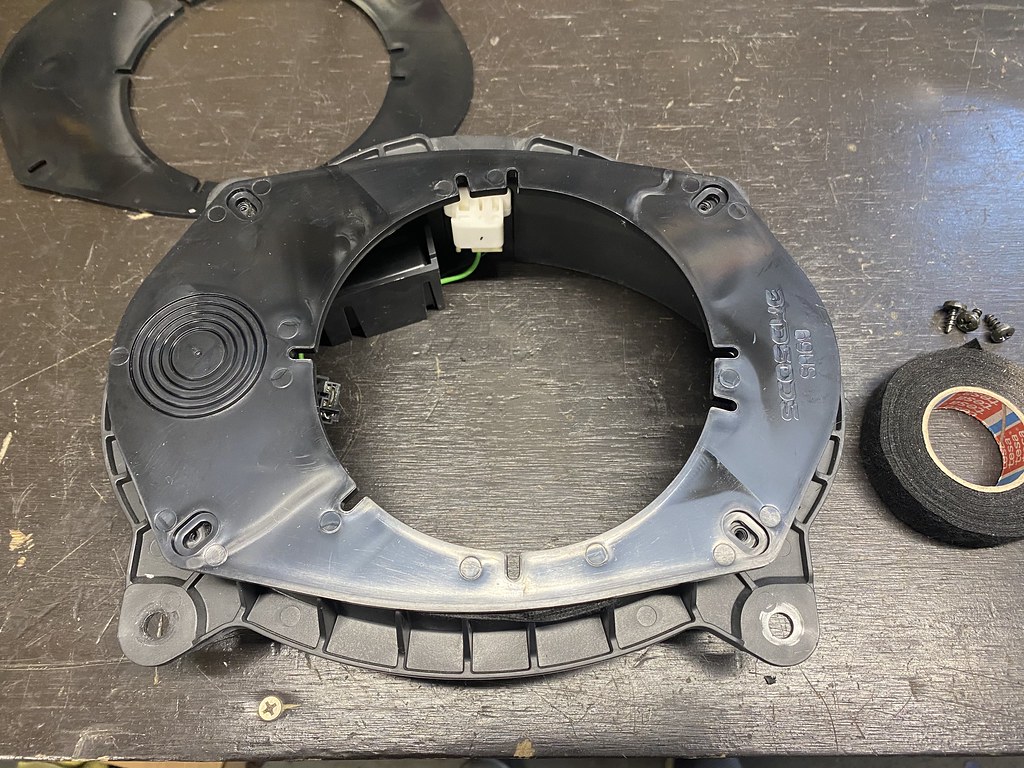
Prepared the Scoche adapters I bought, these are listed as 5.25 and 6.5 adapters, but I ended up having to do some trimming to make the 6.5 work. In a perfect world, I would have returned these and bought different ones had I known, but instead I went at it with a dremel.

49857355897_0040f9603a_b.jpg


Used this to mark how much extra I had to cut out of the opening to keep it consistent.

49857356892_a9ea2cd35a_b.jpg


And installed in the bracket. I used some leftover torx bits I had in my hardware boxes (mostly from Volvos over the years)

49856511348_b5438467d5_b.jpg


I made a little extension to the harness and soldered the connections.

49857356582_73329958e0_b.jpg


and installed into the door

49856511428_47ae5091e0_b.jpg


49857356732_34fb7282be_b.jpg


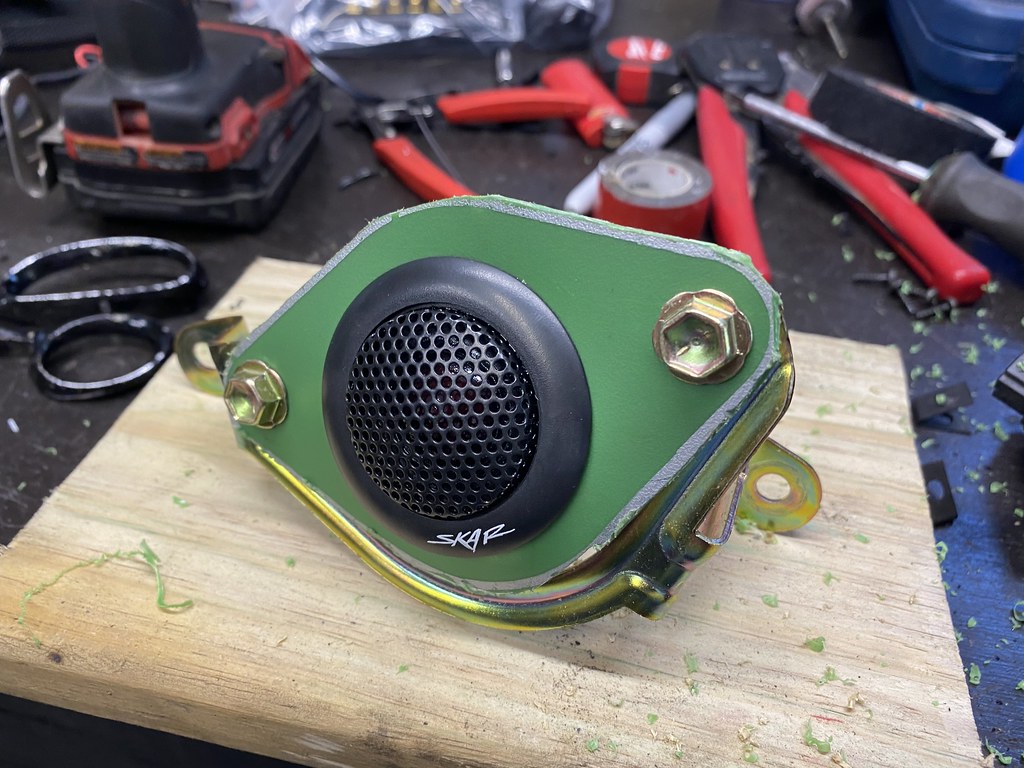
Moving on to the tweeters, I used an old storage tote lid to cut out some plates to mount the tweeters into the factory brackets. I did the same with the wiring and just spliced these into the factory wiring instead of using the crossovers, this worked out well and although it might not be the best way to do it, I've done this in other cars with decent success

49857356047_5cc0b8233d_b.jpg


49856510833_01242abf4d_b.jpg


49857052761_9bd1a1dc65_b.jpg


Moved onto the passenger front door and laid in some Noico sound deadening. I had already done the drivers front door when I swapped it after the wreck a few posts back.

49857052876_51ffc9def6_b.jpg


49856510848_d37ce03c6c_b.jpg


Moved onto the rear doors, these were much easier overall.

49857357097_510989d815_b.jpg


49857357037_3aef716339_b.jpg


Same process for adapting the wiring to retain the factory connections so I can easily remove the speaker. I found out that there is a harness you can buy to do this, but I have no intentions of putting the factory stuff back in so I had no issue deciding to cut the factory wiring.

49857053446_d07a26c3a0_b.jpg


Sound deadening in the rear doors. I used approximately 4sq ft per door, maybe a little more on the fronts.

49857356837_ba80286f52_b.jpg


49856511448_d215dd9deb_b.jpg


49857356667_91fb7ef785_b.jpg


Overall these are a great upgrade! For about $130 for all 4 doors I cant be happier. I chose to do 6.5" in front instead of the 6x9's and initially I was worried they wouldn't be as bassy, but after making some adjustments on the EQ on my headunit, these can handle a lot more before sounding crappy so I was able to get easily as much bass as the 6x9's used to produce out of these 6.5". Also, if anyone needs JBL stock speakers, these are for sale before I throw them out. Yes, I have cut some of the wiring, but it all can be soldered back together with what you have existing should yours be totally toast. I have the front door tweeters, 6x9's, and the rear speakers. Would love to sell them off rather than throw them away.
 
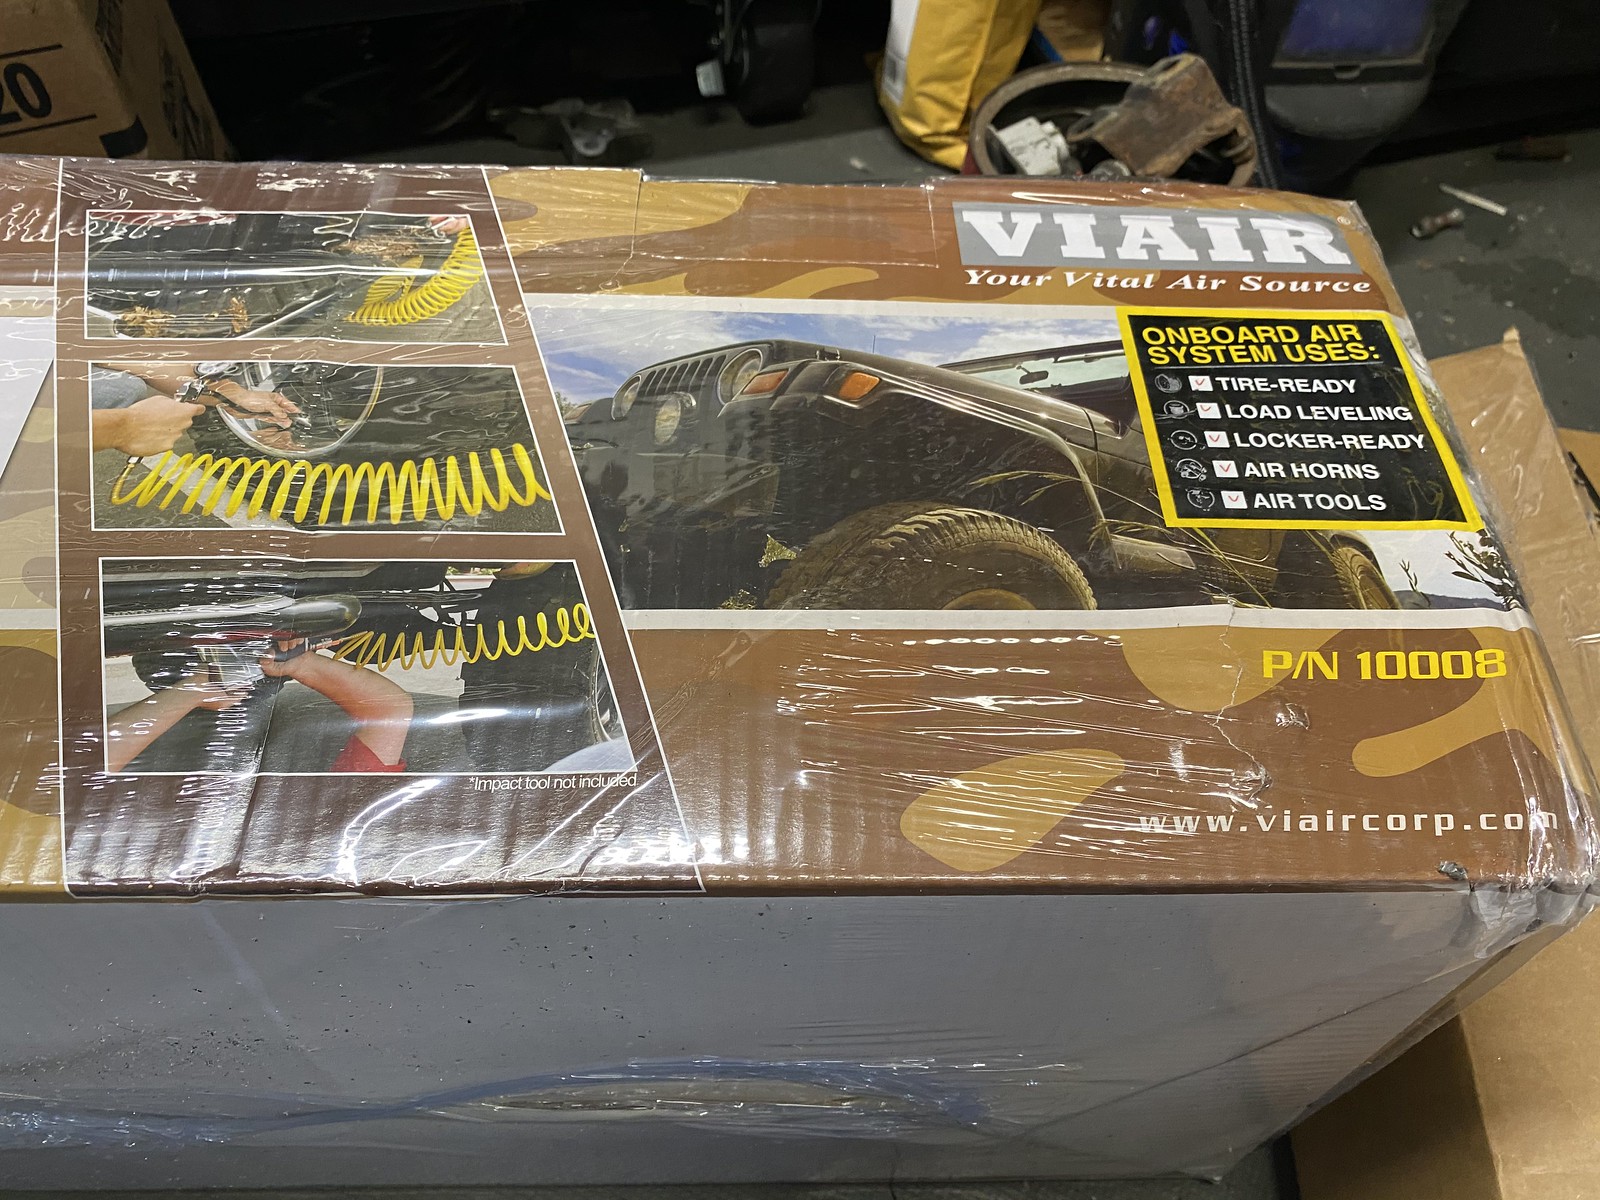
A little something arrived today after quite a bit of waiting, there's a long story behind it, but lets just say, I'm glad this showed up for the price I paid after the fiasco I went through (5+ hrs on customer support/hold).

If it wasn't going to rain this weekend I'd start mapping out where to put everything. If you've got on board air and have ideas of where to mount everything I'm open to suggestions!

49898050453_84e3a2dca0_h.jpg


49898876012_c7dc253ee3_h.jpg


49898569751_bc159a31a7_h.jpg


49898050438_dab5be4dab_h.jpg


I'm familiar with this type of plumbing and routing from installing air ride on my Volvo so it shouldn't be too bad. More-so just have to figure out where to mount everything and run the wiring/plumbing!
 
Just a few pics from this summer and a few pictures of my recent interior clean up project. I've been having fun with my Mopeds while its been warm so not much time has been spent on the 4Runner.

Untitled by John Van Cleave, on Flickr

Untitled by John Van Cleave, on Flickr

Untitled by John Van Cleave, on Flickr

Untitled by John Van Cleave, on Flickr

Untitled by John Van Cleave, on Flickr

Untitled by John Van Cleave, on Flickr

Now onto my interior renovation project.

Initially the replacement seat cushion didn't seem to match.

Untitled by John Van Cleave, on Flickr

After some time with a magic eraser...

Untitled by John Van Cleave, on Flickr

Untitled by John Van Cleave, on Flickr

After and Before (have only done the passenger side)

Untitled by John Van Cleave, on Flickr

Much better!

Untitled by John Van Cleave, on Flickr

Now just waiting on the replacement seat foam from Toyota for the drivers seat so I can get it all up to snuff!
 
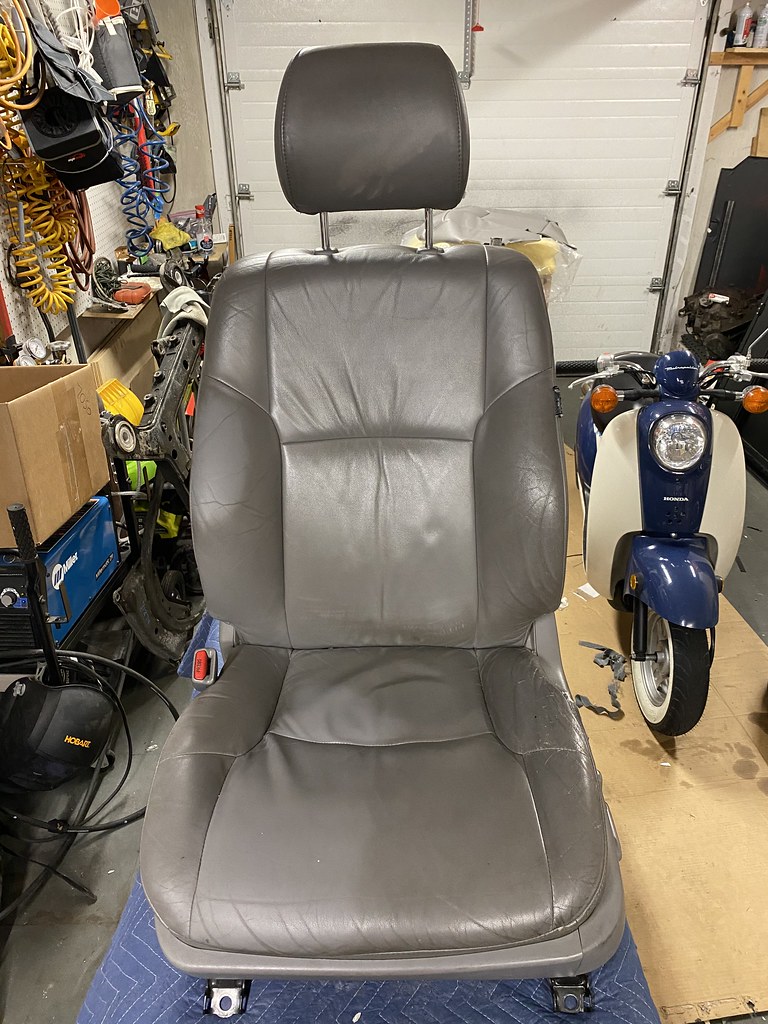
Got around to doing the drivers side seat cover last night. All in all, it wasn't too bad of a job, I think I could have done a slightly better job if I did it over again and got the seat cover tighter. Anyway, here are some more pictures.

Removed from the truck and on the table in the garage.

Untitled by John Van Cleave, on Flickr

Took a few pictures to make sure that I knew where everything goes when I put it back together.

Untitled by John Van Cleave, on Flickr

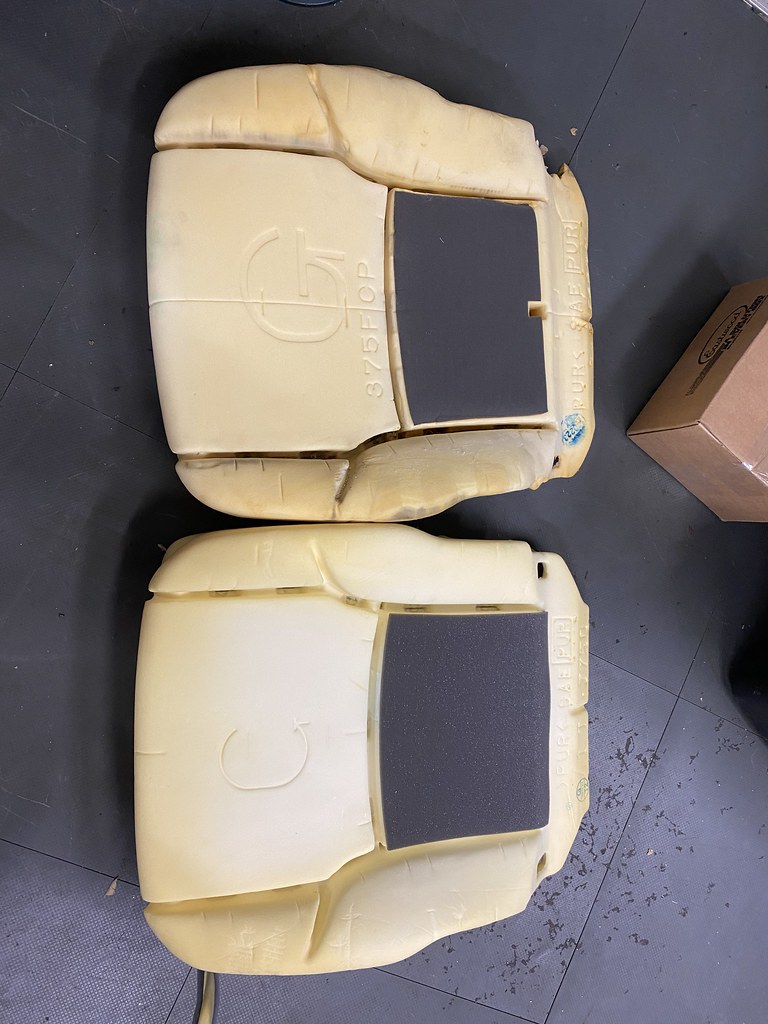
Old foam on top, new on bottom

Untitled by John Van Cleave, on Flickr

It was at this point I realized I really had no idea what I was doing...

Untitled by John Van Cleave, on Flickr

Scrubbed the seat back while I had it all apart, this is just magic eraser.

Untitled by John Van Cleave, on Flickr

Had to remove the old heated seat element from the old skin and put it on the new one. I used a little it of spray glue to hold it in place on the inside of the new skin.

Untitled by John Van Cleave, on Flickr

I used small zipties in place of hogrings. I saw someone do this once and it seemed easier than buying hogring pliers and doing it that way. We'll see how it lasts!

Untitled by John Van Cleave, on Flickr

I think I might have over tightened a few zipties causing some of the ripples. I'm going to give it a week or two of use and try steaming it a bit to see if I can tighten up the material.

Untitled by John Van Cleave, on Flickr

Partially re-assembled.

Untitled by John Van Cleave, on Flickr

And back in the truck about 2.5 hrs later!

Untitled by John Van Cleave, on Flickr

Not too shabby for an eBay seat cover! Match is pretty close, it might be a bit baggier, but that also might be because I don't know what I'm doing with re-upholstering.

Untitled by John Van Cleave, on Flickr

All in all, the seat feels like a new truck. I wish I had done this sooner!
 
Spent the last hr reading this thread. What a rollercoaster, Love your ingenuity behind some of these new welding forays. An excellent collection of pics and stories!
Purchasing my interior LEDs from SuperBright as we speak. Install and map-light mod coming up next for me!
 
Spent the last hr reading this thread. What a rollercoaster, Love your ingenuity behind some of these new welding forays. An excellent collection of pics and stories!
Purchasing my interior LEDs from SuperBright as we speak. Install and map-light mod coming up next for me!

Thanks for the kind words! I've always had interest in trying to learn to do things myself or thinking outside the box. You'll love the super bright led's! I'd recommend doing the Map light mod (which I haven't done yet) so the map lights come on when you open the front doors.
 
Update!

The fall/early winter has been exciting for us. We've moved to a new house with a slightly bigger garage and naturally that has taken a bunch of my focus. But here are some pictures for those who like visuals over words!

Got a nice car wash and had it all looking good! (for now)

50880437703_edd6209ae4_b.jpg


50881258537_31c637ced2_b.jpg


Started moving some of my toys to the new house!

50881258582_41cf35c206_b.jpg


50880437718_5afc4e9af2_b.jpg


While moving, it was quite cold and my rear trim came free. Hard to tell exactly what happened, I'll open up the tailgate and see how I can fix it once it warms up a little. In the meantime, I can release the trunk from the latch and use the ladder to pull it open.

50880438038_14930aba85_b.jpg


Starting to get situated in the new garage!

50881157241_8611503ecf_b.jpg


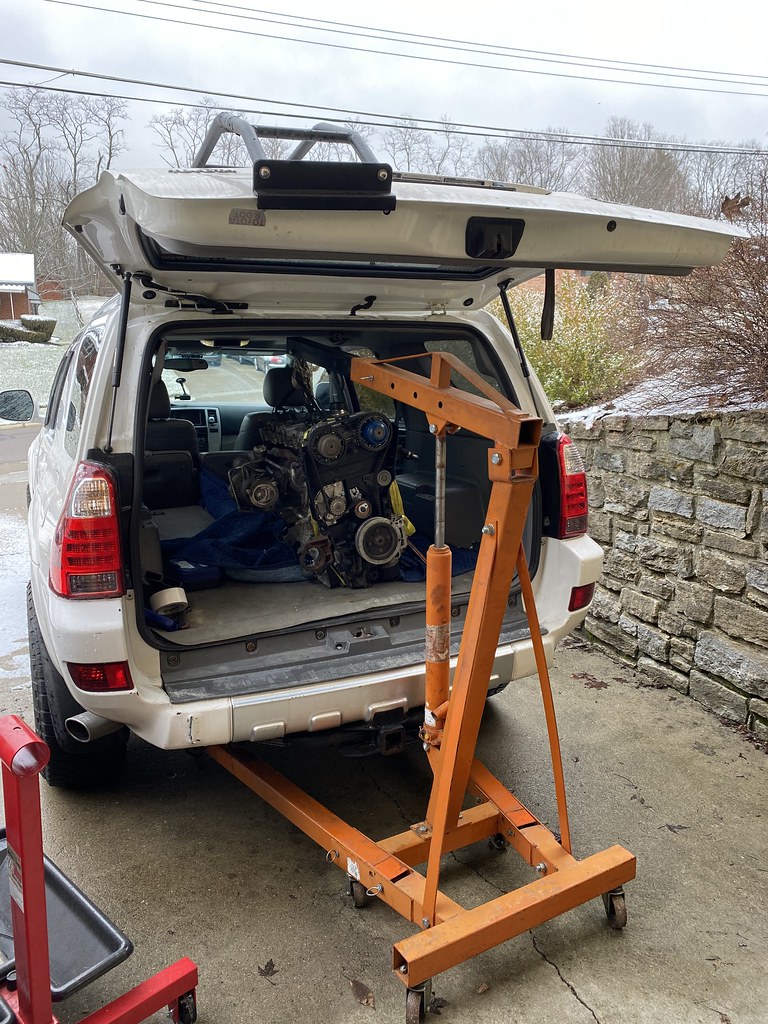
Had to move the engine for my S70 build from the old house to new.

50881258662_3becff6467_b.jpg


50880438033_f3f76b1d28_b.jpg


At this time, the 4Runner was doing okay, but a slight brake leak at the rear center soft lines was starting to drip a little more. I managed to move literally the last load of stuff from the old house and woke up the next morning to this.

50881258657_41f56a0028_b.jpg


50880437678_775e045c34_b.jpg


Knowing I own a midwest truck with some minor rust issues, I will be going through and replacing all of the brake lines. I did the outermost soft lines last year when doing the brake calipers but now it's time to just tear it all apart and do all the hardlines and be done with it. I'm going to try to get it up on the new QuickJacks that just arrived yesterday in the garage this weekend to look over it and create a "shopping" list of all the things I need to replace all the brake lines. I already have the flaring tool and some fittings but will likely need more.

Any advice on replacing all of the brake lines is welcome from those who have done it! I'm sure there are some tips and tricks I do not know.
 

Members online

Forum statistics

Threads
278,316
Messages
3,554,111
Members
248,016
Latest member
Advally Service

Trending content

Back
Top