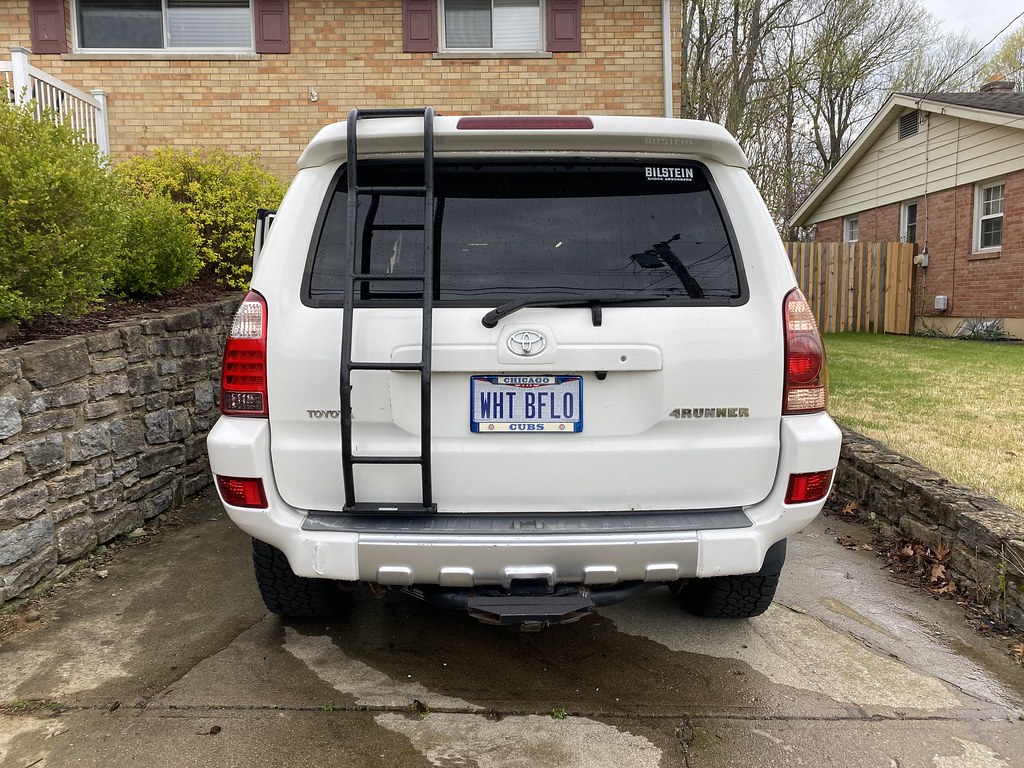
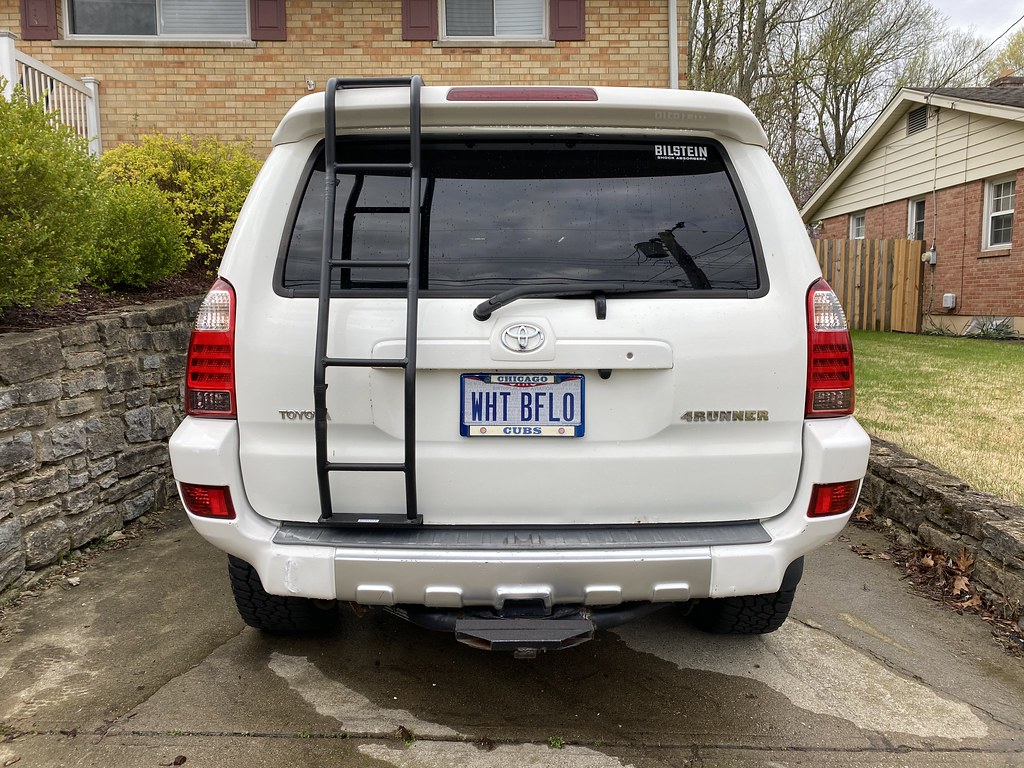
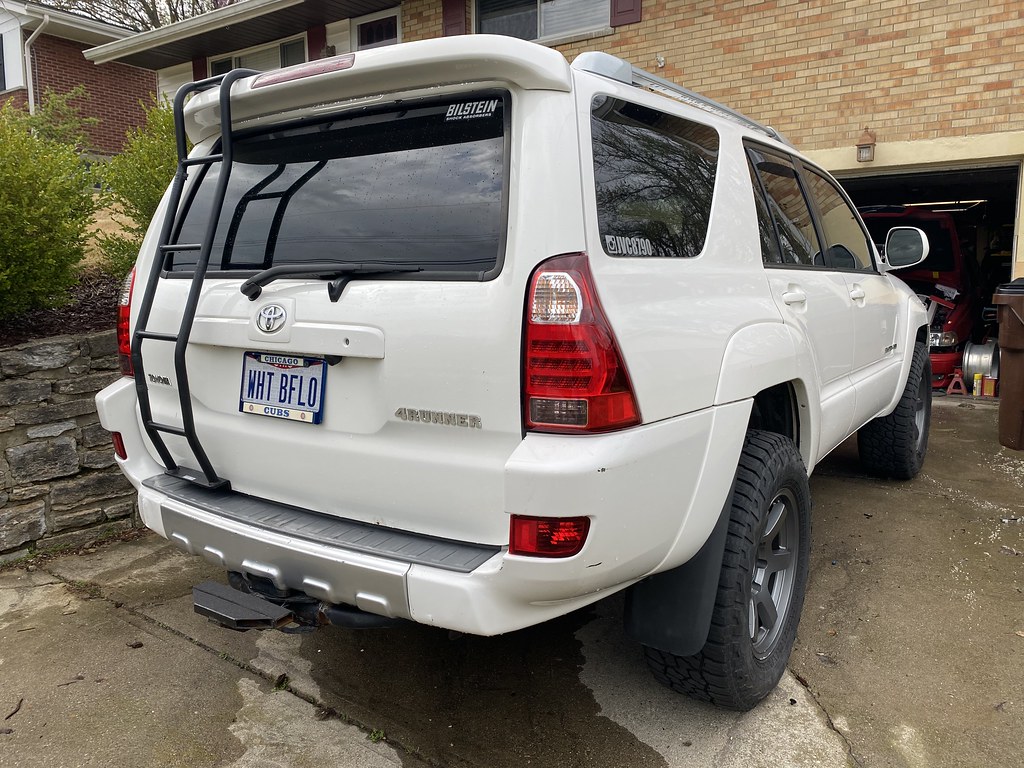
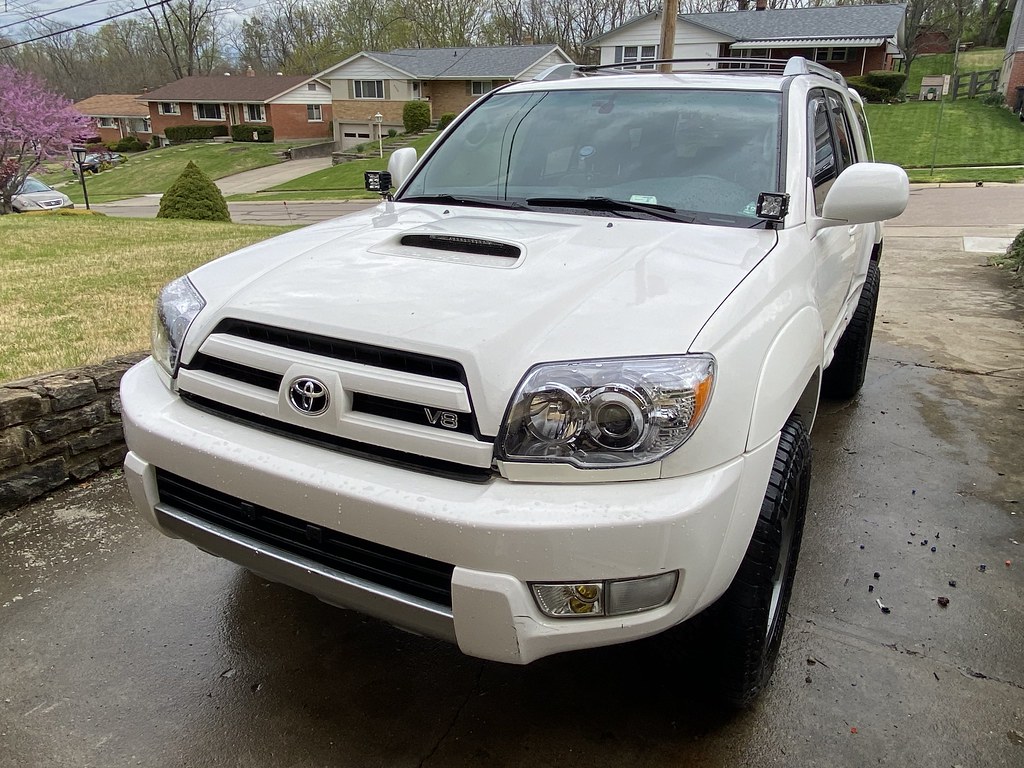
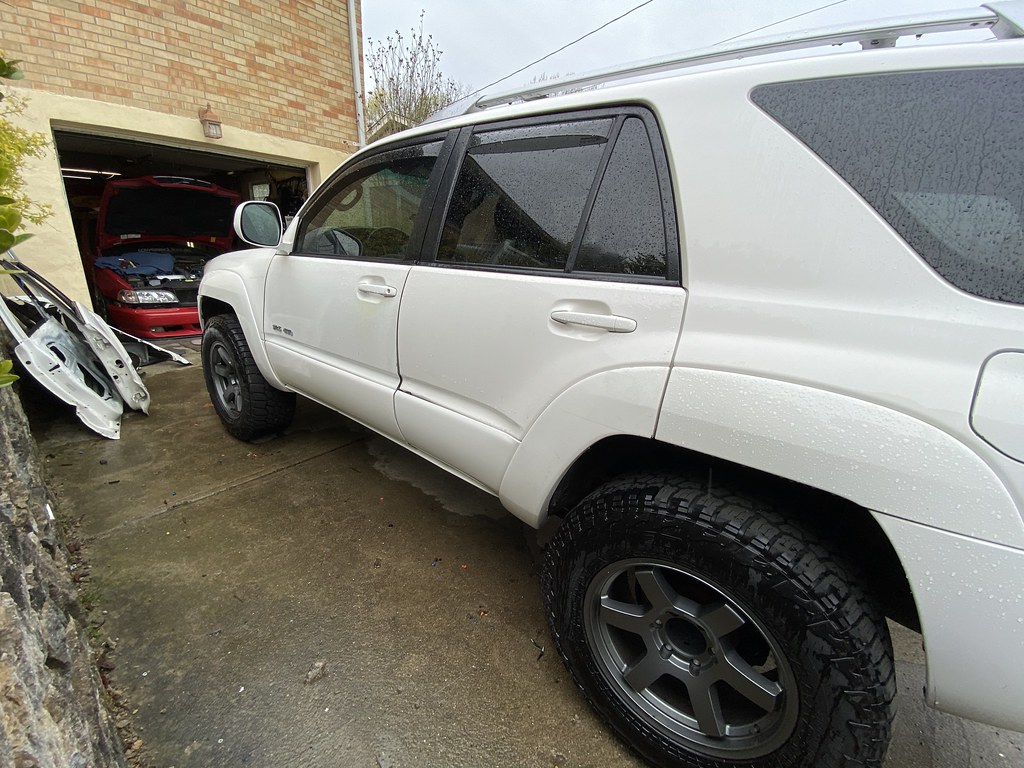
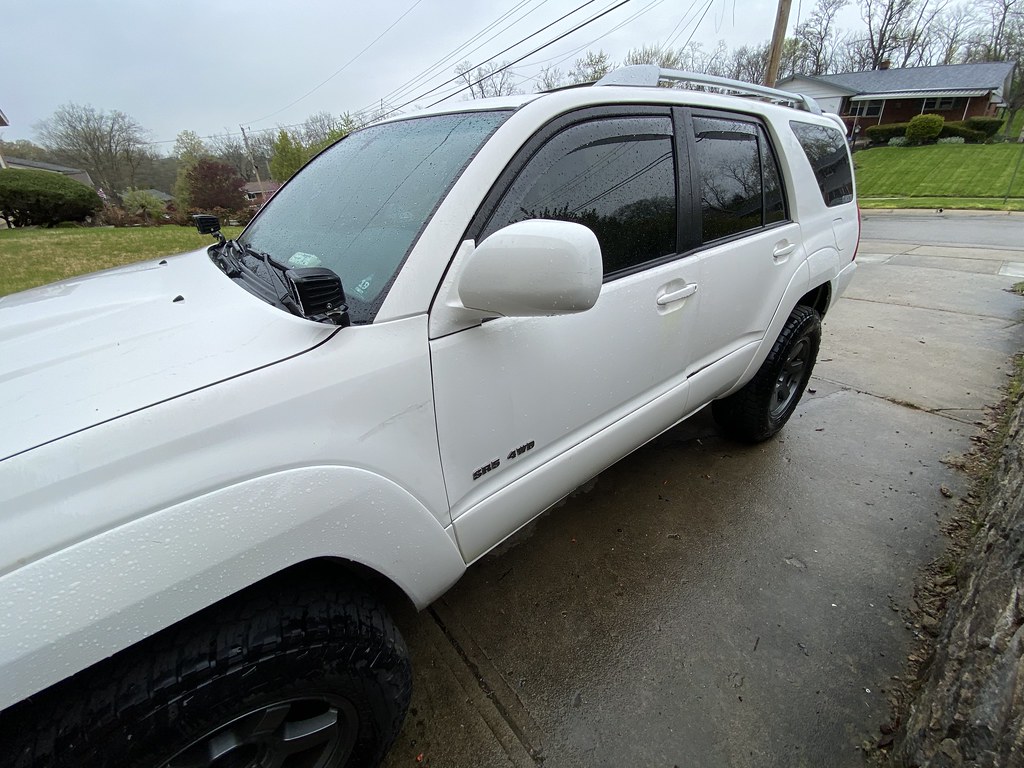
JVC8790's Daily Duty Cruiser "Build" Thread

i like the traction pad carrier...hopefully drag isnt too bad there for your mpg. i currently run 4 of them under my double decker cargo (xbull, fit perfect/tight, horizontally). you going to get a lock on them back there?

do you use Bauer power cordless tools??

diggin the little weld projects

Thanks! I'm having fun with these little welding projects, doing a lot of stuff that isn't horribly structural until I get the confidence/skills to tackle a harness bar or something for my Volvo.

Unsure on the drag portion, my goal was to make them sit under the roof line and inside the width of the truck so hopefully they wouldn't whistle/make noise. I suppose I'll report back when I finally bolt it all up and drive around.

The rod that secures them has a small hole in it. My plan is to mount a luggage lock through the rod so it cant be pulled out with the lock on there. I know this isn't a perfect solution. I also don't plan to mount this unless I'm headed offroad and in that case, I'm not typically too far from my vehicle, this isn't for daily mall crawling use and if someone really wanted to steal it, they could just unbolt it from the ladder.

In regards to your tool question, everything I own is Milwaukee (including this pump). I have seen the Bauer stuff and I have some of their drill bits which are worlds better than the HF store brand stuff, but I haven't strayed from the M12/M18 Milwaukee line since I got my first 3/8" impact. Keeping with one tool line makes it super easy to buy more tools since I don't have to buy the kit with batteries and a case, I can just buy the tool itself and use batteries I already have.
 
Thanks! I'm having fun with these little welding projects, doing a lot of stuff that isn't horribly structural until I get the confidence/skills to tackle a harness bar or something for my Volvo.

Unsure on the drag portion, my goal was to make them sit under the roof line and inside the width of the truck so hopefully they wouldn't whistle/make noise. I suppose I'll report back when I finally bolt it all up and drive around.

The rod that secures them has a small hole in it. My plan is to mount a luggage lock through the rod so it cant be pulled out with the lock on there. I know this isn't a perfect solution. I also don't plan to mount this unless I'm headed offroad and in that case, I'm not typically too far from my vehicle, this isn't for daily mall crawling use and if someone really wanted to steal it, they could just unbolt it from the ladder.

In regards to your tool question, everything I own is Milwaukee (including this pump). I have seen the Bauer stuff and I have some of their drill bits which are worlds better than the HF store brand stuff, but I haven't strayed from the M12/M18 Milwaukee line since I got my first 3/8" impact. Keeping with one tool line makes it super easy to buy more tools since I don't have to buy the kit with batteries and a case, I can just buy the tool itself and use batteries I already have.

very cool.

im thinking of doing that with all the Bauer stuff lol. somehow they have great reviews from what i can tell.
 
very cool.

im thinking of doing that with all the Bauer stuff lol. somehow they have great reviews from what i can tell.

Yeah, their stuff doesn't seem too bad! I figured I'd stick to a major name brand and tools that a bunch of friends have in case I need to borrow something or they need a charger etc.
 
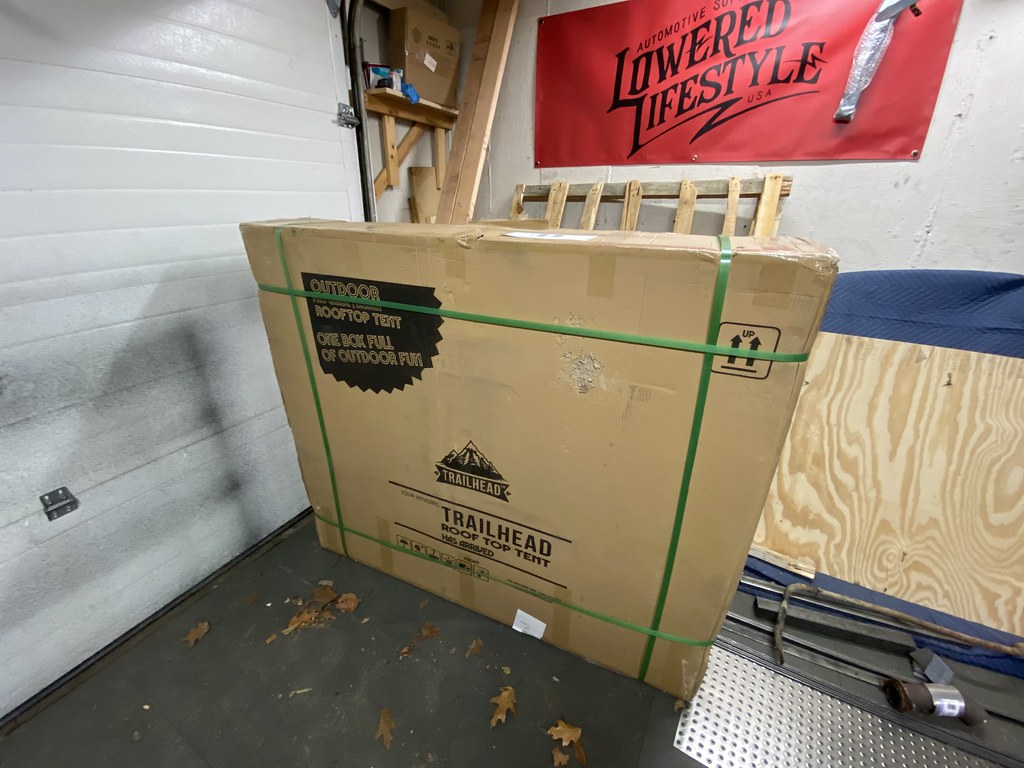
Something else showed up this week. More pictures this weekend when I unpack it.

49423752038_1c6e41491f_b.jpg
 
Guess I'll bring an update now that I'm working from home. I really havent done much with the 4Runner as my time has been spent putting my Volvo back together after its accident. I was focusing on that to get it ready for car show season that was supposed to start in 2 weekends, but that all got canceled so I've taken a step back from it to work on some other household and car projects.

First things first, I still haven't unpacked the RTT, that will wait til it gets warmer.

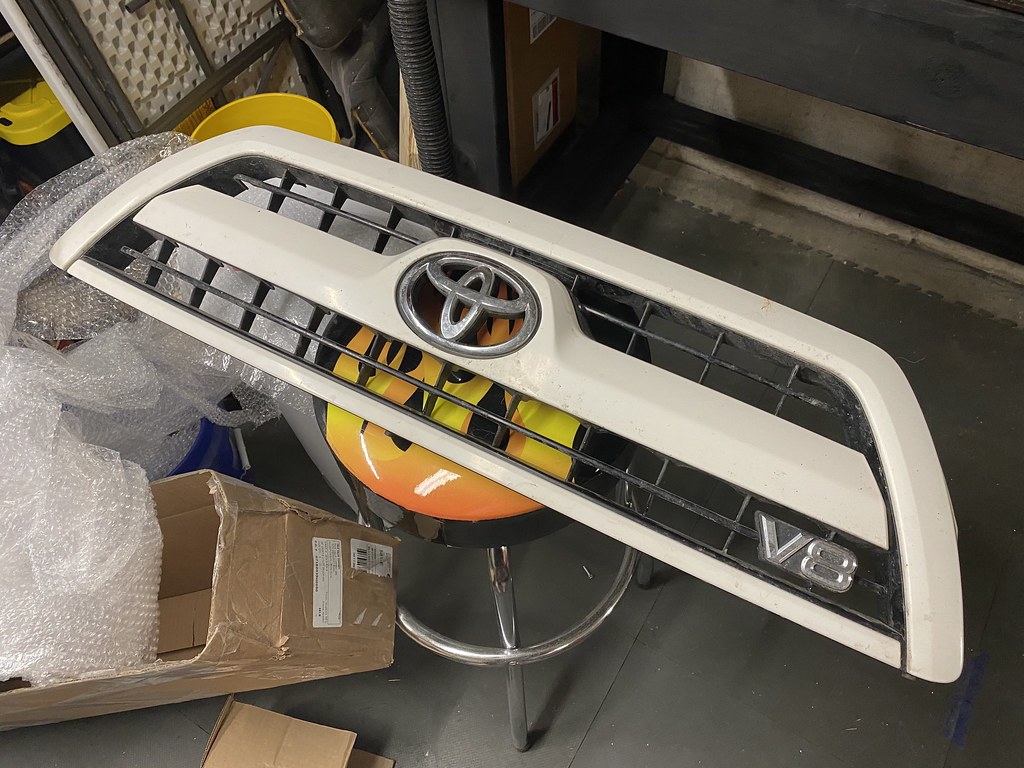
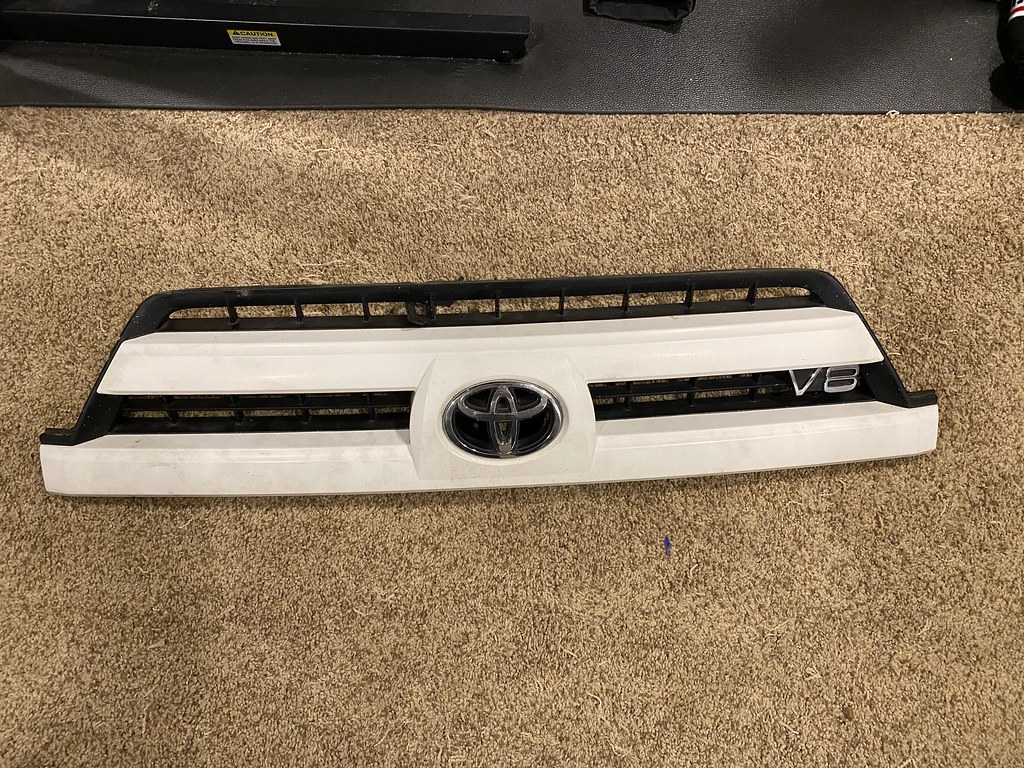
Bought an 06-09 Grille, also bought (not pictured) the headlight trim pieces and a can of color match spray paint. Still need to decide on which headlights to buy.

49724079303_0beec2cc7e_b.jpg


I do have this 03-05 Grille for sale as well, the sport hood I got came with a grille, so I have this in addition to what is on my car currently. If anyone is interested just PM me.

49724934492_af289dbc83_b.jpg


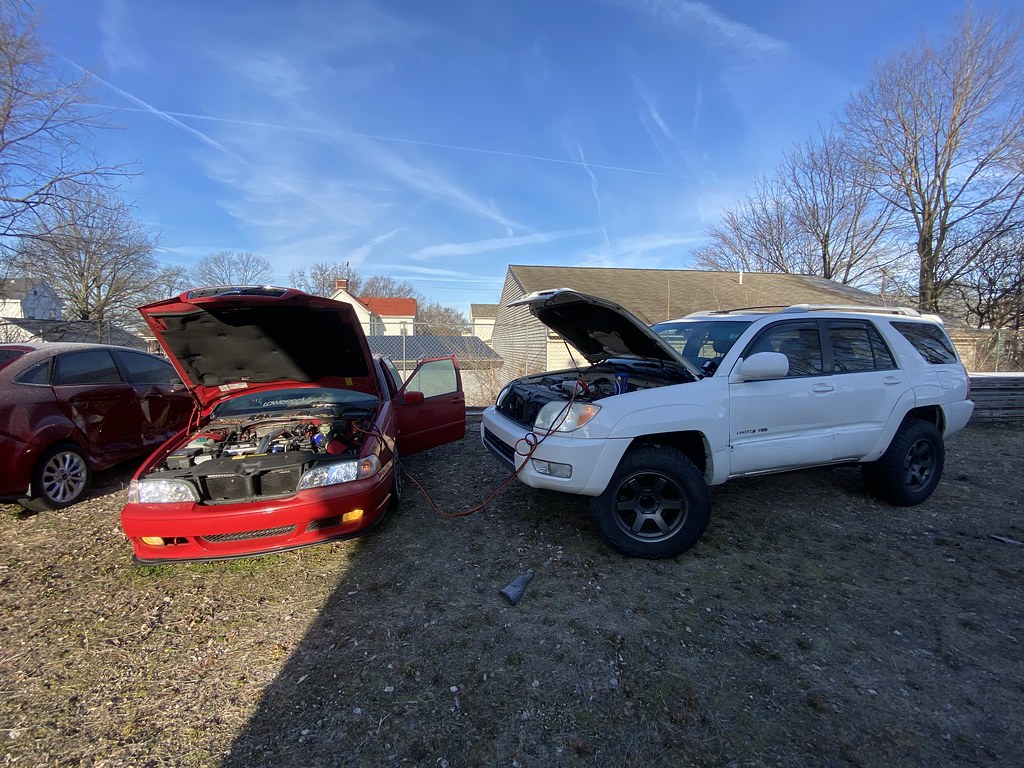
I used the 4Runner to jump start my Volvo to get it towed home to work on fixing it.

49724079348_ac119d8b69_b.jpg


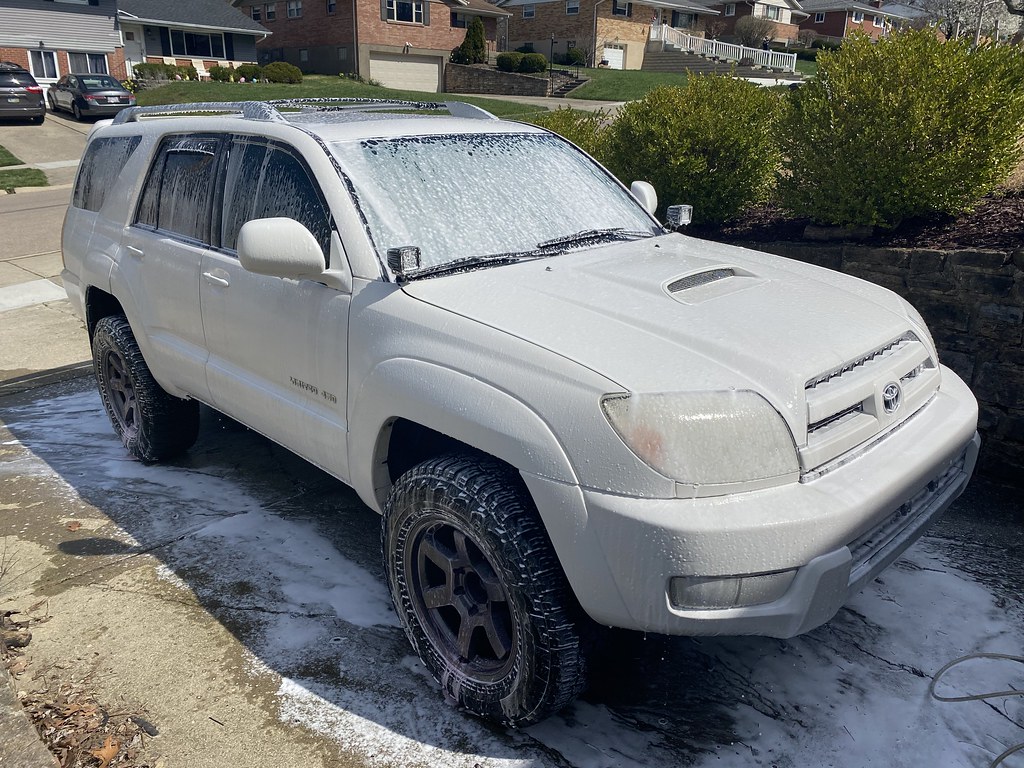
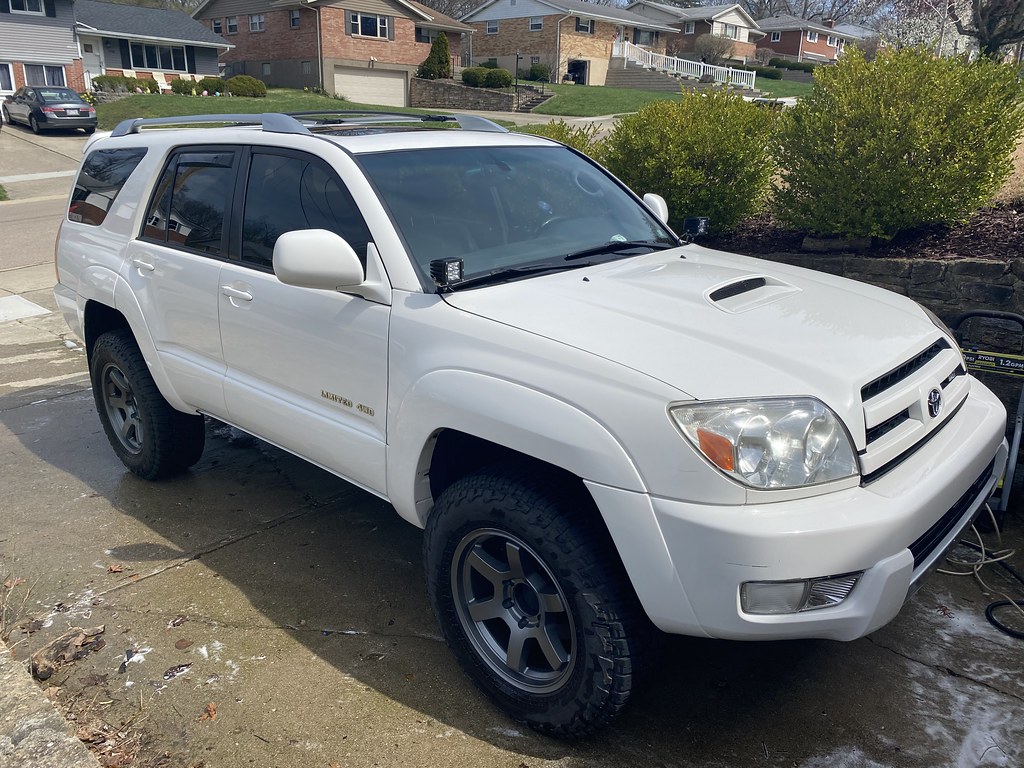
I washed it

49724079143_faca1e91c9_b.jpg


49724616896_5f0e4980de_b.jpg


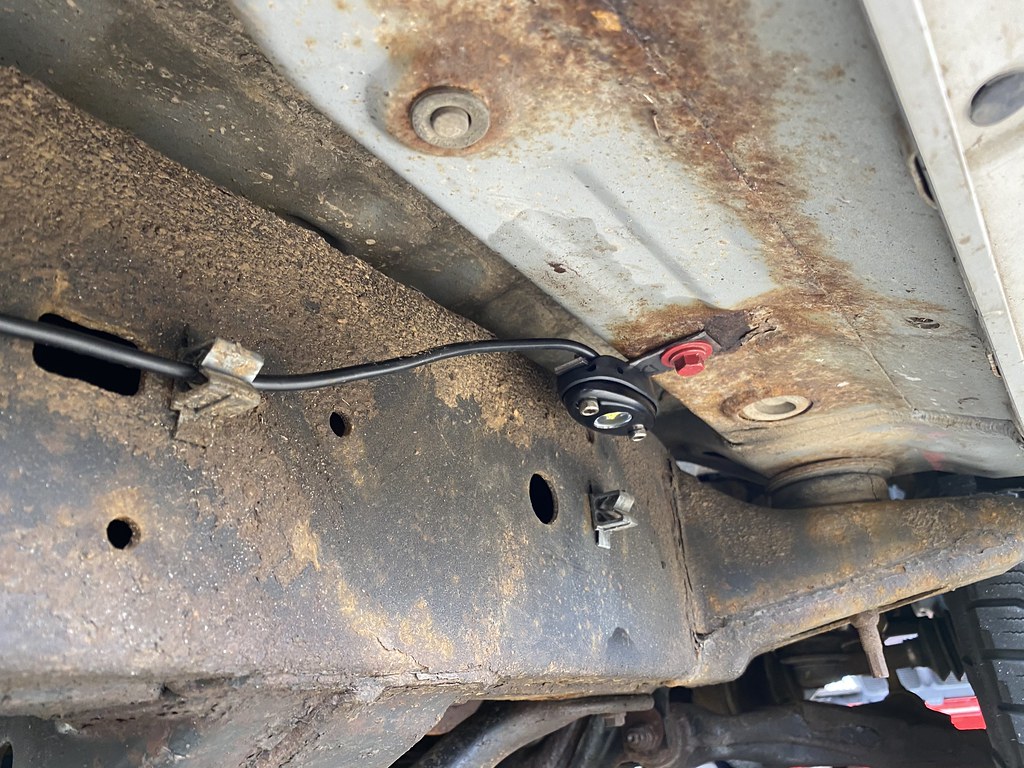
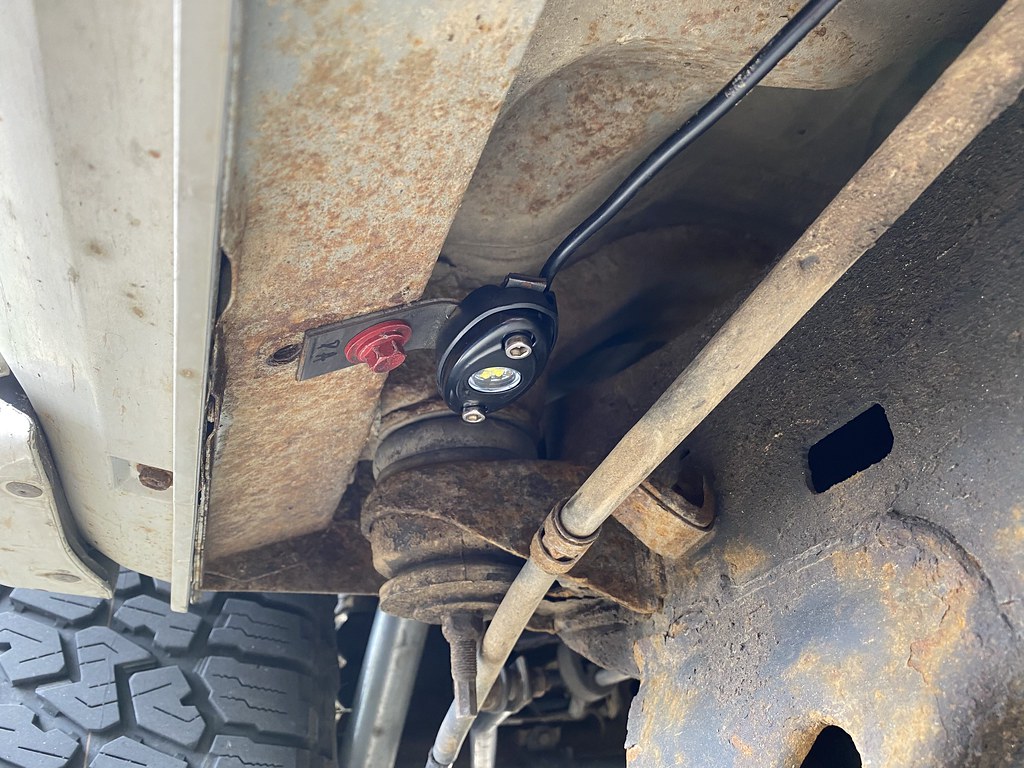
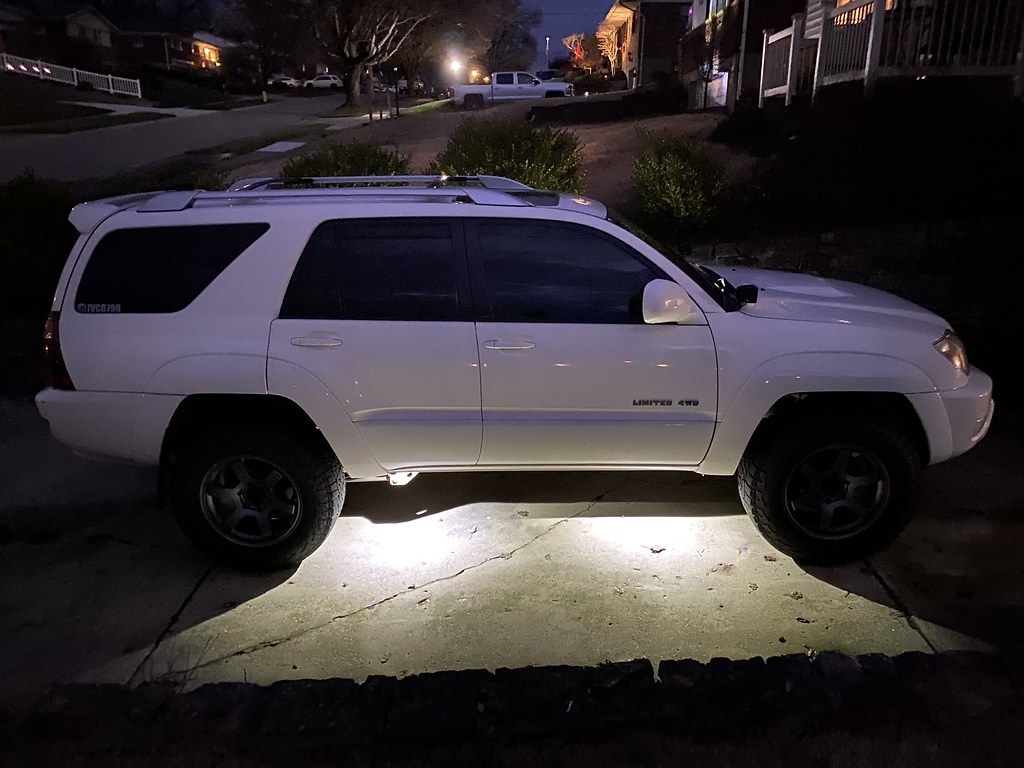
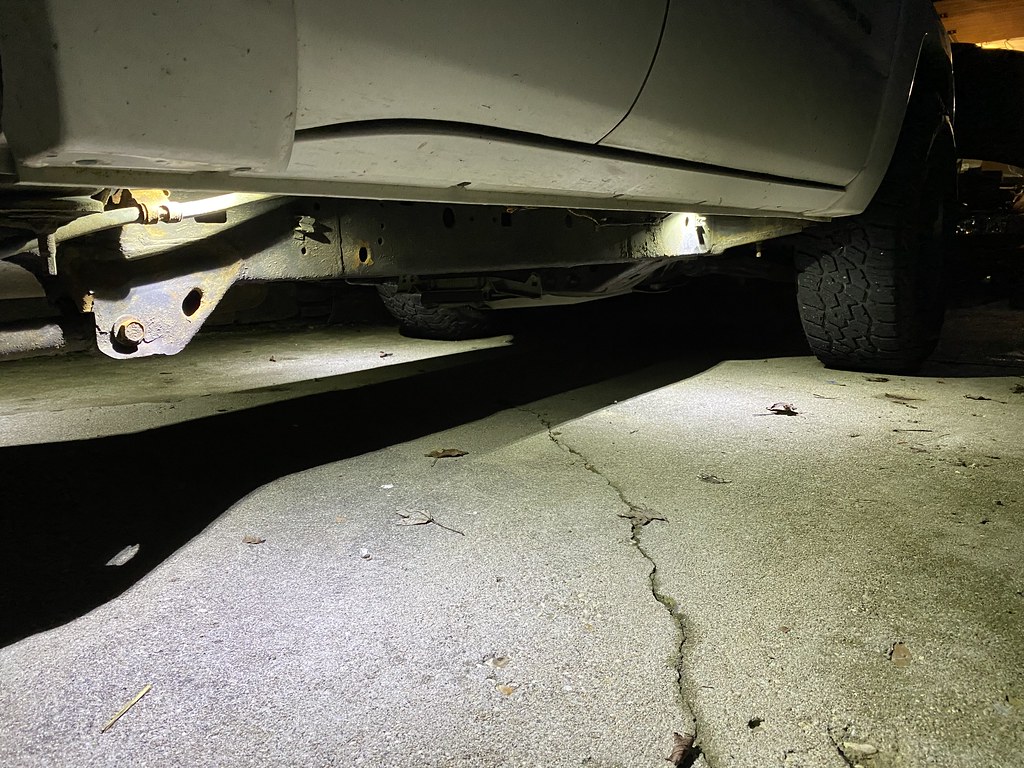
and then I installed some rock lights. What you see on the frame is largely dirt that got stuck to the fluid film which I applied before the winter. It's pretty stuck in there so I'm not sure what I'll have to do to get it clean. Utilized holes left over from the running board removal, and the wiring that was already in place and made some small brackets.

49724934662_930c6b44de_b.jpg


49724079203_799deb5df2_b.jpg


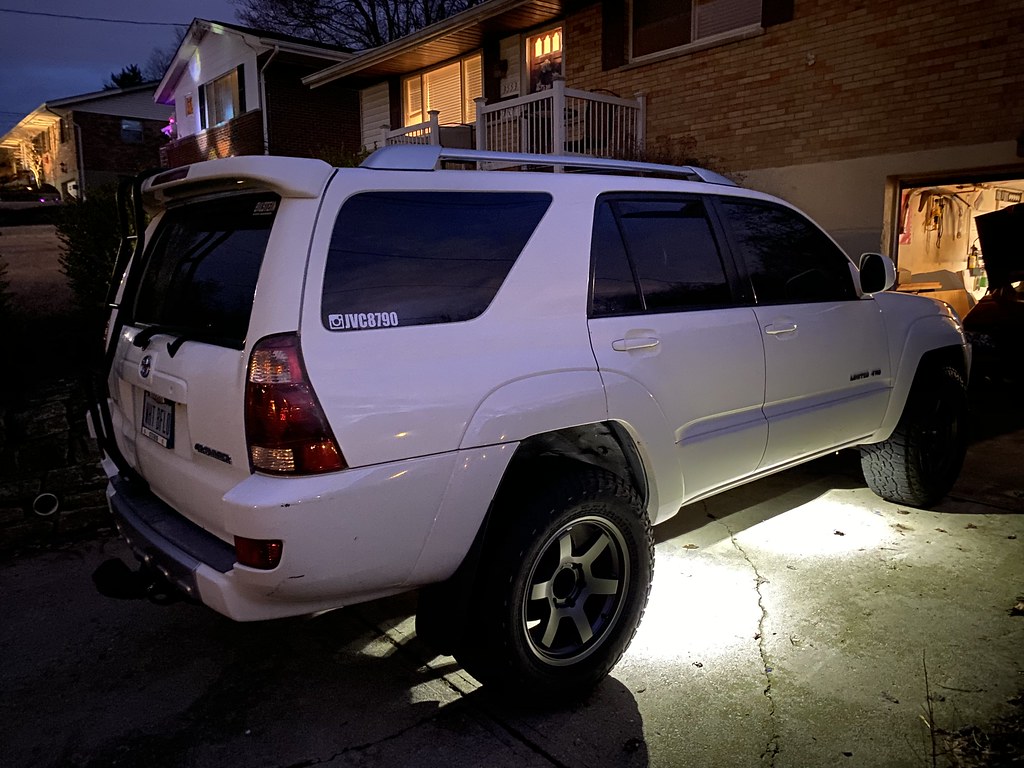
and of course lit up!

49724934892_dcd06471a3_b.jpg


49724617106_4c0c320e21_b.jpg


49724616906_28820866a8_b.jpg


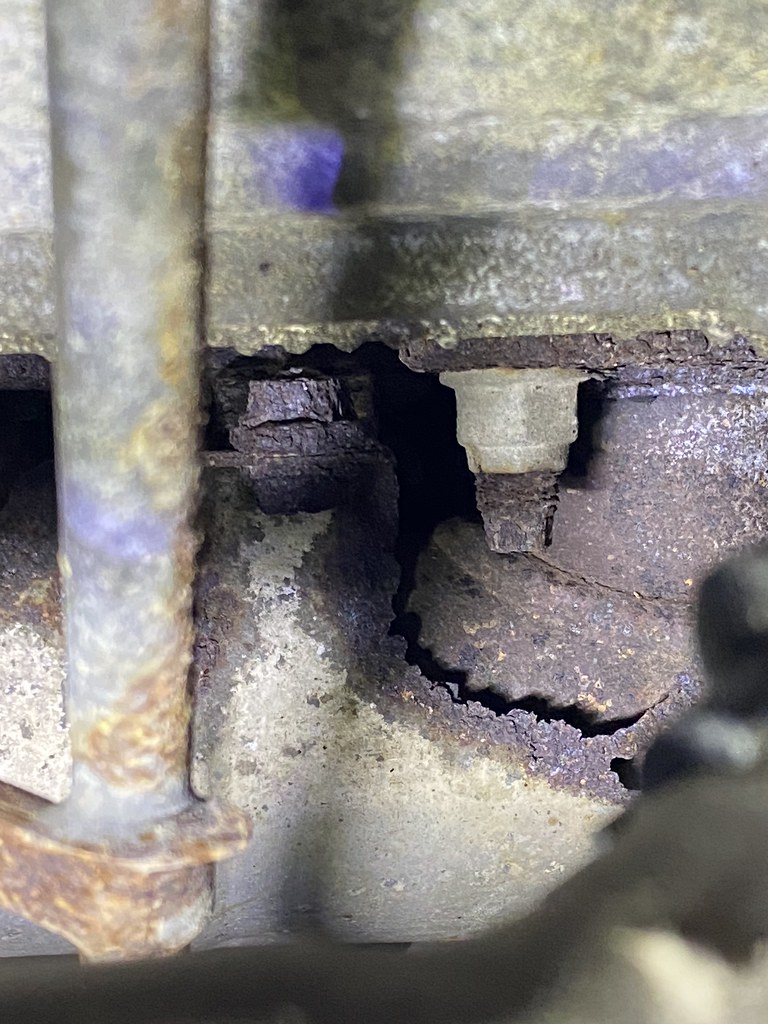
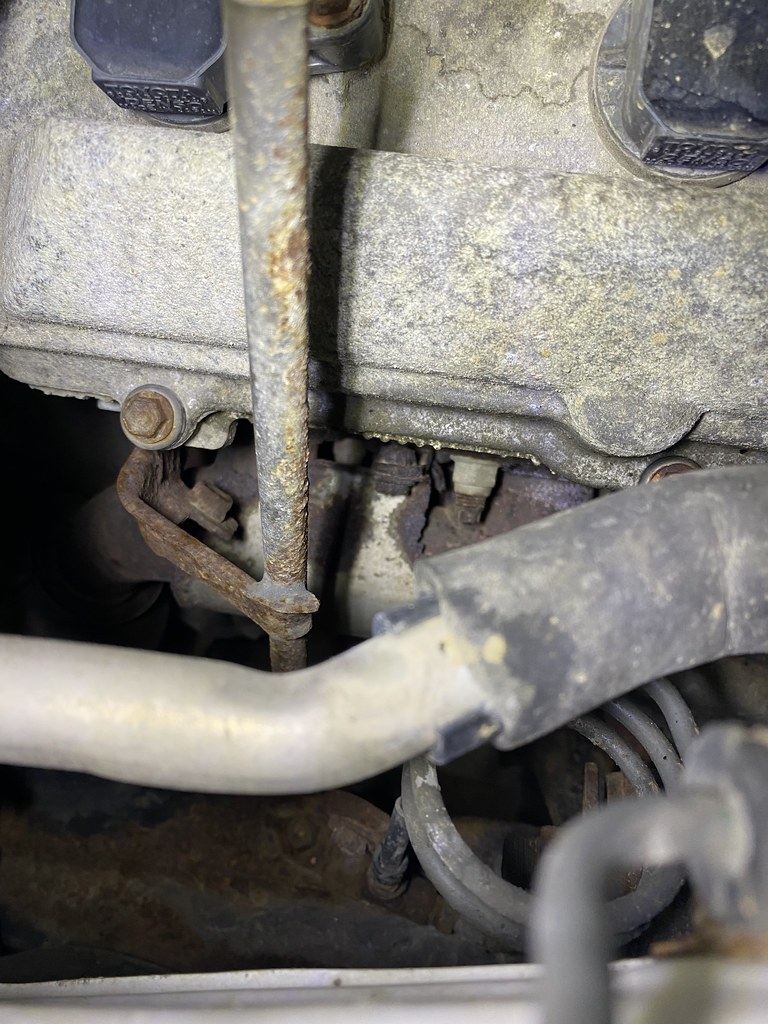
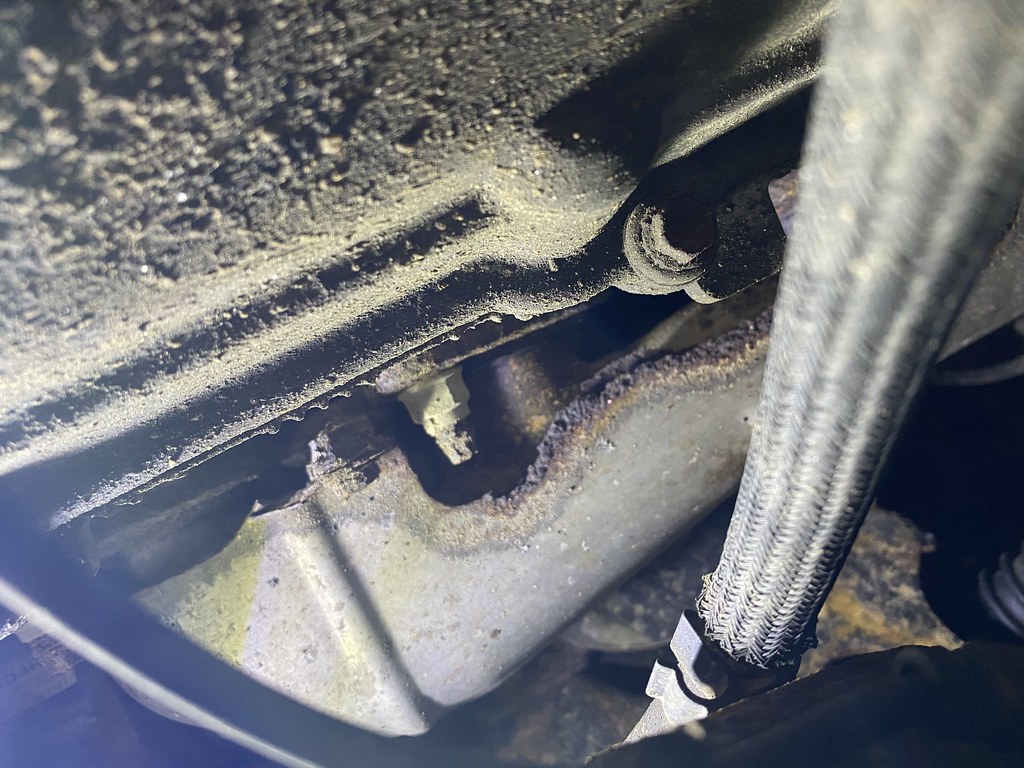
and since I've been working from home, I've been periodically applying PB Blaster to the exhaust manifold bolts to hopefully make the install easier. I have a friend who has agreed to take on the install in a week or two at his shop, so I hope I can do him a favor and use enough PB blaster to make them easier to remove when the time comes.

These pics were before any PB blaster treatment, they're pretty crusty and I have the titanium hardware to replace them as long as they all come out of the block.

49724616601_7caf5435ba_b.jpg


49724616861_d65a8c9aee_b.jpg


49724616871_11ab50184f_b.jpg


That's all for now! I'm sure there will be a few other projects along the next couple of weeks staying at home, but for now I'm just focused on working from home, keeping a job so I can keep my hobbies a float and taking everything day by day. Stay safe everyone!
 
Well, I went ahead and ordered 06-09 headlights on eBay and 06-09 taillights. I already have some LED headlight bulbs leftover from a previous car and I ordered the bulb adapters.

Hopefully they show up by the weekend and I can get to cracking on installing them as well as swapping out the damaged doors for the better doors I bought that have been taking up room in my garage.
 
Wild weekend of working on the 4Runner is finished! Here we go with some updates, might split into 2 posts so it's not too picture heavy.


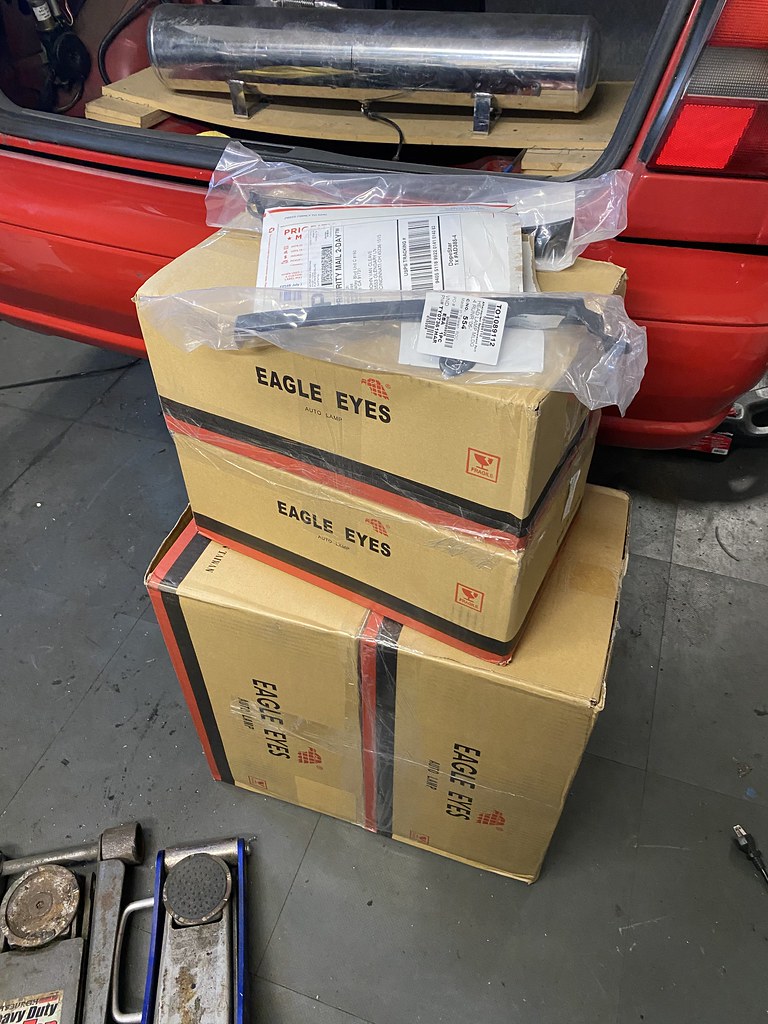
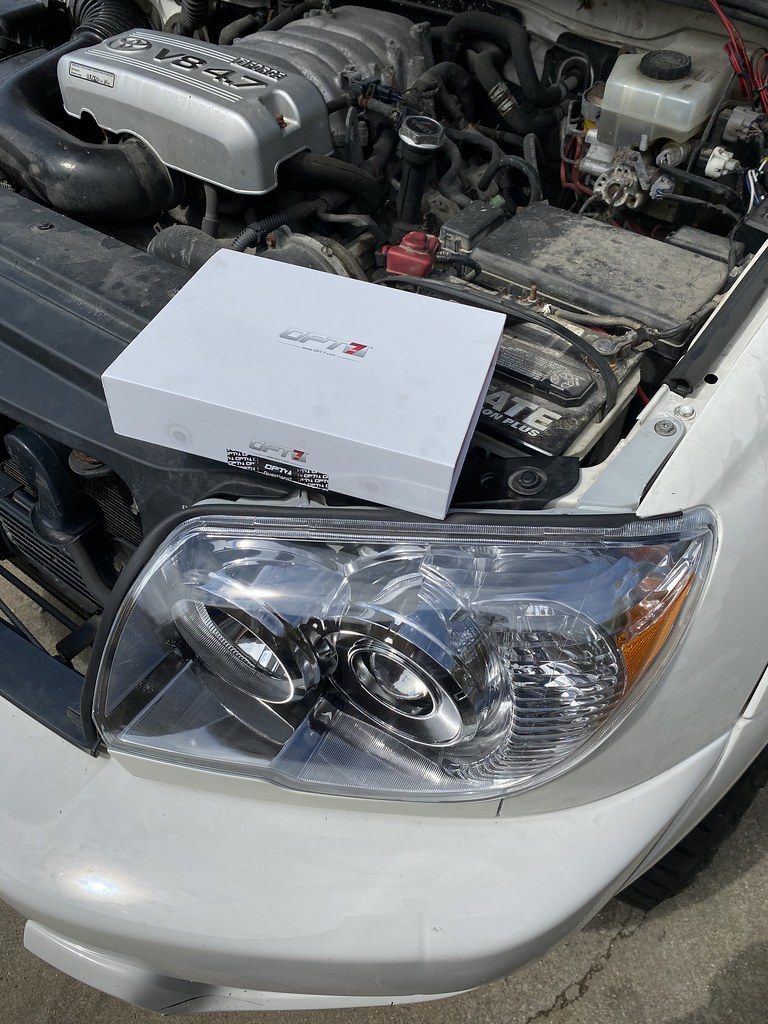
Headlights, trim, bulb adapters, and taillights showed up Friday!

49768551573_d2b9f0dc09_b.jpg


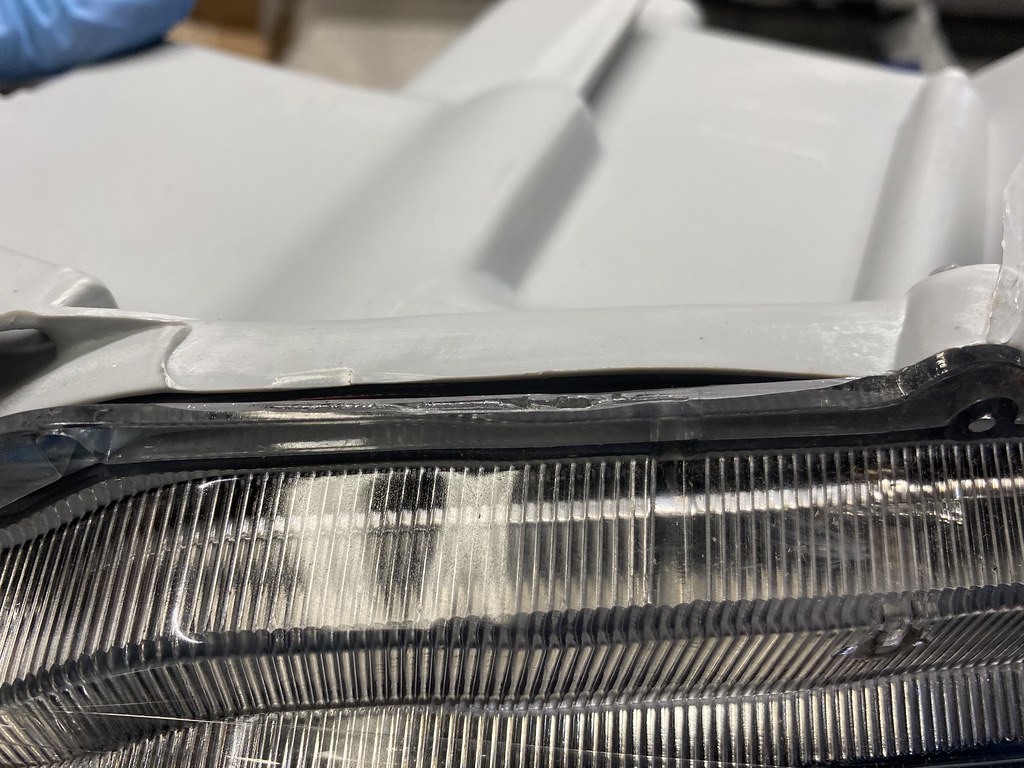
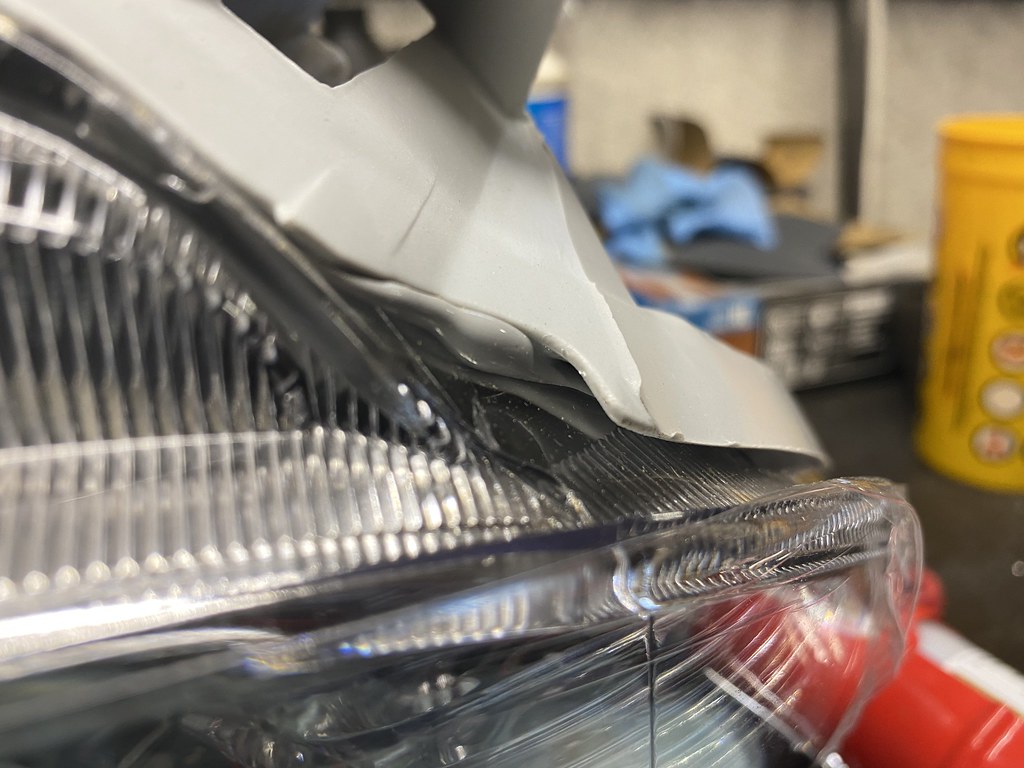
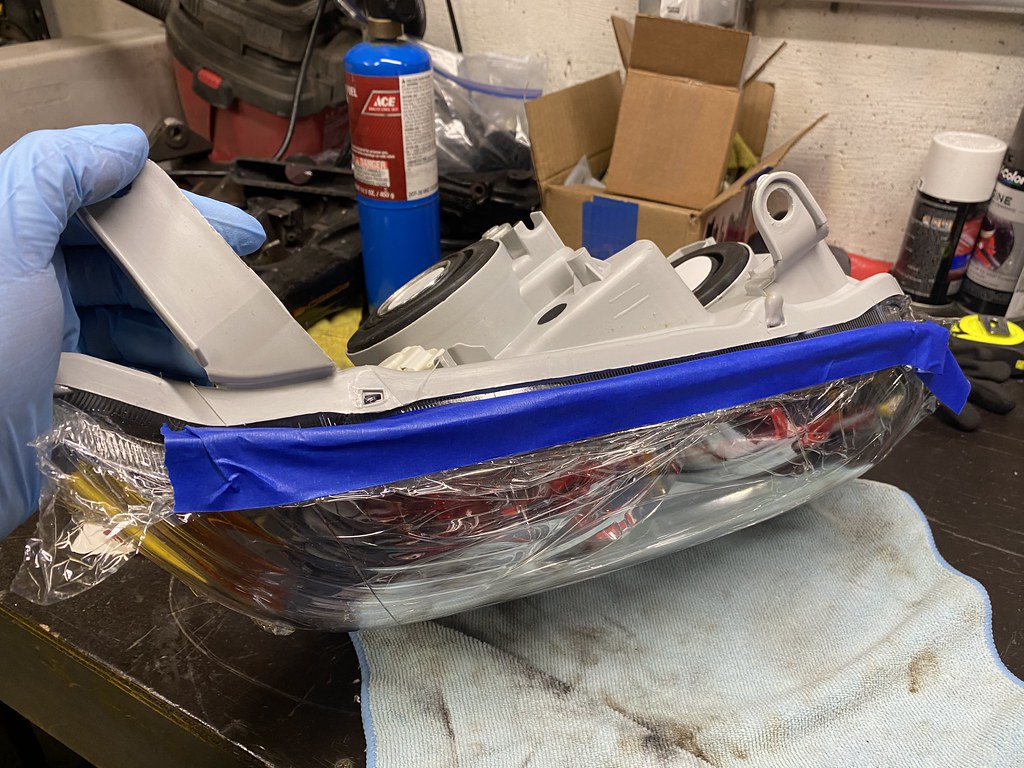
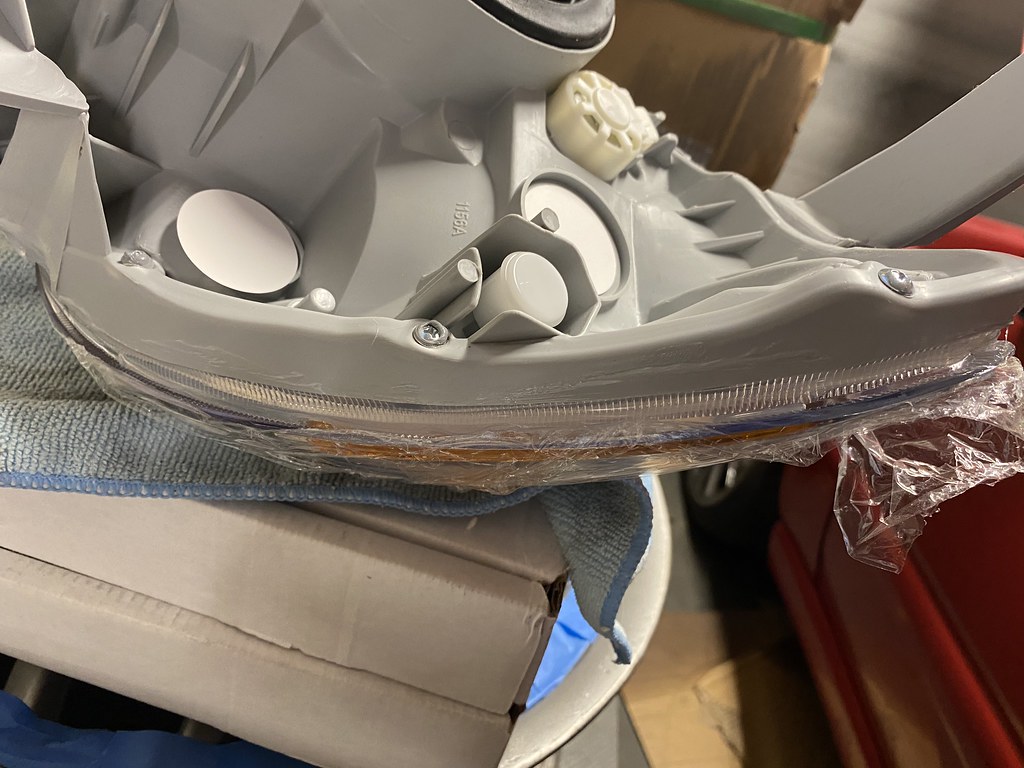
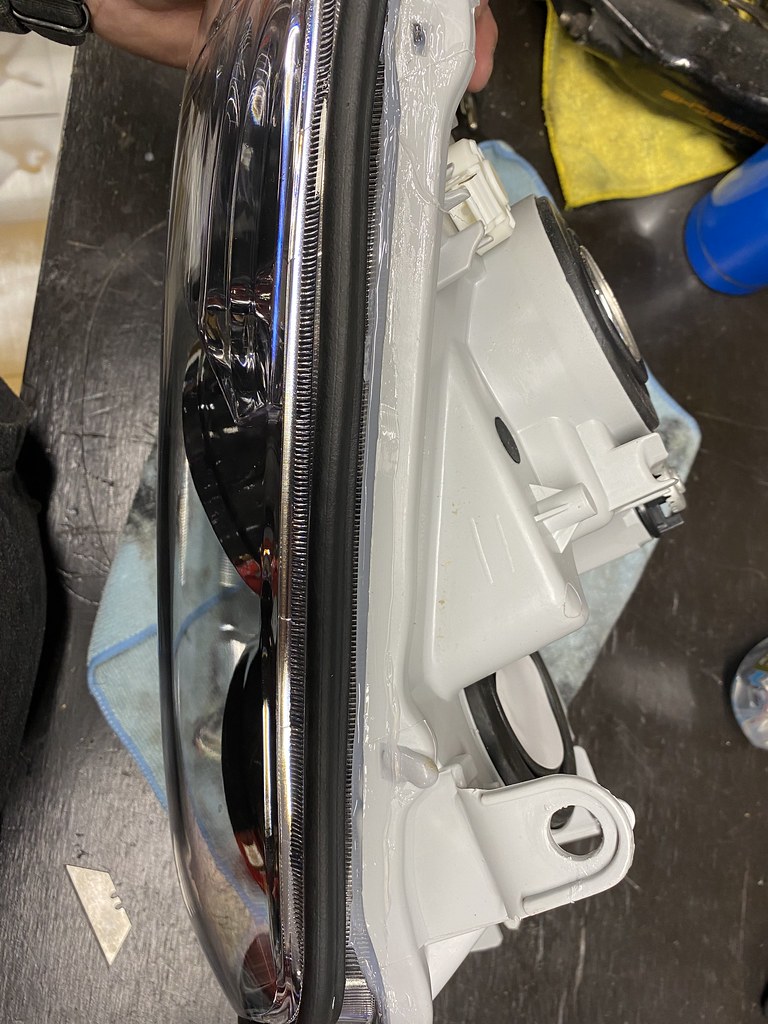
Looked at the sealing on the headlights and agreed with the internets suggestion of adding an extra bead of silicone over them.

49768971621_9f3cf7d129_b.jpg


49768551343_72d1a95b10_b.jpg


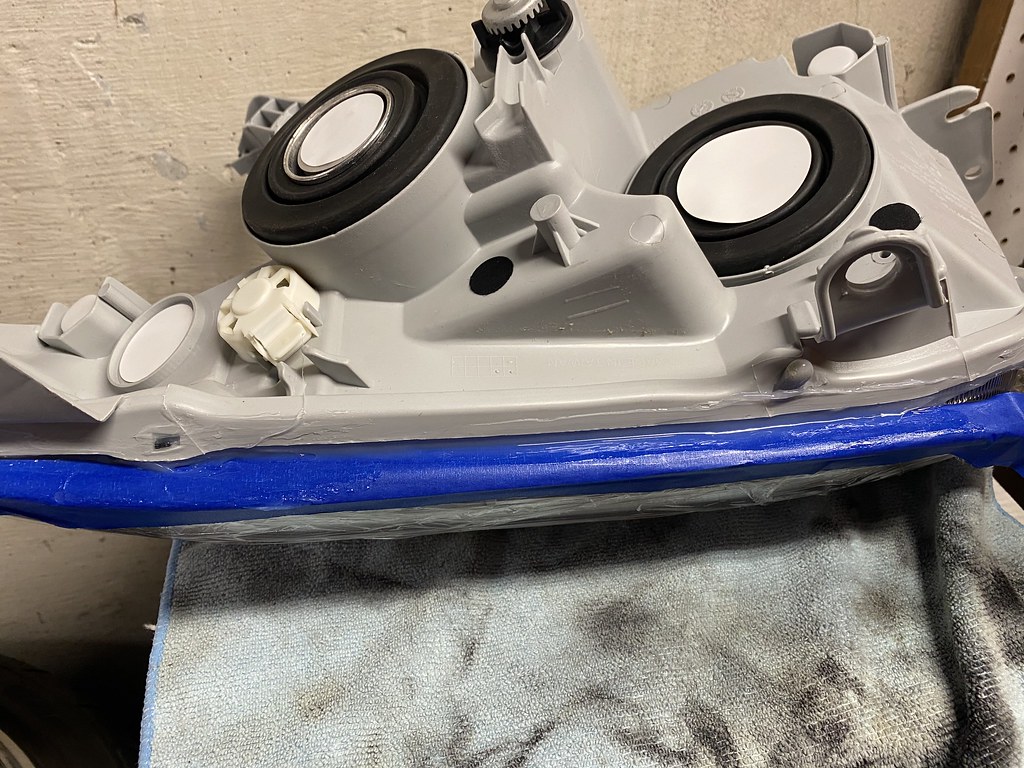
Taped up just this edge next to the hood seal.

49768977291_75d549edb8_b.jpg


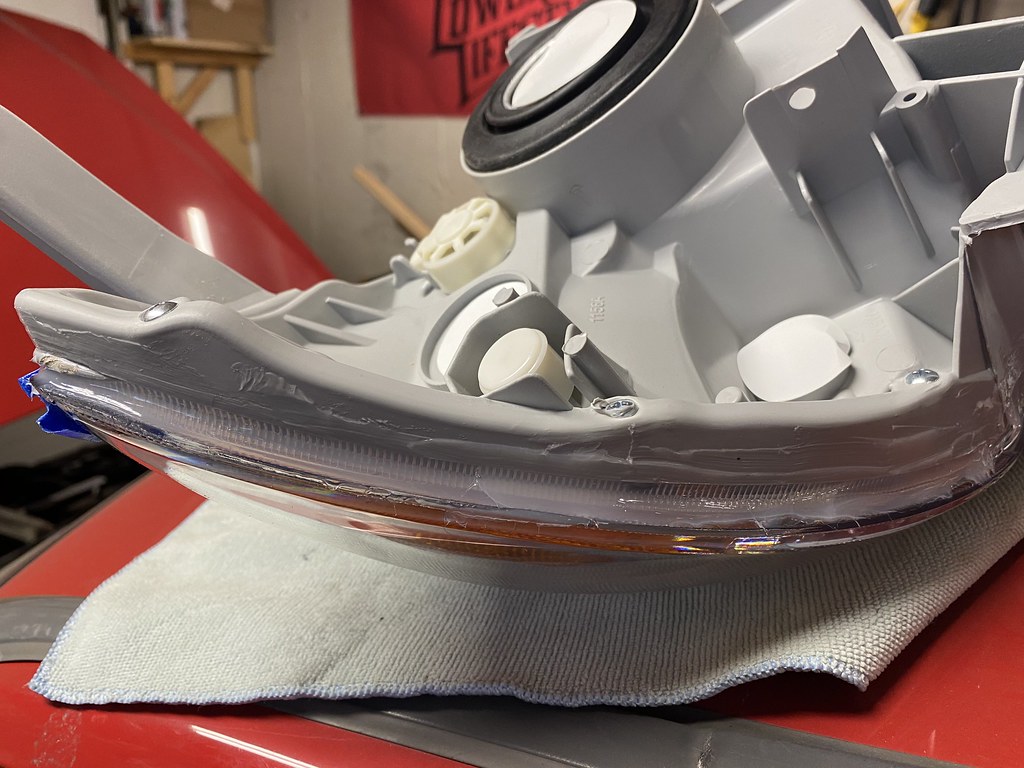
Laid down and smoothed out some silicone. Ended up putting a little bit too much in one of the corners and it can be seen from the outside of the truck a little bit. Good news is that it was clear so it doesn't look that bad.

49768976716_919b1d7cfc_b.jpg


49769086001_25f39f6dde_b.jpg


49769083736_ba9bda83a8_b.jpg


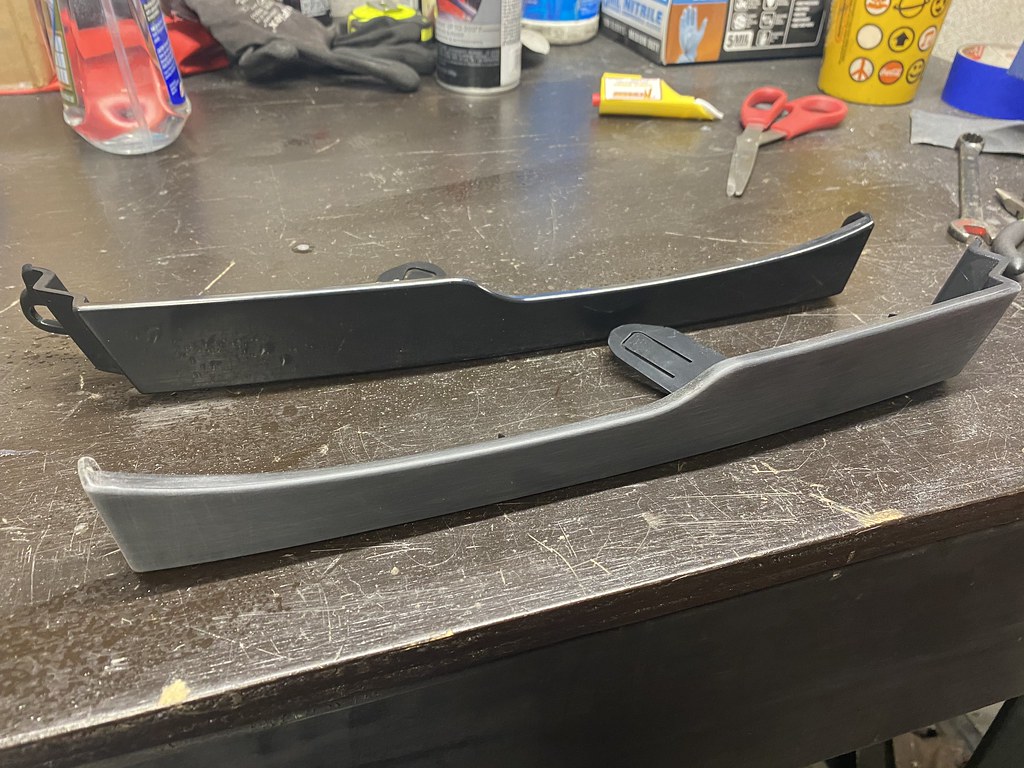
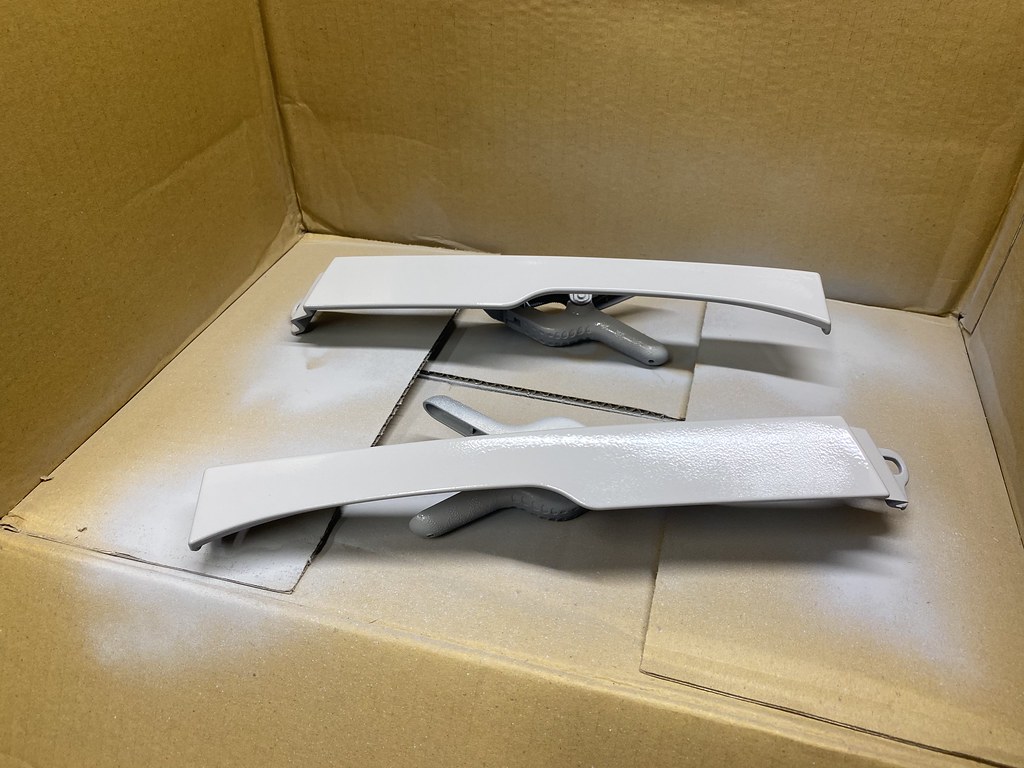
Meanwhile I scuffed up my new headlight trim for paint

49768976736_89ae27b13e_b.jpg


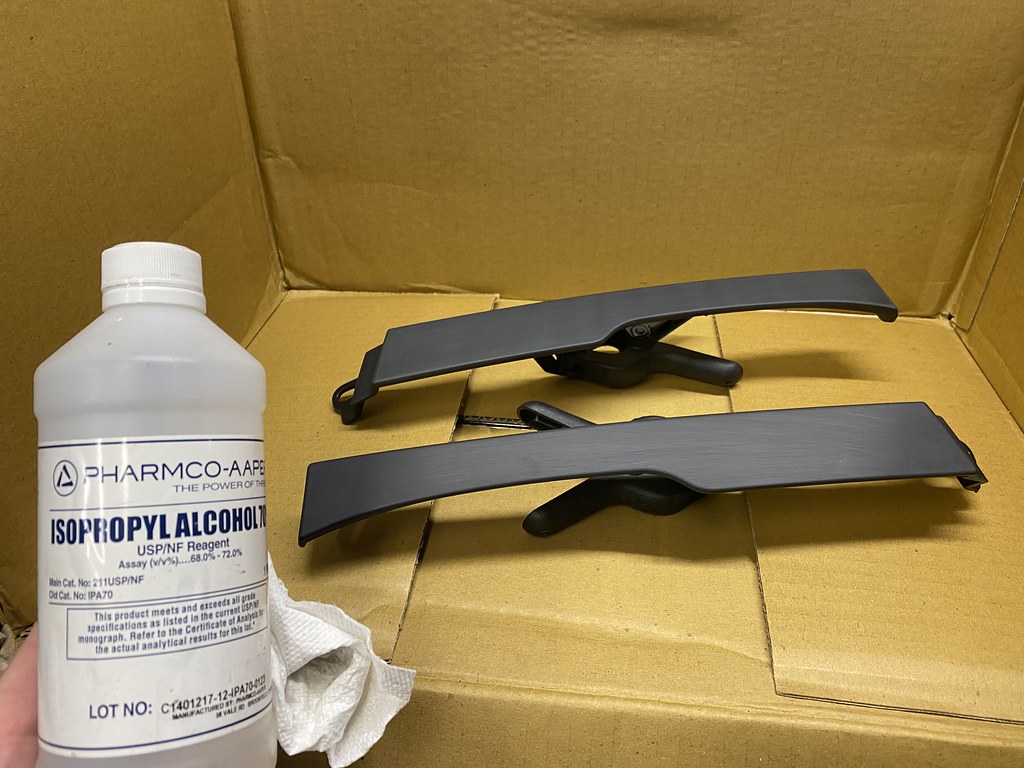
Wiped down with some alcohol

49769083836_634c6638bb_b.jpg


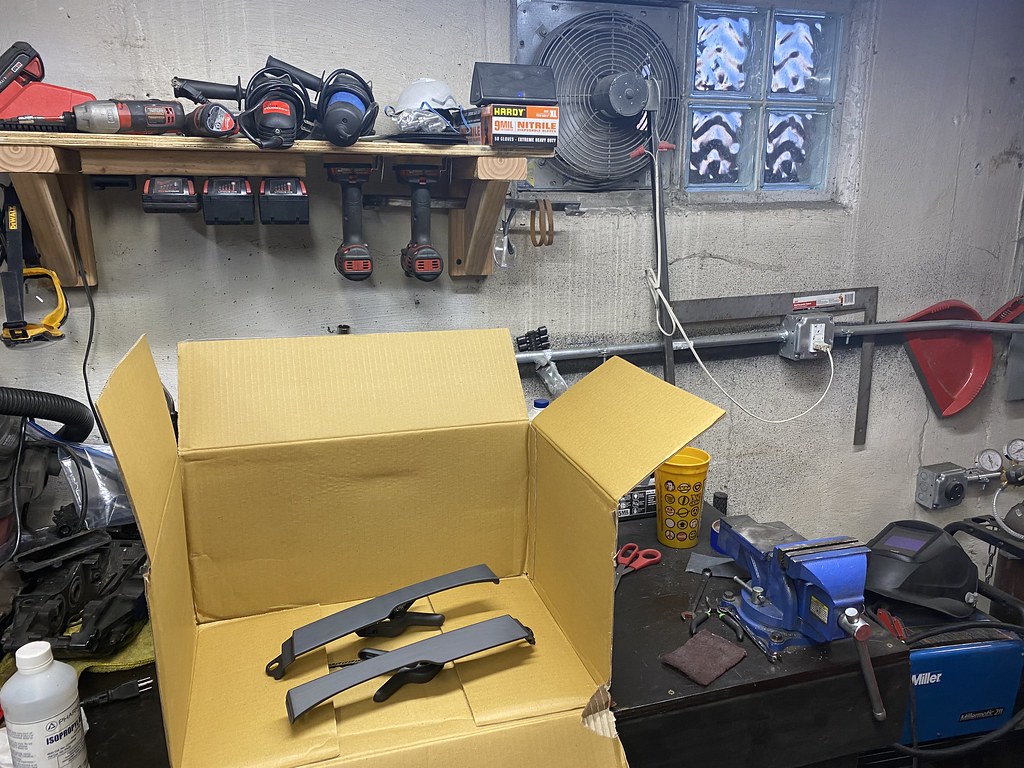
The cool part about the headlights is that they came with a small paint booth!

49768971671_40b547b729_b.jpg


Primered first (no pics) then laid down some duplicolor color match paint from Advance Auto.

49768552453_aa23242f29_b.jpg


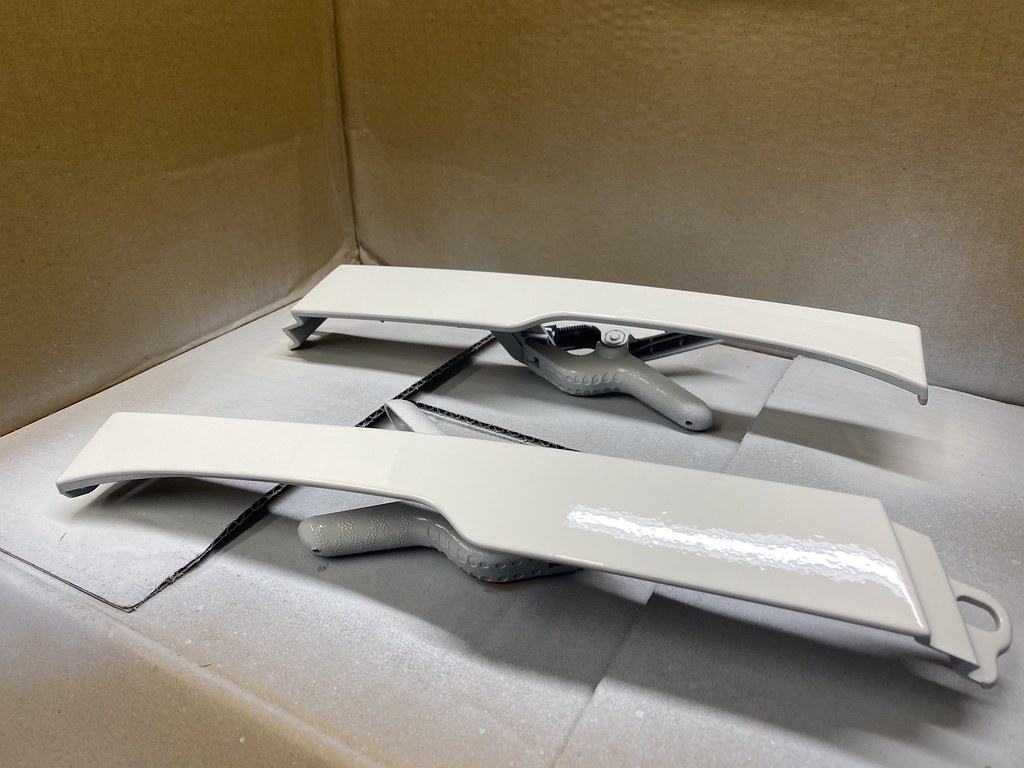
Followed with some duplicolor clear (that I think was old and yellowed pretty bad, more on that later)

49768438313_e963d720a9_b.jpg


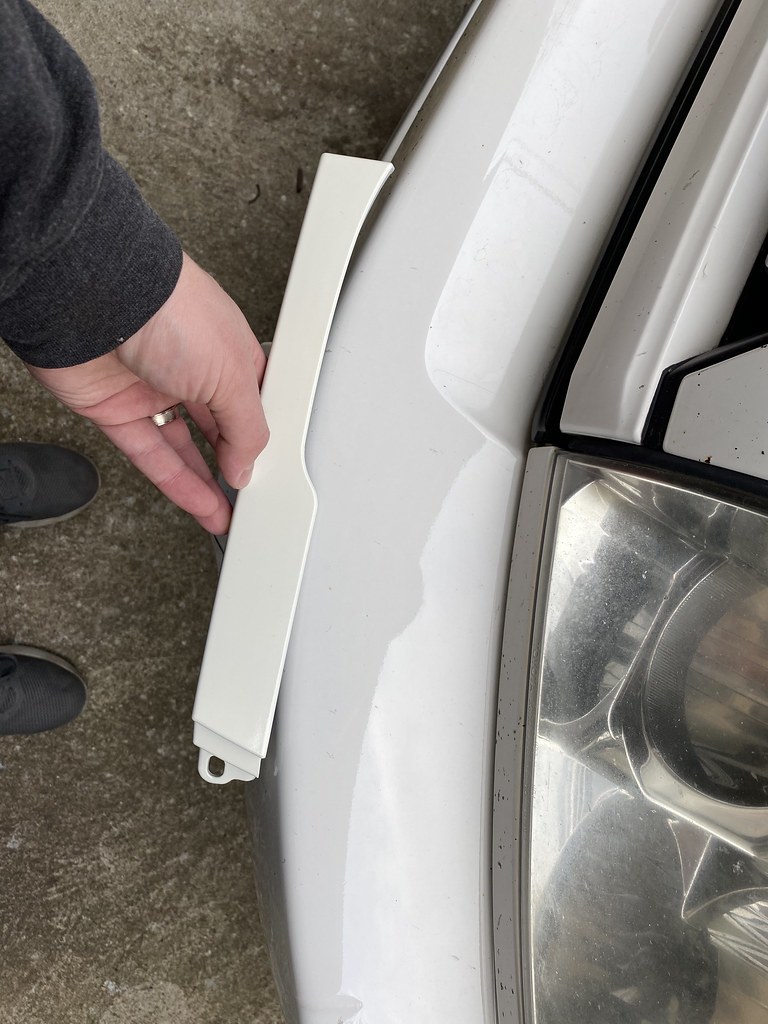
Color match was pretty freaking terrible. I might pop them back out and see if I can use some different clear. End product isnt terrible because of where they're mounted, but you'll see that later!

49769083841_c2fe86dd12_b.jpg


Peeled back the tape to show my handiwork with the silicone.

49769085901_9627bc49fd_b.jpg


That finished off my Friday evening! Next post will be the start of Saturday all day driveway festivities!
 
Saturday I worked in the driveway from 8:30am-3:30pm when my wife got home. I must say, I didn't anticipate being there that long, but I hit a few snags and had to figure some stuff out that took way longer than I thought.

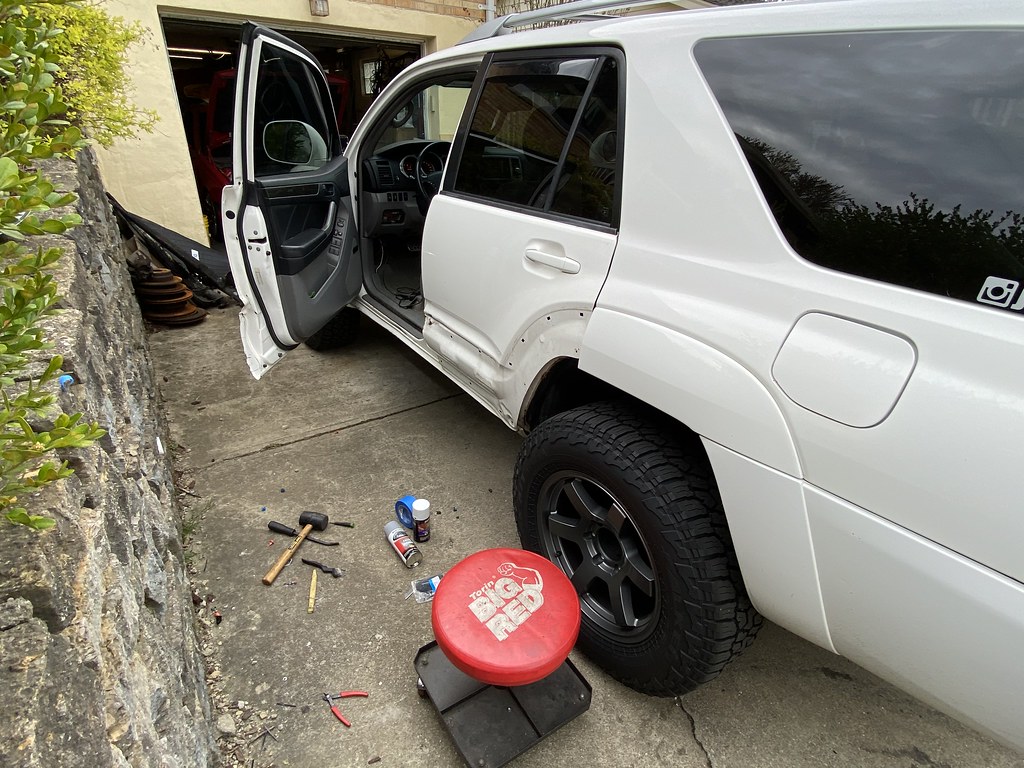
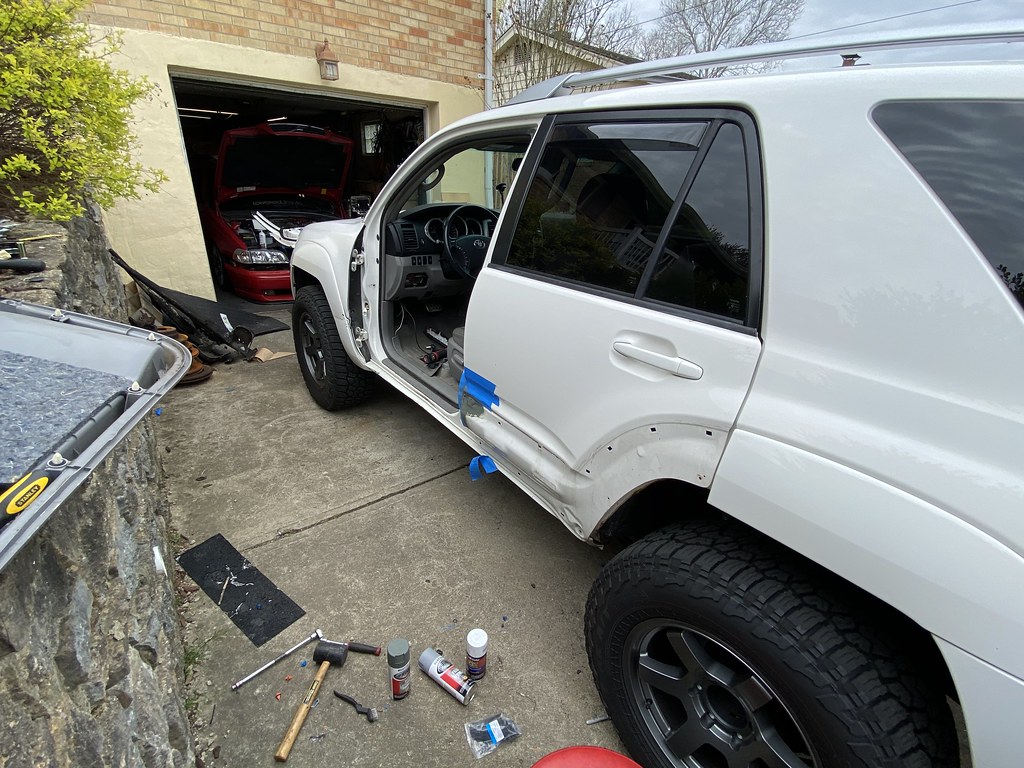
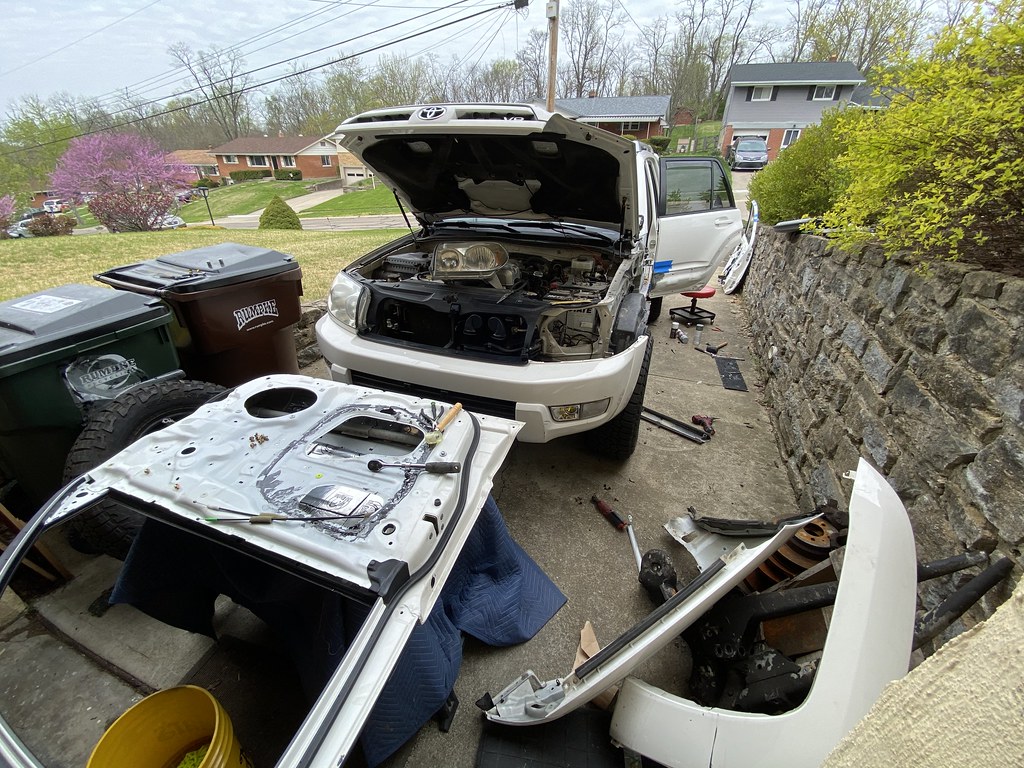
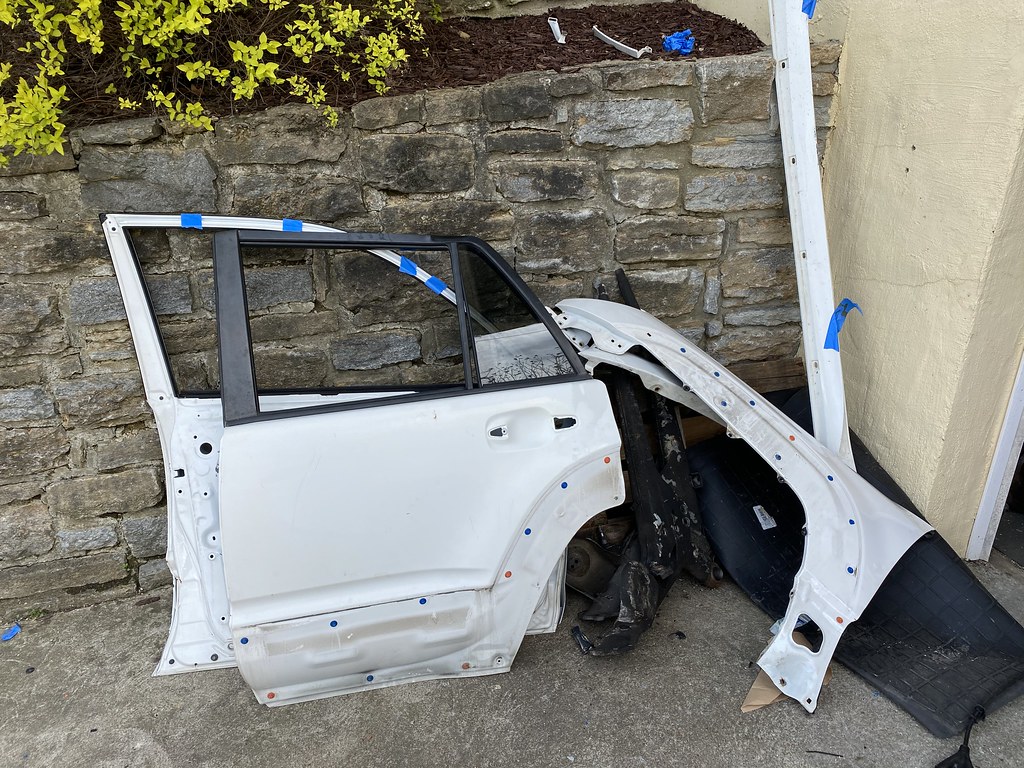
Back in November, my truck was sideswiped (look back a few posts/pages). I found some white doors and had them shipped from CA to OH. Since then, they've been sitting in my garage taking up space waiting for a decent weekend to swap it all over.

I figured I'd start with the rear door swap because that should be more simple than the front due to less electronics etc.

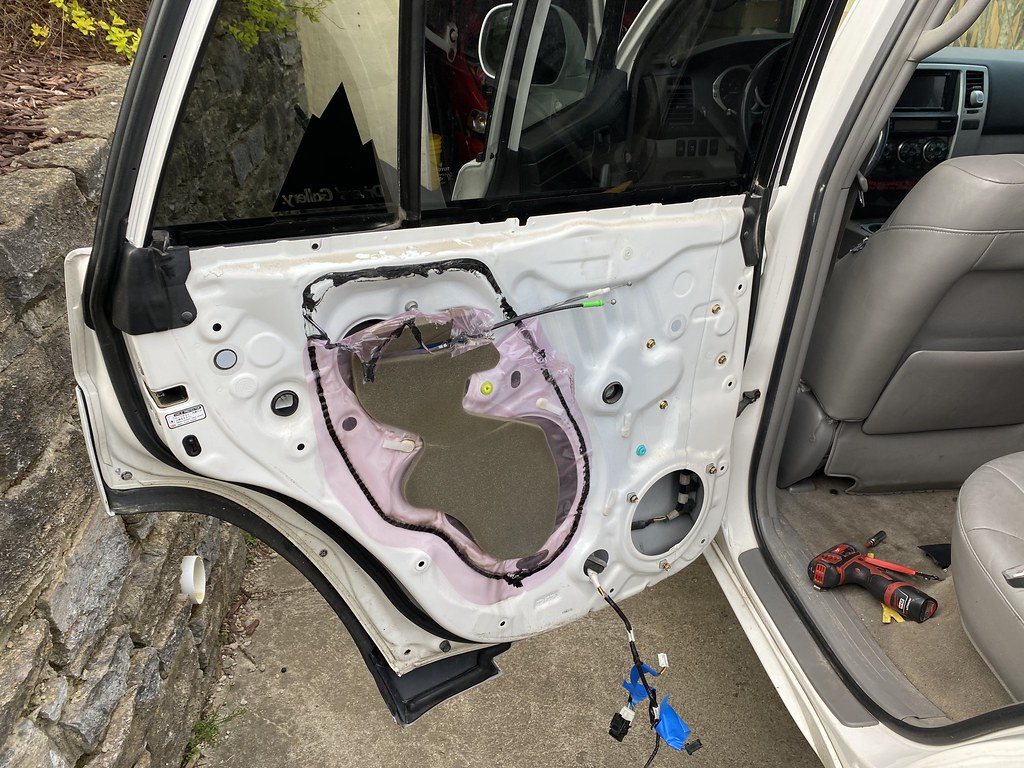
Door panel removed, speaker out, starting to fish out the wiring harness to swap it over to the other door.

49768552603_ffc8c9aa76_b.jpg


I started to pull out the window, and while looking back and forth between the old and new door I noticed something peculiar. When I got the doors on a pallet the top of this door was a little bit bent. I wasn't familiar enough with the rest of the door to notice anything else out of place, until I started disassembling the one on the truck. Do you see what I now see?

49769409782_9416d9b4e0_b.jpg


So I decided to see if I could salvage the door that was on the car with just adding the trim from the new door.

49768971576_cdd5a56d9c_b.jpg


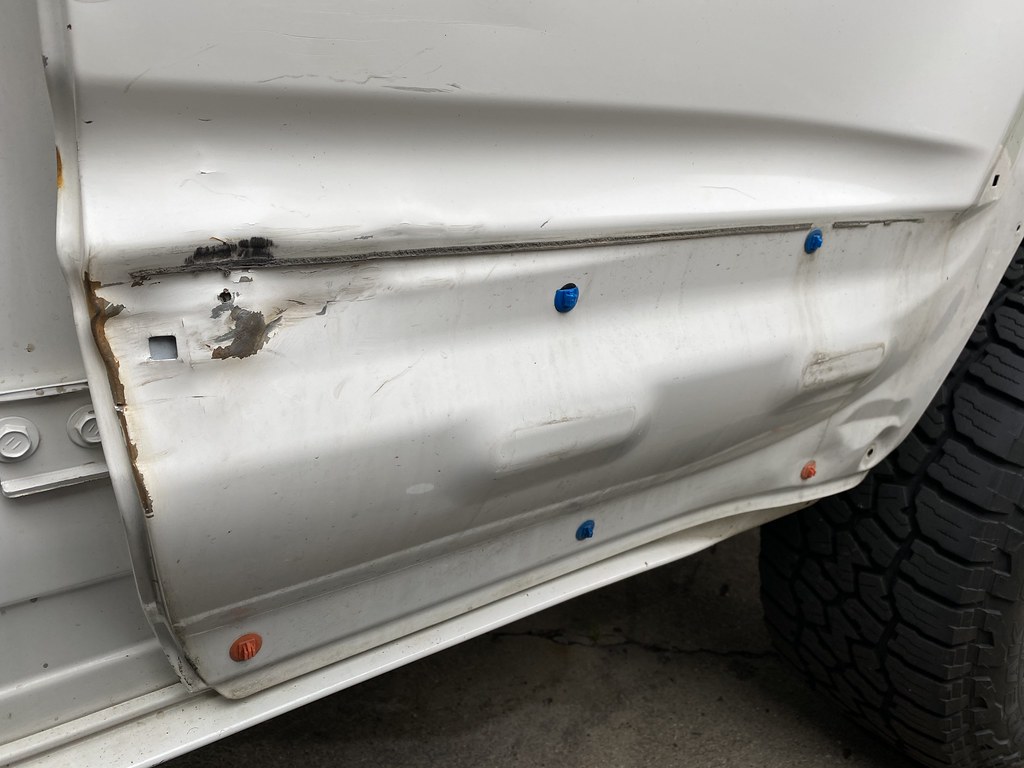
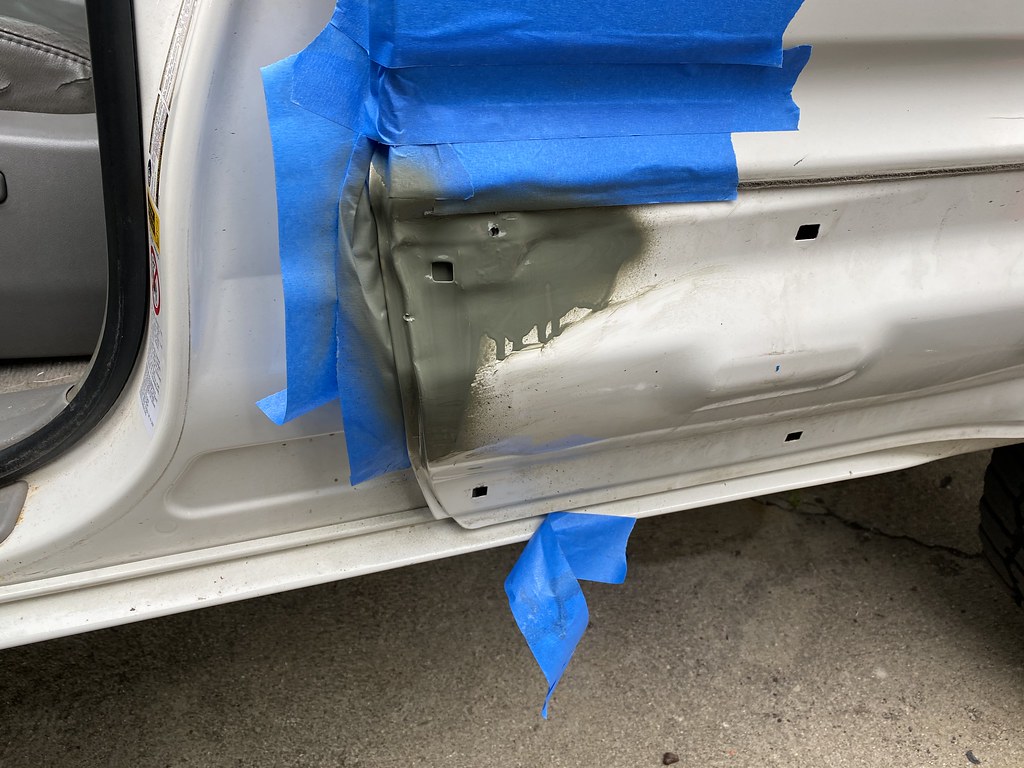
This is the only real area of concern with the door on the truck currently. Under the trim it got a bit mangled, so I gave it a few whacks with a hammer (more adjustment likely needed when I get the trim clips)

49768551278_dec7cfff69_b.jpg


49769295327_ca2b7f8d2c_b.jpg


So I slapped on some self etching primer to protect the rusty areas (after wire wheeling them clean). Don't worry, its behind the trim so this wont be noticeable once the trim goes on.

49768551198_cc430baabb_b.jpg


After this defeat, I moved onto the front door which was way worse off from the accident.

49769412192_d3098eca8c_b.jpg


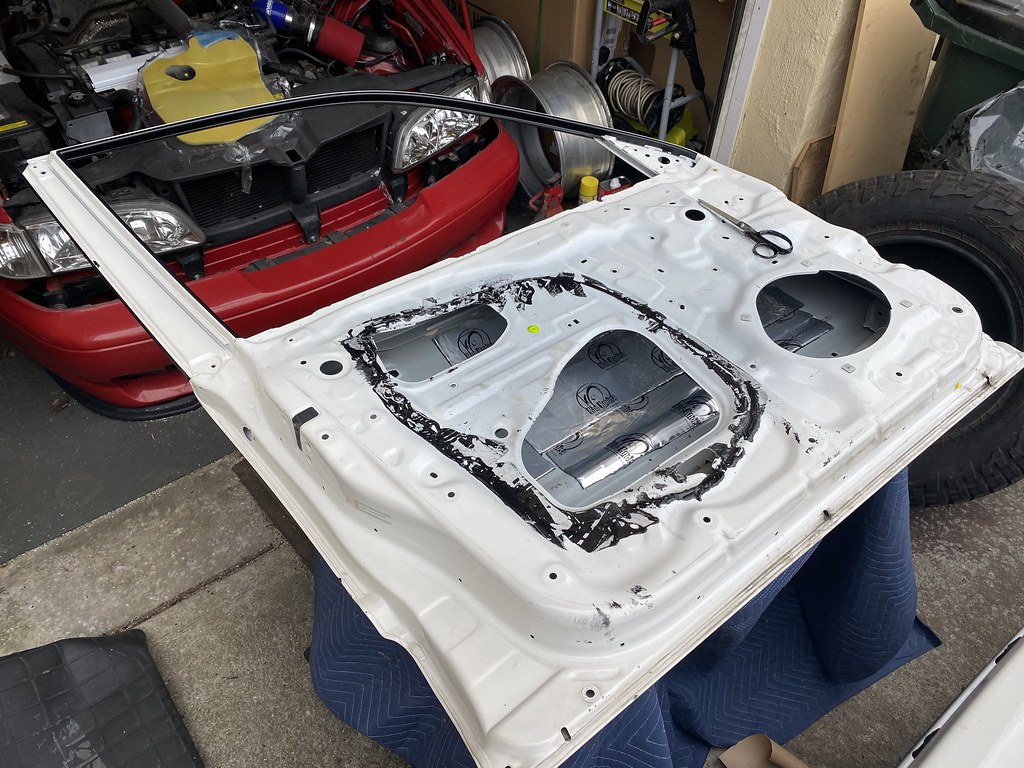
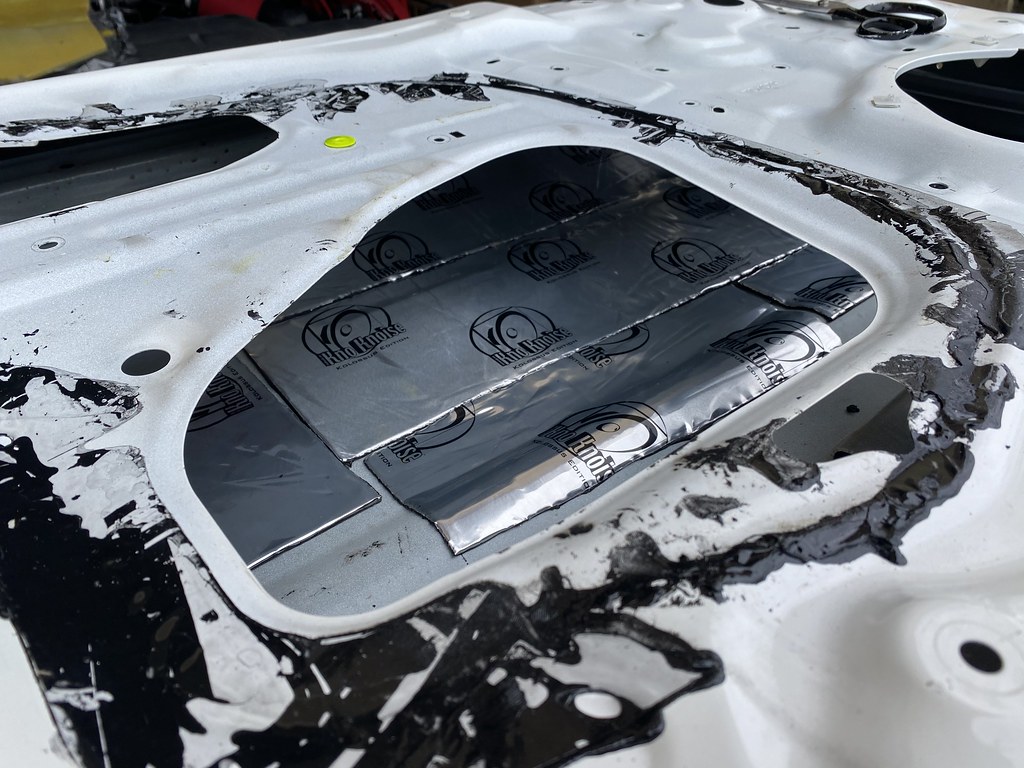
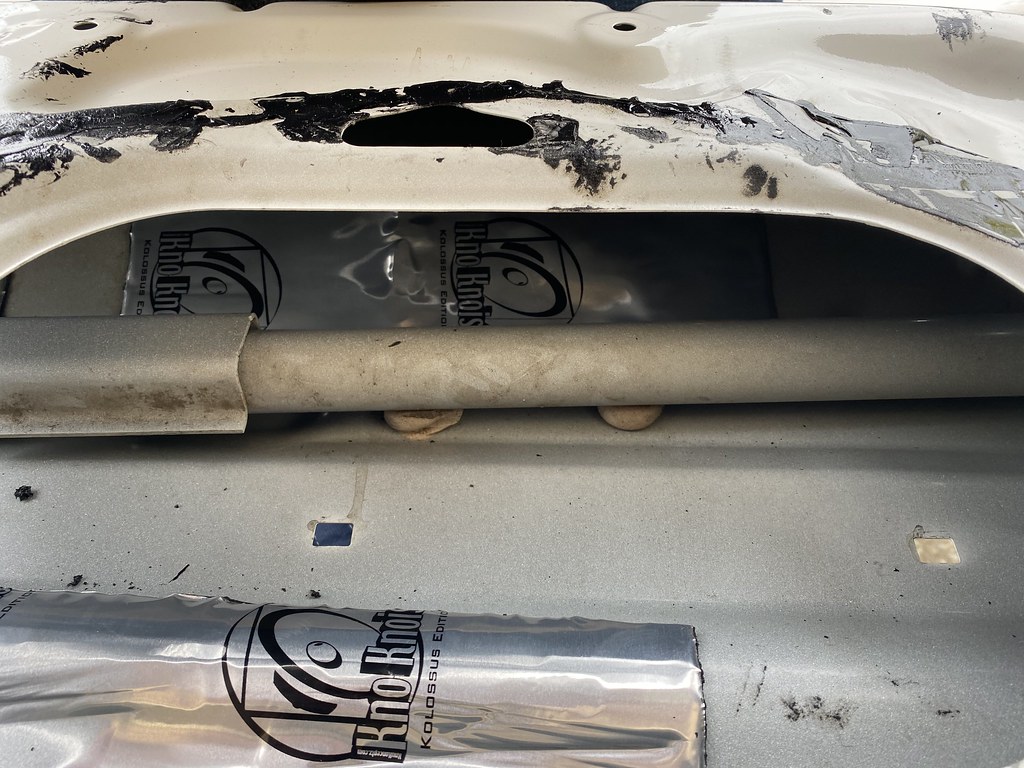
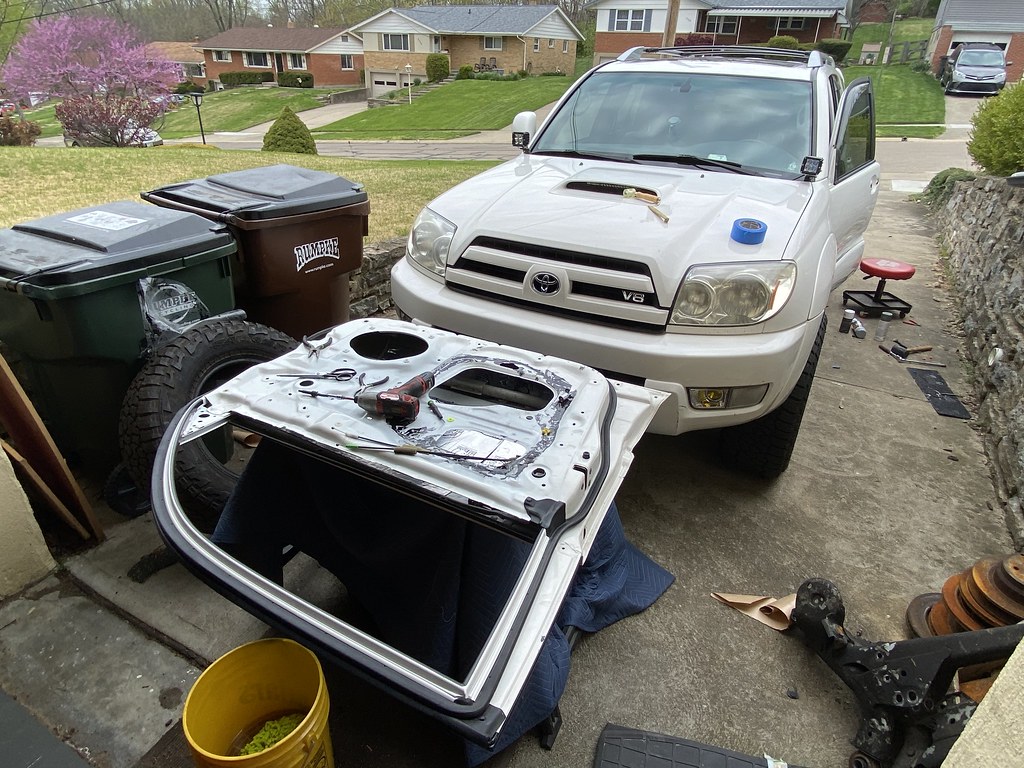
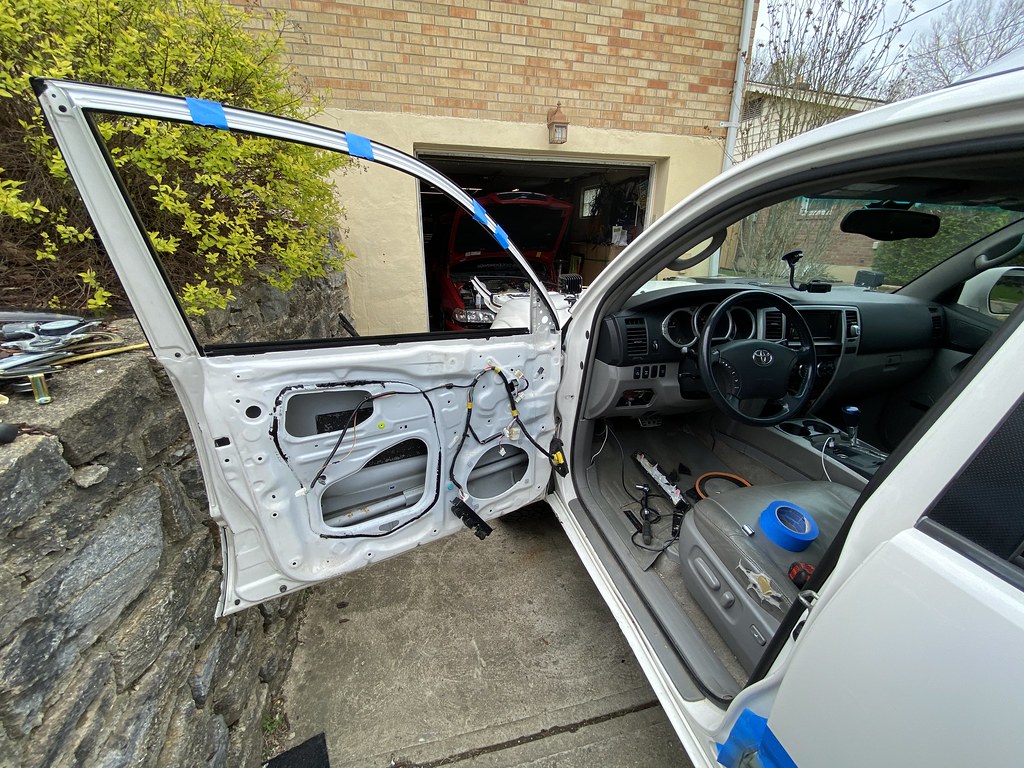
Added some sound deadening, approximately 4 sq/ft (2 2x1 tiles cut up)

49769083871_aec00c4b0f_b.jpg


49768442953_cb00cd1ef4_b.jpg


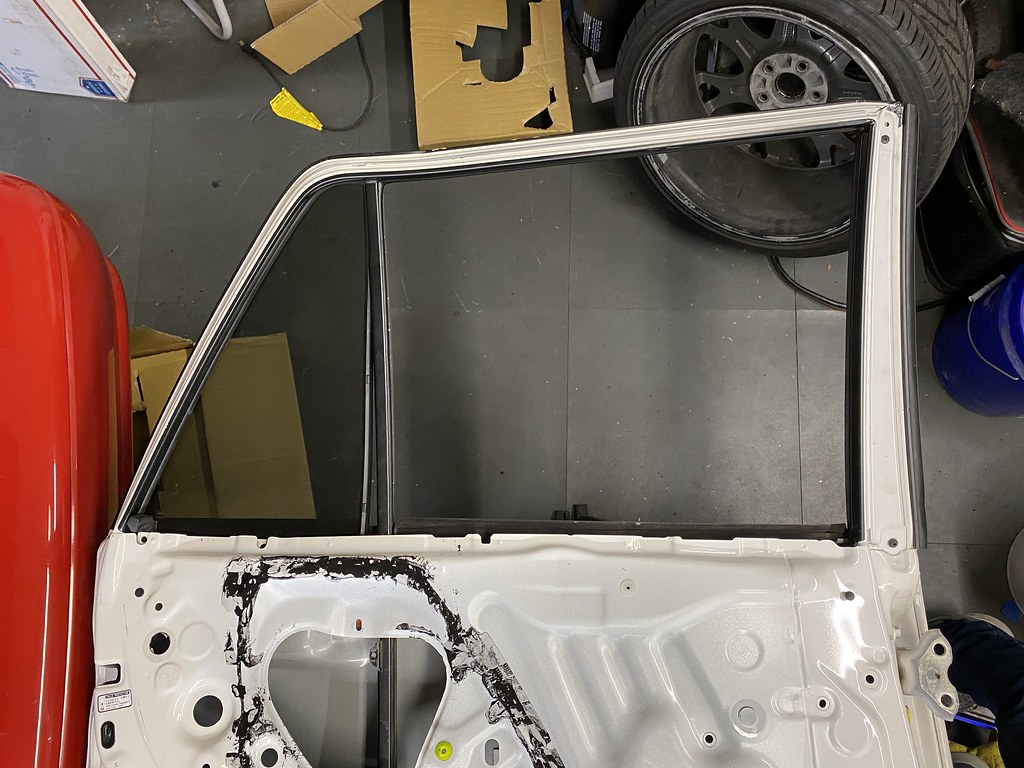
And I started to transfer over things like door seals, window seals, etc

49769411997_aa5f772fe9_b.jpg


49769085896_eb7f394698_b.jpg


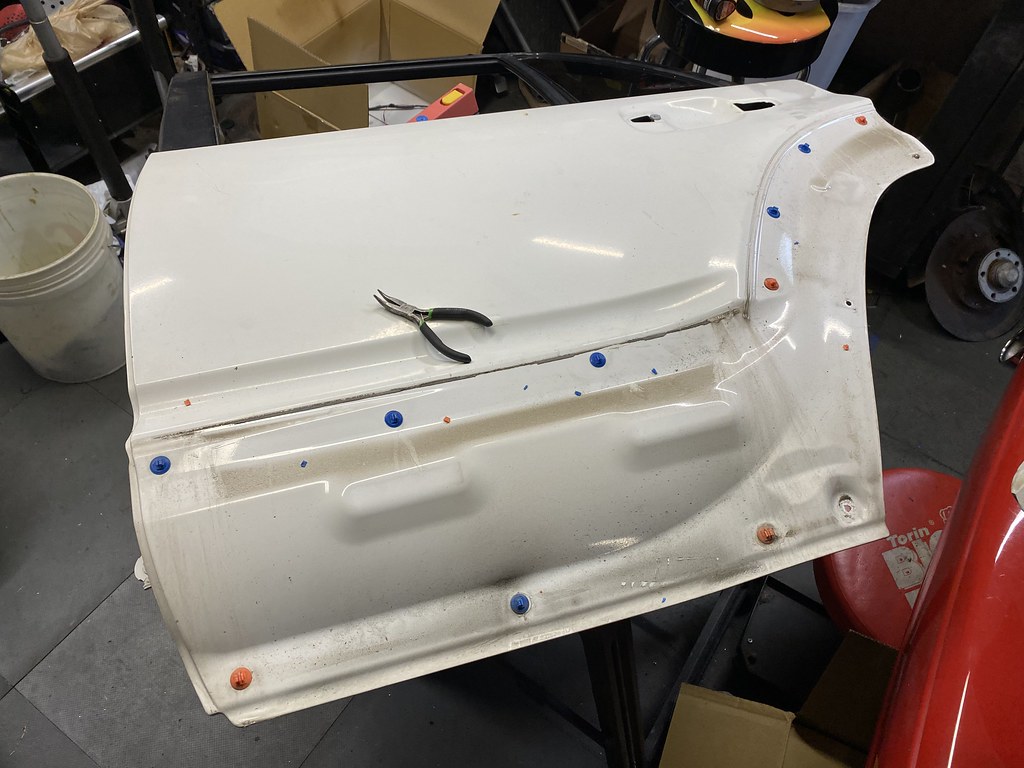
Old door off!

49768551173_142d148429_b.jpg


49769295367_8c5488e6f6_b.jpg


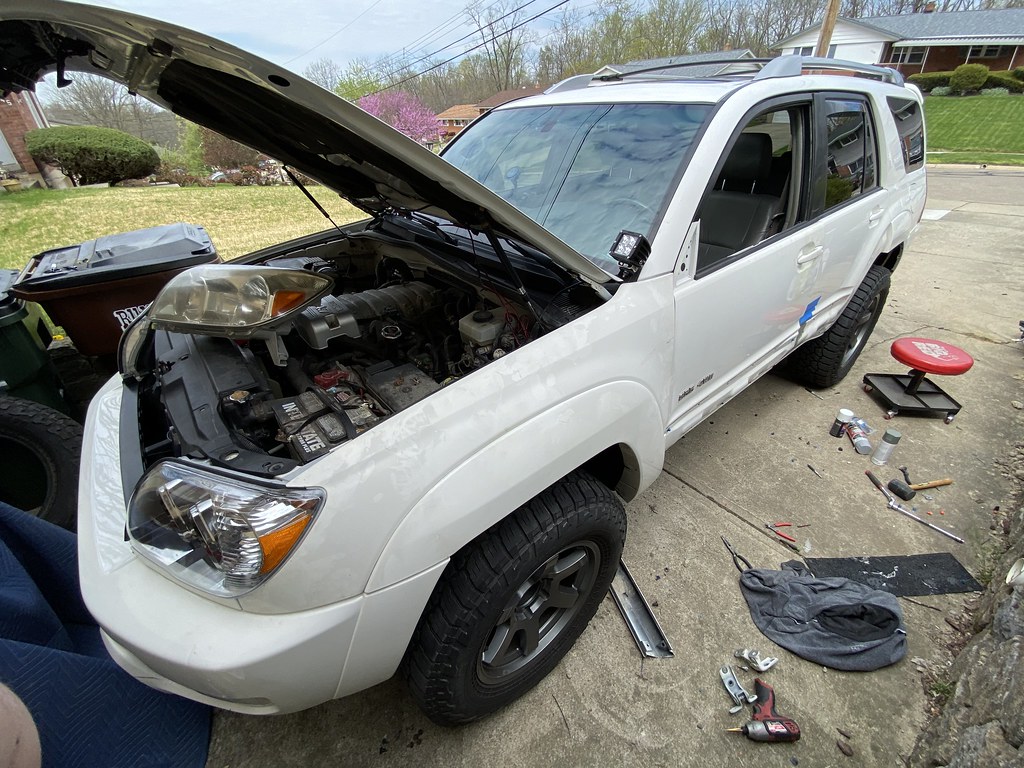
I'm sure my neighbors thought I was crazy as usual. At this time I also swapped over the new fender that I had. It was a little better than the last one and wasn't too hateful to swap.

49769085726_5b6b273e23_b.jpg


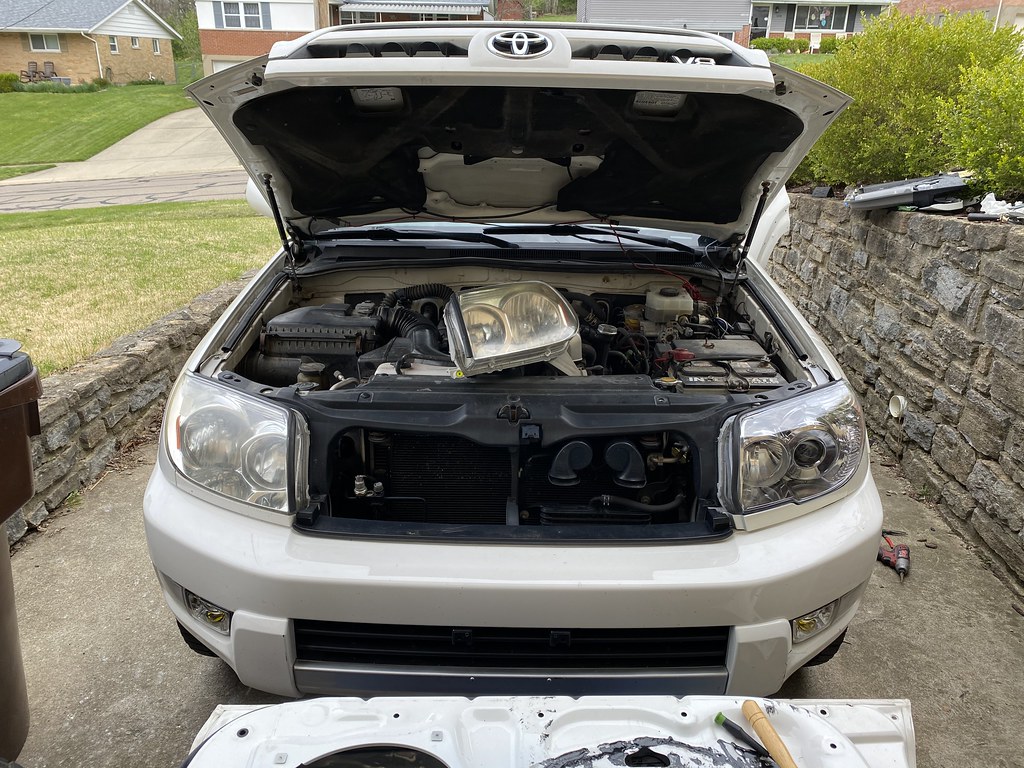
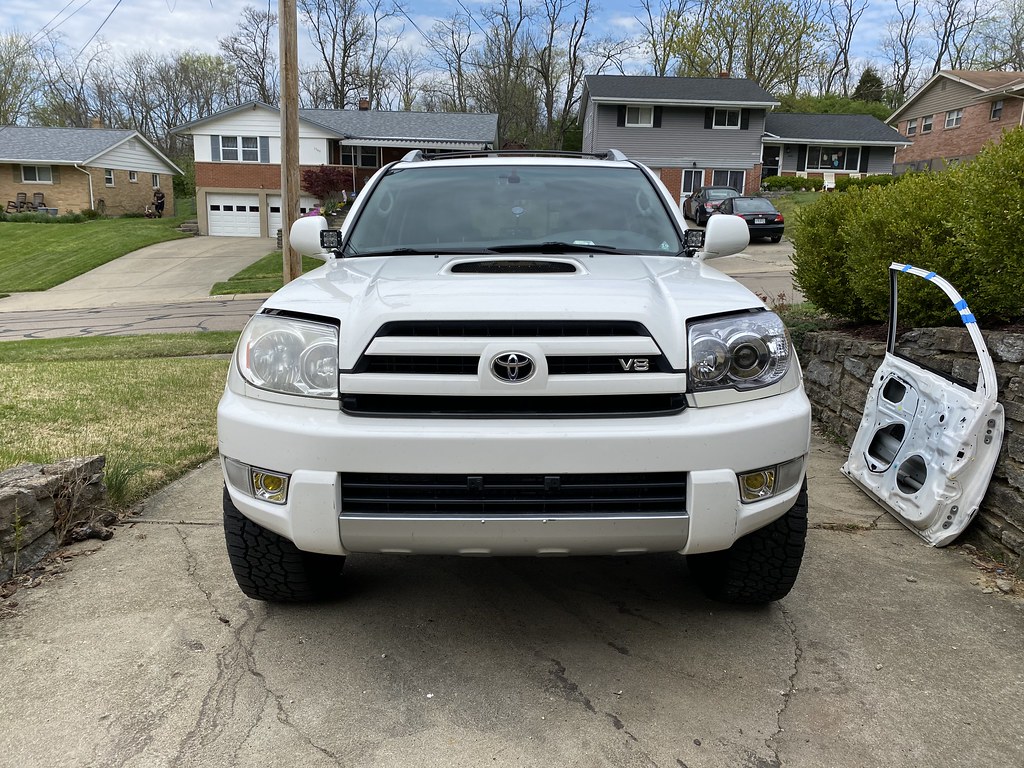
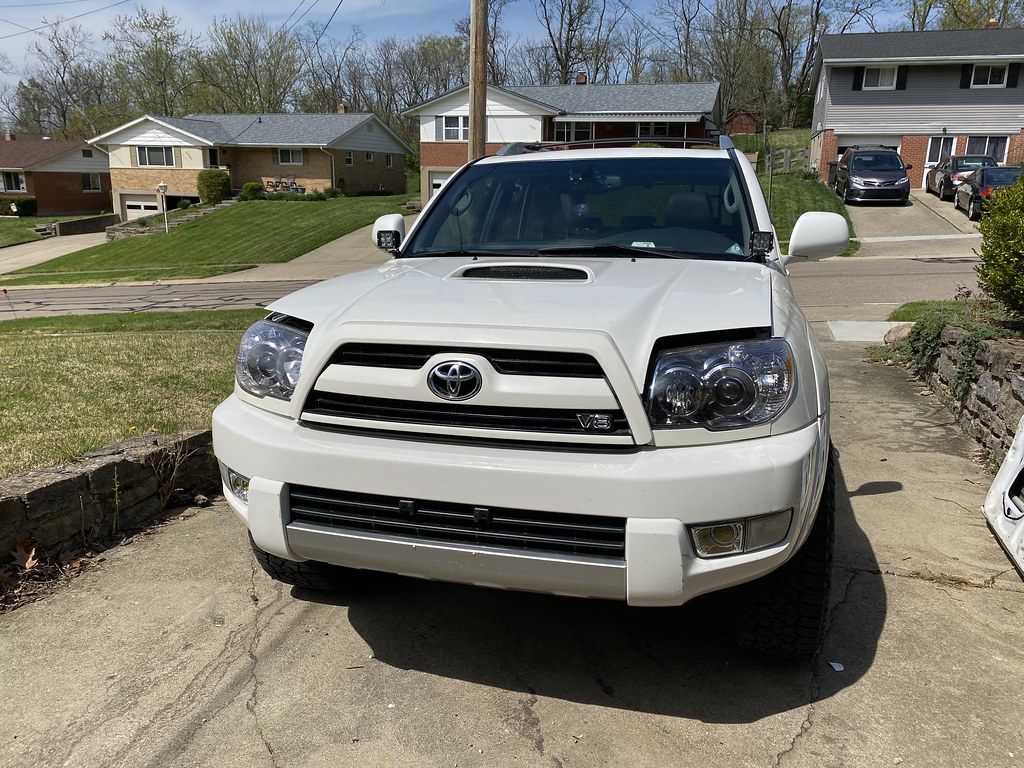
Of course I wasn't going to put the factory headlight back in!

49768971686_7f002502ca_b.jpg


49769084831_e7e64f2ccb_b.jpg


Closed the hood a bit to see what I was working with.

49768443158_4d9820ee98_b.jpg


And of course swapped out the other headlight too with the trim I painted (that doesn't look awful, but certainly doesn't look good...)

49768551703_6b34c782c7_b.jpg


Dropped in some OPT7 LED bulbs I had bought for my brother in laws Ford Focus. They didn't work right in his even with the bulb resistors, and I never returned them to Amazon, so this worked out! They were purchased as H11, but the cool part was that they mounted like an H11, but used a little adapter on the plug to go from 9006 to H11, so I popped off that adapter and they became plug and play to the H11 bulb seat, and the 9006 factory wiring! SCORE!

49768977326_1a2067edea_b.jpg


Next thing was the Grille. I put it on and started to look for where I would need to cut. I ended up cutting a lot out of this grille and it still doesn't close.Also I'm baffled with where the hood release portion mounts since there is no obvious mounting points. Does anyone know if the hood release lever is different on an 06 than an 04?

49768553128_ec644c4ebc_b.jpg


And that concludes my Saturday!Put the 04 grille back in until I have time to keep trimming on the 06 one.
 
GO BACK TO THE PREVIOUS PAGE FOR 2 PICTURE HEAVY UPDATES OF ALL OF THE WORK LEADING UP TO THIS POINT!

Last post got cut off, max picture allowance is 20. Oops!

Here's my pile of discarded parts that will either get picked up by scrap, or thrown in the garbage can after being cut into tiny pieces.

49769084096_79f399d3bc_b.jpg


Sunday was a bit easier and quicker.

Swapped over to the LED taillights

After and Before

49769300247_da1580a776_b.jpg


Both swapped!

49768438603_5395152dda_b.jpg


49769085411_e427f93de7_b.jpg


49769409692_3f1774d7e0_b.jpg


Thanks for following along! I'll update with more pics of the 06 Grille trimming when I get it complete and on the truck.

Stay safe and Stay home Everyone!
 
Last edited:
I did not know this. I'll go looking for a part number, if they're not crazy expensive I might just go that route! Thanks!

They were reasonably priced from what I remember.

I'm sure my neighbors thought I was crazy as usual.

My neighbors have to think this as well after doing 2 full rear axle swaps in my driveway, timing belt, headers, and a couple custom fabricated exhaust systems using my welder, band saw, angle grinders, and disc sander. Has to sound like a full blown fabrication shop. :sorry:
 
They were reasonably priced from what I remember.


My neighbors have to think this as well after doing 2 full rear axle swaps in my driveway, timing belt, headers, and a couple custom fabricated exhaust systems using my welder, band saw, angle grinders, and disc sander. Has to sound like a full blown fabrication shop. :sorry:

I think I found the part numbers and each are under $40, so I'll order those once work returns back to normal.

One of my neighbors is an old guy in his 80's, he loves making fun of the fact that I'm always "changing tires" in the driveway, but I know he likes it because it gives him an excuse to come shoot the shit while I work haha.
 
Are your old headlights completely stock?

If so what are you going to do with them?

Yeah, they're stock. One of the lower mounting tabs was cracked (down behind the fender on the outside).

They're just sitting in the garage, not sure what I'm going to do with them short of give them away locally instead of throwing them out.
 
Trim clips I ordered arrived! Some of them aren't seating all the way, probably due to the bend in the rear door, but I took a few minutes to pop on the side trim. It's back in one piece now!

49785709512_50b5f71951_b.jpg


49785709502_e302de616b_b.jpg


If the rain holds off this evening, I might try to re-mount the 06 Grille. The back of the grille is missing the mounting bracket for the hood release, so I'm going to make one out of some scrap metal I have kicking around and hopefully it works.
 
Dropped it off this morning for the header install at a local shop. They quoted me $400+tbd on broken bolts depending on how many and how difficult. My goal was to keep it under $750 or so which should be do-able.

Looking forward to sharing some exhaust clips later this week hopefully!
 
Update here!

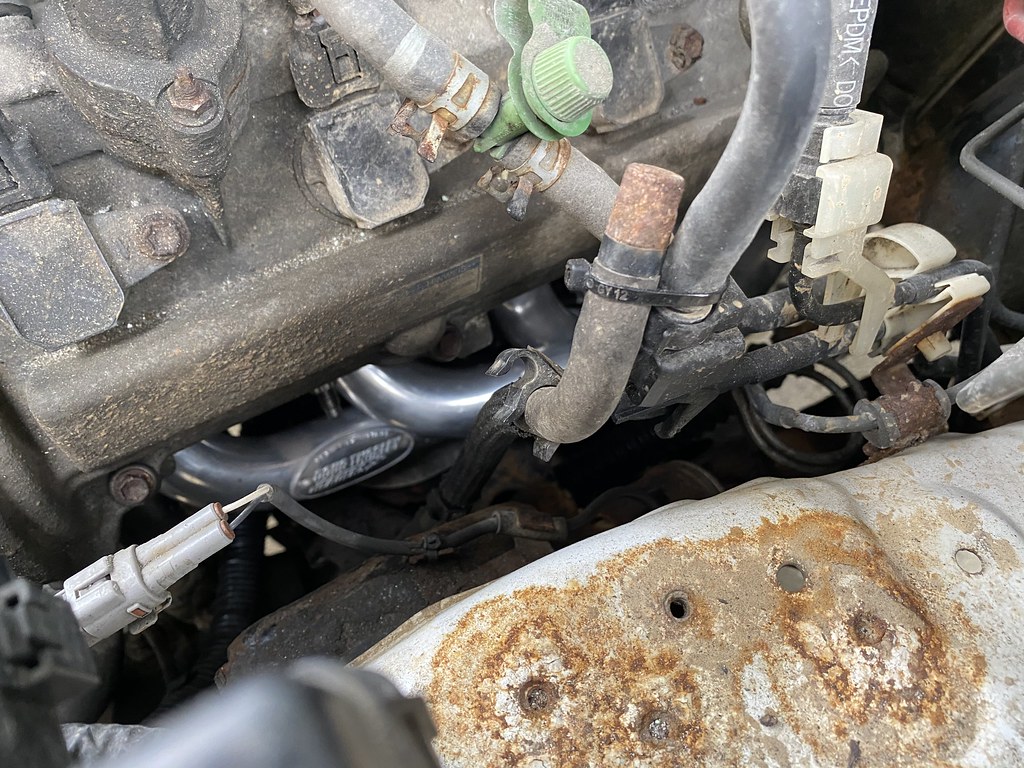
I (a local shop) got the Doug Thorley Headers installed last week, not without some difficulty. It ended up costing me $750 to have installed, which I was happy to pay given the trouble they ran into. 2 of the studs had to be cut/drilled out, and this install included installation of the Titanium hardware kit, and a bit of finessing to the Y pipe to make it all fit (which I'm not super happy about the flux core welds, so I'll pop it off and Mig over it to clean it up a bit, more to see on that later.

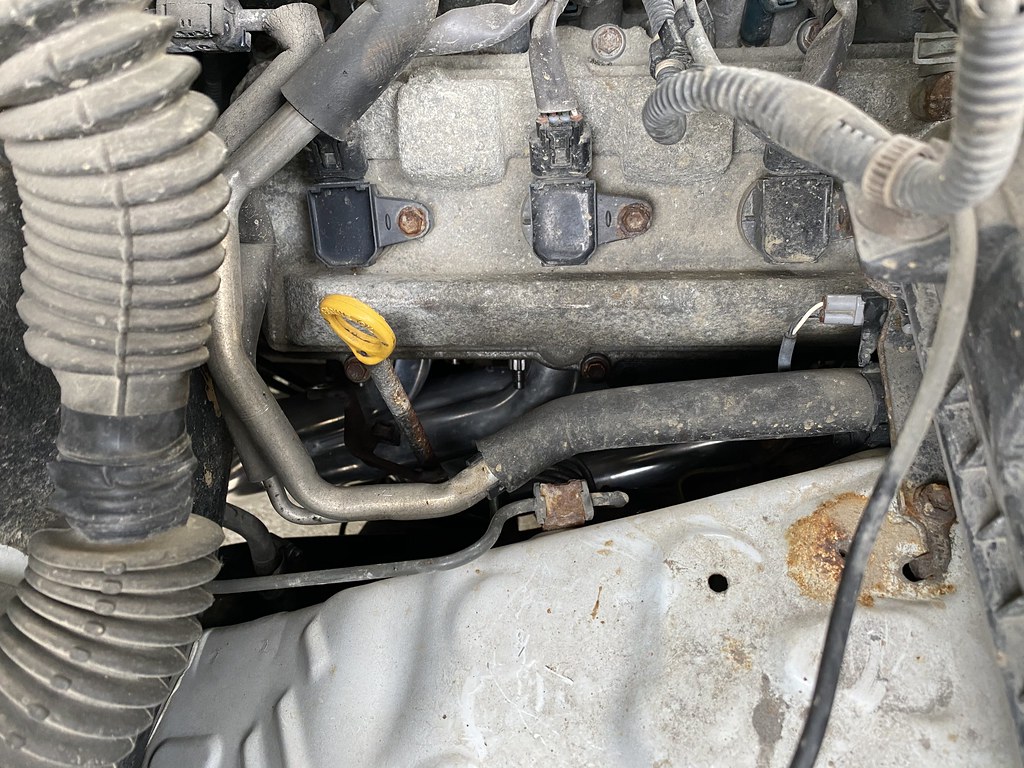
Please excuse the dirty engine bay, that's next on the list in needing some cleaning up.

49854884307_799eedba35_b.jpg


49854883987_81d5ee4936_b.jpg


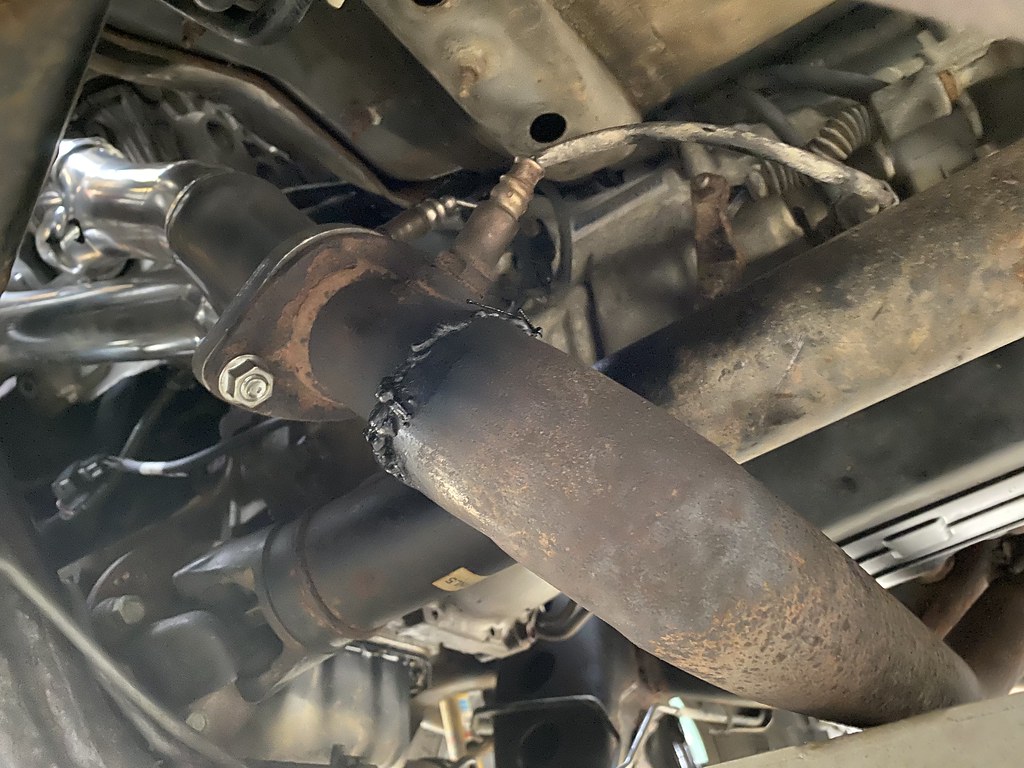
Here's a pic of the Y pipe modification, I guess on the drivers side it didn't line up right with the headers, so they cut, turned, and "welded" it back together. I plan on taking this off and welding over their splatter welds to make it a bit stronger and look better.

49854884042_2afe49998c_b.jpg


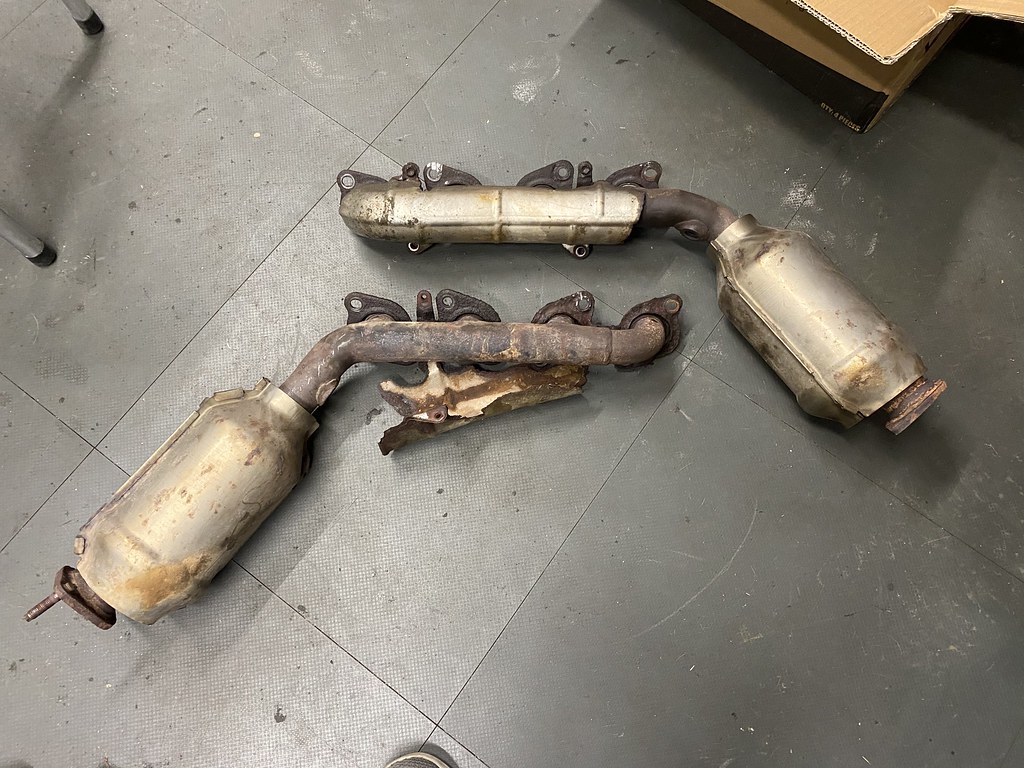
Old manifolds off, there weren't any major cracks visible, but I also didn't spend too much time looking since they're gone now! Hoping to scrap the cats for a few bucks to offset my install cost. Anyone know what these typically go for?

49854582436_e1f79b04d6_b.jpg


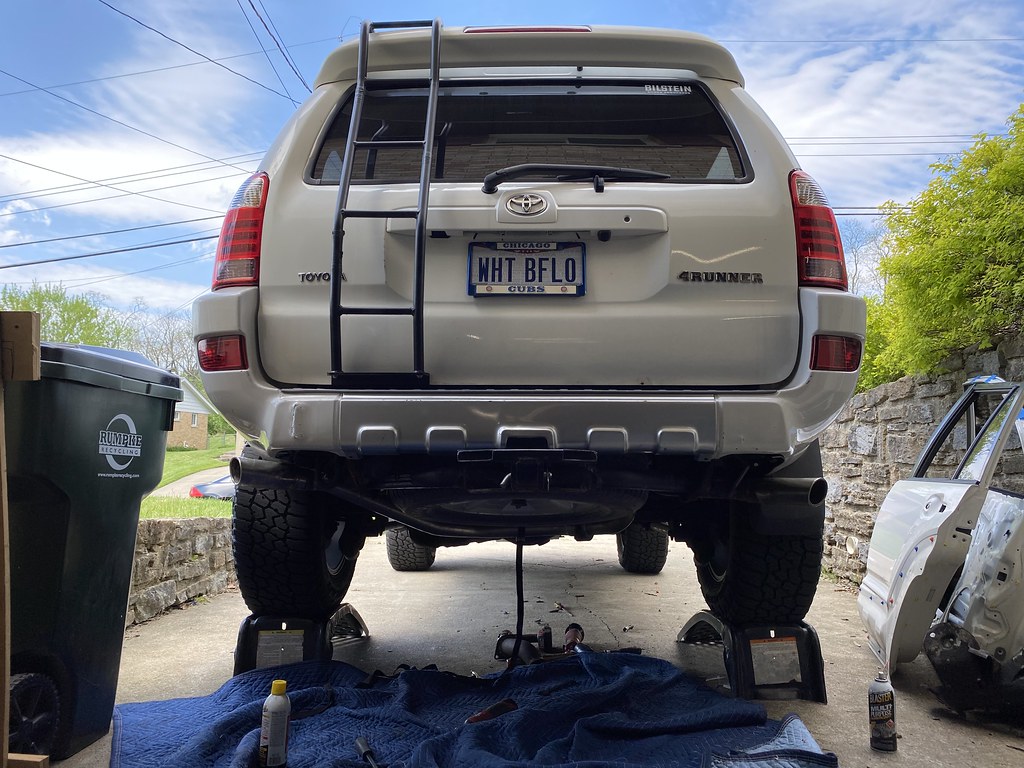
So now, fast forward to this past Saturday, I decided to try to get the rear exhaust section back under the truck. Key word, try.

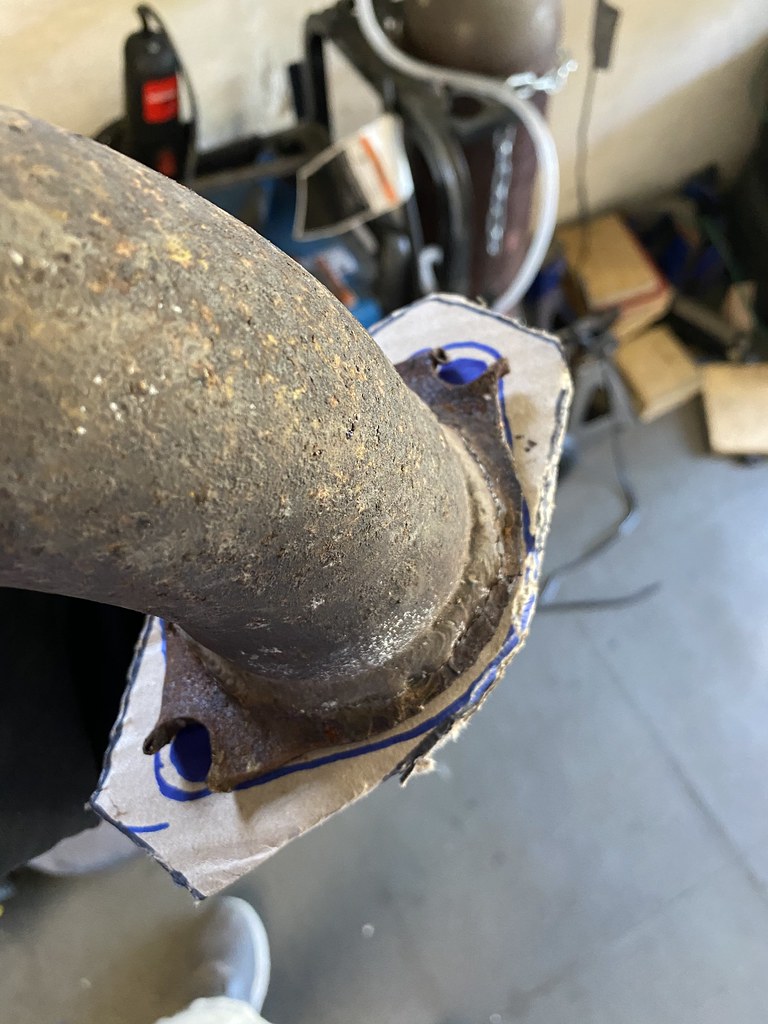
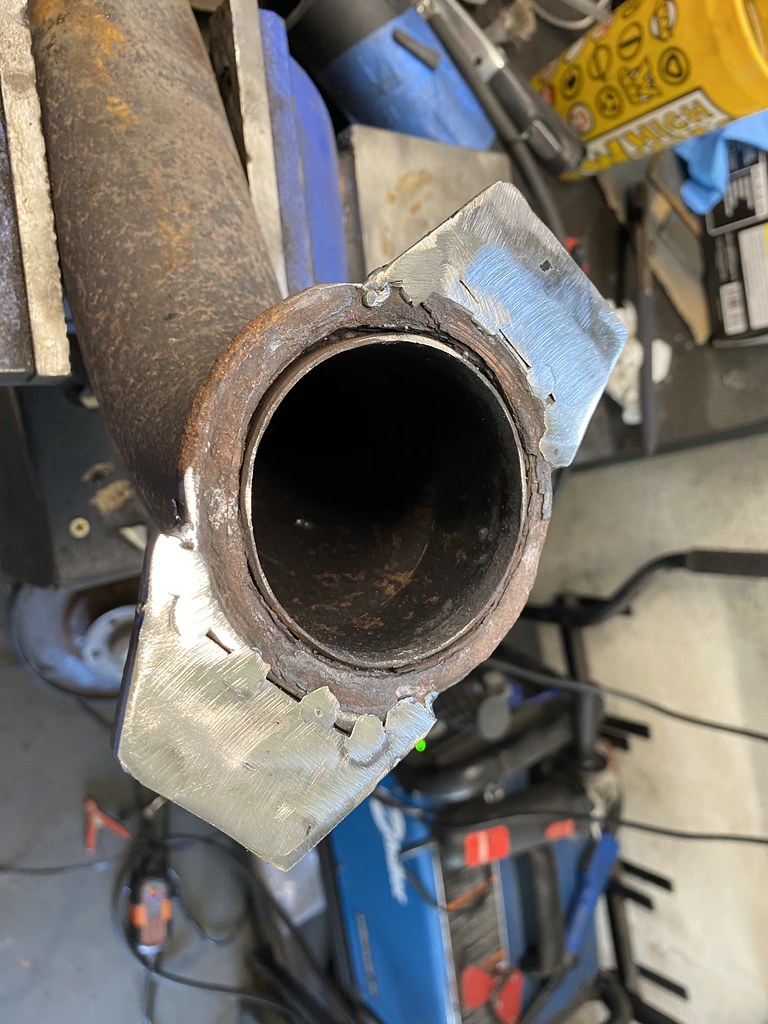
Step 1, build a new flange for what got damaged when my 4Runner was hit last fall.

49854044888_9189f7b32f_b.jpg


Excess material would be ground down later.

49854582531_db21ff42e8_b.jpg


Huck the exhaust under the truck while on ramps. It sits crooked, but that will be the job of an exhaust shop to make right since I did as much as I could not being an exhaust fabricator or having much material at all.

49854884287_206dbee9a8_b.jpg


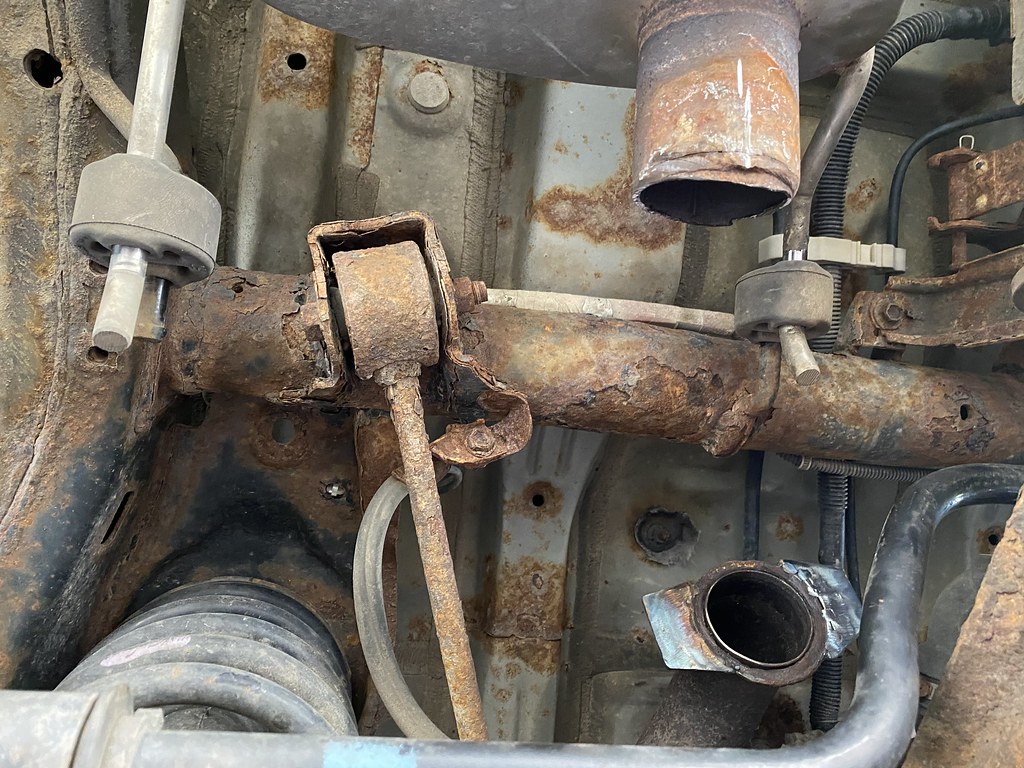
Here was where I ran into my first issue (yes its crusty, that's another project for this summer.

49854044548_79812b9e58_b.jpg


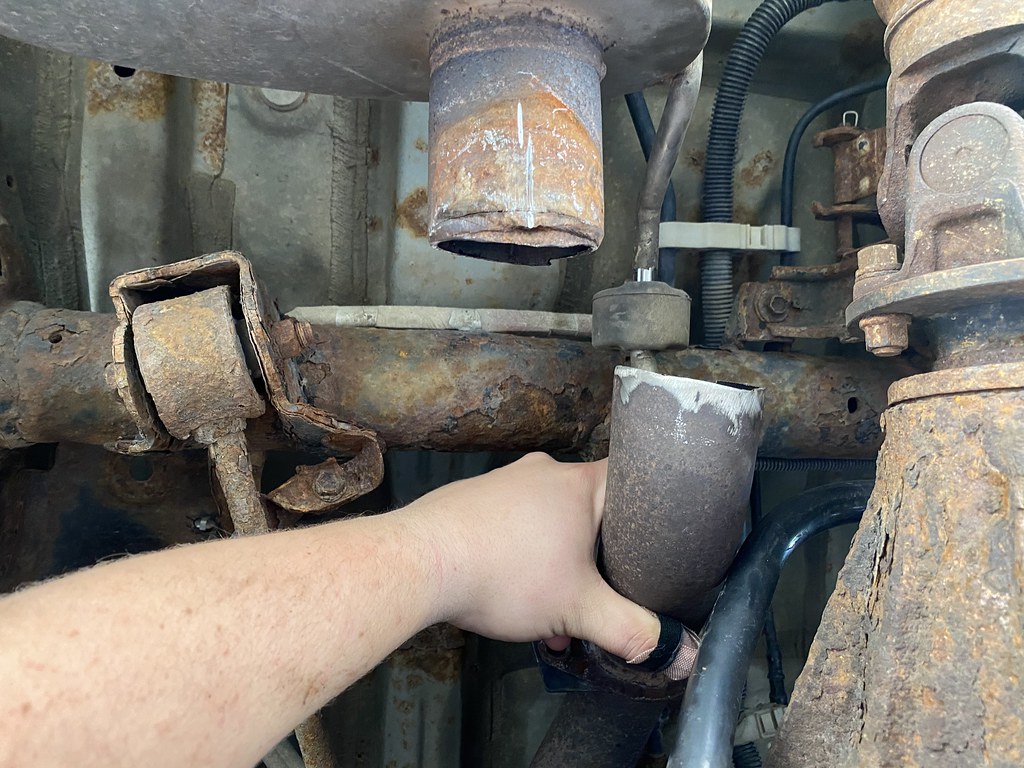
The original exhaust piece I cut off to put a turndown on, doesn't line up anymore.

49854582836_3c57dea6e8_b.jpg


I believe the rear section is what was mostly bent in the accident causing none of this to fit or even be close.

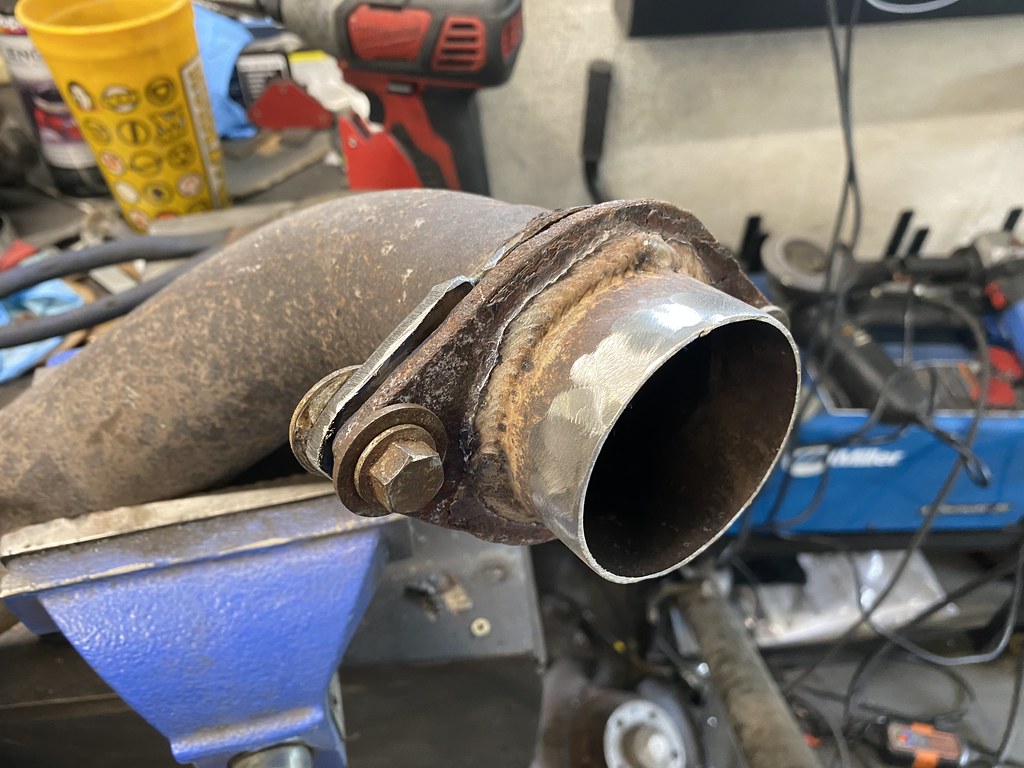
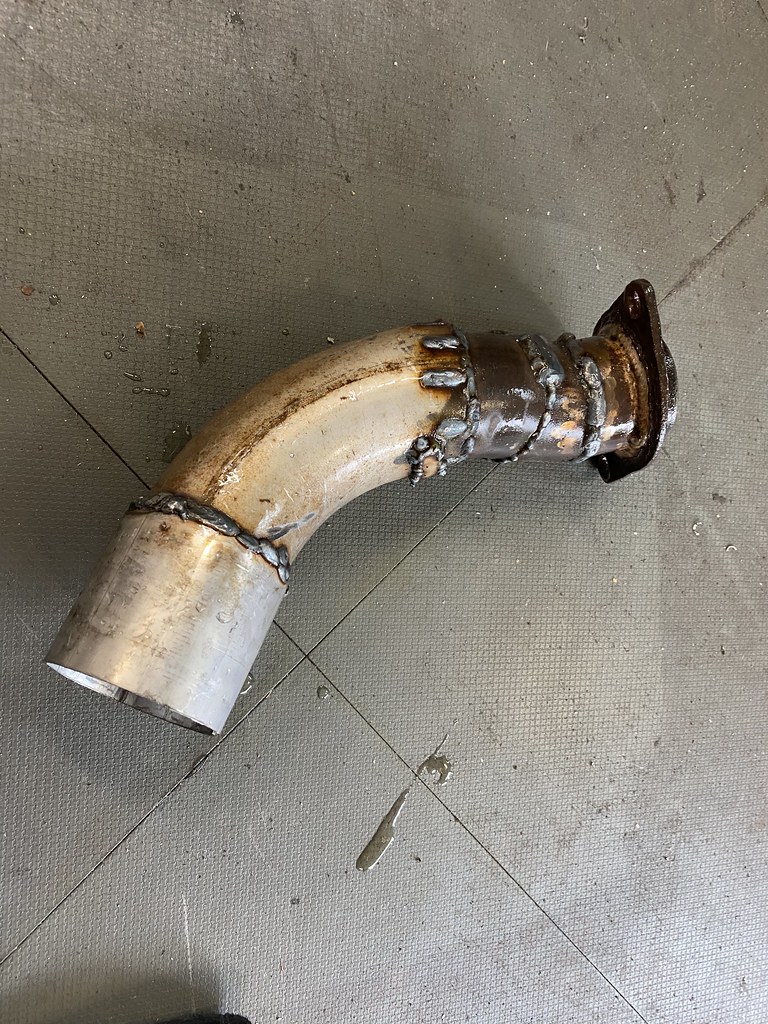
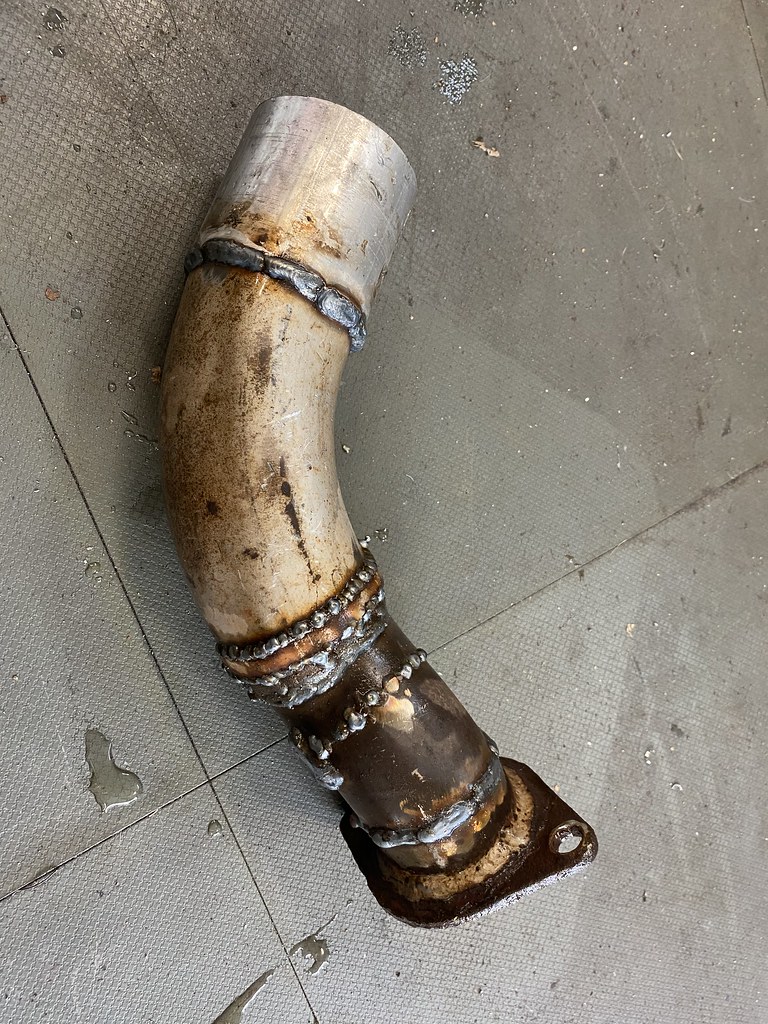
So I cut it off in prep to "make my own". Weilding only a 2.5" coupler, a 3" turndown, and the factory piece, I set off to work to make an adapter. Started by cutting the factory flange off to give me a starting point to bolt up.

49854582701_ff322c456a_b.jpg


Way too many hours later, and way too much welding on rusty old exhaust tubing, I had... this? Yikes, I should have told myself to put the welder down, but it was a nice day, my wife wasn't home, and I had all afternoon to work in the garage. So why not challenge myself and try to learn something.

49854044608_0d4e7e72ae_b.jpg


Welding the new material with a slip fitting was a breeze, hacking together the old stuff is what sucked. Definitely need to leave this to the professionals going forward, or actually buy new material not from the auto parts store and do it "right" haha

49854044618_be1caa70a5_b.jpg


What you've all been waiting for, is a sound clip.

Here it was with the headers connected to the midpipe and with a turndown just before the rear axle.
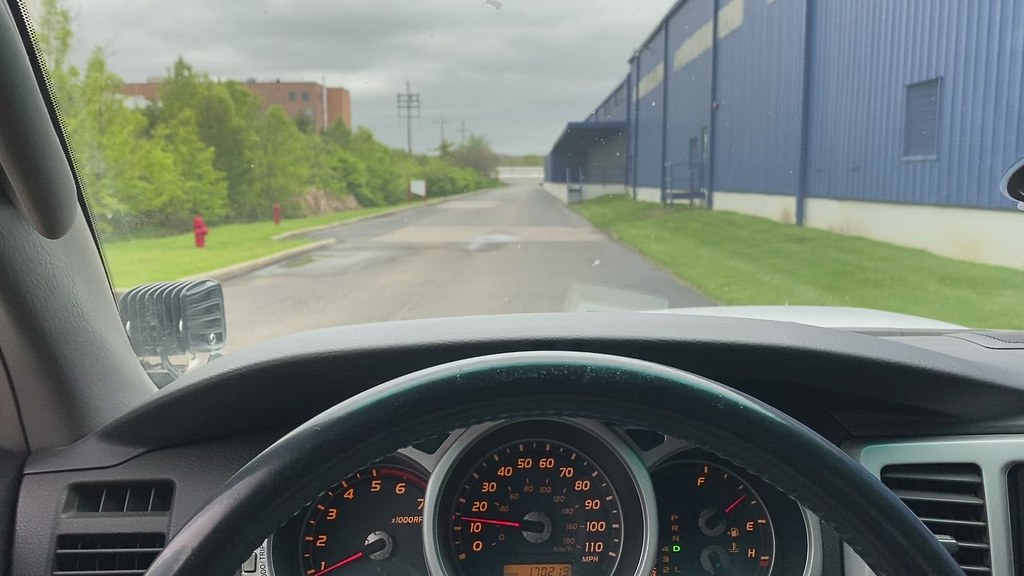
Untitled by John Van Cleave, on Flickr

And once I got the rear section on, here is is "now". It leaks still (not from any of my welds, but from elsewhere, so that's why it'll need a trip to an exhaust shop in the future).
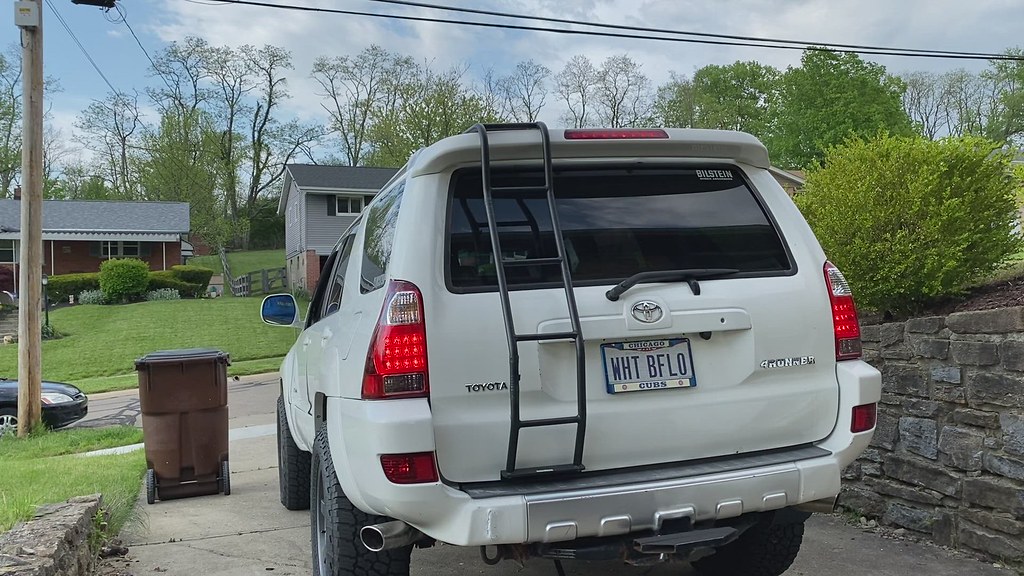
Untitled by John Van Cleave, on Flickr

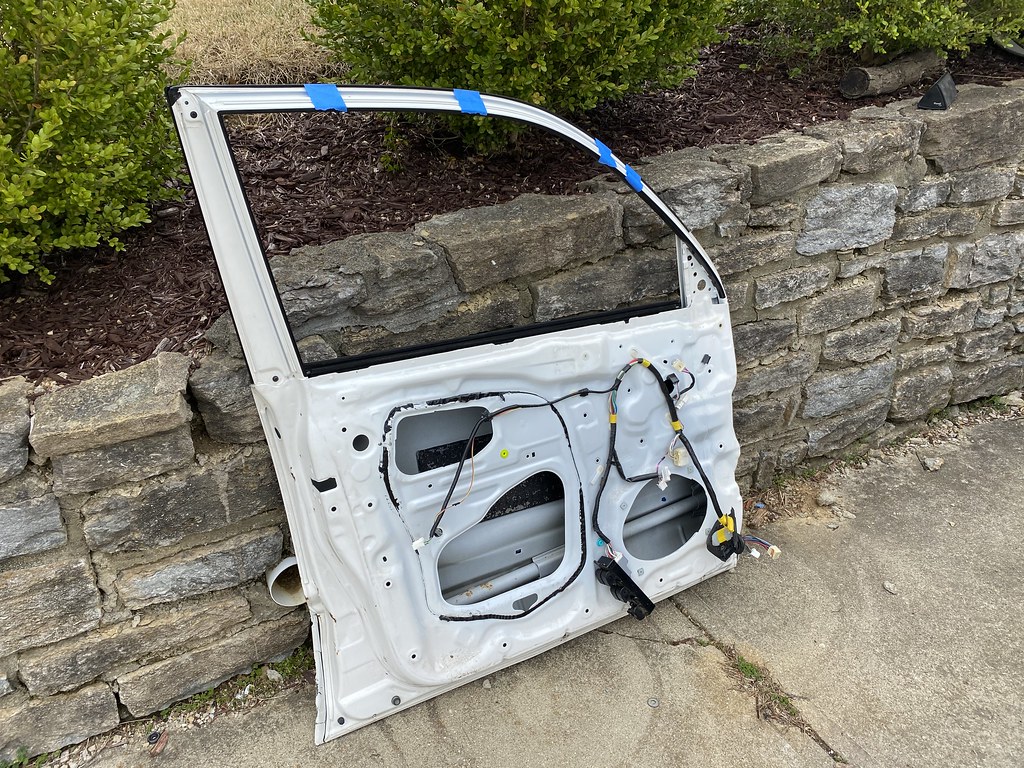
Also ordered new Skar door speakers last week which arrived, so those will be this weeks project along with some sound deadening in the doors!
 

Members online

Forum statistics

Threads
278,316
Messages
3,554,114
Members
248,016
Latest member
Advally Service

Trending content

Back
Top