5 Bananas out of 10.
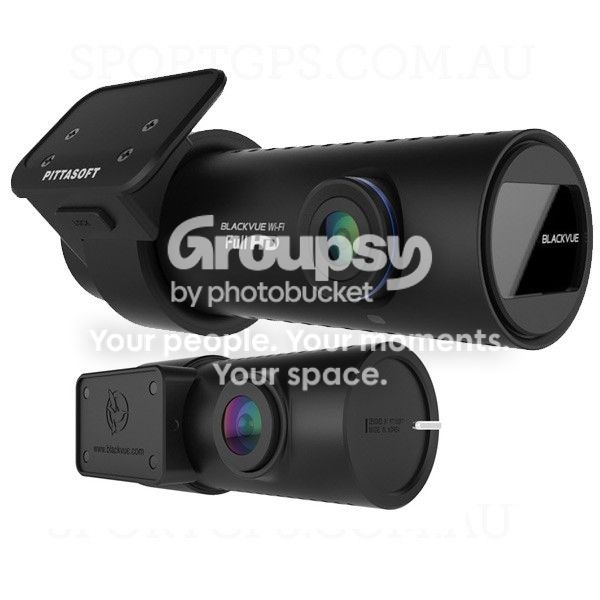
As promised with a bit of delay, here is the write up for installation of BlackVue dr650gw-2ch.
Reasons to install:
- Capture of vandalism/hit & run while in park mode.
- Capture of an accident.
- Capture of an accident ( as a witness ).
- Capture of insurance scams.
- Capture of any cool moments.
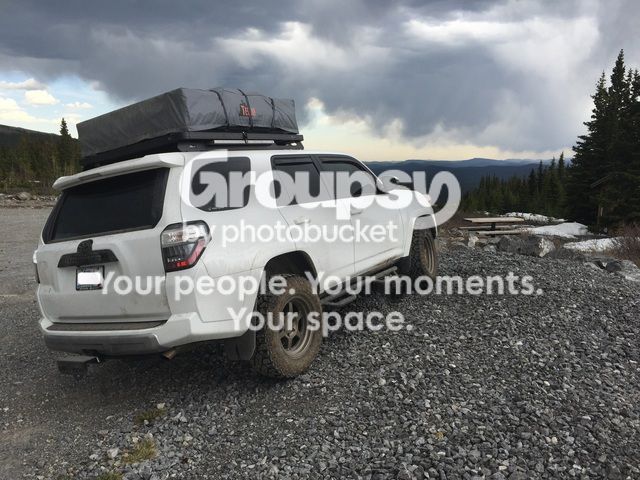
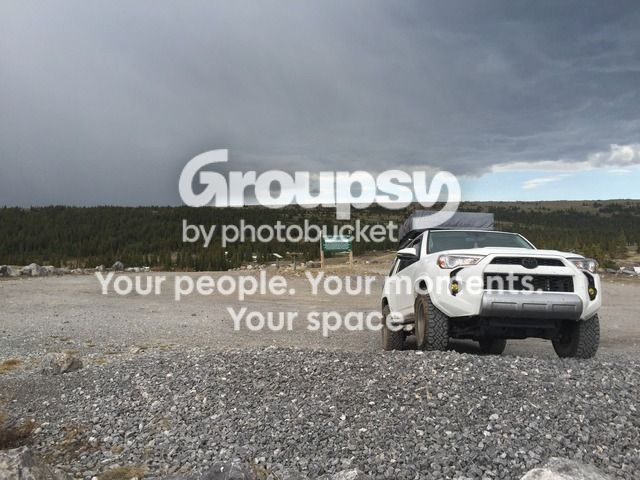
- Capture of cool views/off road videos without the need for Go-Pro ( at least from 2 angles ).
The unit:
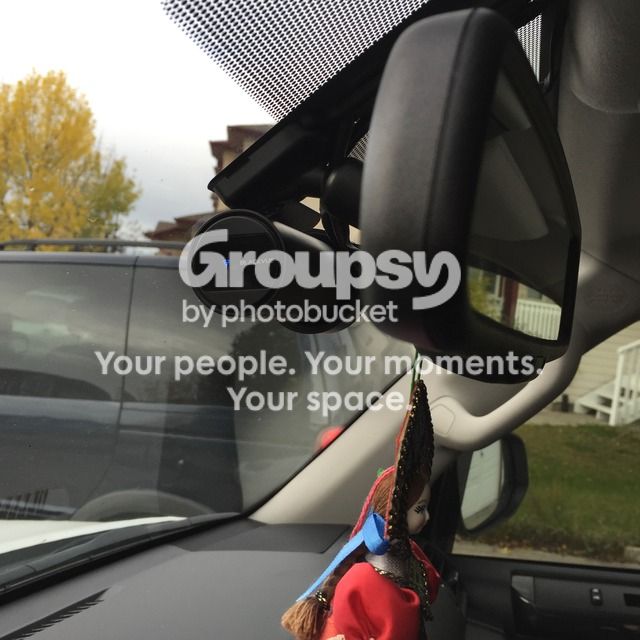
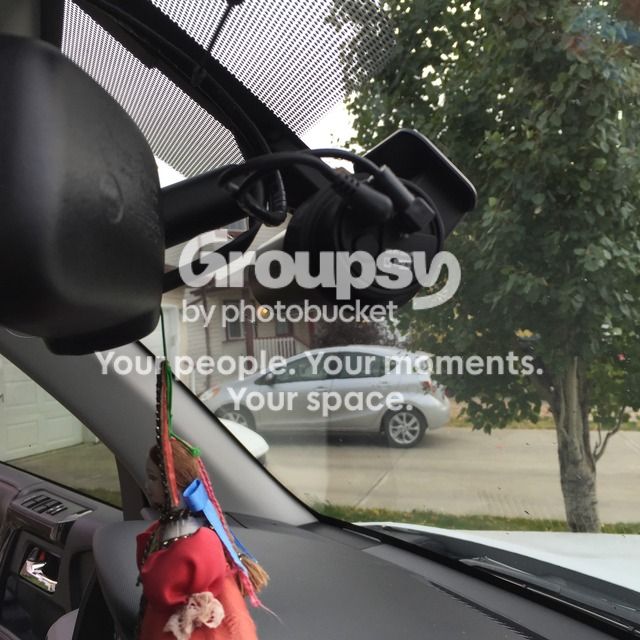
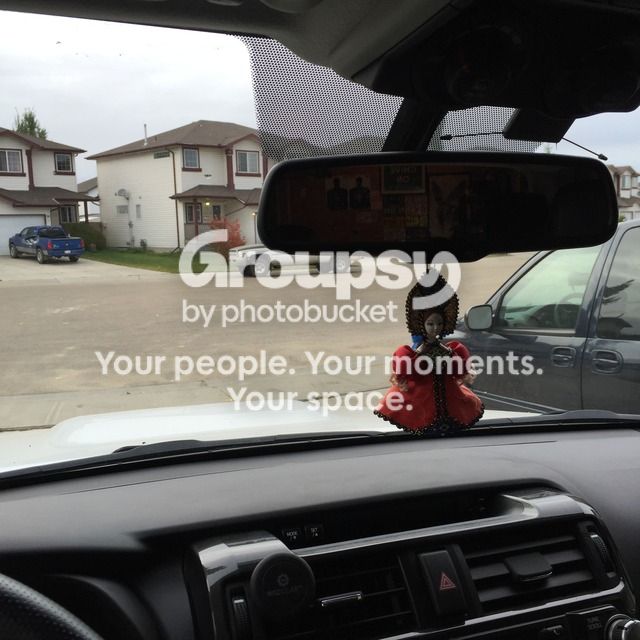
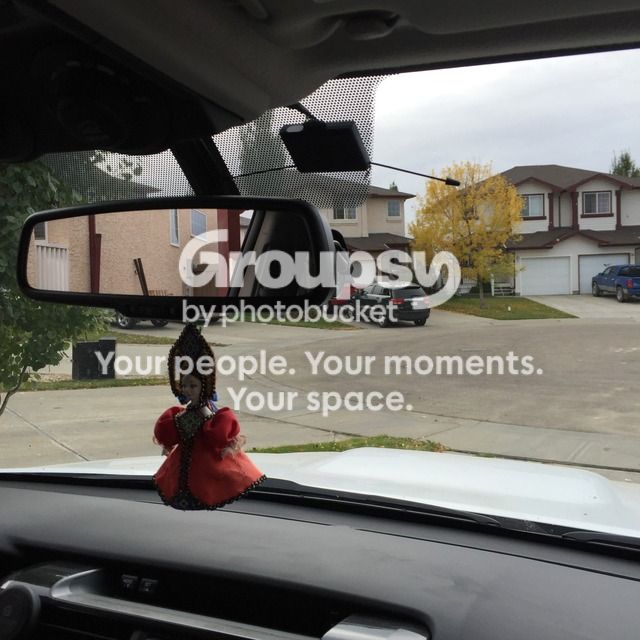
I placed the front camera as center as possible and in the front of the rear view mirror to hide it better from outside. 3M sticky tape is provided.
I taped the 12V wire and the optics wire together for cleaner install, leaving just enough slack to be able to spin the camera 180 degrees in its ring housing.
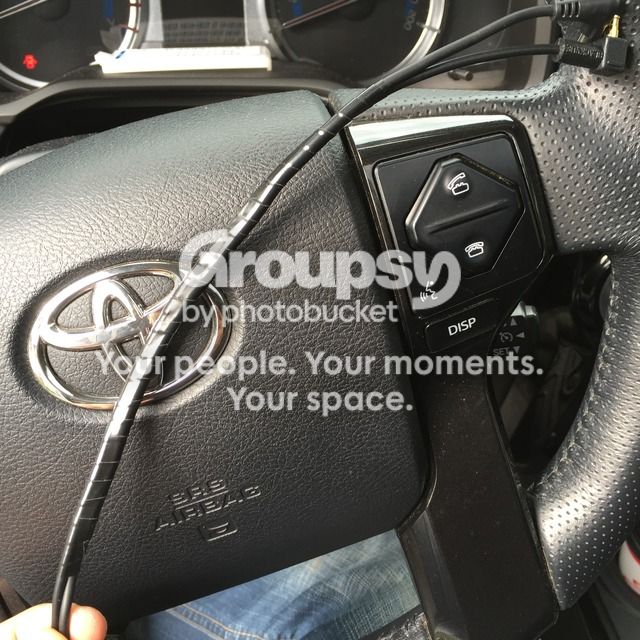
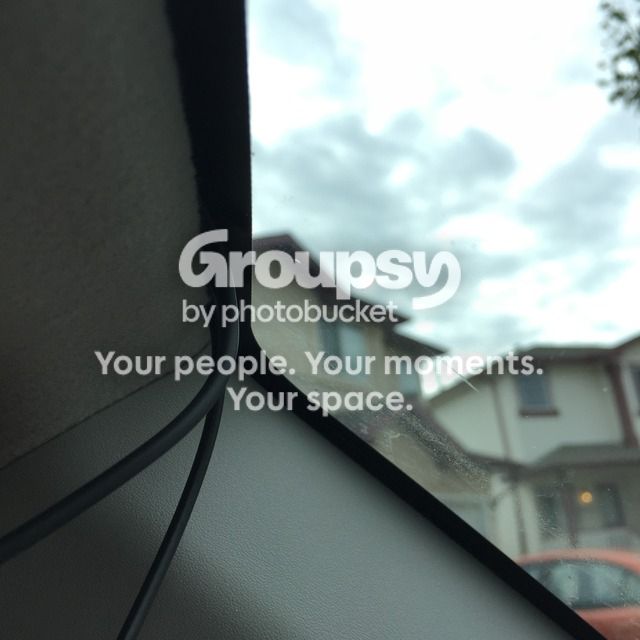
Route both wires under the headliner to the driver side A-pillar.
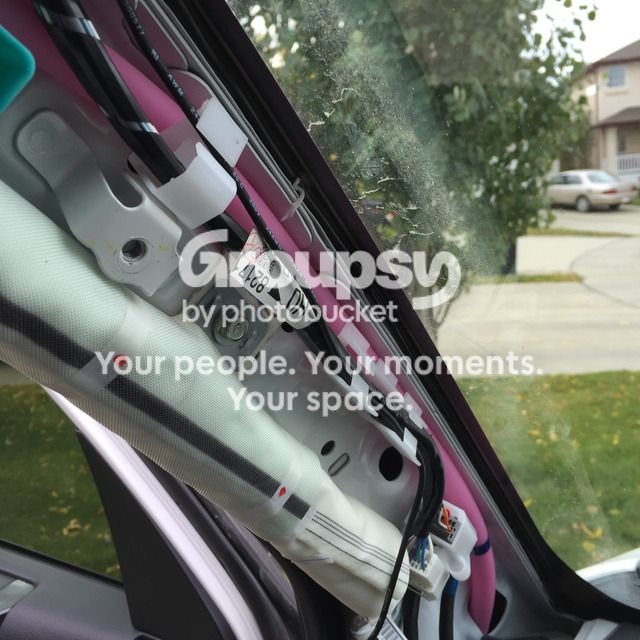
Route the 12V wire under the A-pillar stock wire guides and down to the fuse box underneath the panel.
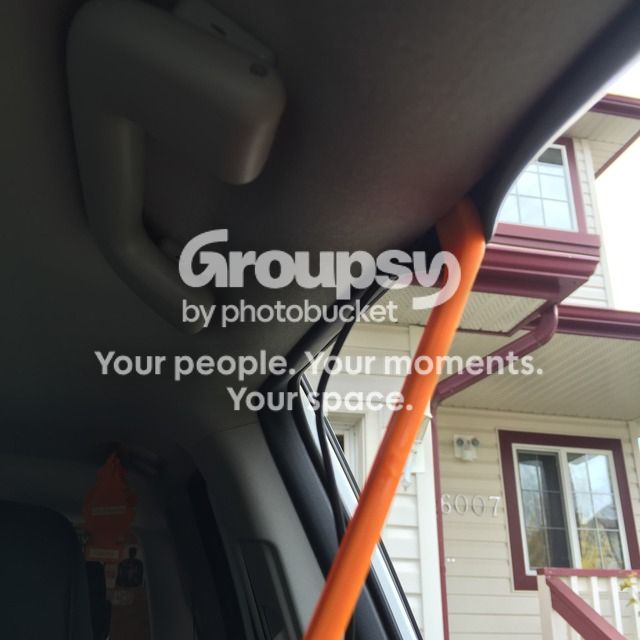
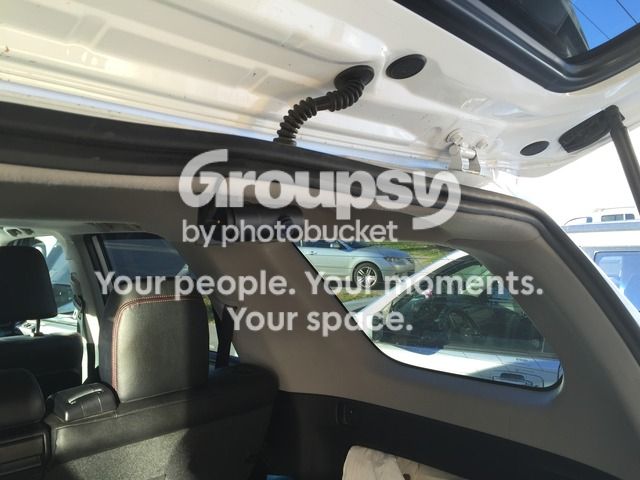
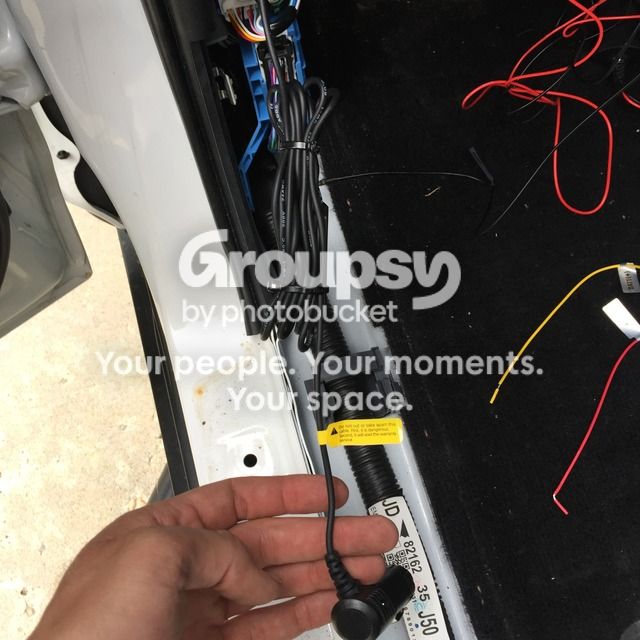
Route the rear camera optics cables to the back of the vehicle, tucking it under the headliner with the help of the provided orange tool. The B, C, D pillars pop out just enough to feed the wire through.
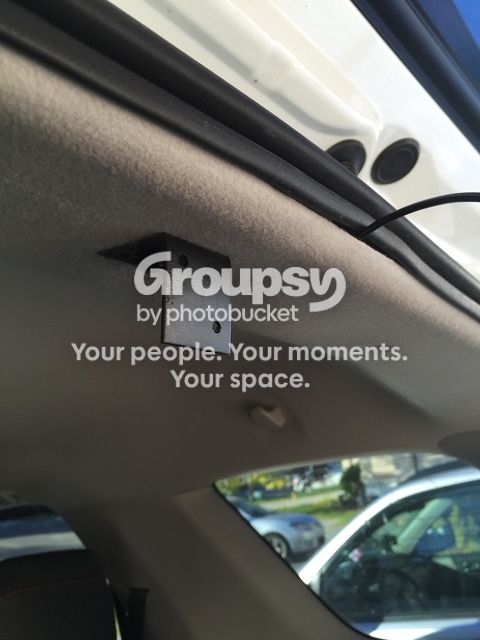
The rear camera is supposed to stick to the rear window, however because our windows roll down I popped out the center clip of the headliner. Use the existing hole to mount a bracket (home depot) with a 14 x 1/2 metal screw.
I plastidipped both bracket and the screw in black.
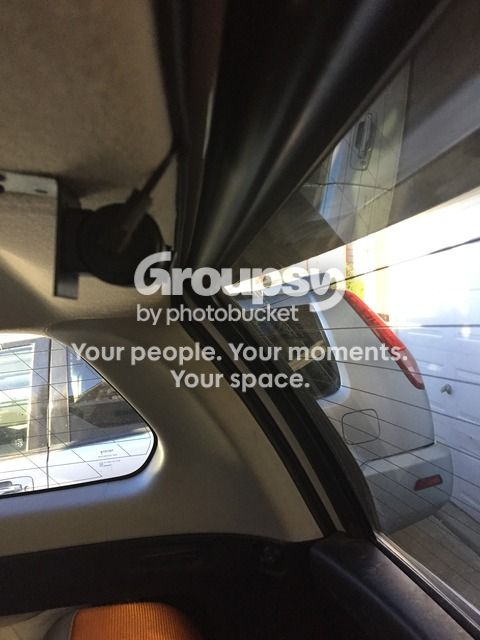
I mounted the rear view camera with provided 3M tape to the bracket and angled it in the proper direction. As you can see the camera is out of the way and far away enough from the rear view window. This way, you can still load long lumber etc. and rest it on open window tailgate (I found this solution from another 4Runner guy from google, I take no credit for ingenuity lol)
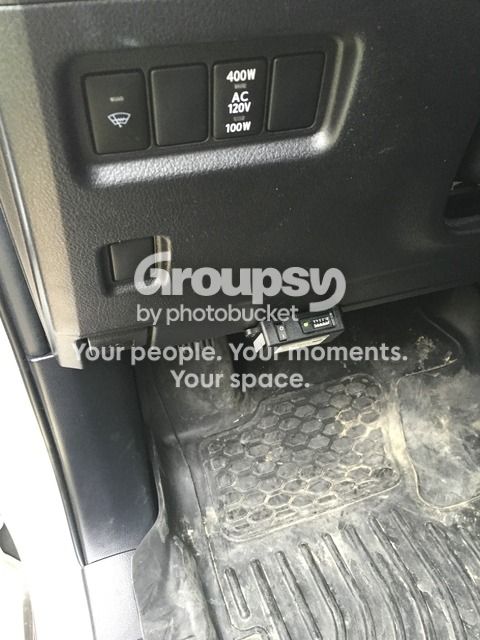
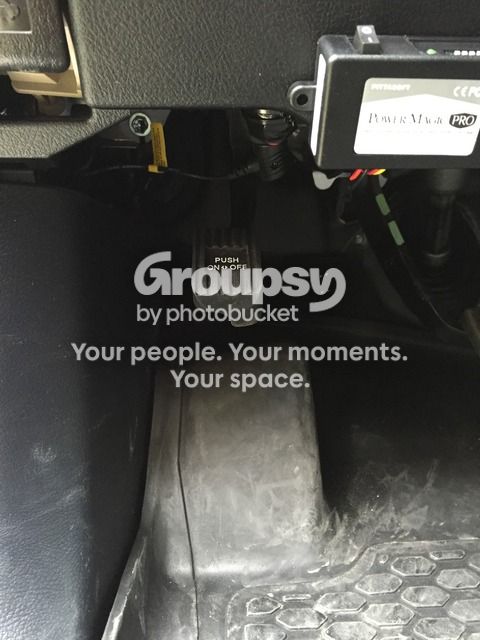
Next I mounted the Power Magic Pro unit with provided 3M tape to the bottom of my dash. The unit has 2 wires for 12V plug, 1 ground, 1ACC+ and 1 Power.
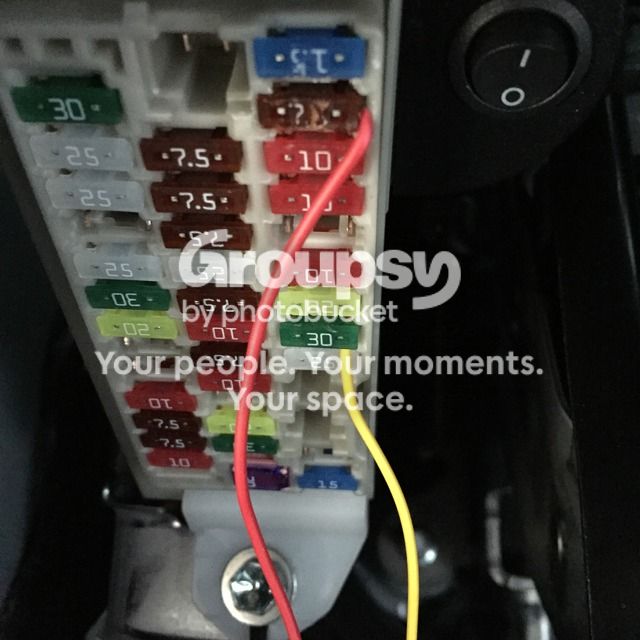
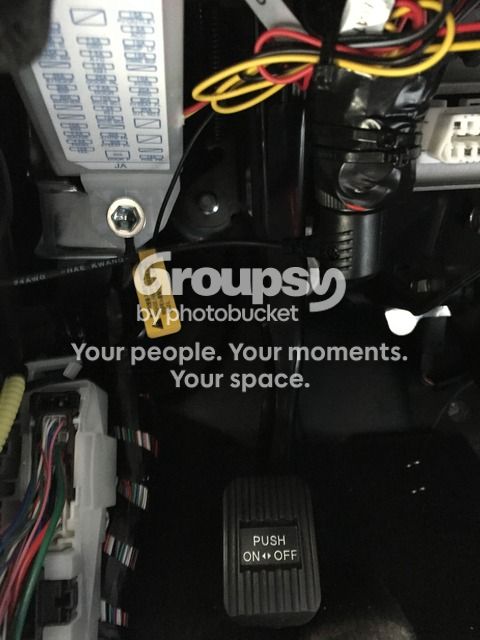
The 1ACC+ was hooked up the ACC fuse. The 1 ground was mounted to the bolt holding the fuse box. 1 Power was hooked to the power seats fuse. Make sure to meter the fuse, to ensure load side connection :hippie:.
The way this unit works:
- First three dip switches are for voltage cut-off (in my case I chose 12V)
- The other three dip switches are for timer (I chose 6hrs = 6hrs of recording in park mode)
- ON/OFF switch for shutting off the camera manually once the vehicle is off.
The 12V power wire has a male plug, insert it into female 12V of Power magic pro unit, roll up extra lengths on both sides and mount it underneath the dash. I mounted mine in accessible location so I can still unplug it if needed.
I did not shorten any of the extra lengths which would provide for a cleaner install, in case I ever in my life have to take it out of this vehicle to mount in the other vehicle.
Nothing is visible from outside but 12V cigarette plug is still accessible.
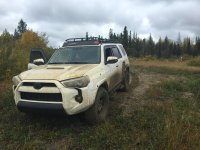
View from outside:
View from driver and passenger sides:
All the options and what the dashcam can do, you can go to blackboxmycar.com and do your research ( too many things to list)
The app Wi-Fi works pretty good so I can review any of the videos it records in 1min lengths at any time while driving, download to my cellphone and save. Also, you can adjust configurations and settings for sensitivity censor, G-sensor and all other misc. options from the APP. Simple swipe on the shiny screen on the left will turn ON/OFF the audio recording of your passengers conversations (could be used in arguments with the wife :bounce

Here are sample videos for you guys, I made these just for you because i'm a good guy like that (make sure to select HD mode as what the cameras records in at 30FPS):
https://youtu.be/EmxNyDS4AT4
https://youtu.be/HhLmC_oSM-Q
https://youtu.be/q3EYB2QmCDE