NateMob's "DD" Build

NateMob

New member
Who doesn't love DDs?!

"DD" = Double Duty/Daily Driver. :loco:

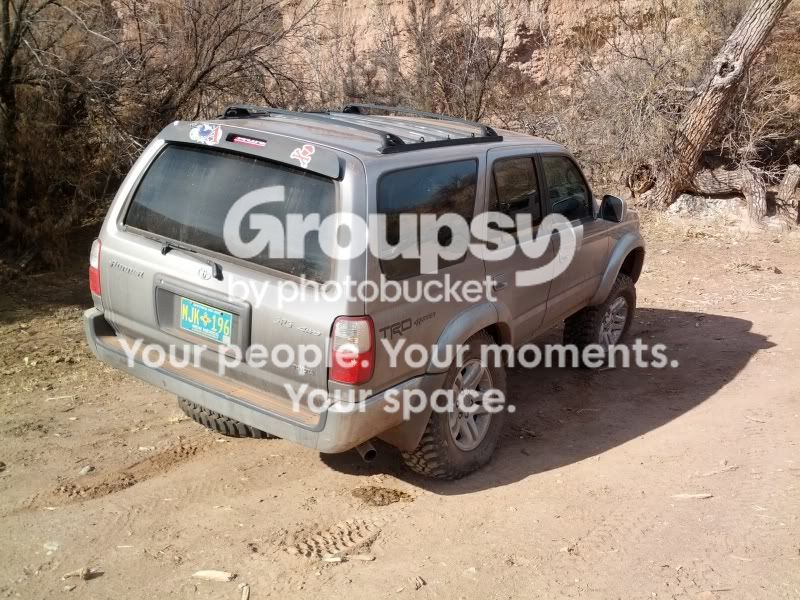
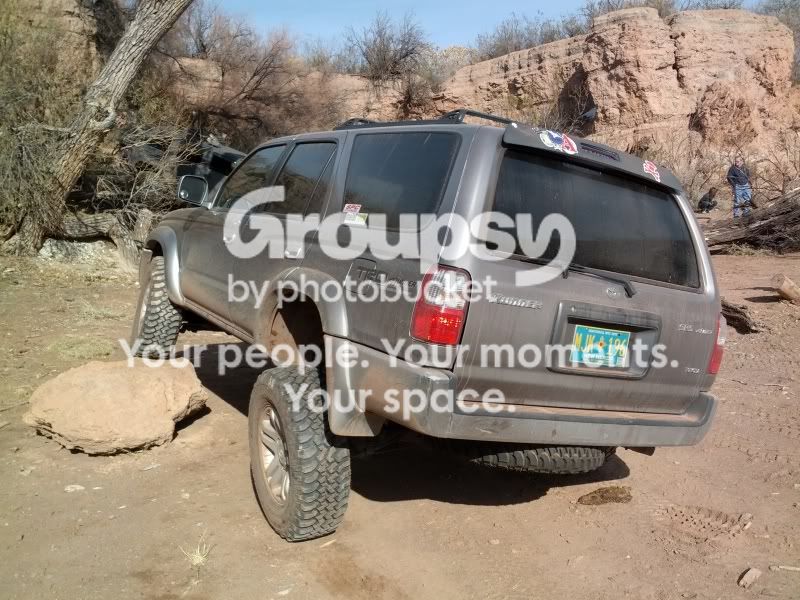
I bought my 2001 Toyota 4Runner in early November of 2012 when I got stationed in New Mexico with the Air Force. Picked it up at a dealer for a pretty good price with only 123,000 on the odometer, here she is the day i brought her home.
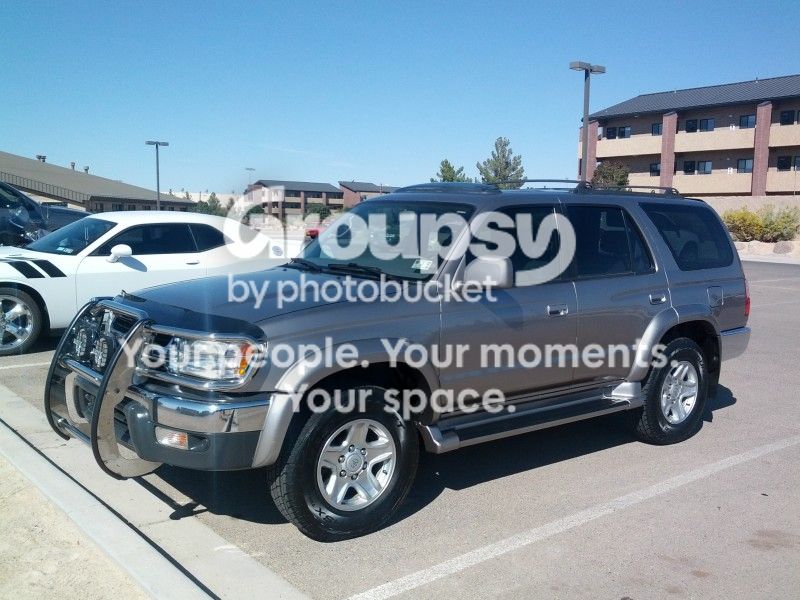
IMG_20121104_124144.jpg~original


Current Specs:
2001 Toyota 4Runner SR5 4x4 Auto
Spartan Locker (rear)
Icon Extended Travel Coilovers w/ King 700lb 14" coils.
Icon Tubular Upper Control Arms
Lexus 8.75 & 8.25 Wrap coils
1/2" Body Lift
"4-Ripcord" Adjustable upper links, Poly bushings and Currie Johnny Joints.
Sway-A-Way 7/8" shaft 4th Gen 4Runner rear shocks. 9"travel
Sonoran Steel Adjustable Panhard Bar
Buttonhead fender bolts(removed after CBI install)
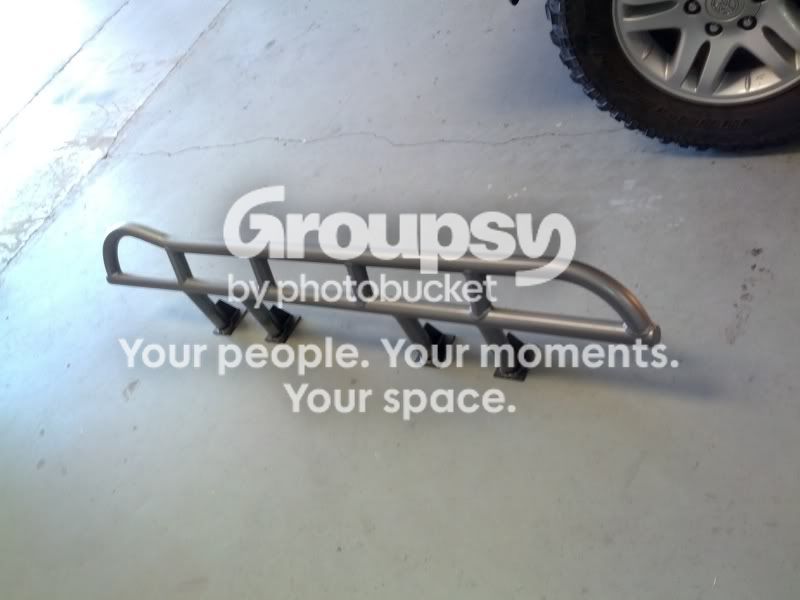
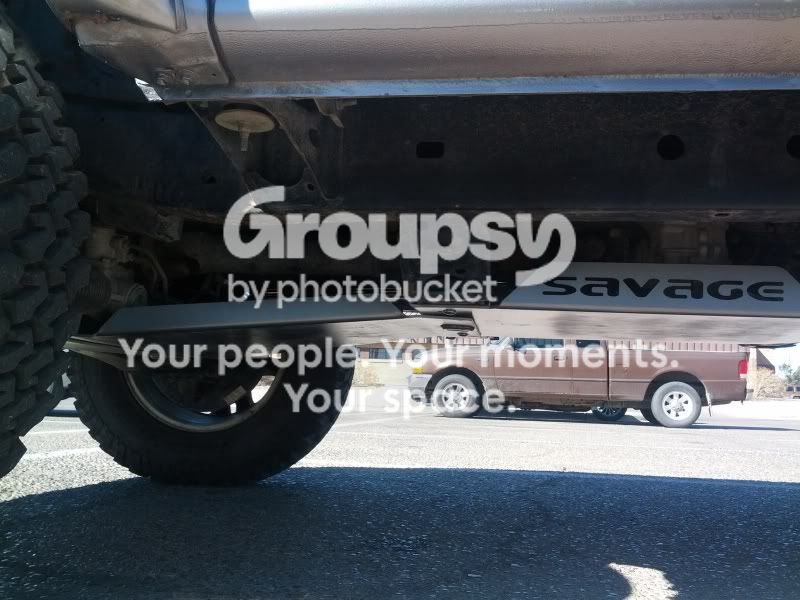
Savage Offroad Kickout Sliders (Shortened to fit 34"s)
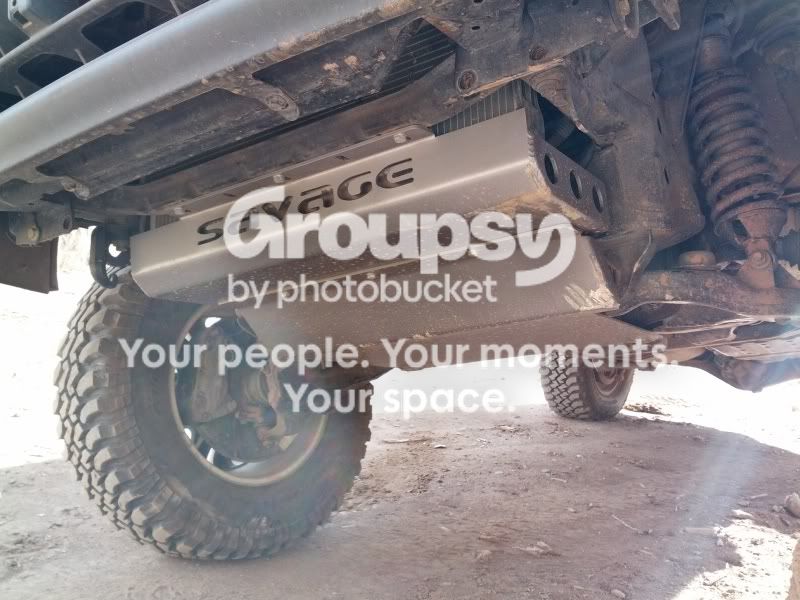
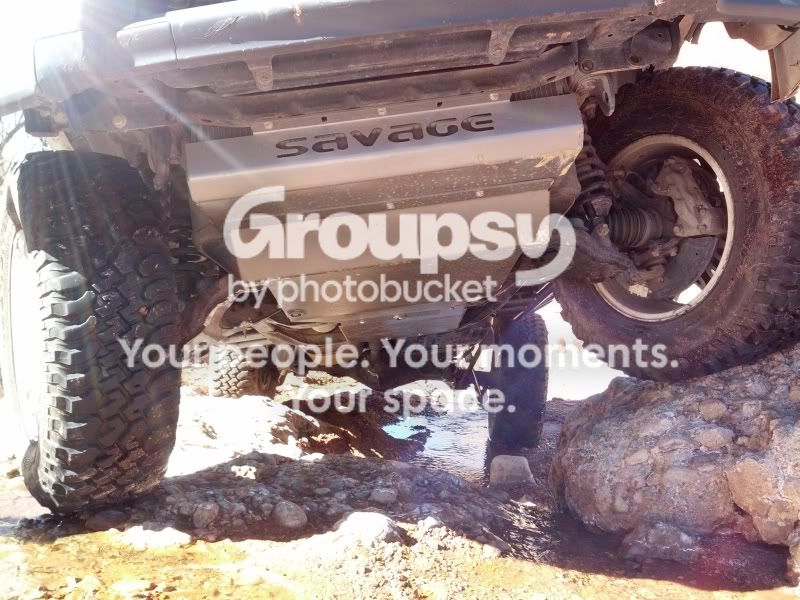
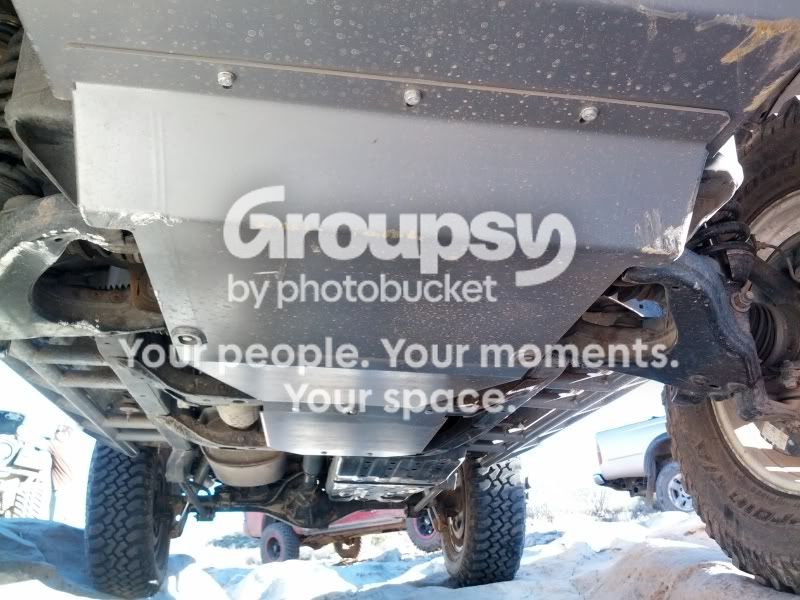
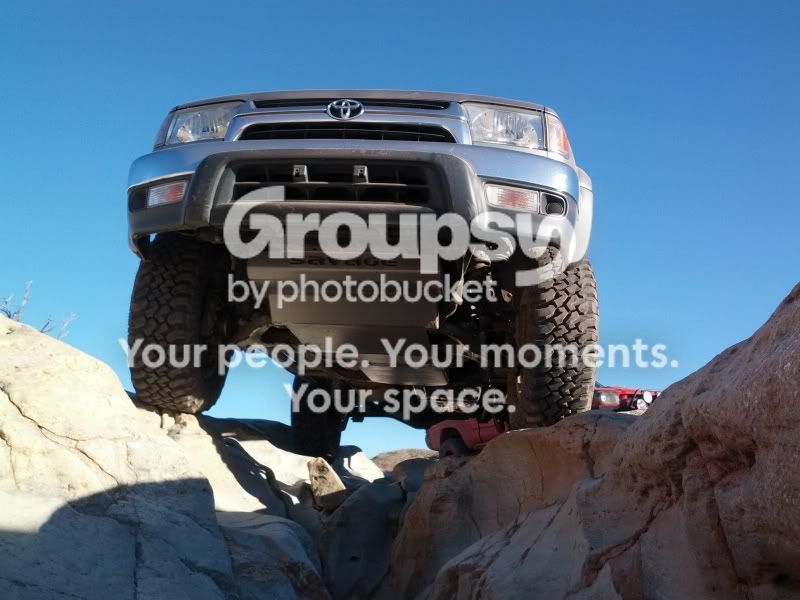
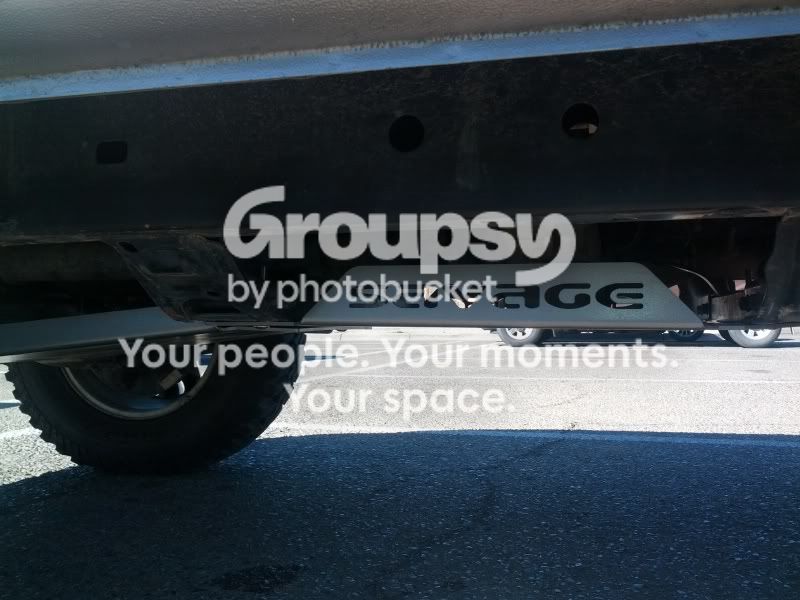
Savage Offroad full skids
Custom Front Crossmember(removed with CBI front bumper install)
Alpine head unit
JBL 6.5 front door speakers
Airaid MIT
OEM paper Air Filter
6" Deckplate Mod
295/75/16 Hankook Dynapro MTs
16x8 4" BS SCS SR8s
1st Gen Rollbar colormatched
Wheeler's Rear Extended Brakelines
Extended Rear Diff Breather
TRD SC Intake Manifold Gasket
Lotus Development RCAMS
RCV CV Axles
CBI Hybrid rear bumper w/ Carrier
Addicted Off Road Plate Winch Bumper
10,000lb Winch with Synthetic Rope
OEM Bug Deflector
B&M 70266 Transmission Cooler
Custom Rear Bumpstop Extensions
Custom Beefed Gas Tank Skid
Custom 1/4" wall lower links built with factory bushings and Summit Machine Flex Joints (medium)
Wheeler's Rear SuperBumps
Weathertech front floor liners
Replaced LBJs with OEMs at 128k
First Aid kit and a bunch of Tools
Andy Mod 2.0
Welded Steering Shaft
Poly Rack Bushings


Waiting for me in the garage:
4.88 e-locker swap
bunch of little parts accumulated during my deployment.

Currently.
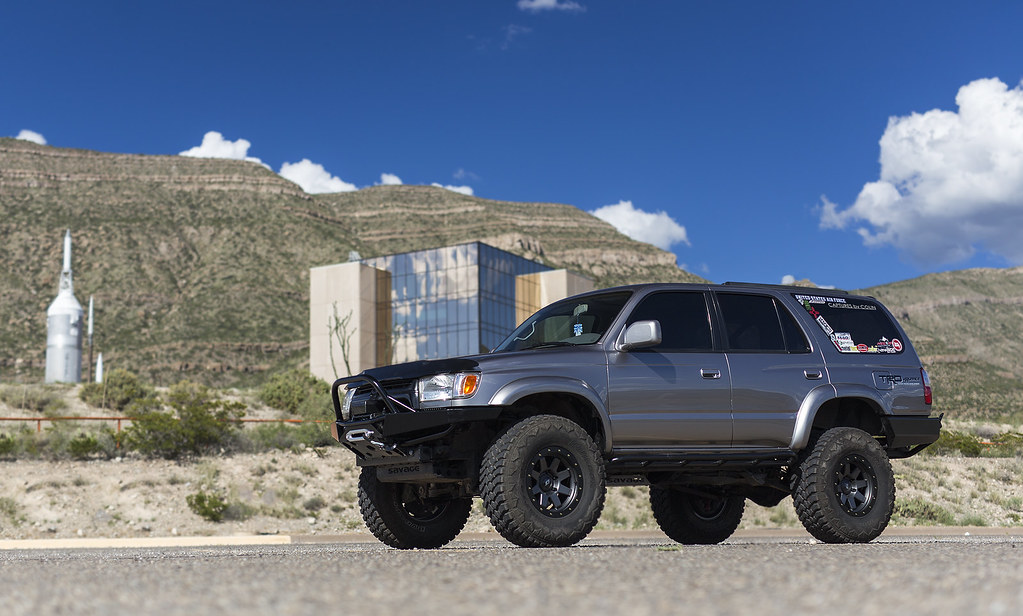
IMG_4124sm by natemob7, on Flickr
 
Last edited:
Register to hide this ad
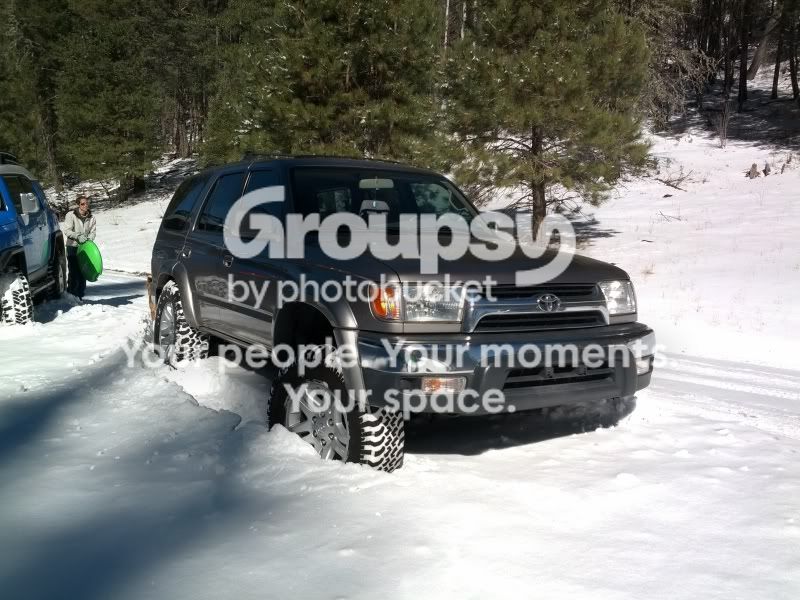
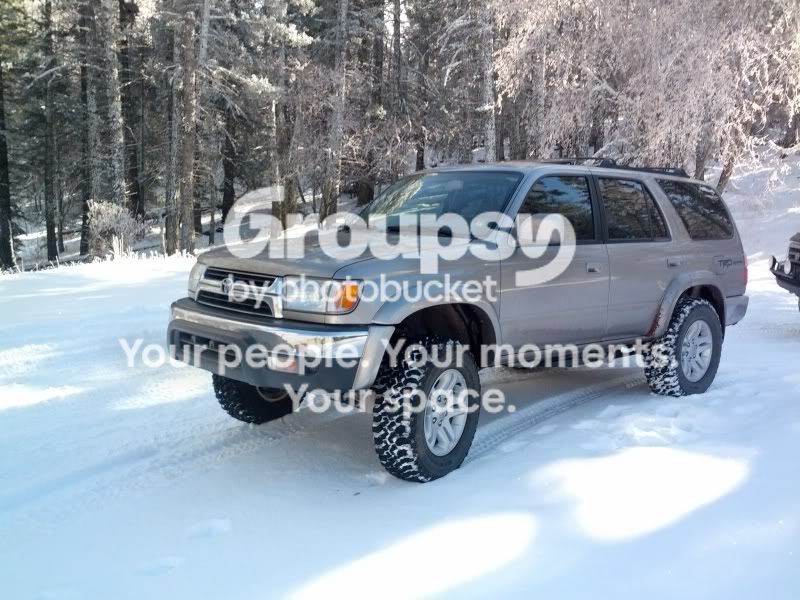
I was initially really impressed with the overall quality of the 4runner and fell in love with it on the hour long ride home from the dealership. After lots of deliberation I ordered a lift for it. I scored a set of Donahoes for cheap, had Icon rebuild in the extended travel flavor. Paired up with some Light Racing UCAs along with some OME 890s and Bilstein 5125s with the goofy adaptor for the stock shock location.

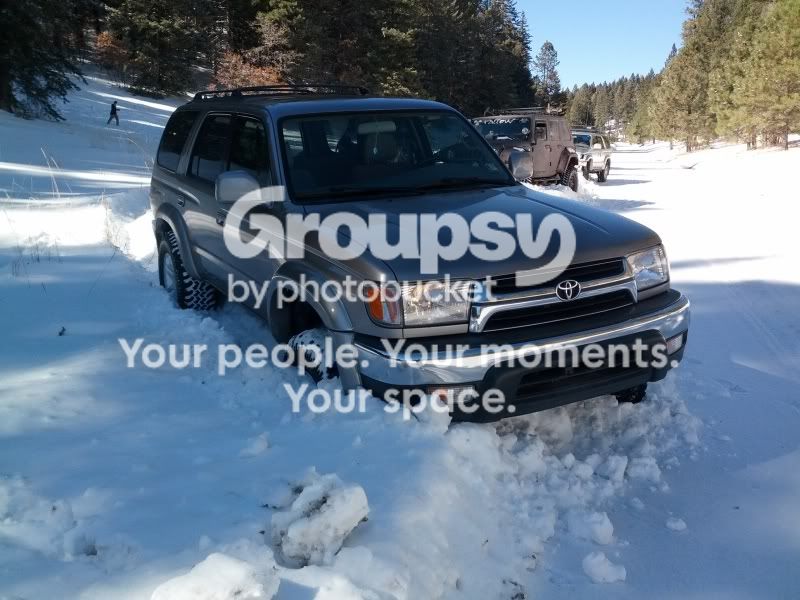
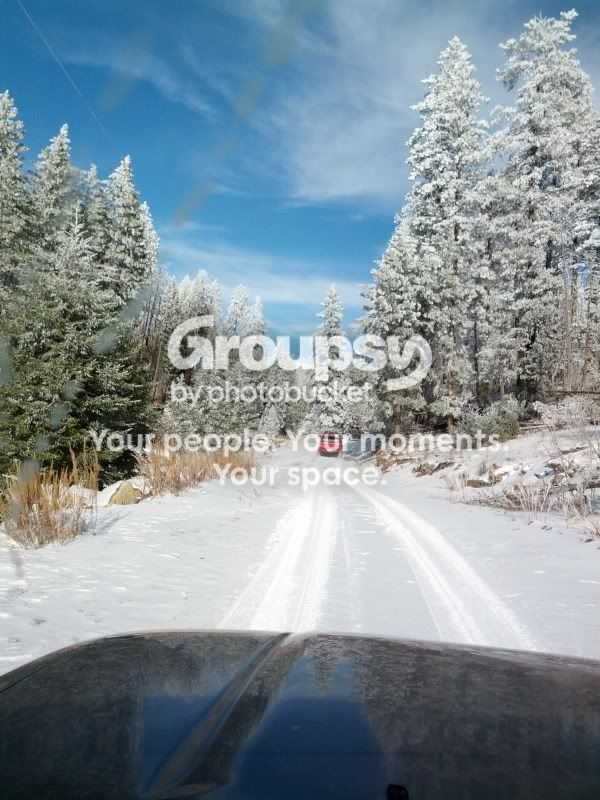
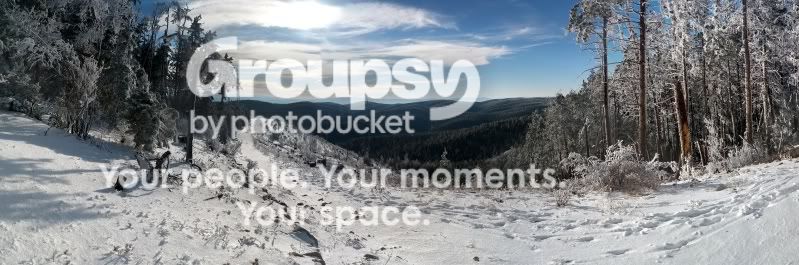
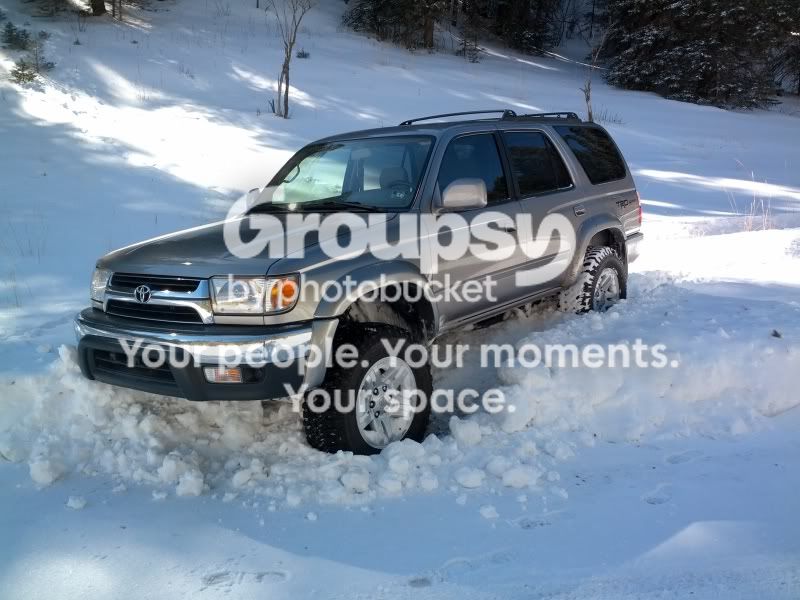
Front lift only. I had to take it out with all the fresh snow! 8-9" at 8500' above Cloudcroft.
IMG_20130101_121447.jpg~original

IMG_20130101_115759.jpg~original

IMG_20130101_135140.jpg~original


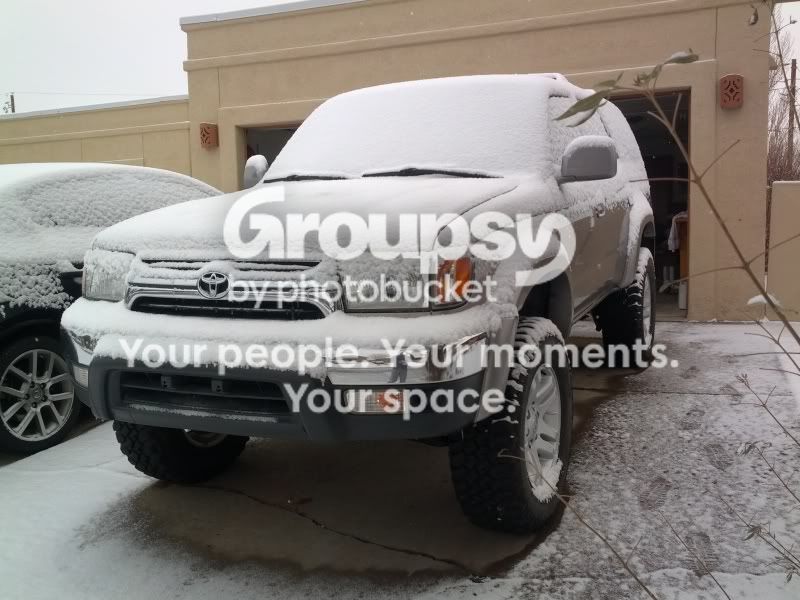
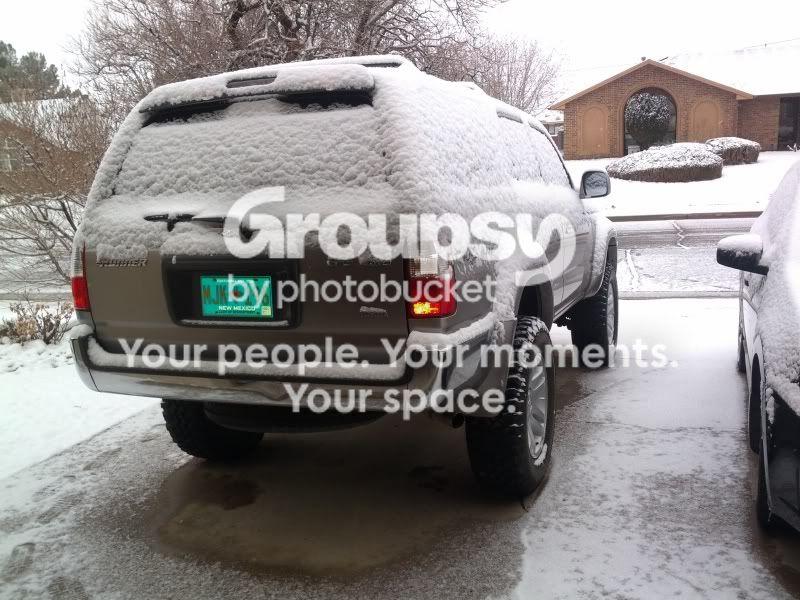
Finally got the rear on a few days later. This was just a dusting of a couple inches overnight.
IMG_20130104_080218.jpg~original

IMG_20130104_080236.jpg~original


After getting the suspension dialed it was time to suit on some armor.
I had the pleasure of dealing with Roy Savage at Savage Offroad, an awesome guy and puts out an awesome plethora of product.

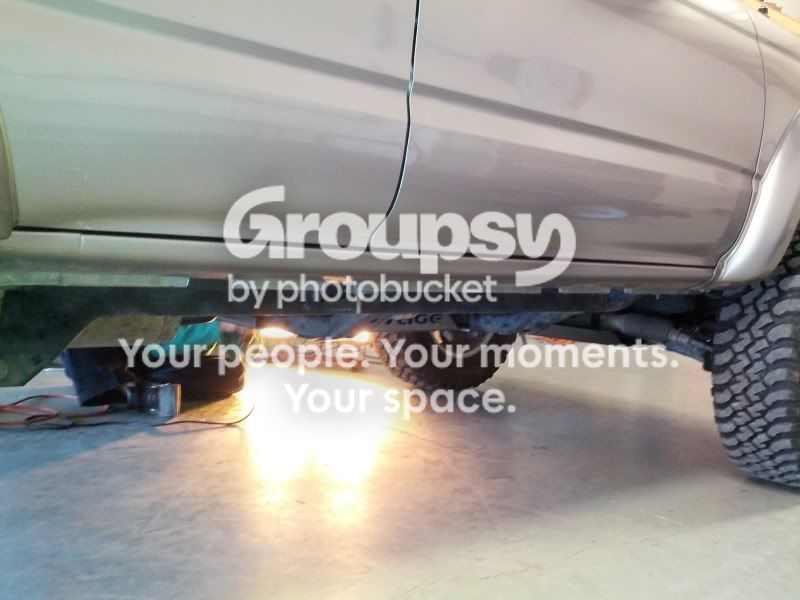
For the Savage Sliders i went ahead and notched the pinch welds to really get them tucked up nice and tight. :rockon:
IMG_20130119_135001.jpg~original

IMG_20130119_135014.jpg~original

Perfect amount of kickout.
IMG_20130119_154742.jpg~original

IMG_20130119_154749.jpg~original


On to the next.
 
Last edited:
For Underbody Protection i again tapped the awesome skills of Savage Offroad for a full set of his 3rd Gen skidplates.

IMG_20130106_140456.jpg~original


IMG_20130120_134028.jpg~original


IMG_20130120_154814.jpg~original


IMG_20130120_154847.jpg~original


IMG_20130116_124323.jpg~original


IMG_20130116_124312.jpg~original


The skidplates bolted up perfectly and leave no gaps from the first cross member in front of the radiator all the way back to the gas tank skid. He recently redesigned the front plate to cover the LCA mounts.

Everything was wiped down with acetone first followed by two coats of Self Etching Primer before a couple coats of Rustoleum Hammered Silver paint.
 
Last edited:
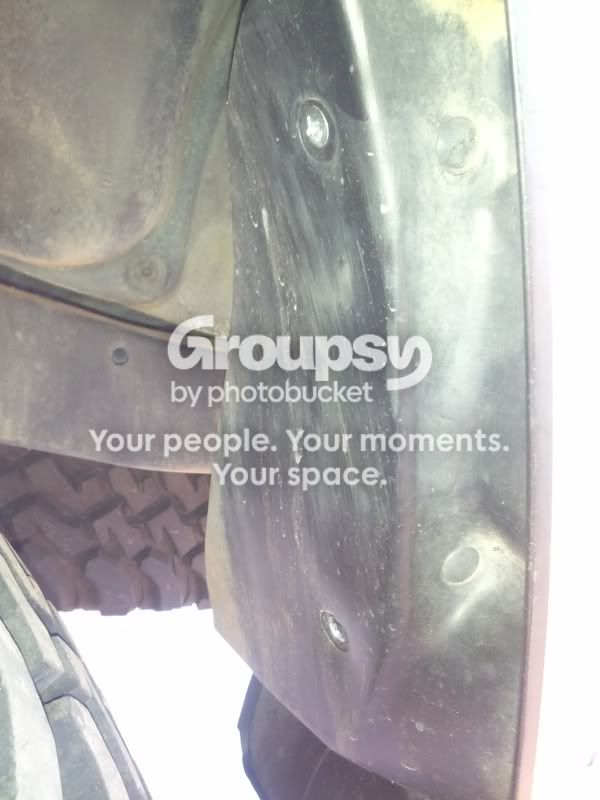
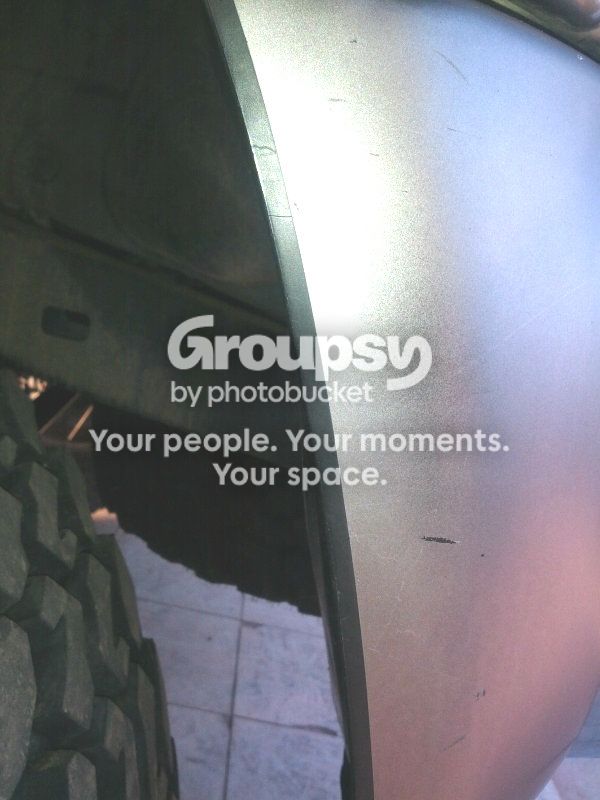
After getting the lift on, i procured a set of late model Tundra 17s and wrapped them in some 1000 mile old BFG Mud Terrain 255/75/17s, including matching spare that still fits in the stock location! The first time out i noticed i was rubbing the rear mud flap bolts pretty bad, so i took a trip to Lowe's.

Found these that are perfect for the job.
IMG_20130116_173957.jpg~original


Smooth as can be!
IMG_20130121_164624.jpg~original


IMG_20130121_164619.jpg~original


Talk about a cheap and easy mod!
 
Last edited:
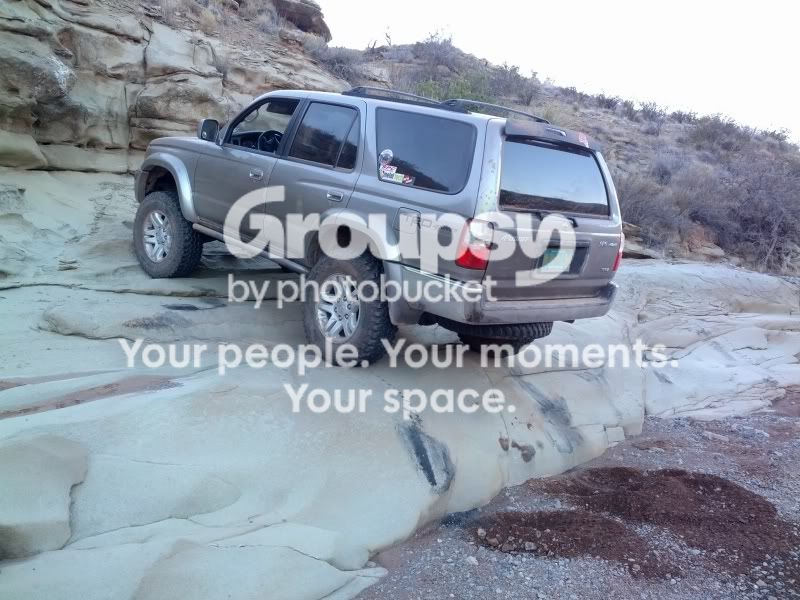
Now for some shots of flexing out and trail rides! :hatsoff:

Actually pulled out of this mess.
IMG_20130101_121437.jpg~original

550684_4677431265146_443131232_n_zps8b721eaf.jpg~original
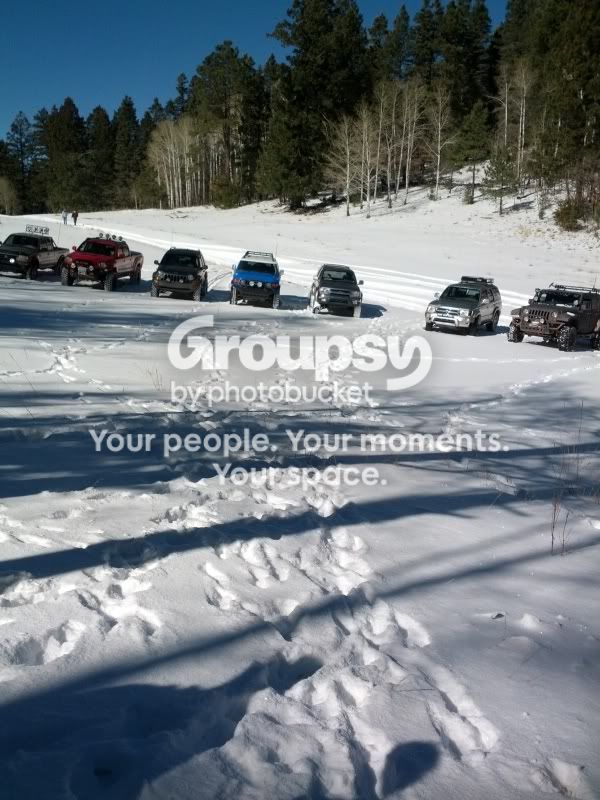
Our group that day.
IMG_20130101_115032.jpg~original


Coyote Canyon above Alamogordo NM.

IMG_20130106_140444.jpg~original

IMG_20130106_140426.jpg~original

IMG_20130106_140359.jpg~original

66399_4780524042401_2018151732_n_zps146cf153.jpg~original

734643_4705180558861_549550226_n_zps23740c00.jpg~original


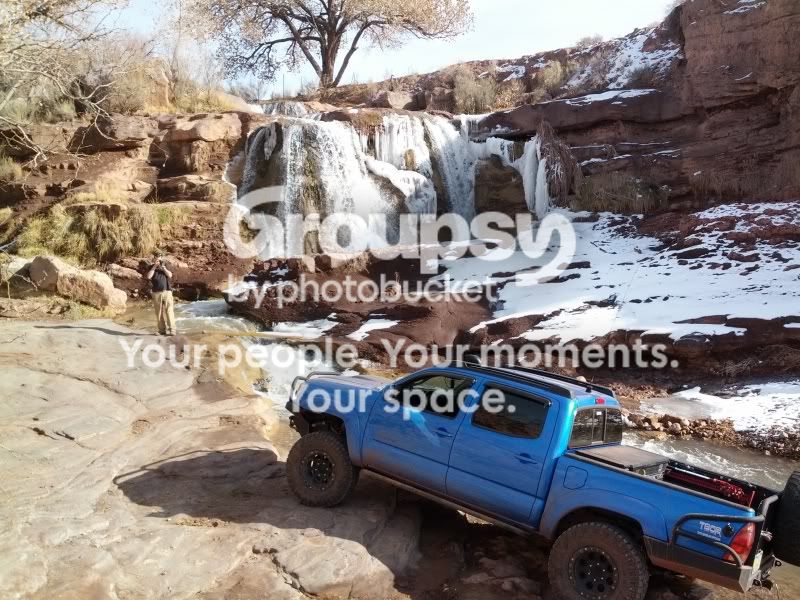
Cool waterfall where we stopped to BS.
IMG_20130106_140704.jpg~original
 
Last edited:
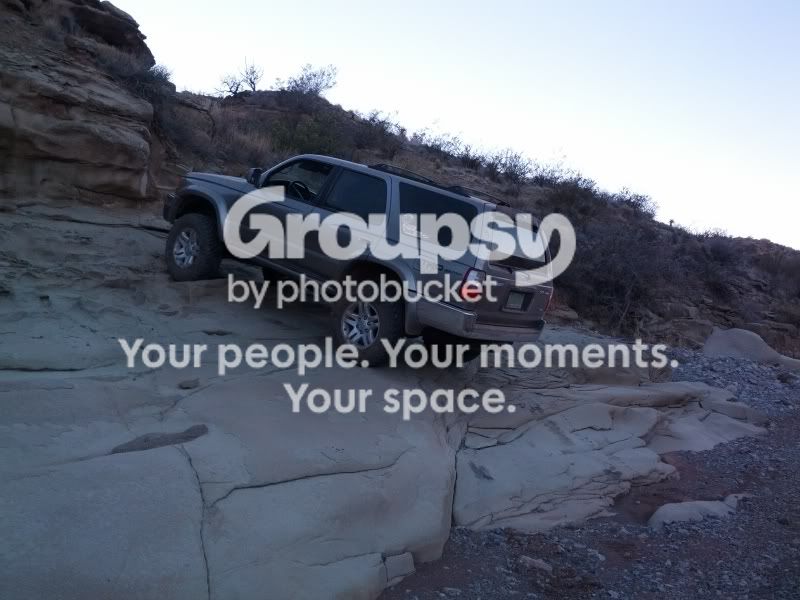
Had an awesome time today out at Rattlesnake Canyon just outside of La Luz NM.

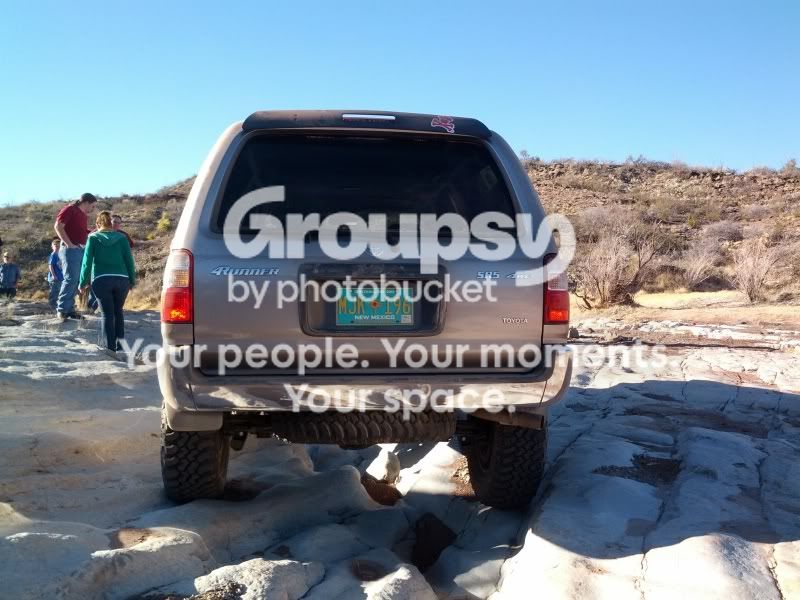
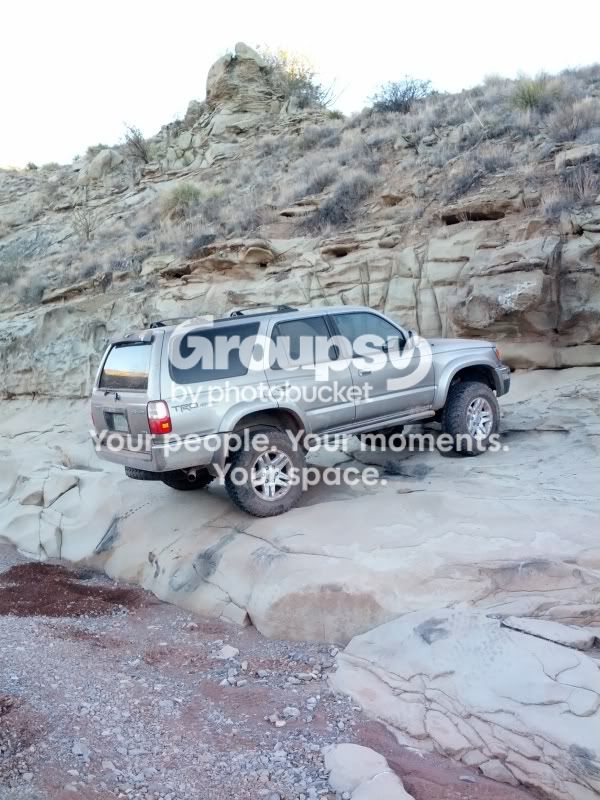
Had to heat em up to make it up this formation.
IMG_20130120_164234.jpg~original

IMG_20130120_164131.jpg~original


Another spot, i love to hear the tires bark and chirp as they hunt for traction.
IMG_20130120_163411.jpg~original


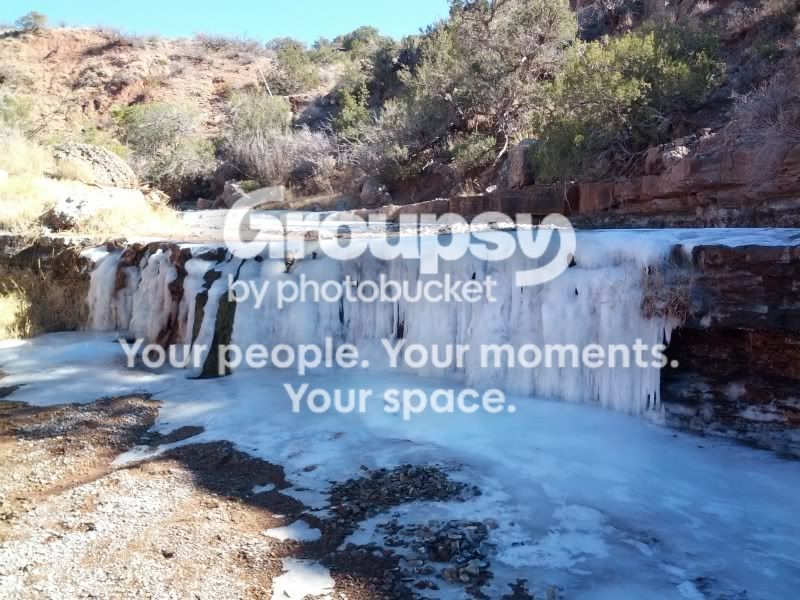
Another frozen waterfall where we stopped and grilled out on the trail.
IMG_20130120_132115.jpg~original

59574_552082858136937_1188226929_n_zps287ff871.jpg~original


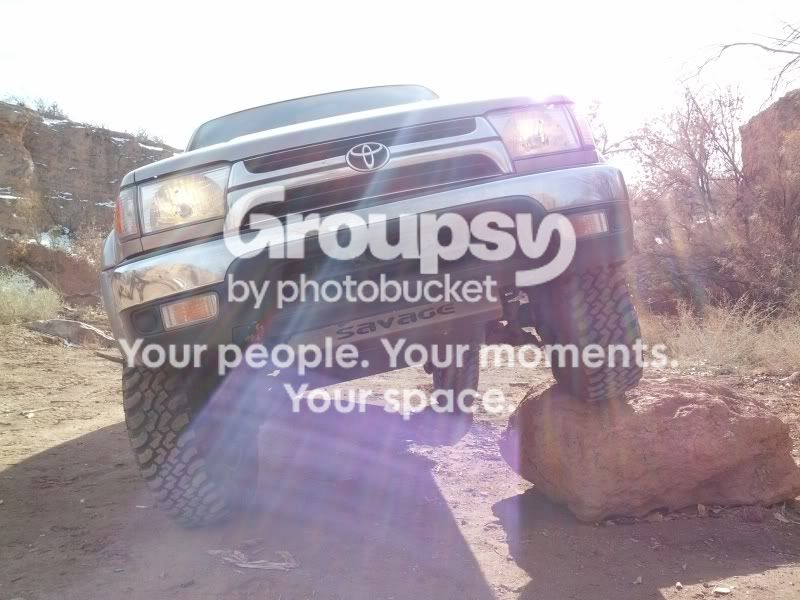
Had to post up on this unassuming rock. Before's todays run i removed the front sway bar. With the Icons' 650lb. spring rate there is really zero reason to continue to run the front bar. After removal, i pulled the end links off and seeing as they are longer than the rear links, i swapped them out to get some extra flex. No pictures of said mod, its not too exciting.

IMG_20130120_134028.jpg~original

IMG_20130120_134158.jpg~original

IMG_20130120_131938.jpg~original

IMG_20130120_133534.jpg~original
 
Last edited:
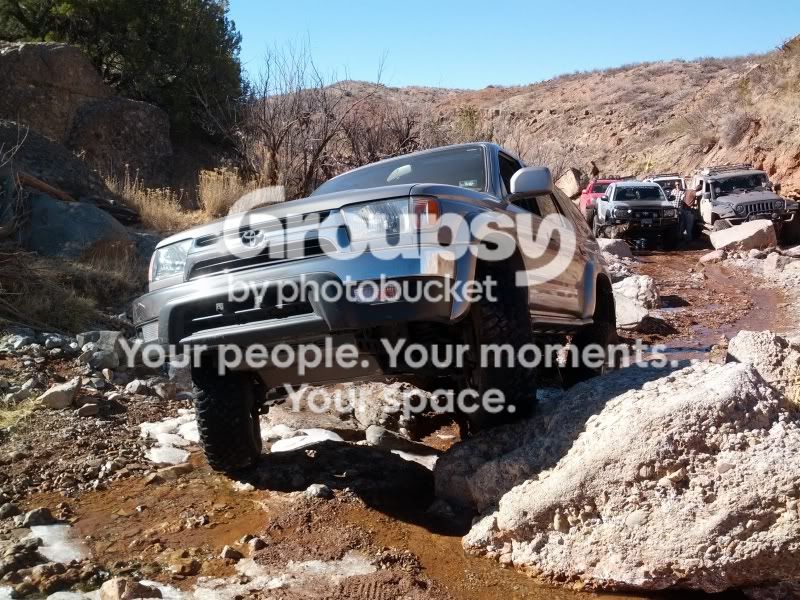
Some more from today.

Airing down. (i went to 20)
184736_4780526482462_510716881_n_zpsb2e39a30.jpg~original


Cool aerial shot of part of the group.
734858_552103841468172_1113686648_n_zps3465fabb.jpg~original


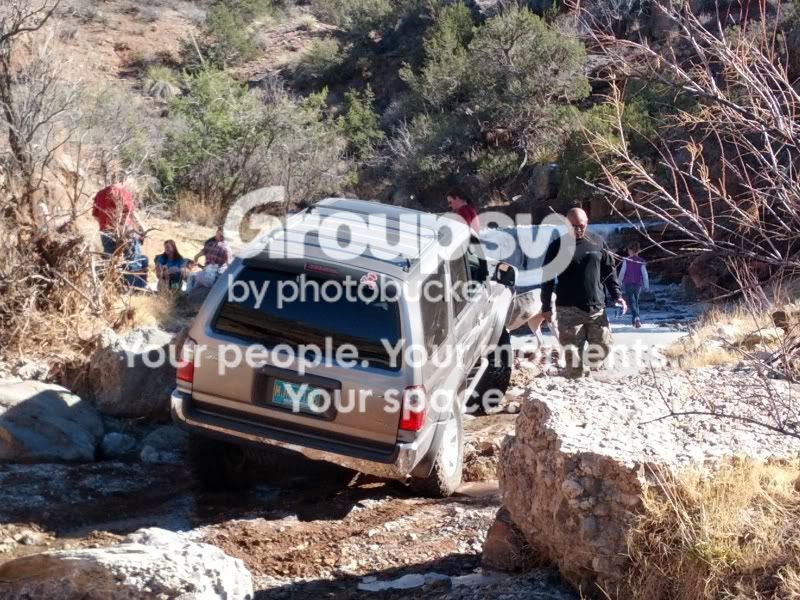
Making our way through the arroyos and creek beds.
74117_552084041470152_665686807_n_zps131858dc.jpg~original


536948_4780493801645_1307070479_n_zpsd0c32696.jpg~original

IMG_20130120_154724.jpg~original

IMG_20130120_154832.jpg~original

64294_10151195478575976_1174727138_n_zps9d5261c9.jpg~original

19513_4780507121978_1622831360_n_zps9b479e84.jpg~original
 
Last edited:
hows those km1s?
ive seen they actually still sell them in that 255 75 17 model because of all the wranglers that use them as a stock size and also seeing quite a few of them go on craigslist from all the wrangler owners; i was tempted to try a set..
I did have a set before on a previous truck but hows the noise? i know they have IRON tread wear which is why i loved them as they seem to last forever. But noise for me was crazy back then..
how are those?

overall beautiful truck man!
 
Nice pictures and I like the frozen fall...

How did you managed to get hold of all others for a nice day out? It is EXTREMELY hard to get hold of every one here in LA, TX and AR area for a day out.
 
Nice build!

I didnt realize you had done all that work to her already.

Thanks buddy, i'm trying to get on the rest of my NM brother's level!


hows those km1s?
ive seen they actually still sell them in that 255 75 17 model because of all the wranglers that use them as a stock size and also seeing quite a few of them go on craigslist from all the wrangler owners; i was tempted to try a set..
I did have a set before on a previous truck but hows the noise? i know they have IRON tread wear which is why i loved them as they seem to last forever. But noise for me was crazy back then..
how are those?

overall beautiful truck man!

Mahalo! When i picked them up i got a helluva deal on all five with less than 1000 miles on them, they ride nice and took very little weight to balance out. They are what i think is a perfect size for our 3rd gens, they are the sweet spot between too fat and heavy 285s and too small 265s. They are bit louder than i expected but i'm okay with it, i can still have a conversation comfortably with a passenger or just turn the stereo up a bit louder.

Nice job on the Runner and Great pictures!!!
You've got some nice trails down South there.

Thanks a lot man, its great out here! check back often for more photo updates.:naughty:


Nice pictures and I like the frozen fall...

How did you managed to get hold of all others for a nice day out? It is EXTREMELY hard to get hold of every one here in LA, TX and AR area for a day out.

Thanks dude, honestly we get together almost every weekend to try and do something. We have a very active Facebook group that we all communicate and coordinate trips through. Toyota Borderlands Off-Roaders is our group name.
 
Very nice start! Can't wait to see what else you have in store for the runner

I appreciate it, a locker or e-locker retrofit will be next. It does surprisingly well without though.

I had to take it out with all the fresh snow!
gu1.jpg
hg.jpg
dh.jpg
s5.jpg
ht.jpg

haha yeah i realized after you posted, that the parking lot picture doesnt look like much. That picture just depicts the extreme prerunner stance it had with just the Icons up front and stock out back. Here are a couple more from that day.


IMG_20130101_145459.jpg~original

PANO_20130101_152459.jpg~original
 
Last edited:
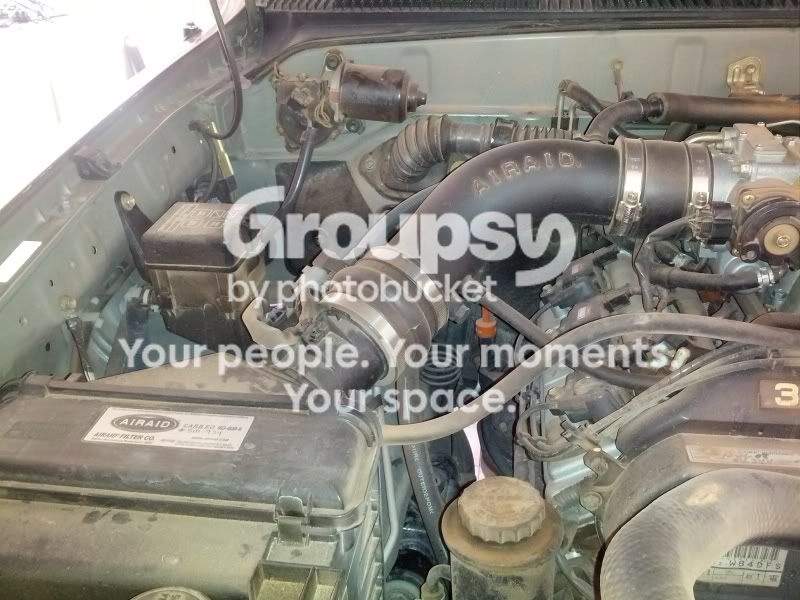
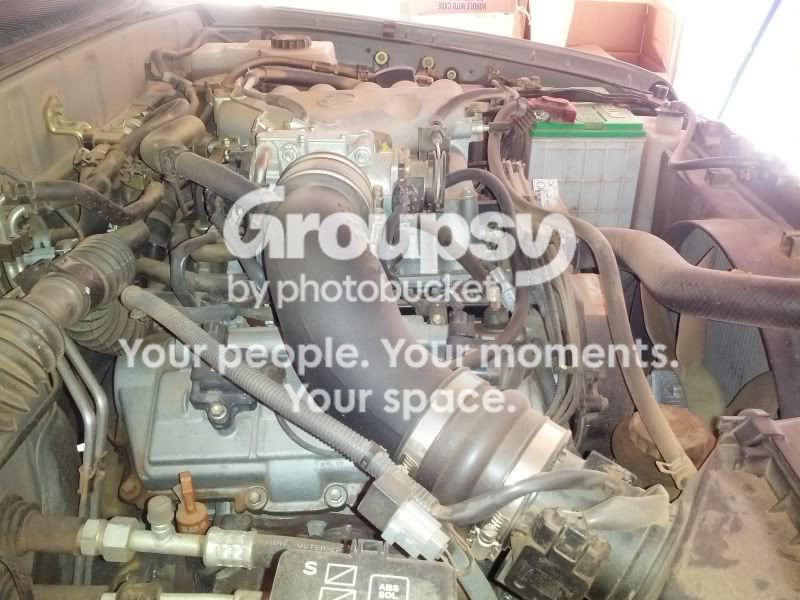
I had this past Monday off as most of you probably did and found time to install a couple little things on the 4Runner. First I Installed a Airaid MIT and an AFE dry filter.

It really cleared up the engine bay, after i run through this tank ill calculate if i gained any mpg back that i lost after the lift and tires.

IMG_20130121_155556.jpg~original

IMG_20130121_155608.jpg~original


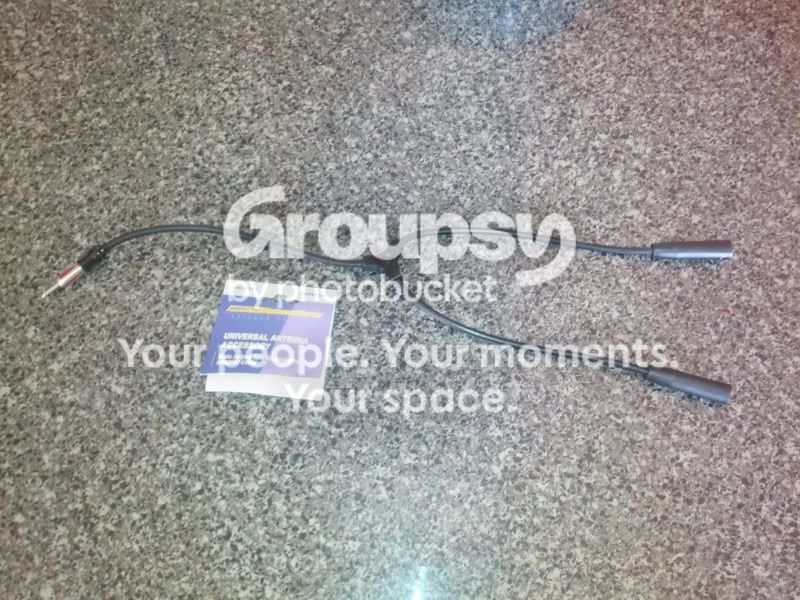
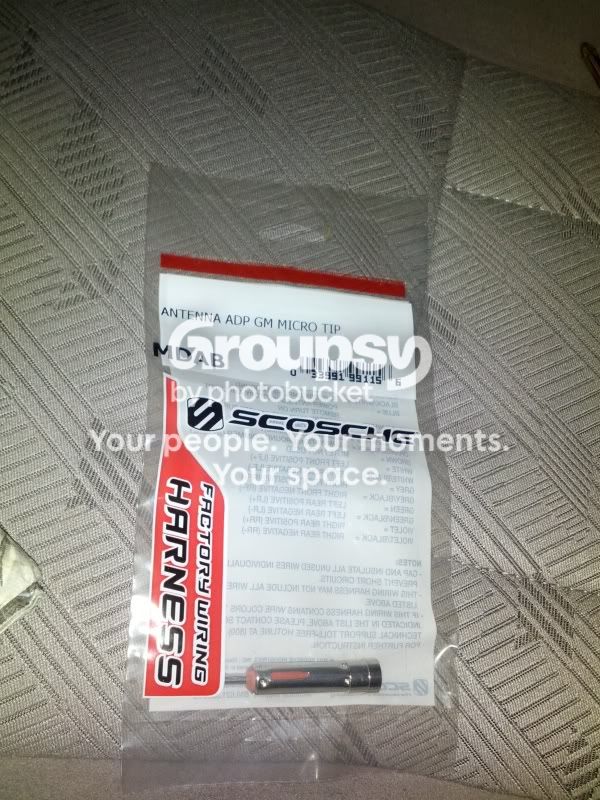
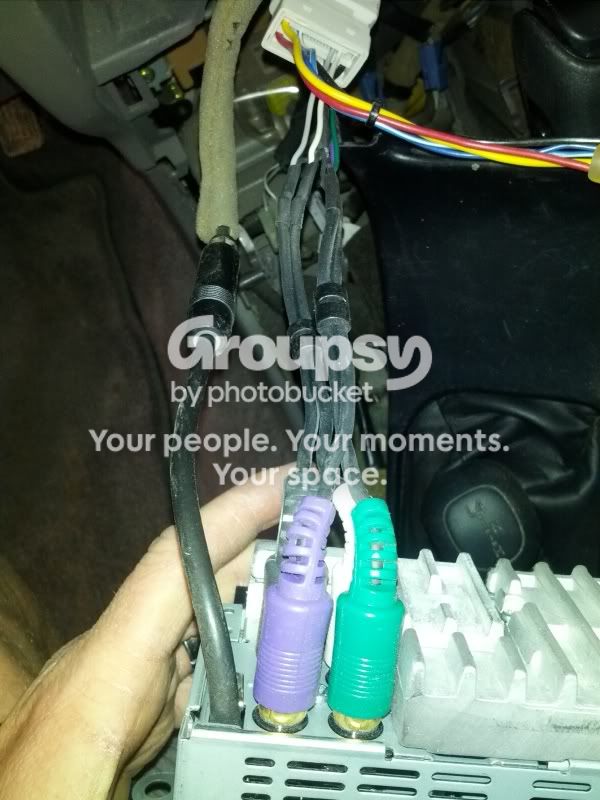
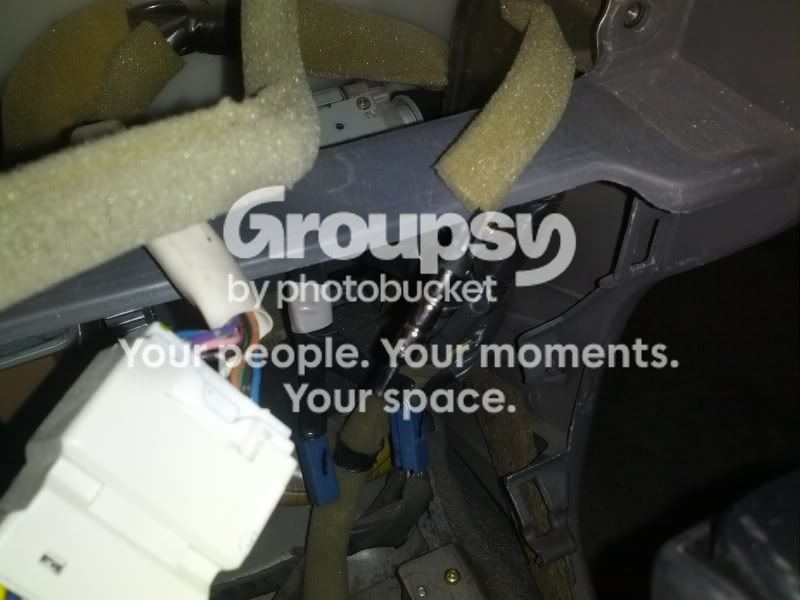
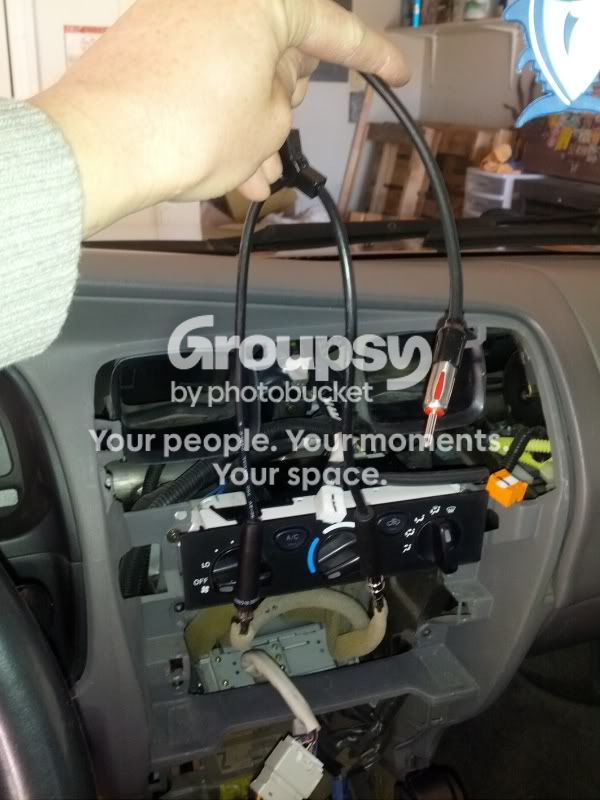
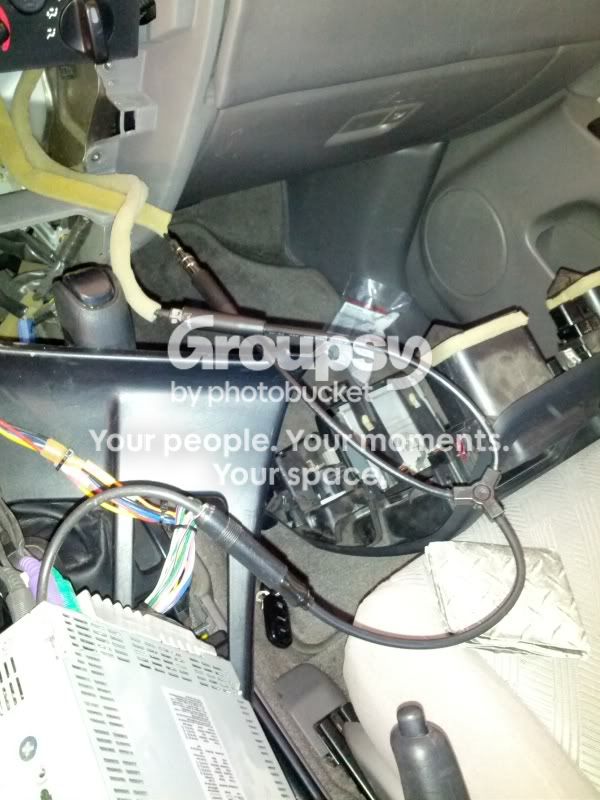
Also installed an antennae adaptor so both the front mast antennae as well as the one in the rear glass work together to pull a MUCH stronger signal. Now the "Diversity Antennae" works correctly for less than $15. Ordered both parts through amazon and it made an enormous difference in how many stations i can pull in and hold for a wider area. I would say this is a must, if you listen to the radio with an aftermarket head unit.

IMG_20130121_105856-1.jpg~original

IMG_20130121_152026.jpg~original


First pull your center stack and head unit, this is what i was looking at after getting the radio out. Thats the front mast antennae plugged in on the left.
IMG_20130121_152214.jpg~original


And here is the smaller plug for the rear antennae, just hanging out behind the dash.
IMG_20130121_152227.jpg~original


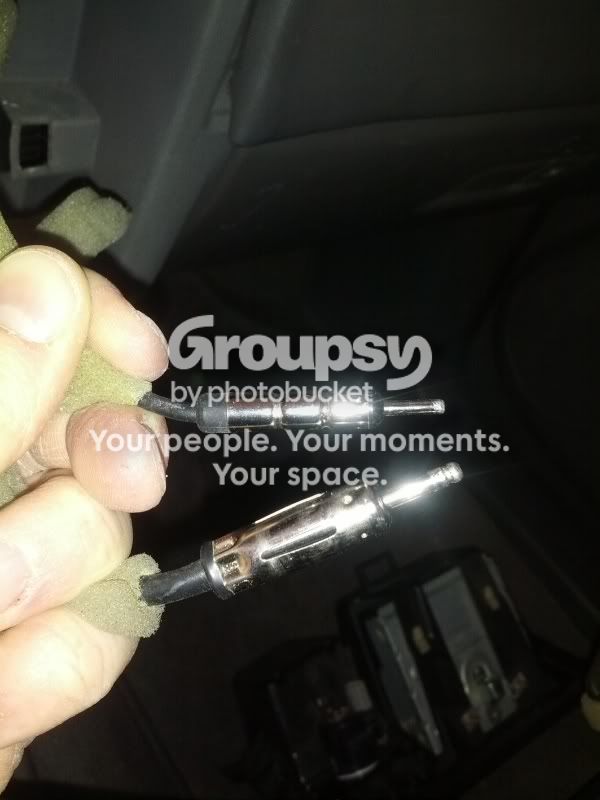
See the size difference in the two here.
IMG_20130121_152318.jpg~original


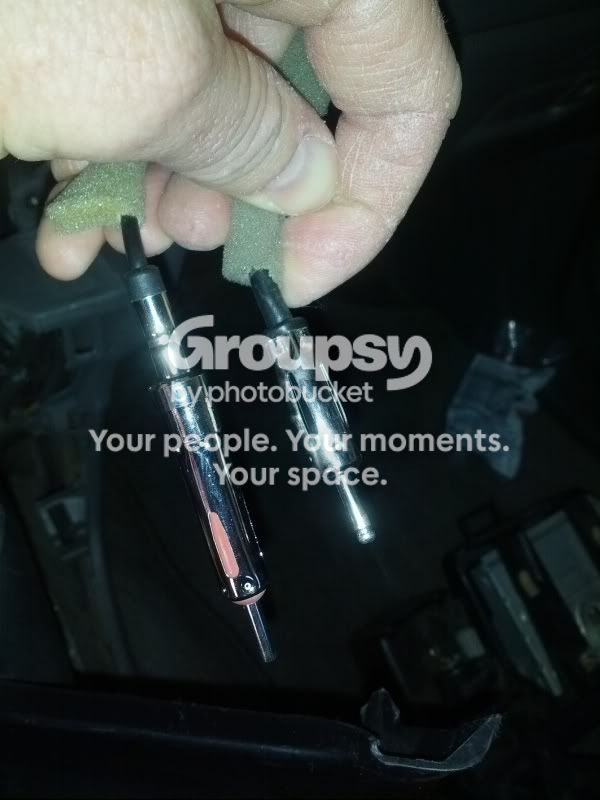
Take the single plug adaptor and fit it on the small antennae plug. Make sure it seats fully. Here is the smaller plug with adaptor on the left and the factory front plug on the right.
IMG_20130121_152418.jpg~original


Then plug both into the split end of the "Y" harness.
IMG_20130121_152552.jpg~original


Then plug the other end into the antennae port on your head unit.
IMG_20130121_152619.jpg~original


Reinstall your radio and center stack and enjoy much better radio reception! I had to re-program my set stations since i know get twice as many as before. Boom! You're done!
 
Last edited:
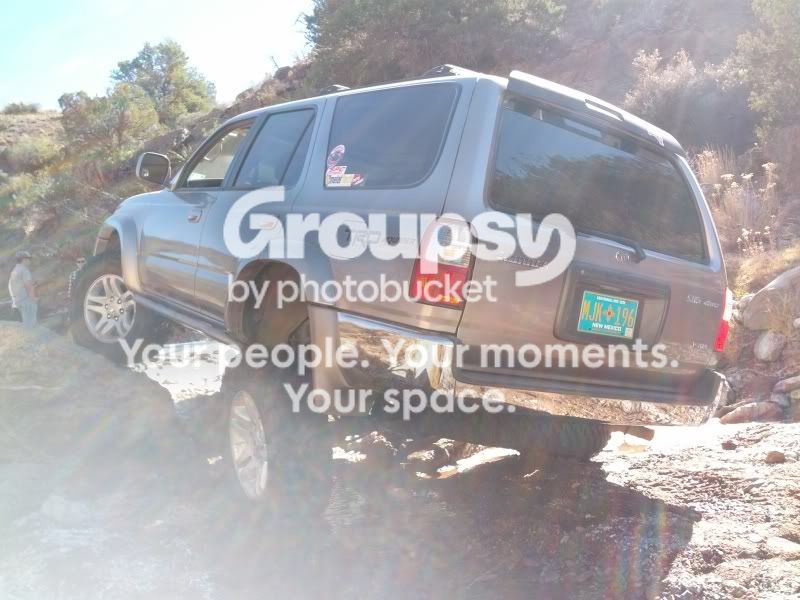
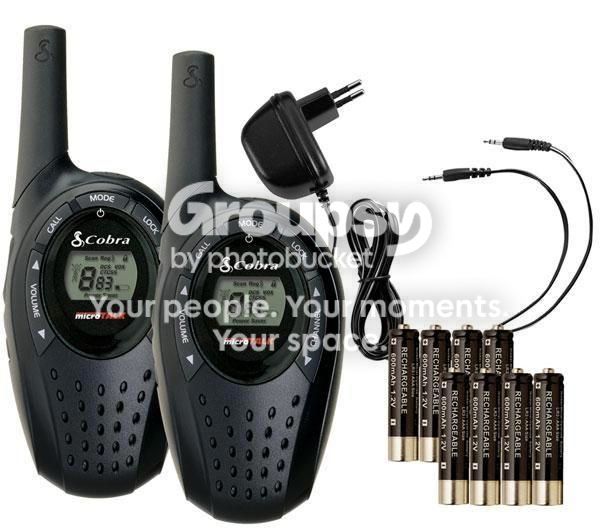
Had a birthday a couple days ago, got a couple new walkie talkies for all the trail rides we do. I like being able to keep in touch offroad but wont commit to a full on CB setup yet.

2042606_orig_zps5c4ad7dd.jpg~original
 
Last edited:
Members online

Forum statistics

Threads
278,307
Messages
3,554,048
Members
248,016
Latest member
Advally Service

Trending content

Back
Top