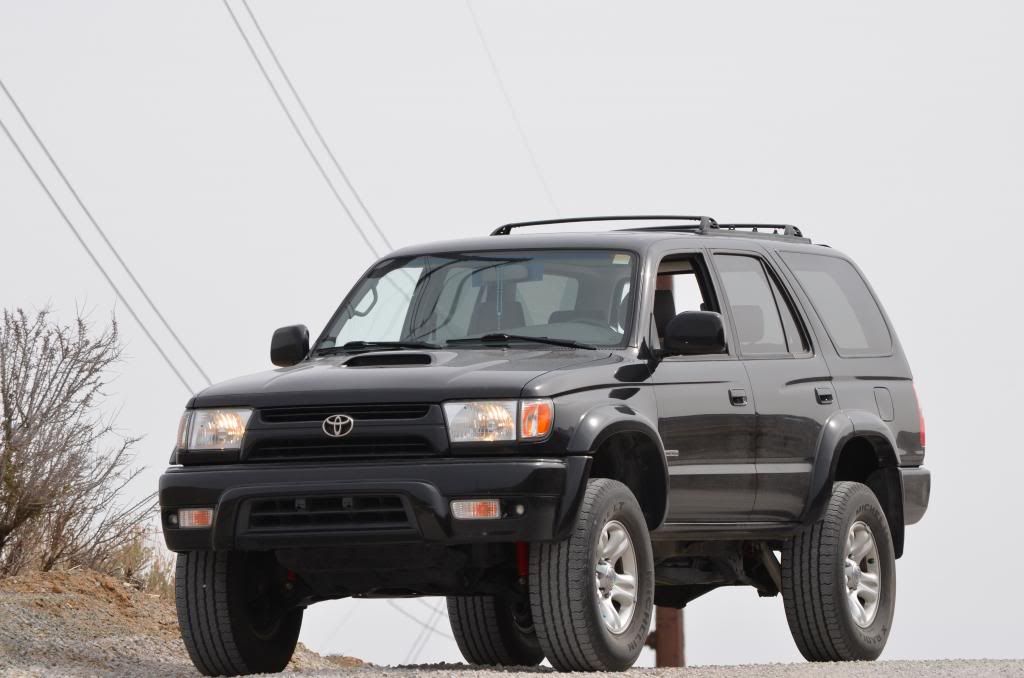
Nate's Slow Build/Mod Thread

02_SE_Runner

New member
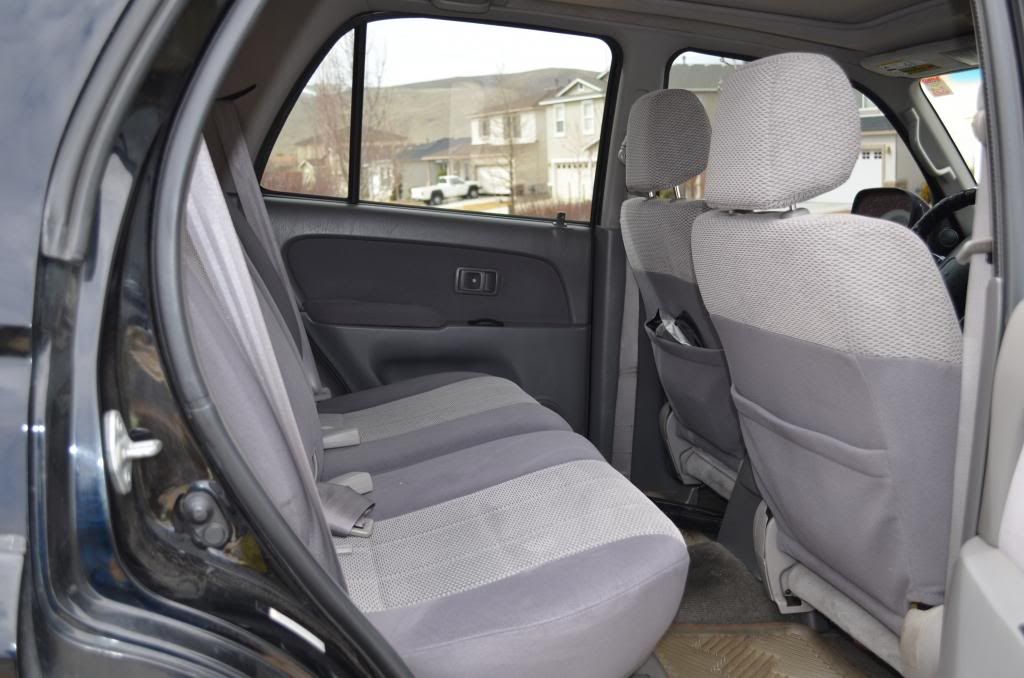
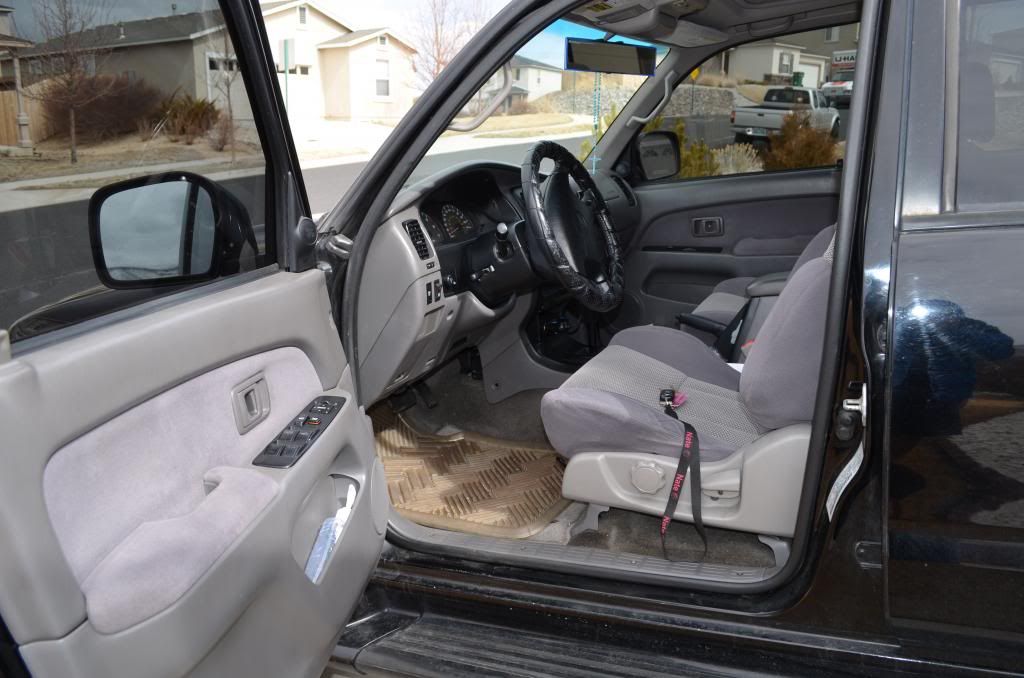
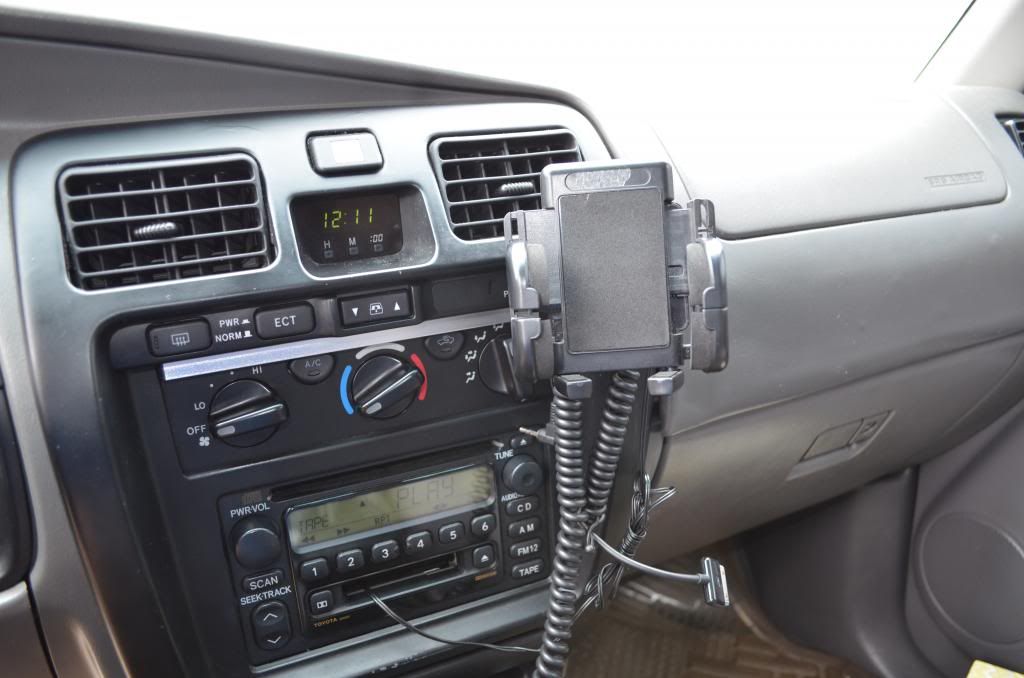
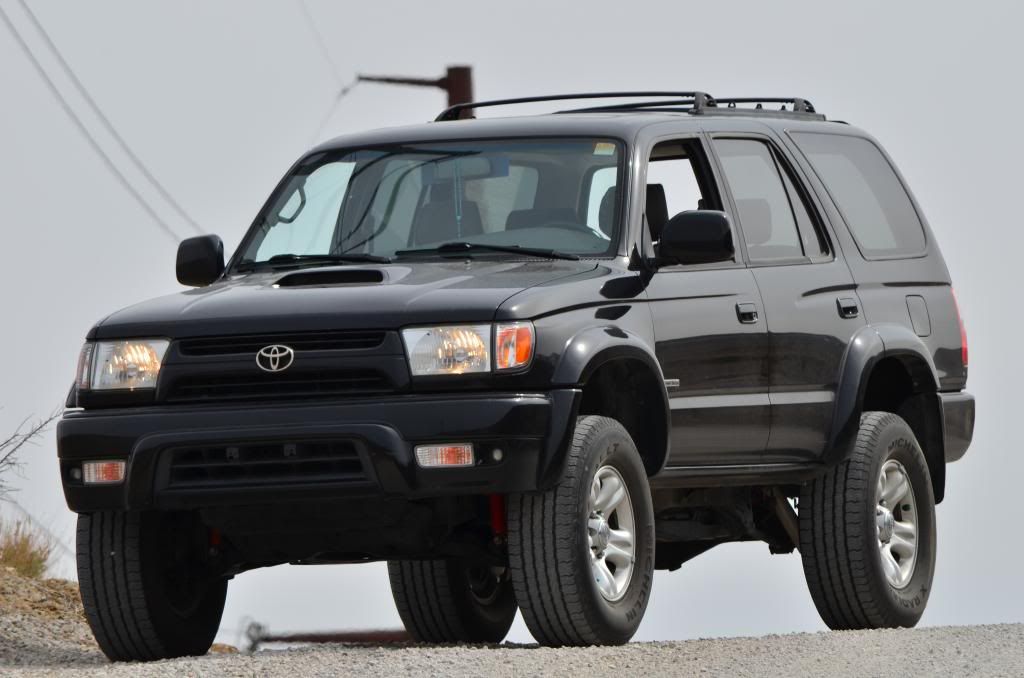
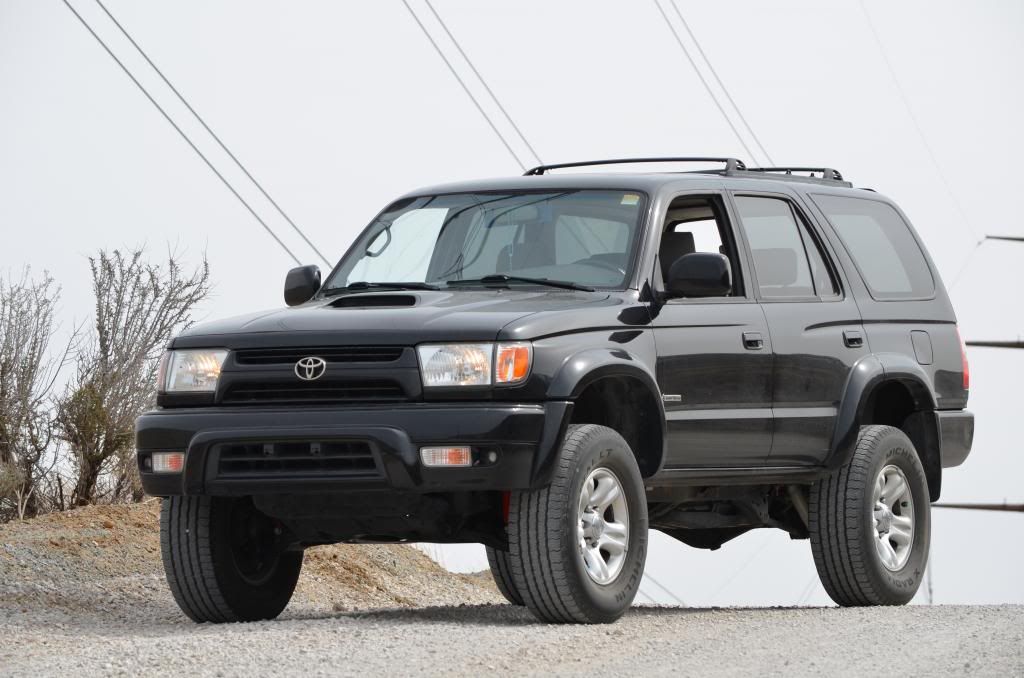
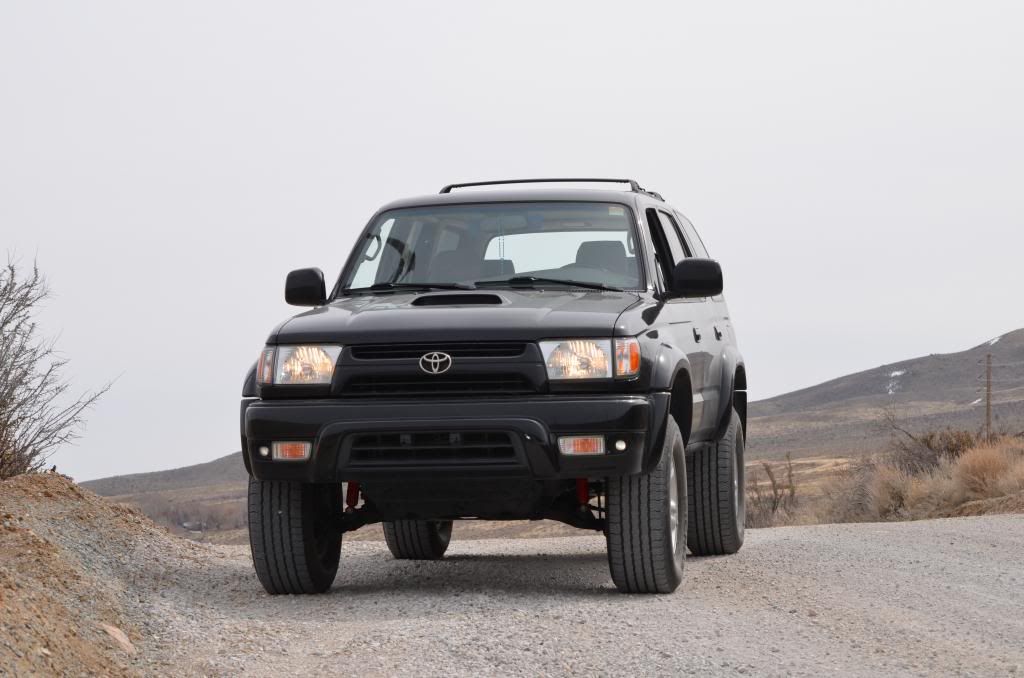
2002 TOYOTA 4RUNNER SPORTS EDITION
3.4L V6 ENGINE
AUTOMATIC TRANSMISSION
2-WHEEL DRIVE (sadly)


Being into building cars from classics to bagged trucks and anything in-between.
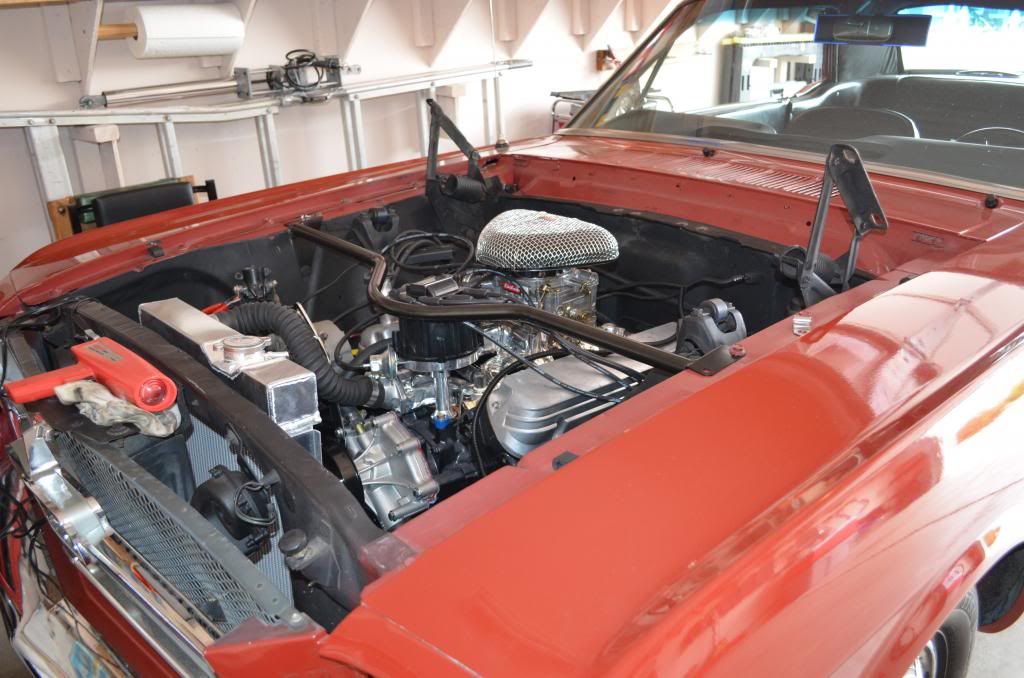
Before I start I thought I would give you all some pictures of the 65 Mustang we are currently building:
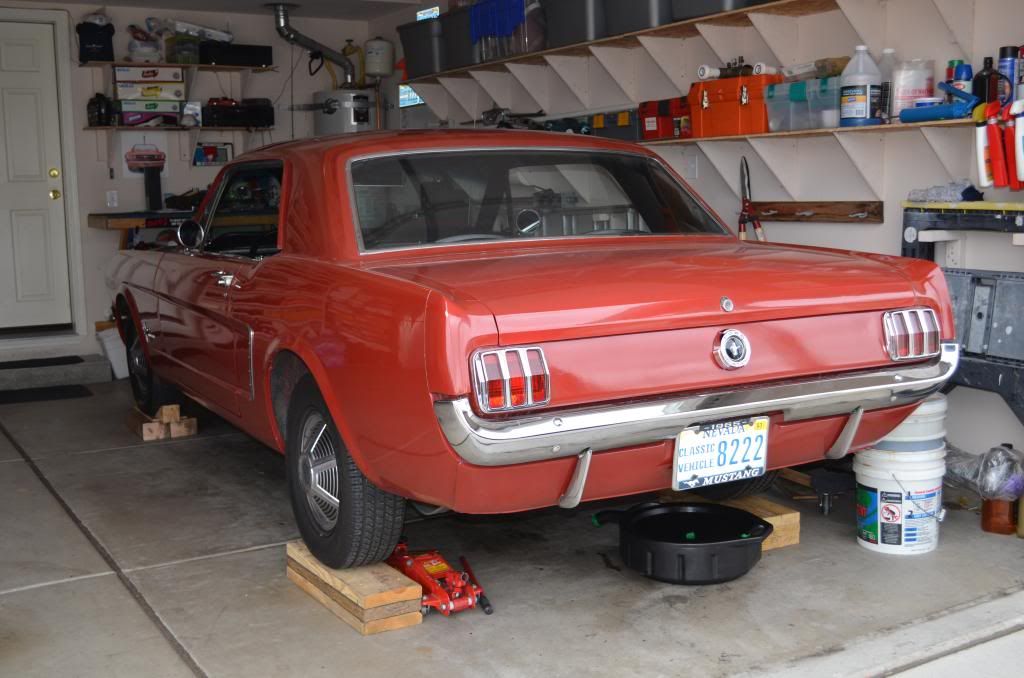
DSC_0813_zps7c7d9f6e.jpg~original

DSC_0814_zpsc8d69685.jpg~original


ON TO THE 4RUNNER!!!

As of 09/23/11-ish
I am the second owner of this family owned vehicle (Insured under my mom's name). This was a Southern California vehicle, owned by my Grandmother since 0miles. Within my Grandma's ownership she got rear-ended pretty bad (She was fine without a scratch), and TOYOTA themself built pretty much a brand new SUV of the whole rear end (New Chassis :cool:). Within those 10 years of her owning it, I always cleaned it, and washed when I visited her.

We brought this home for my 16th birthday with just over 70k miles.

Picture next to my Dad's X the day we brought it home:
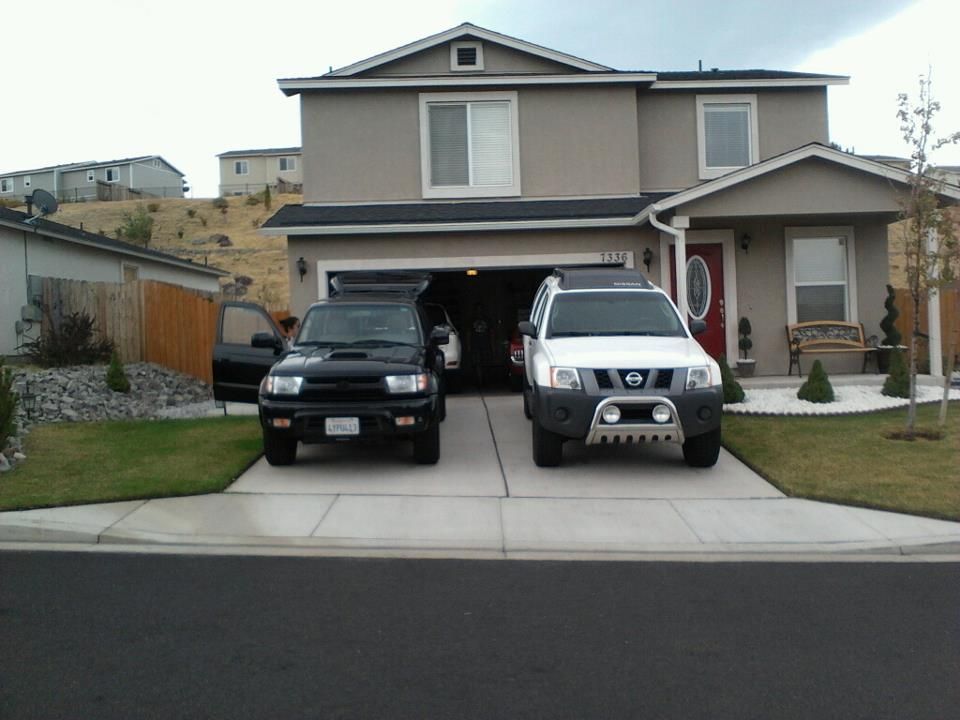
runn4r_zps86f9a40e.jpg~original


A SLOW PROCESS OF "MODS"
CURRENT MODIFICATION LIST

ENGINE/Transmission:
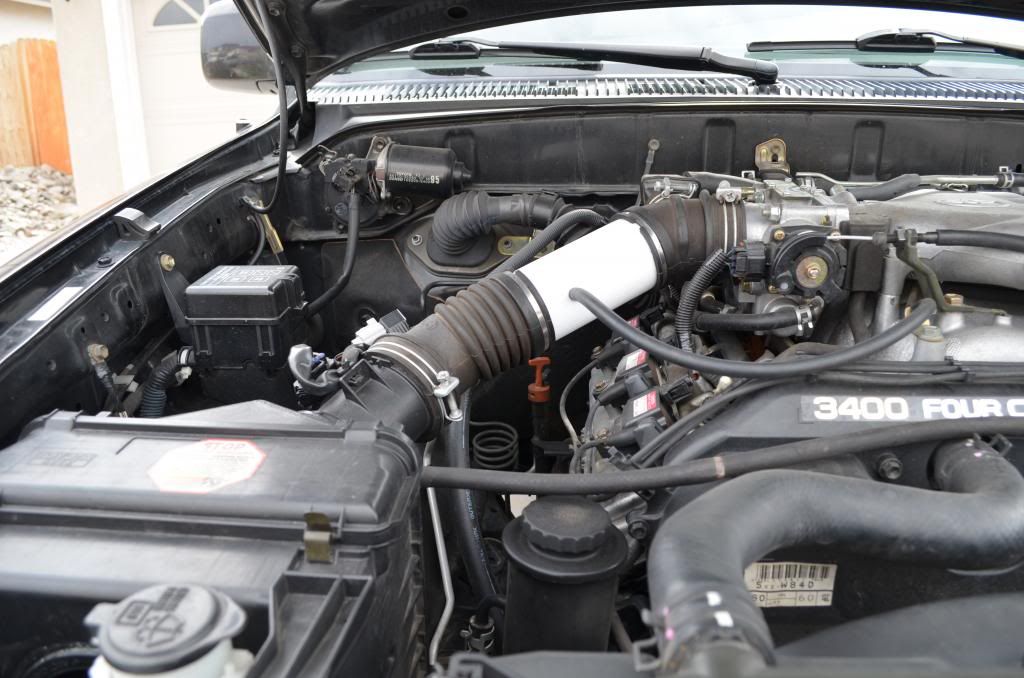
ISR MOD (INTAKE SILENCE REMOVAL)
Deckplate MOD
FlowMaster 40series
Hayden 402 Transmission/Oil Cooler
SUSPENSION:
Stock Springs
Air Lift 1000
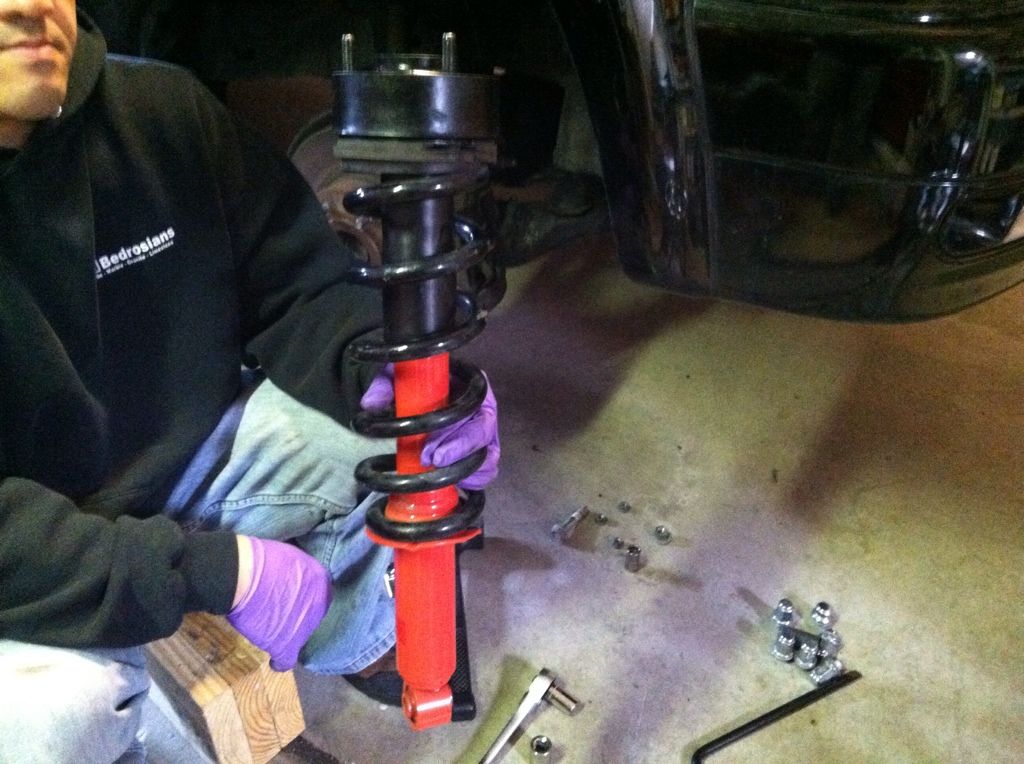
Daystar 2.5" Lift
KYB MonoMax Shocks (Front)
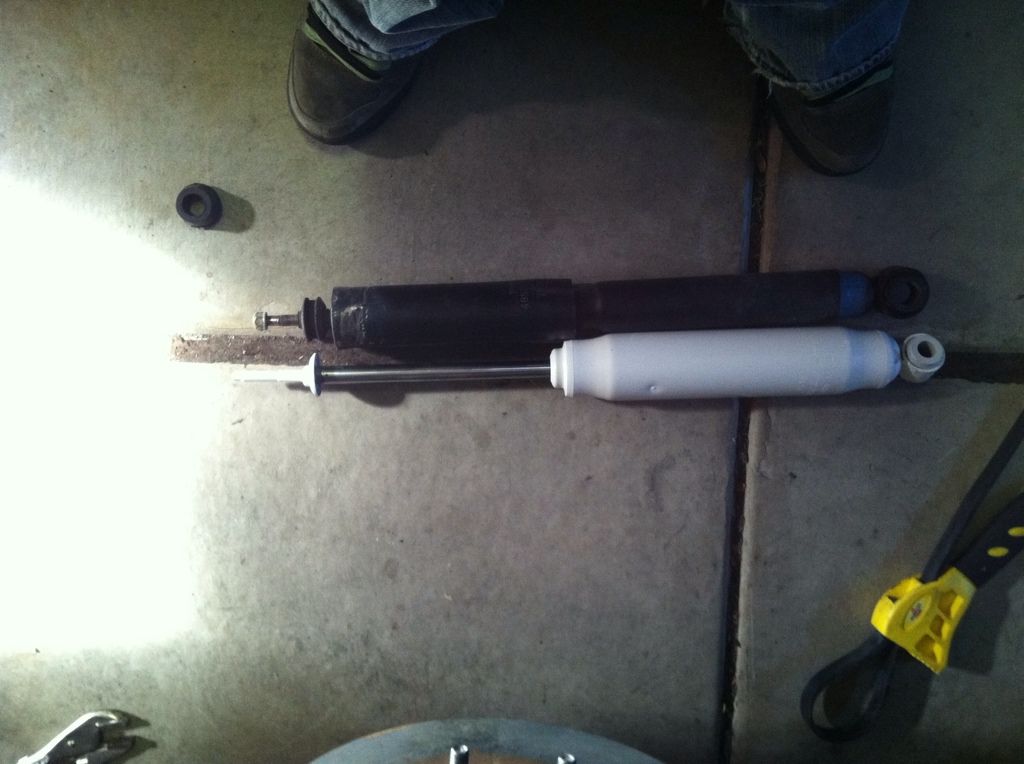
ProComp ES9000 Shocks (REAR)
BFGoodRich A/T's 285/75/16

INTERIOR:
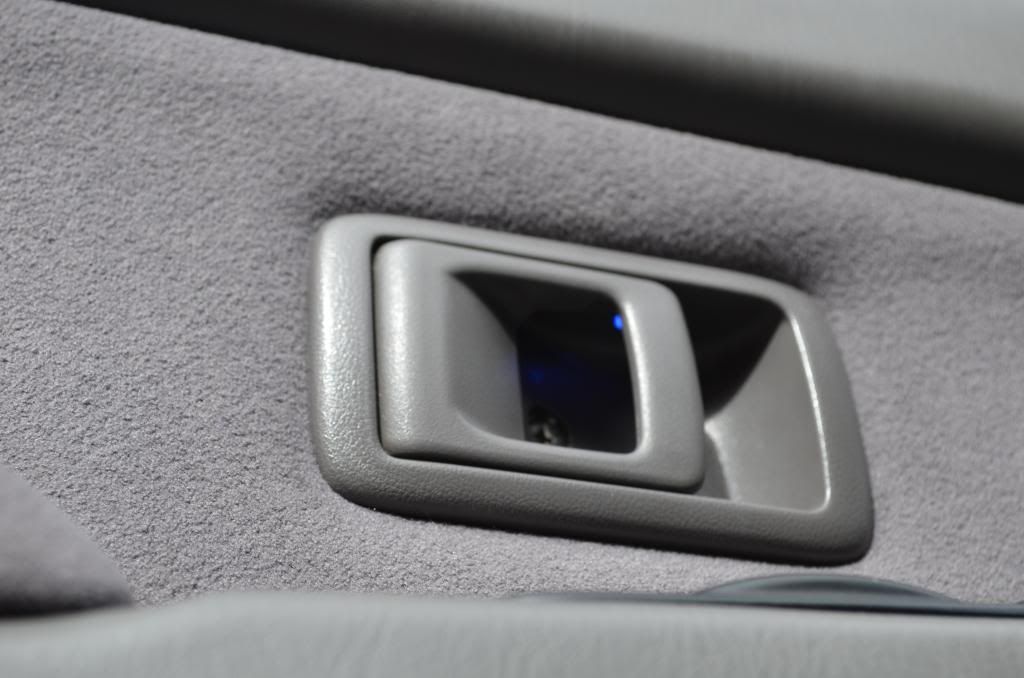
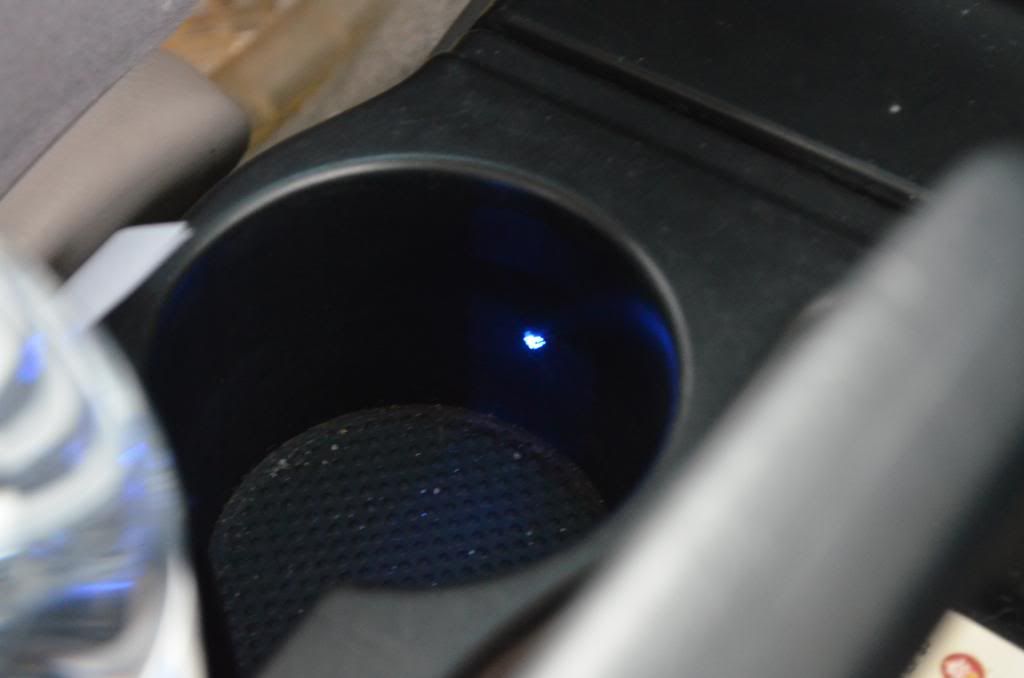
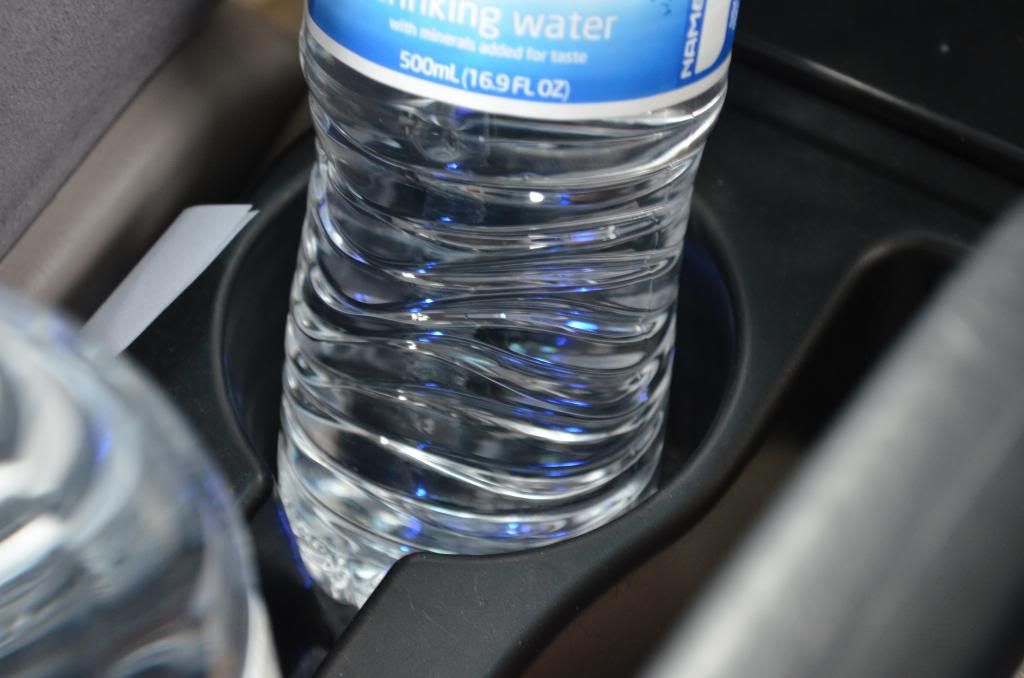
"Speedys" LED Cupholder Mod (Wires Cut)
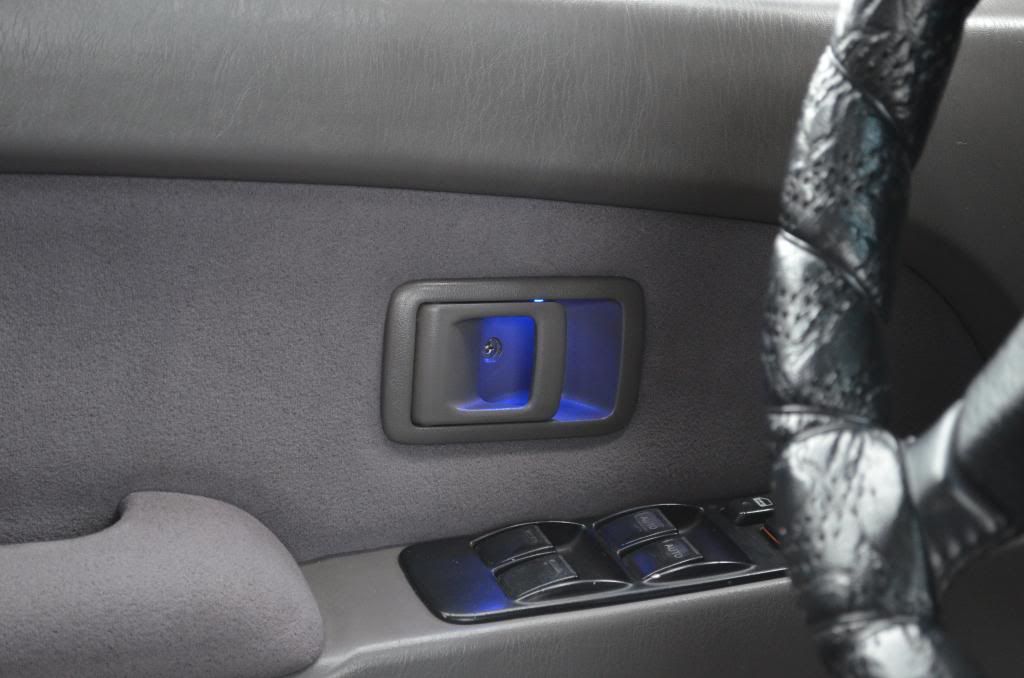
Added LED's to Door Handles (Wires Cut)
Ps2 in the works


BODY/CHASSIS:
Window Tint
1.5" Body Lift
Smoke Altezza Taillights
Smoked Stock Orange Corners

Some Recent Pictures as of 05/19/14:
da7a5e7y.jpg~original

ja9u8yde.jpg~original

y3upy6yz.jpg~original

3ata2unu.jpg~original

amy8a2az.jpg~original

Outdated from here down;
DSC_0800_zps2a9b3056.jpg~original

DSC_0792_zps8e5ee371.jpg~original

DSC_0797_zps90601367.jpg~original

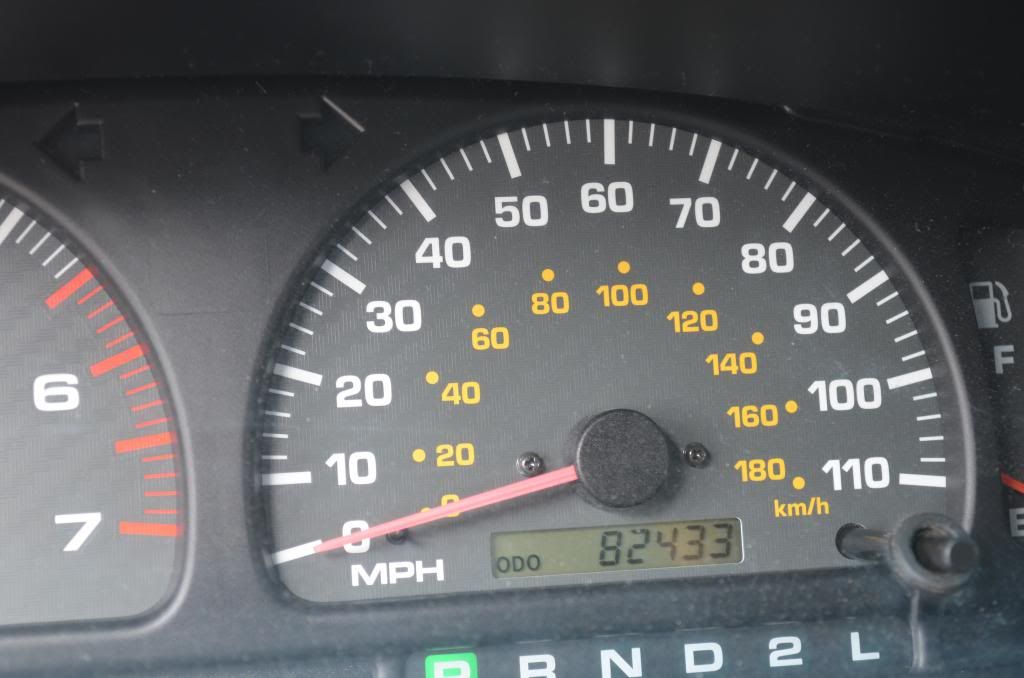
Mileage as of 03/08/13:
DSC_0796_zps69089732.jpg~original
 
Last edited:
Register to hide this ad
Some Pictures and Descriptions of my "Build/MODS In Chronological Order:
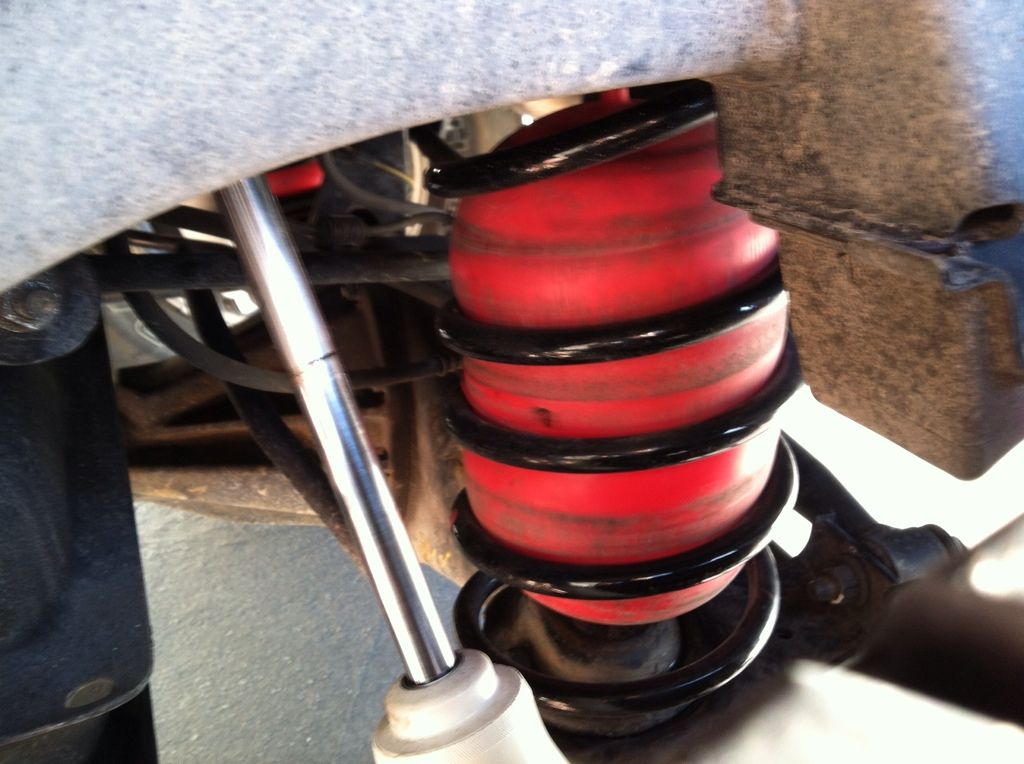
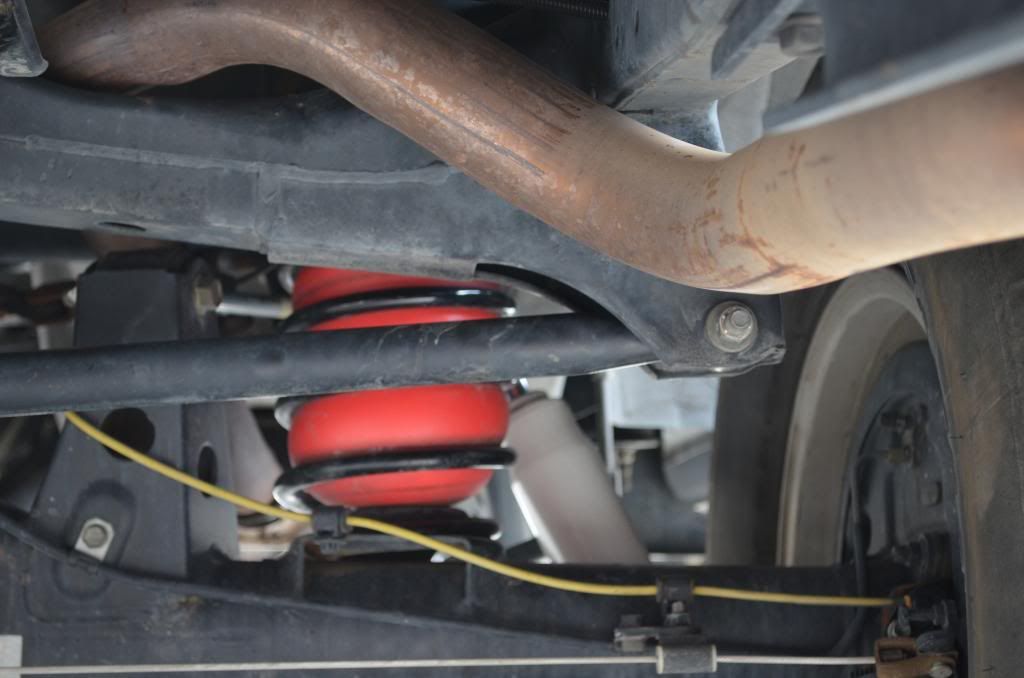
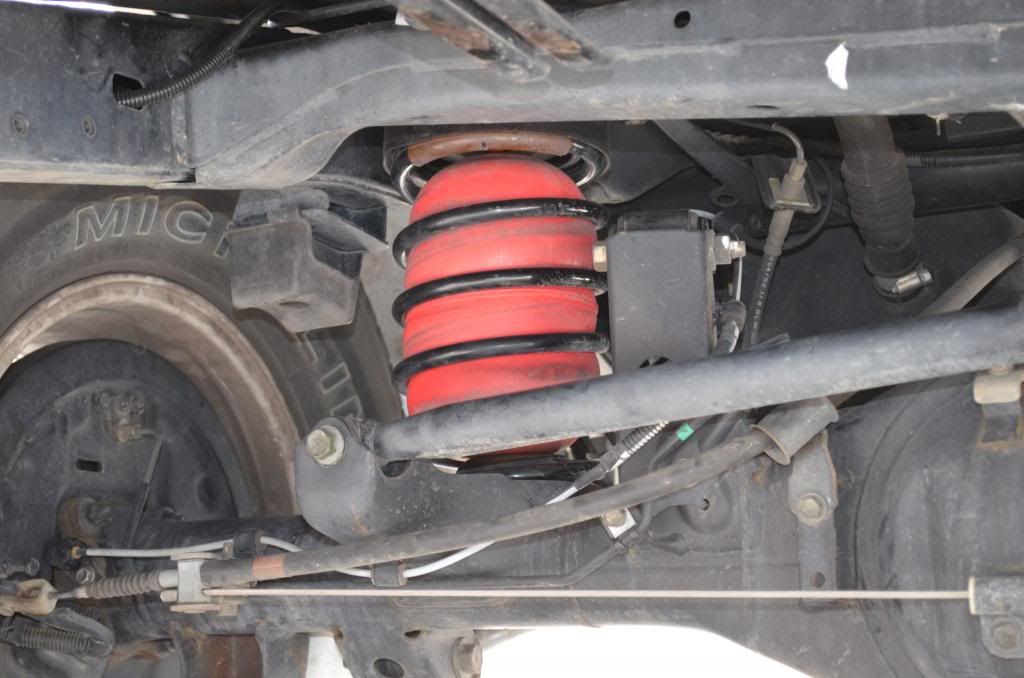
Air Lift 1000:
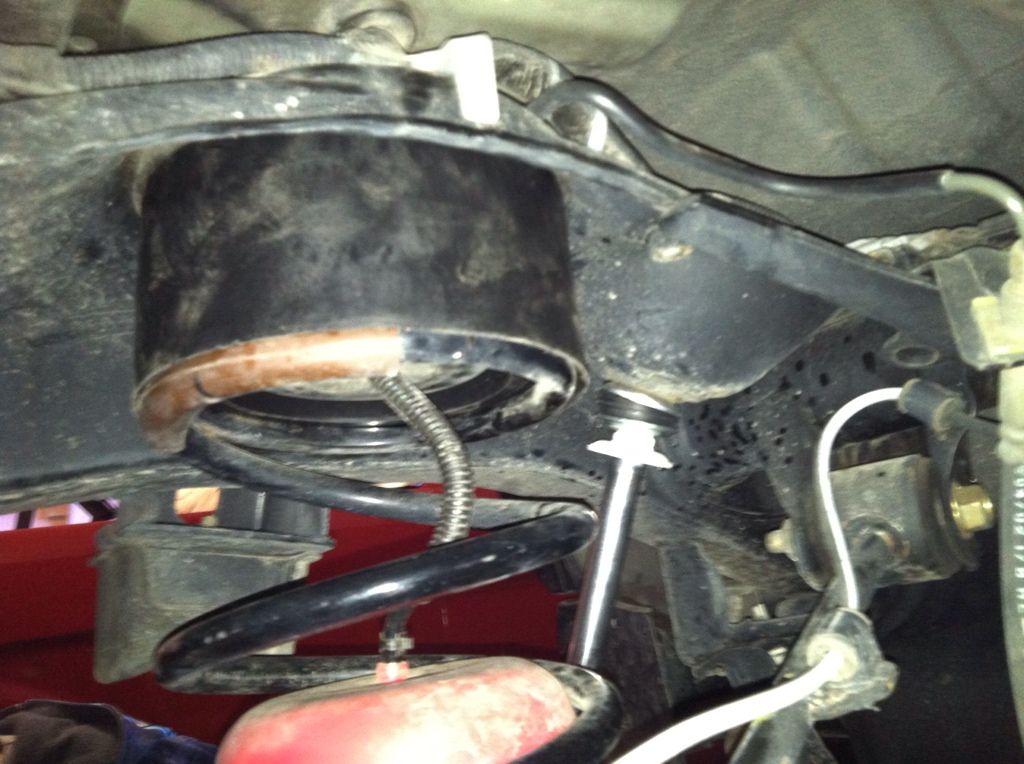
I noticed my 4runner was sagging in the rear, I quickly came to the solution and decided to use the Air Lift 1000 to fix the problem. Plus I plan to tow around the mustang when we bring it to Southern California.
NOTE: The Reason the bag is not seated all the way is because I was Flexing a bit.
Pictures:
8C294FC4-EC2B-4AB6-B127-A8BB86C51D02-6734-000003D6447BAE14_zps9fd191d9.jpg~original

DSC_0811_zps1fcaa575.jpg~original

DSC_0812_zps470566d6.jpg~original

Well That is all for now. Stay Tuned!

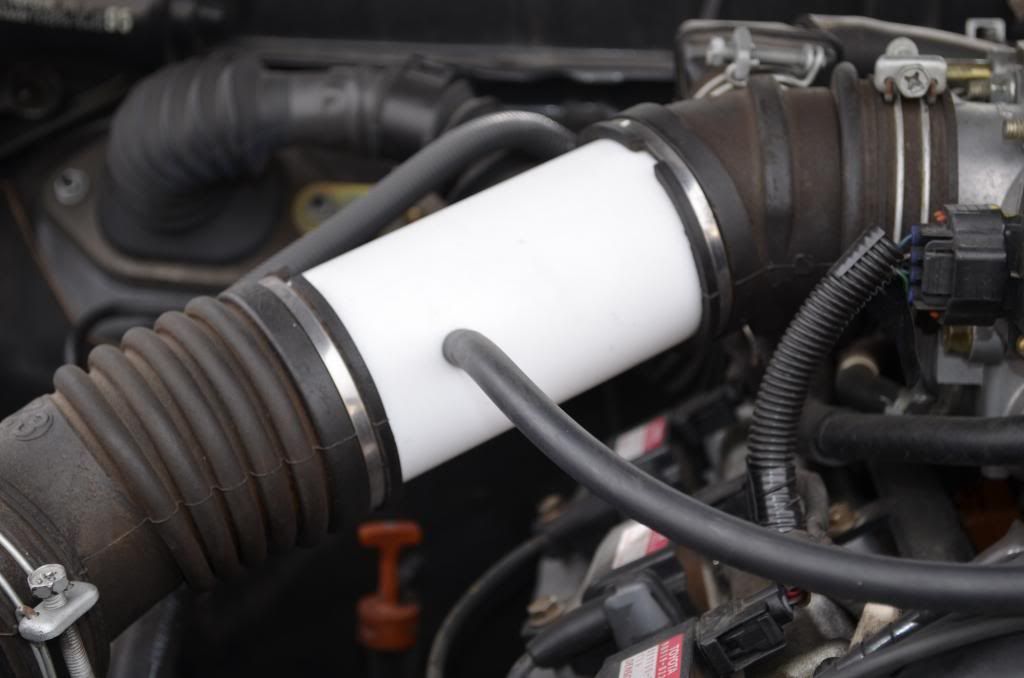
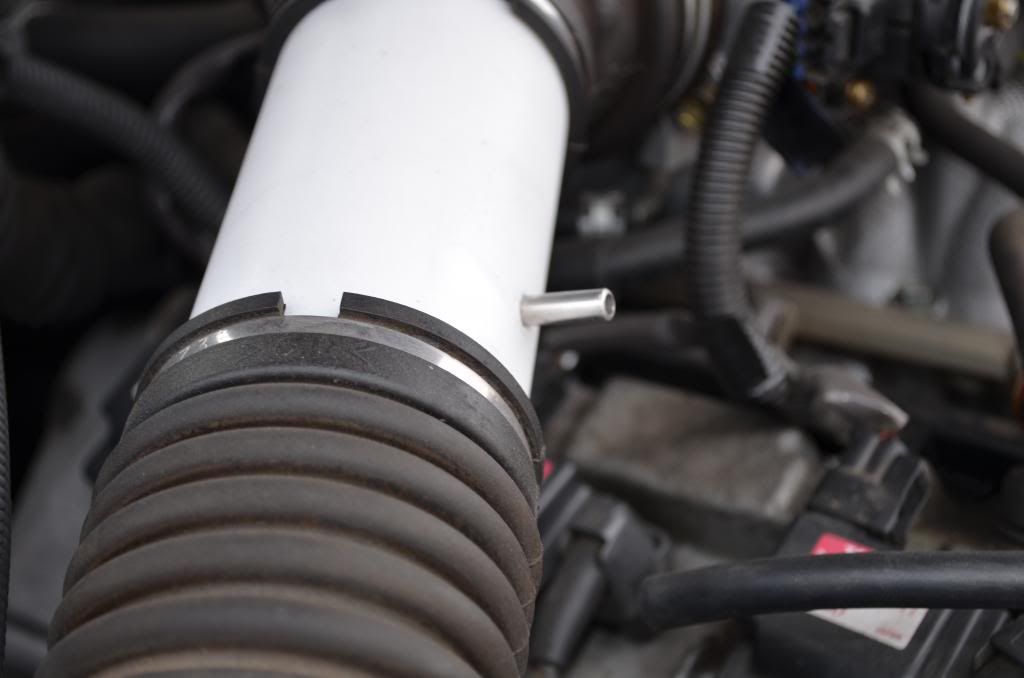
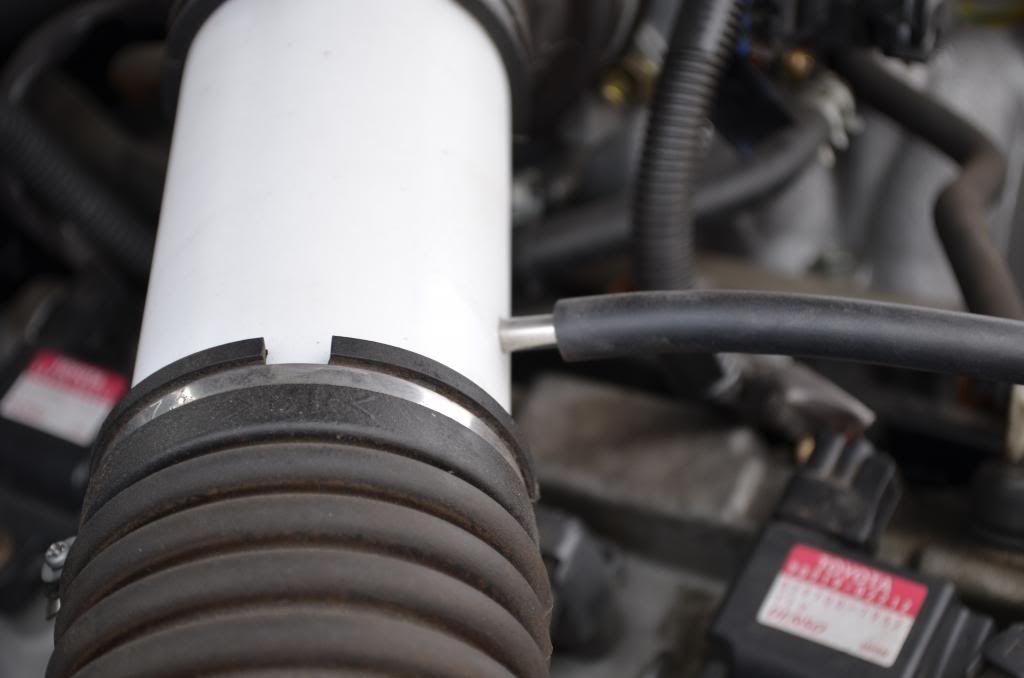
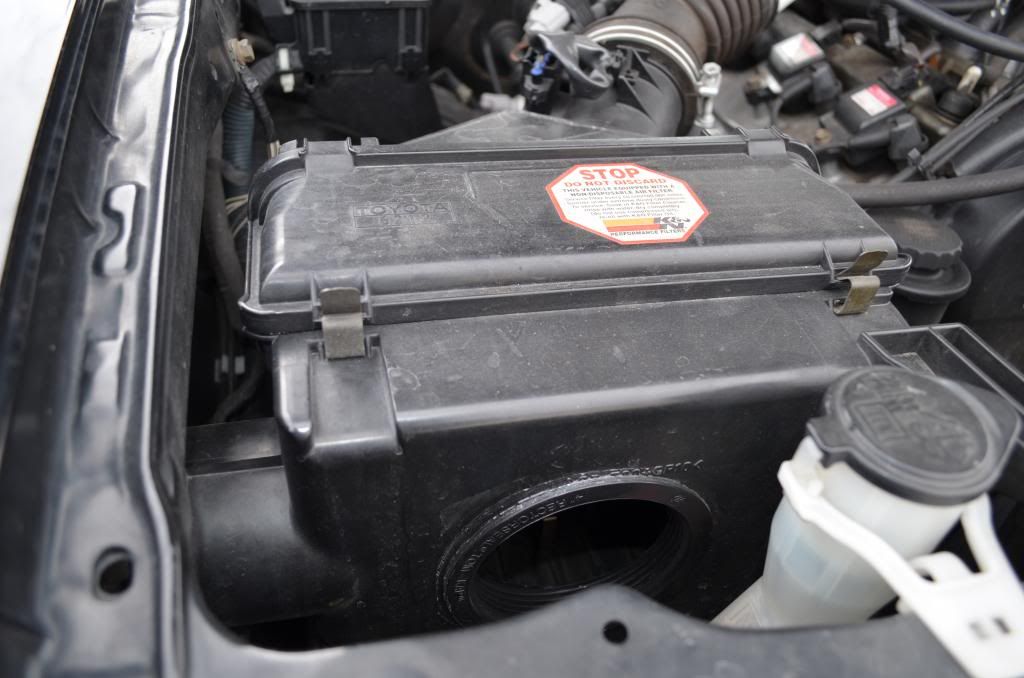
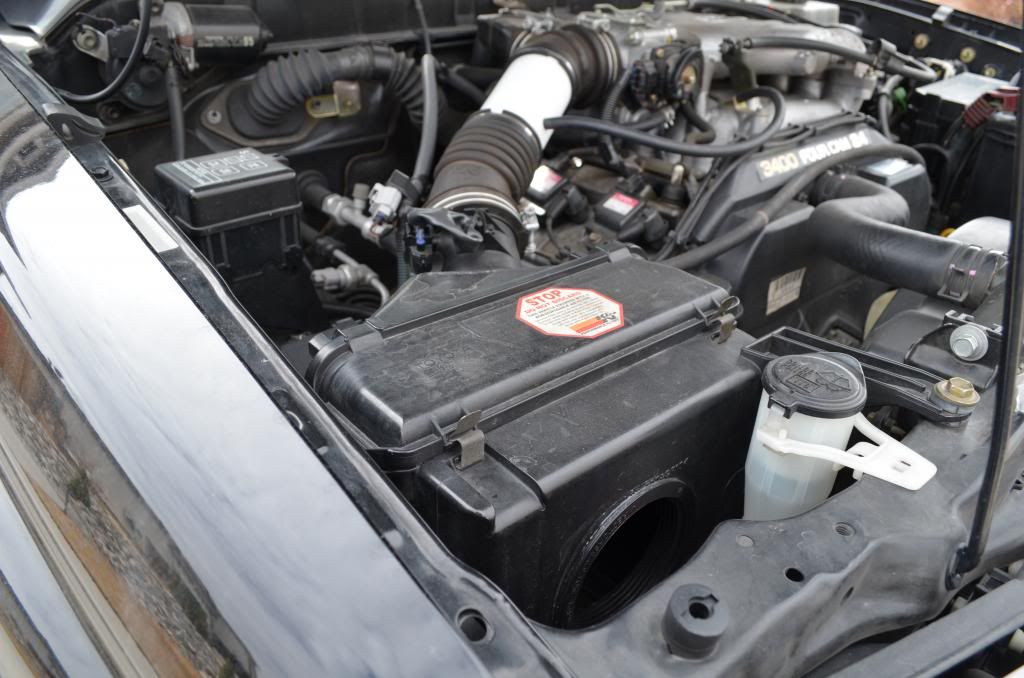
ISR MOD:
For this mod I original used a cheap exhaust tip from "O'reilly. Then my Dad found a piece of pipe at his work, it's close to pvc pipe but it is softer and a lot more rugid. (I don't know what to call it) I didn't want to run the hose like a normal ISR MOD so my Dad also found a nipple at his work and attached it to the pipe.
Enough talk lets get to some pictures:
DSC_0785_zpsc16073f1.jpg~original

DSC_0784_zps8fb91938.jpg~original

DSC_0786_zpse9dcb593.jpg~original

DSC_0787_zps58e2250b.jpg~original


FLOWMASTER 40Series
<iframe width="560" height="315" src="http://www.youtube.com/embed/JmHfup9QEN0" frameborder="0" allowfullscreen></iframe>


LED CUP-HOLDER/DOOR HANDLE MOD. (Credit is due to "Speedy for cup-holder mod):
I decided to take of a bit of a "Lexus" turn on my yota. I noticed my mom had lights in her Lexus RX330s door handles, I decided to do the same. (I am not a big fan of Ricers, but I will admit it is a little ricer of me to do this)
I know it's dirty, it's been to cold here to do "Spring Cleaning".
Pictures:
DSC_0794_zps1bfbf644.jpg~original

DSC_0806_zps7f13d294.jpg~original

DSC_0810_zps4ad2d1fc.jpg~original

Shinning thru the water:
DSC_0808_zpsc2d76538.jpg~original


I decided to finally do the deckplate mod. Not much details here for you just pictures :rockon: :
DSC_0788_zps44e50596.jpg~original

DSC_0789_zps38412abc.jpg~original


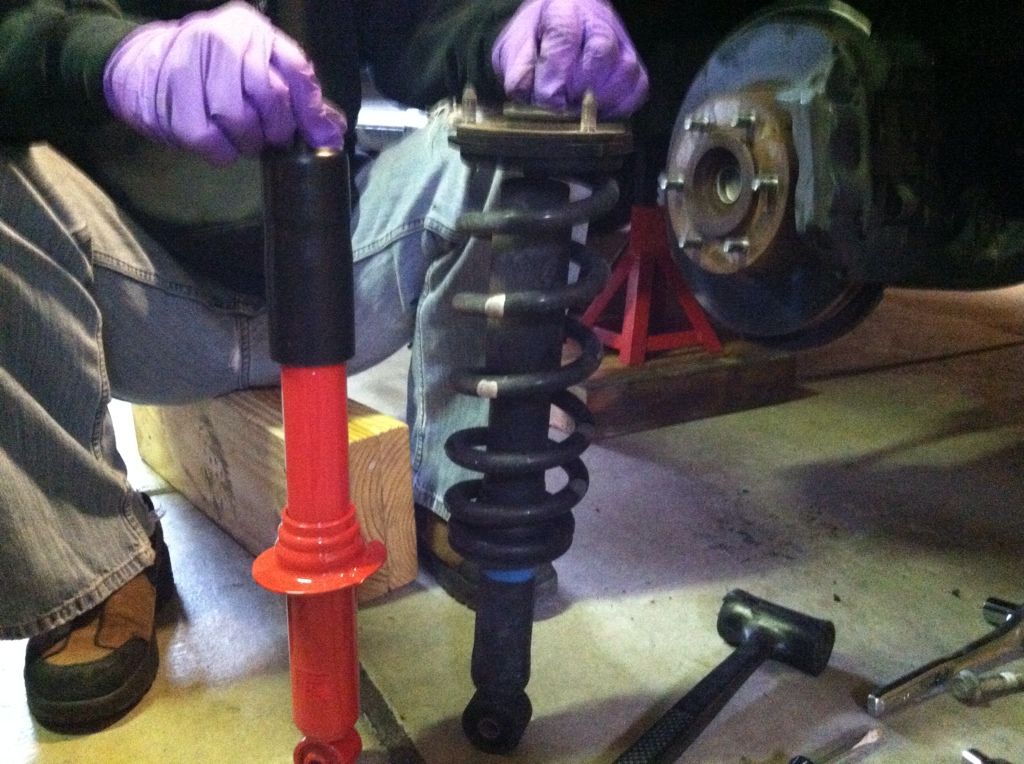
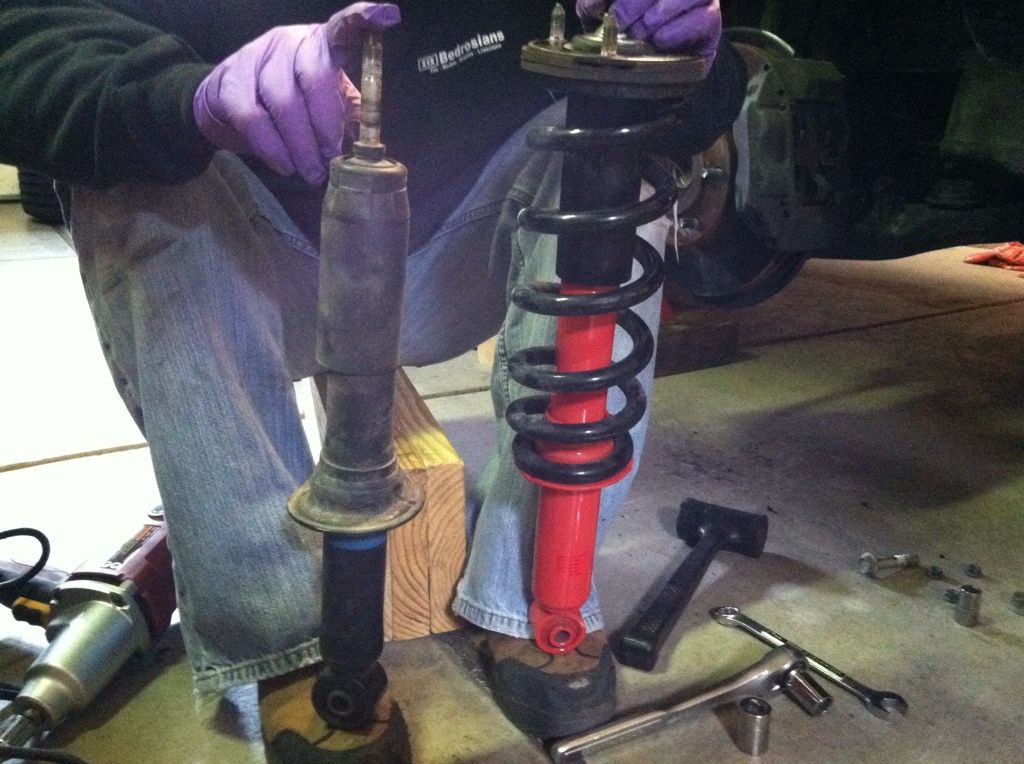
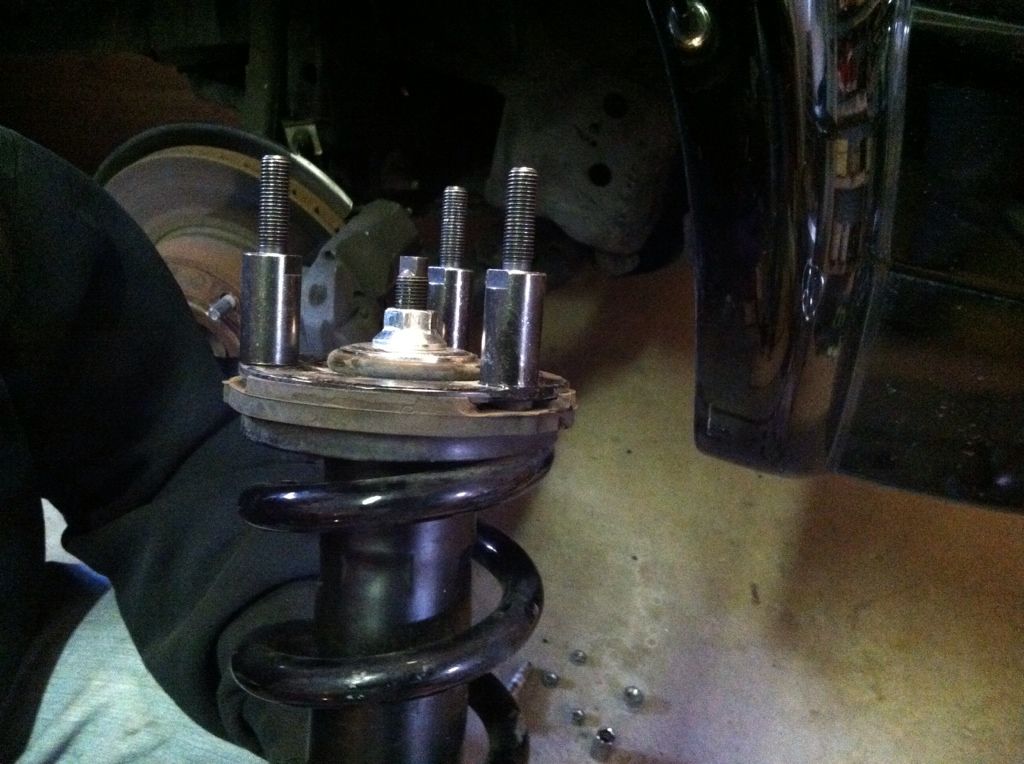
Here Comes Lift Time (Iphone Pics sorry)
8BA8289D-597C-4817-88DA-189A174A33A4-34727-000018B0307AF6C8_zps5c43ac11.jpg~original

F78D1F83-4E5D-489D-8831-40FF1E369DE5-34727-000018B03696FE75_zps0c9e2f60.jpg~original

45D4721A-EB43-4B77-94F6-7DB6575A01F6-34727-000018B03CF03269_zpsb51c91fd.jpg~original

Spacer in:
20D11FD9-506C-47CF-9B1E-BED6D3F1B411-34727-000018B047EEDA92_zpsd506ee94.jpg~original

Stock Shock Next to ES9000
1346717F-6299-4E9C-A9CA-17B6580950D6-35403-0000199A14484258_zps9ed01da1.jpg~original

FA77D6A0-EE21-4143-821F-75918A0EBEDB-35403-0000199A393A9494_zps4d653846.jpg~original
 
Last edited:
well i can say this much your 4Runner is coming along nicely and well honestly that door handle LED mod is the shizznitt!!! might have to copy you on that one :nicethread:
 
^^ I agree! I love the led's, Nate! After spending the week in San Francisco and seeing so many 3rd gens, it's really making me want to trade mine for one!
 
well i can say this much your 4Runner is coming along nicely and well honestly that door handle LED mod is the shizznitt!!! might have to copy you on that one :nicethread:

Thanks smkd13 I appreciate it. I could do a little write up if you like?

^^ I agree! I love the led's, Nate! After spending the week in San Francisco and seeing so many 3rd gens, it's really making me want to trade mine for one!
Like I was telling you, I'm more than happy to trade you lol. Thanks for the compliment.
 
Nice Nate...glad to see you get the build going. I don't remember you having a Sports Ed but that there is one fine unit you got. I can only expect to see more good stuffs to come since now I know the family is into building and customizing.

I'm impressed!:hatsoff:
 
Nice Nate...glad to see you get the build going. I don't remember you having a Sports Ed but that there is one fine unit you got. I can only expect to see more good stuffs to come since now I know the family is into building and customizing.

I'm impressed!:hatsoff:
Lol Kuya Ervin, it's about time I started SOMETHING, lol. You don't remember it being a Sports Edition? It was in our first PM's! lol. Also thank you on the compliment. Coming from you and your 4Runner, that means a-lot. It's going to be a slow process so buckle up and stay tuned. lol :lookout:
 
hey how do you like ur air bags? im thinking of getting some for my ride in a few months because hauling all my college gear around sucks. also in the summer i tow quite a but. easy to install? also im thinking about doing a spacer lift as well like you did. maybe new springs in the rear tho.
 
Nice build thread bro, I like what you've done with your Runner so far. I also cant wait to see your right up about converting this bad boy to a 4WD. That will be interesting :nerd: I can't believe you have under a 100k miles, that's so sweet. I'm starting to feel like doing the Deckplate mod myself......:happy: Awesome so far man! And Sub'd!
 
hey how do you like ur air bags? im thinking of getting some for my ride in a few months because hauling all my college gear around sucks. also in the summer i tow quite a but. easy to install? also im thinking about doing a spacer lift as well like you did. maybe new springs in the rear tho.

I love my Air Bags! They were really easy instal. When I load up 4 rims/Tires in the rear I barely drop in ride height in the rear.
Install Process is as follows:
1. Chuck the wheels, jack up the truck/put your jack stands.
2. Remove wheels.
3. (I didn't remove the panhard bar) Remove E-Brake line.
4. Take off the Rear Spring and Bump Stop setup.
5. Cut bump stop as directions say.
5. Put air bag in, feed hose through the bumpstop and attach it to the bag with the clamp.
6. Put the other end (with the fill cap) Wherever you please.
7. Put it all bag together.
8. Fill accordingly

Note, it also get's rid of rear sag for saggy springs.

For Spacers, I would definitely get new Springs, I wish I went that way, but the spacers were a gift, and I didn't want to wait any longer to install them. So I just kept the bags, works out pretty good! :)

Nice build thread bro, I like what you've done with your Runner so far. I also cant wait to see your right up about converting this bad boy to a 4WD. That will be interesting :nerd: I can't believe you have under a 100k miles, that's so sweet. I'm starting to feel like doing the Deckplate mod myself......:happy: Awesome so far man! And Sub'd!
Thank you. It was barely driven by my Grandma, so I am blessed to be under 100k (For now). It's going to be a while before I convert to 4wd, (Not much rolled runners around here). Definitely do the DeckPlate, it's cheap and easy. :) Thank's for the Sub!
 
Looks good man. Even if its only 2wd, your baby has LOW LOW LOW miles. Just bust a COB and convert it to 4wd! That option would be placed over selling/buying a 4wd since you personally have known that car since 0 miles!!
 
Looks good man. Even if its only 2wd, your baby has LOW LOW LOW miles. Just bust a COB and convert it to 4wd! That option would be placed over selling/buying a 4wd since you personally have known that car since 0 miles!!
Thanks Man I appreciate it. I definitely put going through the trouble of making it 4wd then trading mine for one.

That would be cool. You should do a write up on them for sure. Mainly I am wondering where you tied then in at?

Well I haven't gotten time to take pictures this week, for a write up but:

Make sure you have plenty of wire, I believe I used a bit more than 50 feet. (lol) Feed your wire to each door handle, be sure you are feeding two wires. (and wherever else you wan't leds.) It might be hard feeding them through the plastic inside the door panel, but take your time and you will get it. Look up how to take off the door panels, it was pretty easy for myself.

Now drill your door handles to fit the LED's SNUG not loose. I also Frosted my LED's. (Take a sand bit to the LED and "frost it" just enough for it not to be clear anymore.) I used shoe goo to hold them in place.

I tied the LED's to the cigaret lighter/12v outlet. Since I used 3v LED's I used a resistor. I wired them in parallel so I only needed one resistor. I fed all the LED's to one wire (One for + and - each) then put the resistor on the positive end, while the ground was hooked to the switch. (I believe the ground was hooked to the switch.) Everything was soldered. (They are controlled by a switch because they tend to be a bit bright for looong road trips at night.

03/15/13
Running Board Removal.

I took my Running boards off today, I am SOOO happy I did. It looks so much better, it makes me wonder why I didn't do it sooner. Pictures:
DSC_0792_zpsb14ddfb9.jpg~original

DSC_0784_zpsdaf0fbe4.jpg~original

DSC_0780_zps52f05057.jpg~original

DSC_0779_zps8e16f617.jpg~original

Check it out:[MENTION=82861]lewisp[/MENTION] [MENTION=72408]Mytoy4[/MENTION] [MENTION=46329]blcktpgsr[/MENTION]
 
Last edited:
nice build really like the interior LEDs i usto have an O2 Sport, same color as yours...talk about memories!!! Nice RUNNER!
 
Thanks bud that is simple enough. I was just wondering what you wired them into. I would like to find the power or make it so it does this but powers the LEDs once I turn the truck off and then shuts them off after a few second or when the door shuts. It is gonna be fun to get it to do it but once I have a circuit drawing I will post it up for you :)
 
Thanks bud that is simple enough. I was just wondering what you wired them into. I would like to find the power or make it so it does this but powers the LEDs once I turn the truck off and then shuts them off after a few second or when the door shuts. It is gonna be fun to get it to do it but once I have a circuit drawing I will post it up for you :)

Hook it up to your DRL mod.
 
You're not helping, Nate! Still eyeing those 3rd gens! Looks great without the running boards. You questioned yourself the same as I did. Why it took me so long to do it is beyond me!
 
You're not helping, Nate! Still eyeing those 3rd gens! Looks great without the running boards. You questioned yourself the same as I did. Why it took me so long to do it is beyond me!

I might have to put them back on unfortunately. My mom being 5" she won't like it riding around with me. *Fingers crossed*

Problem with that is it will stay on the whole time. I almost have the diagram for relays using the door switch and ignition. I will get it eventually lol or I will use te some light as the latching circuit

True. Let me know!
 
03/18/13
Hayden 402 Transmission Cooler Instal

I am also going to do a *NEW* thread just for a Transmission Instal.

*Parts List Used*
(1) Hayden 402 Oil/Transmission Cooler
(2) Air Line Splice. (Do not use plastic)
(1) Everything in the Hayden 402 "kit"

*I was browsing Summit Racing for some parts for our 65 Mustang, while browsing I was curious what type of transmission coolers they had. I decided upon the Hayden 402 for just under $30. Most people use B&M but I didn't see a problem with doing something different for cheaper.
Some Pictures of the cooler:
DSC_0793_zpse7e9c9ac.jpg~original

DSC_0794_zps2535452a.jpg~original


Start
First start off by taking off the grill. You will have a couple points with clips, remove those and you will be in the clear.

DSC_0791_zps4da127aa.jpg~original

DSC_0789_zps274c1b67.jpg~original


At this point you will want to remove the front skid plate to get to the hoses leading to the radiator. (No Pics here.)
Now you will want a CLEAN bucket to catch your ATF. I then removed the hoses noting which hose was coming and going. (I did not cut the hose, I was careful and just pulled it.)
I used this picture here from YT.
underneath-full_zps5d98a75d.gif~original

At this point I connected a splice to each hose.
DSC_0797_zpsd367f46c.jpg~original

Next I connected the hose (that comes with the kit) to both hoses, then used a clamp on both of them. (No Pictures)
At this point you may want to find out where you want to feed your hose, and where you want to mount the cooler/how. I went the route of using the "zip tie's that come with the kit.
DSC_0798_zps183e3baa.jpg~original

*I fed the hose through the existing hole that leads to the front of the radiator. (Sorry again no pictures here)
I then mounted up where I wanted cooler, connected the hoses to the cooler with the Coming hose to the top pin, and the return hose to the lower. (Let gravity do it's work) Now clamp your hoses and button her all up.
DSC_0799_zps051bb264.jpg~original


*Done*
 

Members online

Forum statistics

Threads
278,309
Messages
3,554,066
Members
248,016
Latest member
Advally Service

Trending content

Back
Top