NoOneBetter's build/photo thread.

Do you mind posting your measurements from the center of the hub to the fender? This takes the tire size out of the equation.
Do you know how much lift you actually ended up with?

Just measured from hub to fender:
Front 23.25"
Rear 24.25"

I honestly forgot to measure before the lift was installed, but according to stock measurements from other users, I basically got the intended 3".
 
Does the spacer go on the passenger rear only, or both front and back?

I'm worried about the lean when i lift mine with KDSS.
 
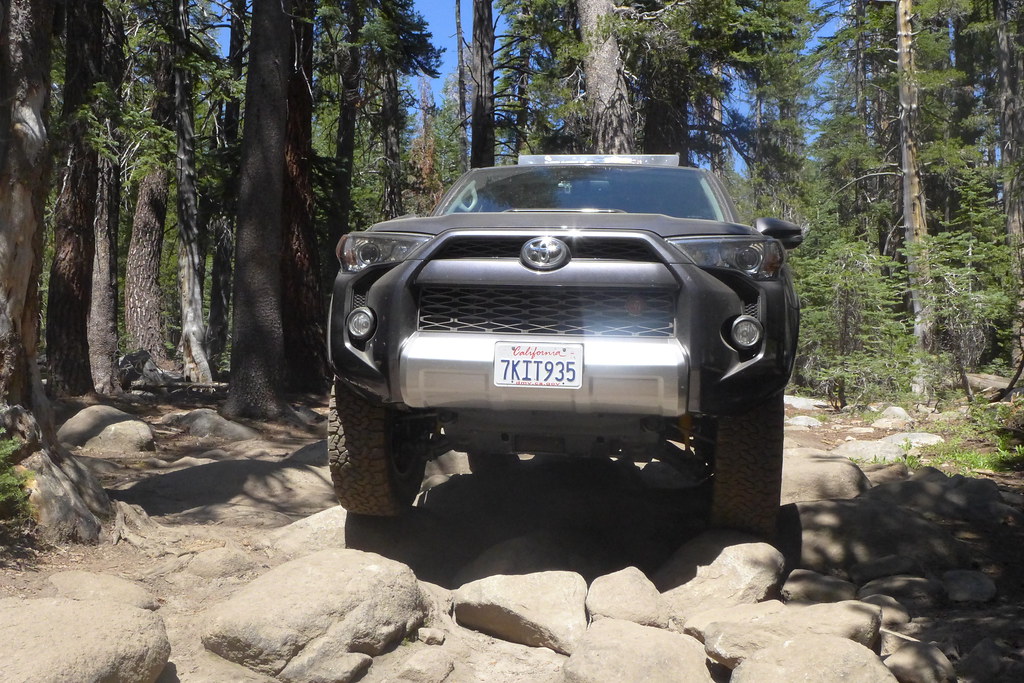
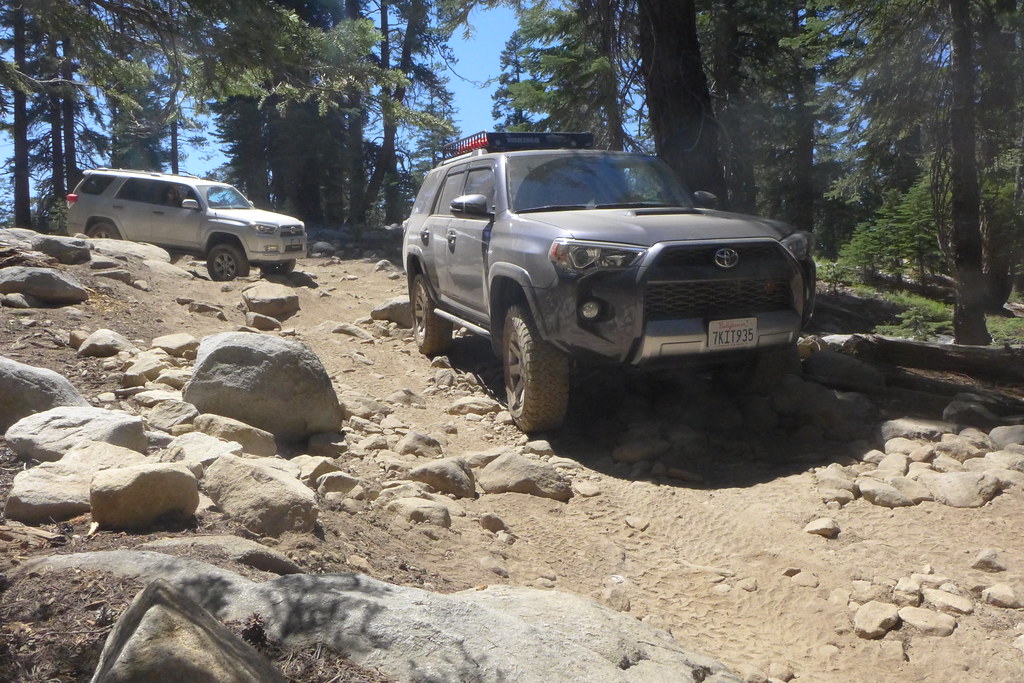
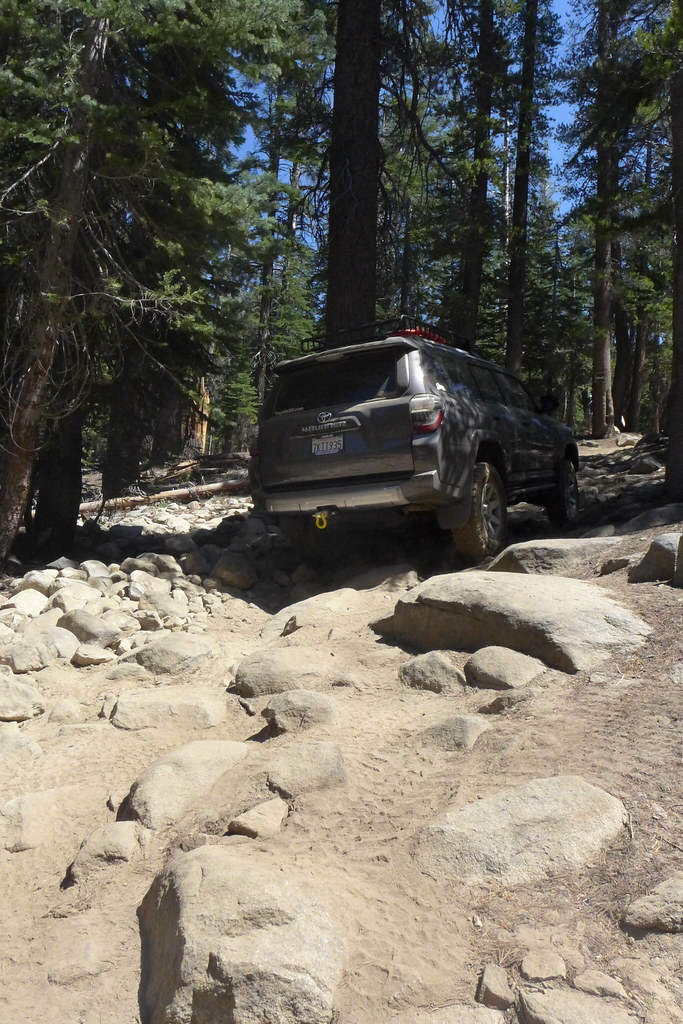
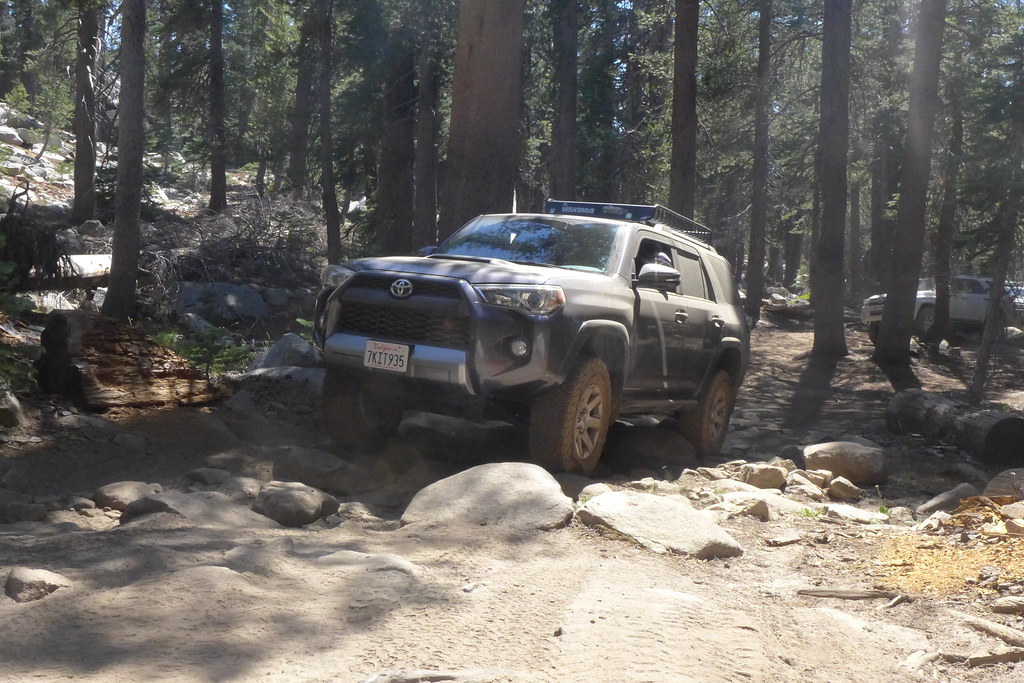
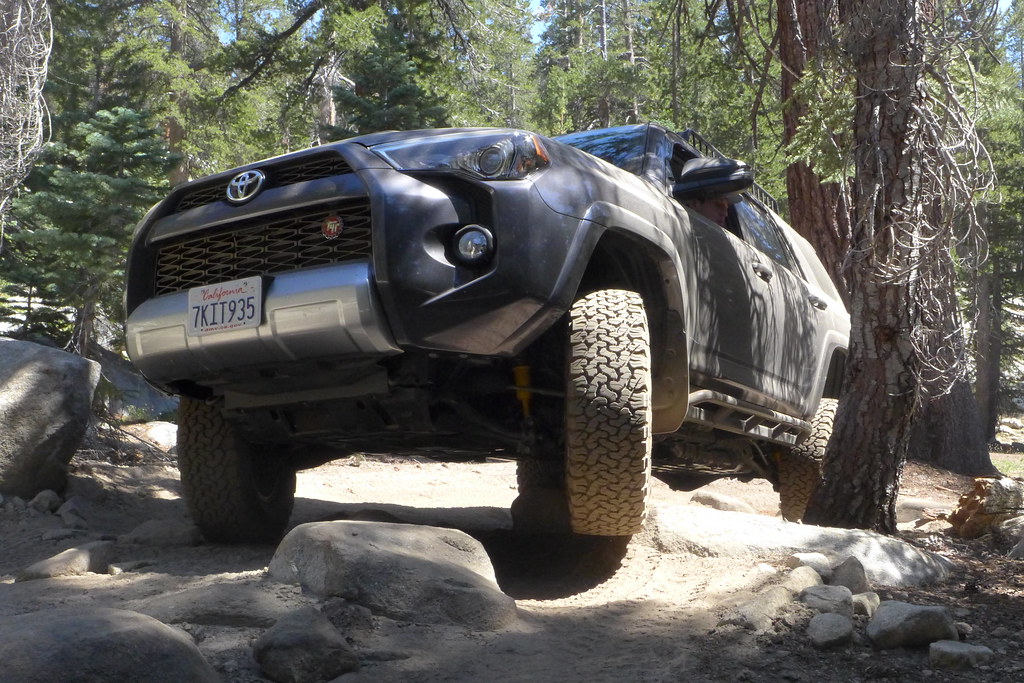
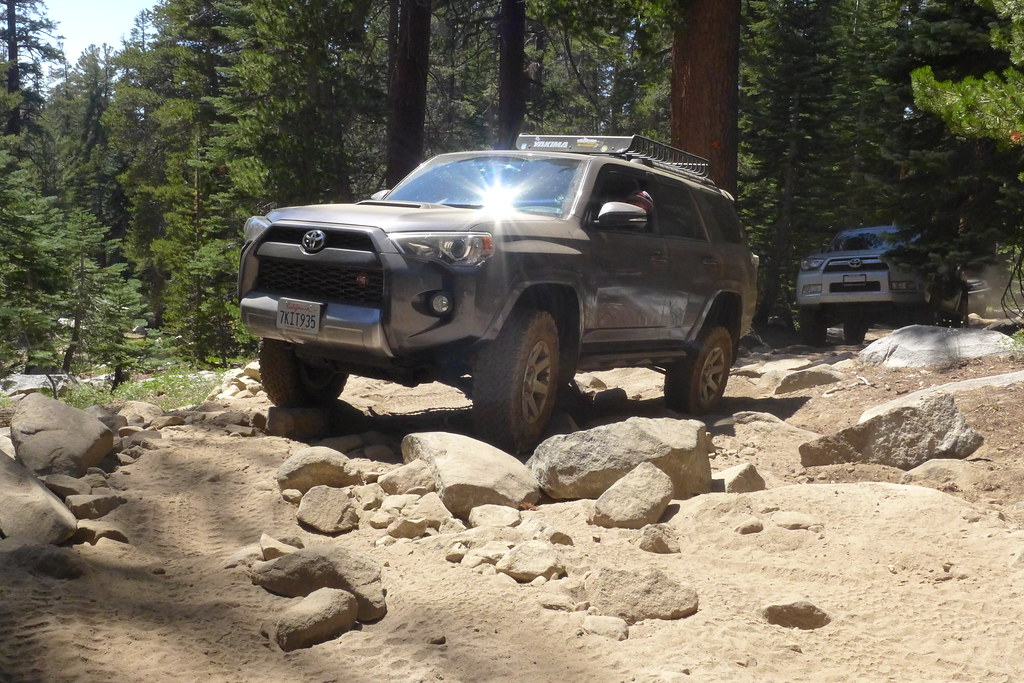
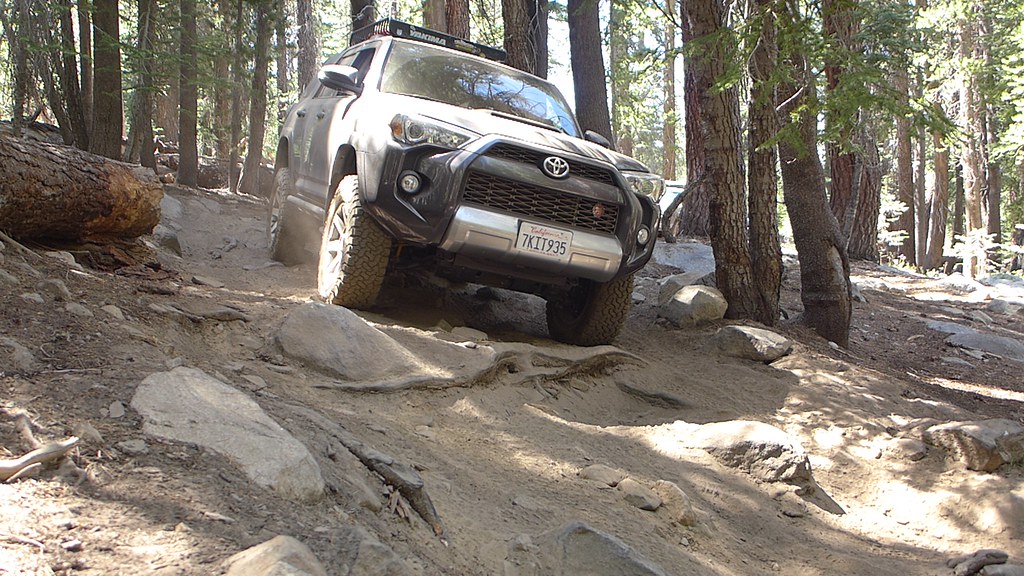
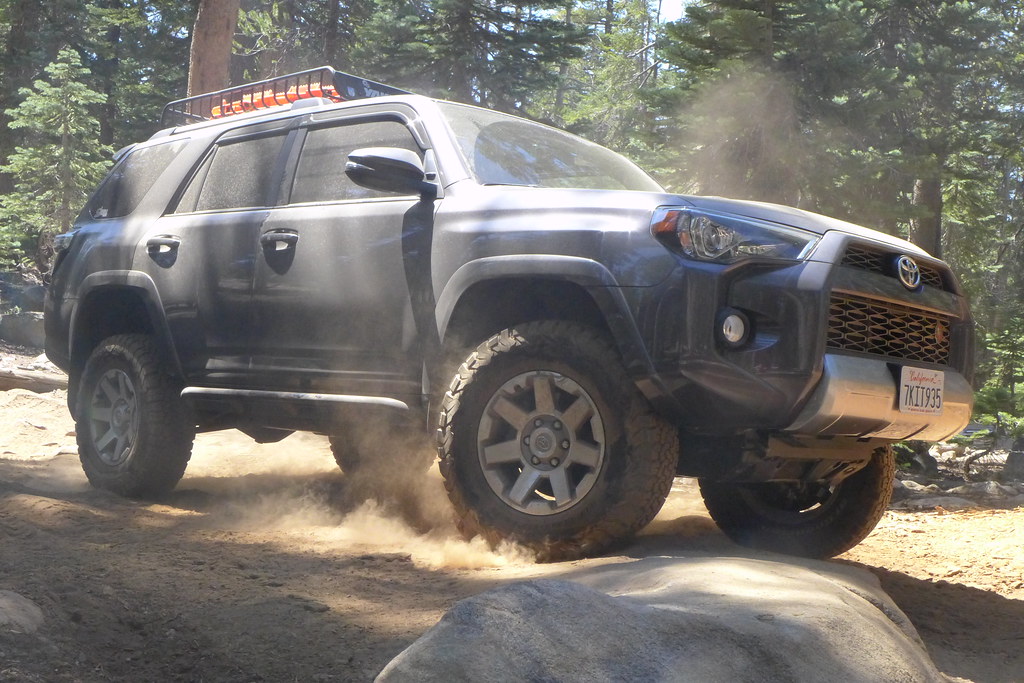
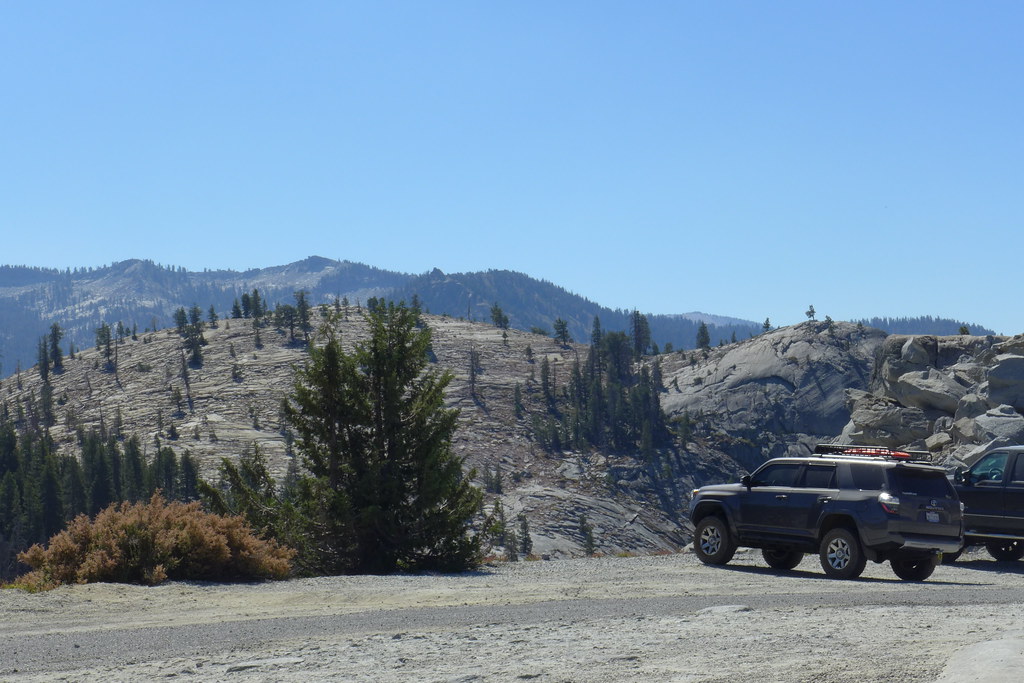
Had an awesome weekend at Shaver Lake with folks from Toyota120.

Chatting while we air down before Strawberry Lake Trail.


Quick first stop cause of our small bladders lol


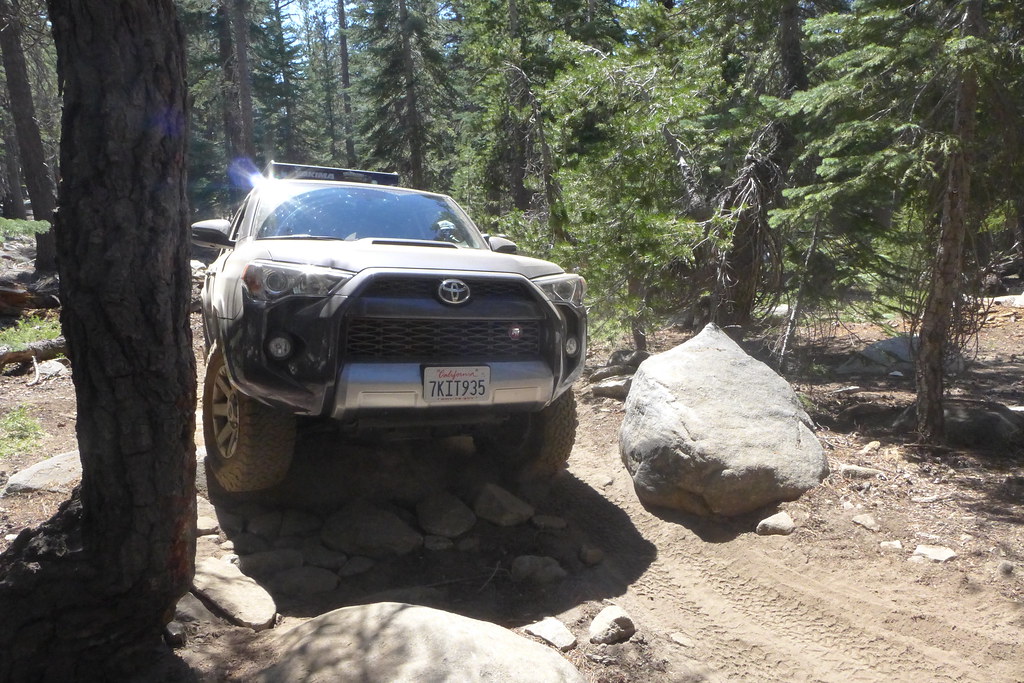
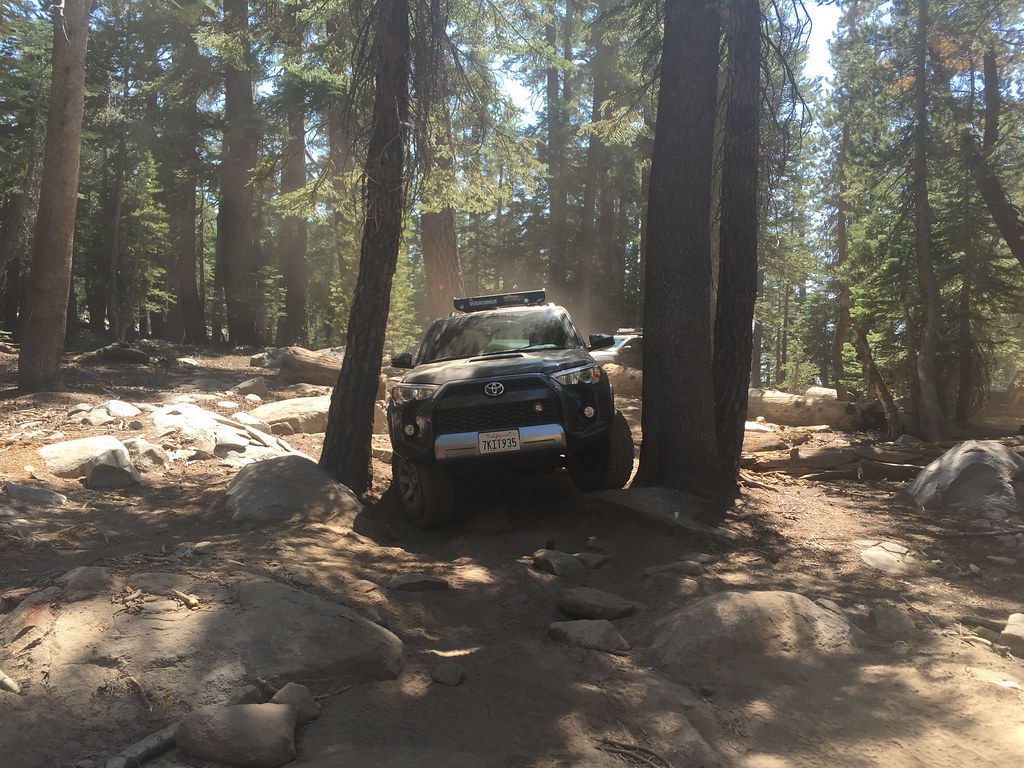
Got plenty of close up of trees on this trail


A little rocky


More tight trees


Last edited:
I went camping with family a few weeks ago and apparently left quite the impression with one of my nephews. My cousin just sent me this photo. So awesome!

 
Finally got the video uploaded. Some out of truck footage at 11:39.
<iframe width="560" height="315" src="https://www.youtube.com/embed/1qBet1J_lB0" frameborder="0" allowfullscreen></iframe>
 
Last edited:
So in preparation for my ARB Fridge, I decided to upgrade the OEM Panasonic battery to a larger 31M battery. I chose to go with the X2Power 31M which is a rebrand of the Northstar 31M. Also was able to pick it up from a local shop.

OEM Battery


OEM Panasonic out and next to the X2Power.


Trimmed the OEM battery tray a little bit just so it sits flat. I know some don't trim the tray at all and just lay the larger battery on it without any issues.


Heres the new battery in. As you can see the terminal cables are a little short by a couple inches.


Picked up a couple of #6 wires and hardware for the extension.


And heres everything connected. Just need to tidy it up and cover up some of the connections.
 
Installed a NOCO Genius GEN1 10A On-Board battery charger to keep my 31M battery topped off. I decided to use the open spot on the driver side since I didn't have anything there already. Found this bracket at Home Depot and drilled a few holes and cut it to size.


Heres what it looked like after I mounted it but then I realized that it was too close to the hood shock.


Picked up some nylon spacers and larger bolts for additional support for the bracket. Now the mount is solid for when the truck is bouncing.
 
Your build is the closest I've seen to what I want to emulate (once I get the wife's LE paid off and get myself a TE.)

Any chance you've taken measurements of your suspension travel? I haven't seen anyone yet document exactly where the limit of KDSS is. I do know OME makes a rear shock that is extended travel, but compresses nearly the same length as OEM. Most other extended or long travel options reduce compression, or "flex".

Anyway, I'm subscribed. Looking forward to following your progress and adventures!

 
Your build is the closest I've seen to what I want to emulate (once I get the wife's LE paid off and get myself a TE.)

Any chance you've taken measurements of your suspension travel? I haven't seen anyone yet document exactly where the limit of KDSS is. I do know OME makes a rear shock that is extended travel, but compresses nearly the same length as OEM. Most other extended or long travel options reduce compression, or "flex".

Anyway, I'm subscribed. Looking forward to following your progress and adventures!

I haven't done any measurements of the suspension travel, and you're right, I have seen anyone document that either. The OME extended travel does sound interesting though. Thanks for following, I enjoy sharing just as much as I do seeing other people's adventures. New photos coming soon :)
 
Received my rear window molle racks today from Orange Boxx Fabrication. Going to be hanging small tools/pouches and items that are frequently used when I'm out on the trail or camping. Overall, the racks are pretty nice and sturdy, but I definitely wouldn't want to put too much weight on em.


Driver side:


Passenger side:


Both
 
Last edited:
Also got around to installing my NOCO Genius GCP1 Black 13 Amp 125V AC Port Plug to be used with my NOCO Genius GEN1 onboard charger. No more cable hanging out of my engine bay. Got the idea for the mounting location from [MENTION=44305]weeeee[/MENTION] and [MENTION=99702]jrandom[/MENTION].

Removed the driver side trim


Traced the 2in circle for the cut


cut finished


Fitting the plug


Final product:


oooo that plug looks nifty

All in the name of ice cream.

Pjess.gif
 

Members online

Forum statistics

Threads
278,316
Messages
3,554,120
Members
248,016
Latest member
Advally Service

Trending content

Back
Top