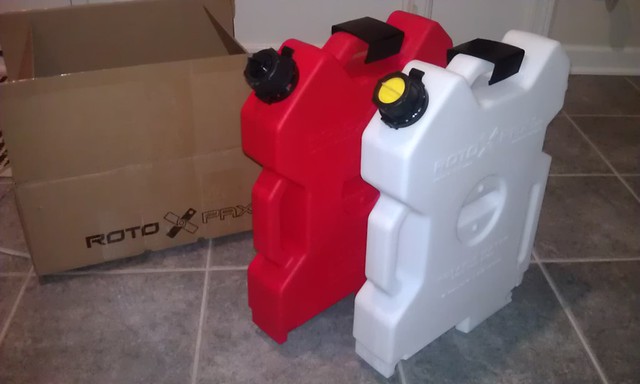
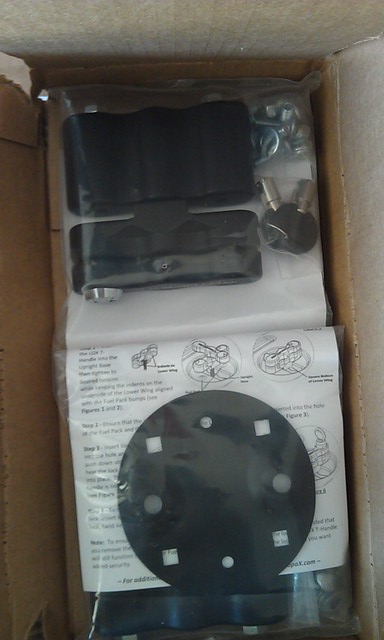
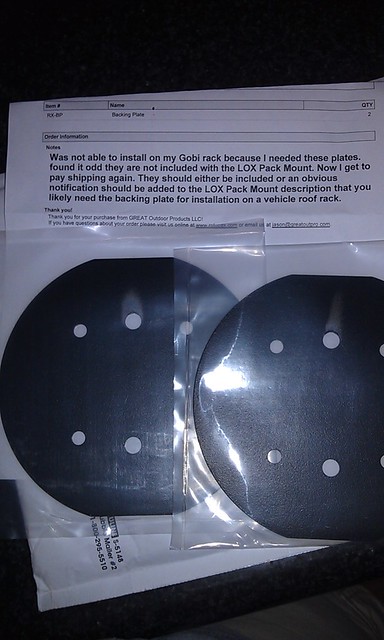
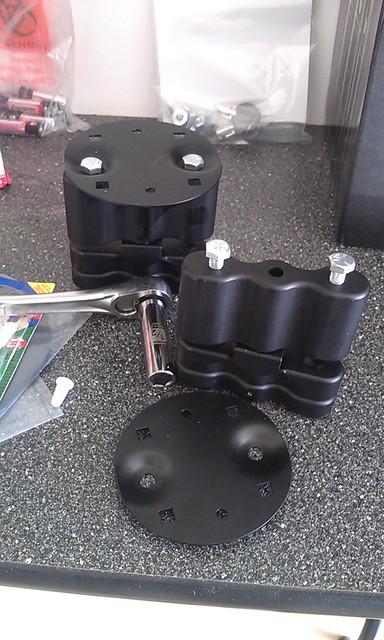
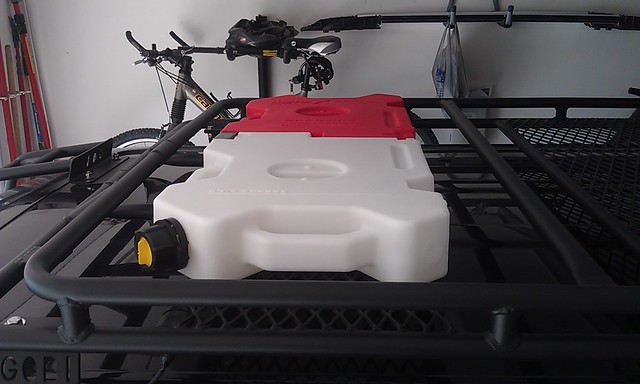
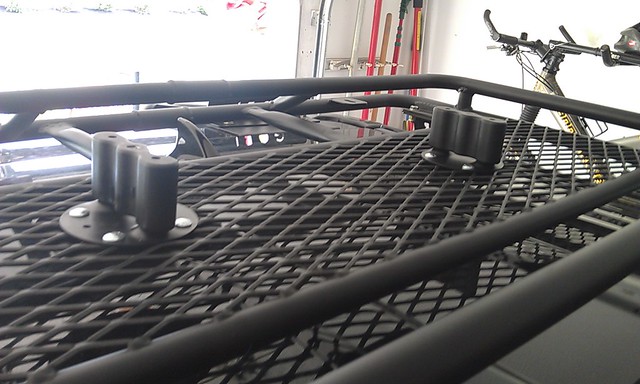
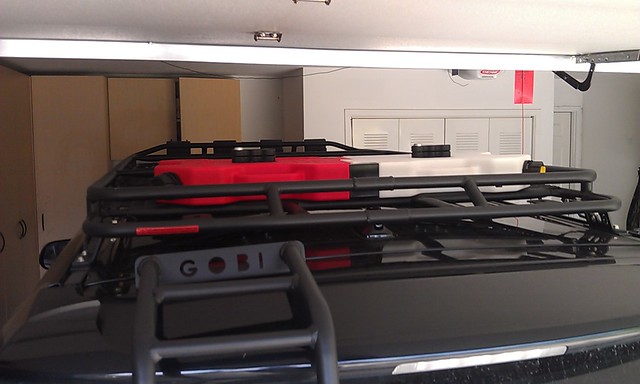
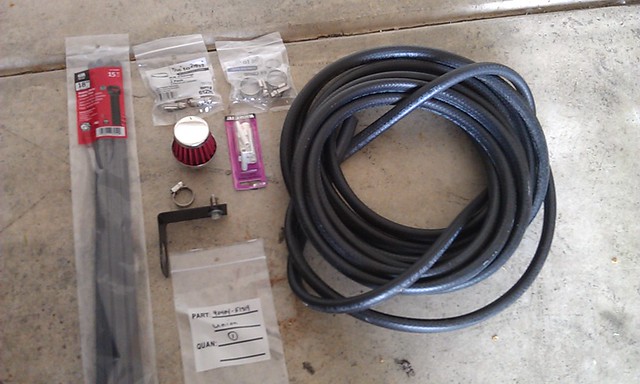
Rotopax 2 gallon fuel and water 3/3
Dealing with the Q(*@$&Q# bolts:
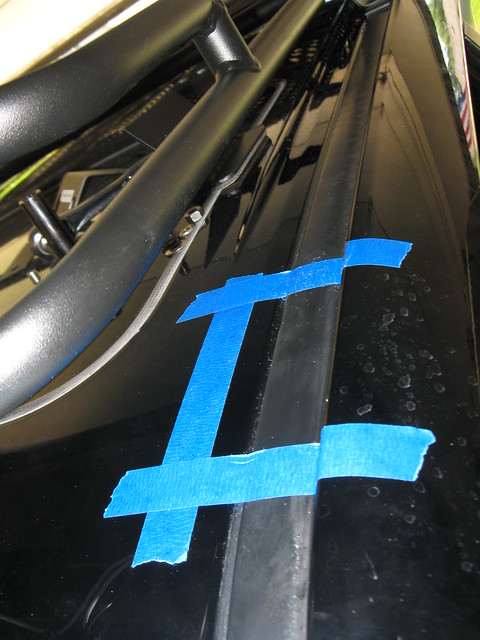
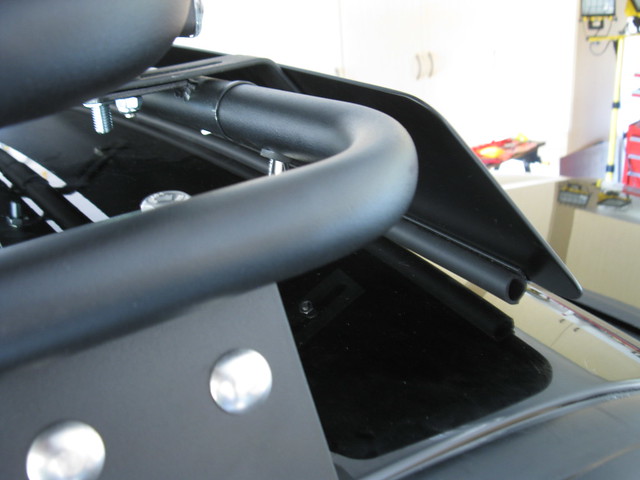
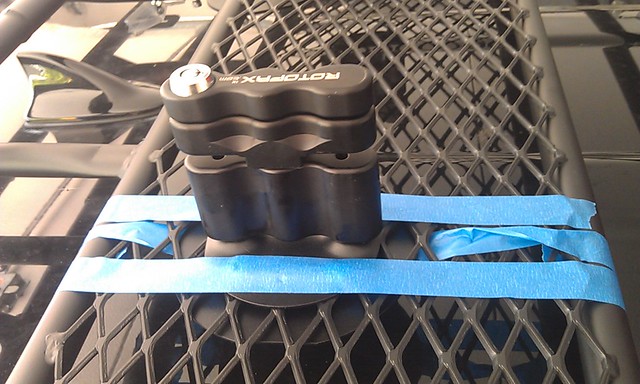
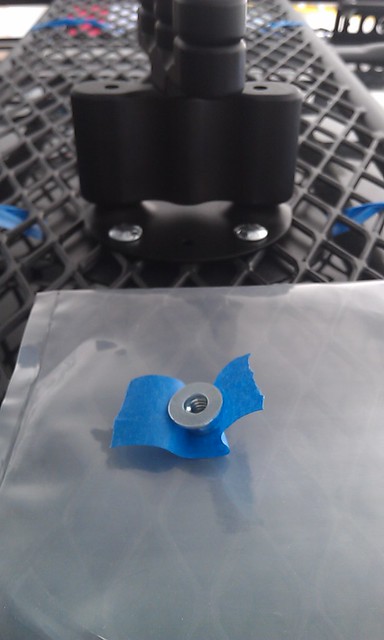
As mentioned before… VERY little space between the roof and the rack. It is a major pain trying to get a washer and nylon lock nut under the back plate and started. After some increasingly frustrating minutes… GENIUS…. More painters tape!
Using the contraption above I was able to slide the nut + washer under one of the holes (the nut between two fingers to keep it from turning) and insert and turn the bolt with my other hand to have it catch the threads of the nut.
Next you’ll want to use a short ratcheting socket to fasten the nut….. but you can’t keep the socket on the nut because there isn’t enough room to properly hold the socket handle. I ended up using some foam core board (used for target shooting) to give me A) protection for the paint of the roof B) pushed up the socket driver enough to stay on the nut.
Do realize that you have to remove the foam core from under the socket driver in order to remove the socket driver from one nut and move on to the next one. Slide a shop towel under and you pull the foam core back to provide protection to the paint of the roof.
The final wiggle:
Before you tighten everything down, leave a little play and refit your Rotopax. With the plates on you will notice that you may need to wiggle the mounts around a little for the packs to fit. This will result in your packs not being entirely straight on the rack, but this is due to the size of the diamond mesh, the straightness of the mesh and the distance needed between mounts.
My driver side sits a little further back from the passenger side, but it’s not really noticible.
To secure the packs you screw the bottom “handle” down into the base until it settles snuggly on the two bumps on the pack (at a 90 degree to the base). You can then turn the key on the lock and push it down into the lower handle, preventing it from being unscrewed. Remember to read the instructions from Rotopax and to throw one of your two copies in the truck. I keep it in a ziplock bag in the glovebox, together with a key and this is also where I store the “handles” when I don’t have the packs on the roof.
The instructions as provided by Rotopax:
http://www.rotopax.com/images/PDF/mounting_instructions.pdf
UPDATE:
I filled up the fuel and water containers today and noticed that the fuel container only was able to accept 1.869 gallons of fuel. The water container is likely not a whole lot different (didn't measure that one). In other words, you may want to step up a size if you need the actual volume.
UPDATE 2:
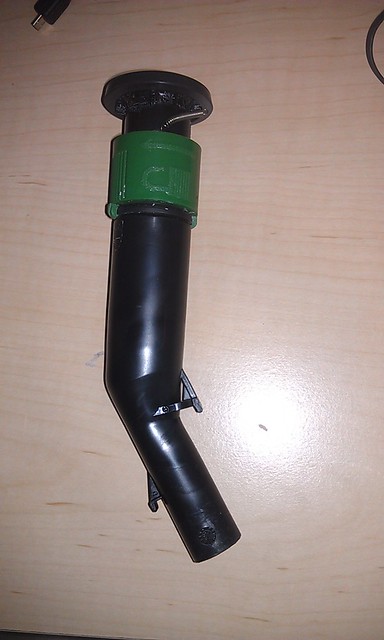
The "ECO" spout that you get with your US based fuel pack SUCKS! As you can see in the image above, the little spring already came out. I had to call in the help of LimaMike to provide some guidance on why I wasn't getting any fuel out of my pack. So even with his assistance I was not able to get fuel out of the thing.
Solution number 1:
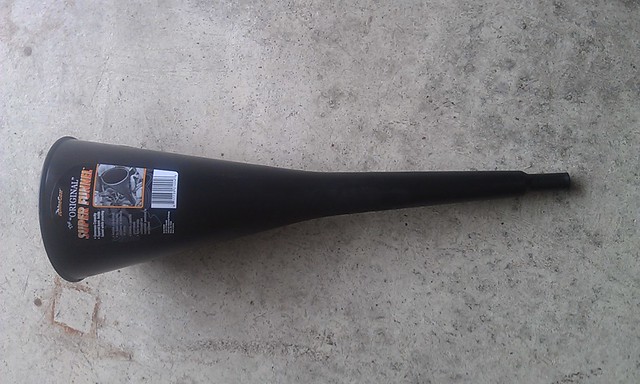
Screw the spout; just get a bigger funnel. For $2.99 at Autozone, this isn't a bad deal, but large to pack and haul with you.
Solution 2:
Spout kit includes: Yellow self-venting spout with rubber gasket, and stopper.
*THIS SPOUT IS ONLY SUPPLIED WITH WATER PACKS AND INTERNATIONALLY SHIPPED FUEL PACKS.
SHIPPING INCLUDED IN PRICE....
Details
SKU RX-SP-VENT
Our price: $6.95 (you save 50%)
So the line highlighted in red is what caught my eye. I was wondering if the yellow spout is fuel rated; AND IT IS. so my suggestion, with your order, also order a spare yellow spout and screw the EPA.
http://www.rotopax.com/Self-Venting-Spout.html

.