

zcruiser
Senior Member
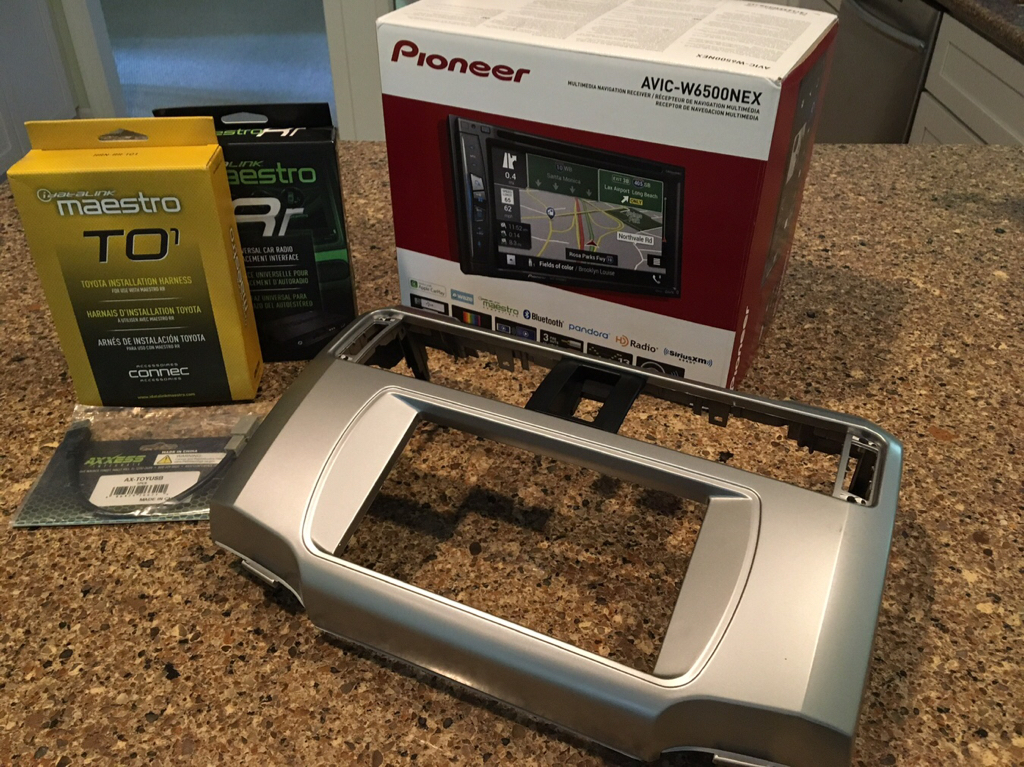
A somewhat comprehensive install sequence on the Pioneer AVIC-W6500NEX HU in my ‘12 Limited (nav no JBL). I had previously purchased a Kenwood DNX695S from Crutchfield but just couldn’t stomach the user interface so returned it. I really wanted the W8500 with the larger screen but it was significantly more bucks so settled on the W6500. I also installed the iDatalink Maestro ADS-MRR controller, the T01 harness, the TOYUSB adapter, and the Scosche bezel. From the Kenwood install, I still had the Sirius XM (SVC300V1) tuner in place, and I had already run my XM antenna to the rear of the rear of the roof.
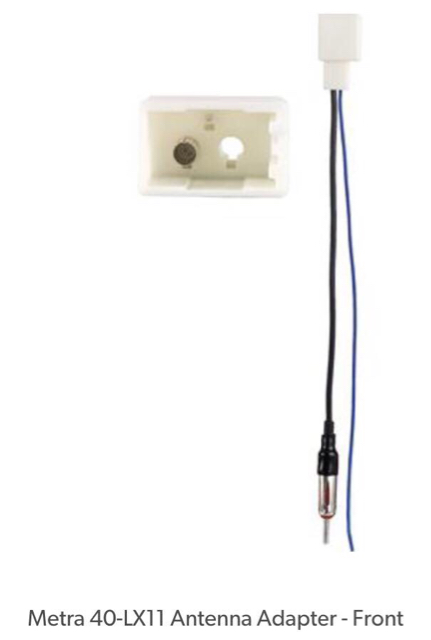
Also needed the Metra 40-LX11 Antenna Adapter to hook the factory radio antenna into the Pioneer.
One of the best parts (for me) of the Pioneer NEX units is CarPlay.
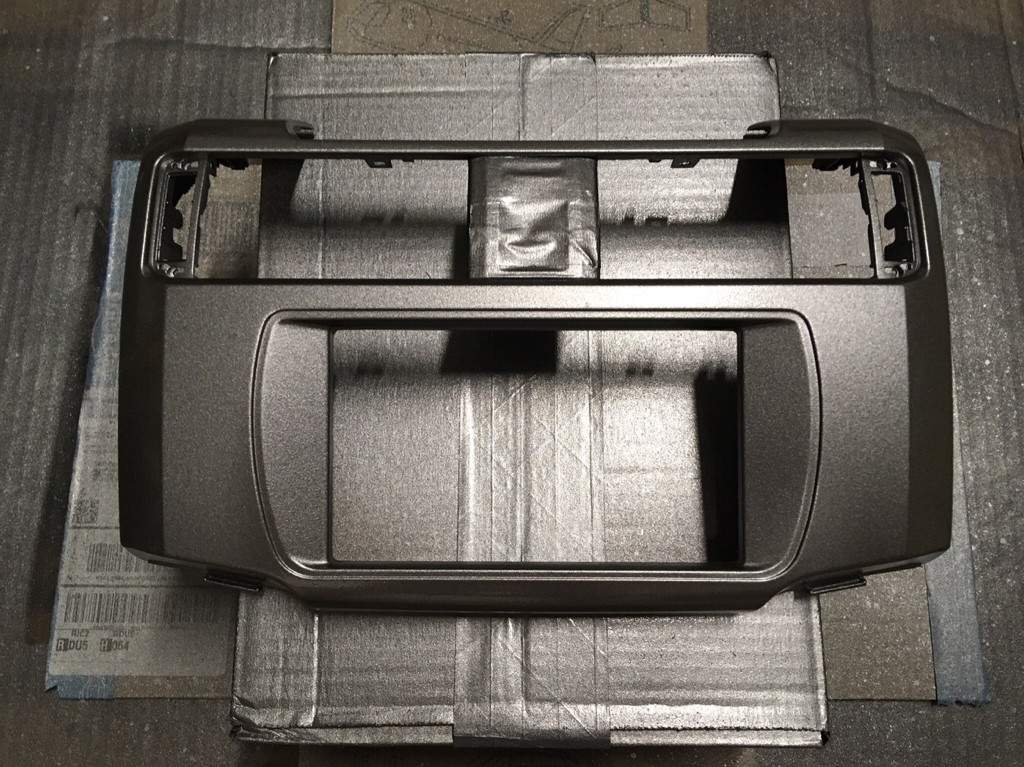
The Scosche bezel is “ok”, but you do have to clean up the edges and I went ahead and repainted mine because it comes with a flat silver finish which doesn’t match well with the semi-metallic finish of the factory bezel. You also have to move over a few pieces from the factory bezel which is a bit of a pain.
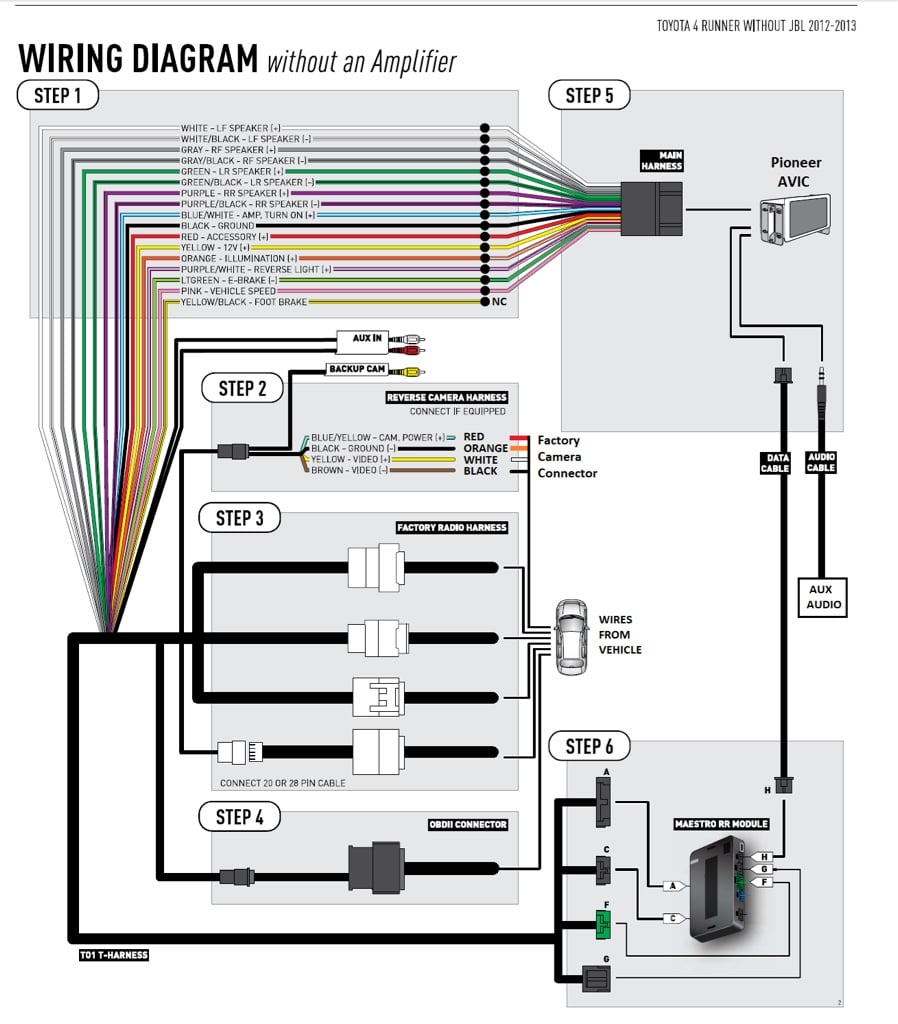
Matched up the control wires (top) and the speaker wires (bottom). The iDatalink wiring guide is wrong... it tells you the Pioneer pink wire is to be wired to the foot brake wire of the T01 harness, but it’s the speed sensor wire, so it goes to the speed sensor wire on the T01 harness which is also pink. No foot brake wire, only parking brake.
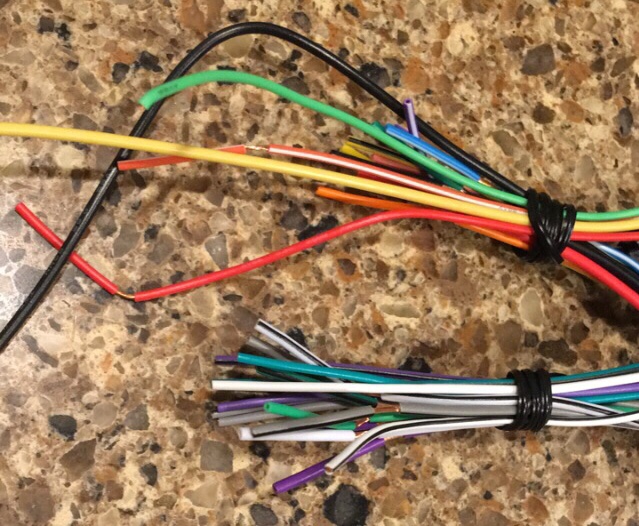
Halfway done. Still using my Radio Shack soldering iron which is 40 years old. Yes, I’m older than that.
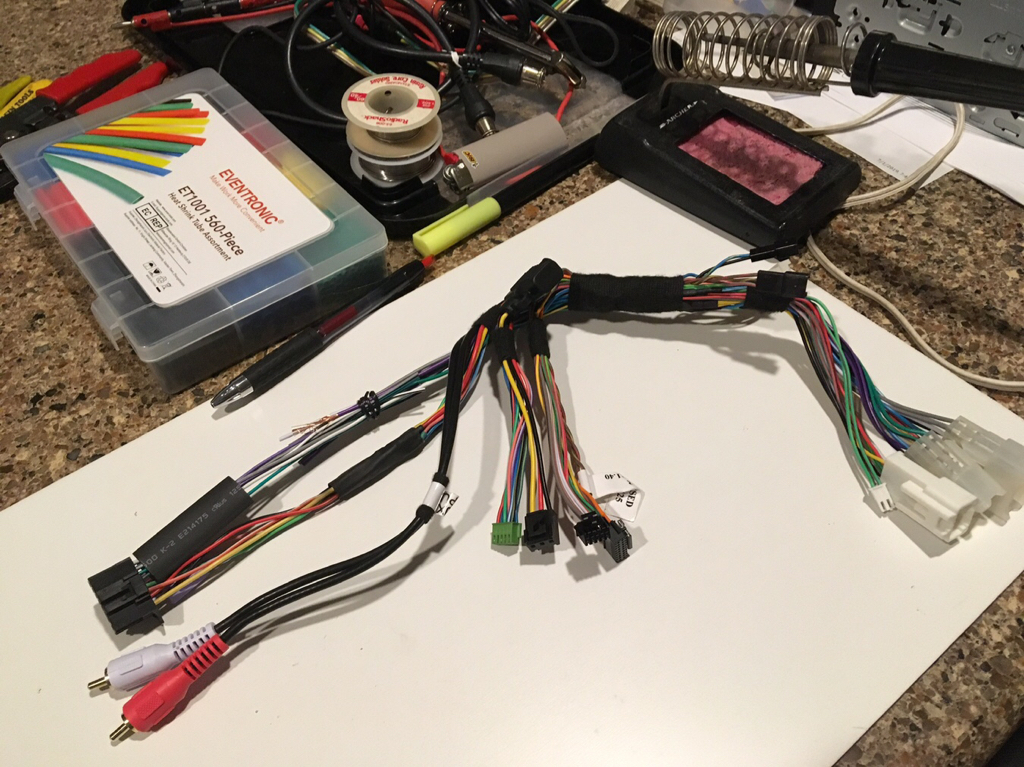
Old unit out and stock harness ready. From the previous Kenwood install, I had already converted the Toyota backup camera connector to an RCA plug and a 2-pin power connector, so at least I didn’t have that to deal with too.
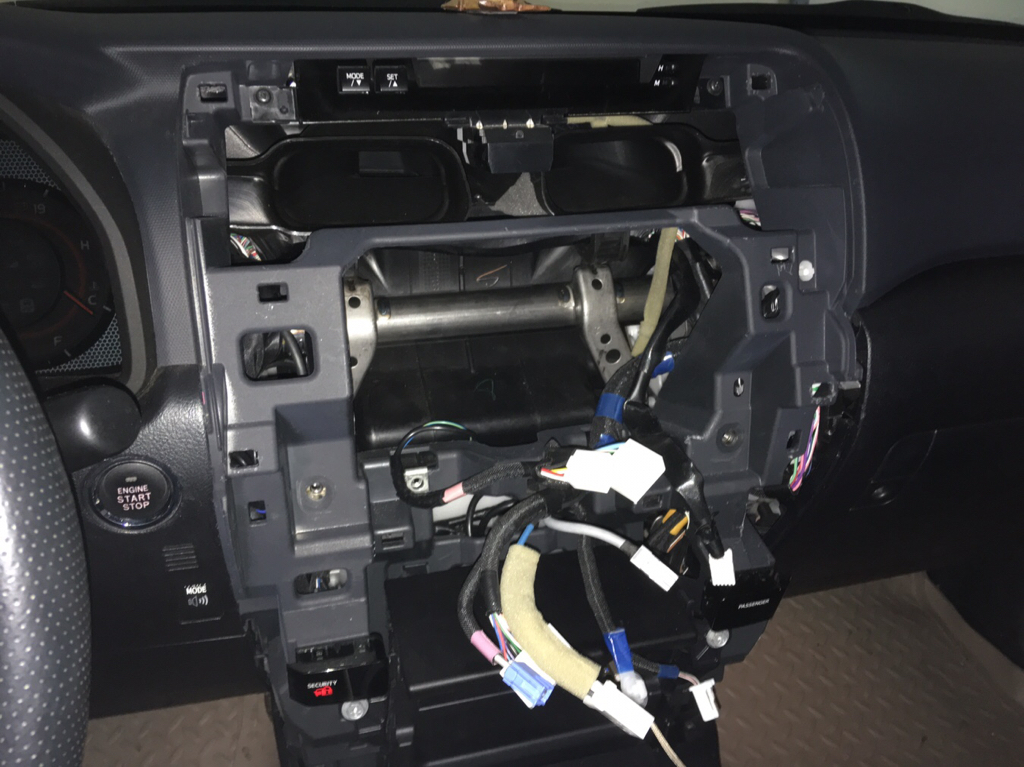
Gotta hook up ALL THIS MESS
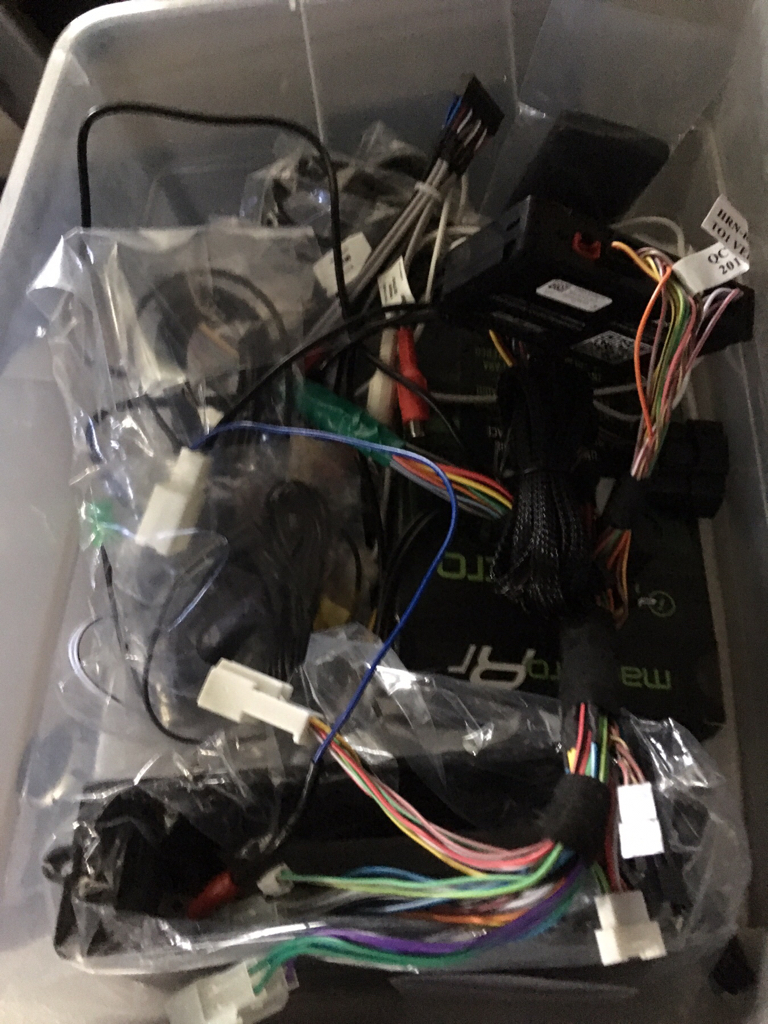
The T01 harness allows you to hook your climate control in through the iDatalink to the HU but I wanted to keep my factory controls.
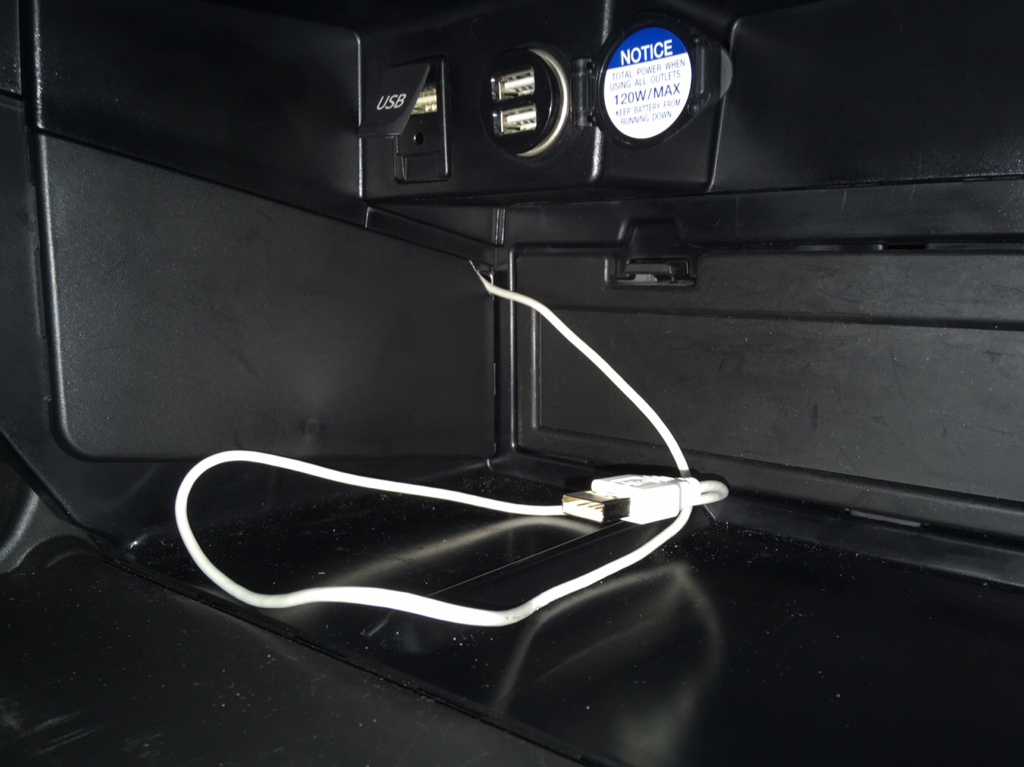
I connected a spare long USB cable to the iDatalink and ran it into the glove box in case I wanted to reprogram the Maestro module.
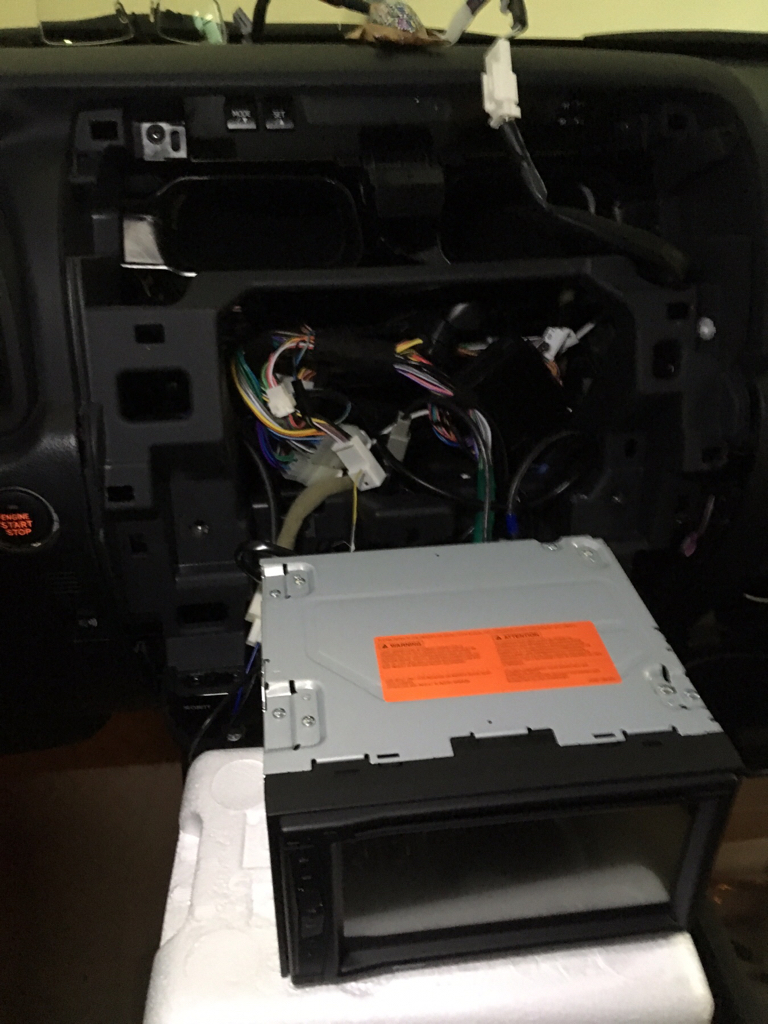
All cabled up, time for a good test power-on.
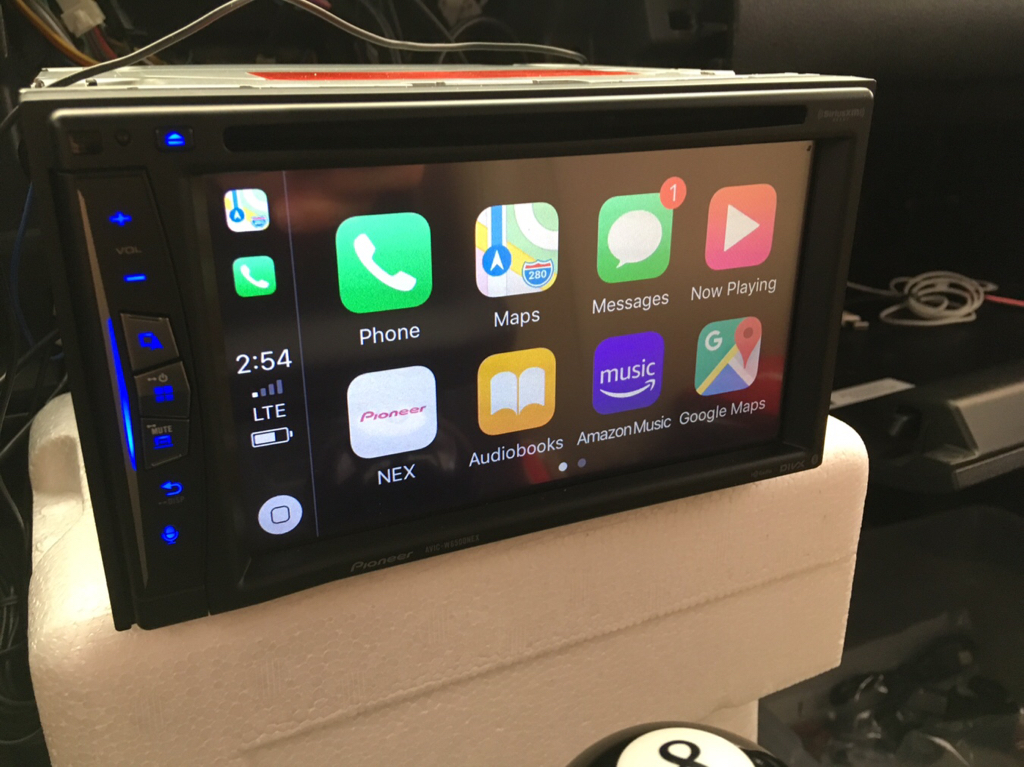
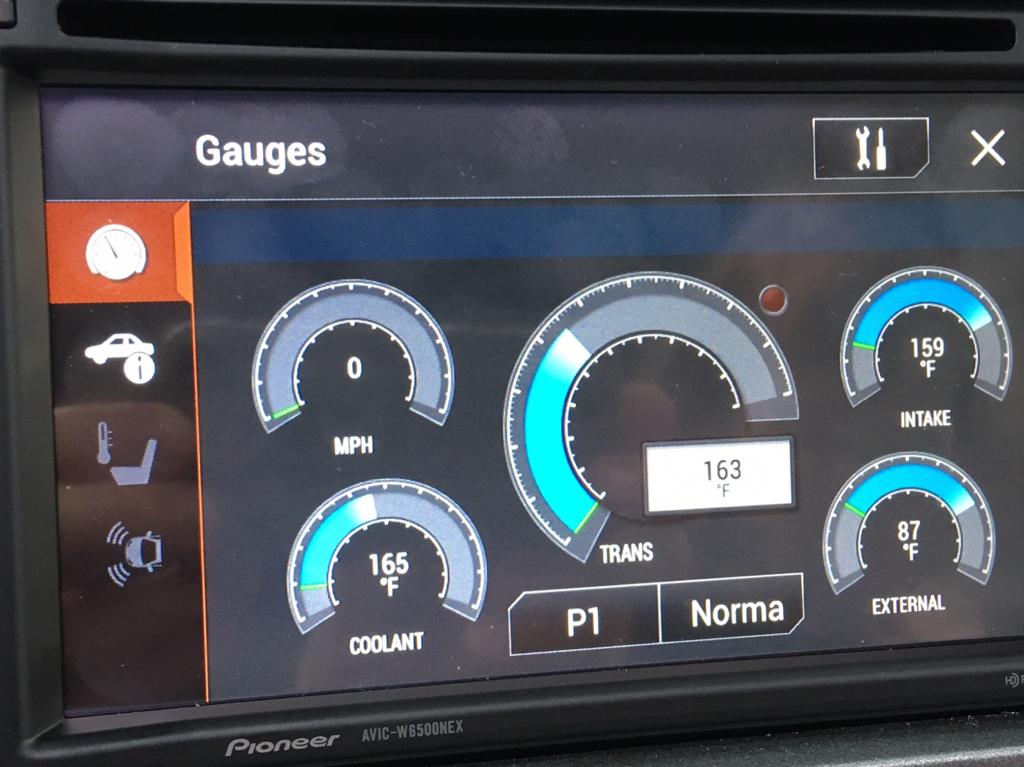
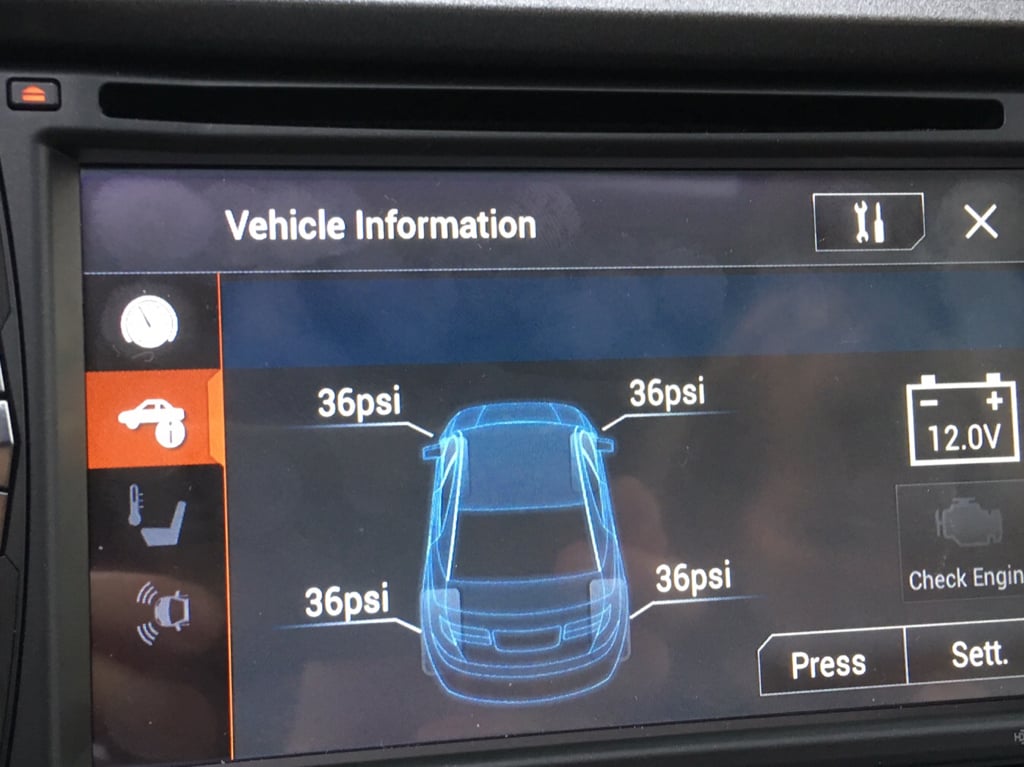
Powered up just fine, I even connected my iPhone to CarPlay. Nice! The Maestro allows you to use Accessory power while cranking, so the unit doesn’t reboot if you’re listening to something while parked, then crank the engine up when it’s time to leave. The Maestro also lets you customize the steering wheel control buttons, so a long press on MODE gives me navigation, long press on Vol+ gives me vehicle info (TPMS, battery), and long press on the voice control gives me the gauges which are somewhat customizable but less so than the Kenwood (no trans temp).
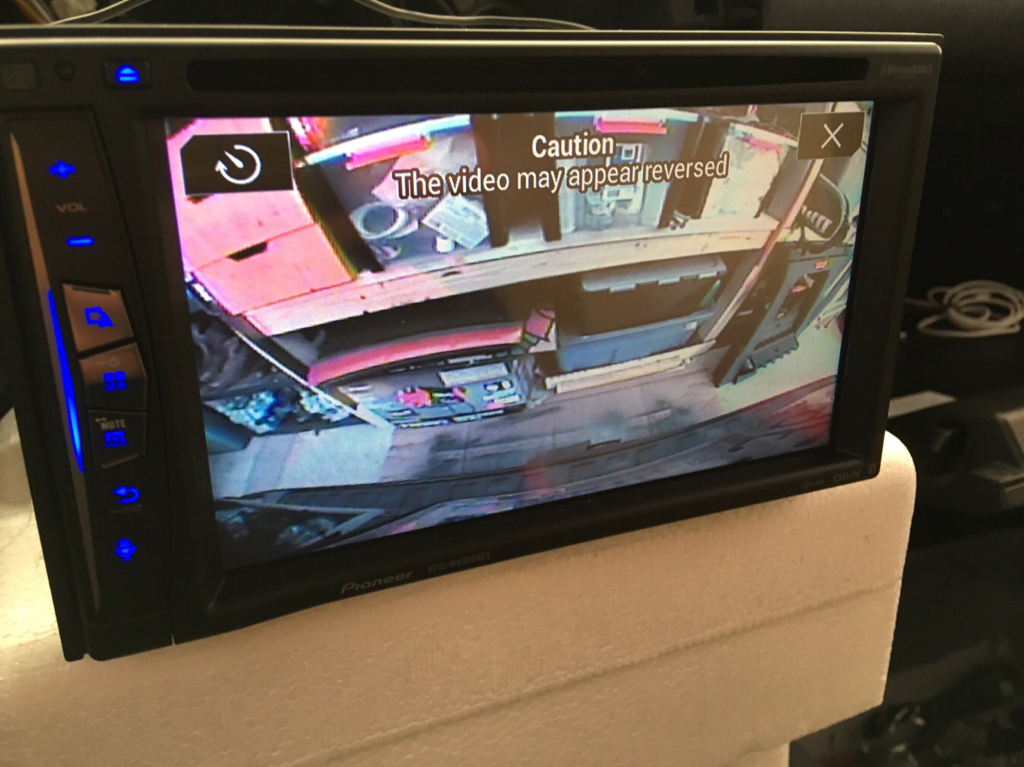
Back-up camera works! The nice thing about the Pioneer is that it lets you pull up the rear camera at any time, which is great when you’re pulling a trailer which I often do. No hack job needed.
Hooked up my ancient Nano and it works! iPod must be connected to USB port 1, Android devices to USB port 2. So, only 1 USB-connected Apple product can be used. I will use the other port for charging but that kinda sux.
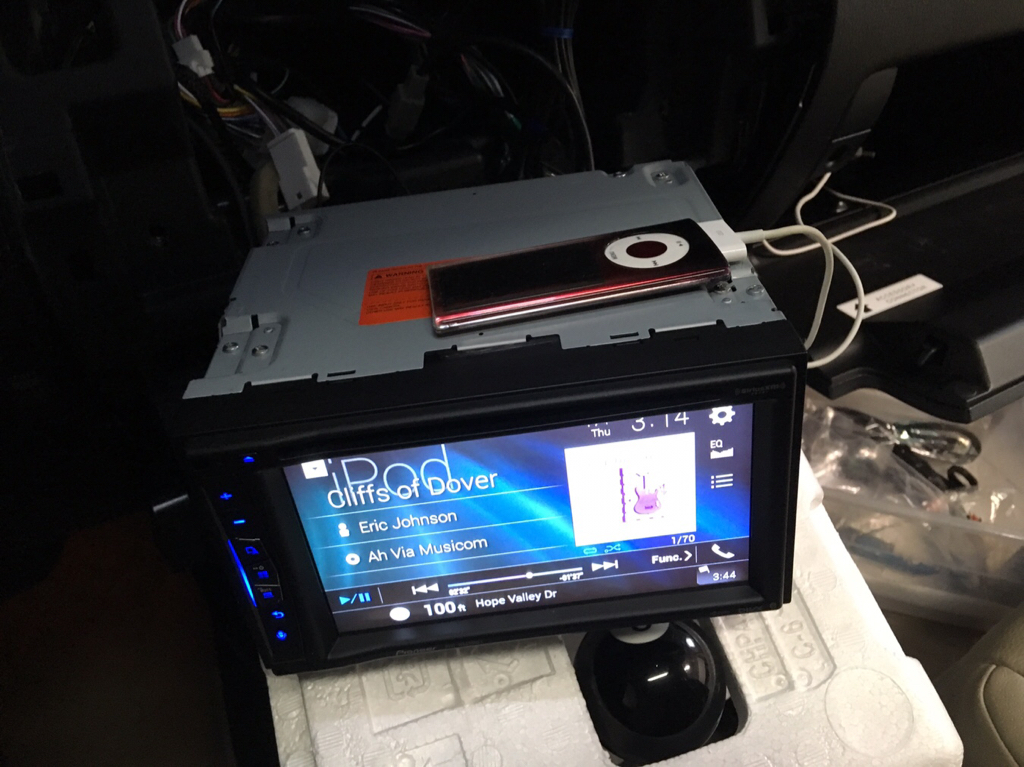
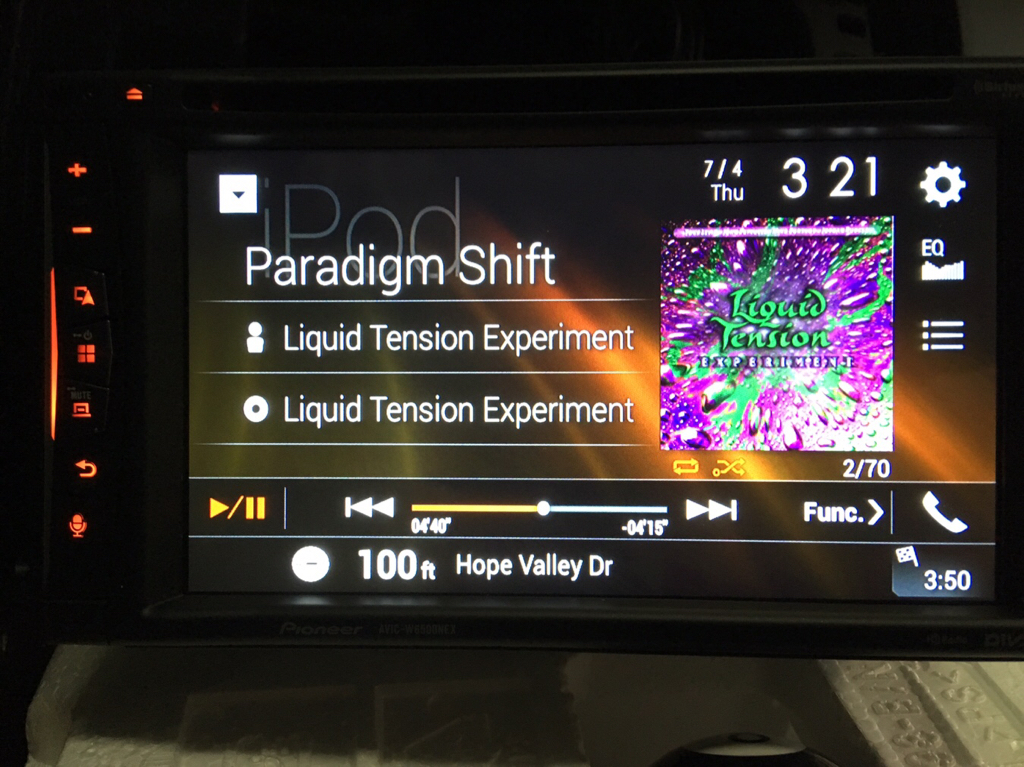
A look at the iPod through USB1. It picks up artwork, and gives progress bar on the song. The Kenwood did not look nearly this good.
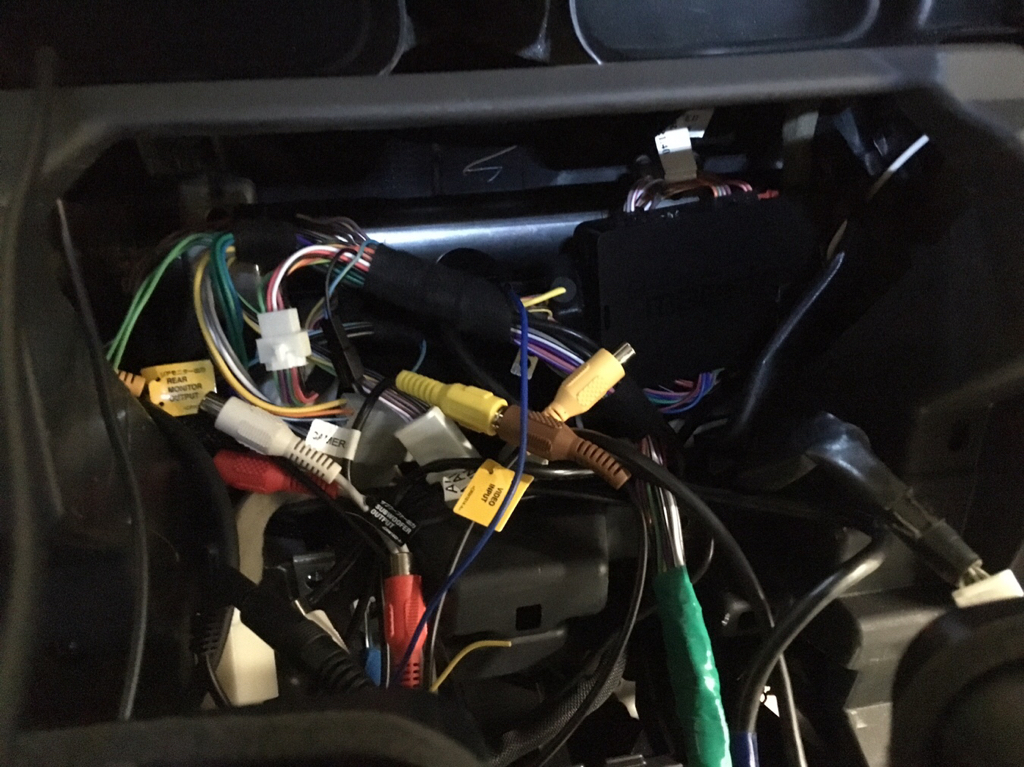
Ugh. The part I hate the most... stuffing all this back in. The bad part about the Pioneer harness is that they went from having A/V connections on the back of the unit where you only use what you need, to a breakout dongle with ALL the connectors hanging off of it so you have to stuff ALL of them back there. I only used the backup camera and the aux in, so the other connectors are just added bulk.
Finally got everything in, rolled outside the garage to check the XM... All good!
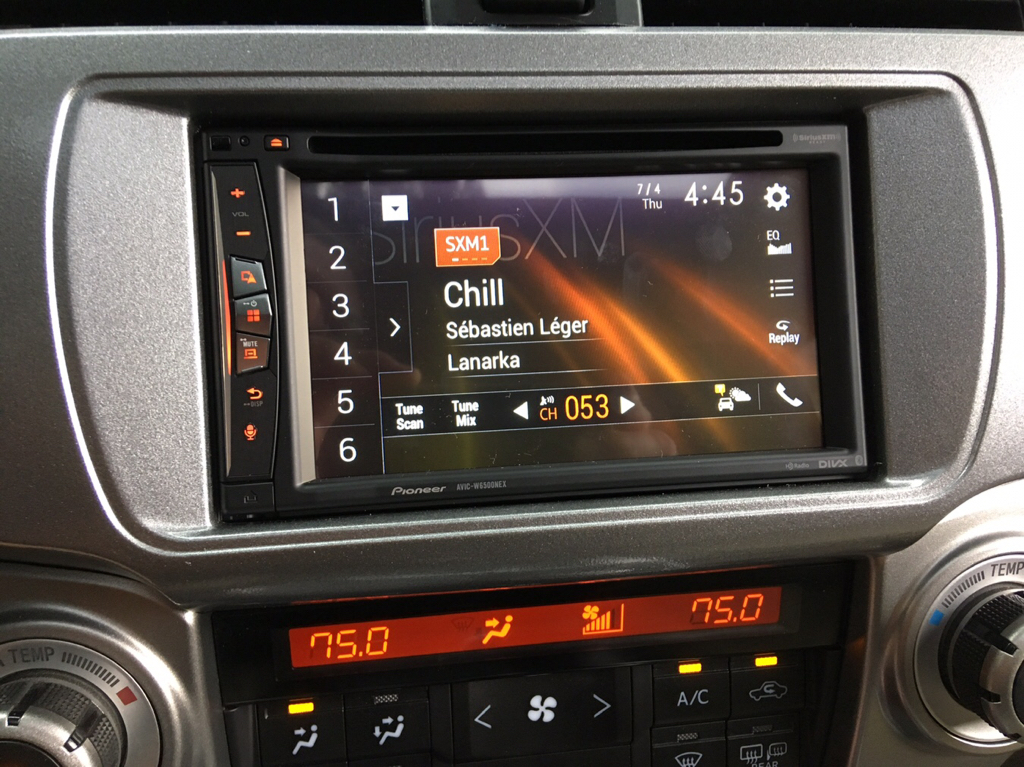
Navigation is by HERE, which is new to me but it works well and has traffic info as well as a TON of other alerts that you can configure. Side note, wife and I were headed to Bright Penny Brewing in Mebane. Check it out!
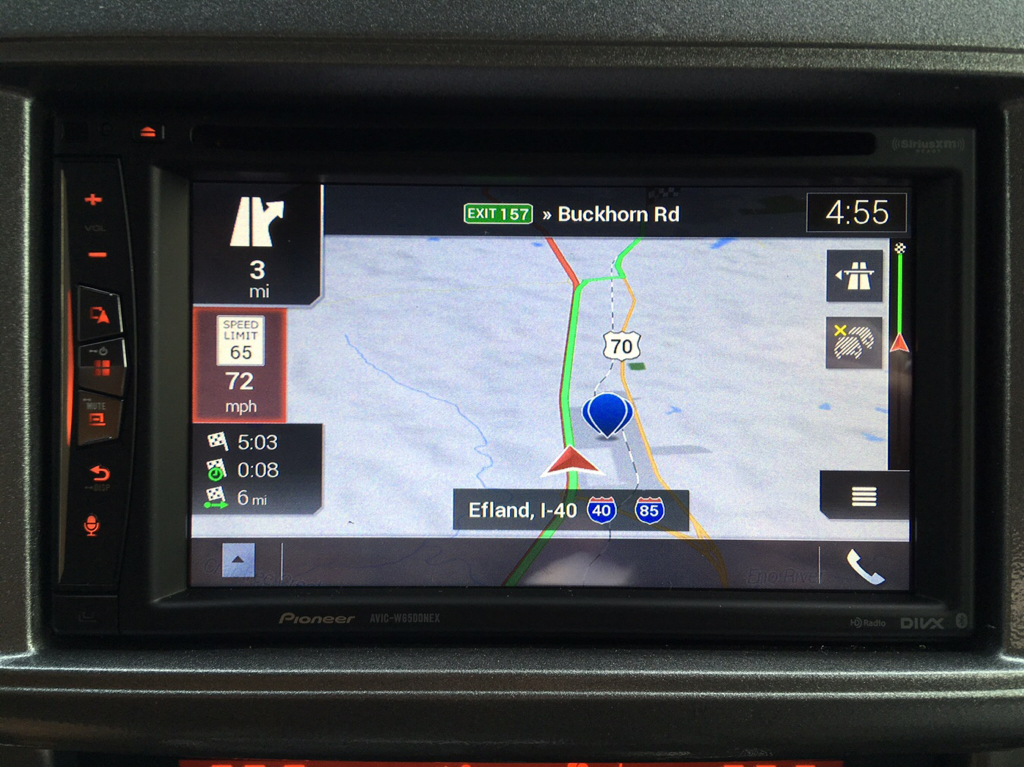
Final impression: The Pioneer is FAR better than the Kenwood, and I’m glad I kicked in the extra $200 to upgrade. I paid around $1000 for everything.
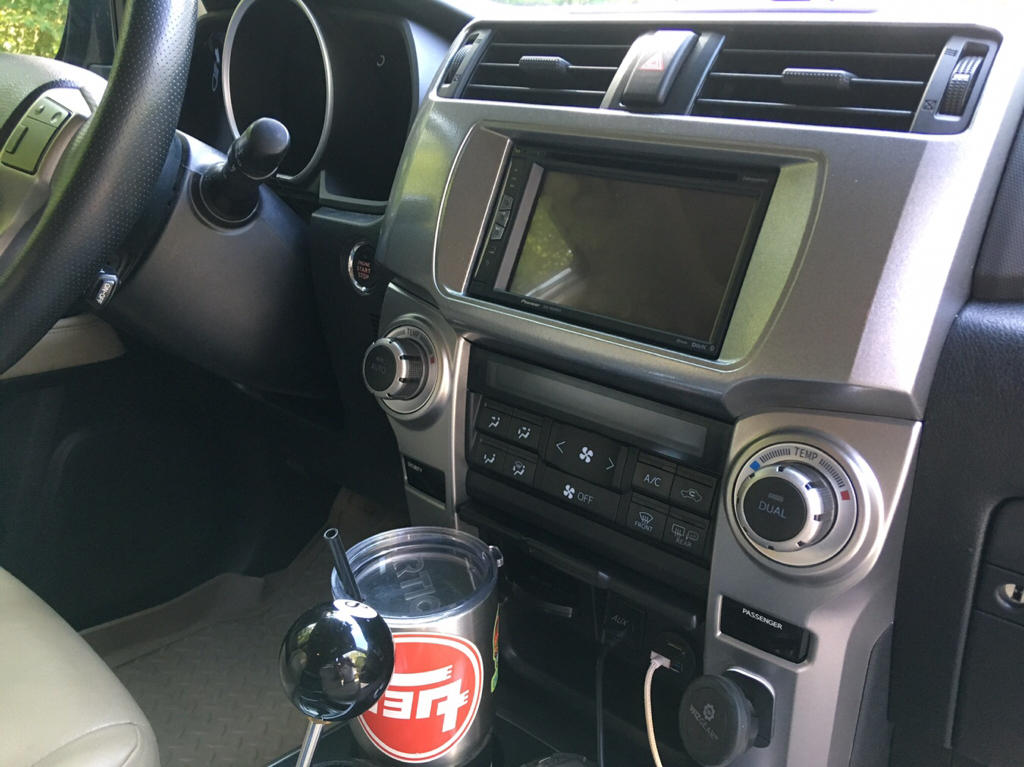
Note: I am not using my shark fin for anything. My XM reception had already died on my stock HU (no idea why) and the discrete XM and GPS antennas work so much better. There are adapters to use the stock antennas but I opted not to do that.
Pros:
- HERE navigation is highly configurable, intuitive, and has lifetime traffic info. Better than the Garmin system on the Kenwood.
- Can pull up rear camera at any time, no hack required
- Back-up camera activates even if HU is off (Kenwood wouldn't do this... ANNOYING)
- Extra video input for front camera
- Much better user interface than the Kenwood
- Phone call quality WAY better than Kenwood
- CarPlay
- Free remote
Cons:
- Less configurable OBD-II info... No trans temp (Kenwood displayed trans temp)
- Only 1 rear USB port can be used for Apple devices, and 1 for Android. Can still use other port for charging.
- Playing CD doesn’t bring up artwork, track info (wth?)
- Lost the audio AUX input because it is used by the iDatalink. Not sure why, so maybe it’s still something that can be reclaimed.
Also needed the Metra 40-LX11 Antenna Adapter to hook the factory radio antenna into the Pioneer.
One of the best parts (for me) of the Pioneer NEX units is CarPlay.
The Scosche bezel is “ok”, but you do have to clean up the edges and I went ahead and repainted mine because it comes with a flat silver finish which doesn’t match well with the semi-metallic finish of the factory bezel. You also have to move over a few pieces from the factory bezel which is a bit of a pain.
Matched up the control wires (top) and the speaker wires (bottom). The iDatalink wiring guide is wrong... it tells you the Pioneer pink wire is to be wired to the foot brake wire of the T01 harness, but it’s the speed sensor wire, so it goes to the speed sensor wire on the T01 harness which is also pink. No foot brake wire, only parking brake.
Halfway done. Still using my Radio Shack soldering iron which is 40 years old. Yes, I’m older than that.
Old unit out and stock harness ready. From the previous Kenwood install, I had already converted the Toyota backup camera connector to an RCA plug and a 2-pin power connector, so at least I didn’t have that to deal with too.
Gotta hook up ALL THIS MESS
The T01 harness allows you to hook your climate control in through the iDatalink to the HU but I wanted to keep my factory controls.
I connected a spare long USB cable to the iDatalink and ran it into the glove box in case I wanted to reprogram the Maestro module.
All cabled up, time for a good test power-on.
Powered up just fine, I even connected my iPhone to CarPlay. Nice! The Maestro allows you to use Accessory power while cranking, so the unit doesn’t reboot if you’re listening to something while parked, then crank the engine up when it’s time to leave. The Maestro also lets you customize the steering wheel control buttons, so a long press on MODE gives me navigation, long press on Vol+ gives me vehicle info (TPMS, battery), and long press on the voice control gives me the gauges which are somewhat customizable but less so than the Kenwood (no trans temp).
Back-up camera works! The nice thing about the Pioneer is that it lets you pull up the rear camera at any time, which is great when you’re pulling a trailer which I often do. No hack job needed.
Hooked up my ancient Nano and it works! iPod must be connected to USB port 1, Android devices to USB port 2. So, only 1 USB-connected Apple product can be used. I will use the other port for charging but that kinda sux.
A look at the iPod through USB1. It picks up artwork, and gives progress bar on the song. The Kenwood did not look nearly this good.
Ugh. The part I hate the most... stuffing all this back in. The bad part about the Pioneer harness is that they went from having A/V connections on the back of the unit where you only use what you need, to a breakout dongle with ALL the connectors hanging off of it so you have to stuff ALL of them back there. I only used the backup camera and the aux in, so the other connectors are just added bulk.
Finally got everything in, rolled outside the garage to check the XM... All good!
Navigation is by HERE, which is new to me but it works well and has traffic info as well as a TON of other alerts that you can configure. Side note, wife and I were headed to Bright Penny Brewing in Mebane. Check it out!
Final impression: The Pioneer is FAR better than the Kenwood, and I’m glad I kicked in the extra $200 to upgrade. I paid around $1000 for everything.
Note: I am not using my shark fin for anything. My XM reception had already died on my stock HU (no idea why) and the discrete XM and GPS antennas work so much better. There are adapters to use the stock antennas but I opted not to do that.
Pros:
- HERE navigation is highly configurable, intuitive, and has lifetime traffic info. Better than the Garmin system on the Kenwood.
- Can pull up rear camera at any time, no hack required
- Back-up camera activates even if HU is off (Kenwood wouldn't do this... ANNOYING)
- Extra video input for front camera
- Much better user interface than the Kenwood
- Phone call quality WAY better than Kenwood
- CarPlay
- Free remote
Cons:
- Less configurable OBD-II info... No trans temp (Kenwood displayed trans temp)
- Only 1 rear USB port can be used for Apple devices, and 1 for Android. Can still use other port for charging.
- Playing CD doesn’t bring up artwork, track info (wth?)
- Lost the audio AUX input because it is used by the iDatalink. Not sure why, so maybe it’s still something that can be reclaimed.
Last edited:




 Also, with the 8500, using wireless Android Auto on a phone other than a Pixel or other approved phone, you have to set your phone (mine is an Essential PH1) to developer mode and install the latest beta of Google Play Services and then the phone will connect wirelessly.


