
Bill_Dunnigan
New member
Hello all,
I just bought this 2000 4Runner SR5 (4x4, auto trans)
I recently had idle problems.
Symptoms:
-Trouble starting and stalling out from a cold start.
-High Idle between 1200-1500 rpm.
-very bad gas mileage (12-14 mpg)
-Check engine light (p0505)
Solution:
Well my first thought was that the IAC (Idle Air Control) was bad or malfunctioning. This seems to be a common problem with 4Runners, so I took a peak on YouTube to see what other people have done to remedy this problem. It seems that all of them spray carb cleaner in the throttle body and specifically into the IAC by way of the bottom breather hole in the Throttle body. This seems risky to me because once something enters the IAC, it stays there because there is no where else to go, its one of the lowest points on the TB.
So here is what I did
Step One: Disconnect Battery Terminals, this will allow the computer to reset its self while you work on your TB and IAC. Plus it will prevent you from shorting everything out while your working.
Step Two: Remove the plastic air intake tube. There are three 12mm bolts holding the airbox to the passenger side fenderwell, disconnect all electrical and vacuum lines and remove the unit as one piece. (this is a good time to clean it!)
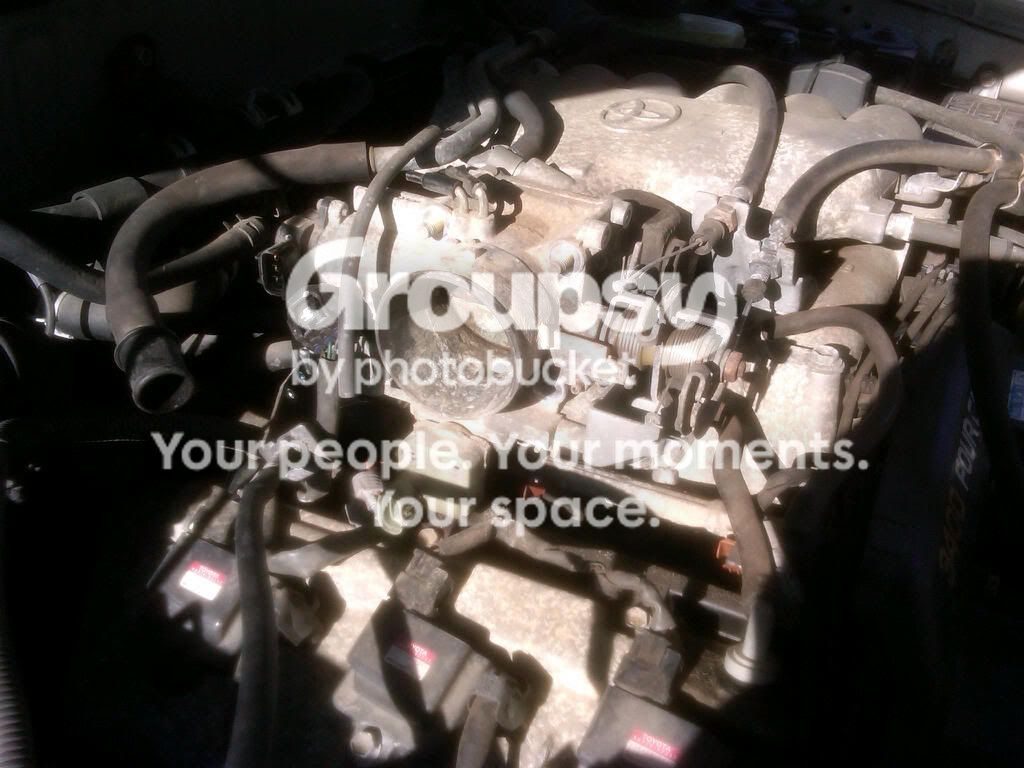
Step Three: Remove the Throttle Body. There are four 12mm bolts holding this to the upper intake manifold. You will also have to disconnect the inlet and outlet coolant lines connected to the IAC under the TB. A wide set of pliers helps to remove the spring retaining clips. There is also a breather hose that will need to come off the IAC (it does not have a clamp). You will also have to unhook the throttle and cruise control cables from the TB rotating assembly. To remove the cables, rotate the butterfly valve, and rotate the cables so that they can be freed from the TB via the notches in the metal. they should just slide right out but if they don't, gently pull them with a set of pliers. try not to scuff up the ends or you'll have trouble putting them back in. The TB assembly slides out towards the passenger side.
*Do not loose or bend the thin metal gasket behind the TB!*
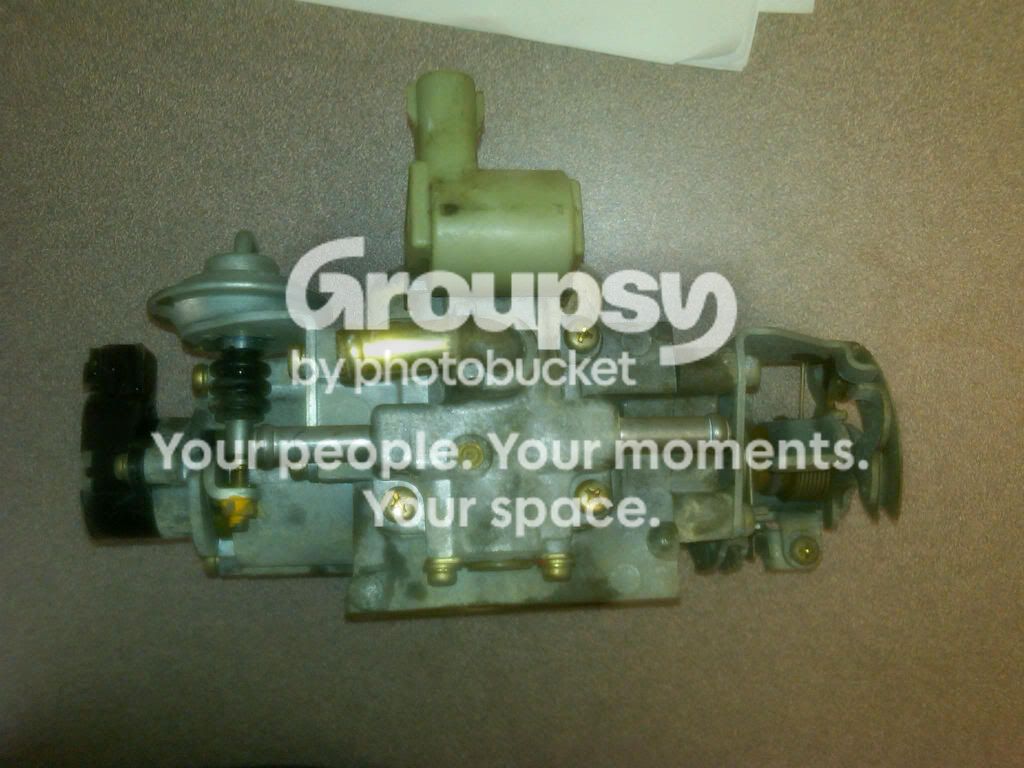
Step Four: Using a 90 Degree Screw driver, remove the IAC from the bottom of the TB. You must use a 90 Degree screw driver with the correct tip. This will allow you to assert enough torque to loosen the bolts with out striping them. (take your time and do it right)
This is what a The IAC looks like.
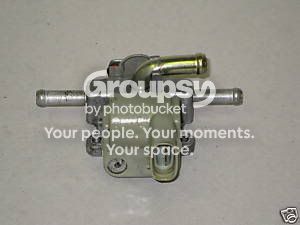
This is what it looks like when its dirty and corroded!
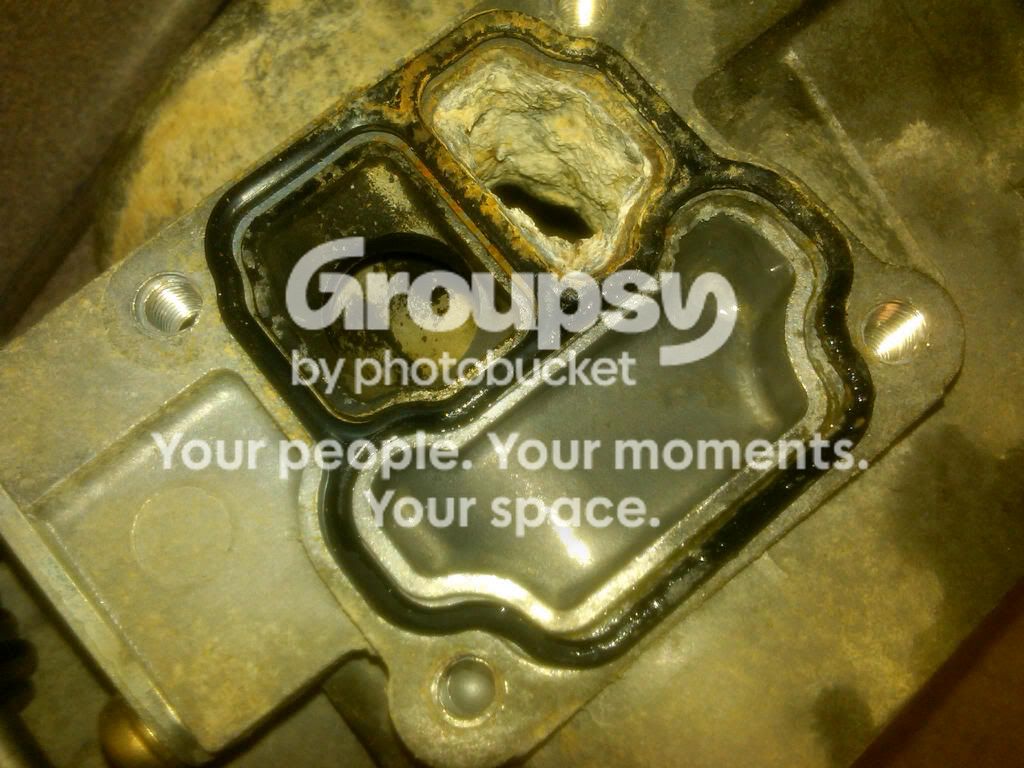
So this is the reason why there was a Check Engine Light. There was some debris stuck in the IAC's rotating assembly, I used a pick and some alcohol to clean it out and allow the rotating assembly to move again. Make sure to Clean or replace the rubber seal before you reassemble everything.

To test if your IAC is actually malfunctioning, you can perform a simple test. The electrical connector on the IAC has three pins in it. the one in the middle is ground and the other two are 12V. if you apply power across one side and ground it should rotate in one direction. applying power to the other side and ground should make it rotate in the opposite direction. Replace it if it does not perform this action or if the motor has shorted out (you'll see sparks)!
Step Five: clean the throttle body thoroughly. I have access to a sandblaster, so I sandblasted mine on low pressure, now it looks brand new. please keep in mind that some of the parts on the TB are galvy coated steel. if you remove the galvy coating they will rust! Here it is all cleaned. After Sand blasting I did blow out all the little ports and passages with compressed air to make sure there were no grains of sand left to clog anything up.
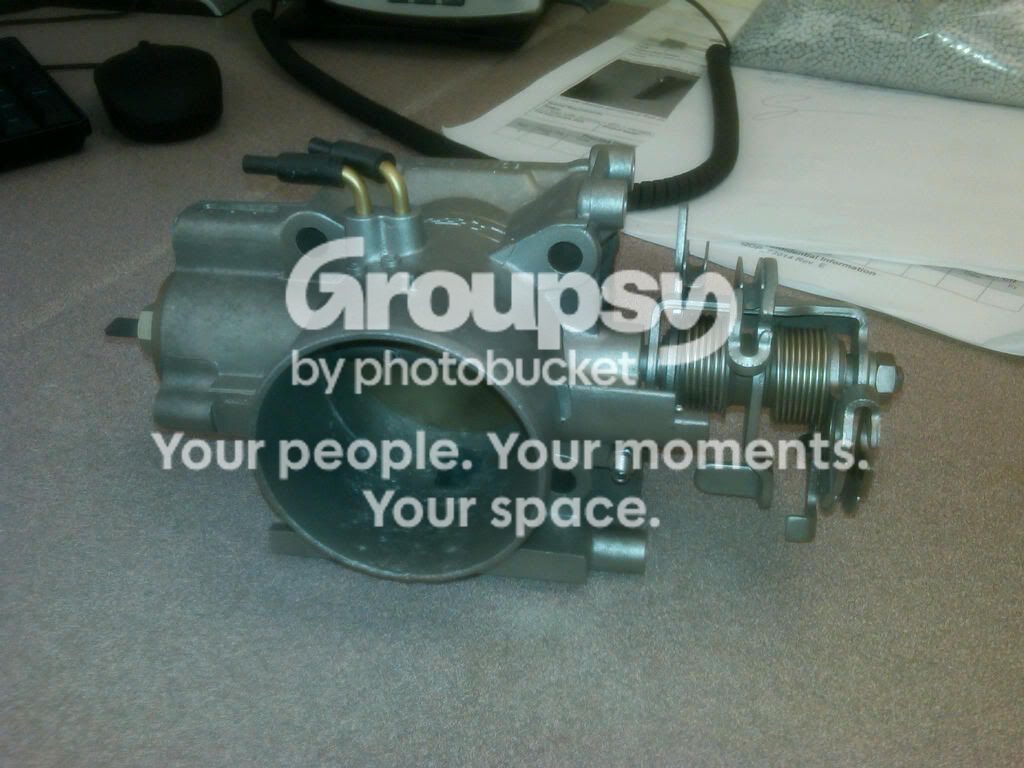
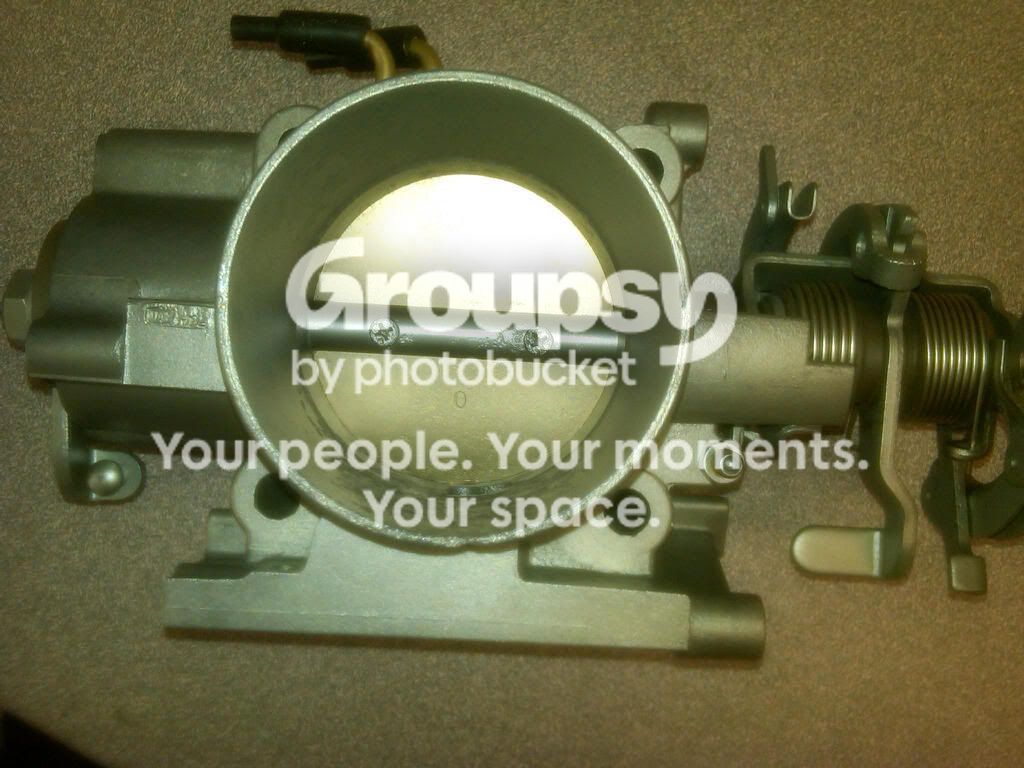

It turns out that my IAC was bad. I tested it as I stated above, only I used a cordless drill battery, It was sparking, so I knew the motor on the IAC had shorted out. A new one can cost $70 on ebay or about $200 at Autozone, $240 at NAPA! I was in a rush so I just bit the Bullet and got one from Autozone.
Here is a pic of the old and new IACs next to each other.
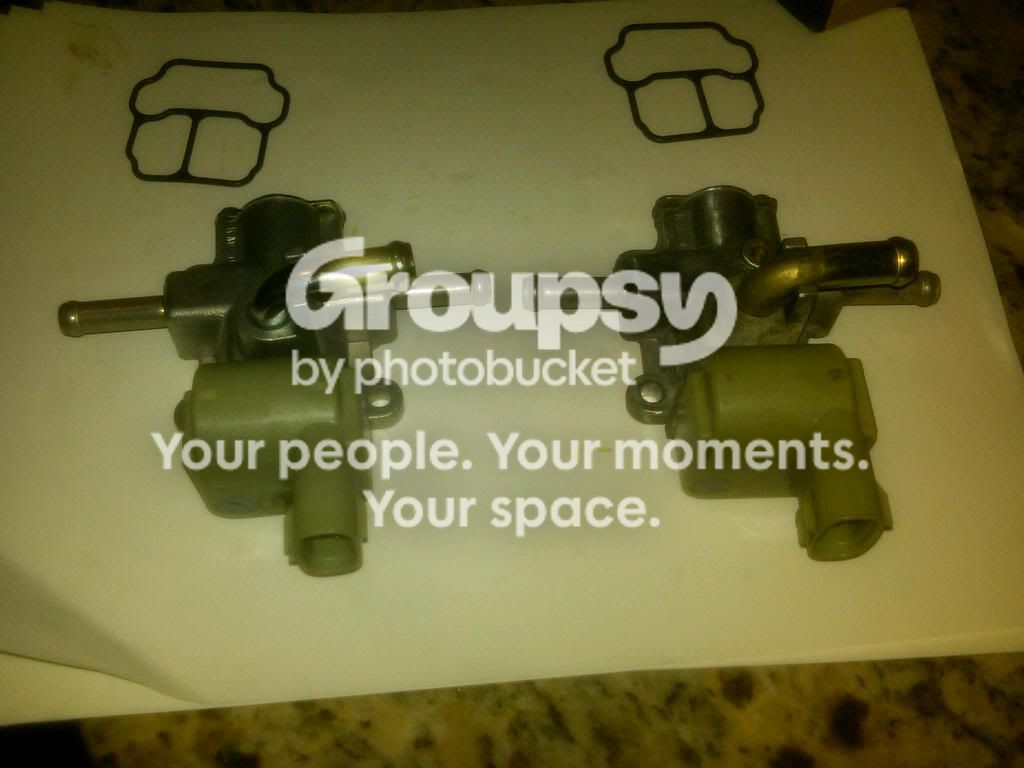
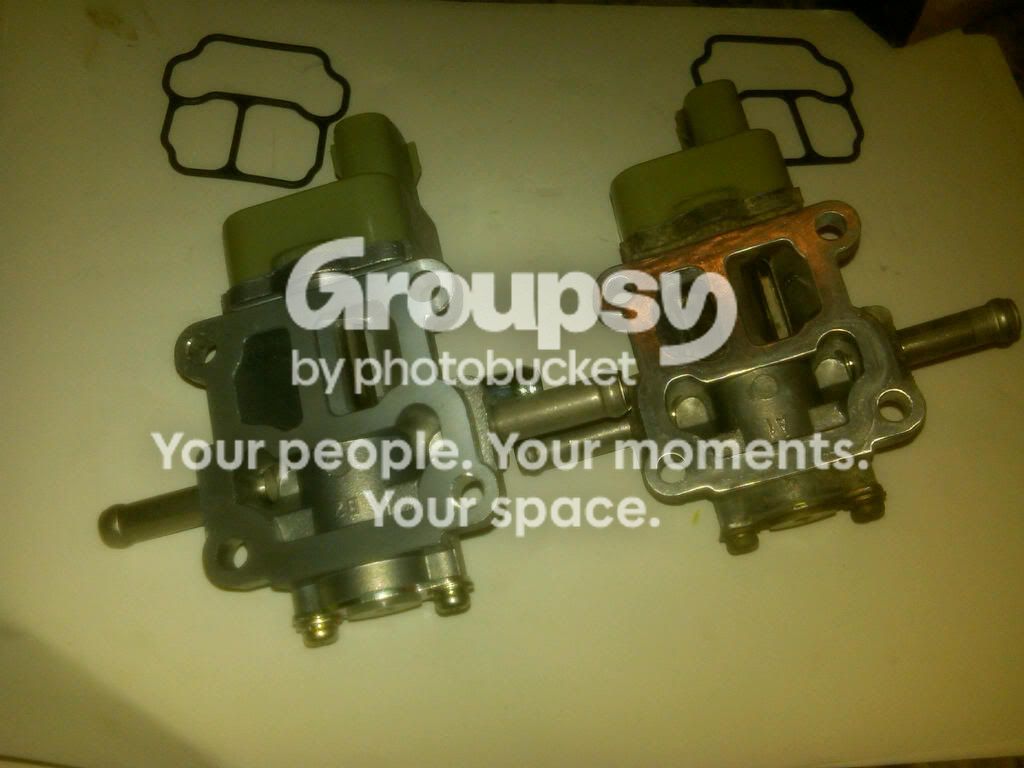
And Here is the TB assembly all back together again with the new IAC
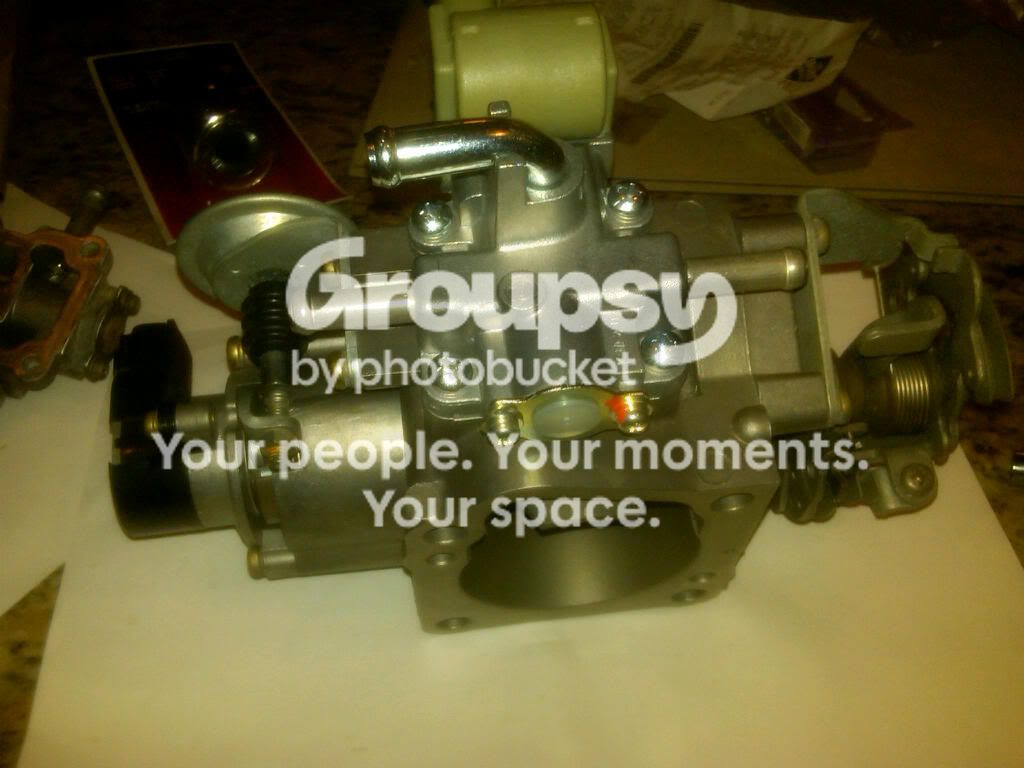
Step Six: Reassembly is the opposite of the take down. Just make sure that you clean everything. I like to wear Latex gloves when working. It keeps my hands clean and somewhat protected as well as prevents body oils from rusting any metal parts in the long run. Make sure to reconnect the three cables to the throttle body. the cruise control cable should be loose, so don't be worried if you think its too loose. Also, don't forget to reconnect your battery and all your vacuum lines!
Good Luck, Enjoy!
I just bought this 2000 4Runner SR5 (4x4, auto trans)
I recently had idle problems.
Symptoms:
-Trouble starting and stalling out from a cold start.
-High Idle between 1200-1500 rpm.
-very bad gas mileage (12-14 mpg)
-Check engine light (p0505)
Solution:
Well my first thought was that the IAC (Idle Air Control) was bad or malfunctioning. This seems to be a common problem with 4Runners, so I took a peak on YouTube to see what other people have done to remedy this problem. It seems that all of them spray carb cleaner in the throttle body and specifically into the IAC by way of the bottom breather hole in the Throttle body. This seems risky to me because once something enters the IAC, it stays there because there is no where else to go, its one of the lowest points on the TB.
So here is what I did
Step One: Disconnect Battery Terminals, this will allow the computer to reset its self while you work on your TB and IAC. Plus it will prevent you from shorting everything out while your working.
Step Two: Remove the plastic air intake tube. There are three 12mm bolts holding the airbox to the passenger side fenderwell, disconnect all electrical and vacuum lines and remove the unit as one piece. (this is a good time to clean it!)
Step Three: Remove the Throttle Body. There are four 12mm bolts holding this to the upper intake manifold. You will also have to disconnect the inlet and outlet coolant lines connected to the IAC under the TB. A wide set of pliers helps to remove the spring retaining clips. There is also a breather hose that will need to come off the IAC (it does not have a clamp). You will also have to unhook the throttle and cruise control cables from the TB rotating assembly. To remove the cables, rotate the butterfly valve, and rotate the cables so that they can be freed from the TB via the notches in the metal. they should just slide right out but if they don't, gently pull them with a set of pliers. try not to scuff up the ends or you'll have trouble putting them back in. The TB assembly slides out towards the passenger side.
*Do not loose or bend the thin metal gasket behind the TB!*
Step Four: Using a 90 Degree Screw driver, remove the IAC from the bottom of the TB. You must use a 90 Degree screw driver with the correct tip. This will allow you to assert enough torque to loosen the bolts with out striping them. (take your time and do it right)
This is what a The IAC looks like.
This is what it looks like when its dirty and corroded!
So this is the reason why there was a Check Engine Light. There was some debris stuck in the IAC's rotating assembly, I used a pick and some alcohol to clean it out and allow the rotating assembly to move again. Make sure to Clean or replace the rubber seal before you reassemble everything.
To test if your IAC is actually malfunctioning, you can perform a simple test. The electrical connector on the IAC has three pins in it. the one in the middle is ground and the other two are 12V. if you apply power across one side and ground it should rotate in one direction. applying power to the other side and ground should make it rotate in the opposite direction. Replace it if it does not perform this action or if the motor has shorted out (you'll see sparks)!
Step Five: clean the throttle body thoroughly. I have access to a sandblaster, so I sandblasted mine on low pressure, now it looks brand new. please keep in mind that some of the parts on the TB are galvy coated steel. if you remove the galvy coating they will rust! Here it is all cleaned. After Sand blasting I did blow out all the little ports and passages with compressed air to make sure there were no grains of sand left to clog anything up.
It turns out that my IAC was bad. I tested it as I stated above, only I used a cordless drill battery, It was sparking, so I knew the motor on the IAC had shorted out. A new one can cost $70 on ebay or about $200 at Autozone, $240 at NAPA! I was in a rush so I just bit the Bullet and got one from Autozone.
Here is a pic of the old and new IACs next to each other.
And Here is the TB assembly all back together again with the new IAC
Step Six: Reassembly is the opposite of the take down. Just make sure that you clean everything. I like to wear Latex gloves when working. It keeps my hands clean and somewhat protected as well as prevents body oils from rusting any metal parts in the long run. Make sure to reconnect the three cables to the throttle body. the cruise control cable should be loose, so don't be worried if you think its too loose. Also, don't forget to reconnect your battery and all your vacuum lines!
Good Luck, Enjoy!
Last edited:


