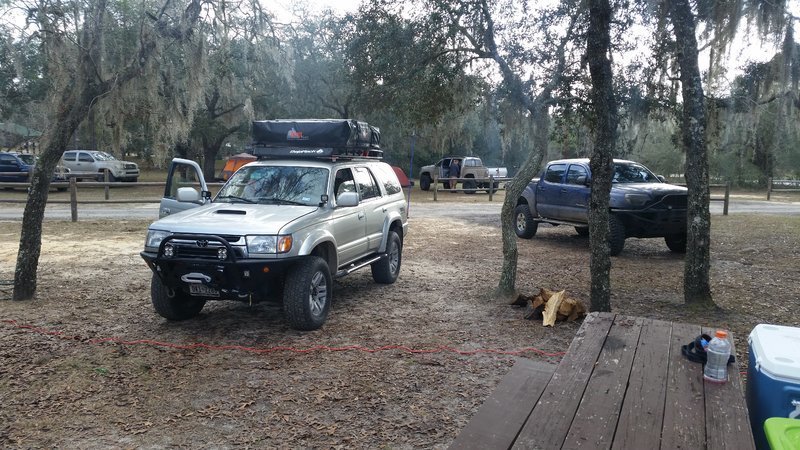
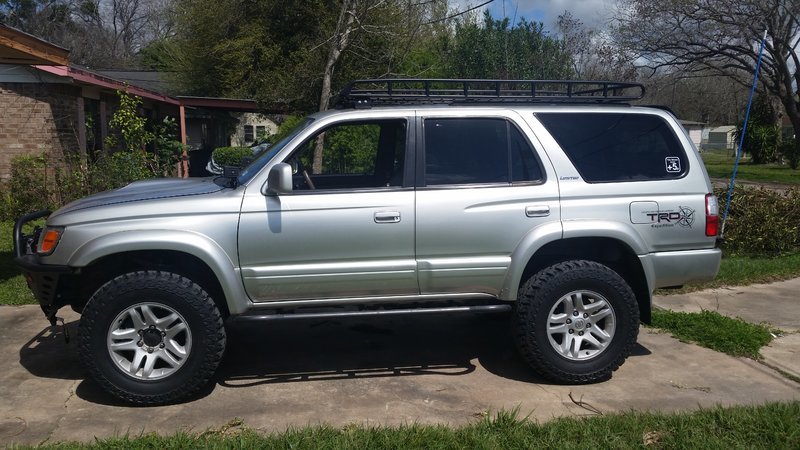
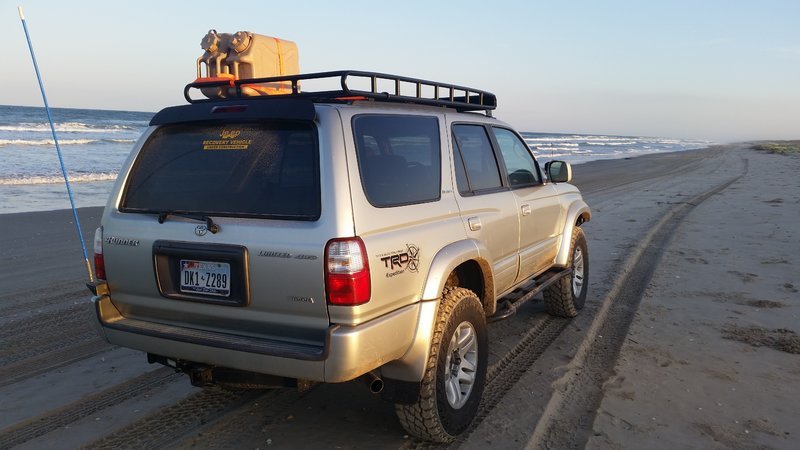
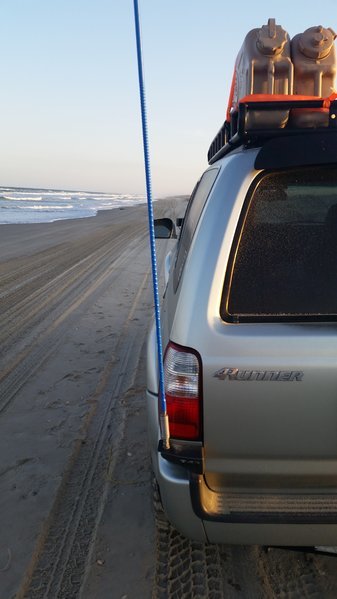
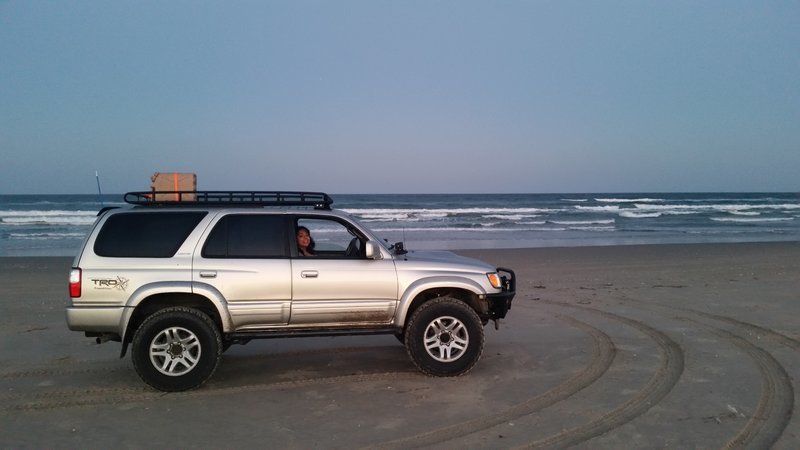
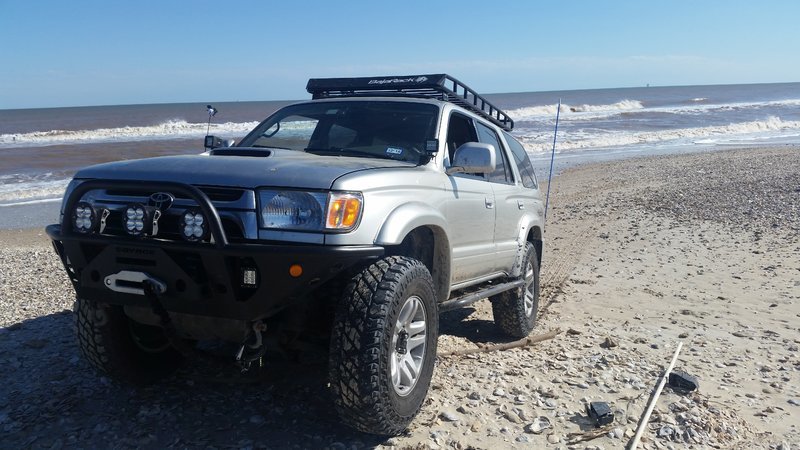
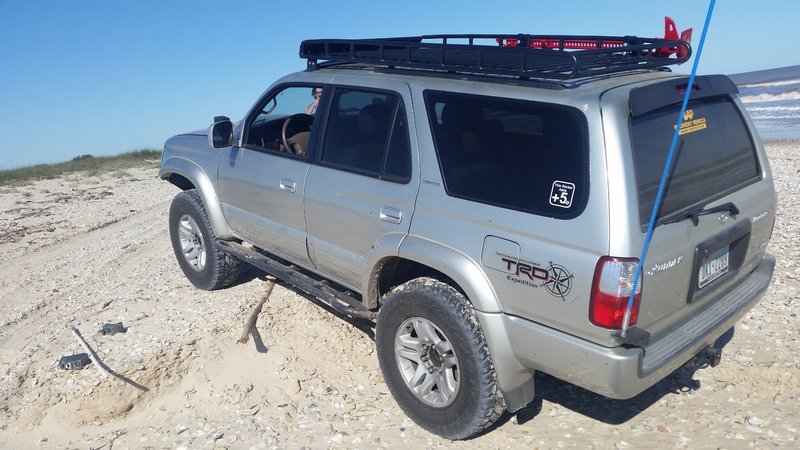
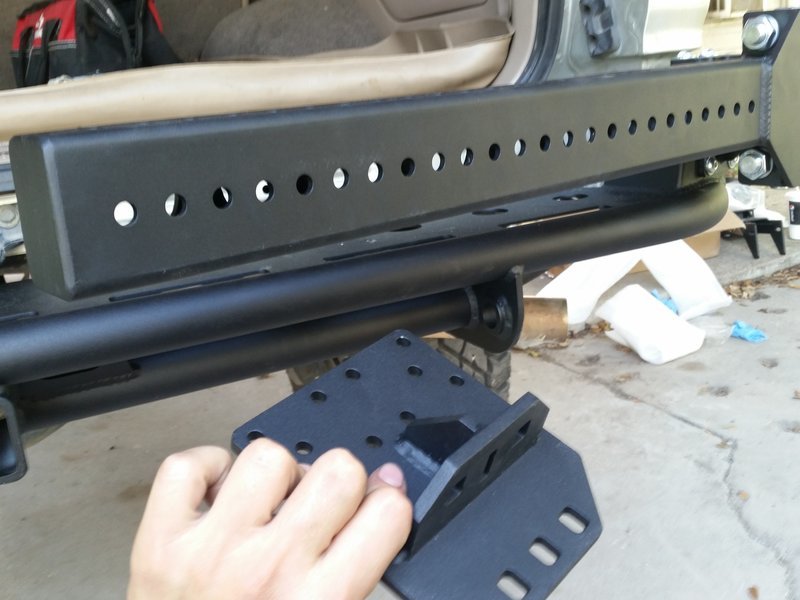
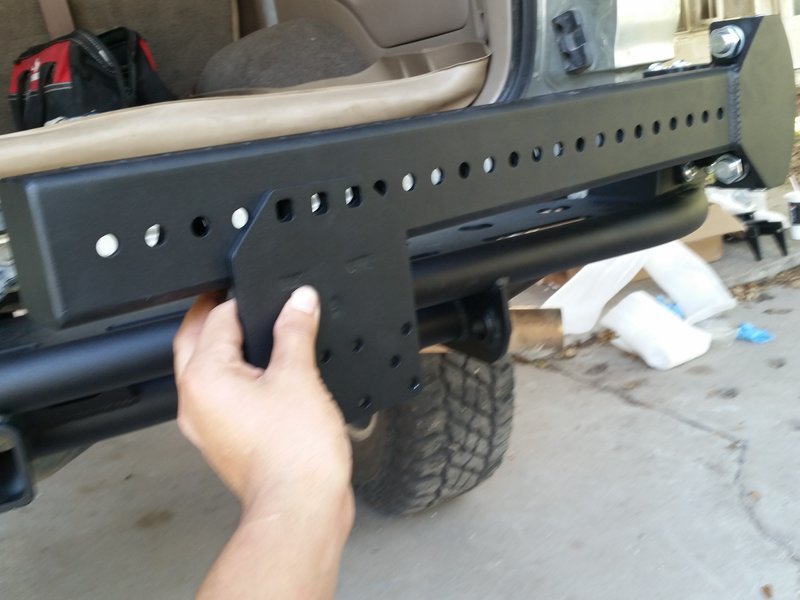
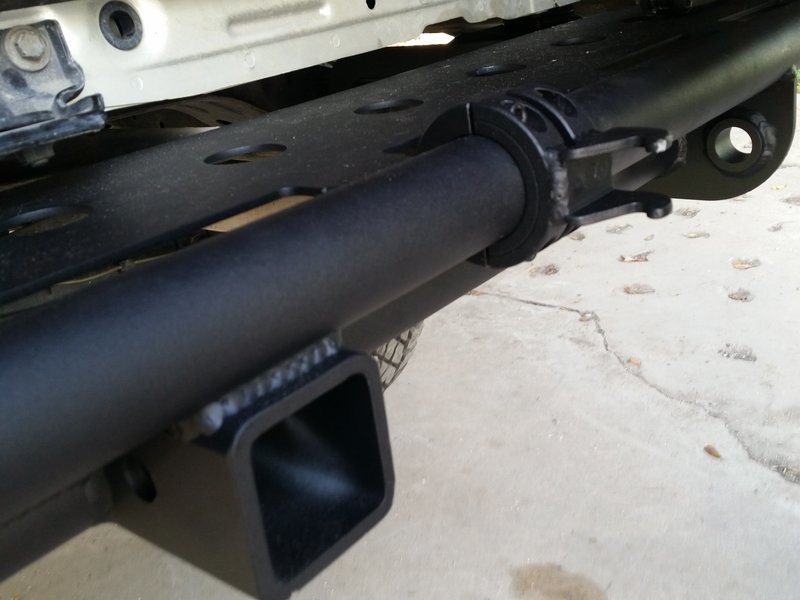
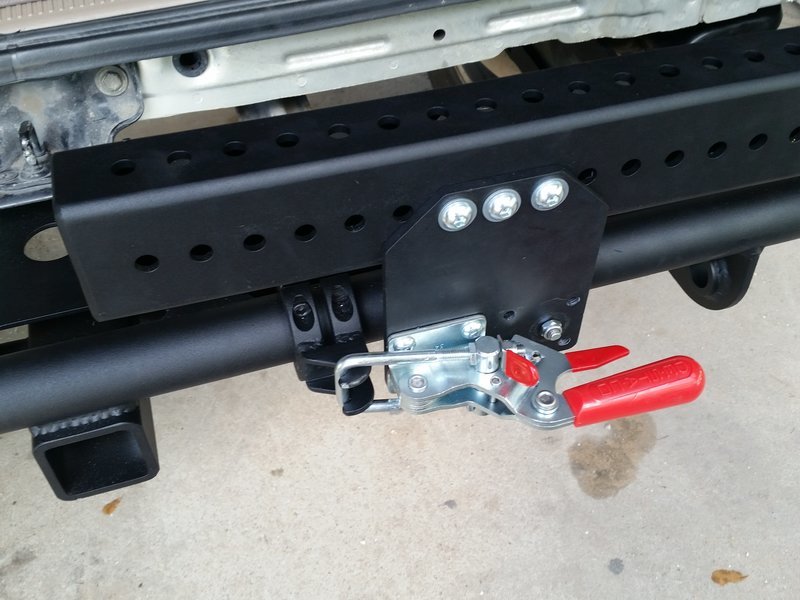
ramonortiz55 4runner build: La Venenosa

I went ahead and finally did the wiring for the winch this weekend.

Well most of it.

The reason it took me forever to get the wiring done was because I couldnt find a good spot to install my winch solenoid box.

I wanted the controls to be accessible and I also wanted the box in a good spot where it wouldnt take too much space or require me relocating stuffss..

I give credit to [MENTION=44220]BigFishAllDay[/MENTION] build thread on T4R.org for this idea.

Changed a few things, but the concept is all the same.

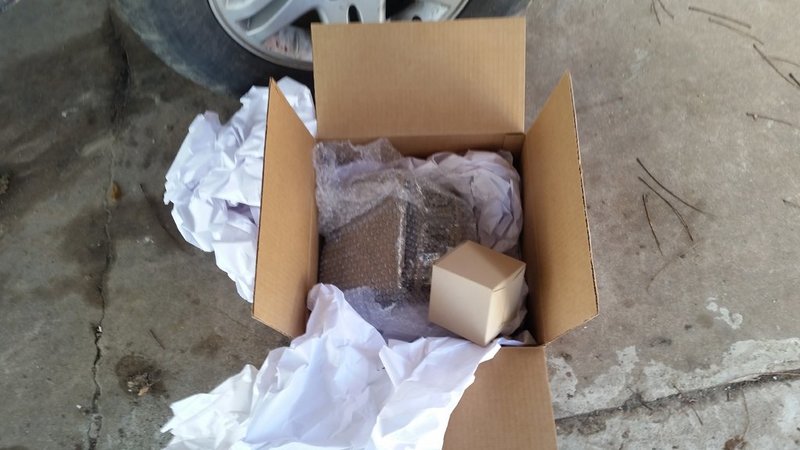
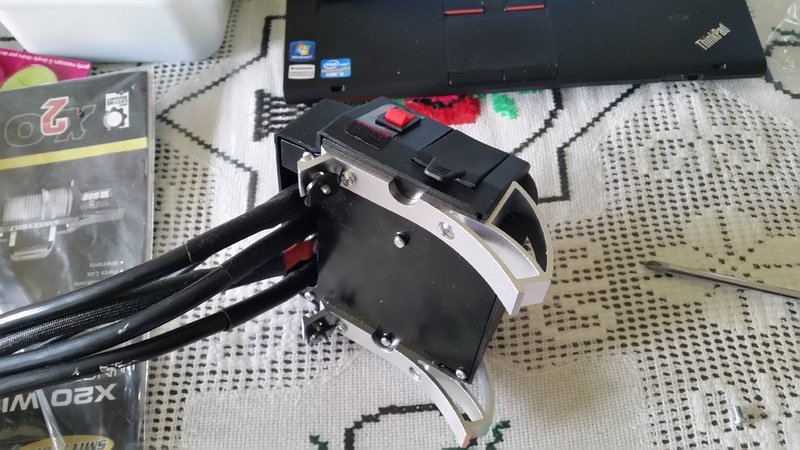
So here is this big clunky thing:


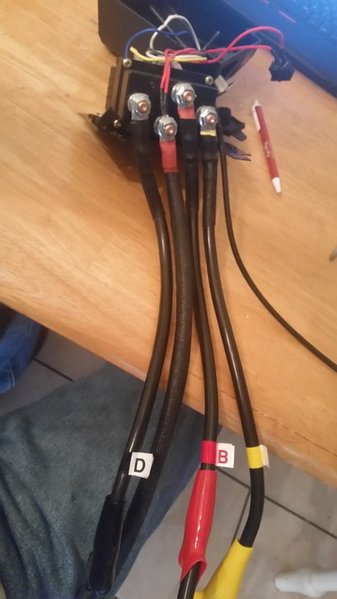
If I open it, I get a smaller clunky thing:
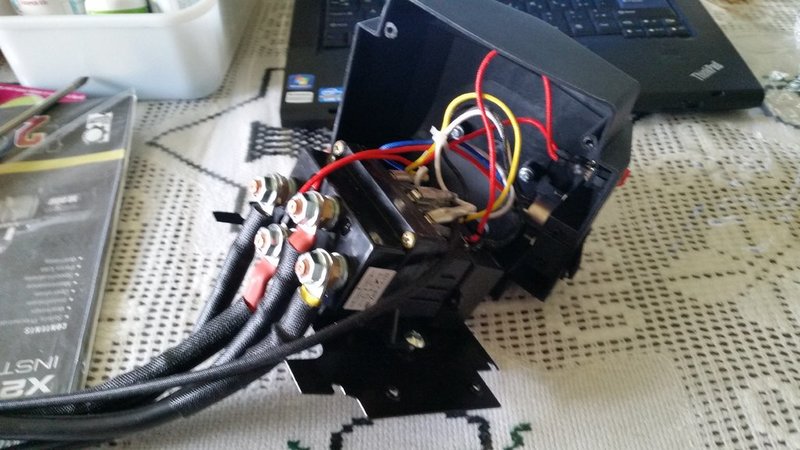


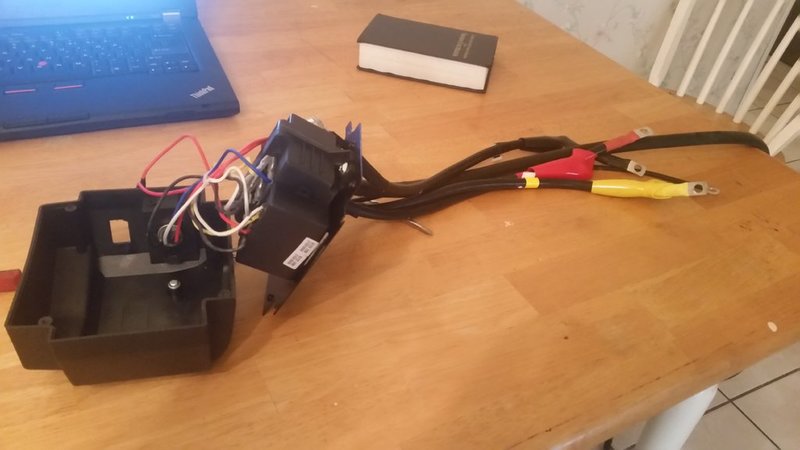
The idea is to take the solenoid out of the box and mount it directly without a box.

I studied the wiring, made sure I knew where everything was going and what every wire was.


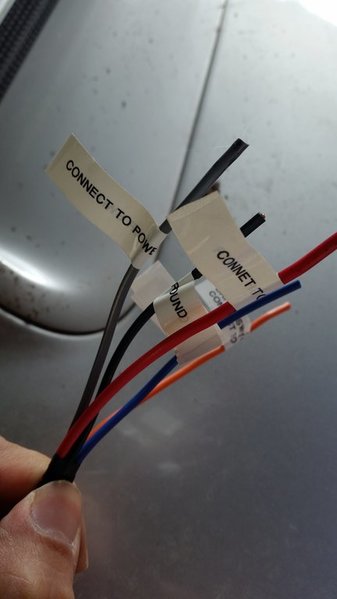
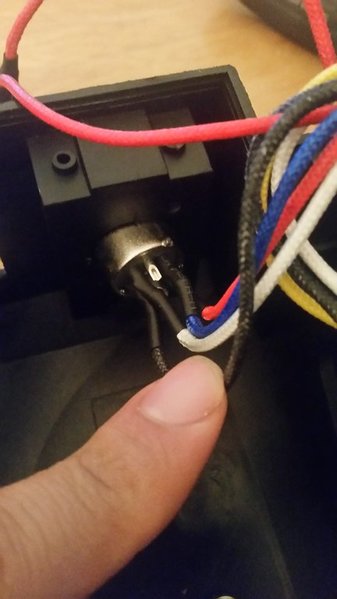
I decided to mount the controller jack inside the 4runner. These wires for the controller jack will be cut and extended with the connection inside the cab:
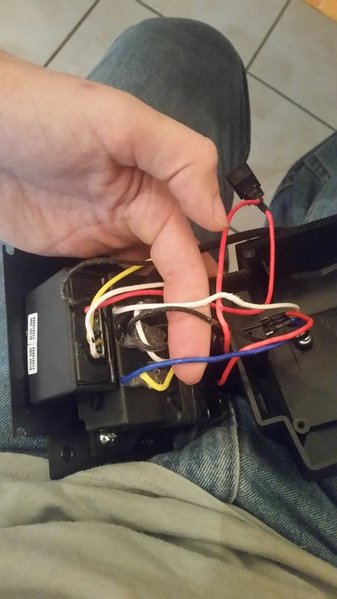


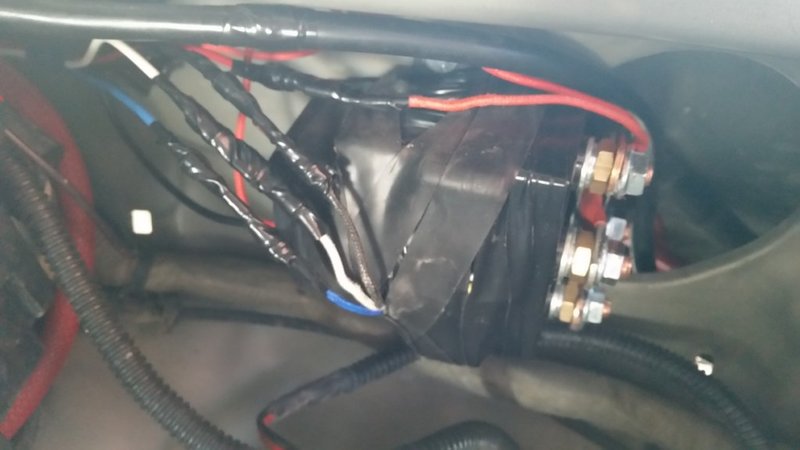
before I cut the wires, I went ahead and removed the main lead wires and wrapped the solenoid in thick electrical tape to make it "waterproof"
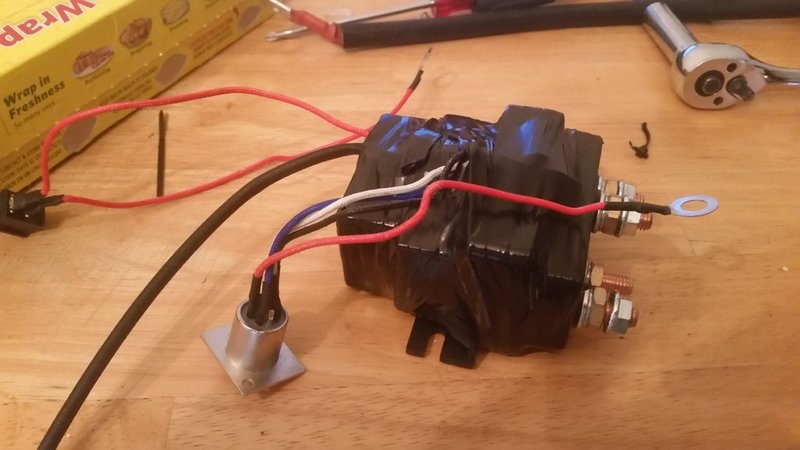


I cut off the winch controller jack and crimped on connectors at the solenoid and controller jack:
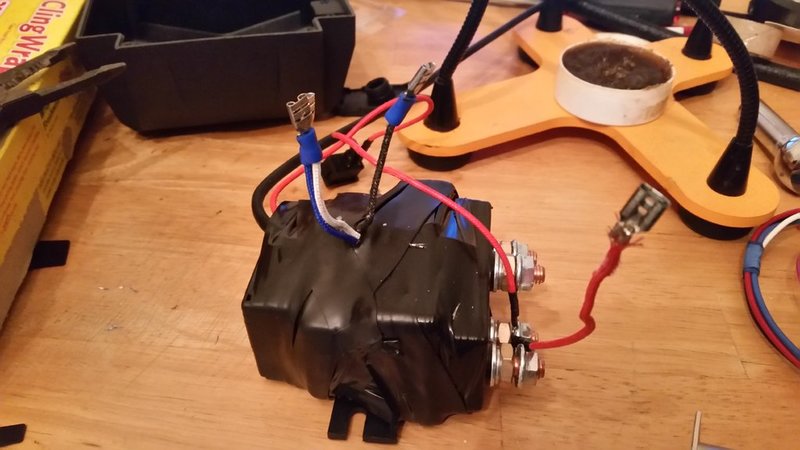
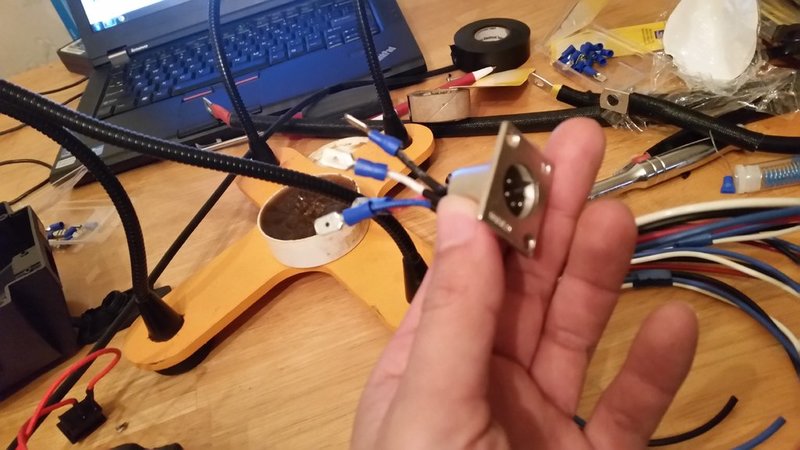


Not only did i crimp them, but i also soldered the wiring on there for a dependable connection:
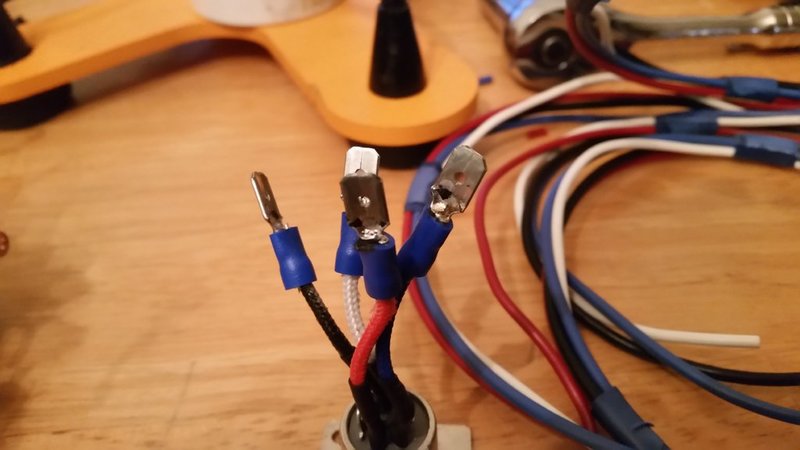


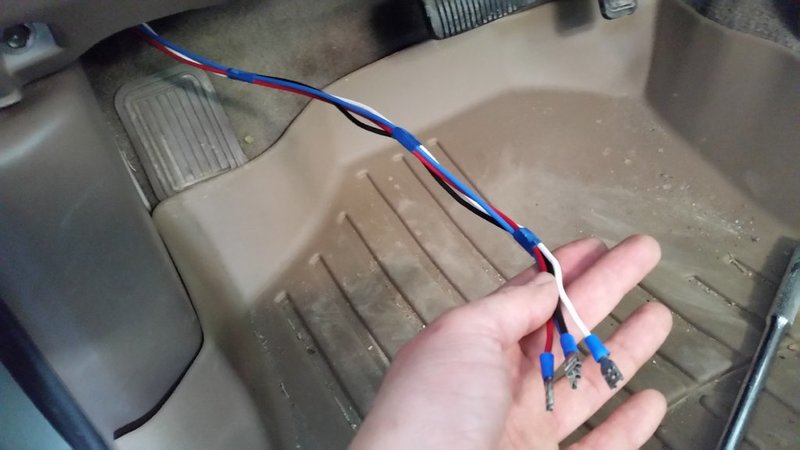
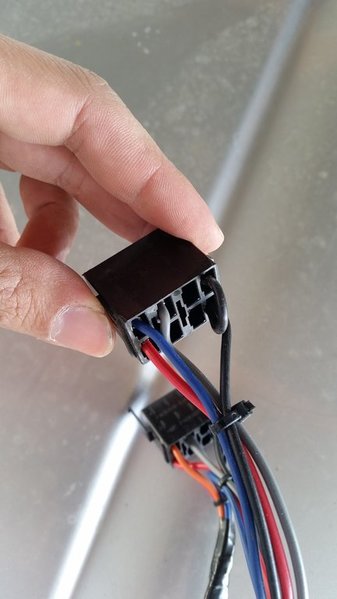
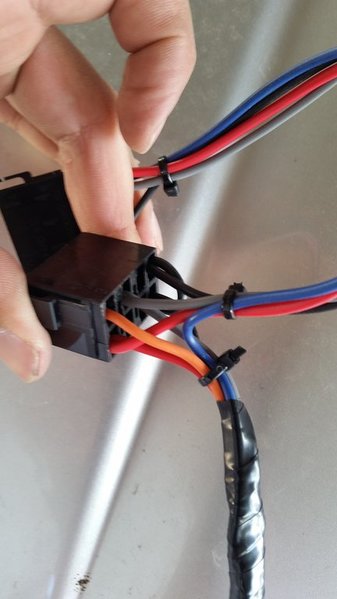
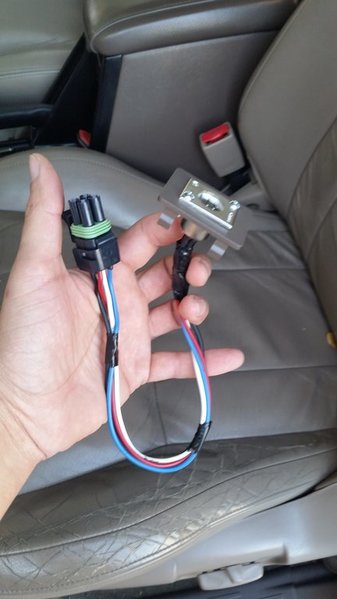
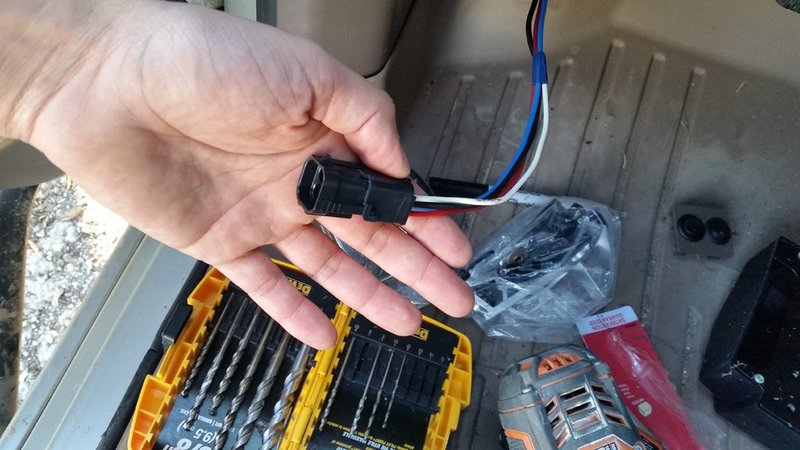
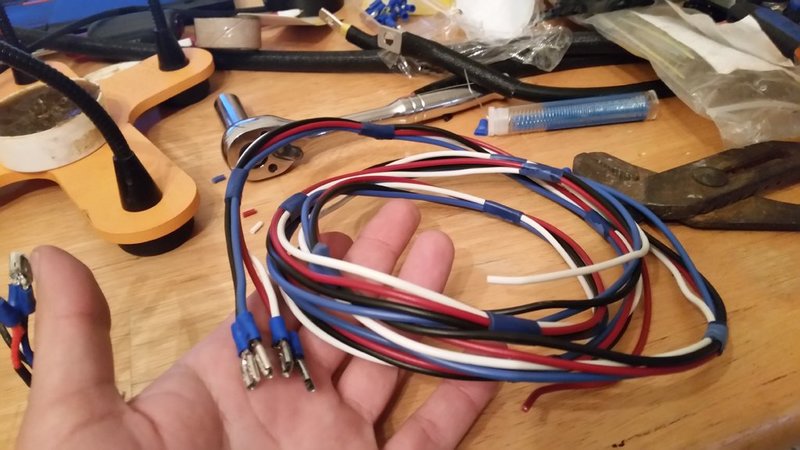
Then I picked up some color matching wire and made the harness to extend the controller jack into the cabin of the 4runner:


Once all this was complete, I looked for a suitable location for the taped solenoid.

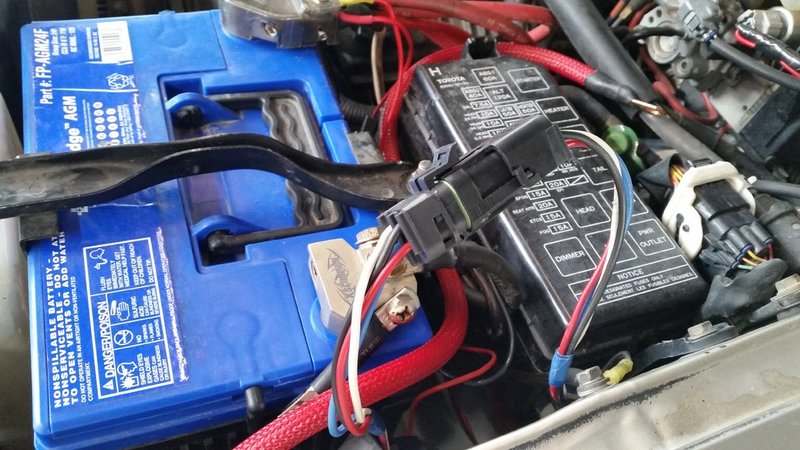
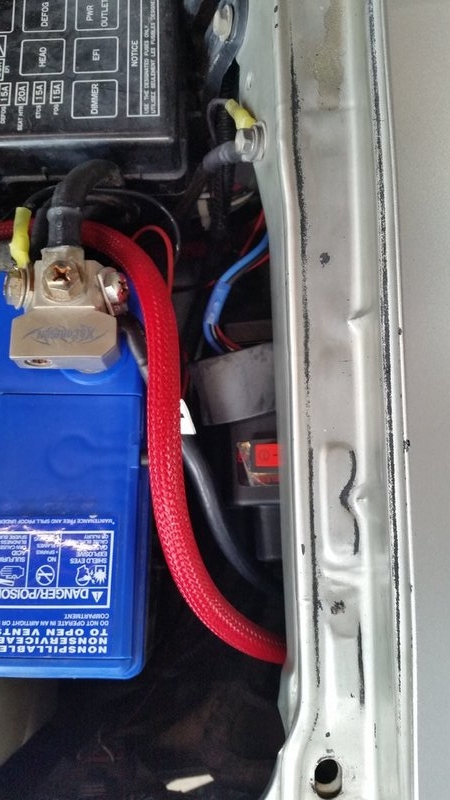
I saw a nice spot next to the battery:
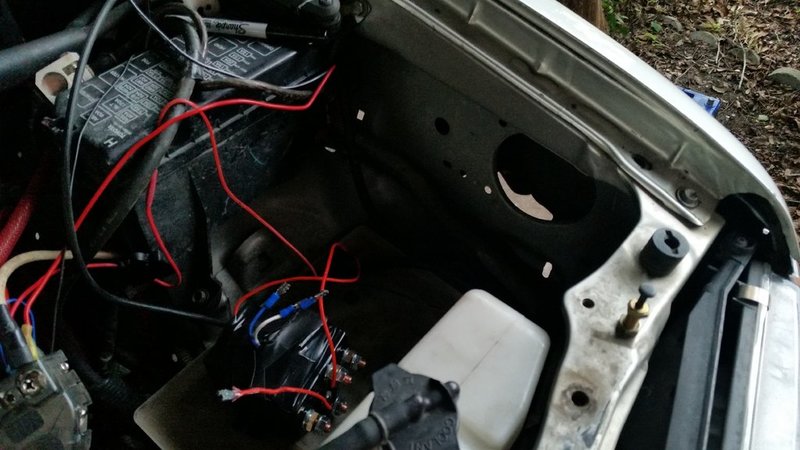


Its a little dark, but you get the idea. I Like the fact I can use the factory hole to run wires thru.
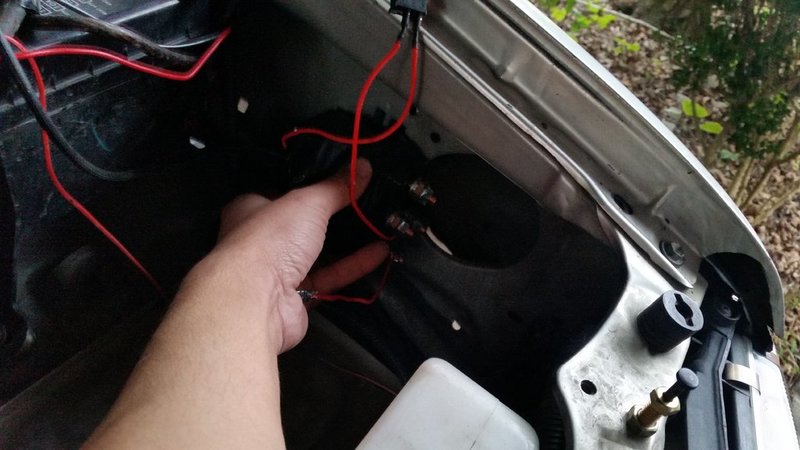
 
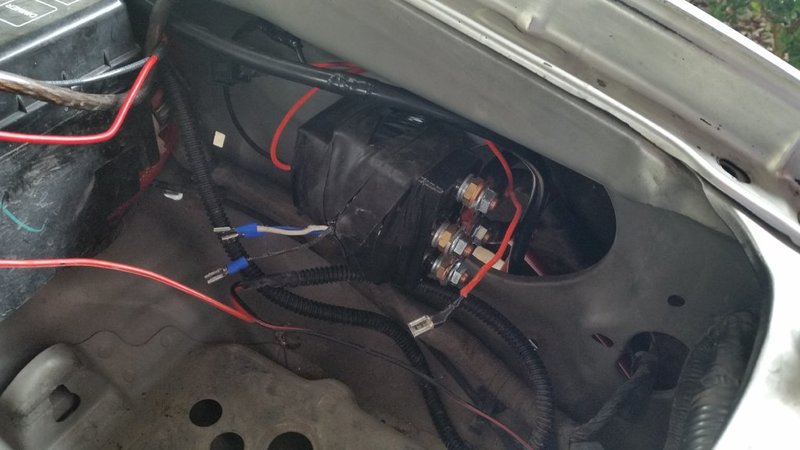
Installed solenoid:


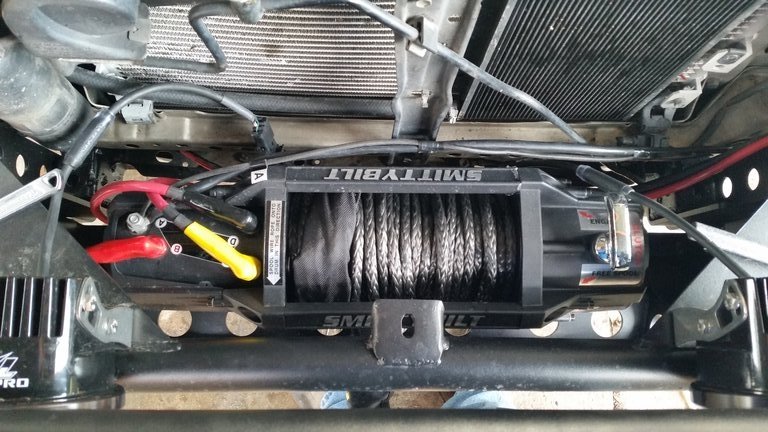
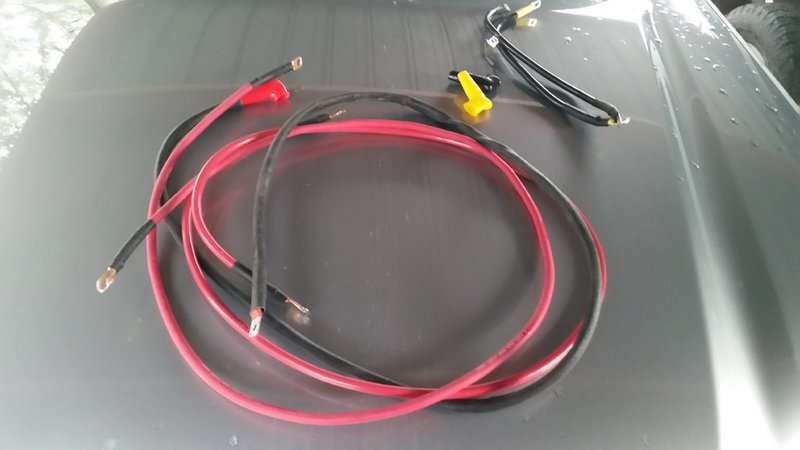
Obviously the wiring that the winch came was not long enough for this location. I had to make my own wiring:


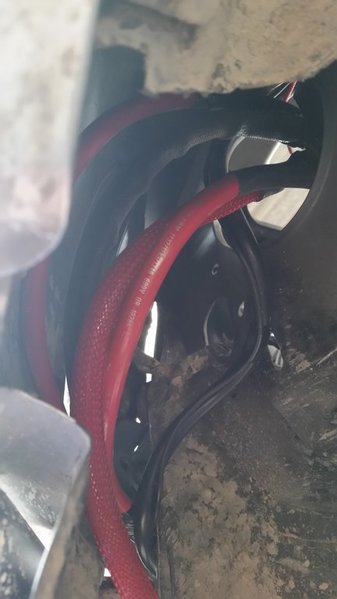
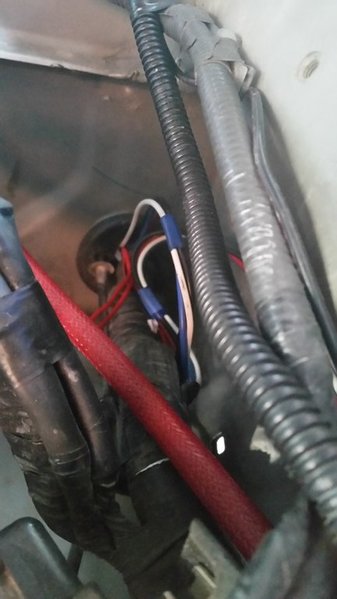
I ran the wiring from the solenoid thru the hole in the inner fender and towards the winch:


I then ran my controller jack wiring towards the 4runner cabin:


Made all the connections for the controller jack wiring, taped them up nice and well to prevent any moisture from reaching the connections.


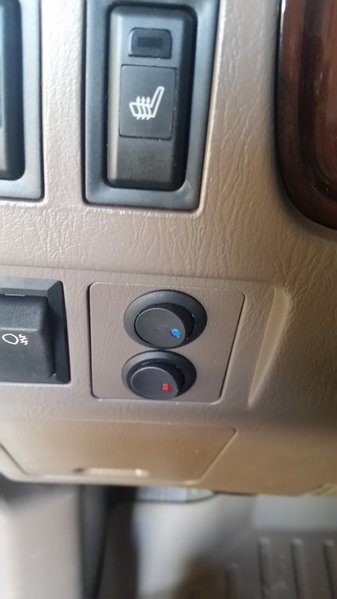
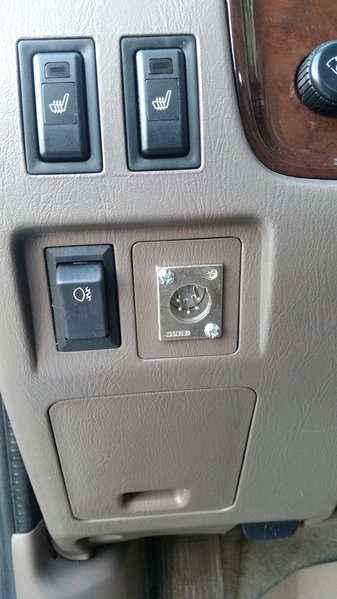
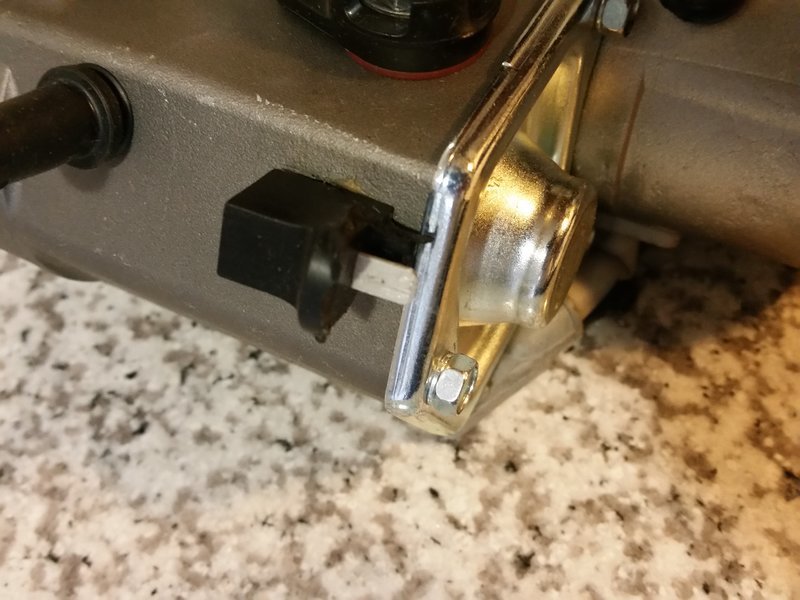
I decided to get rid of these dummy switches and buy a tan switch blank to install my jack here:


after installing winch jack:

 
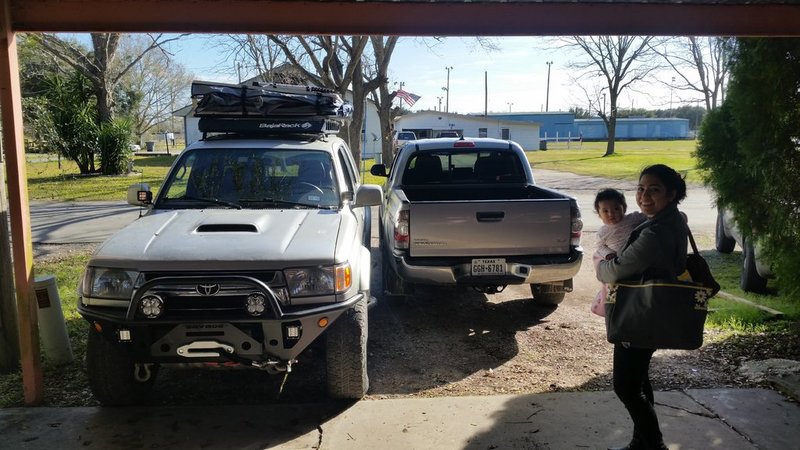
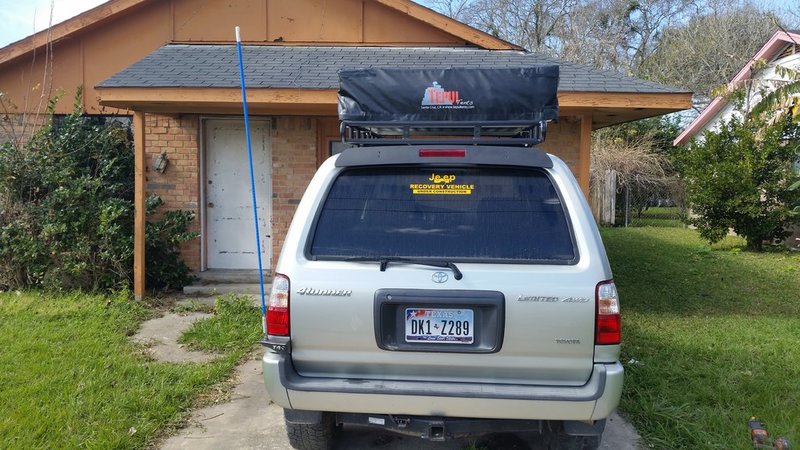
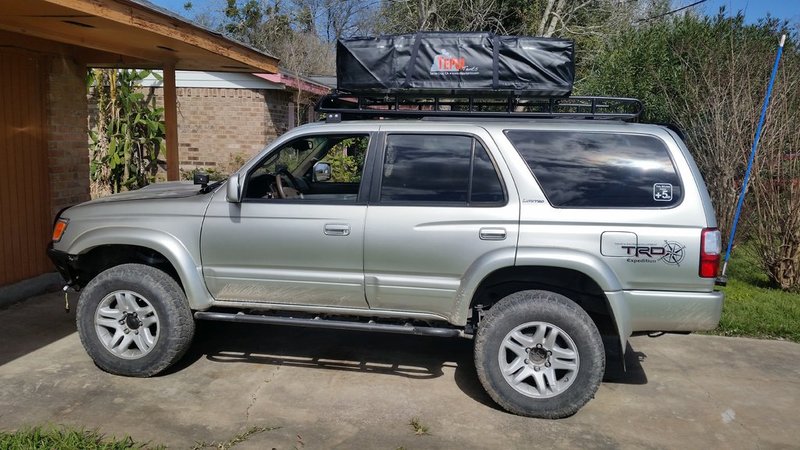
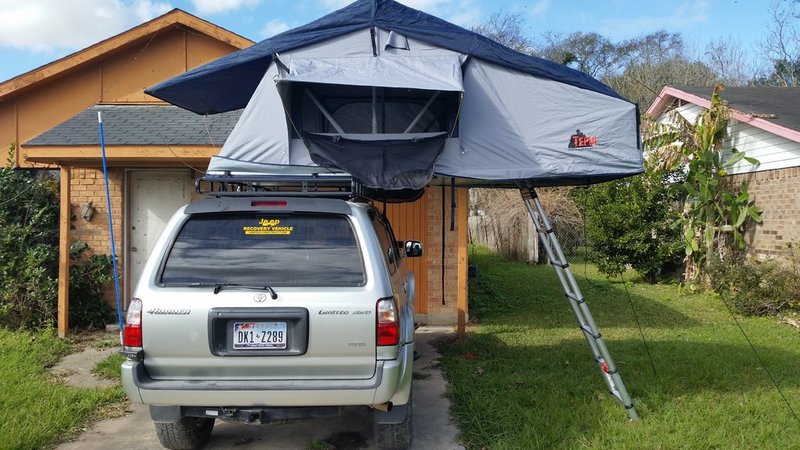
Ended up setting up the tent before the Tacomaworld citrus meet.

Had a friend come over and help me load it up on the 4runner.

Wasn't too bad loading it up.

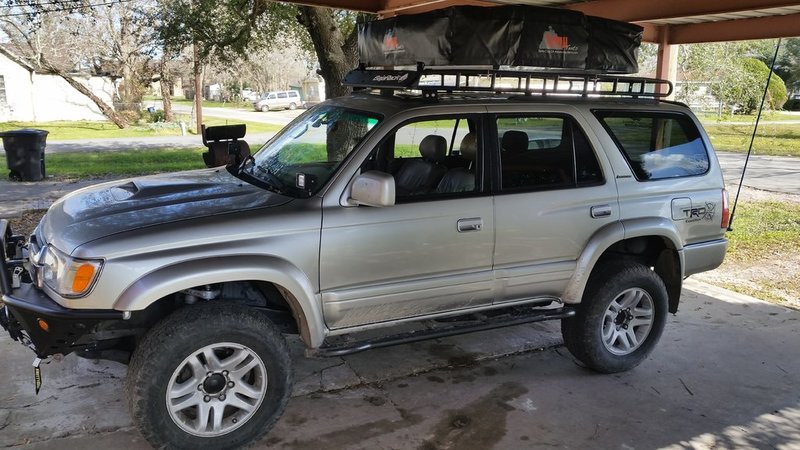
Threw it on the bed of the taco first, got inside of the taco bed and then swung it over to the top of the 4runner.


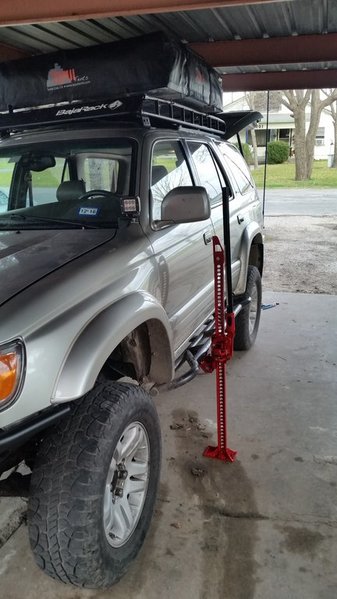
Fits perfectly under the carport:

 
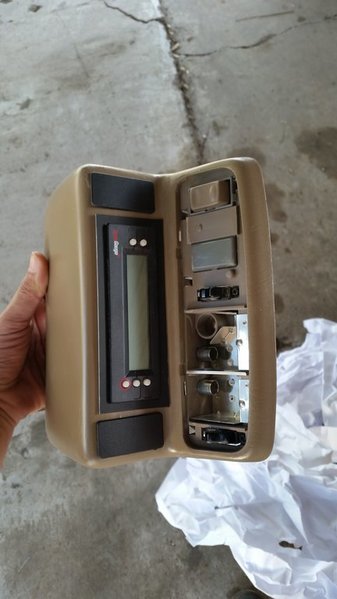
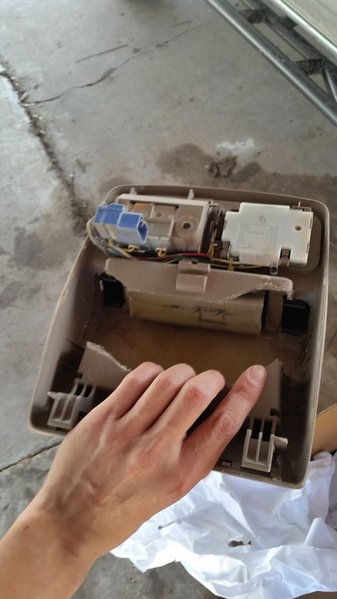
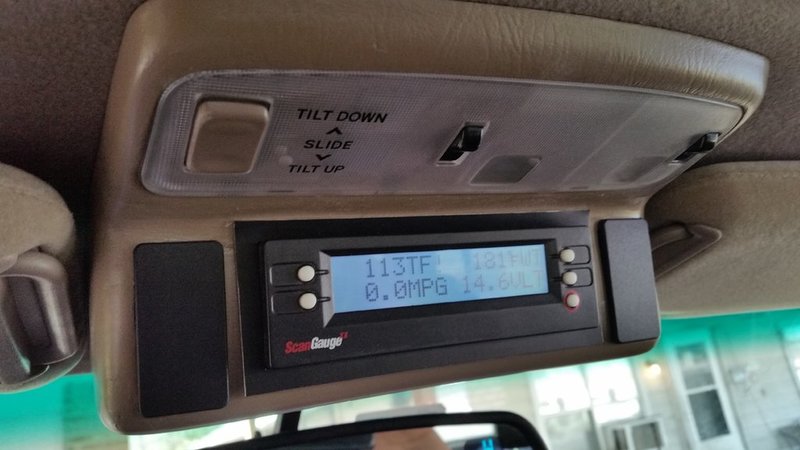
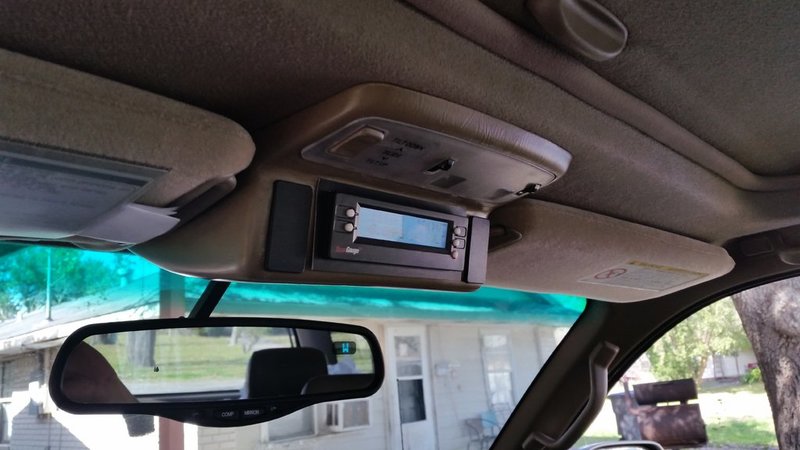
Had [MENTION=124706]3378jakesr5[/MENTION] build me a custom over head console for my scangage and two switches:

Properly boxed:


Nice and clean work:


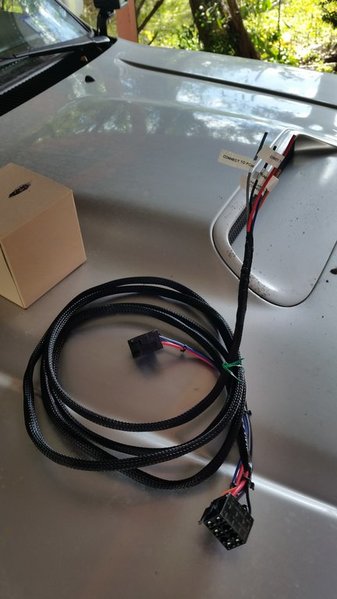
All wiring was labeled for the switchbacks, wiring was in some nice stout loom:


ended up coming back and redid some wiring:


In the engine bay:


Placed the solonoid back in its box and it fit perfectly hidden beside the battery:

 
In this write up I have decided to provide pictures and brief instructions on how to change the differential and trasnfercase oil for an automatic 3rd gen 4runner.

My case is a 2001 4runner limited, all 3rd gen 4runners are similar therefore, these instructions will be the same for other years within the same generation.

I am using Amsoil gear oil, the gear oil you choose will be left at your discretion.

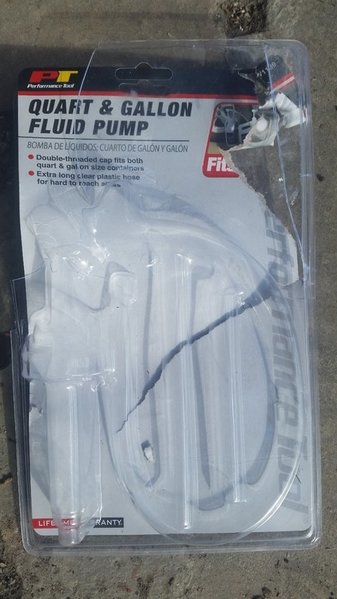
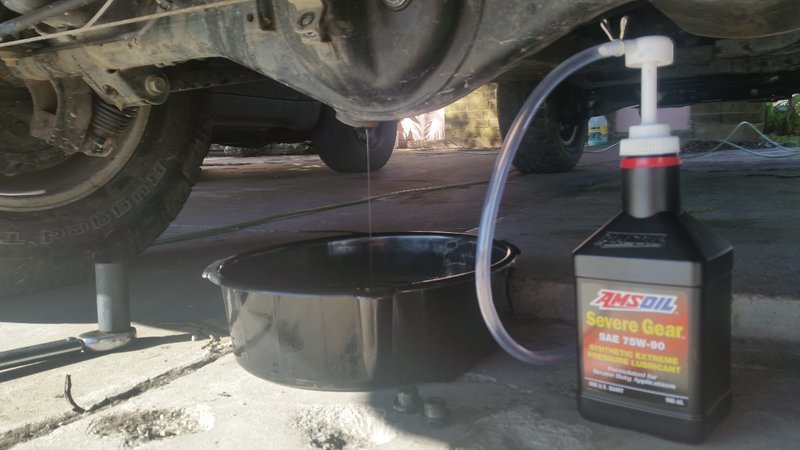
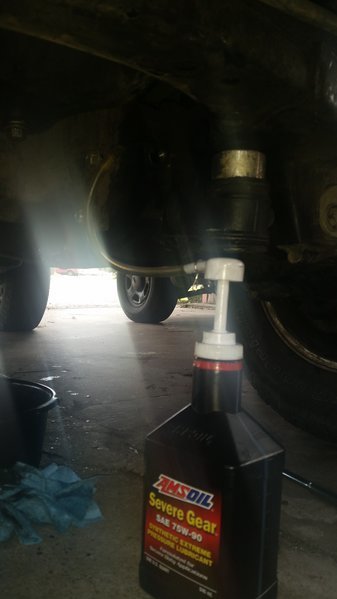
I picked up a pump for the Amsoil gear oil bottle at my local O'reillys. Here is what I picked up, works perfectly for the Amsoil bottle:


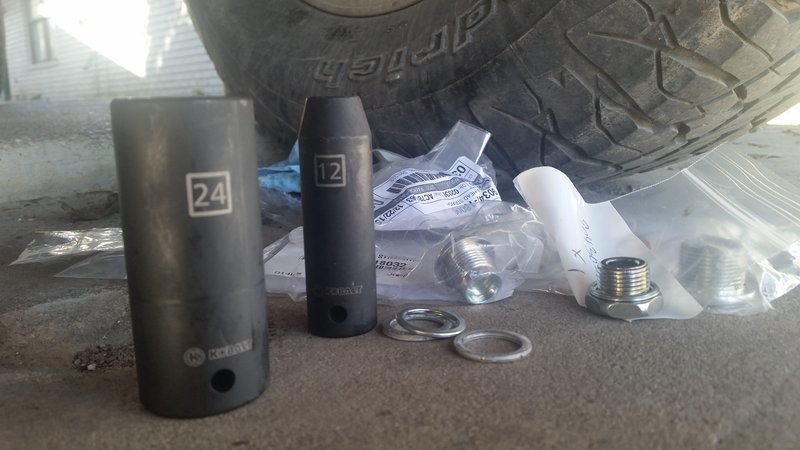
I also picked up new drain and fill plugs. The drain and fill plugs are soft metals, meaning they could strip easily. I figured if these were the original drain plugs, I put in new ones with "fresh" metal, per se.

Also, some of the plugs appeared slightly stripped due to a previous gear oil change from the original owner.

If you do not replace the drain and fill plugs, I do recommend replacing the crush washers.

A 24MM socket is used to remove the differential and transfercase drain and fill plugs.

A 12MM socket is used to remove the bolt holding the hand brake cable bracket that is running right across the fill plug on the rear differential:


Rear differential:

Remove the bolt holding the brake cable that blocks the fill plug (not pictured), but its location is highly obvious.

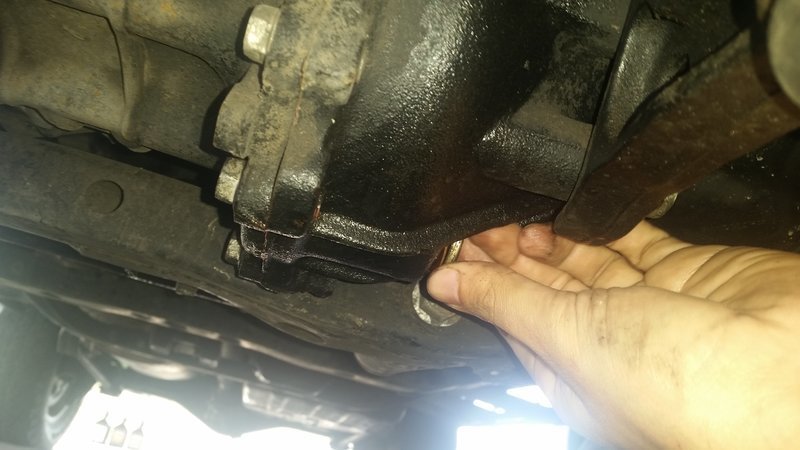
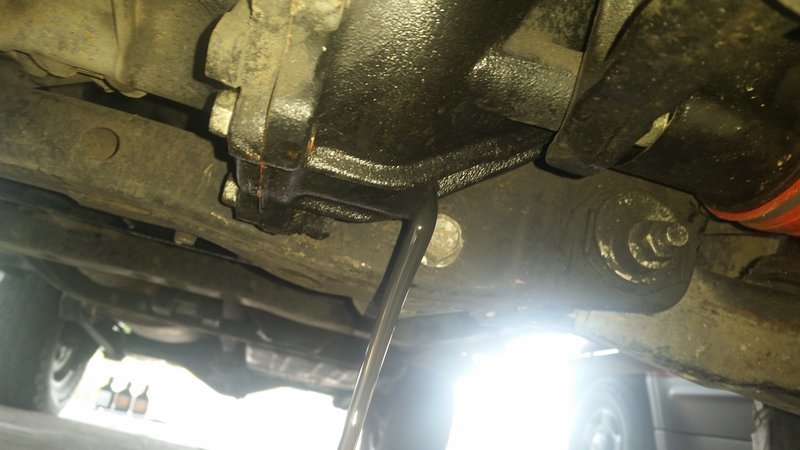
Once the brake cable is out of the way, remove the fill and drain plug.
Make sure to have a pan handy to catch the oil:


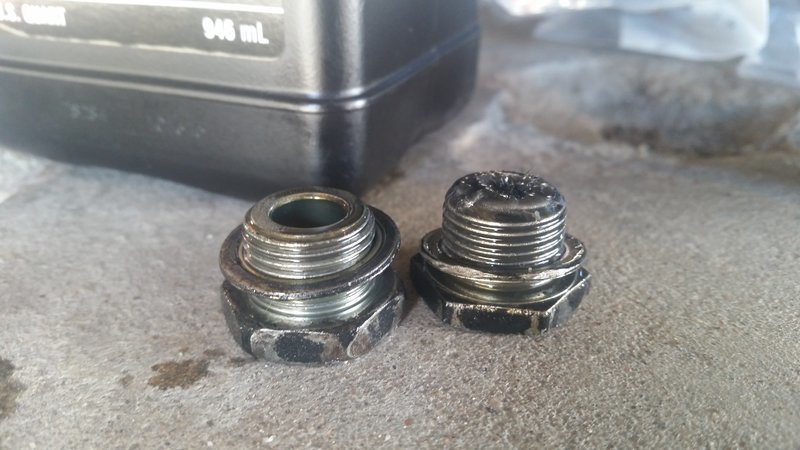
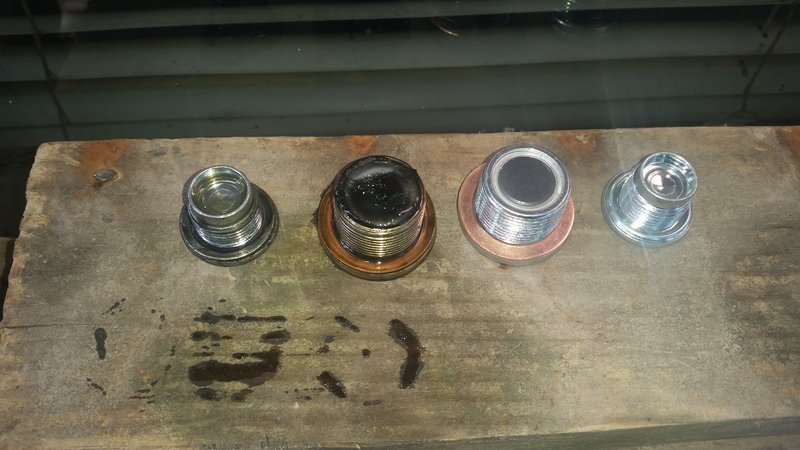
Once the oil has been drained, inspect the drain and fill plug:


The drain plug has a magnet that catches shavings from the gears. Anything out of the ordinary would be noted here.

No gear teeth or large chunks of metal, just small shavings, which is normal.
Thread the new drain plug, ensuring that the crush washer is installed.

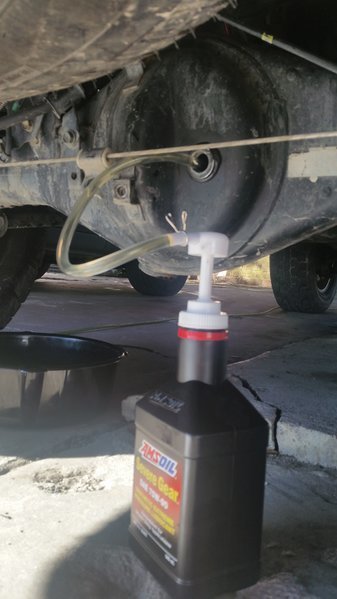
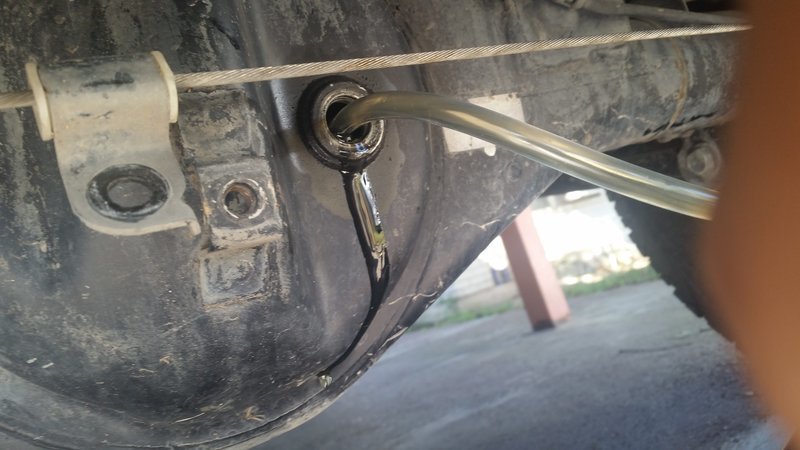
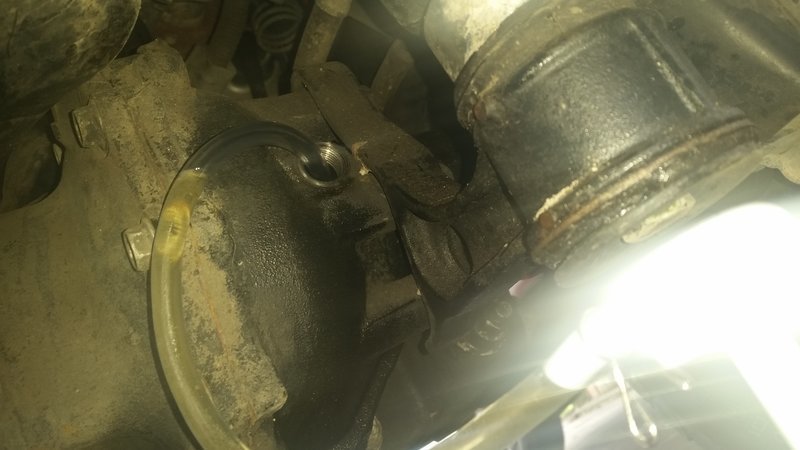
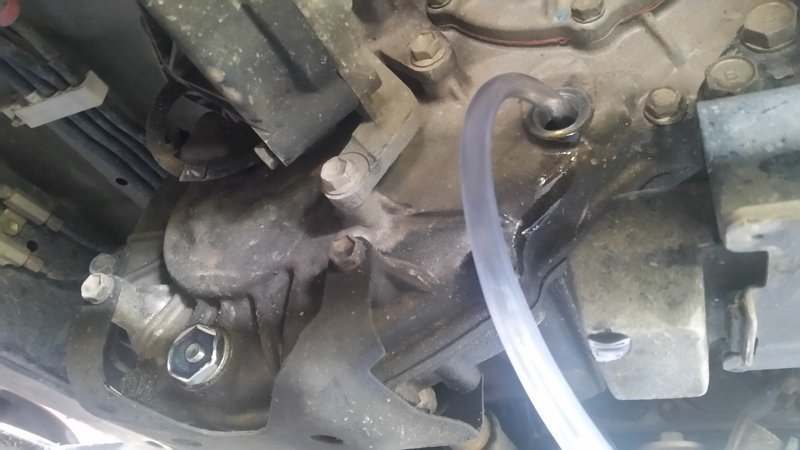
Using your handy hand pump, stick the end of the tubing into the differential and start pumping away:


Pump fluid into the differential until you see a steady stream of gear oil flow out of the fill hole:


Plug it up and you are done with the rear differential. Make sure the crush washer is on the fill plug.

Now we go to the transfercase:

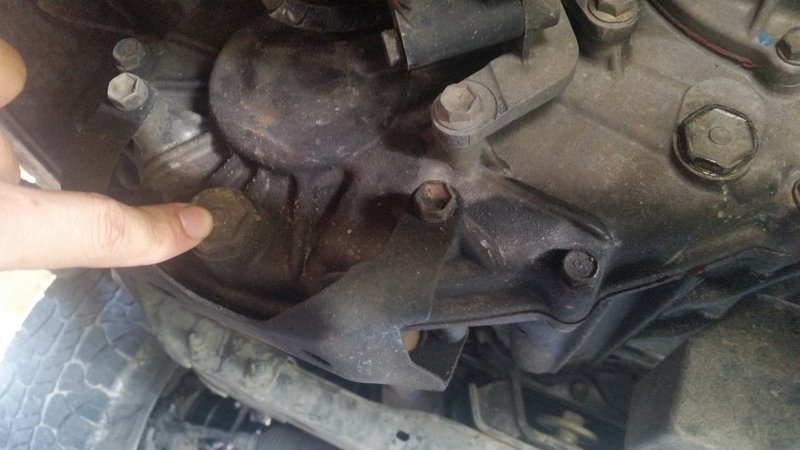
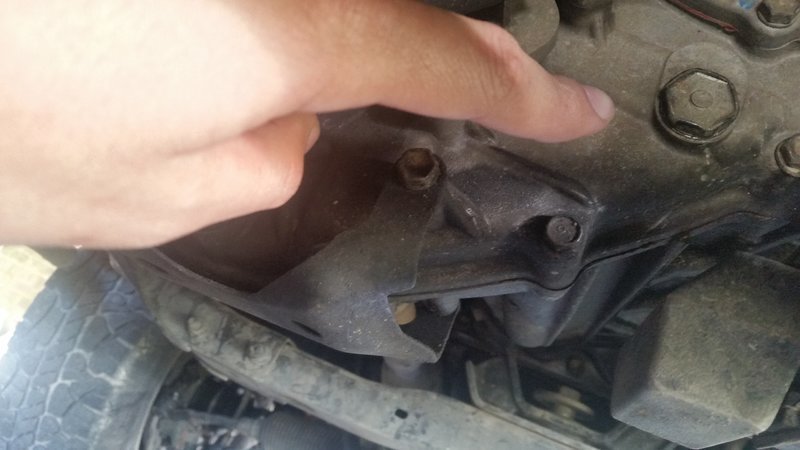
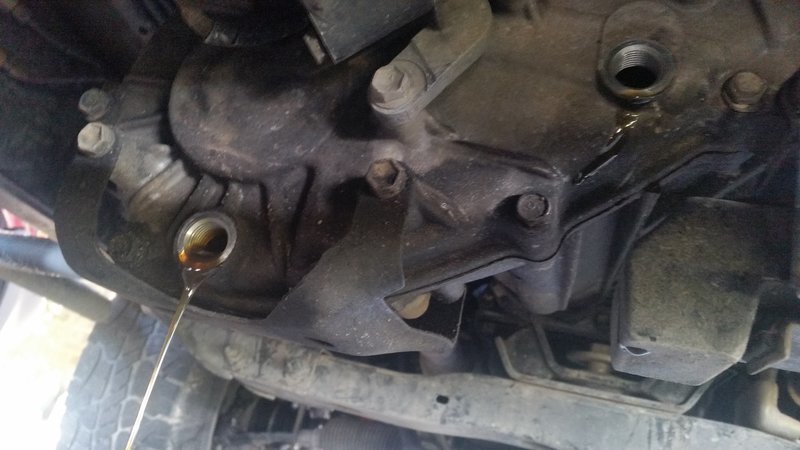
Locate the drain and fill plugs, drain plug:


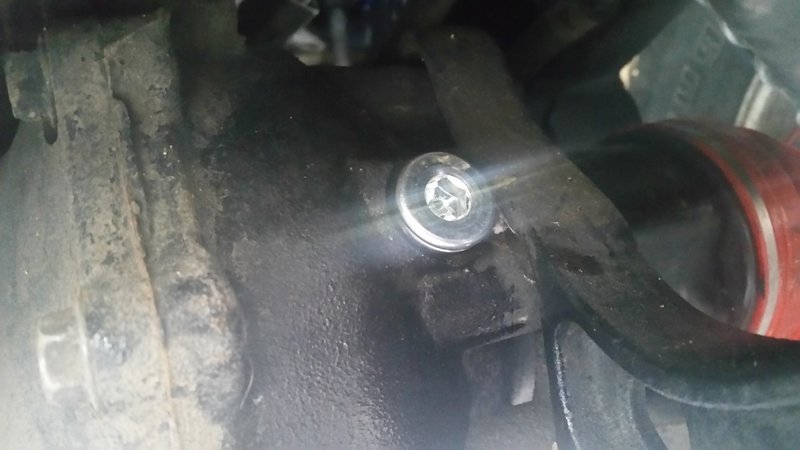
Fill plug:


Remove the fill plug first, then the drain plug:


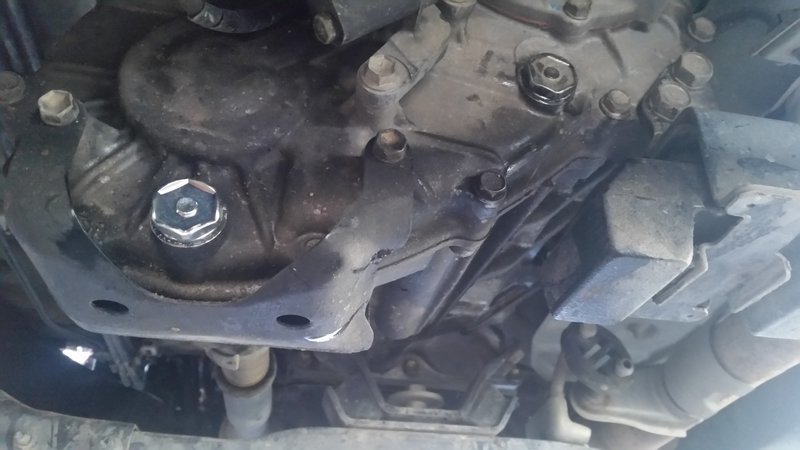
Once the fluid has been drained, install the new drain plug and start filling the transfercase with new gear oil.


Again, you will know when the transfercase is full when you see a nice steady stream pour out of the fill plug.

Set the fill plug, and you are now complete with the transfercase:


Now, we will move on to the front differential. In order to access the drain and fill plugs, the skid plate will have to be removed.

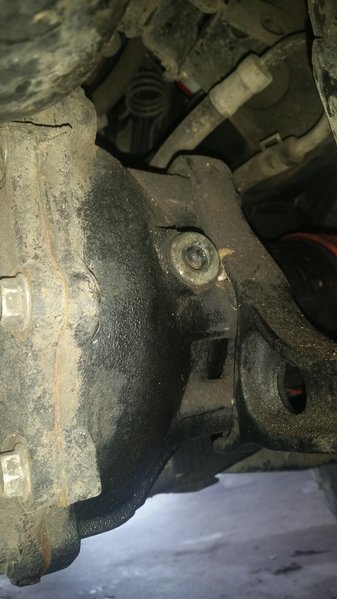
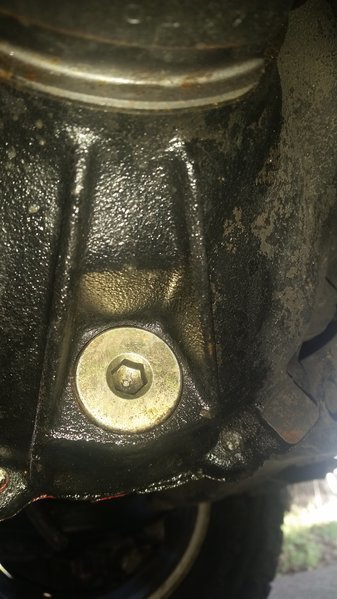
Once the skid plate has been removed, you will notice the fill plug on the front of the differential:


The drain plug is below:


These plugs require a 10MM or a 12MM hex to remove. Please confirm sizing, I needed to use a 10MM hex for both drain and fill plugs. Some have used a 10MM for the fill and 12MM for the drain.

Remove the fill plug first (not pictured), then remove the drain plug.
Removing the drain plug:


Comparing the drill and fill plugs with the new set. Again, check for any abnormal shavings on the magnet of the drain plug.


Once the front differential is fully drained plug the drain and proceed with filling:


Again, the differential is full when you see a steady stream of differential oil flow out of the fill hole.

Once the differential is full, set the fill plug:

 
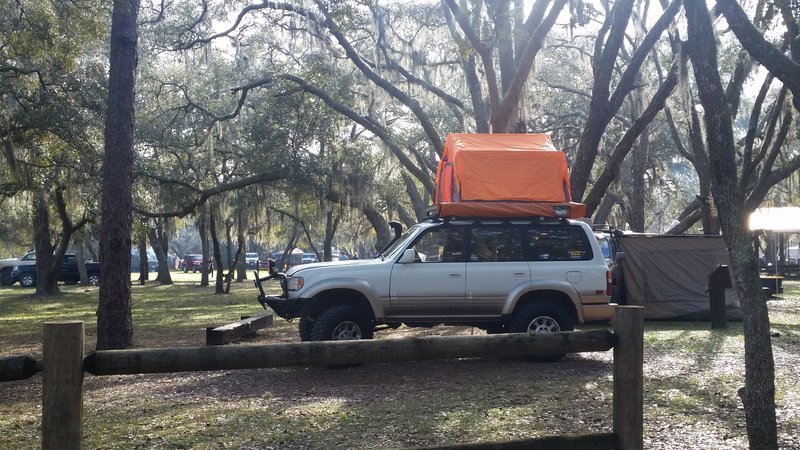
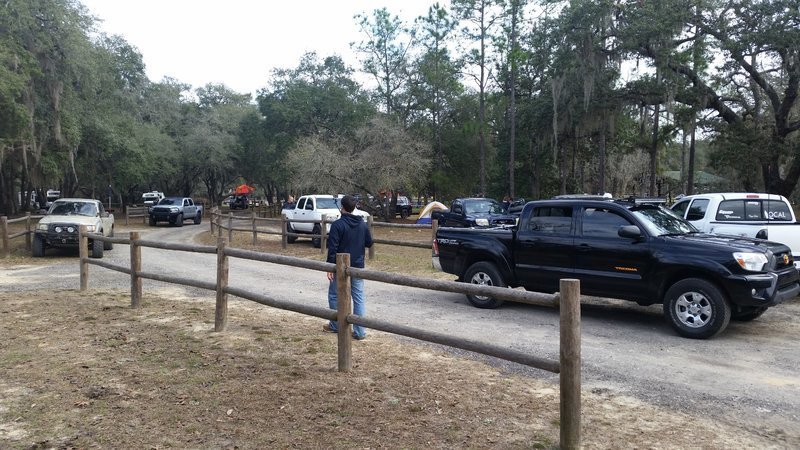
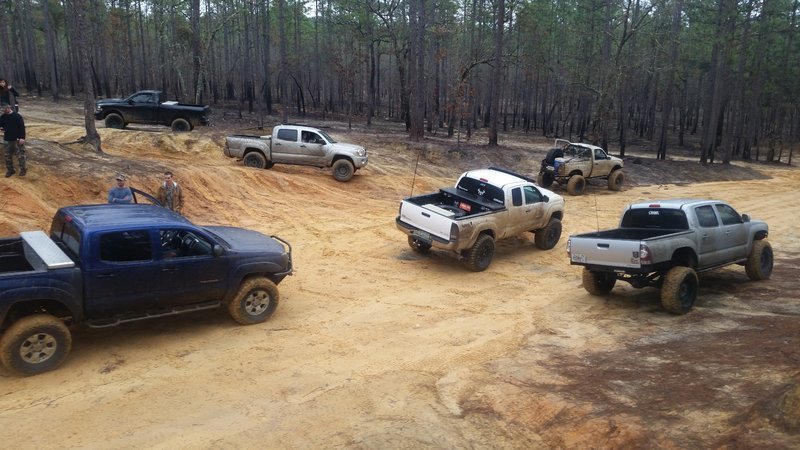
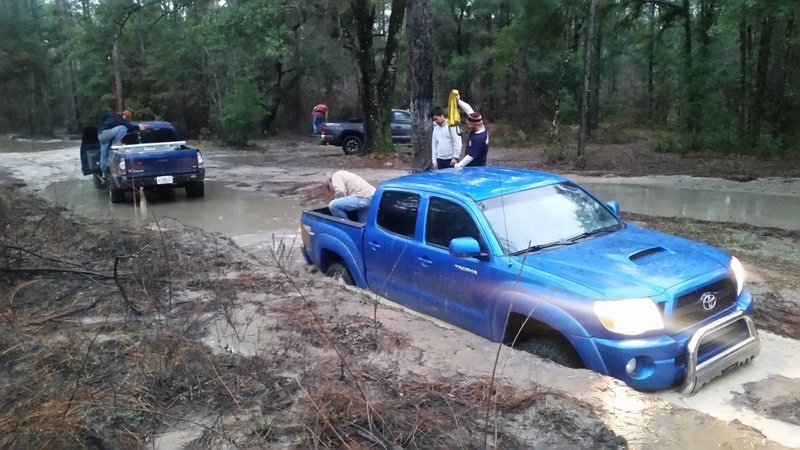
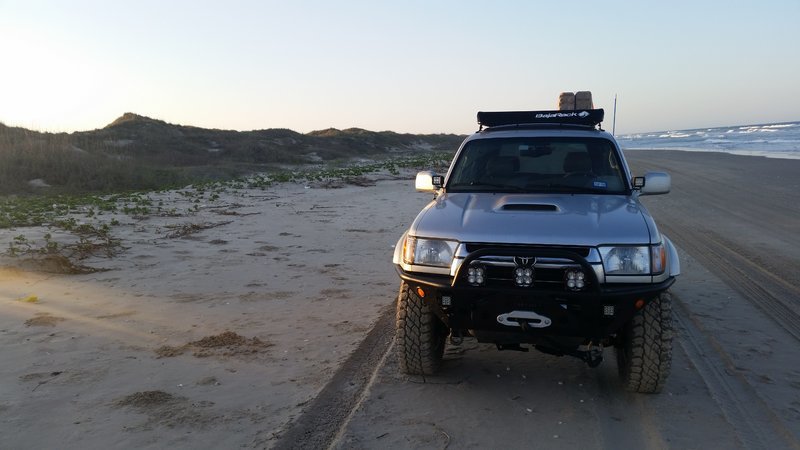
Drove out to the Citrus meet this past weekend.

Photo dump:


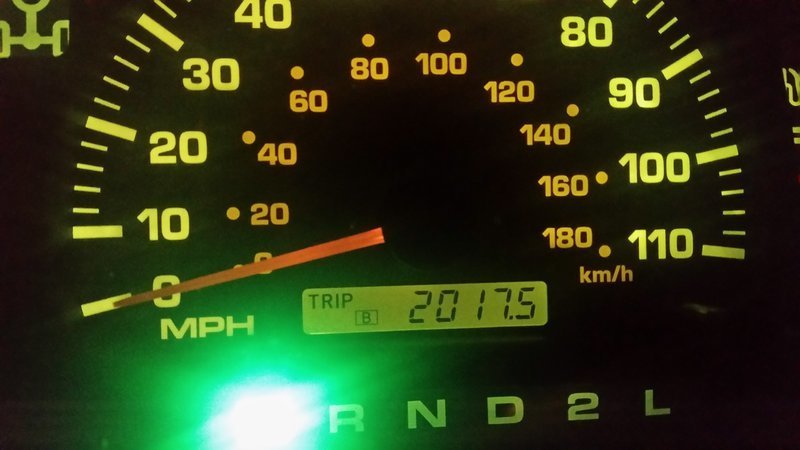
Took us over 2000 miles round trip:


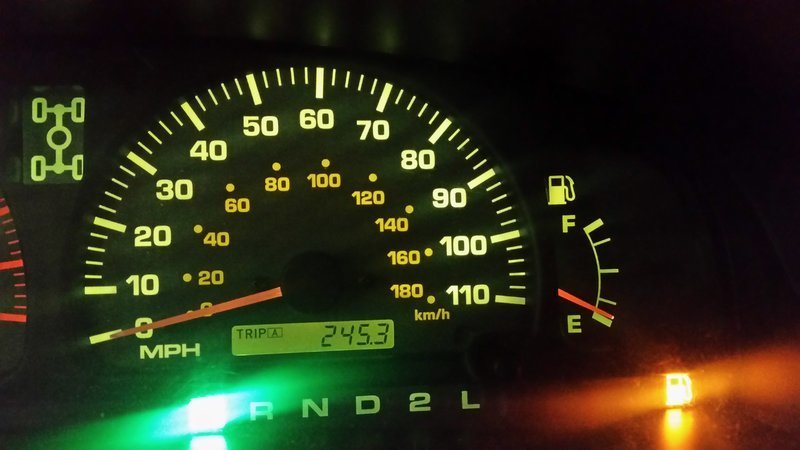
Averaged about 250 miles per tank. I had an RTT, a loaded vehicle with gear and was driving against the wind:


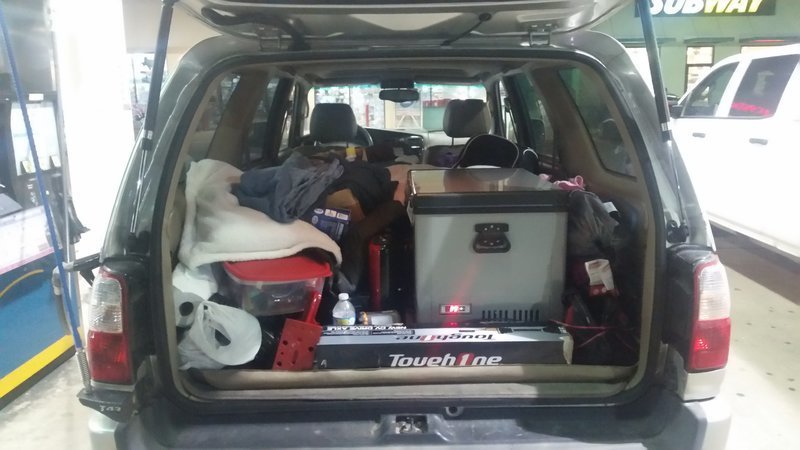
I seriously need to learn how to manage my cargo:


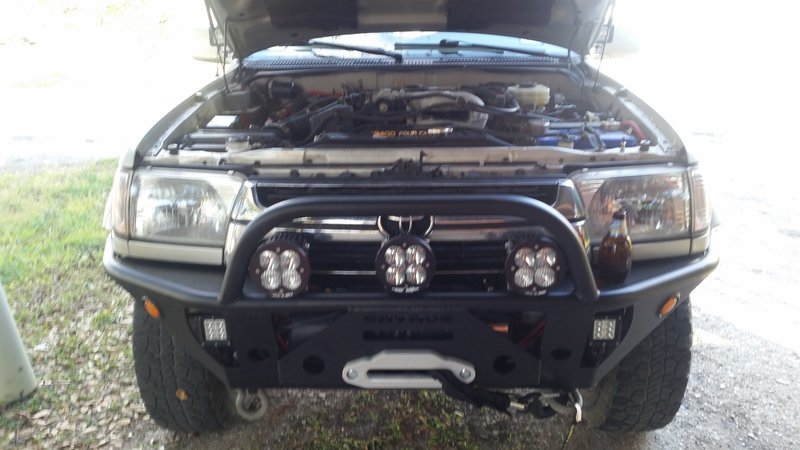
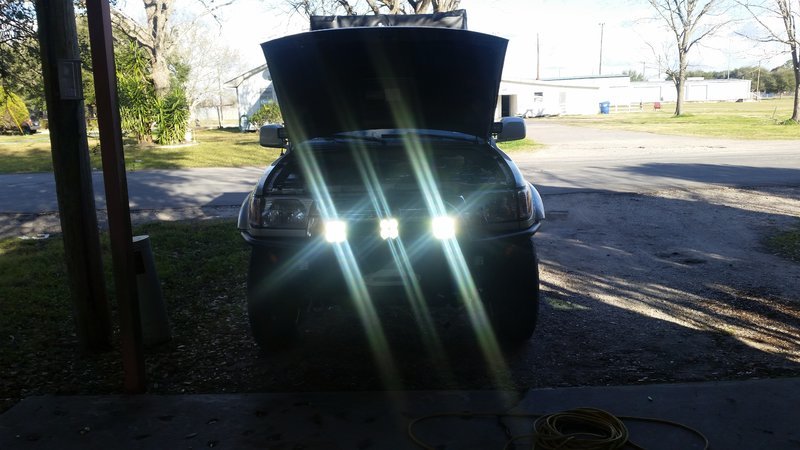
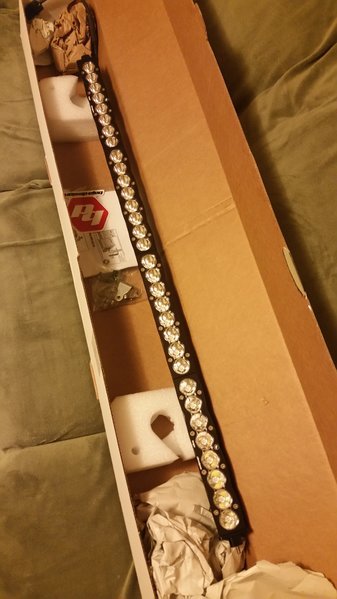
Thanks to Bailey [MENTION=87816]Baja Designs[/MENTION] for putting up with my endless questions in regard of the lights. Finally purchased a third one to install in the middle and a light bar for the roof rack


ARB awning came in:

jumped on a good deal on autoanything:

 
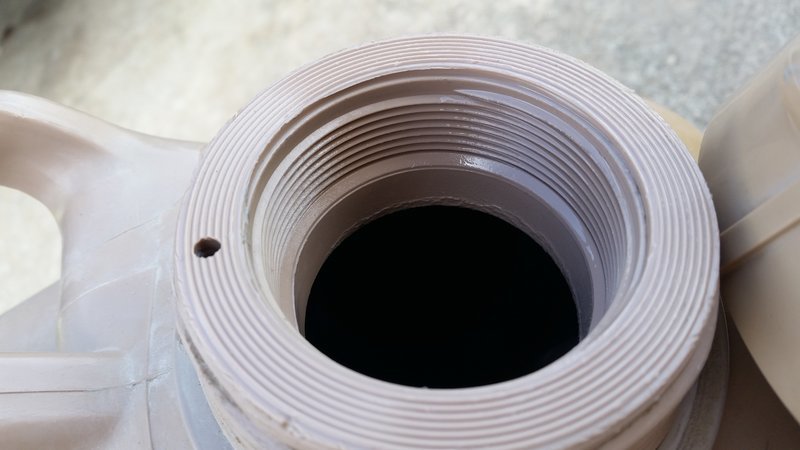
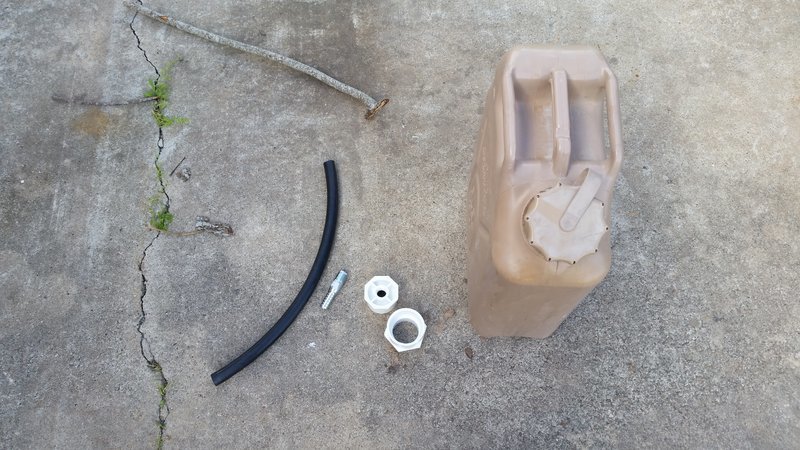
I needed a scepter gas can spout but didn't want to pay the Amazon premium of $20
Figured I could make my own.

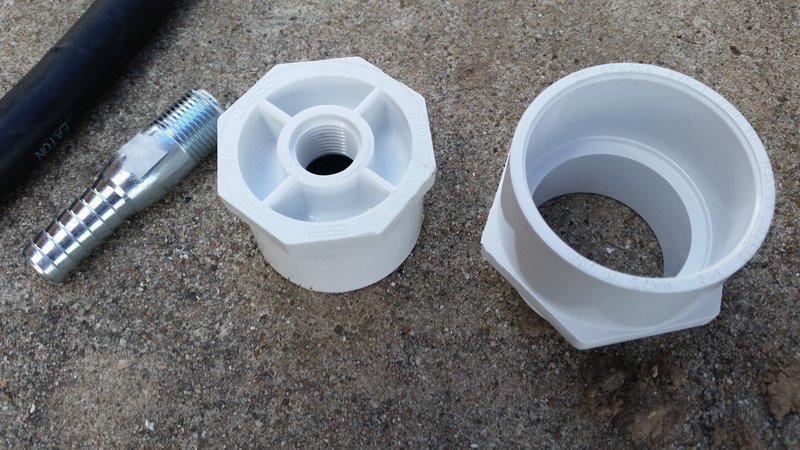
I noticed the threads inside the can spout opening:


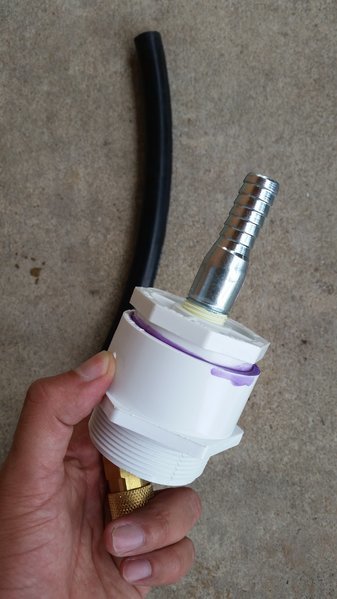
Went to the hardware store and picked up a 2 inch male adapter, 2 x 1/2 threaded bushing, a barb fitting and some fuel hose..


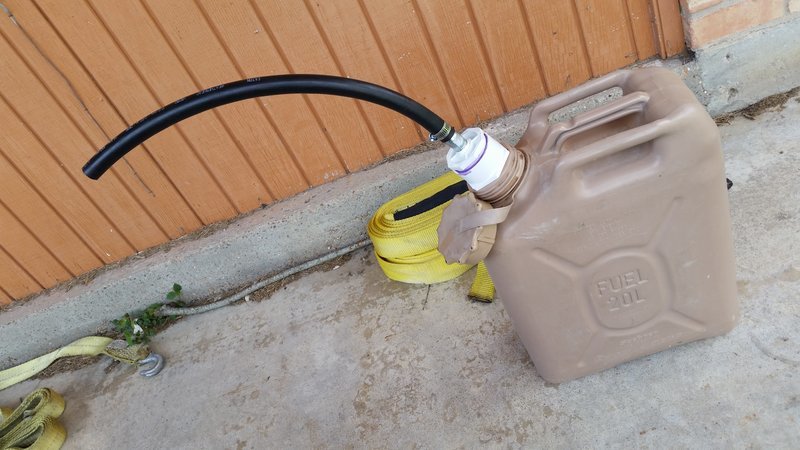
Glued the fittings together, threaded the barb fitting using yellow teflon rated for fuel:


Voila:

 
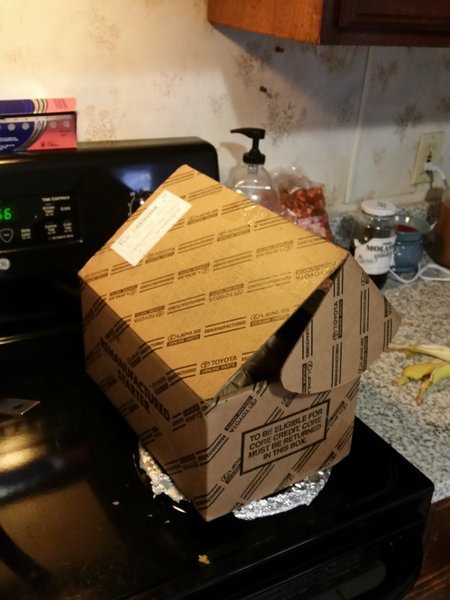
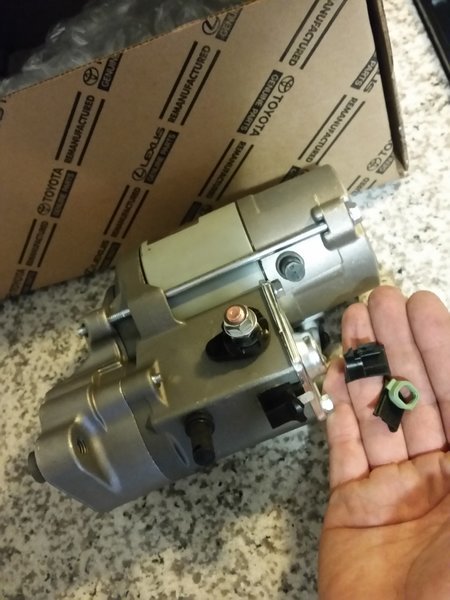
So my starter went out last week, I ordered one from Camelback Toyota and it arrived damaged :(

Good thing their customer service is top of the line, getting another one shipped out to me second day air.


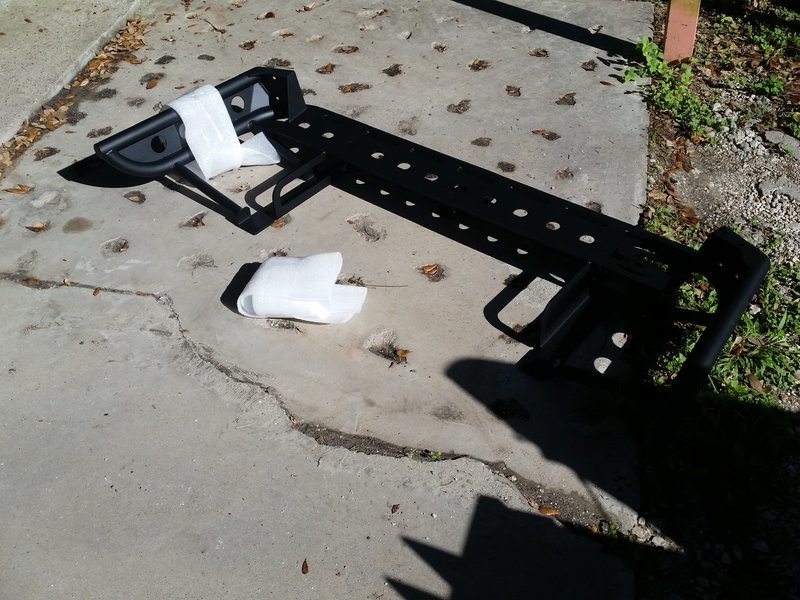
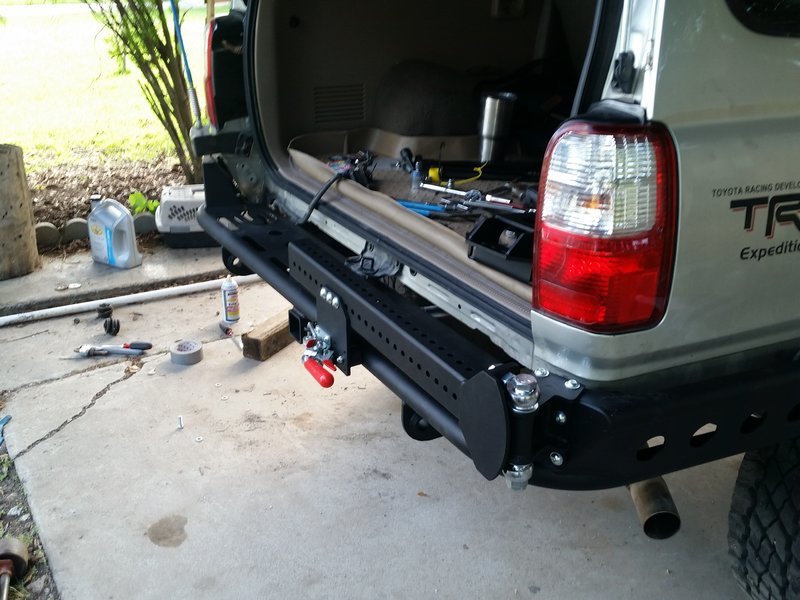
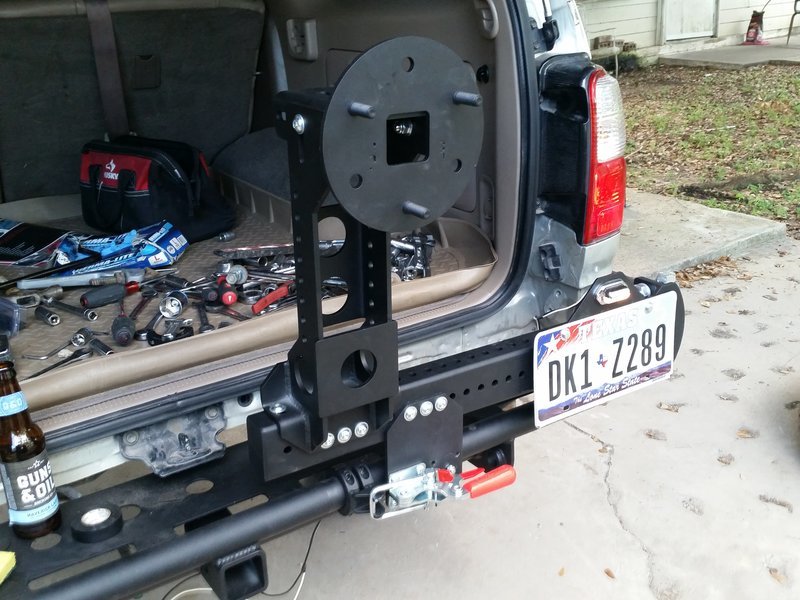
I received my Savage Rear bumper with swingout a few months ago, I barely had the time to have it sent for powdercoating and getting it installed.

I decided to do a writeup on the installation since the vendor didn't provide any. Hopefully this helps anyone that is interested in buying this setup in regards to installation.

This will be installed on a 2001 4runner.

The morning sunlight was not good with me - So I apologize in advance if any of the pictures are too dark. I try to make this as comprehensive as possible.

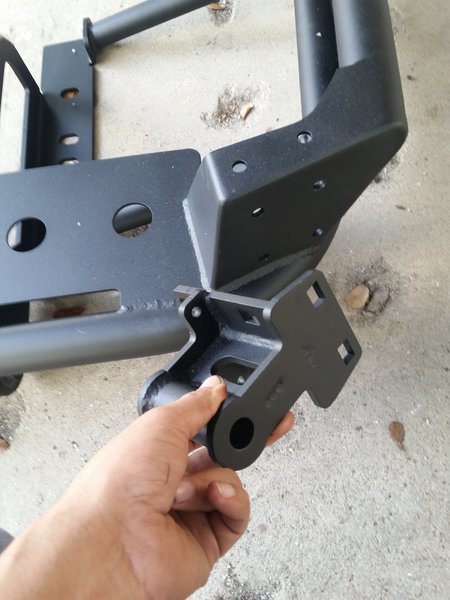
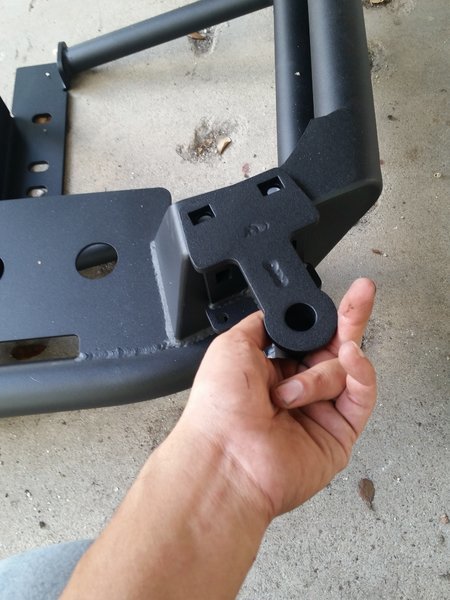
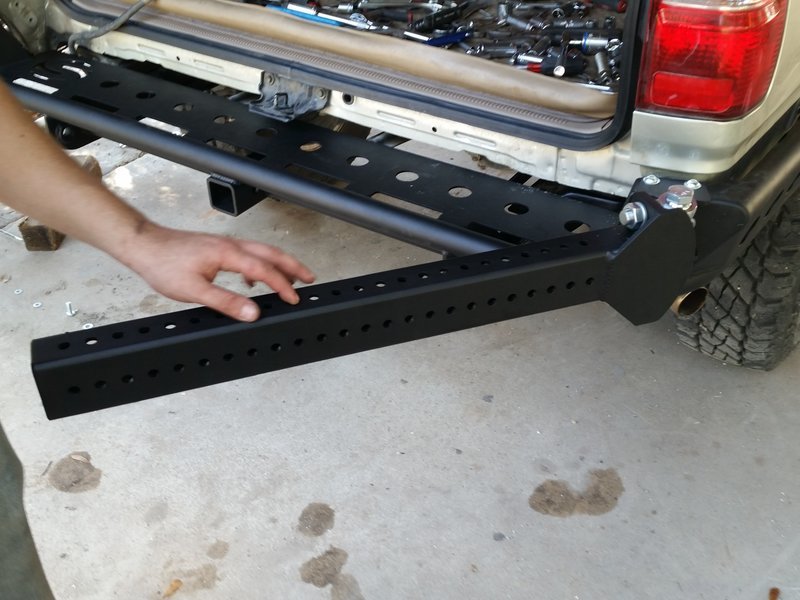
Here is the powdercoated bumper and swingout assembly:


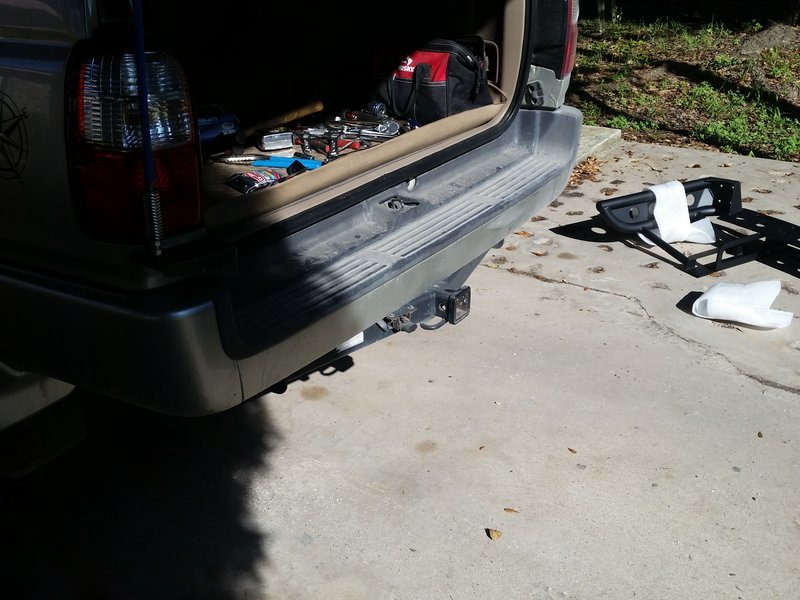
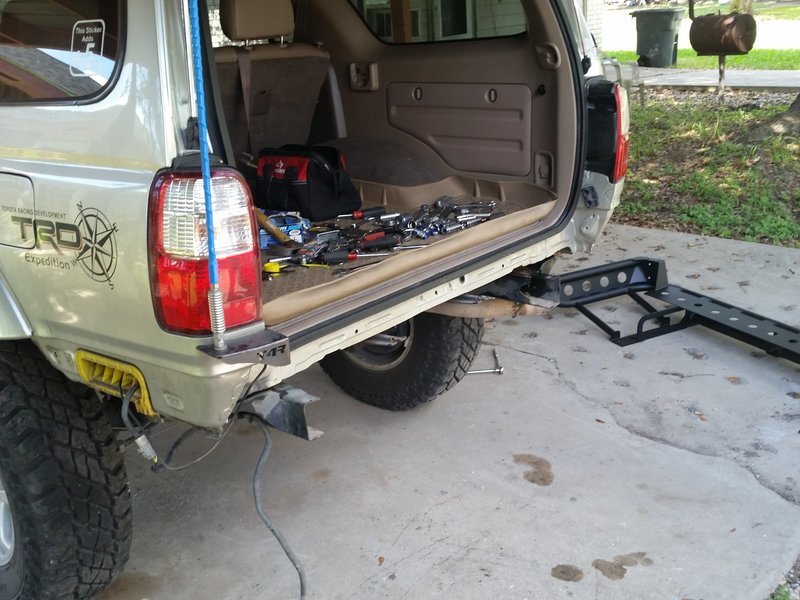
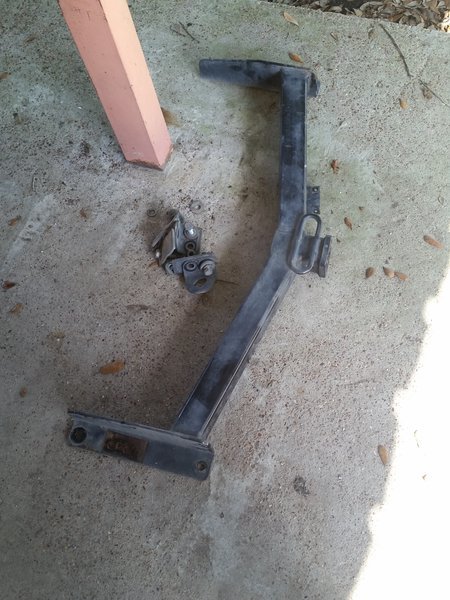
First step is to obviously remove the rear bumper and hitch:


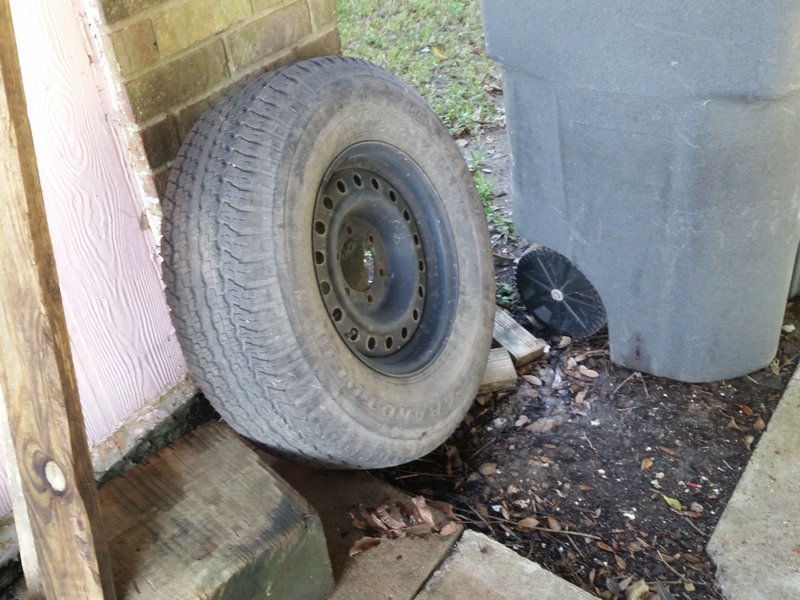
Drop the spare and get it out of the way:


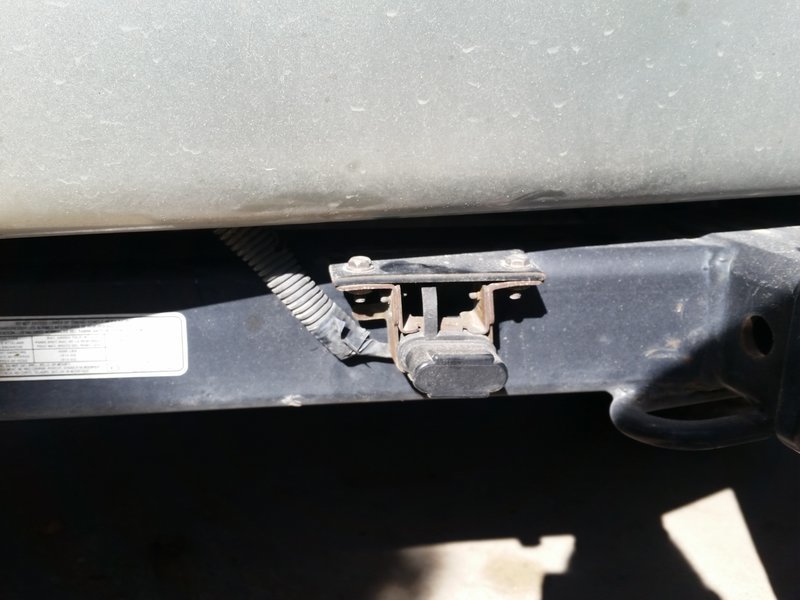
Since the hitch is the first thing to go, I made sure the trailer wiring harness bracket was disconnected from the hitch:


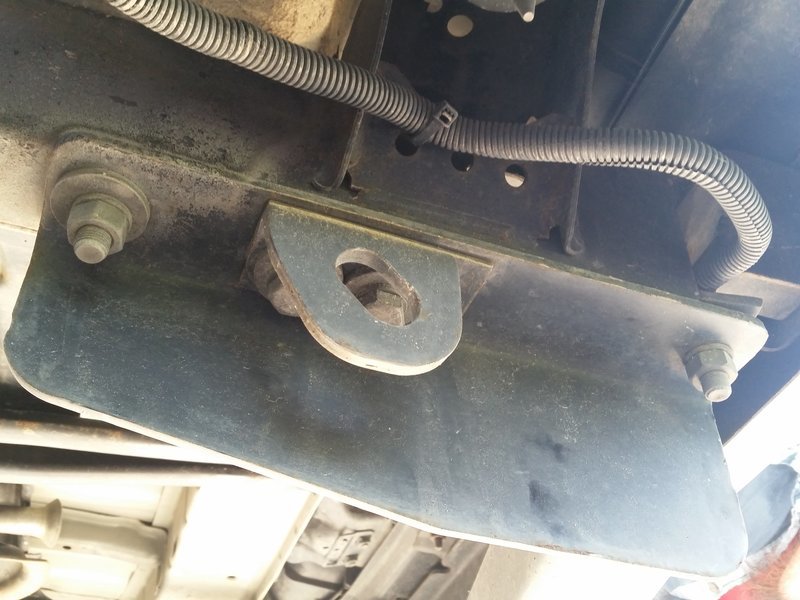
The hitch receiver is held in place to the frame with a total of 8 bolts - 4 on each side:


Removing the eight bolts will drop the hitch receiver:


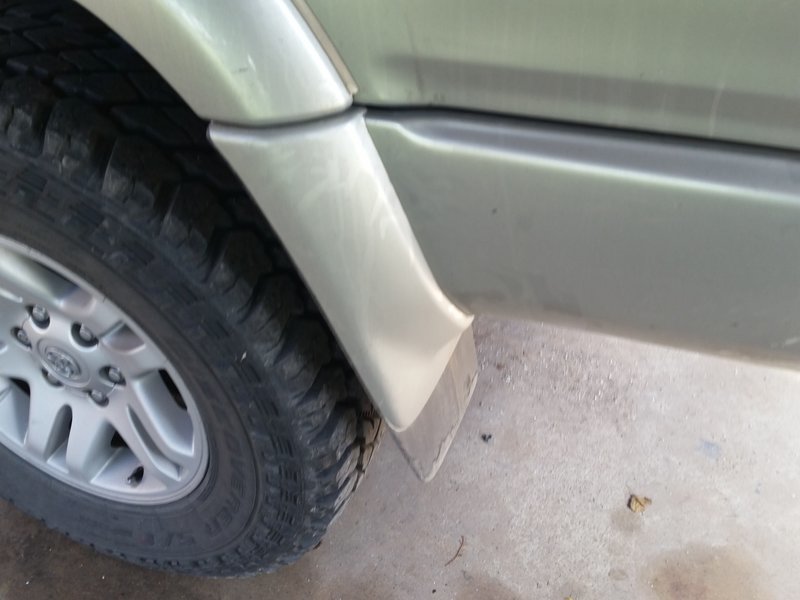
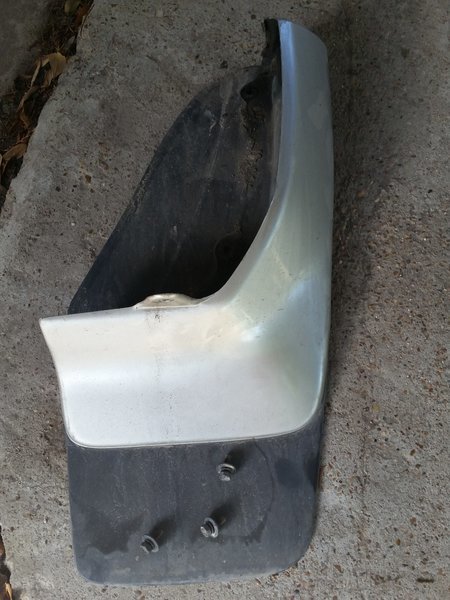
Next remove the mudflaps, there are about 3 screws that hold the mudflaps onto the 4runner. They are located against the wheel well:


Removing the mudflaps will reveal a bolt, take it out:


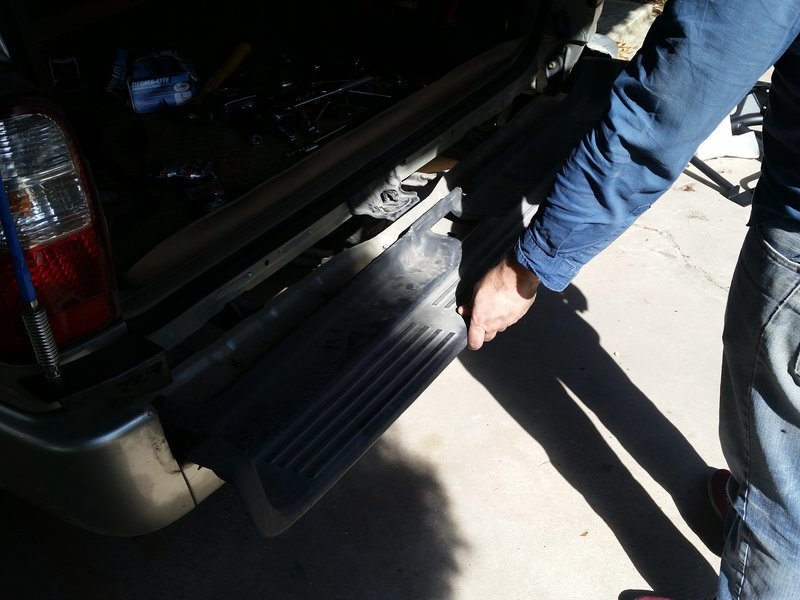
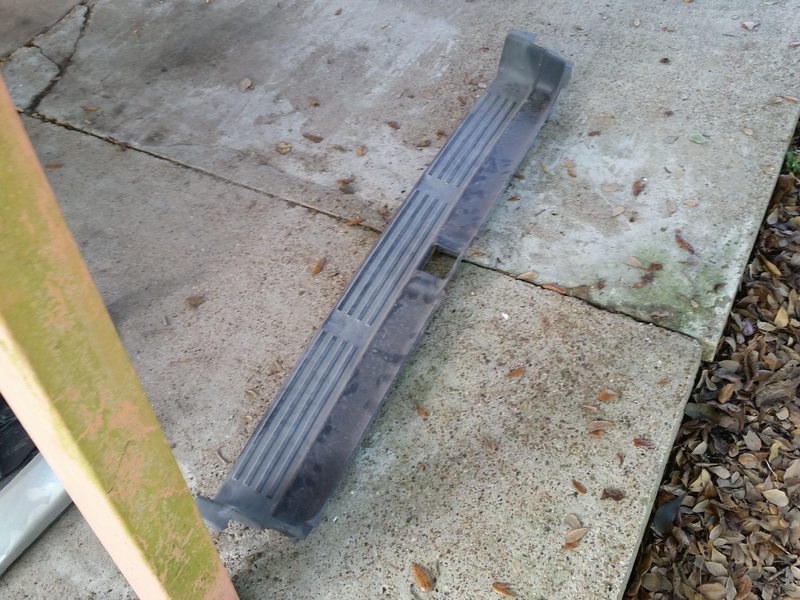
Once that bolt is off, remove the bumper cover. These are held firmly in place with tabs, crawl underneath the vehicle and push the tabs out with a flathead, pliers, etc.


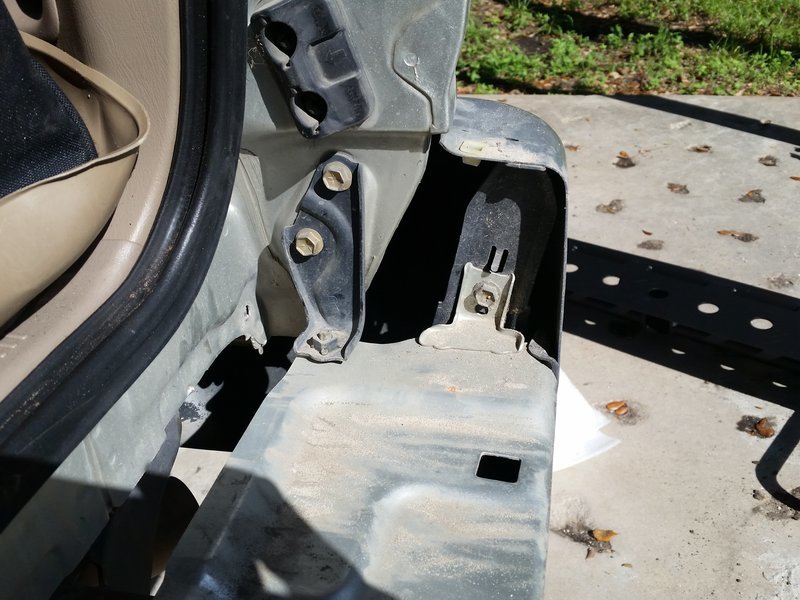
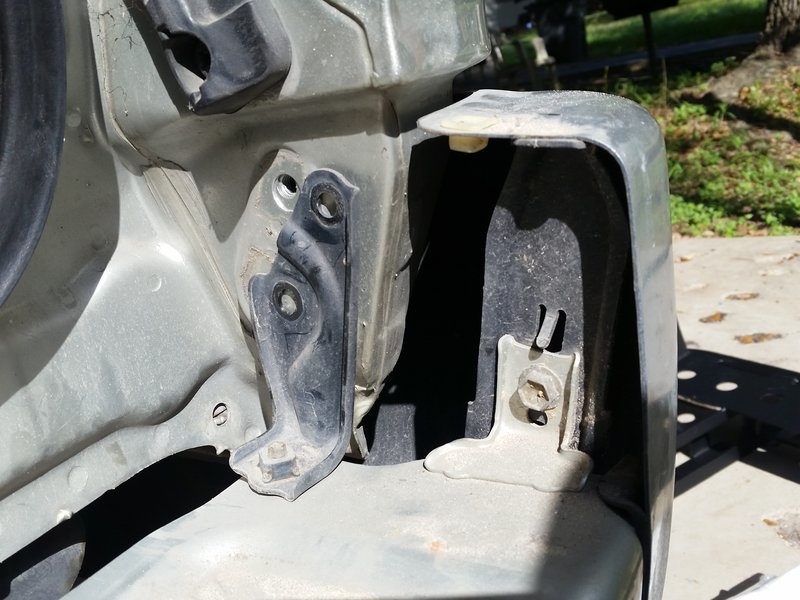
Once that black bumper cover is gone, it will reveal a black bracket with two bolts, remove the top two bolts on EACH side of the bumper:


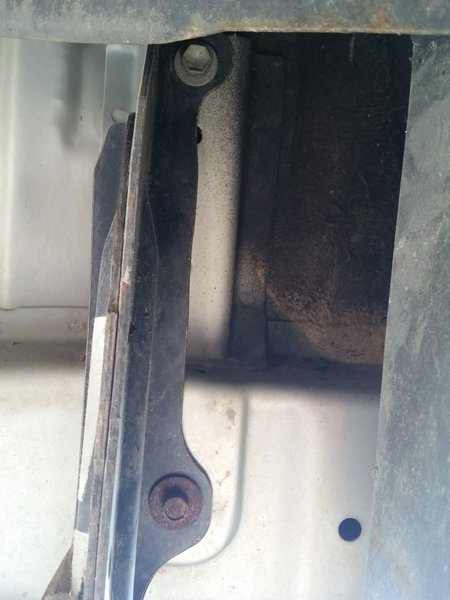
The bumper is now being held in place by four bolts underneath the vehicle, two on each side on this bracket:


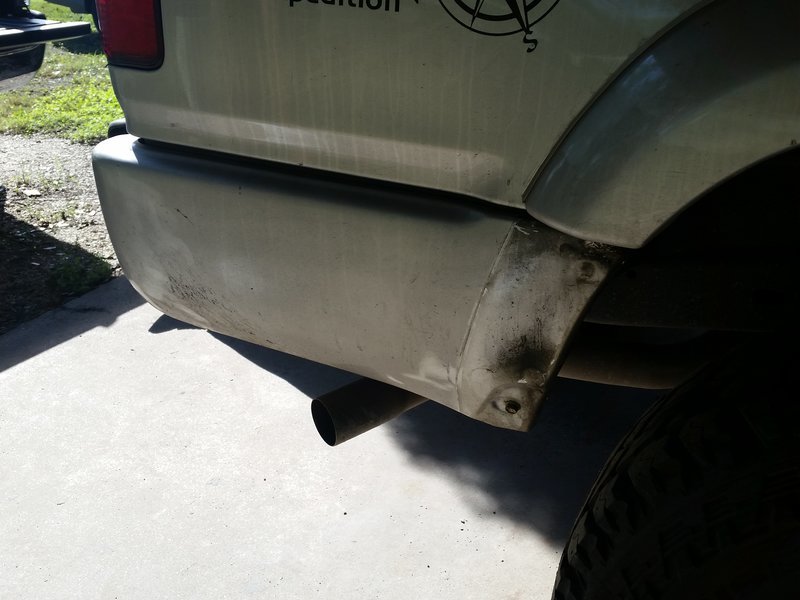
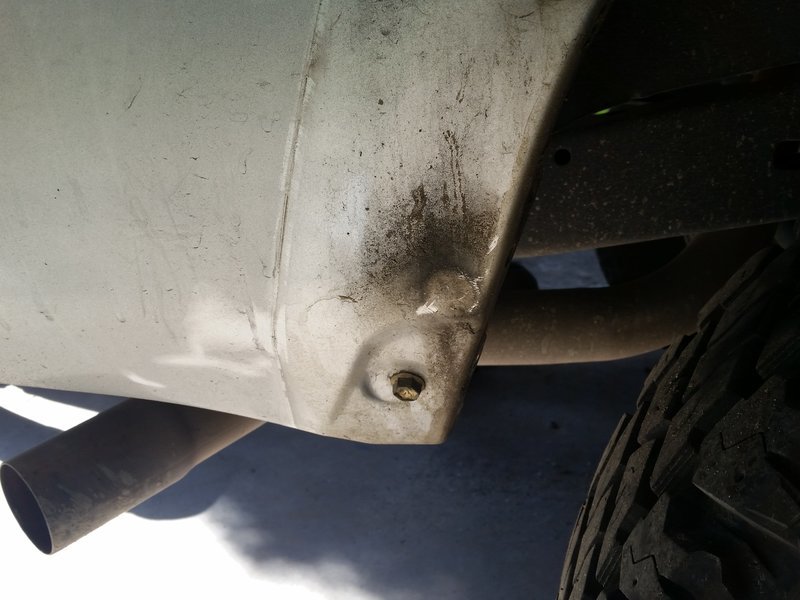
Oooops.. found two more bolts - The bolts are located where the bumper ends at the mudflap - notice the fuel filler neck cover - One on each side - These are a little hidden.


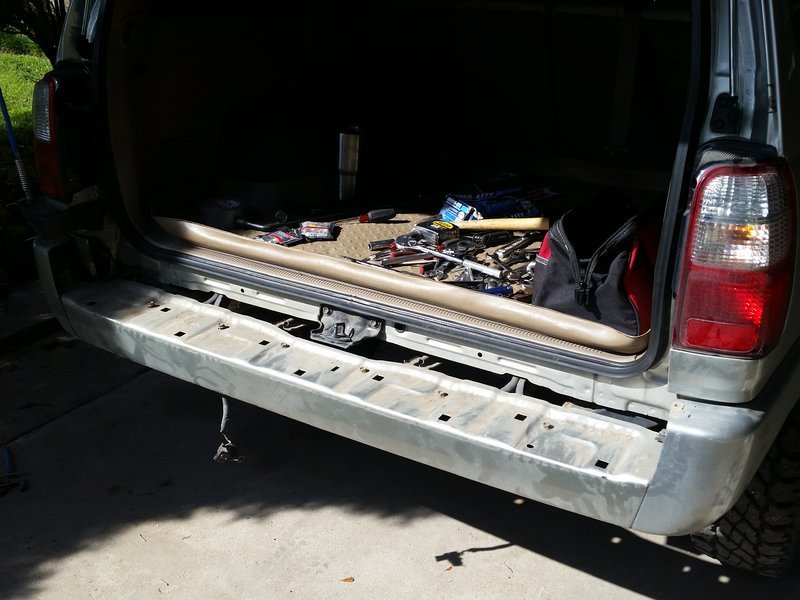
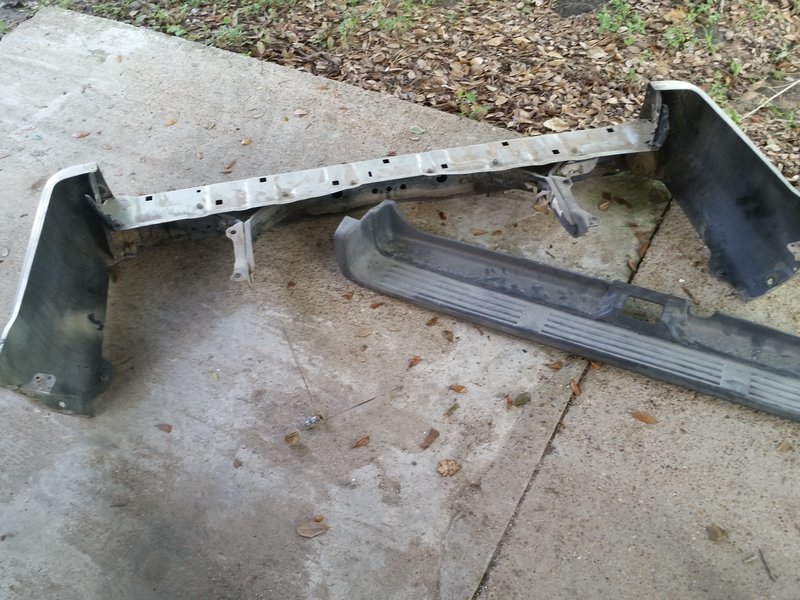
The bumper should now come off:

 
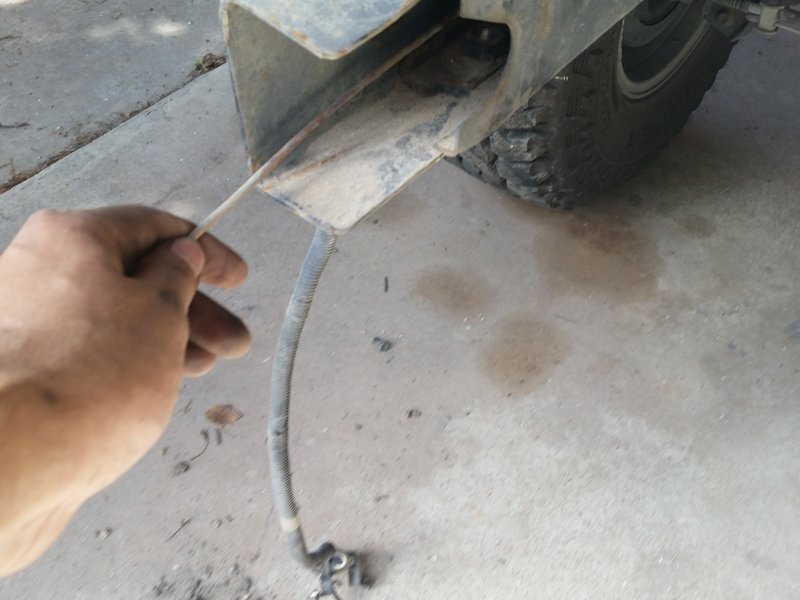
Inside of the frame rails, a long rod with a bolt welded on it will be seen, pull them out:


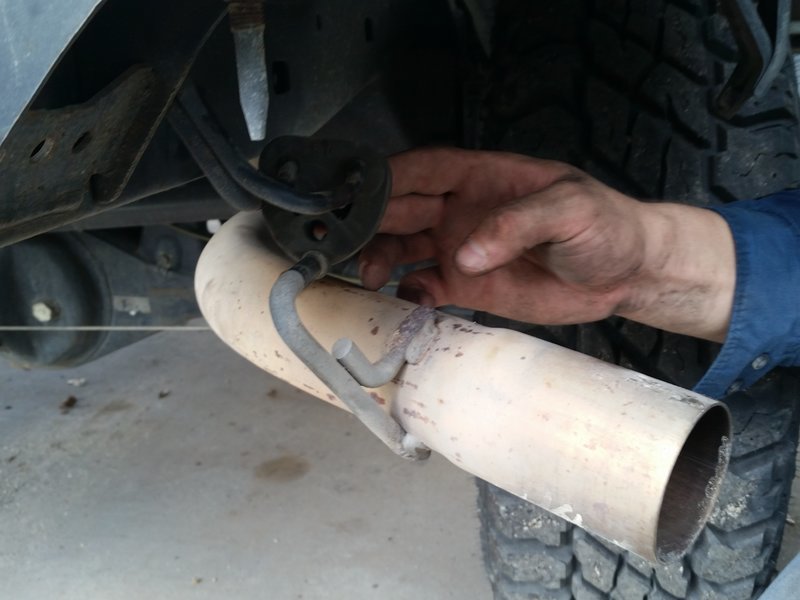
In order to get the bumper in, the rubber grommet that holds the exhaust tail piece must be removed:


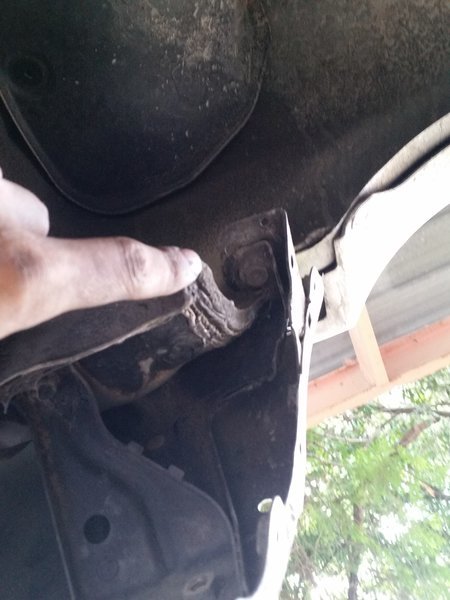
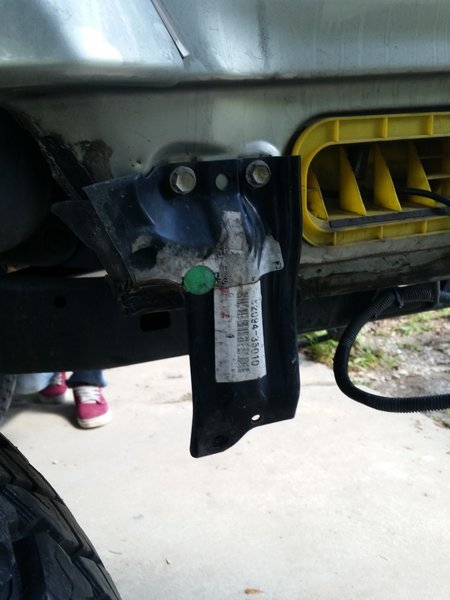
When the bumper was removed, this black bracket was revealed - one on each side. Remove this also:


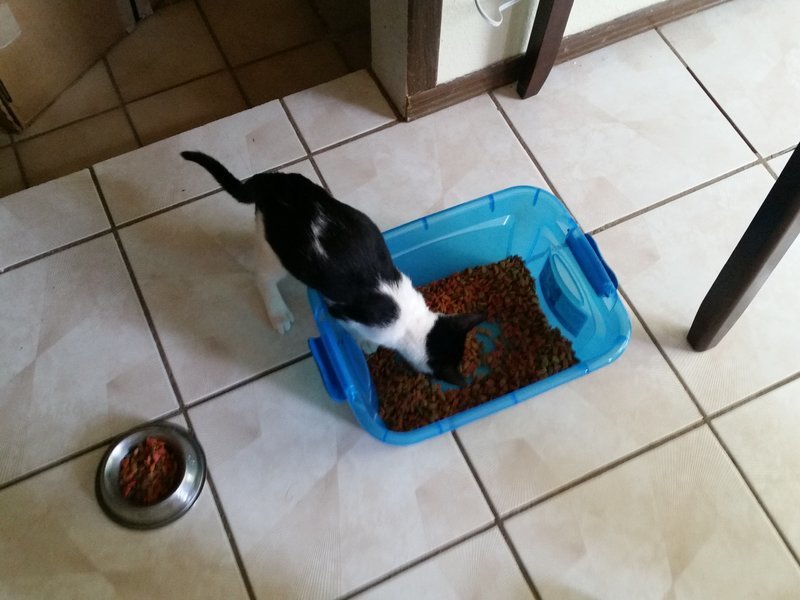
Feed your cat:


Once you're finished feeding the cat, it is time to install your bumper:


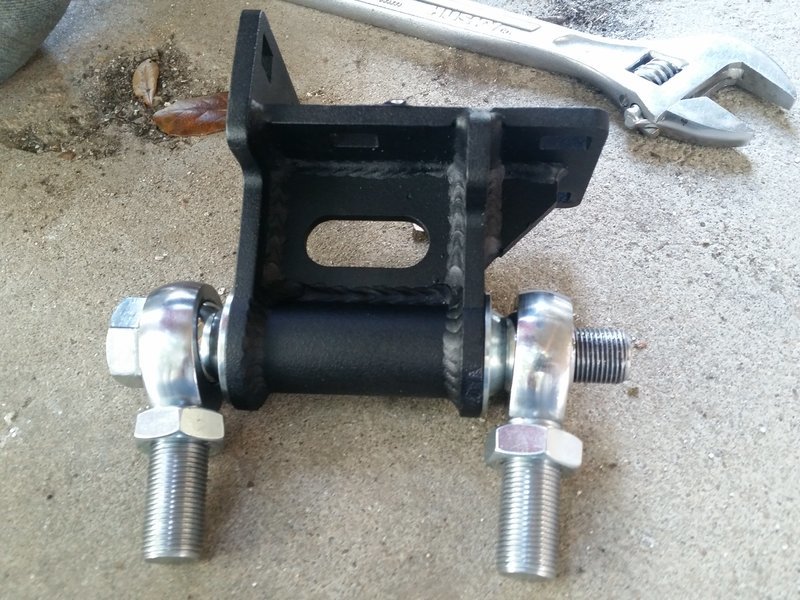
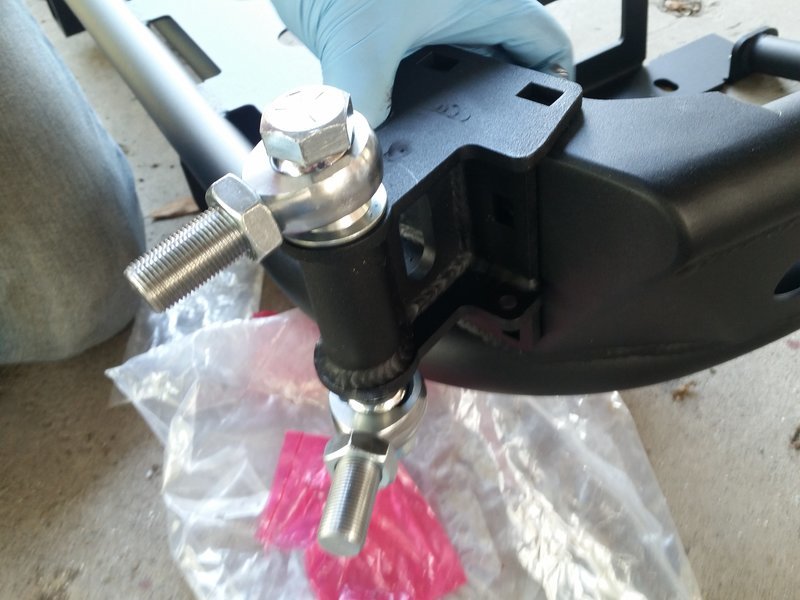
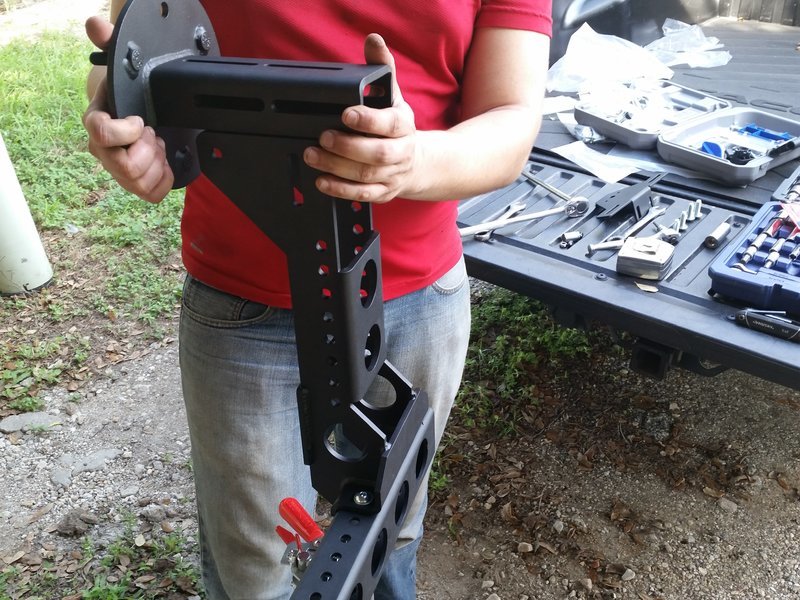
This is the hinge bracket where the swingout attaches to. Make sure this gets installed FIRST before installing. When the bumper is purchased, Savage only drills pilot holes for the hinge bracket. Drill them out BEFORE getting the bumper powdercoated or painted.


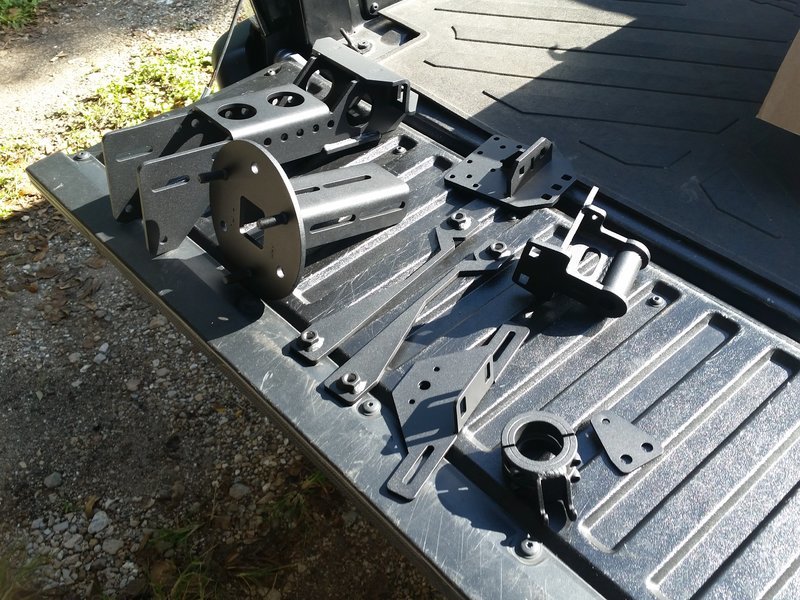
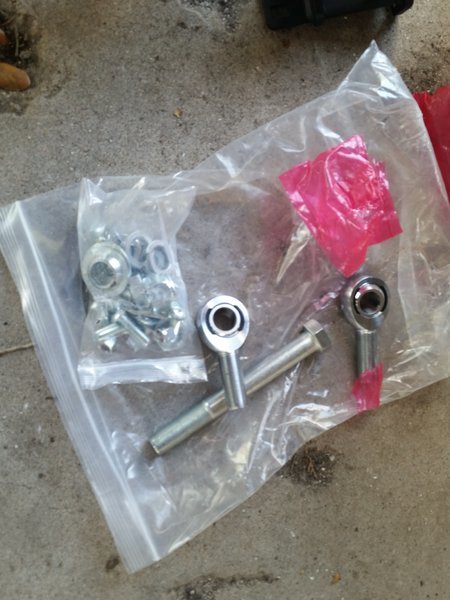
Hinge hardware:


Assemble and bolt on like this:


Install bumper:


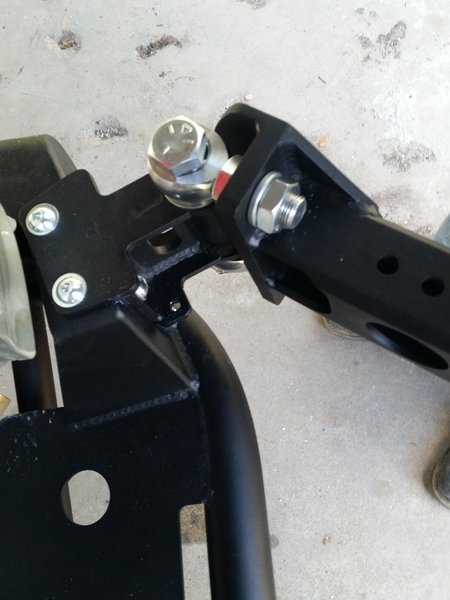
Picture of hinge for the swingout:


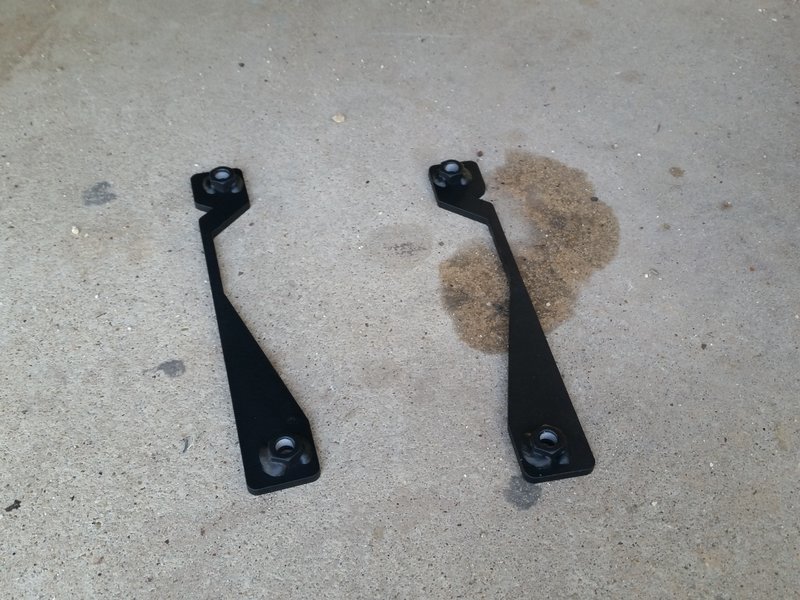
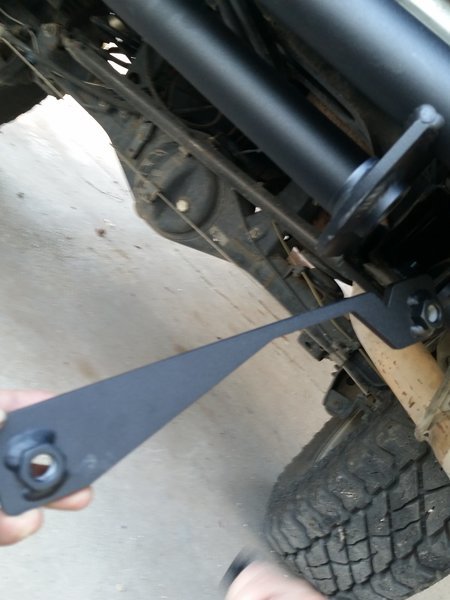
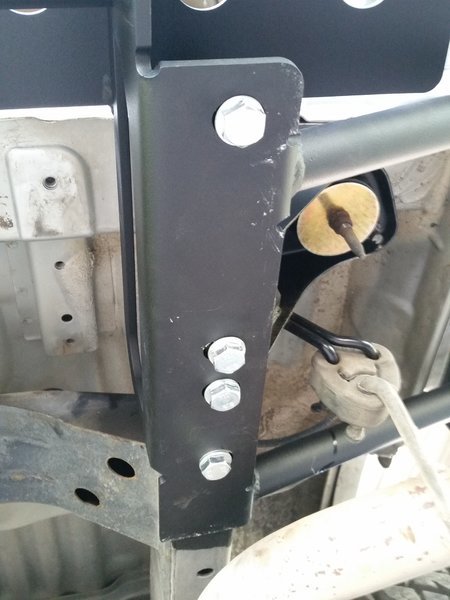
Only FOUR bolts were used to set the bumper. In the bumper kit, these two brackets were included:


These go into the frame rail:


The first and last bolt now threads into that bracket:


This plate is used to install the locking lever:


Install the "anchor" for the locking lever:


Install the locking lever:


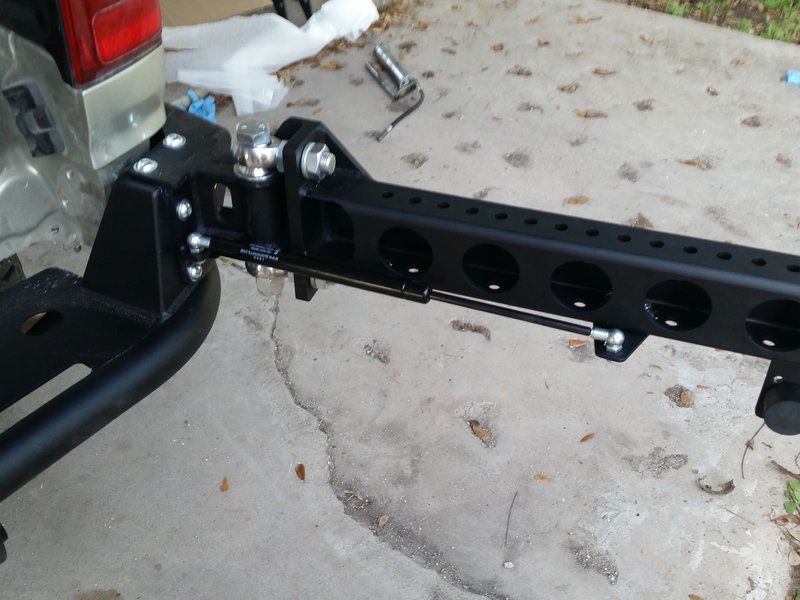
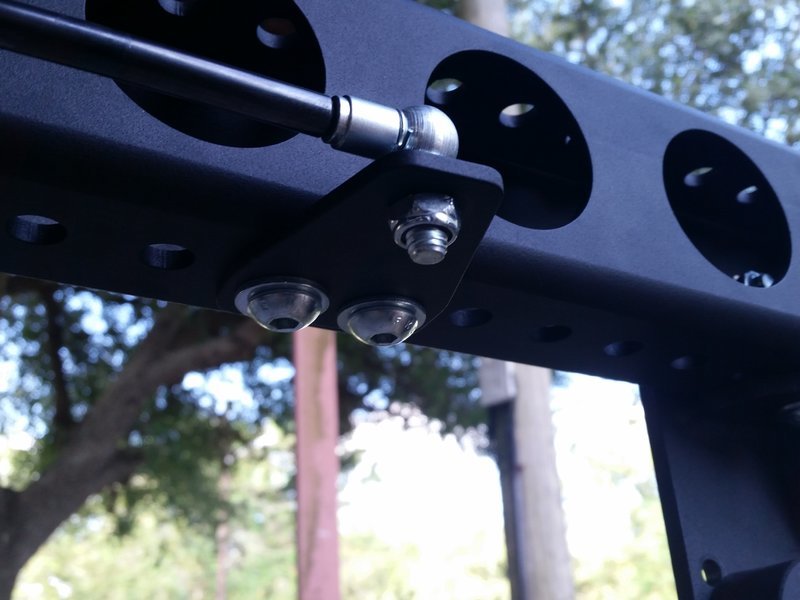
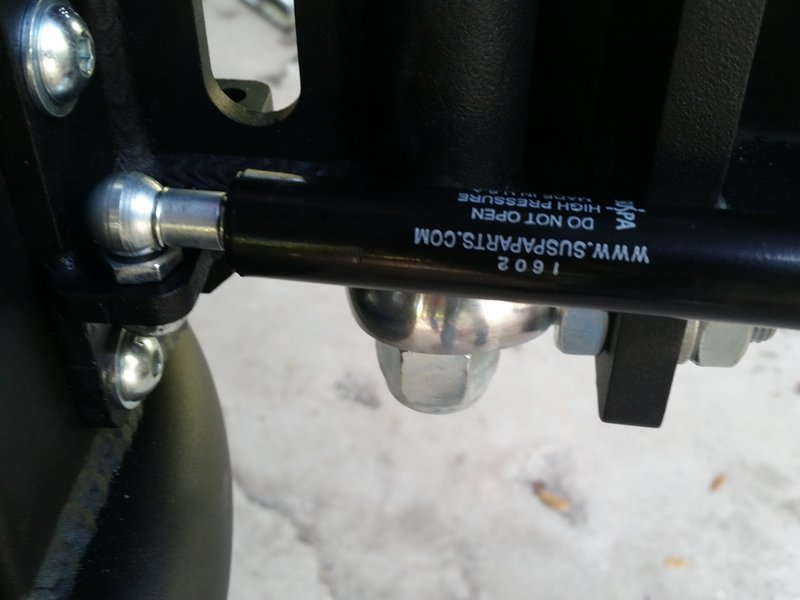
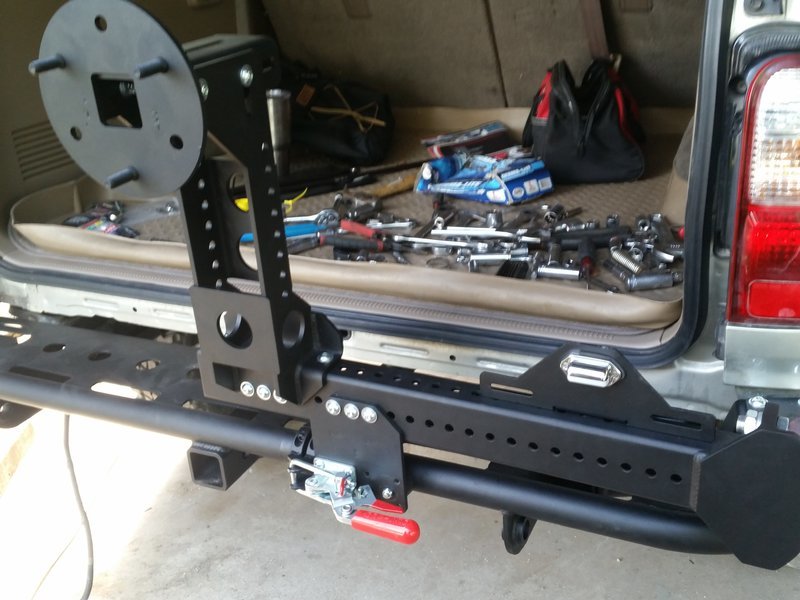
Now the gas strut is installed:


Strut bracket that is attached to the arm:


Pop open a beer and enjoy your progress:


Behold the tire carrier stand:


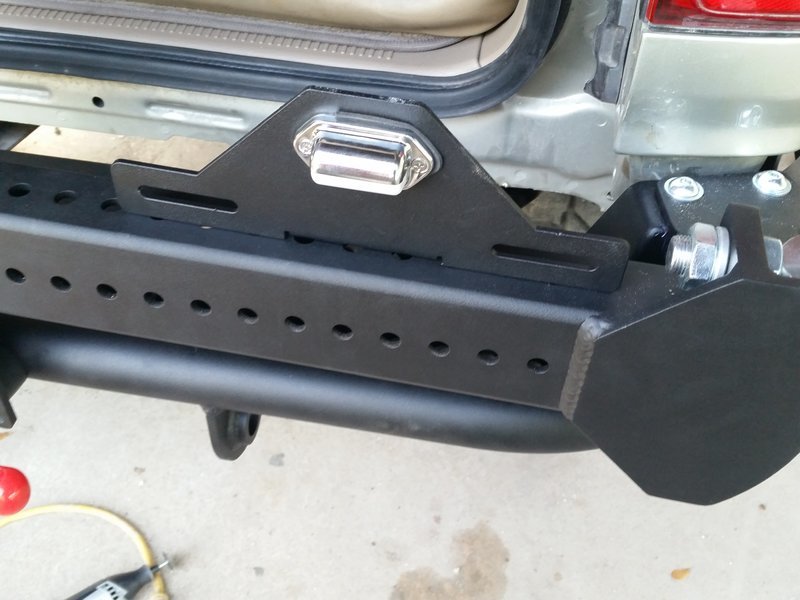
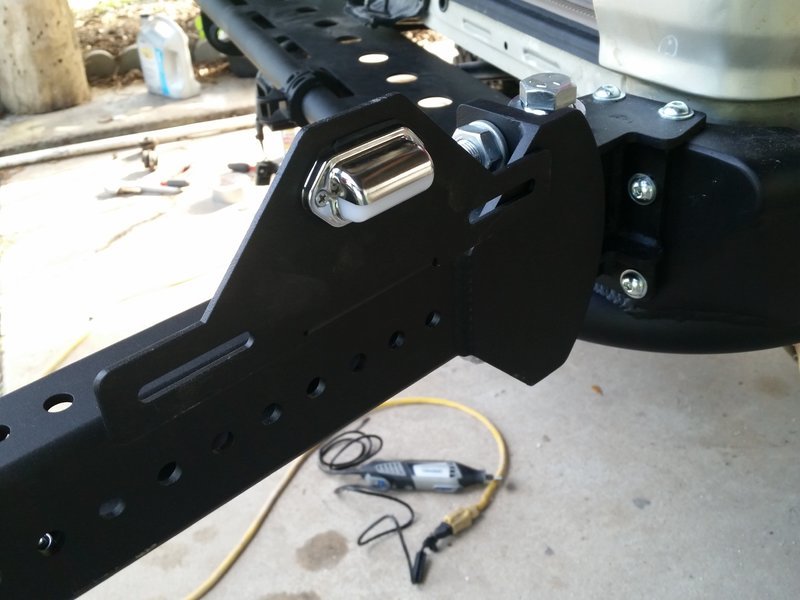
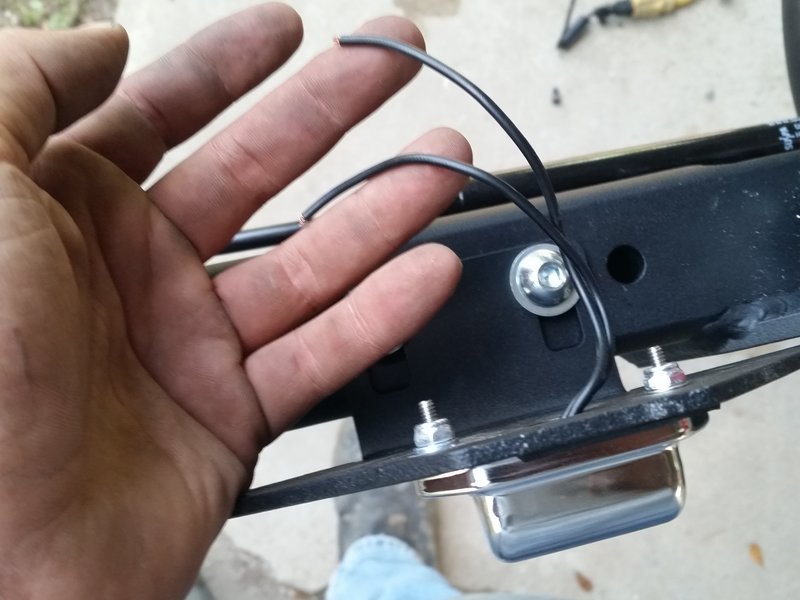
Next, the license plate bracket is installed.


Hmm.. time to run some wiring:


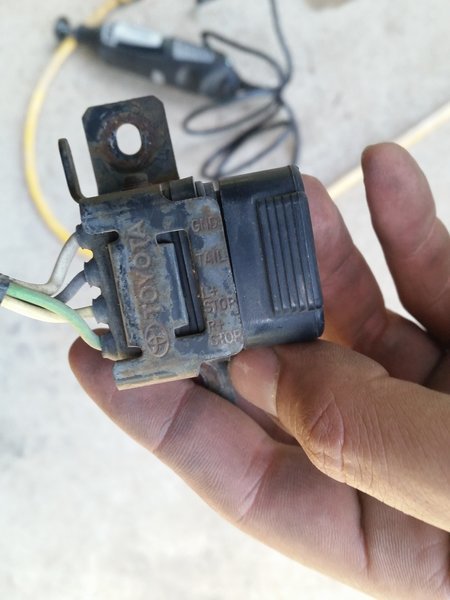
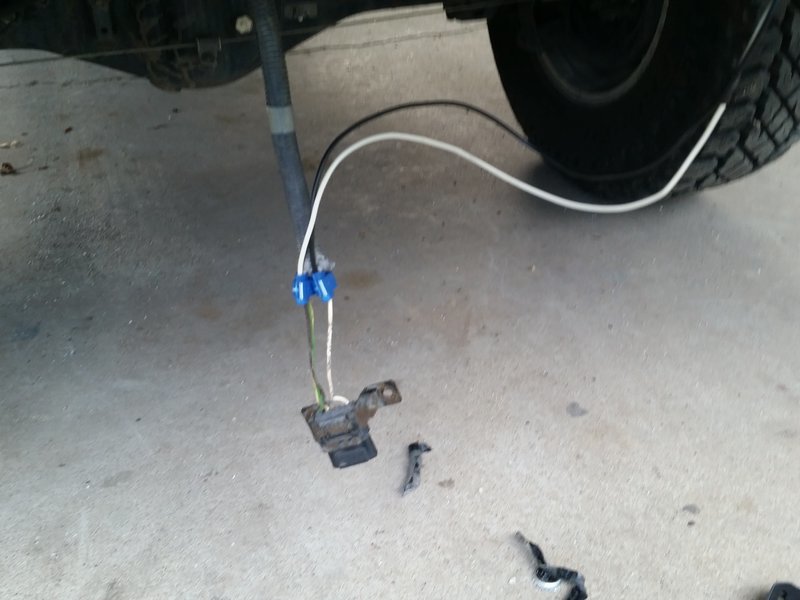
I decided to tap into the trailer wiring, good thing they were labeled. I tapped into "Tail" and "Ground", black and white:


Run wiring and attached using quick splices - I made sure it was well wrapped in electrical tape:


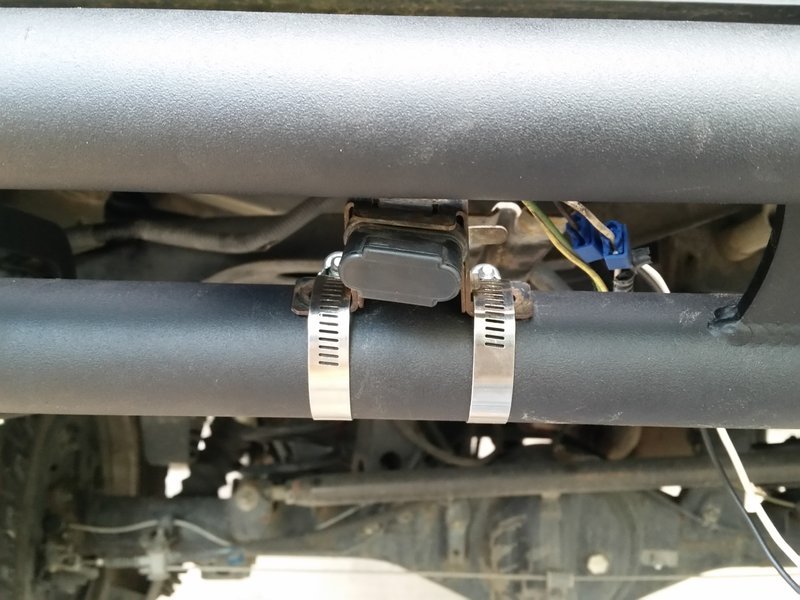
Clamped it to the rear tube of the bumper, where it is hidden. No, I don't mind the hose clamps. It cant be seen unless you are looking for it.


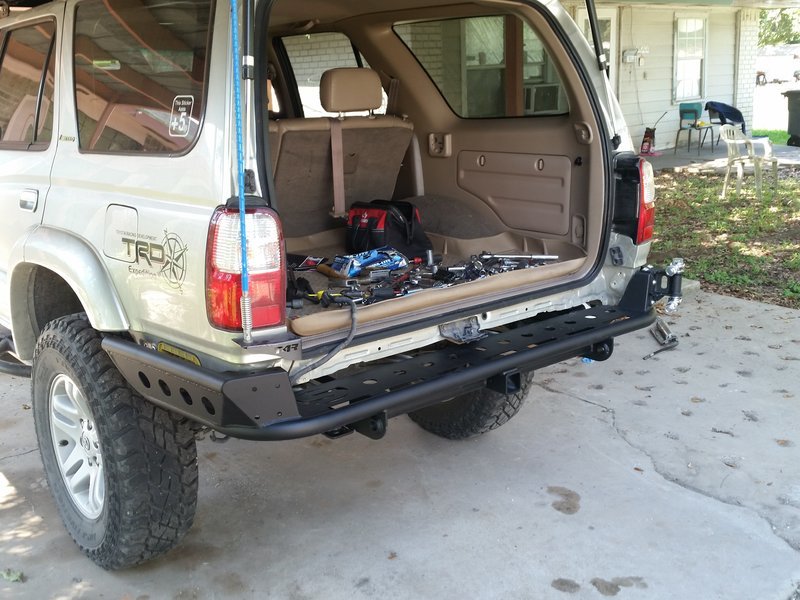
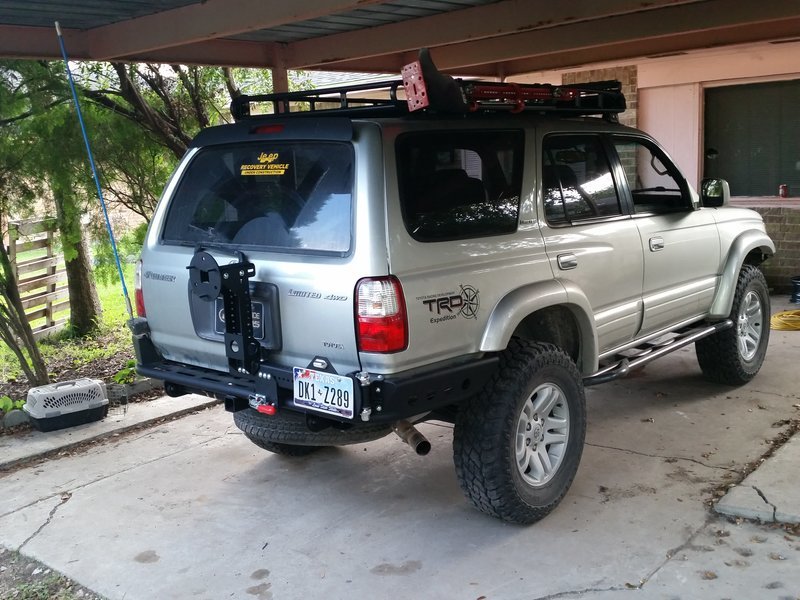
Now complete:


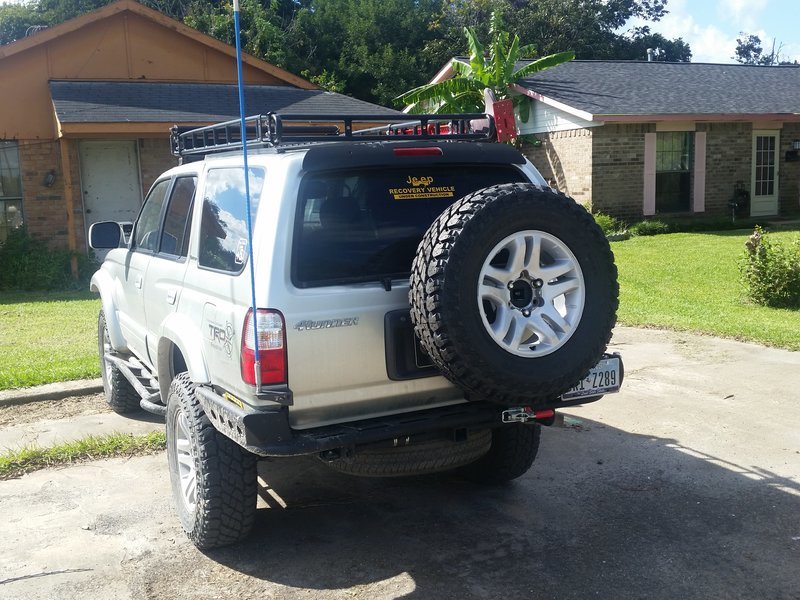
Got the spare tire mounted.
Yes, I know the stock spare is still down there.

IDGAF.

 
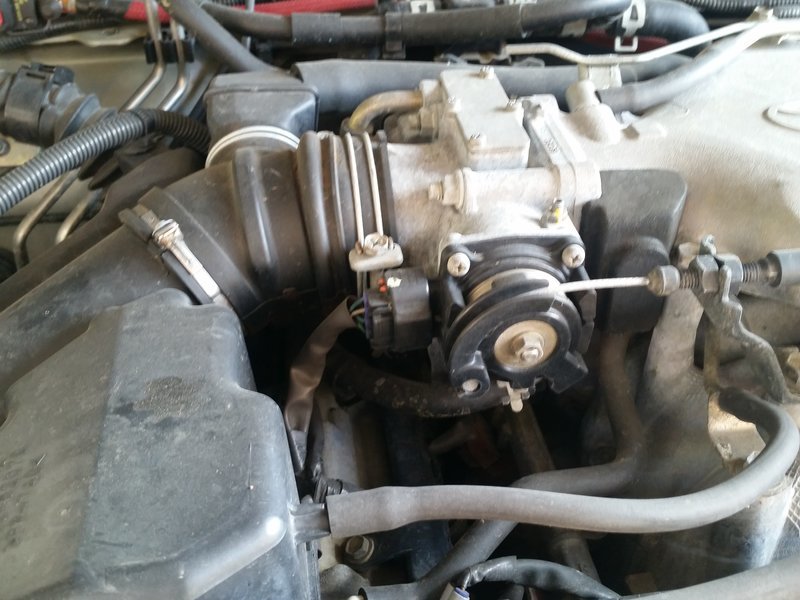
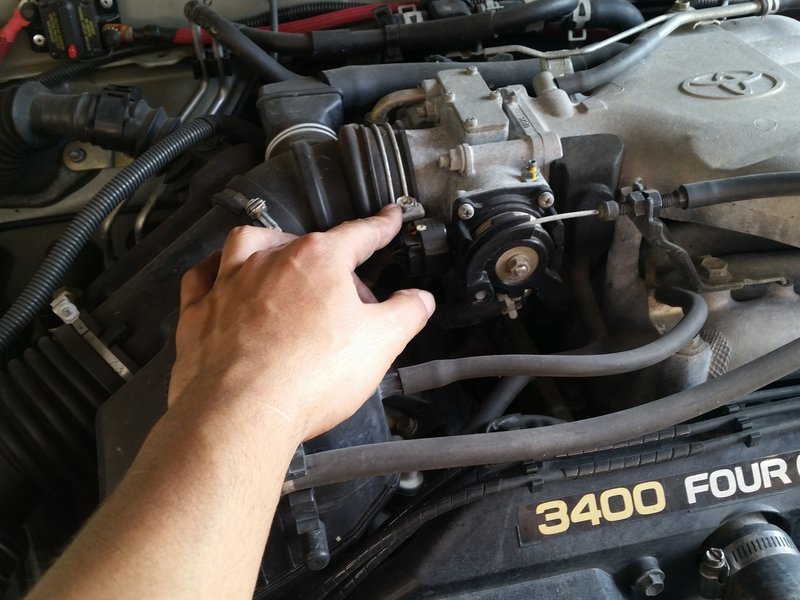
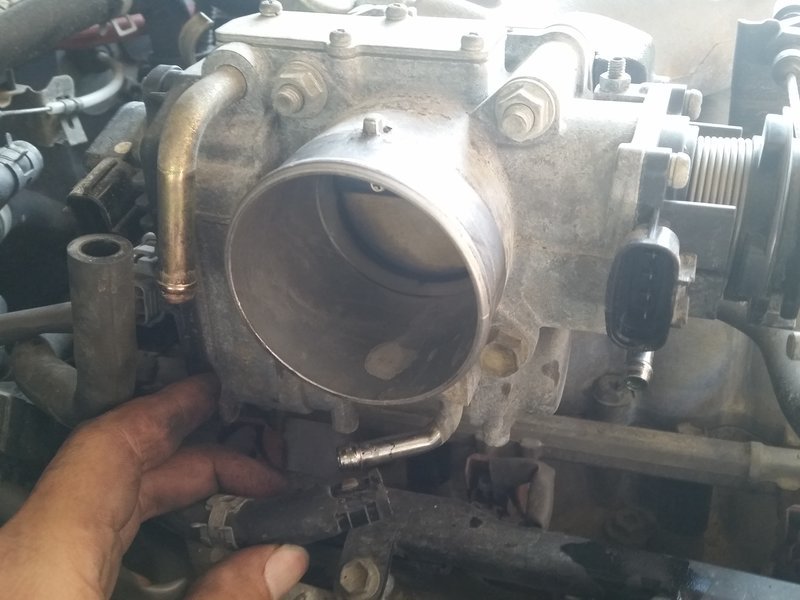
Last weekend I decided to clean the throttle body on my 4runner.

Decided to document the procedure In hopes it would benefit someone who likes do things on their own:

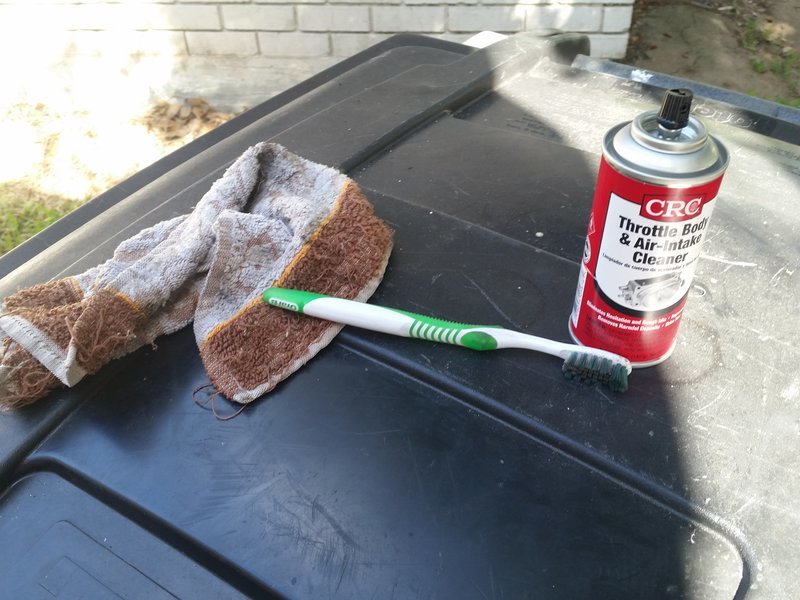
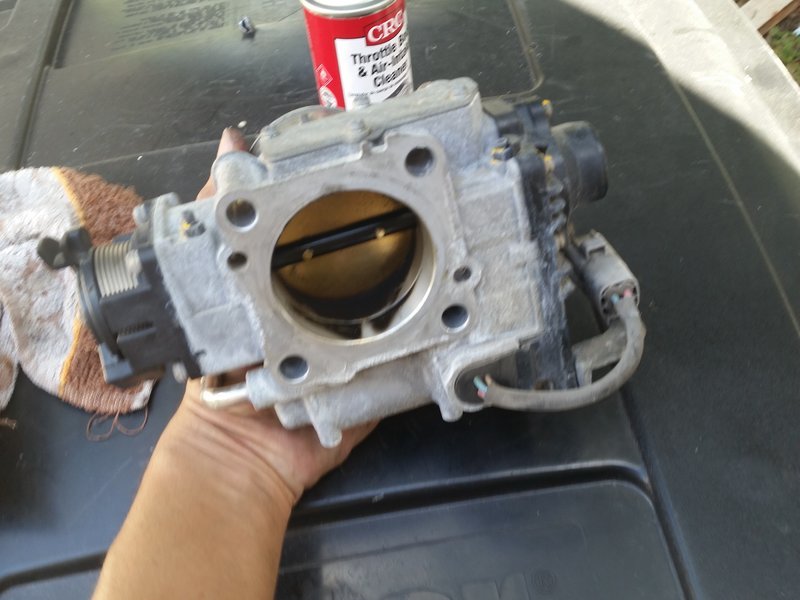
For this task, I picked up some throttle body cleaner, a rag, and my wife's toothbrush:


One of the most important steps in this procedure is to stare down the throttle for a good 2 or 3 minutes. This helps break down the carbon inside. The harder you stare, the more it breaks down and easier it is to clean. Sorta like WD-40 loosens up rusted nuts and bolts.


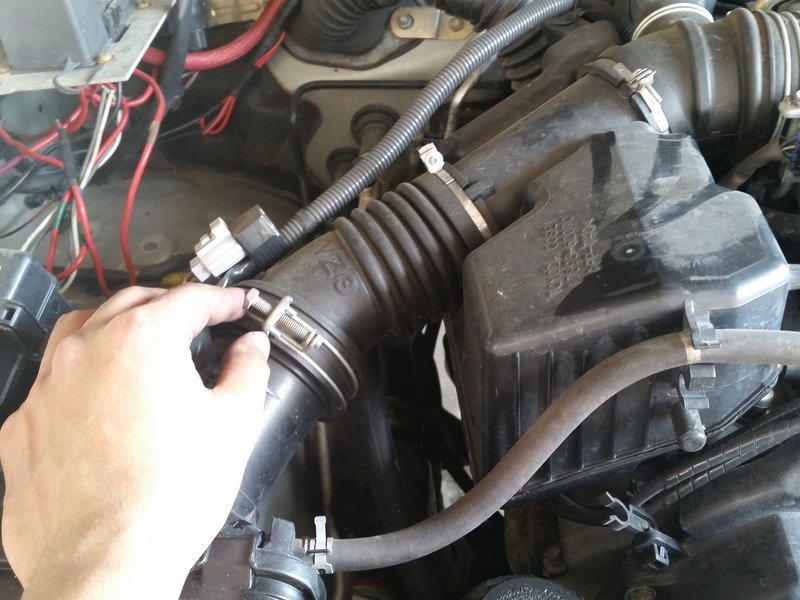
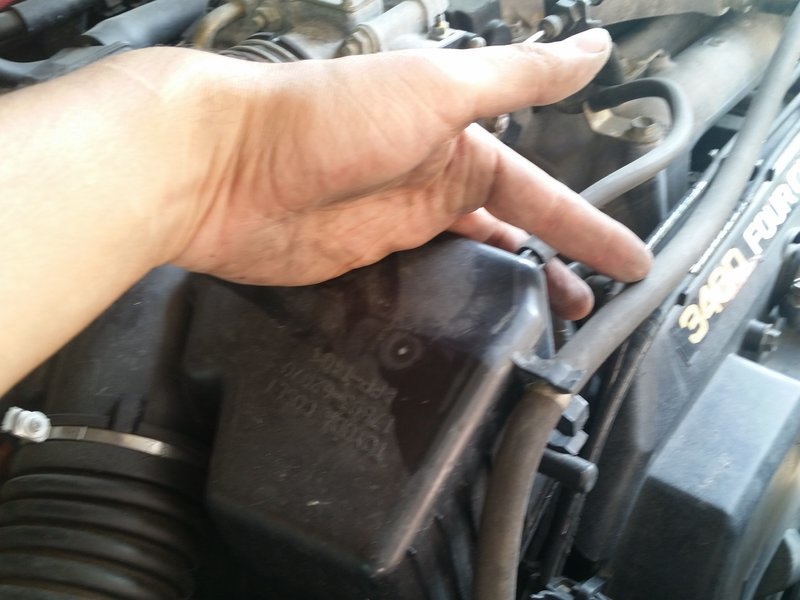
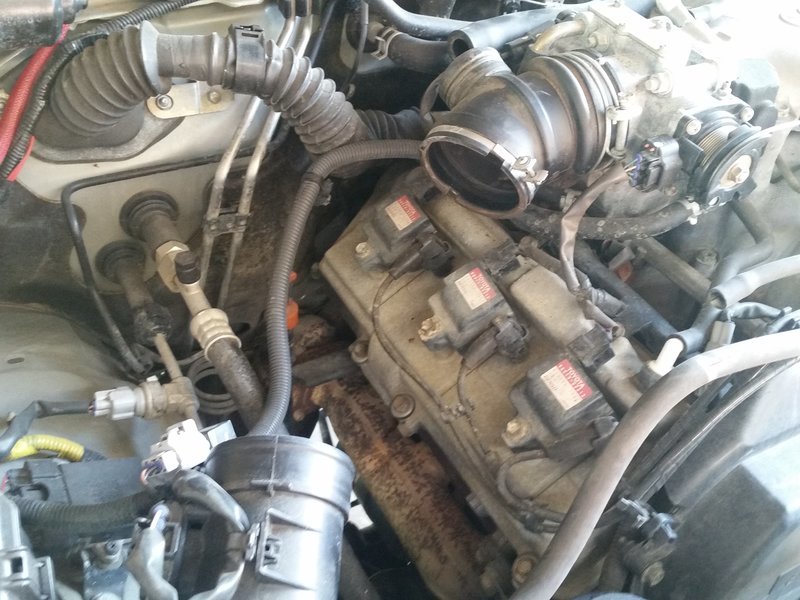
First step is removing the airbox assembly, loosen airbox bolts and straps:


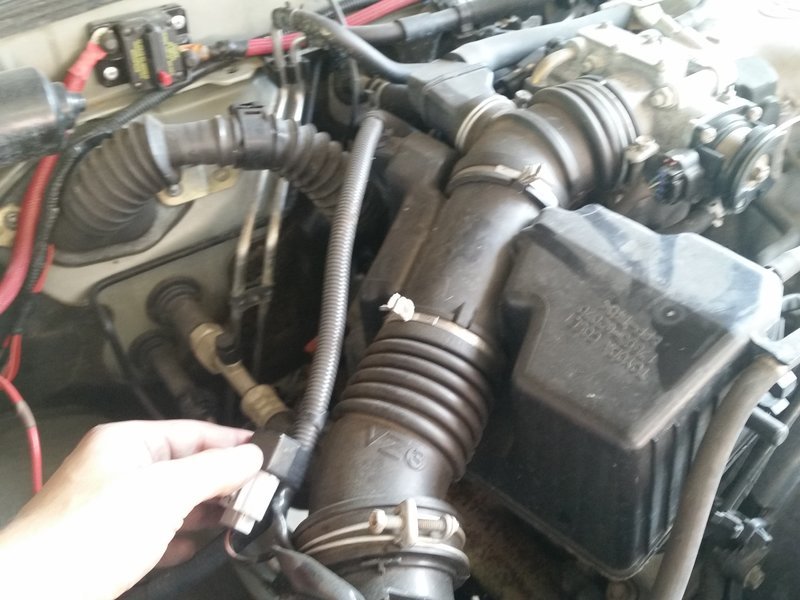
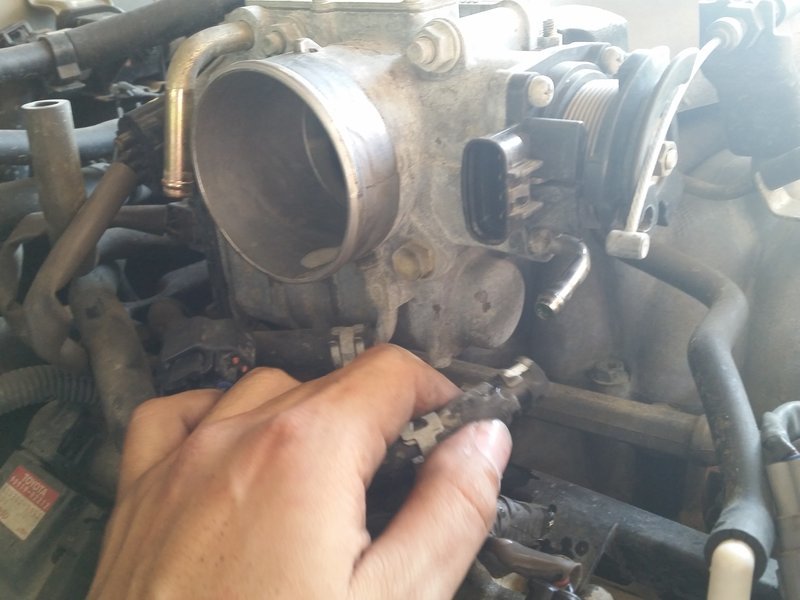
unplug mass airflow sensor and any other connectors in the vicinity:


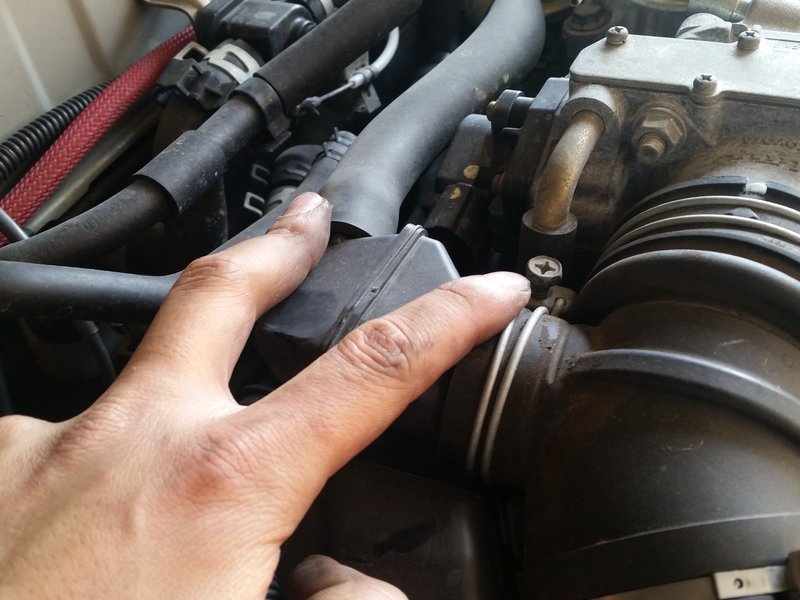
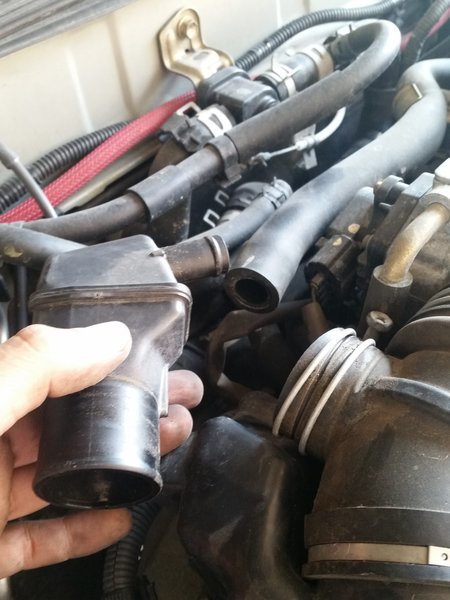
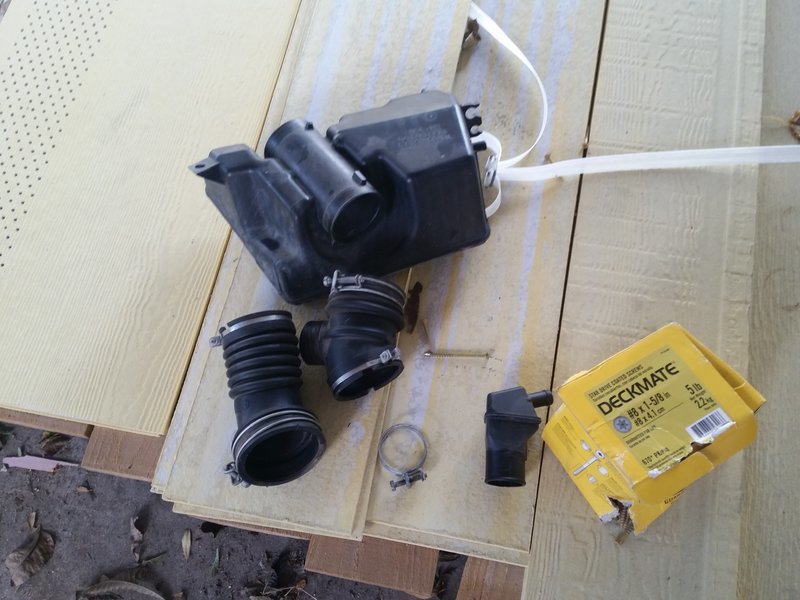
There will be a smaller airbox towards the firewall with some airlines connecting into it, remove the airhoses and the small airbox:


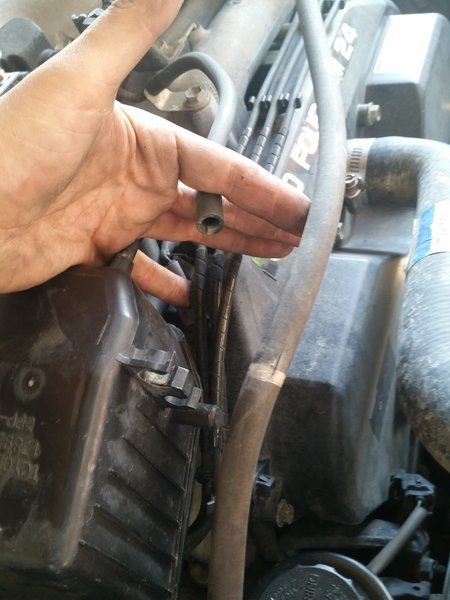
Don't forget the airhoses that run towards the front of the engine towards the piping of the airbox:


Loosening these thinner clamps will help removing the piping to the airbox:


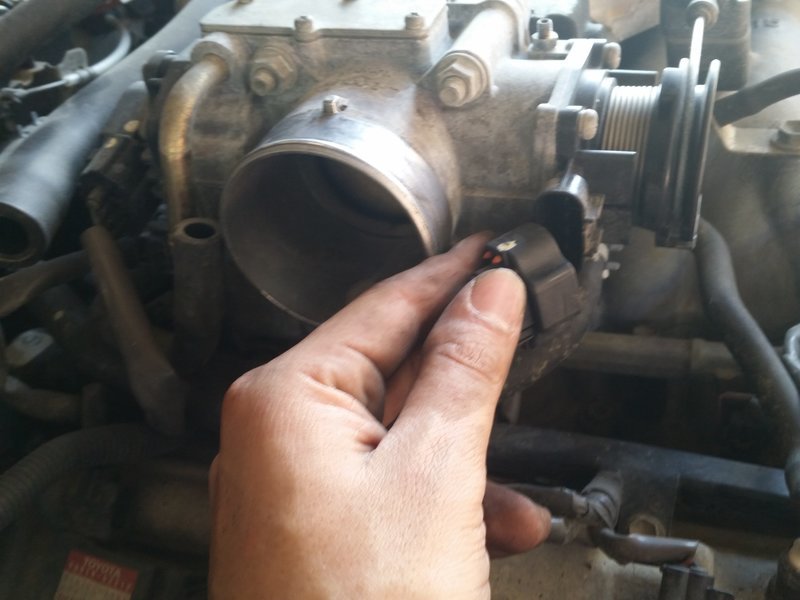
Remove another plug, this one is right besides the accelerator cable:


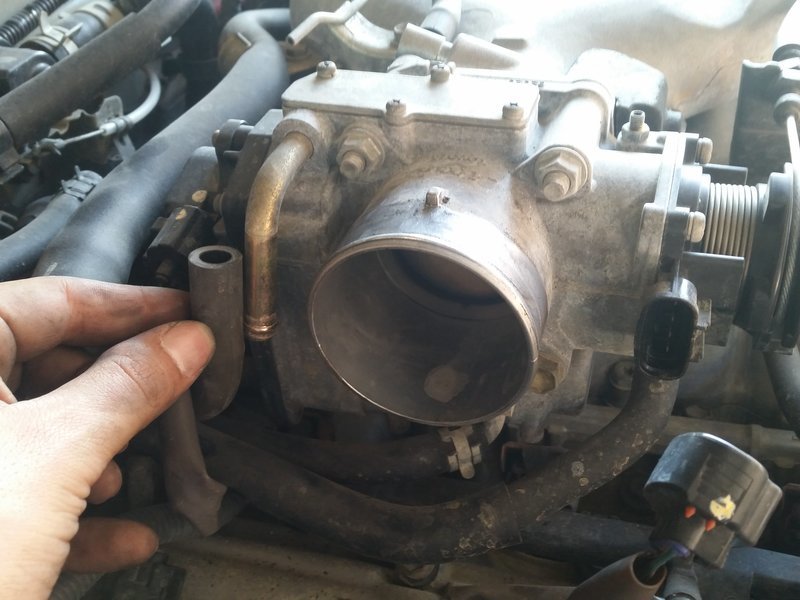
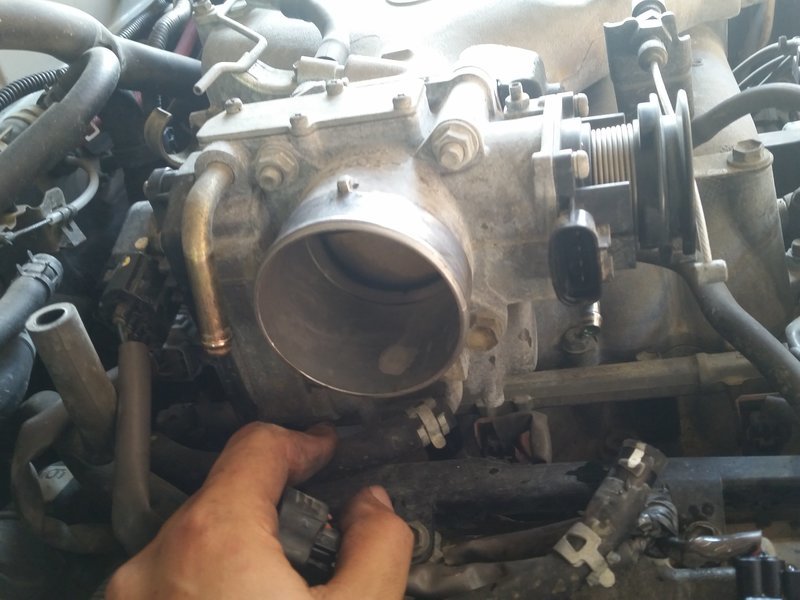
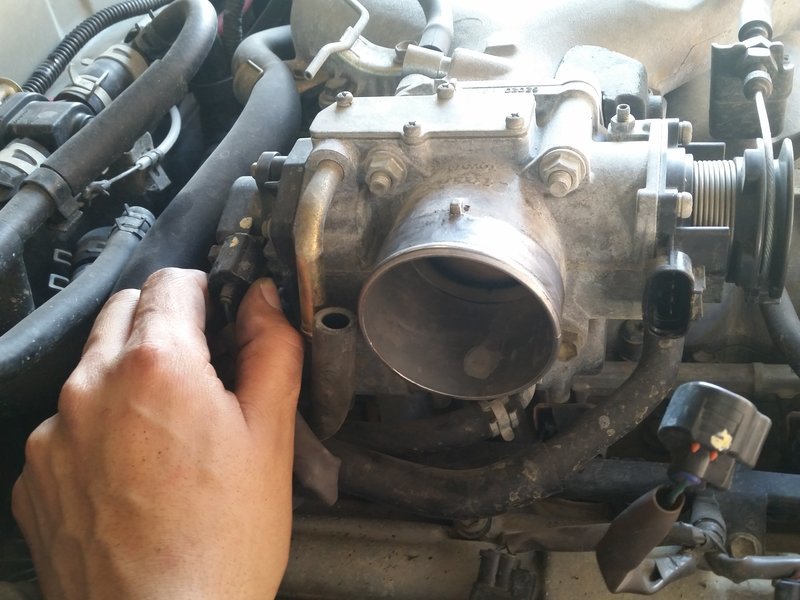
Three cooling lines will be feeding into the throttle body, these can be removed also:


Another plug:


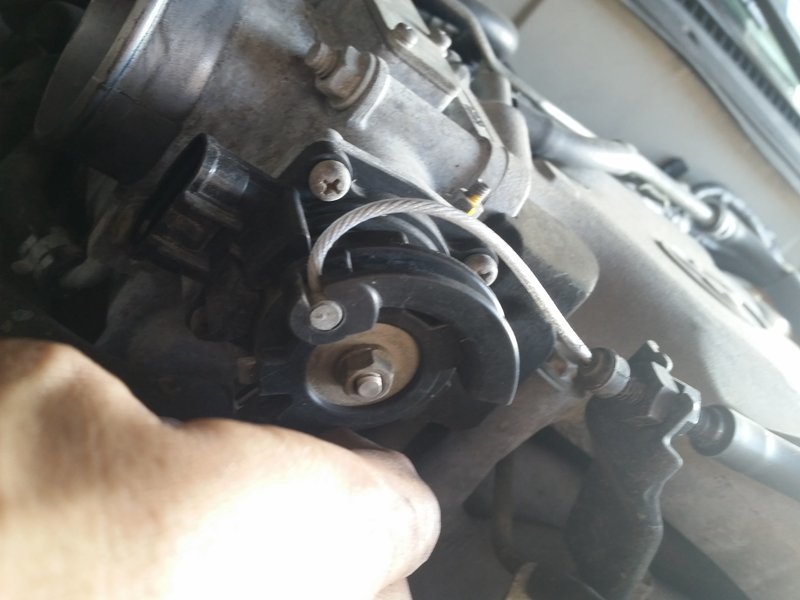
Remove the accelerator cable off the throttle, this can be done by clocking the body of the spring and sliding it out carefully:

 
Another picture of everything removed:


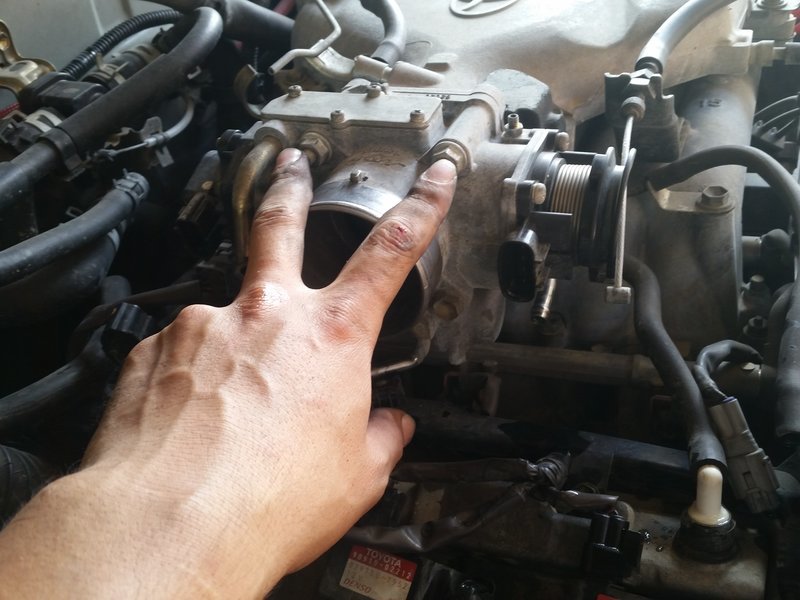
Remove the two top nuts that are holding the throttle in position:


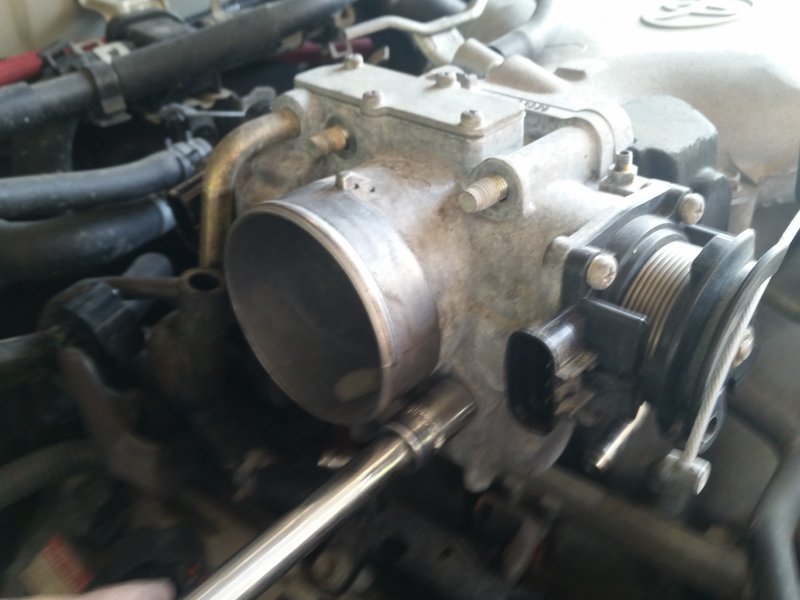
Now remove the bottom bolts that are holding the throttle in position:


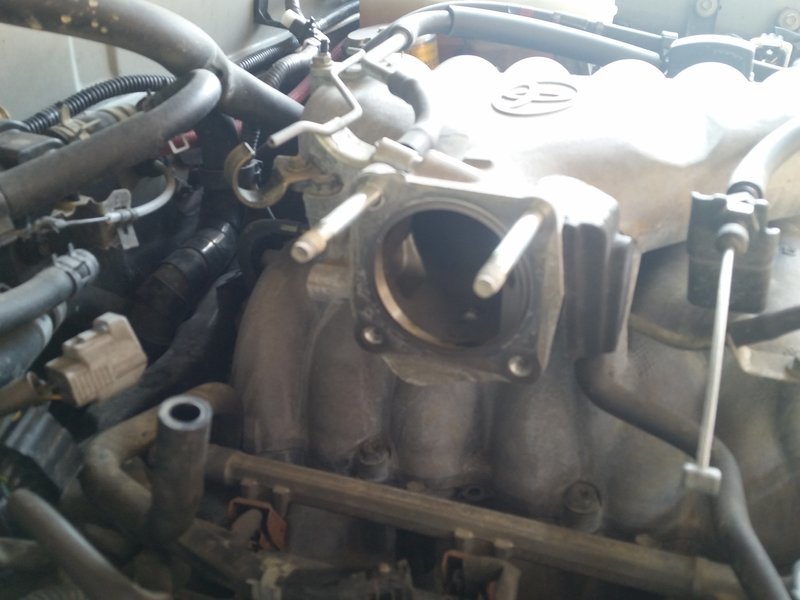
Pull off the throttle gently:


Take it to the operating table:


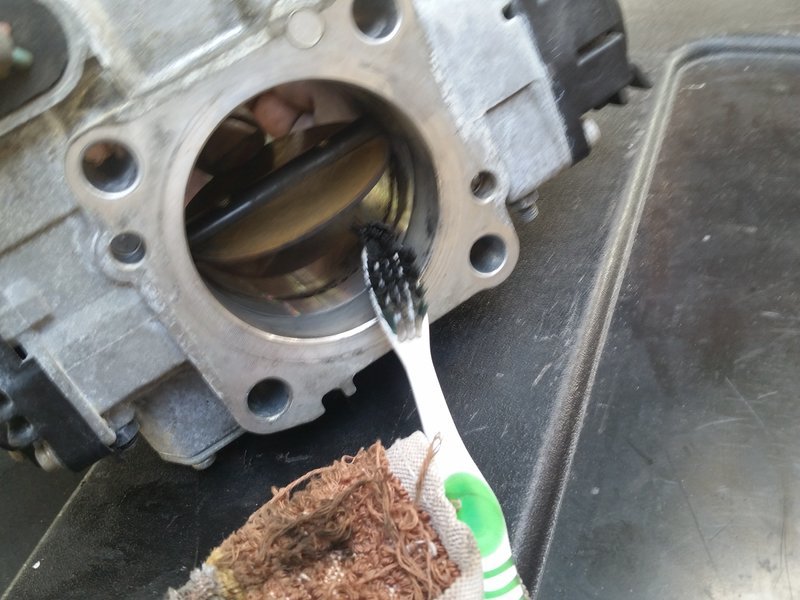
Generously spray inside the throttle body with cleaner and brush the carbon off with your wife's toothbrush and rag:


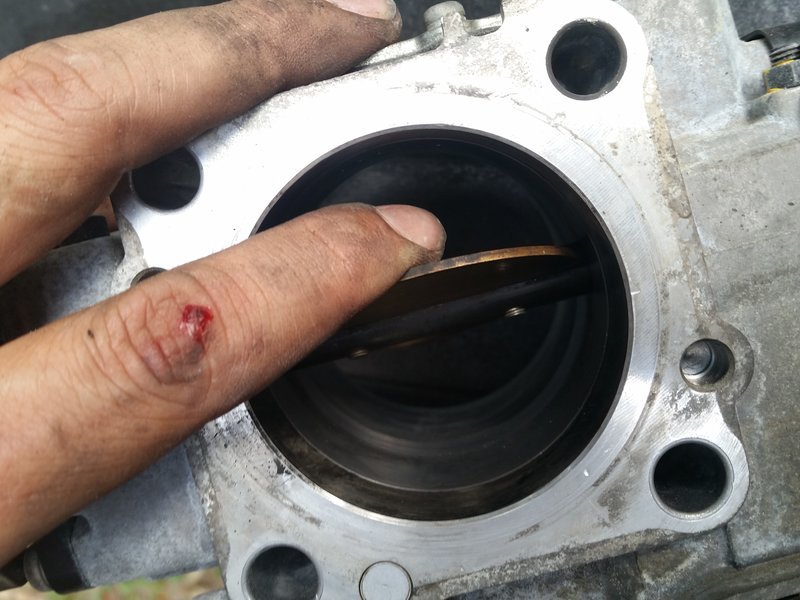
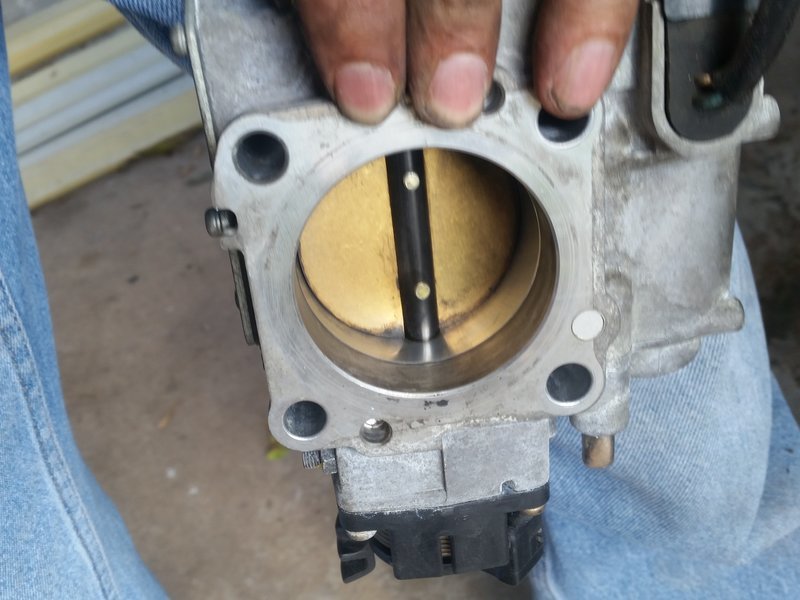
Carefully rotate the "door" to make sure all the carbon buildup has been cleaned out.

If you aren't bleeding, you aren't done:


Once you are satisfied with the removal of carbon, installation is reverse of removal.


Members online

Forum statistics

Threads
278,316
Messages
3,554,120
Members
248,016
Latest member
Advally Service

Trending content

Back
Top