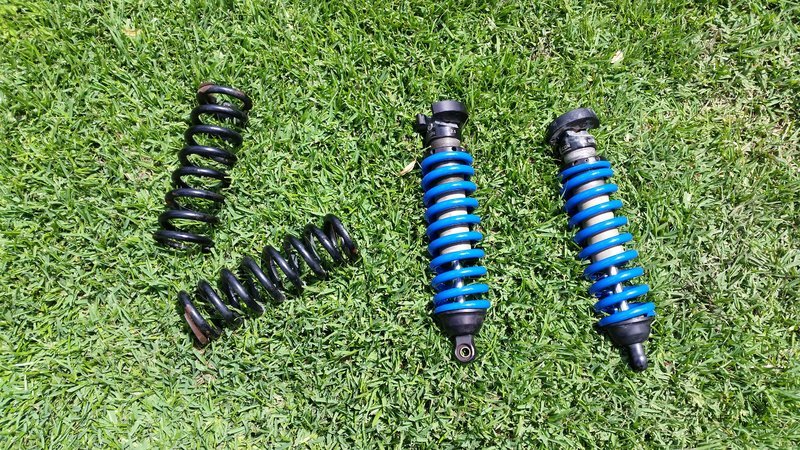
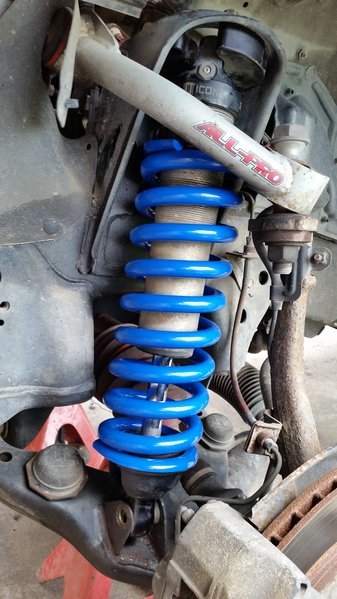
ramonortiz55 4runner build: La Venenosa

The illumination bulbs were out on my AC controls, ECT, rear window button, rear defroster, and power point.

This is a write up on the step by step process I took to replace the bulbs.

My research was done here:

http://www.toyota-4runner.org/3rd-gen-t4rs/141615-light-bulbs.html

http://www.toyota-4runner.org/3rd-gen-t4rs/160498-led-dash-lights-faqs.html

http://www.toyota-4runner.org/3rd-gen-t4rs/12565-replacing-lights-behind-c-controls.html

http://www.toyota-4runner.org/3rd-gen-t4rs/13845-climate-control-light.html

http://www.toyota-4runner.org/3rd-gen-t4rs/132012-write-up-climate-control-dash-bulbs-2000-limited.html

http://www.toyota-4runner.org/3rd-gen-t4rs/151858-revisit-auto-climate-control-back-lights.html#post1498072

***************************************************************************

After reading thru those threads, I determined I needed the following part numbers. These are for a 2001 4runner, the bulbs for other 4runner generations might be different.

2001 4runner limited climate control light bulbs:

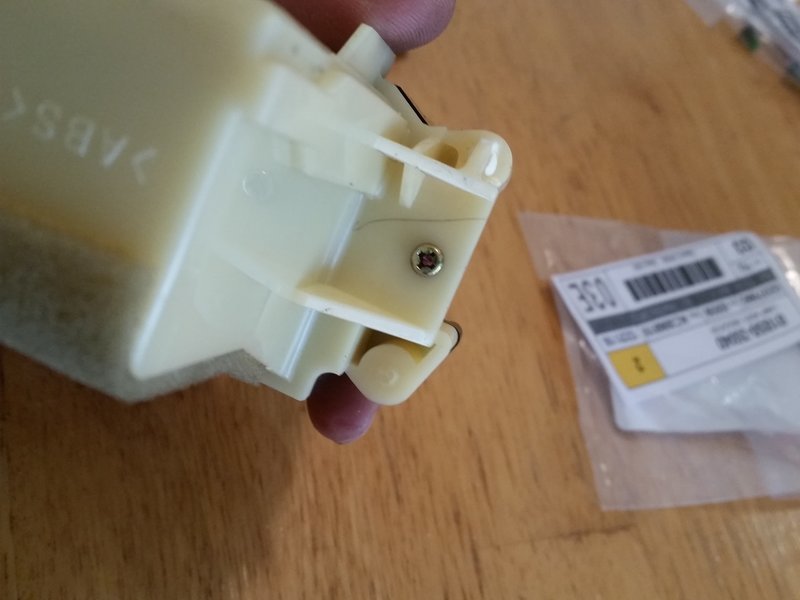
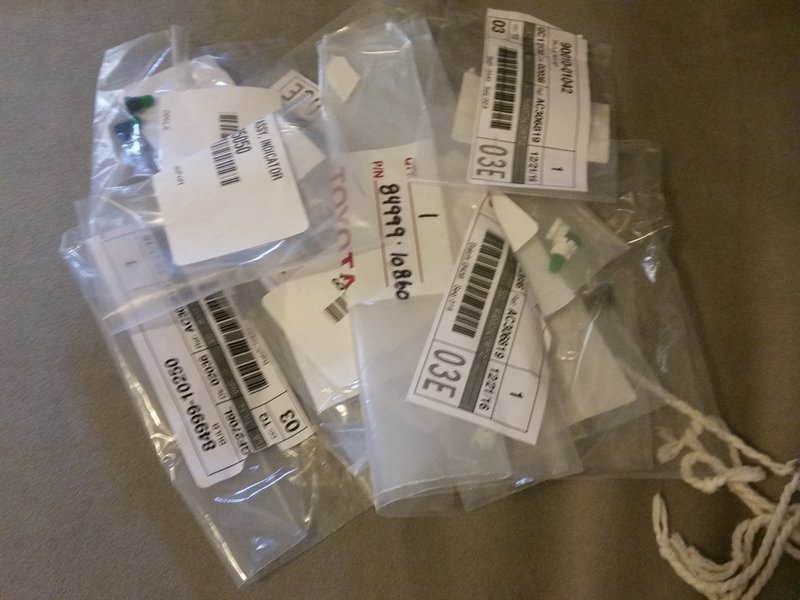
Part Number #81850-35050 - 2 Total
Part Number #81850-35040 - 2 Total

Hazard control light bulb:

Part Number #84999-10860 - 1 Total

ECT and Defroster light bulb:

Part Number #90010-01041 - 1 Total

Rear window roll down:

Part Number #90010-01042 - 1 Total

Cigarette lighter:

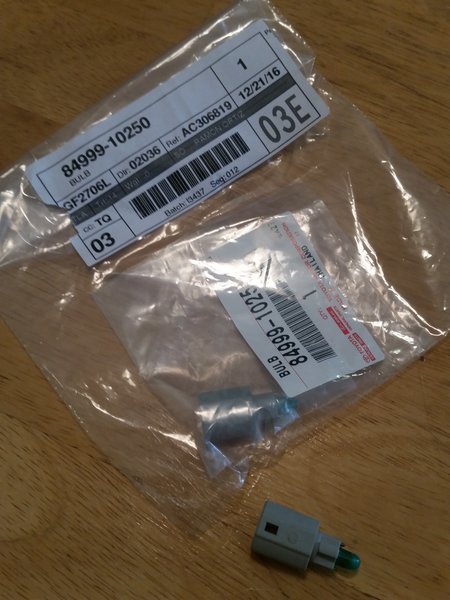
Part Number #84999-10250 - 1 Total

***************************************************************************

Ordered all my bulbs from Camelback Toyota:


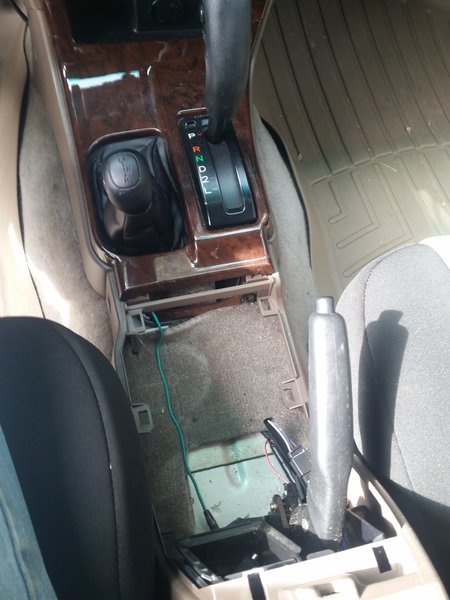
Removing the center console cup holder, this is done by tugging it off:
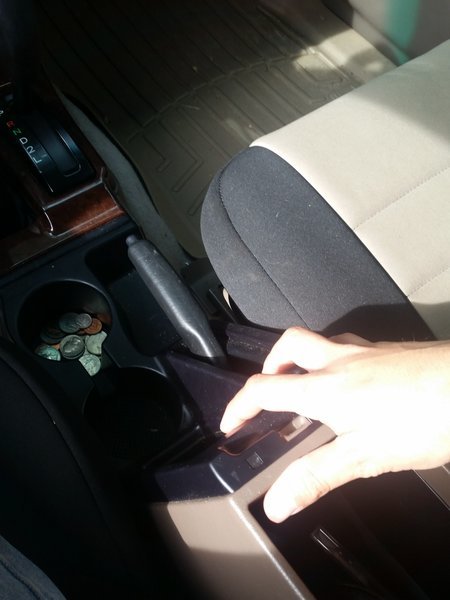


Then removing the shifter surround:
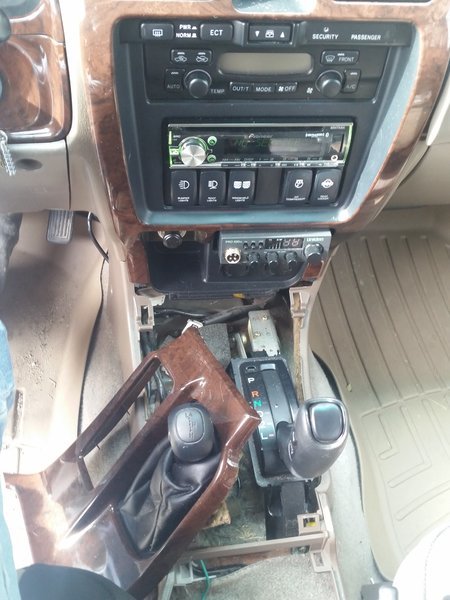


Next, the radio surround is removed, gently pry it away from the dash:
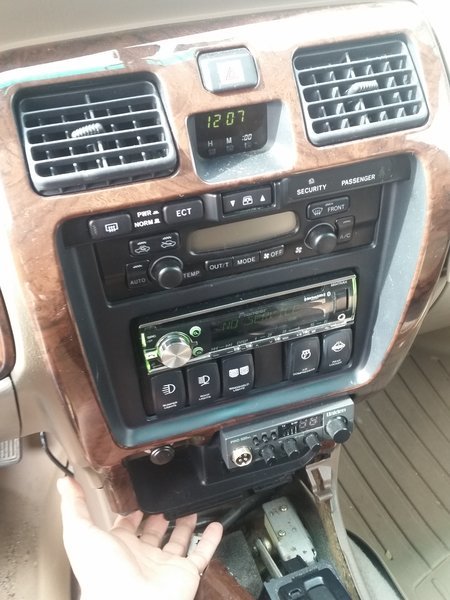


Pull it out slowly to reveal the plugs by the ac vents:
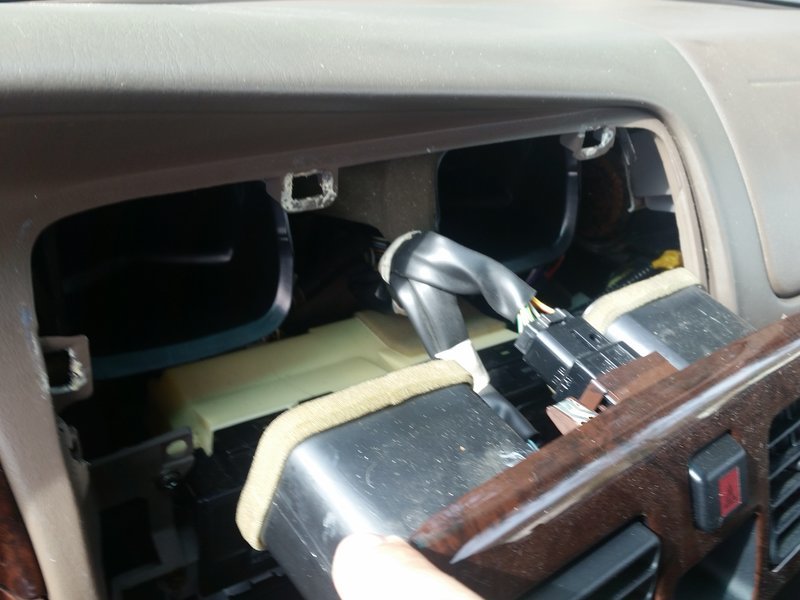


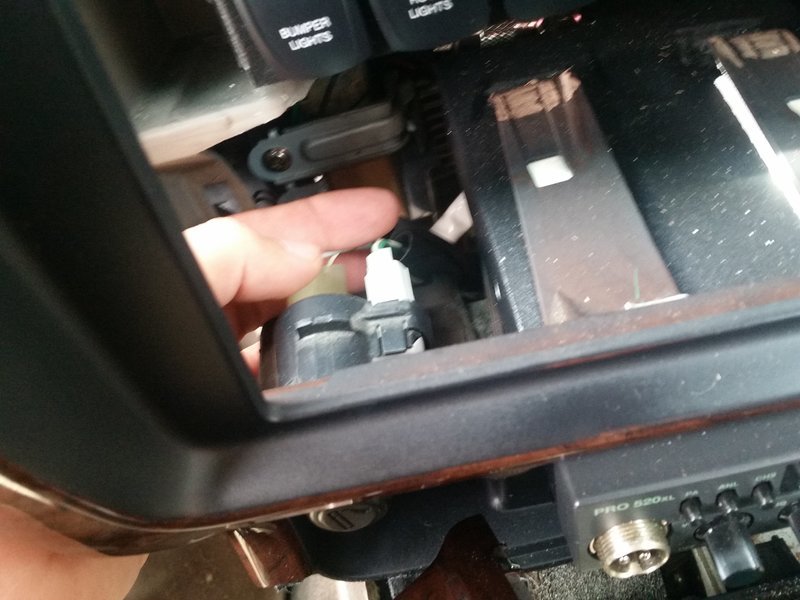
Unplug the power point plugs:
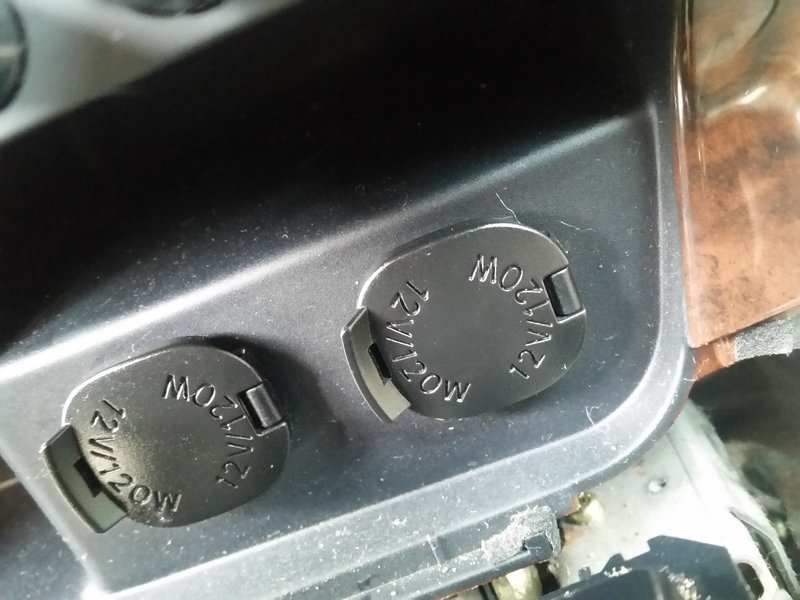


Once the power point plug connector has been removed, locate the bulb - it is the gray end of the power point:
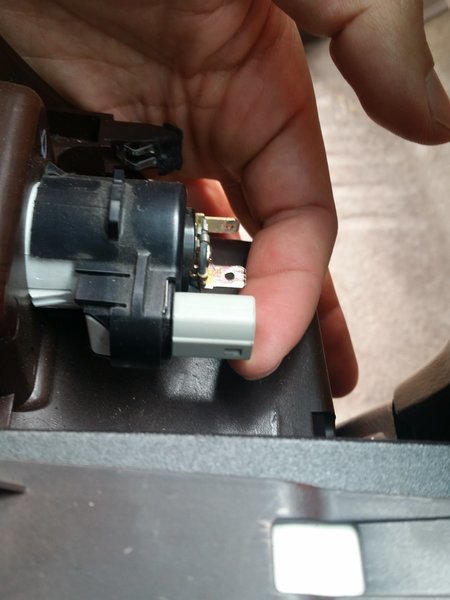


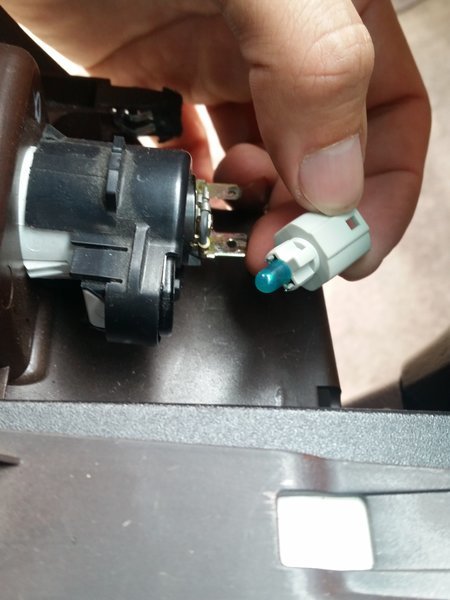
Twist to remove:


Next, I removed the hazard switch:
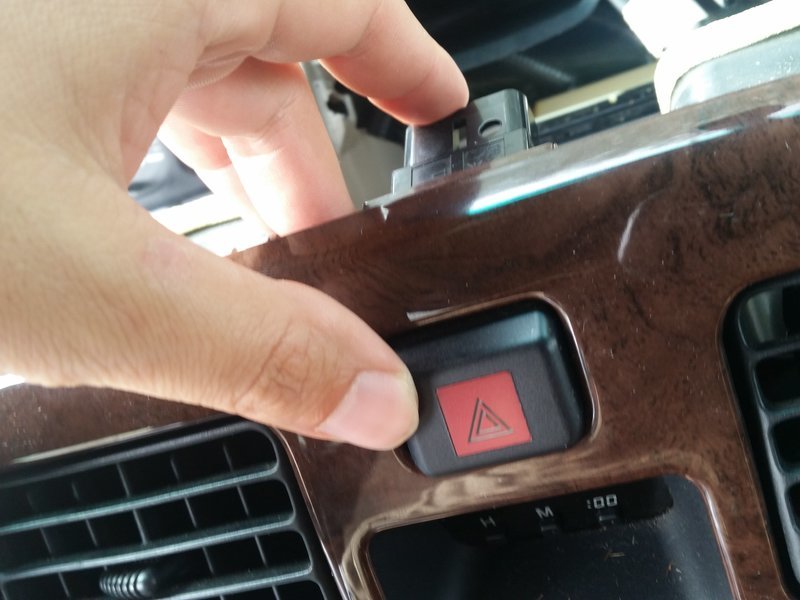


This is done by releasing the side tabs:
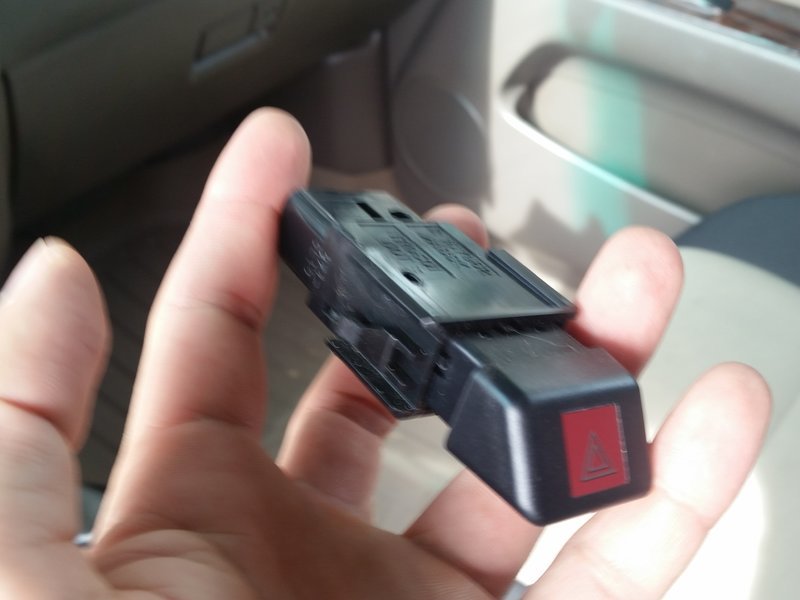


Next, I removed this portion:
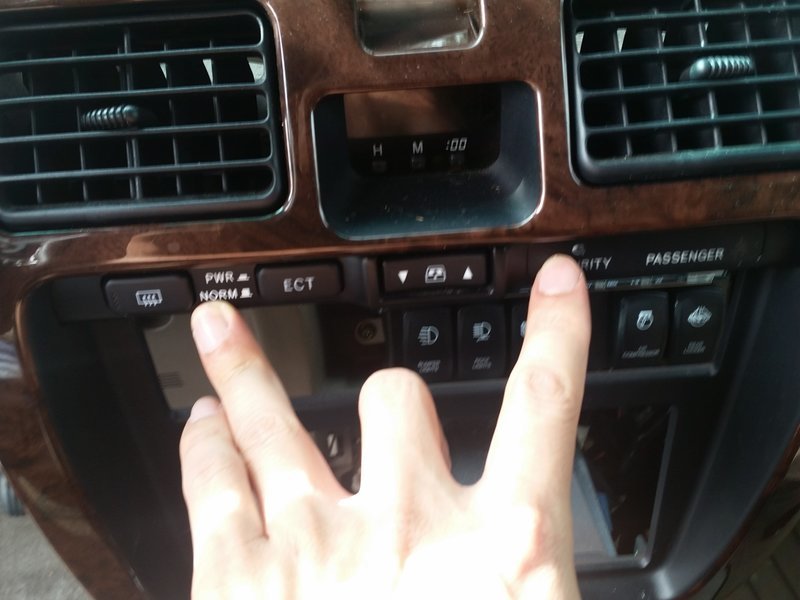


This is done by releasing tabs at the ends AND at the top center:
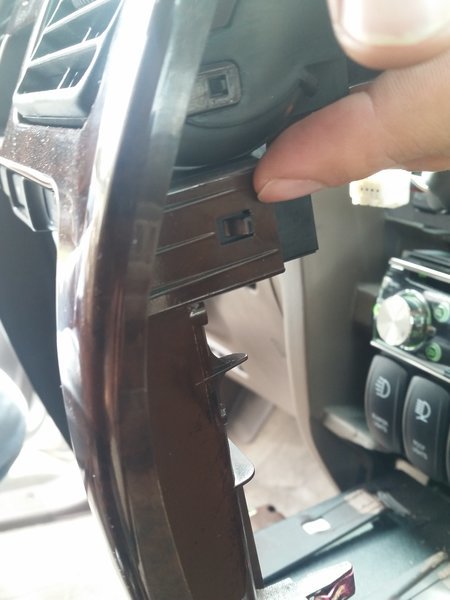


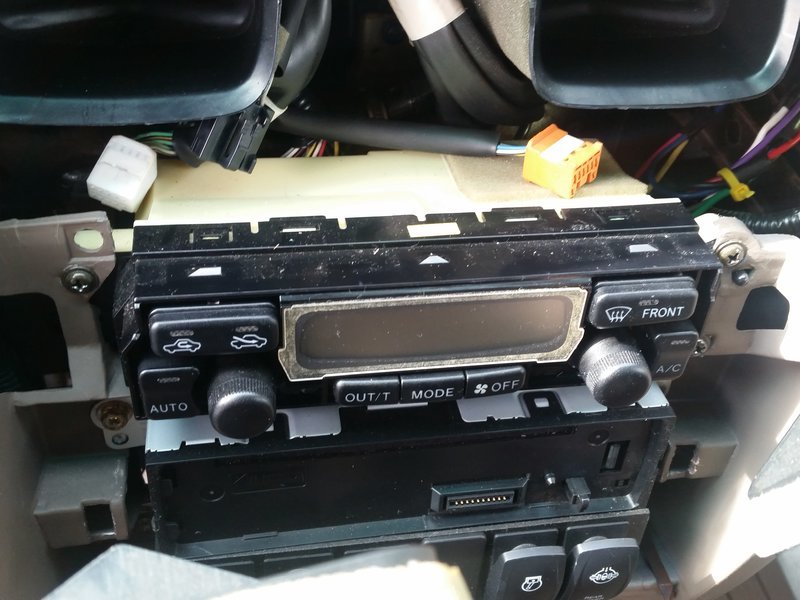
Next I removed the AC controls faceplate, tabs are on top. This is very flimsy, so careful:
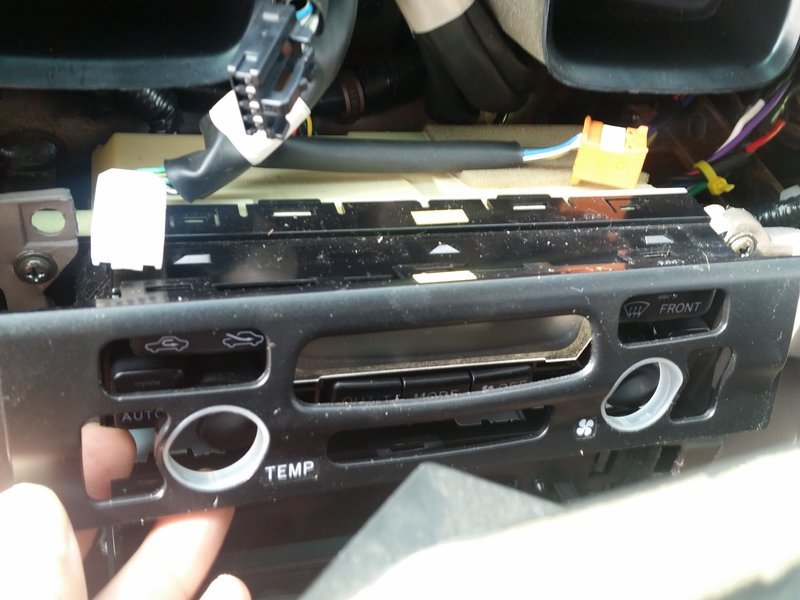


I then removed the screws that hold in the AC control unit, disconnected the rear plugs and pulled it out:
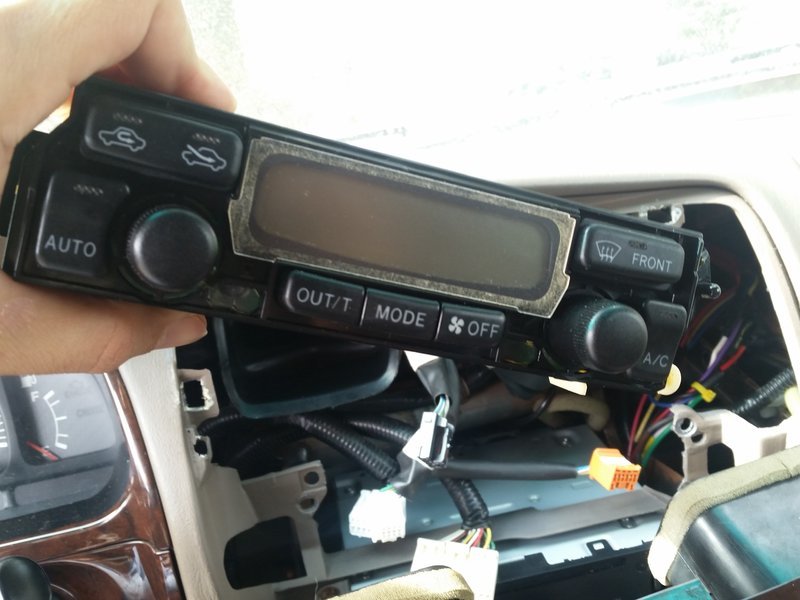
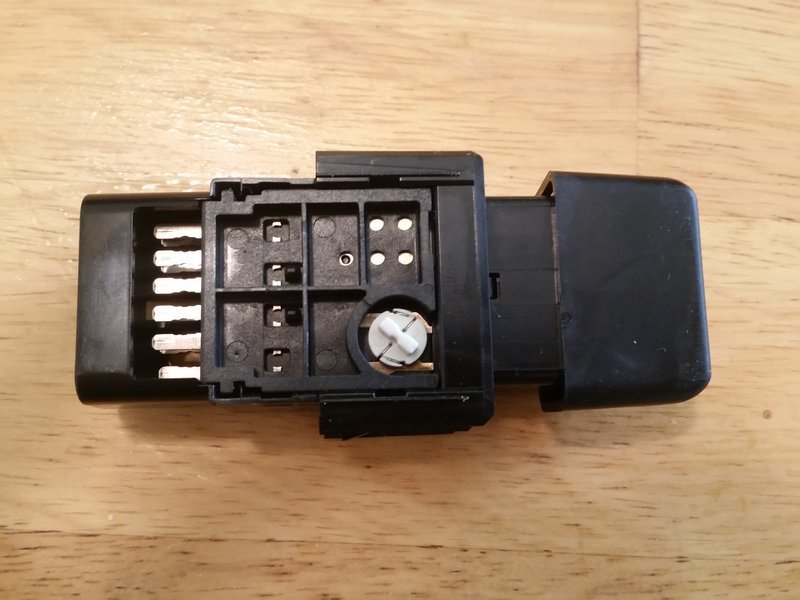
 
At this moment, I went ahead and installed the power point bulb:


Time for some surgery. Hazard switch:


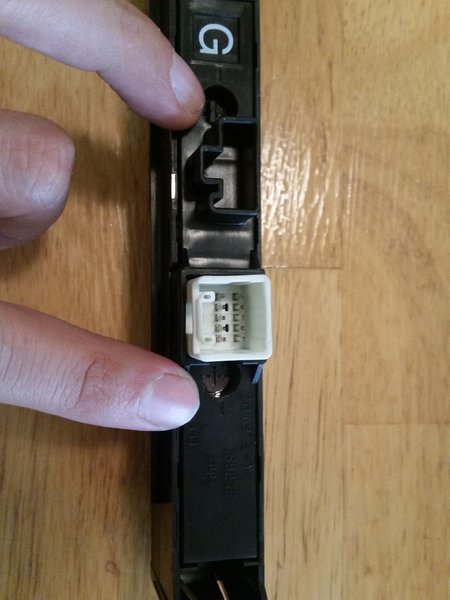
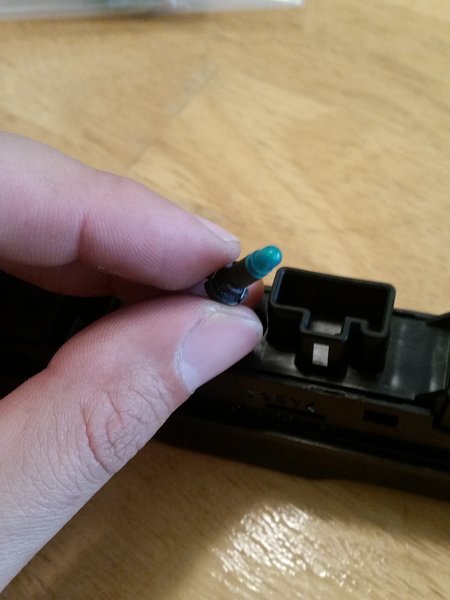
Twist and pull out the bulb, replace with new one:


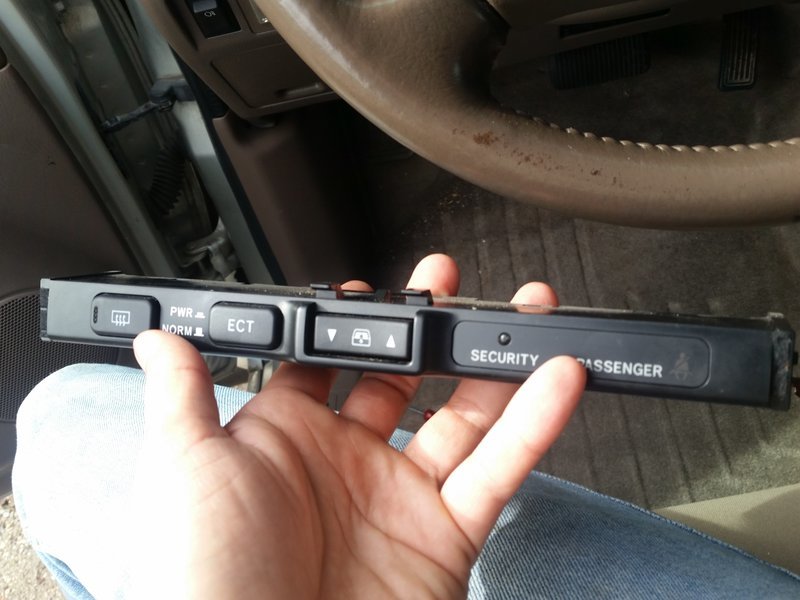
Now the strip, this has two bulbs. One for defroster and ECT, another bulb for the rear window switch:


A needle nose pliers will allow the removal of one of the bulbs.


To remove the other, the backing must be removed, a small flat head screwdriver helps here. I then removed the other bulb and replaced it.


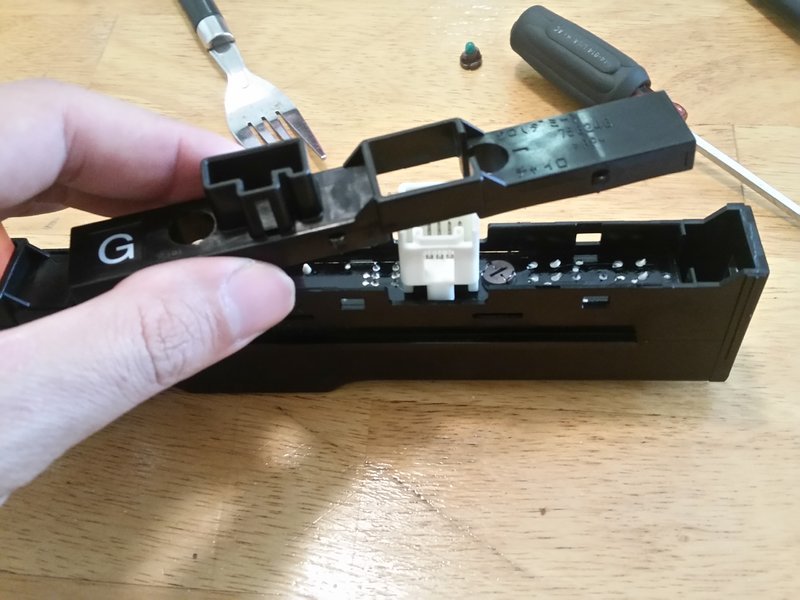
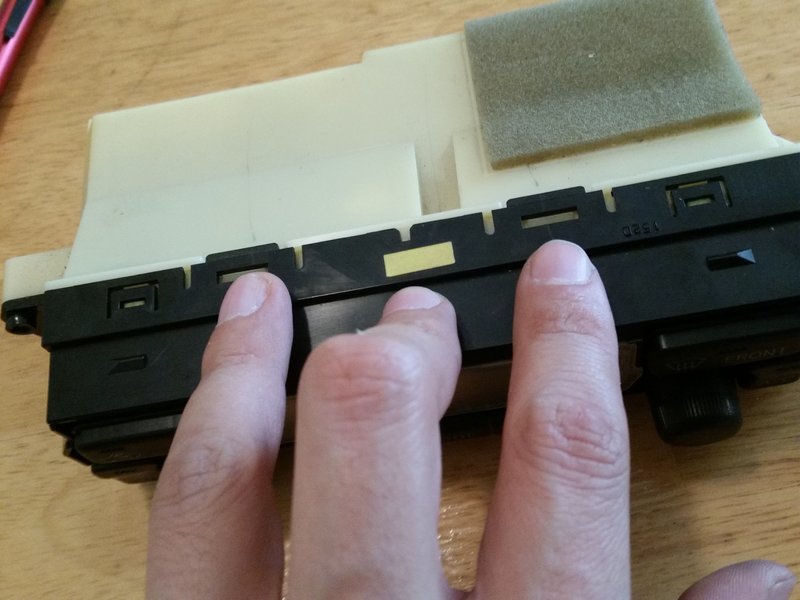
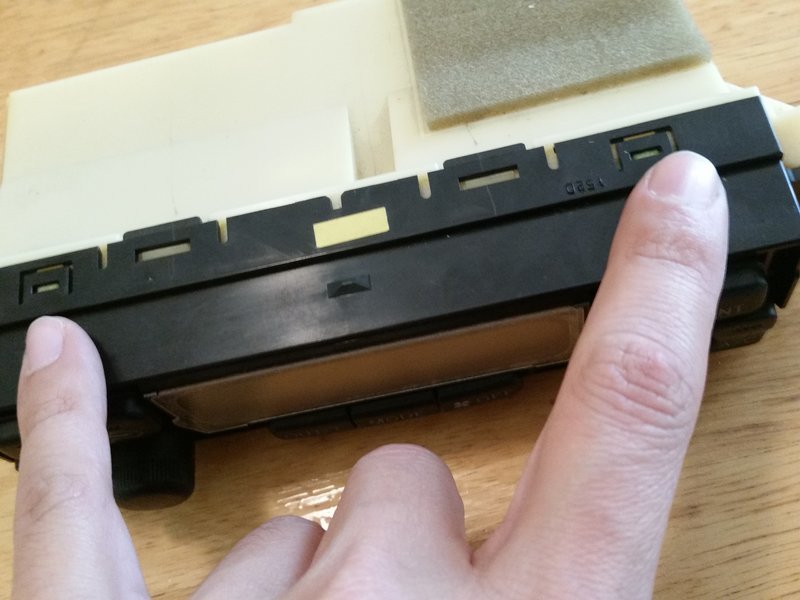
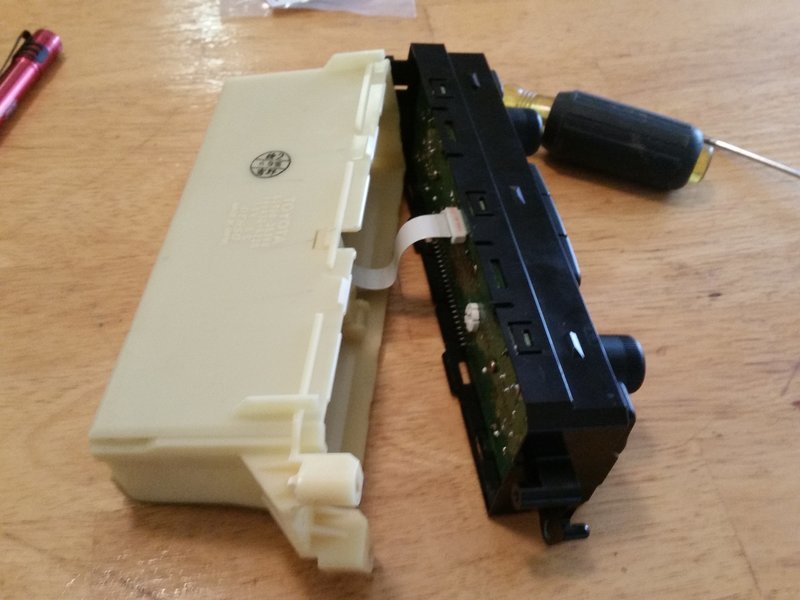
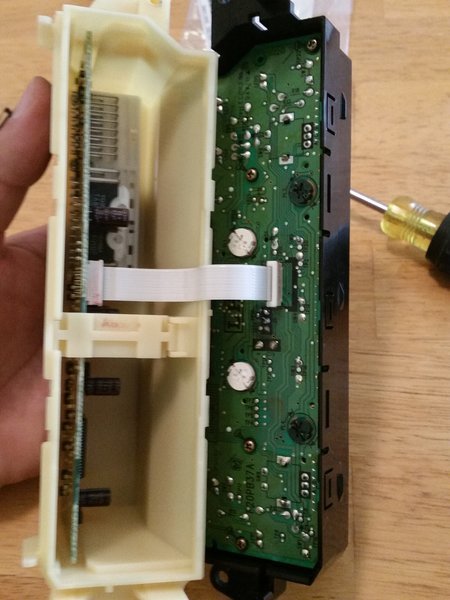
Next step of the surgery was to open the front of the AC control unit. I removed two screws. FOUR tabs need to be released on the top and bottom. Forks or toothpicks help keeping tabs open while I worked on other tabs.


Carefully opened the AC control unit..


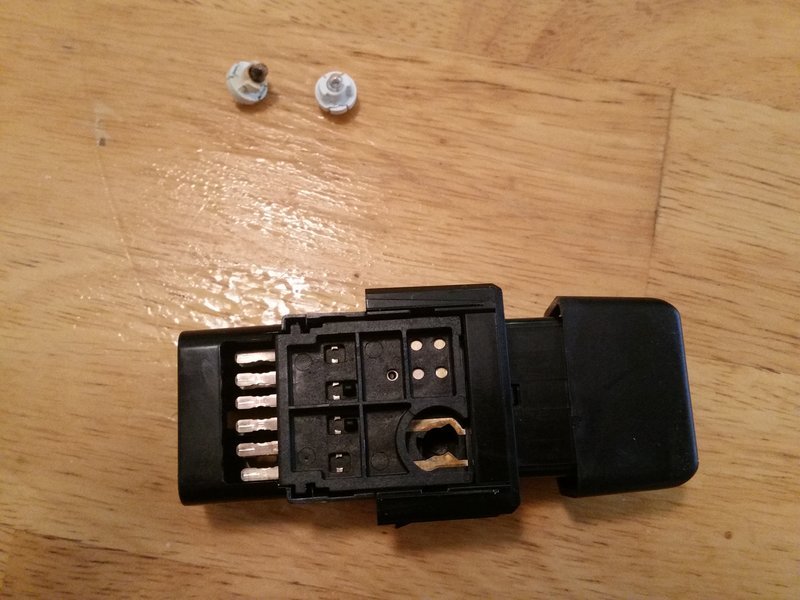
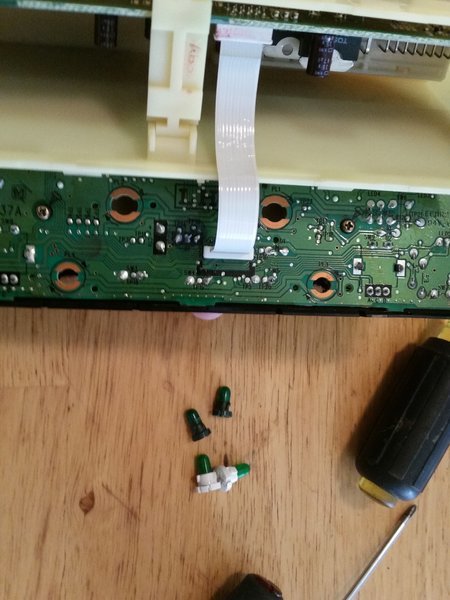
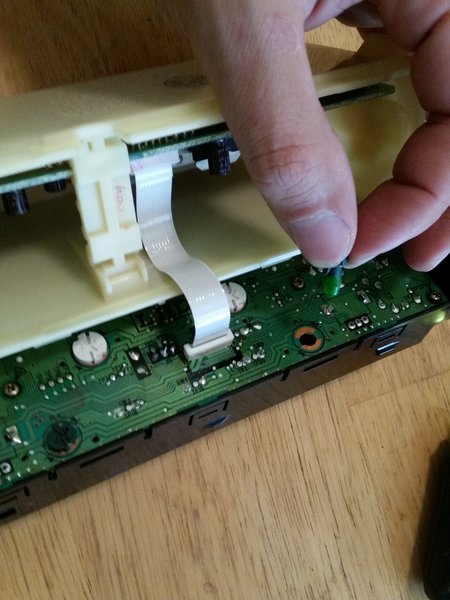
Bulbs removed and replaced:


I then assembled the AC control unit together.

Reinstalled everything back together.

Finally have all my illumination working properly!
 
Decided to do a detailed writeup for swapping the valve cover gaskets on my 2001 4runner.

This job took me nearly two days - It was my first time doing this and I do like to take my time while working on cars. I've been known to start working on a car, leave it alone and come back and finish it a few days later. LOL.

I know some of you are not as patient as me, I just am never in a rush when working on cars.

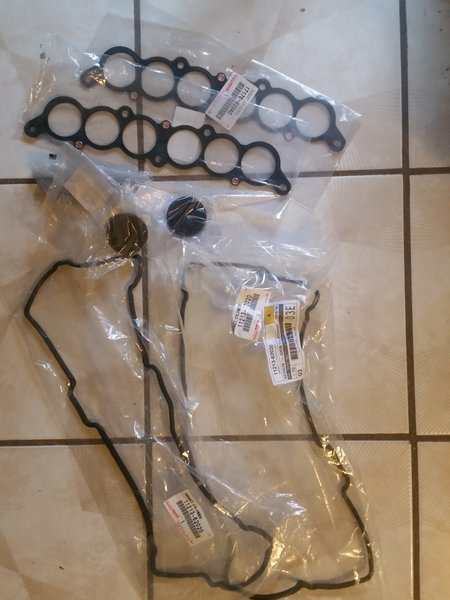
So this it the list of items needed with Toyota Part numbers:

1. Valve cover gaskets - Part #11213-62020 - 2 Total
2. Spark Plug Tube gaskets - Part #11193-16010 - 6 Total
3. Intake Plenum Gaskets - Part #17176-62040 - 2 Total
4. Washer Seals - Part #90210-05007 - 16 Total
5. Camshaft Plugs - Part #11188-62010 - 2 Total
6. Halfmoon Plugs - Part #11183-62010 - 4 Total
7. PCV Valve Grommet - Part #90480-18001 - 1 Total
8. Toyota FIPG seal packing - Part #00295-00103 - 1 Tube

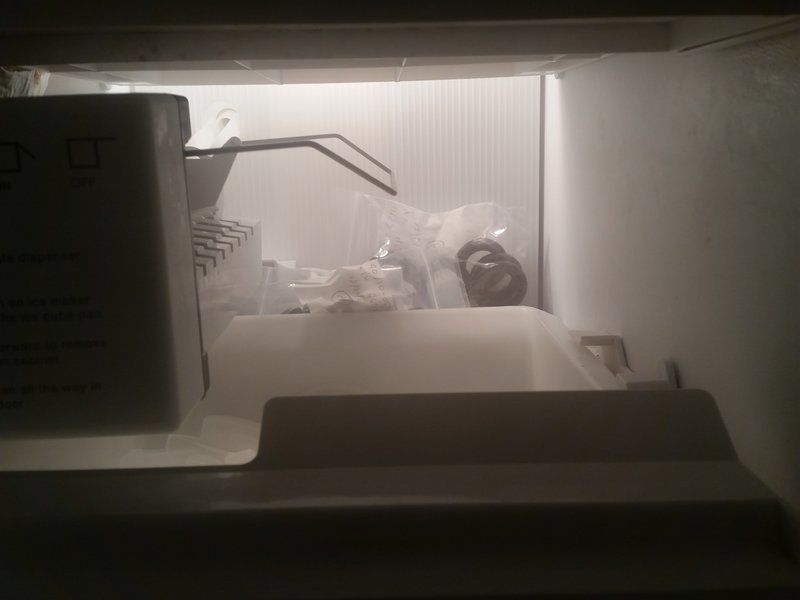
**Throw the PCV Valve Grommet and Spark Plug Tube Gaskets in the Freezer a night before. I will explain why later**

Mandatory parts picture:


My research links:

http://www.toyota-4runner.org/3rd-gen-t4rs/91765-valve-cover-gasket.html

http://www.toyota-4runner.org/3rd-g...e-cover-gasket-replacement-part-s-n-pics.html

http://www.yotatech.com/f2/5vzfe-leaky-valve-covers-fixed-56k-beware-149594/

http://www.toyota-4runner.org/3rd-gen-t4rs/109197-valve-cover-gasket-replacement-job.html

Now let's tackle this job!

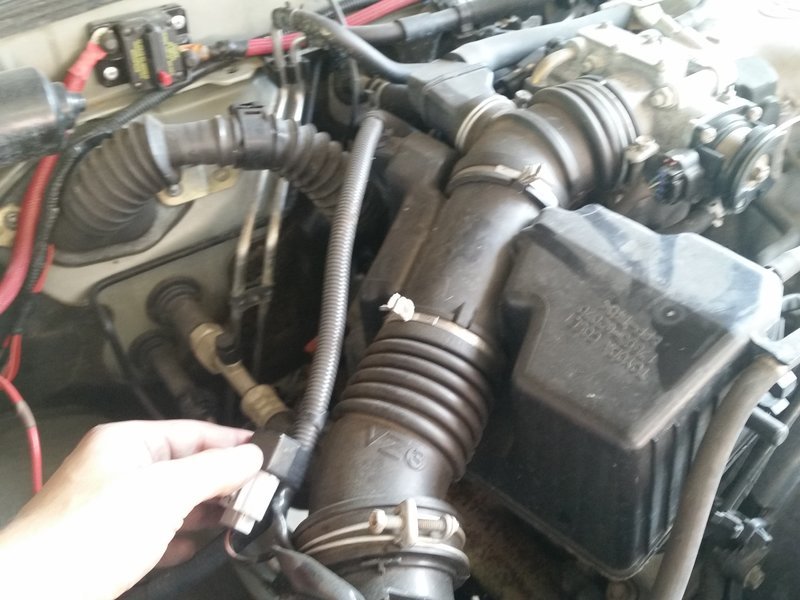
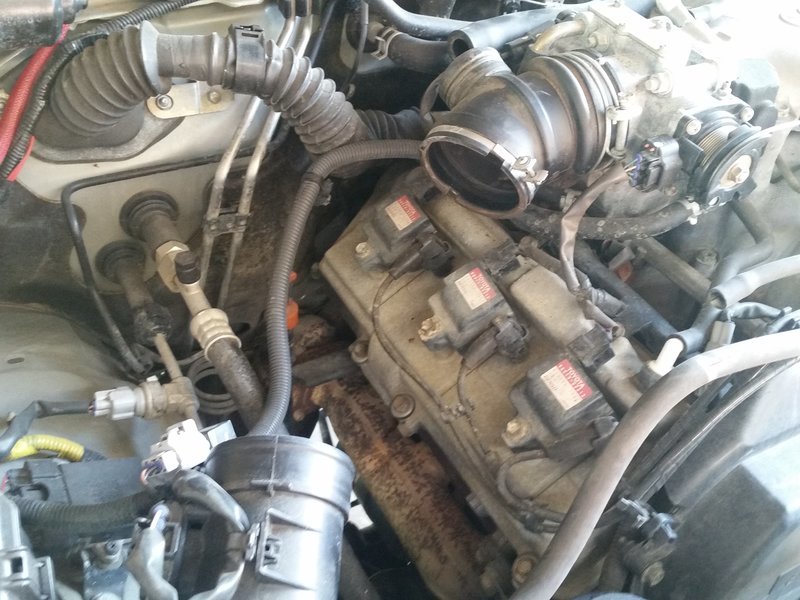
First step is removing the airbox assembly, loosen airbox bolts and straps:


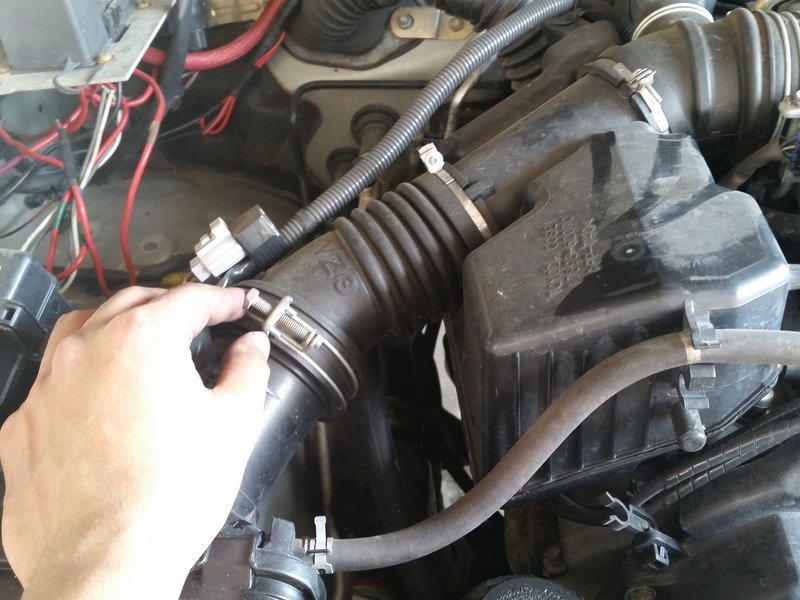
unplug mass airflow sensor and any other connectors in the vicinity:


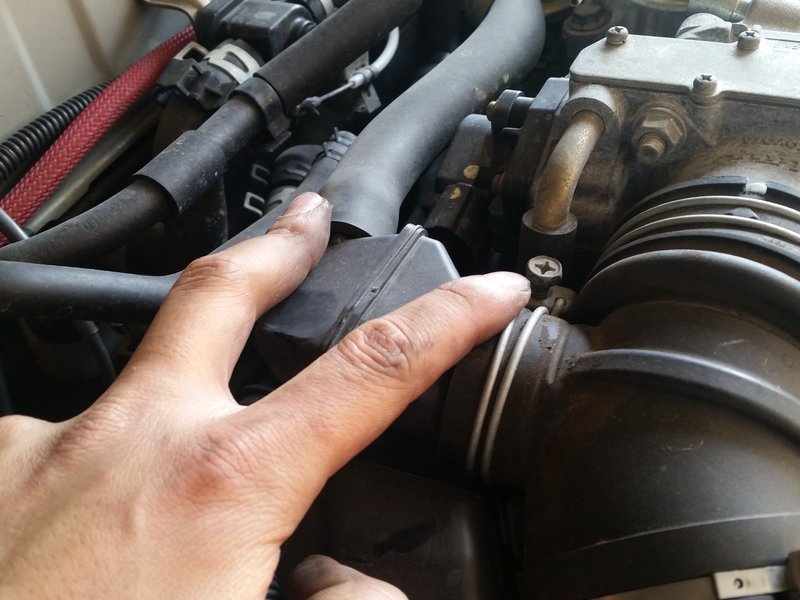
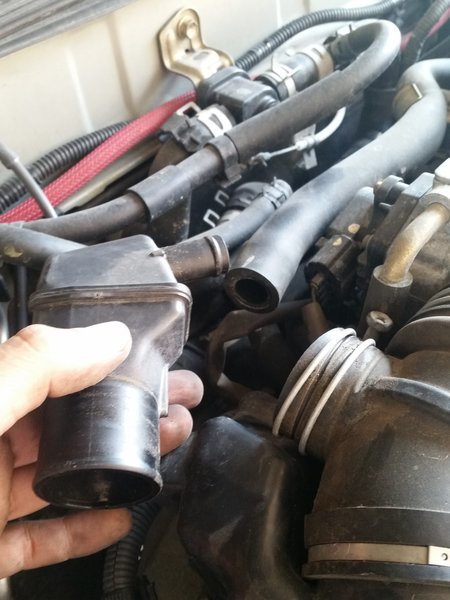
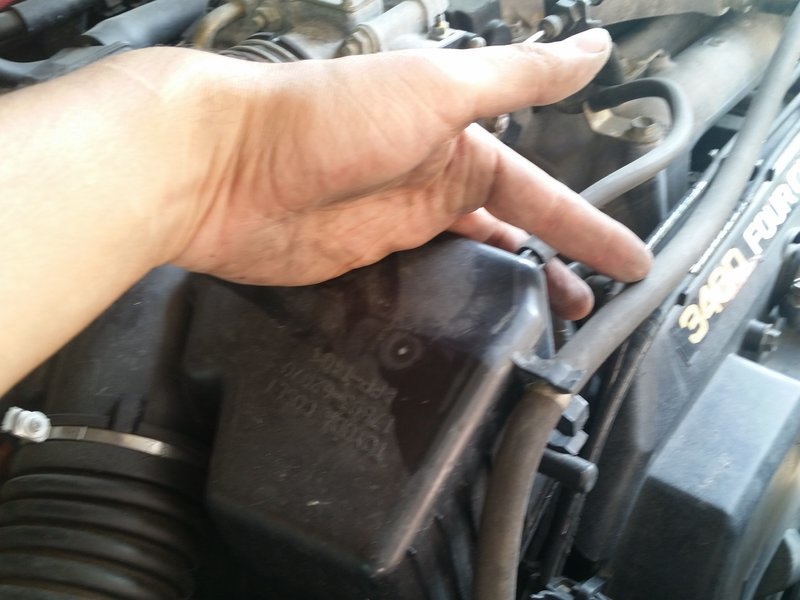
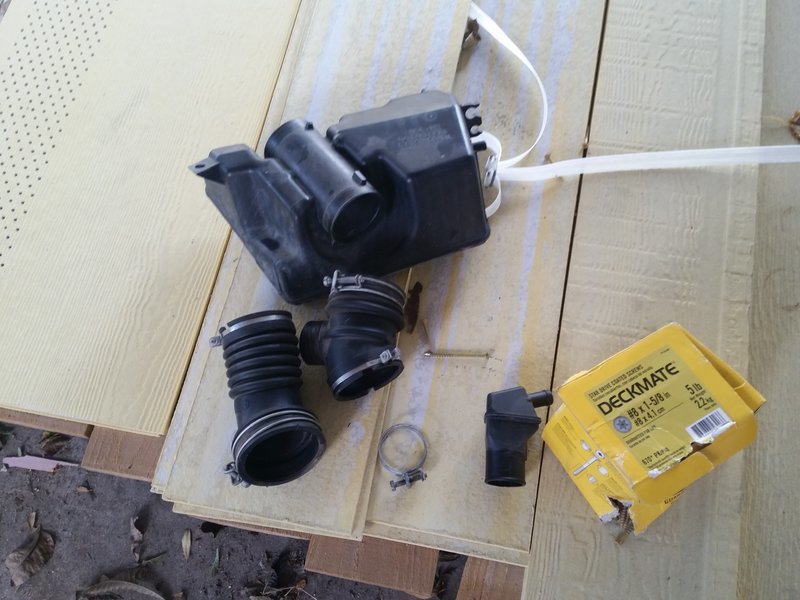
There will be a smaller airbox towards the firewall with some airlines connecting into it, remove the airhoses and the small airbox:


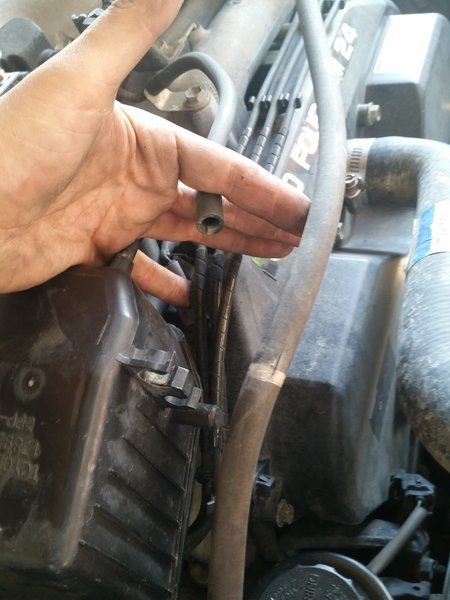
Don't forget the airhoses that run towards the front of the engine towards the piping of the airbox:


Loosening these thinner clamps will help removing the piping to the airbox:


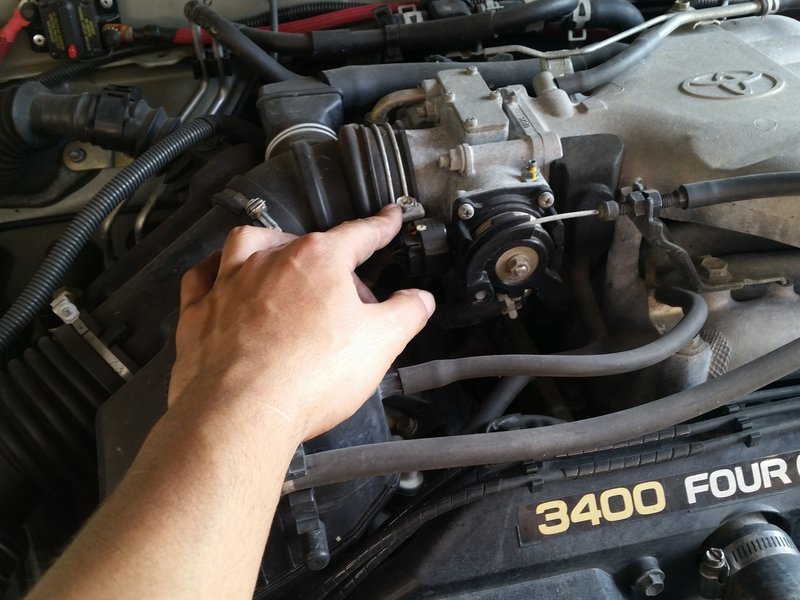
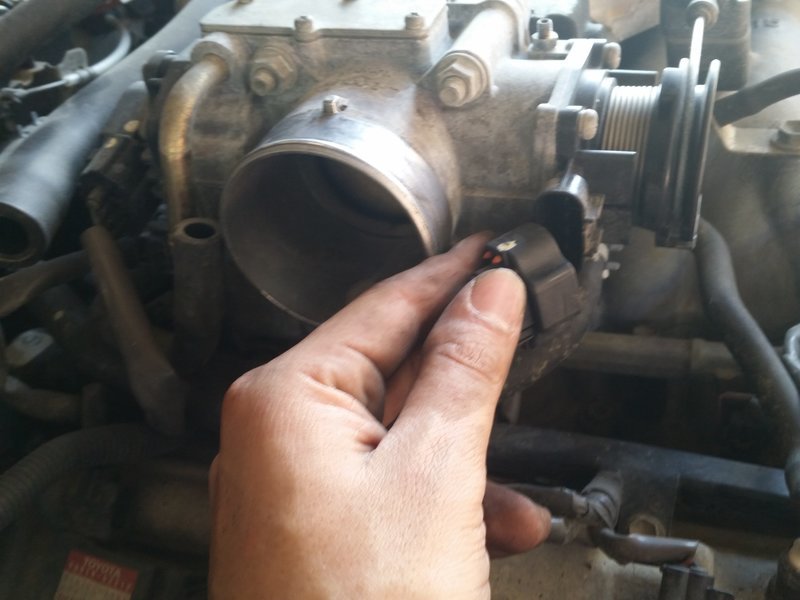
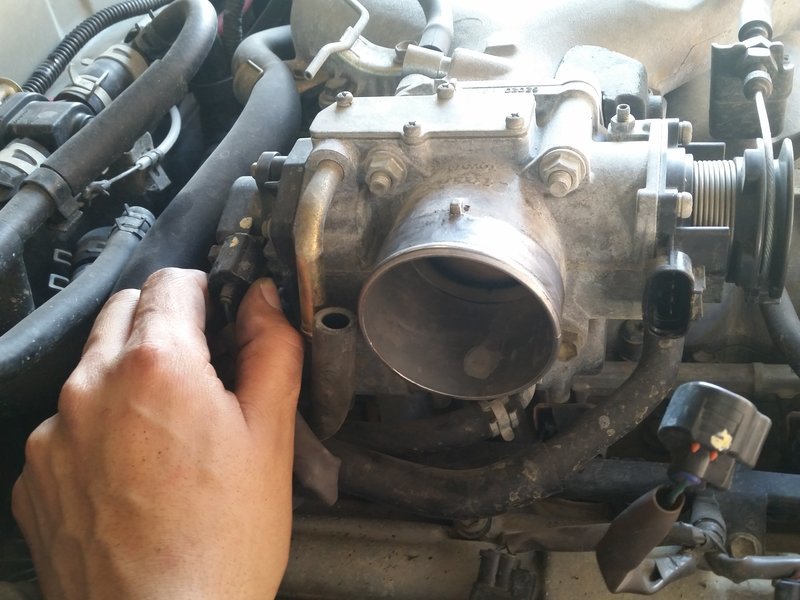
Remove another plug, this one is right besides the accelerator cable:


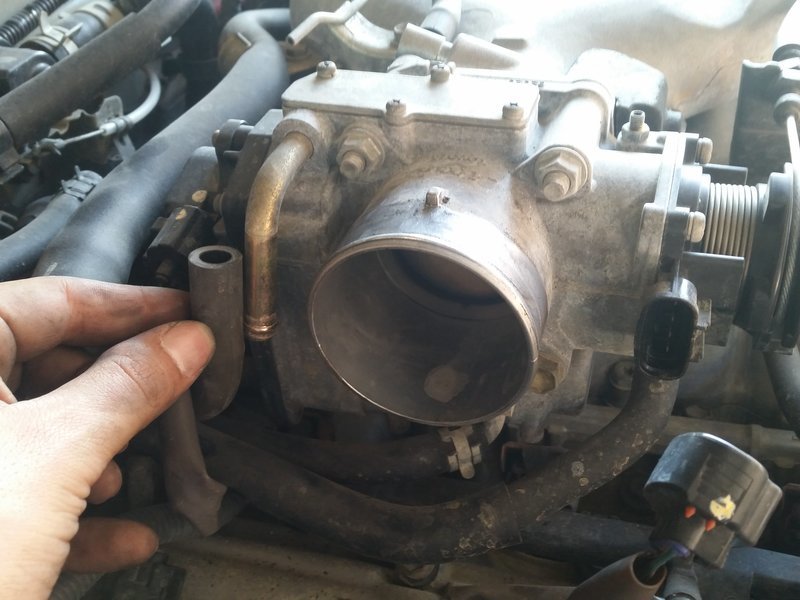
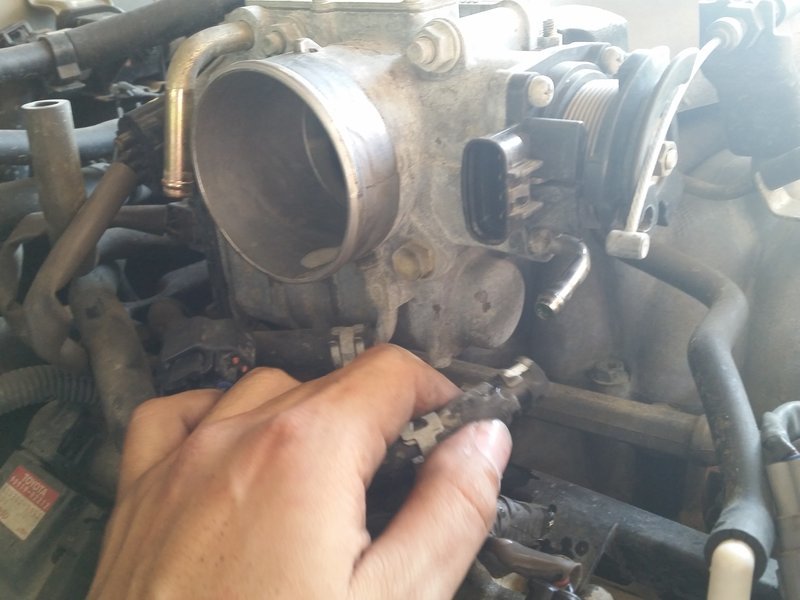
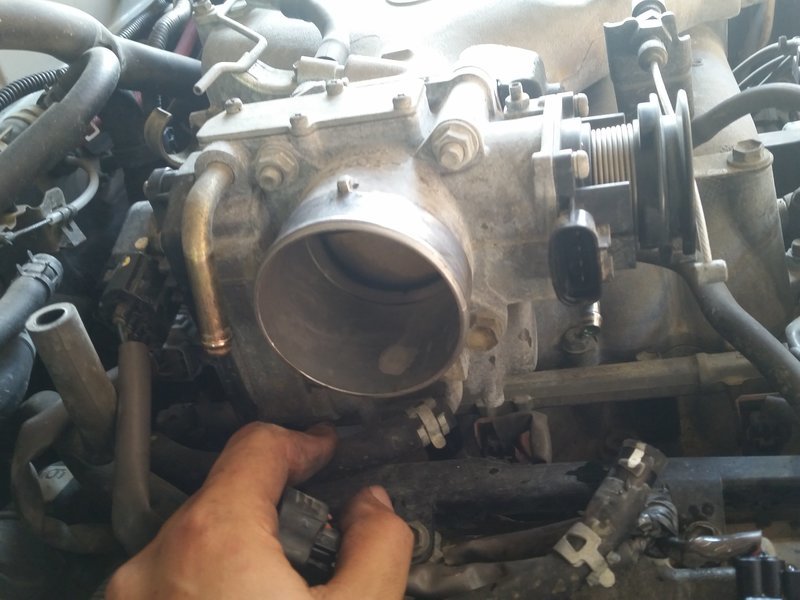
Three cooling lines will be feeding into the throttle body, these can be removed also:


Another plug:


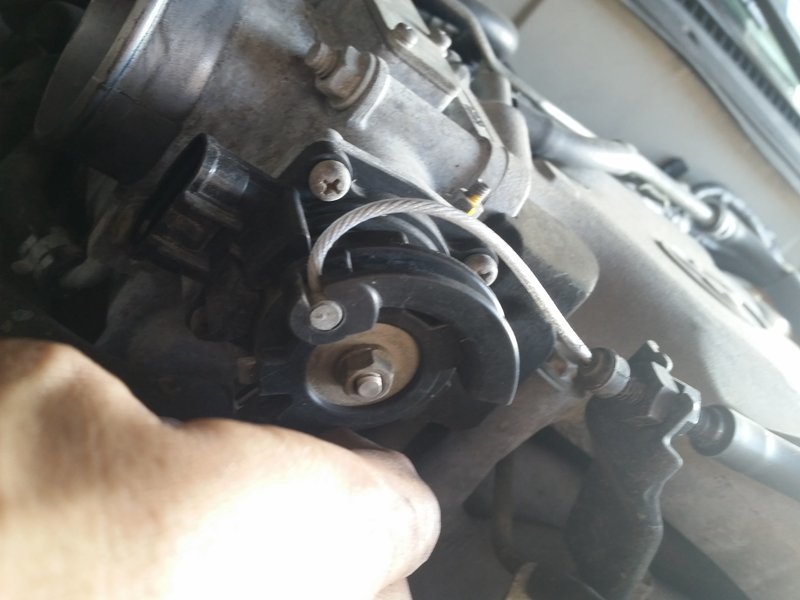
Remove the accelerator cable off the throttle, this can be done by clocking the body of the spring and sliding it out carefully:


Another picture of everything removed:


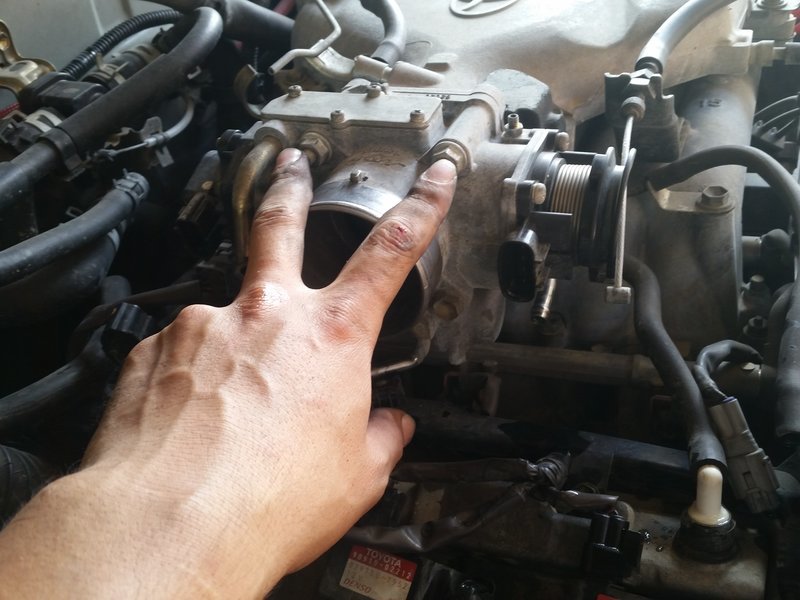
Remove the two top nuts that are holding the throttle in position:


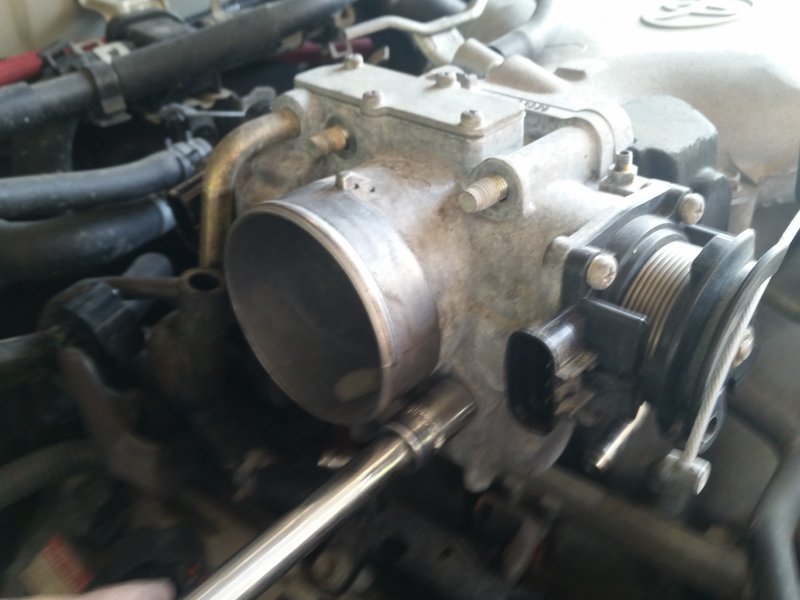
Now remove the bottom bolts that are holding the throttle in position:

 
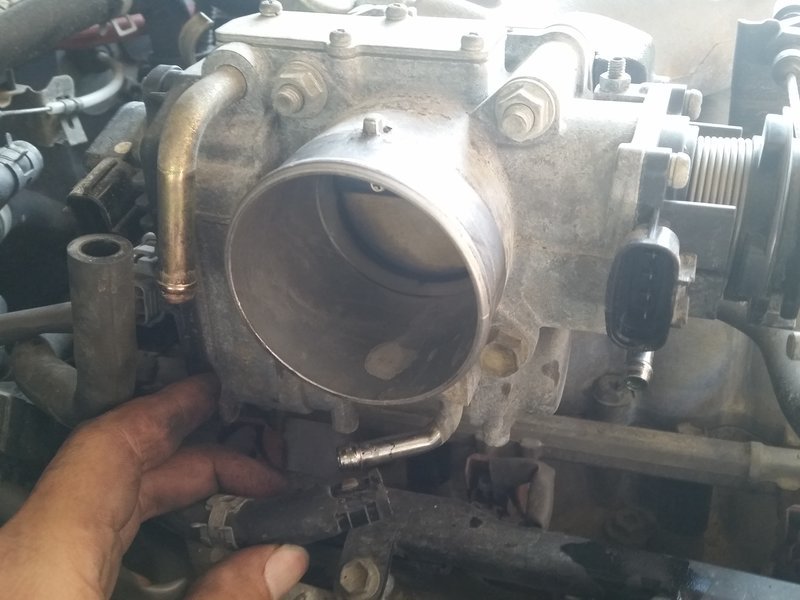
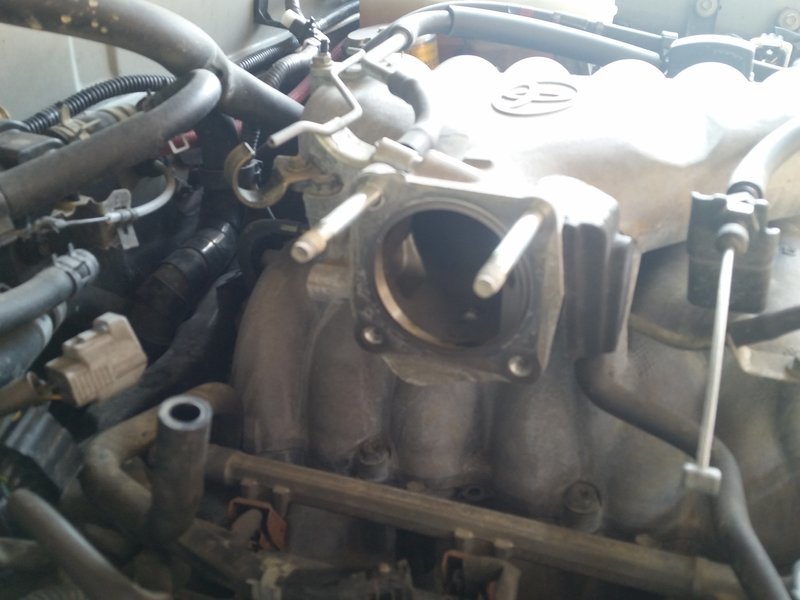
Pull off the throttle gently, pay real close attention how the metal gasket is oriented. It needs to go back the same way or your truck will explode:


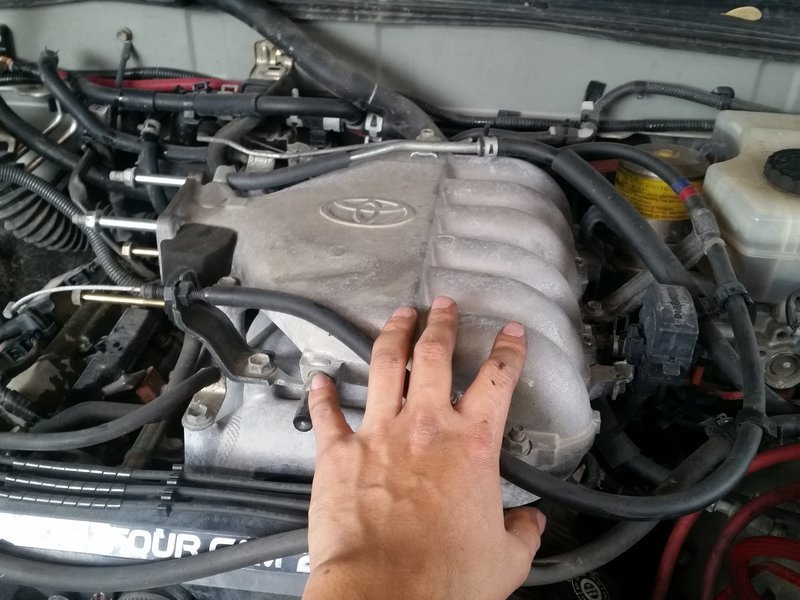
Next, we will remove the upper intake manifold. Make sure to give it a good stare before you start. Nice, hard, evil stare. You're going to own that intake manifold. It's yours. Touch it. Feel it. Be the Manifold:


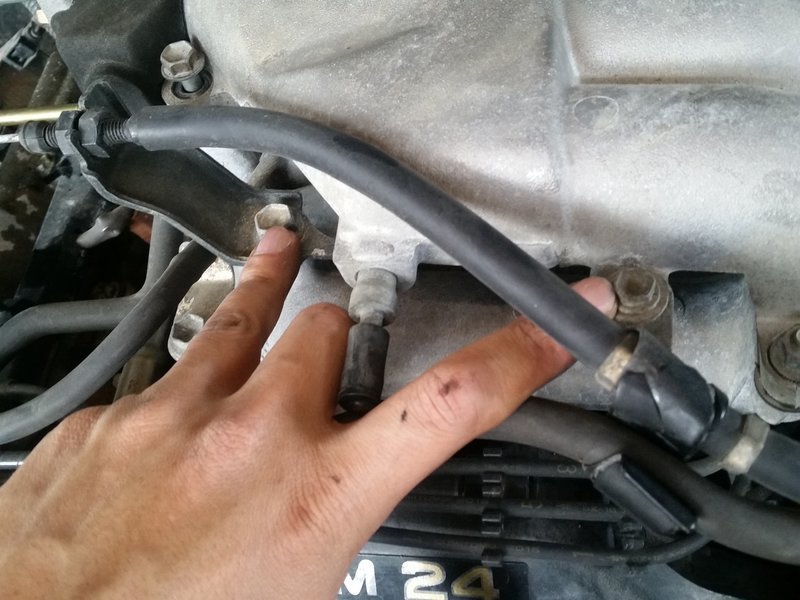
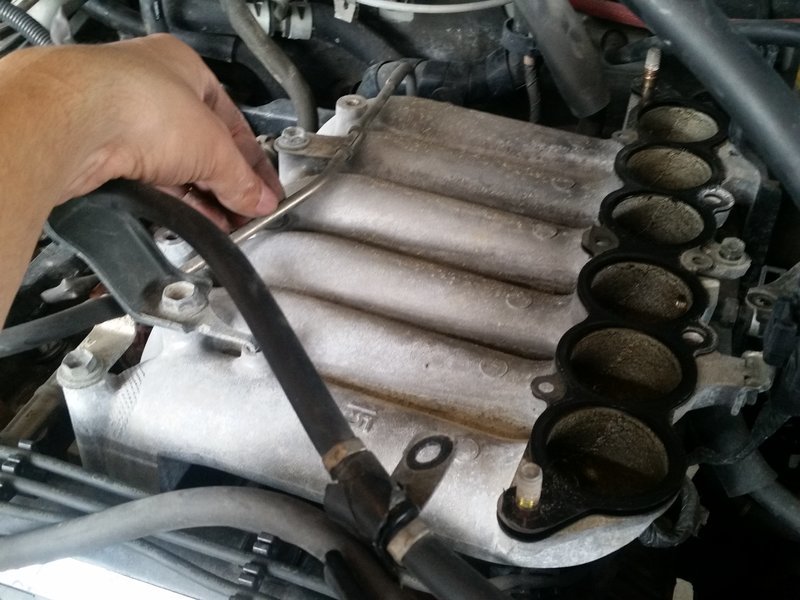
To remove it loosen these brackets that hold the speedometer cable:


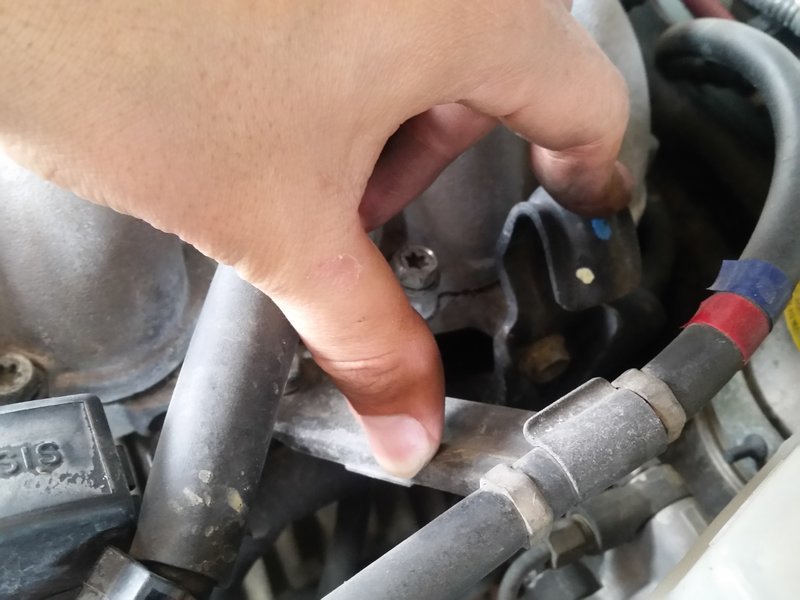
and these other brackets that are on the driver's side of the manifold. (the bracket with the blue paint might need to be removed from the other end if you cant fit a ratchet at the upper bolt):


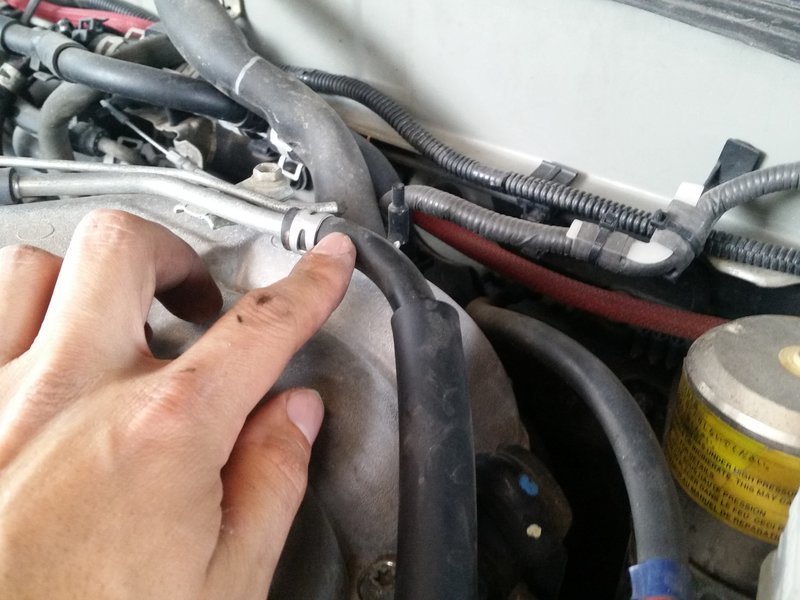
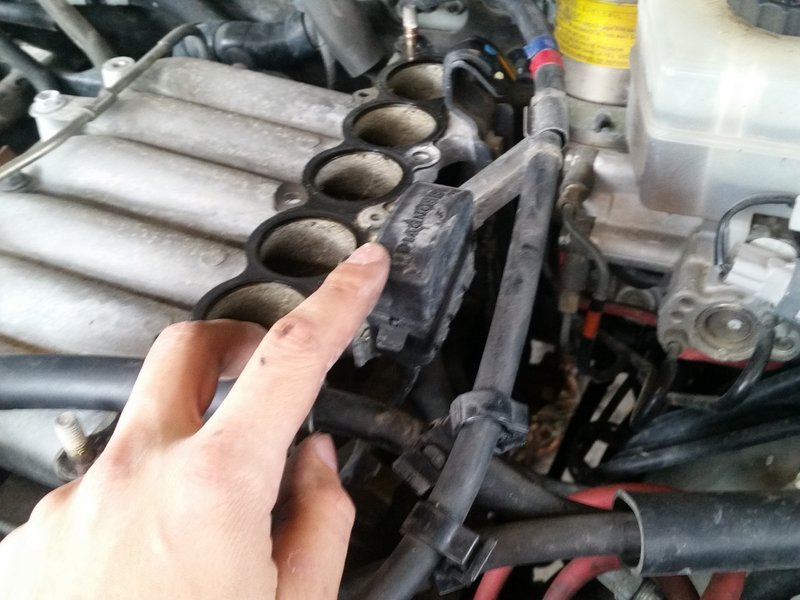
disconnect this hose at the far end of the manifold, on top:


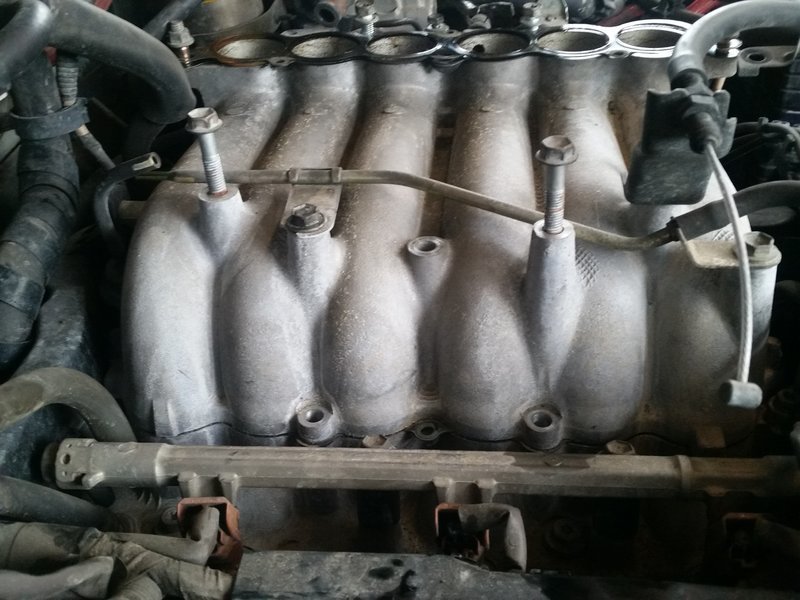
Next, remove all the other bolts that hold down the intake manifold - Not pictured. Manifold should then come off.


Now time to remove the lower intake manifold -

If for some reason you couldn't take the speedometer bracket off due to it being too congested, you can take it off now:


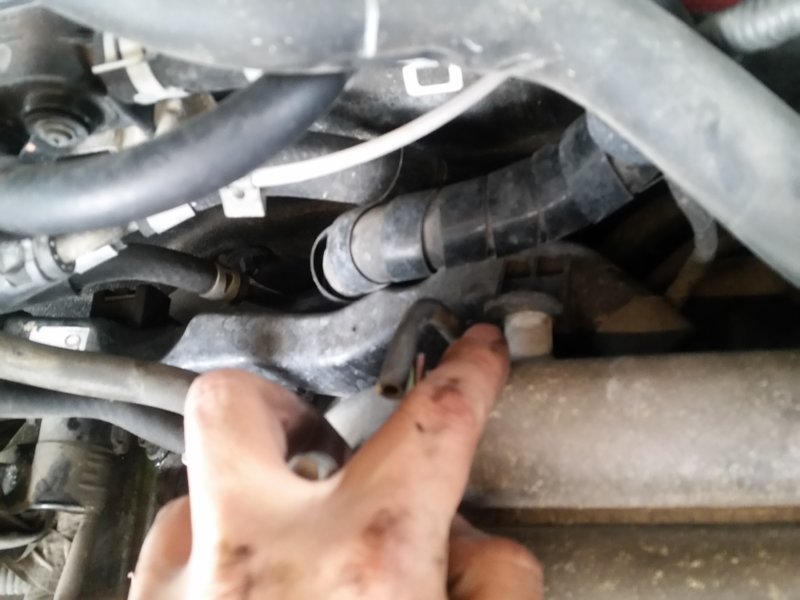
This stainless tubing has hose attached to the ends, take off the hose. I didn't have to remove the tubing itself, just the hose.


Remove the computer diagnostics port that is attached on the driver's side of the manifold:


At the back of the lower intake manifold, there is a bolt holding the wiring harness, remove it.


At this time, the bolts holding the lower intake manifold can now be removed.


Remove the remaining bolts holding the lower intake manifold down:


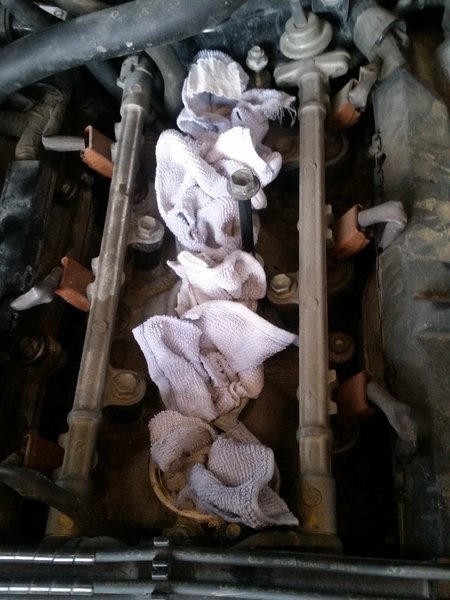
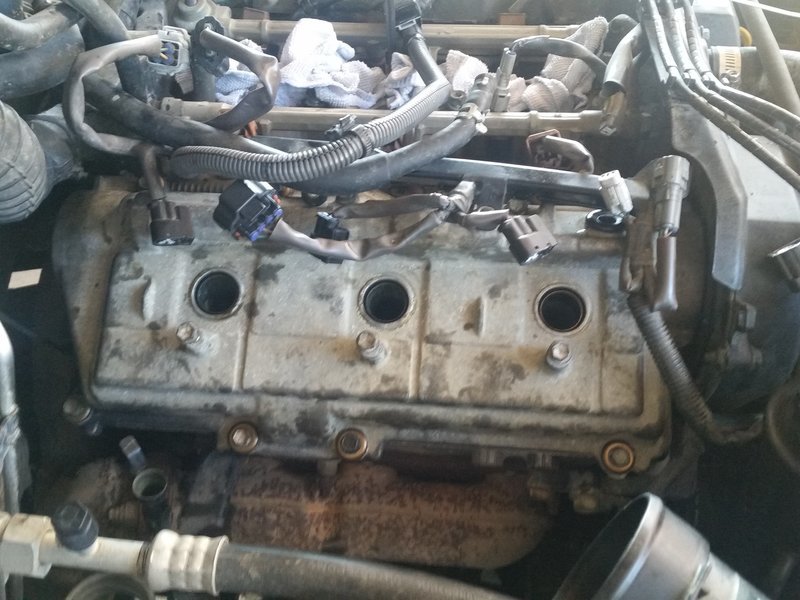
Once the lower intake manifold is removed, cover up the exposed intake chambers with a rag, tape, etc to prevent stuff from falling in there. You do NOT want a bolt falling in there. Might as well jump off a bridge:


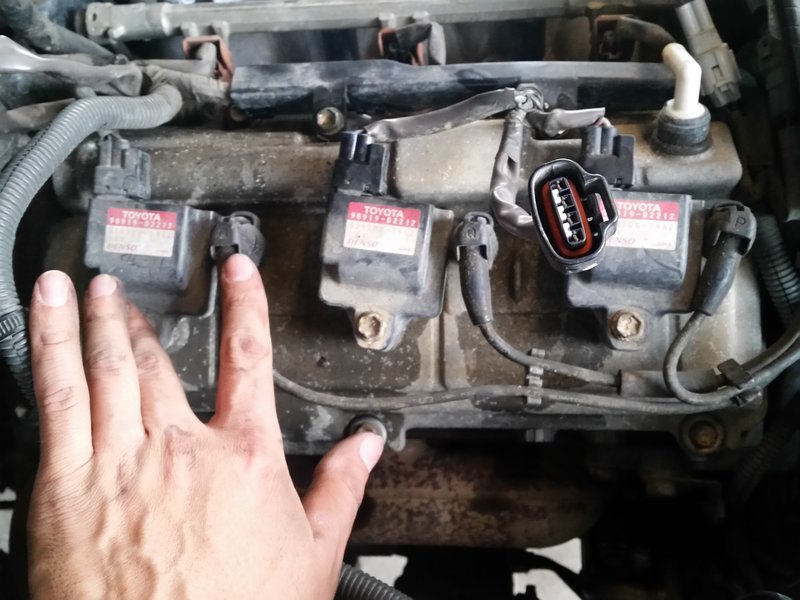
Moving onto the passenger side valve covers, remove the spark plug wires and coil packs:


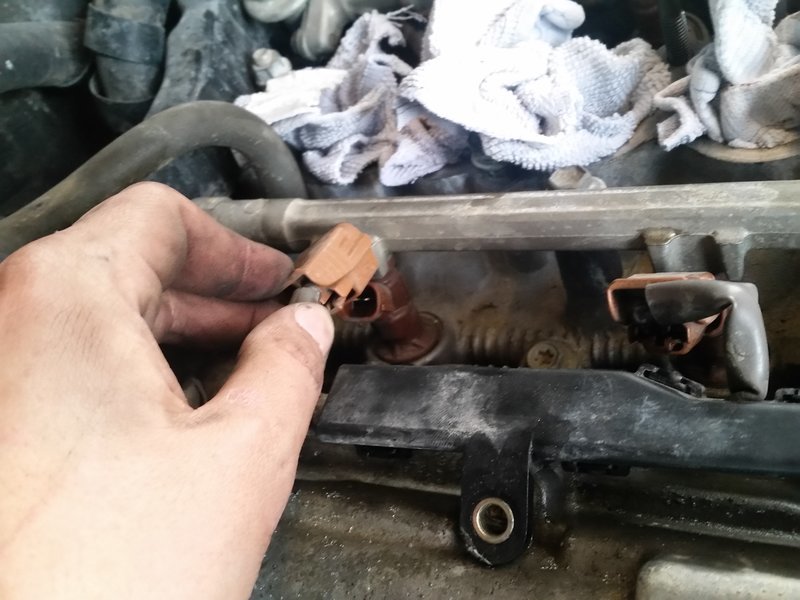
disconnect the injectors:


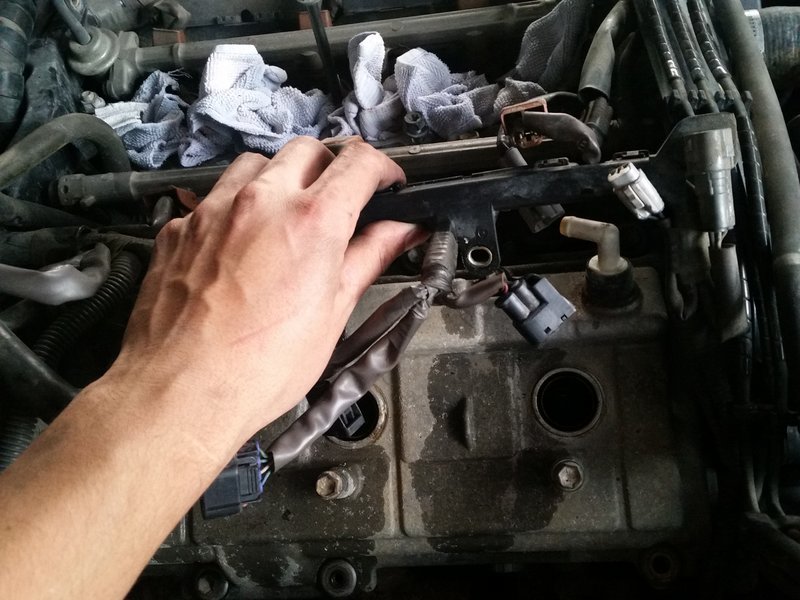
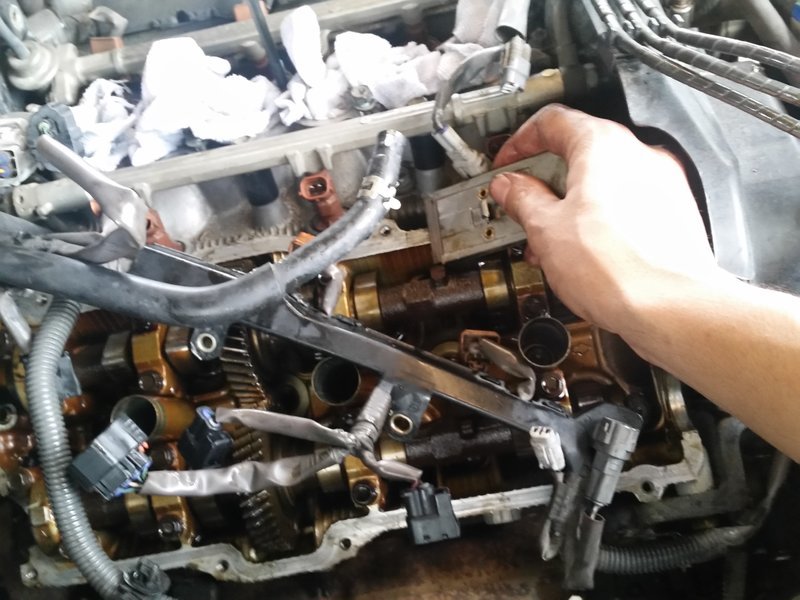
Remove the bolts holding down a wire bracket - This will not be able to be removed completely, but taking the bolts off will make the job easier. It will give you room to work with.

 
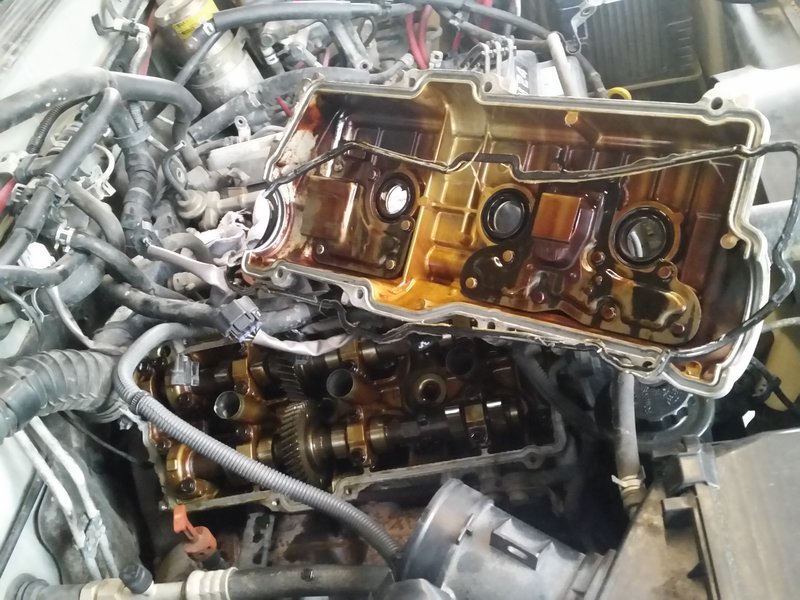
At this time, the valve cover can be removed:


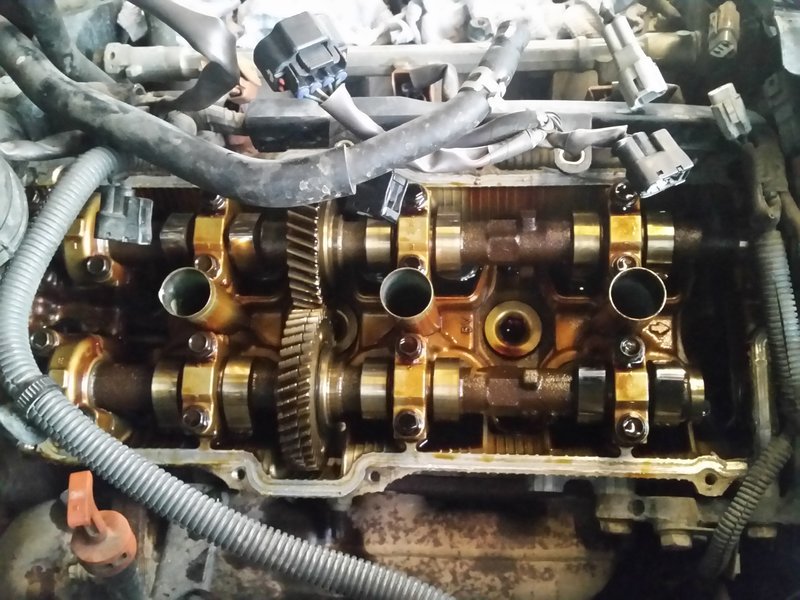
So beautiful, so clean. Thanks to frequent oil changes :)


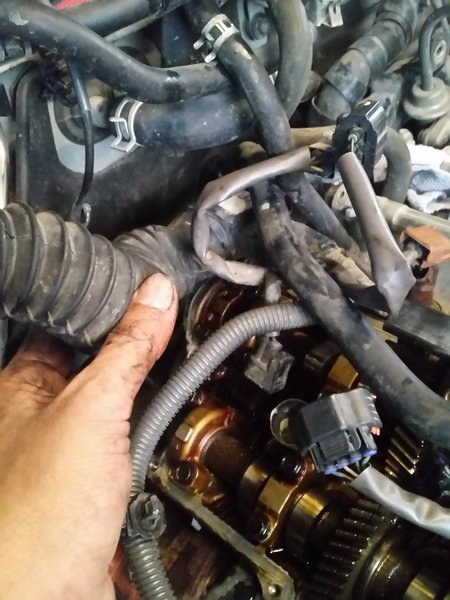
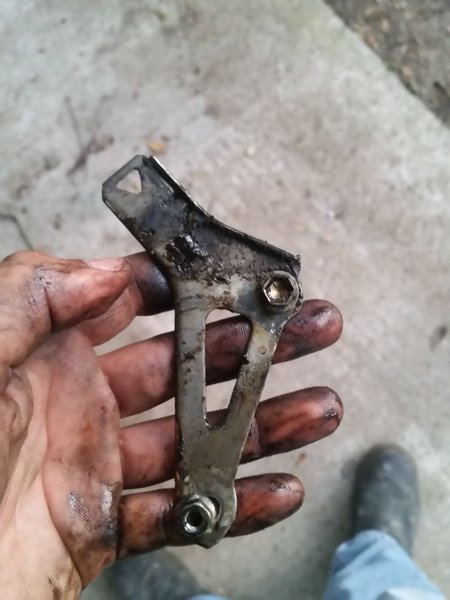
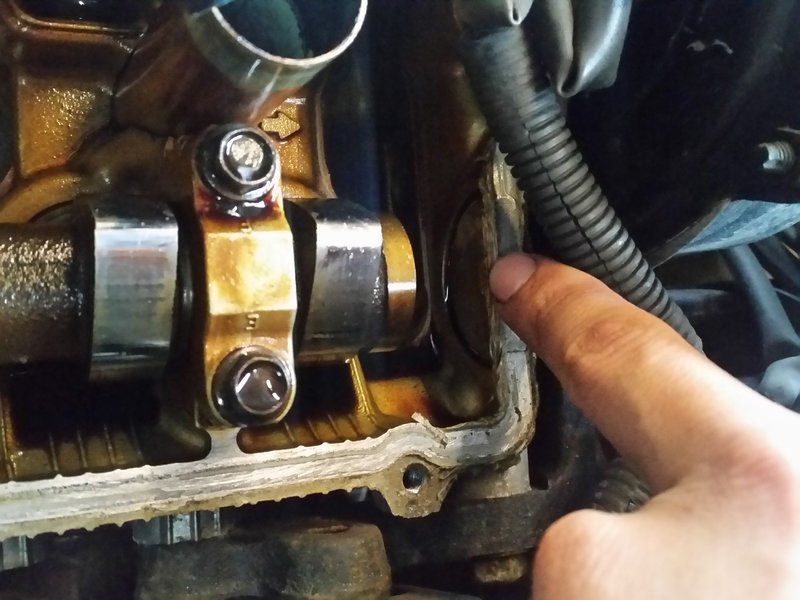
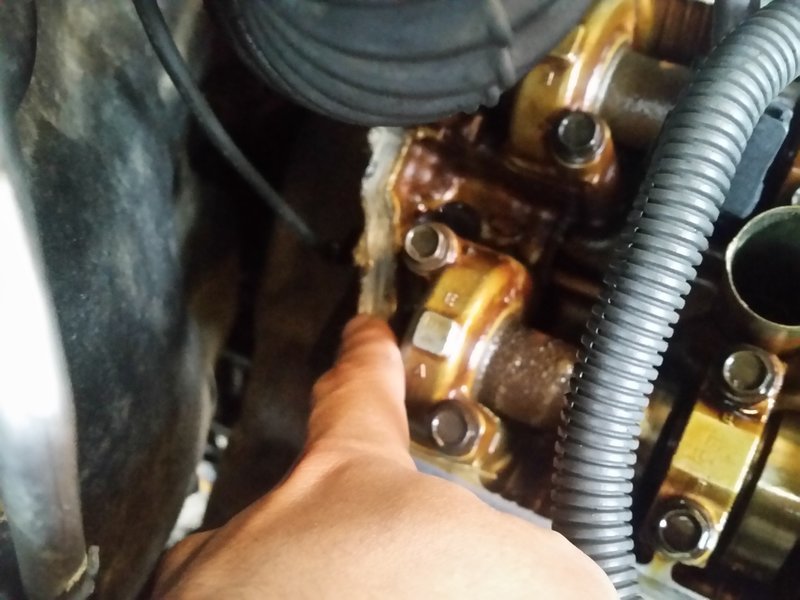
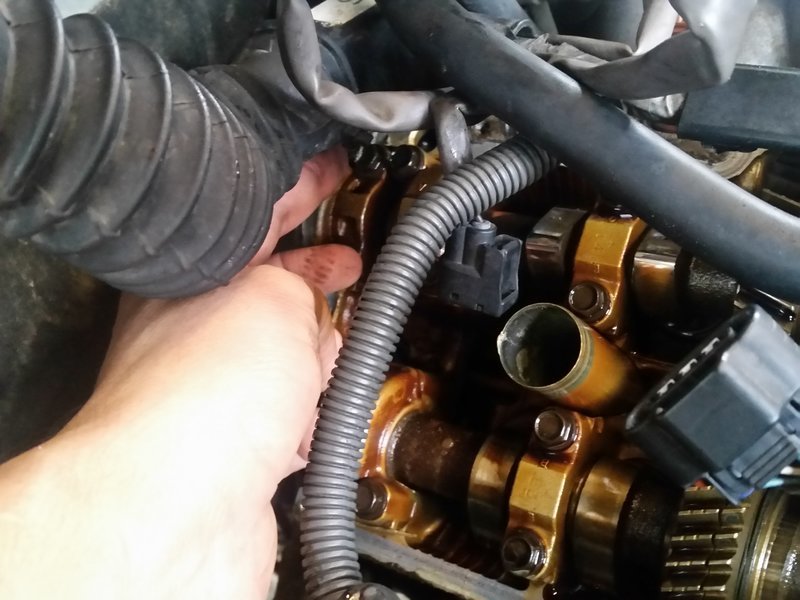
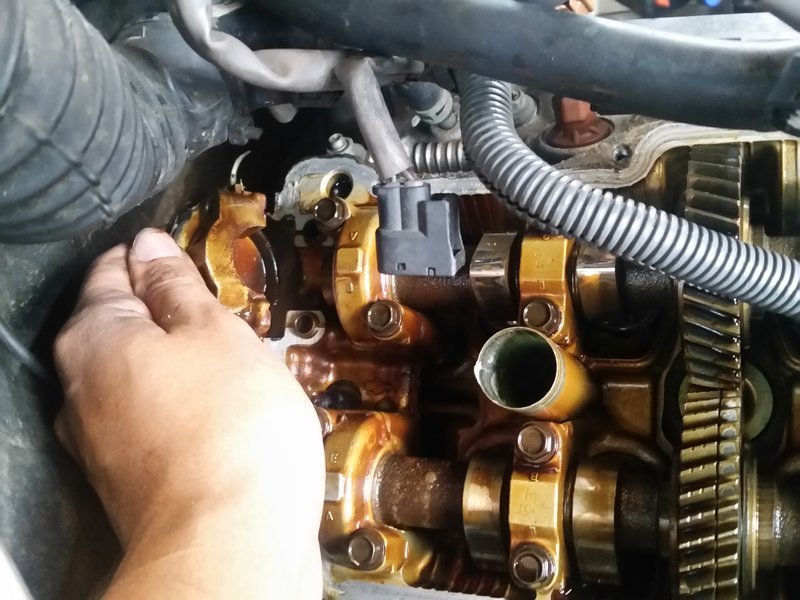
At the end of the engine heads there will be a wiring harness attached to a bracket, close to where my hand is at. If you feel around, you will find it. This will need to be removed:


Looks like this:


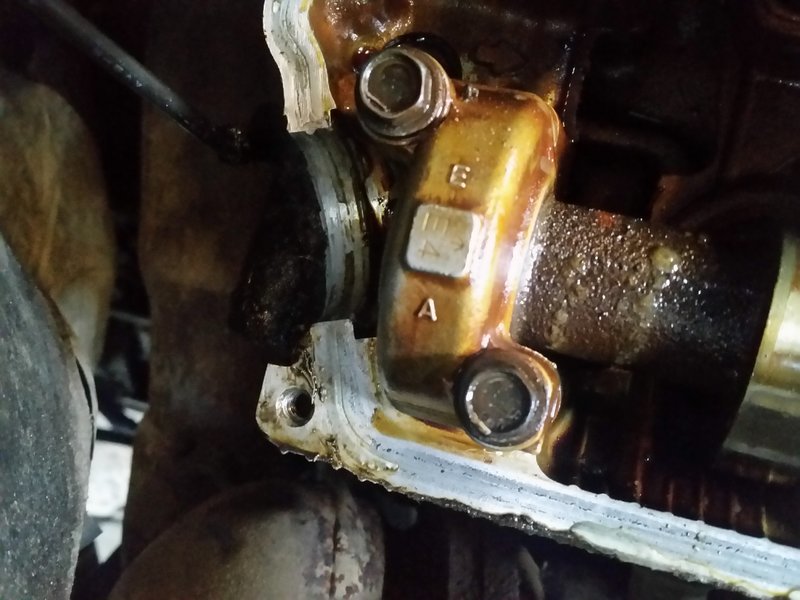
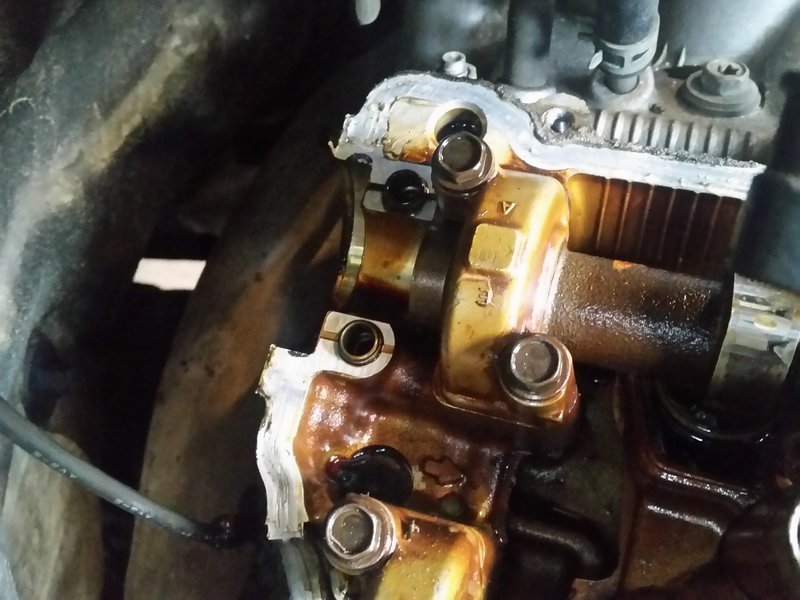
There are two halfmoon plugs per side:

one in the front:
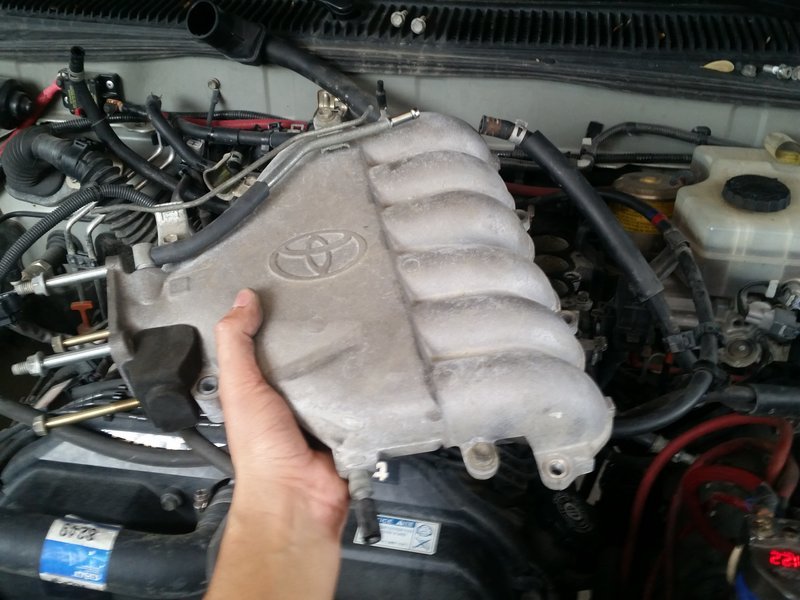


one in the back:
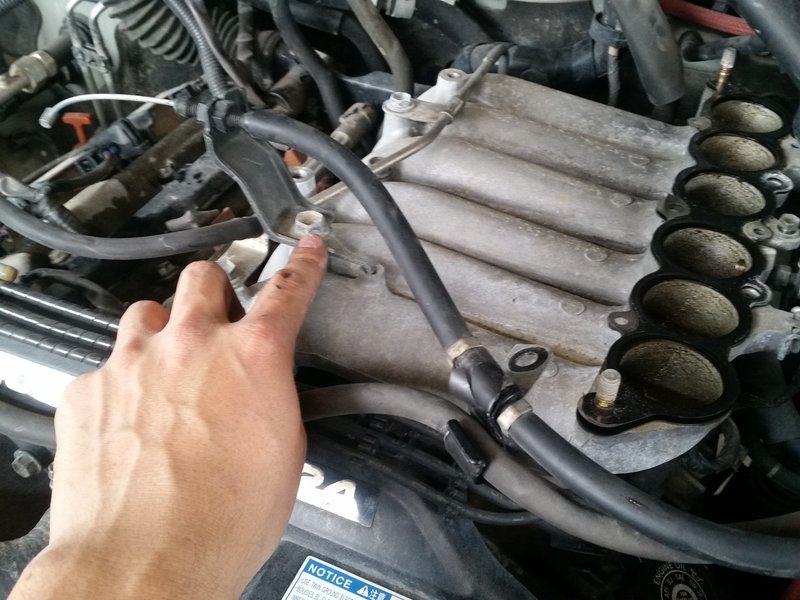


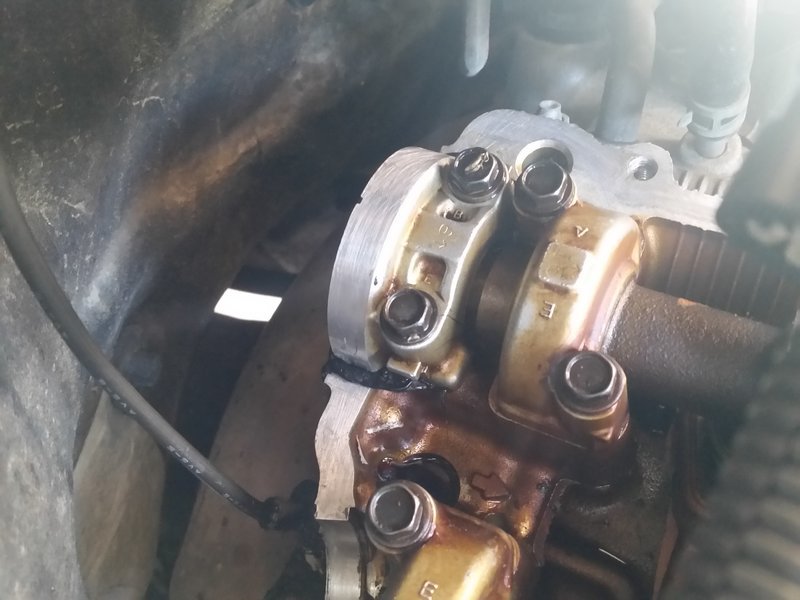
one camshaft plug in the back that is being held down by two bolts:


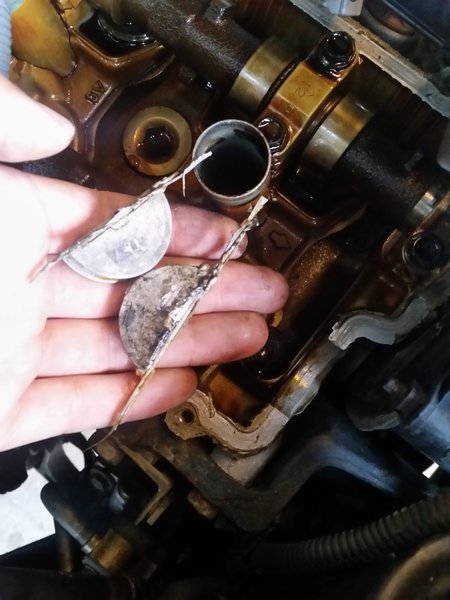
The halfmoon plugs can be removed with some channel locks. Gently pry upward. UPWARD. You may wiggle a little. Just not much. Don't want to crack the head. :anonymous:

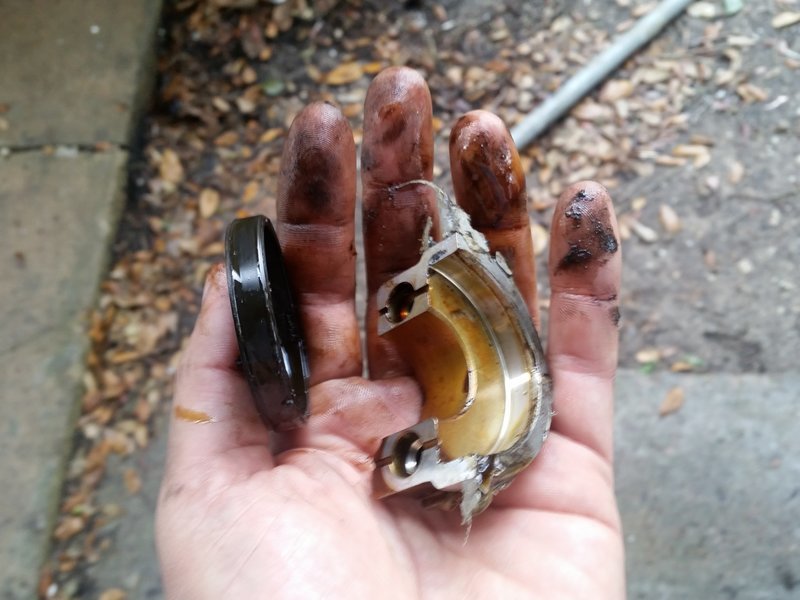
Removed:


Remove the camshaft plug:


At this time, make sure your supervisor approves your work:

 
After you have received supervisor approval, clean off the old gasket material using any scraping tool. Make sure to scrape well in the areas where the halfmoon and camshaft plugs go:


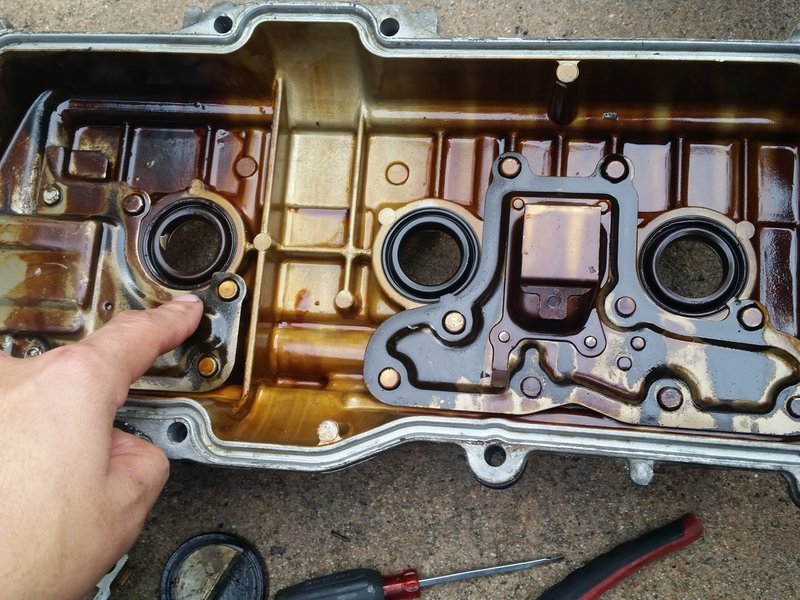
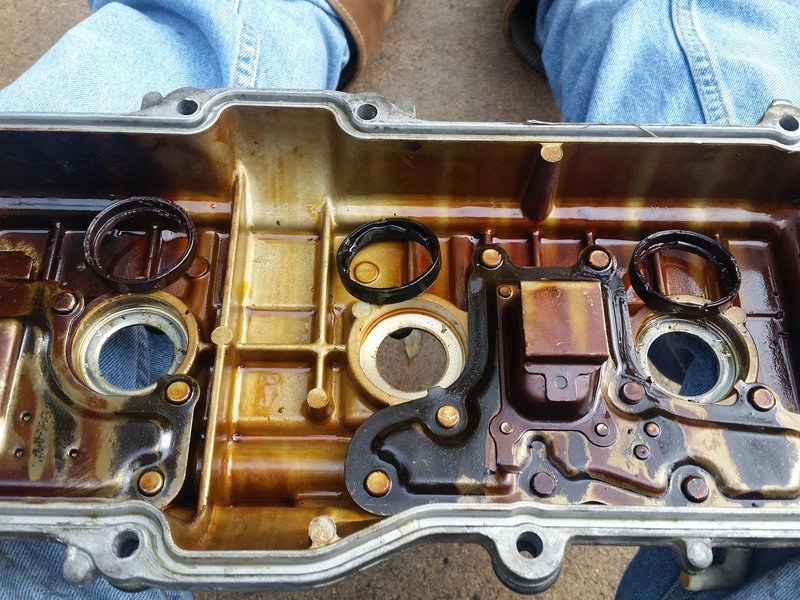
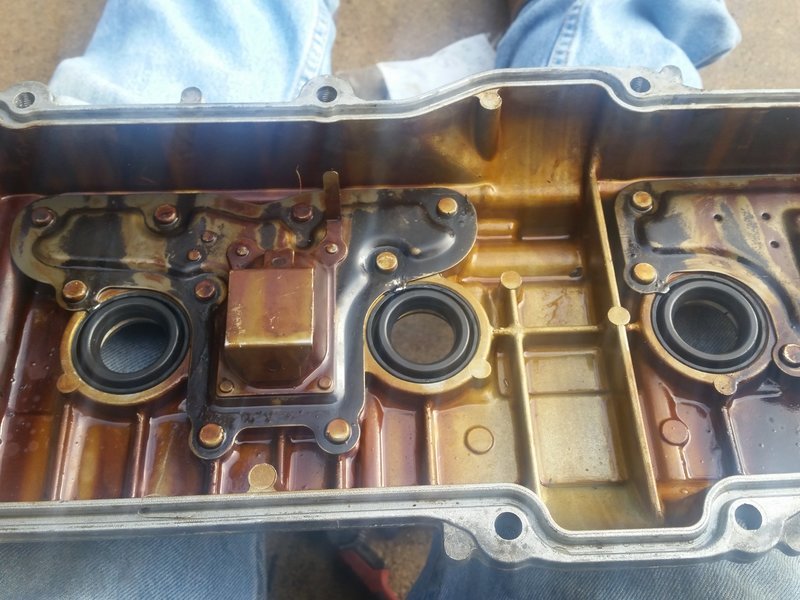
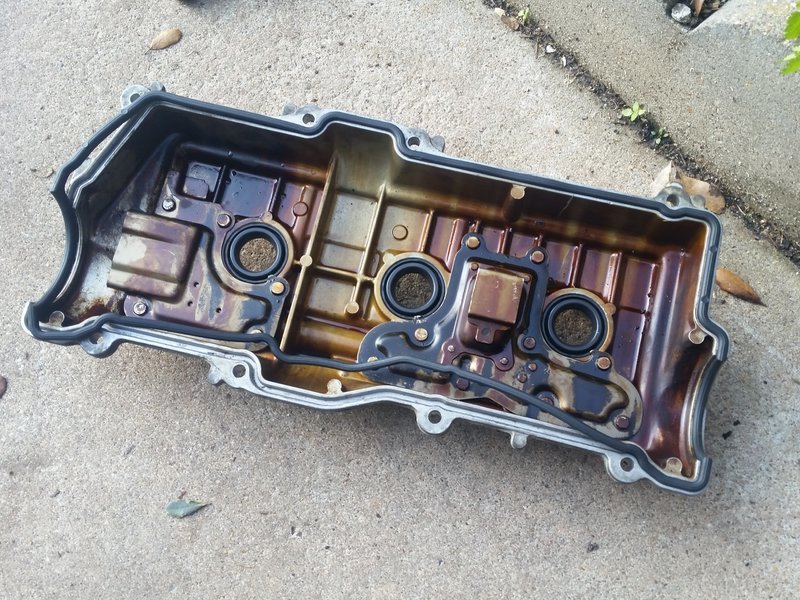
After that is done get your valve cover and flip it over. The spark plug tube gaskets will now be replaced:


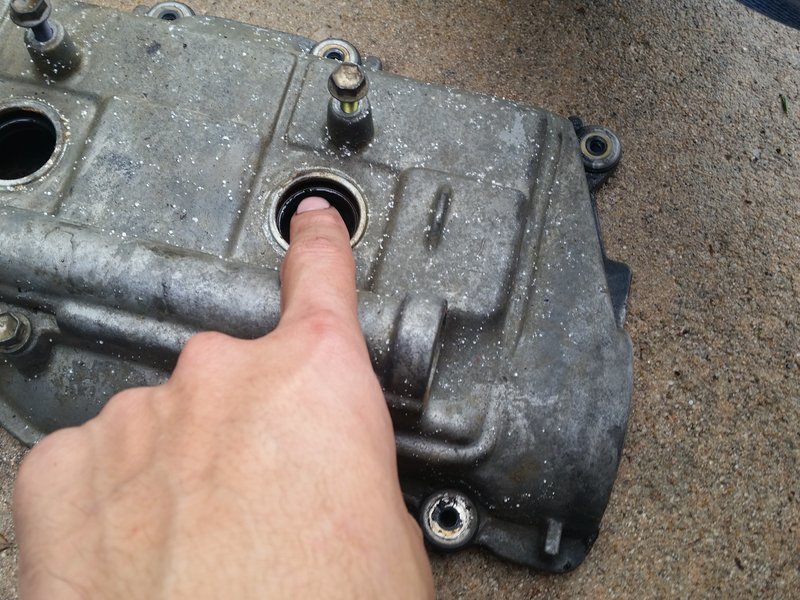
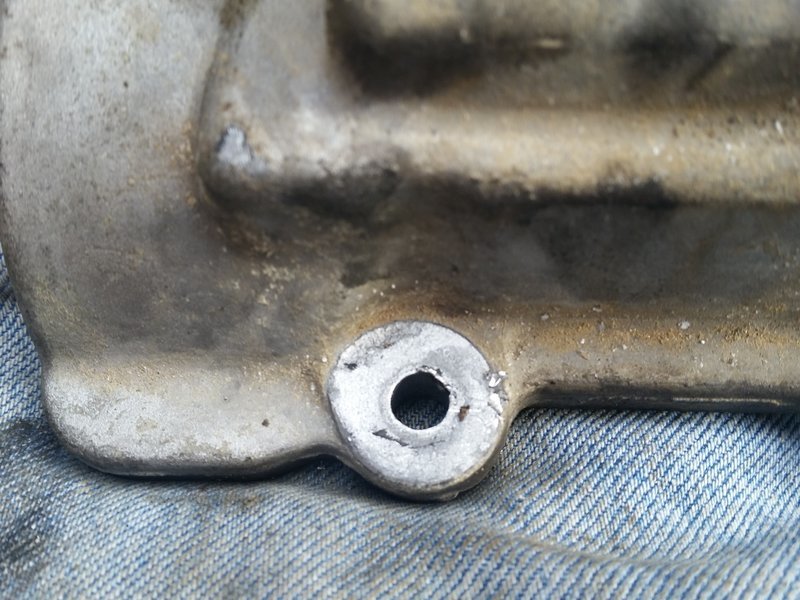
Grab a small screwdriver and tap the gasket from the other side:


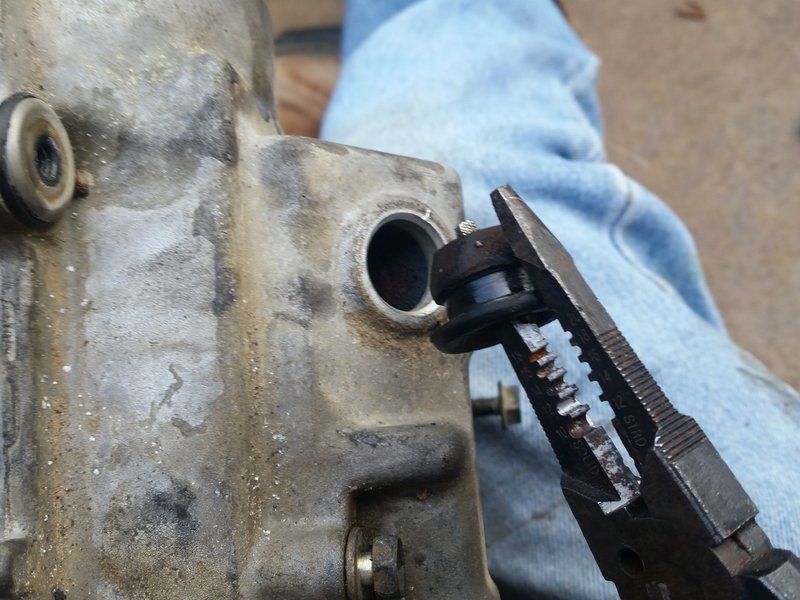
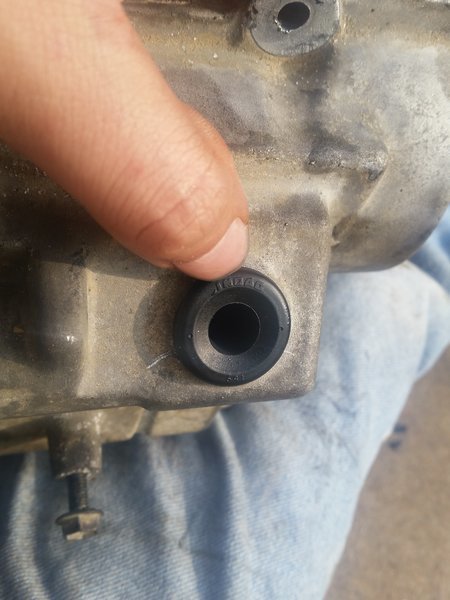
Pull out the PCV grommet:


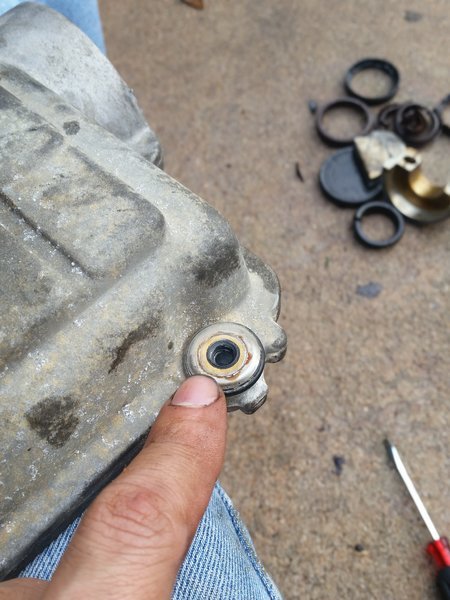
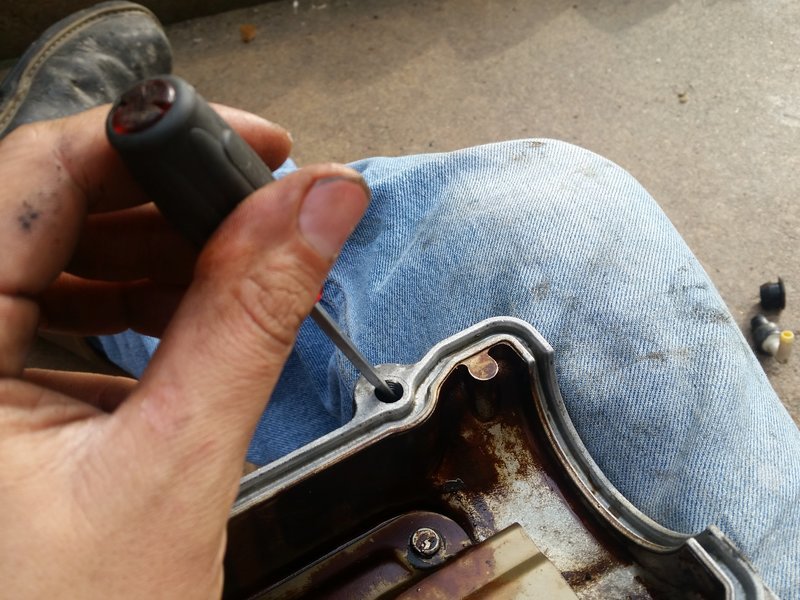
Now remove the old washers seals:


I did this by tapping it from the other end with a small flat head screwdriver:


At this point, go back to the freezer and grab the THREE replacement gaskets and the PCV grommet:


Pop the new PCV grommet in:


Pop the new replacement gaskets in. Some people use a large socket to get them to sit right. Since I froze them, they were able to shrink. Making my job easier:


Sit the new valve cover gasket carefully:


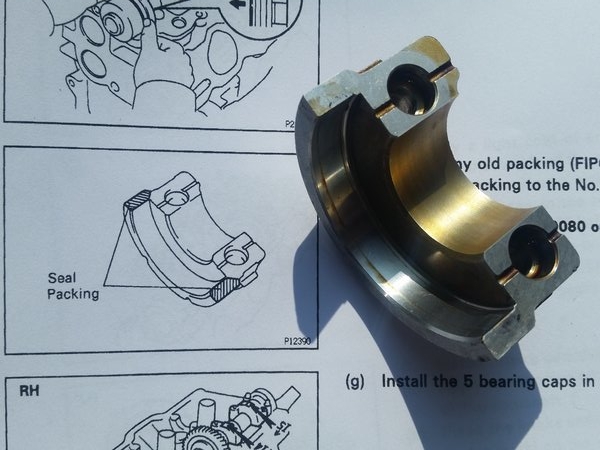
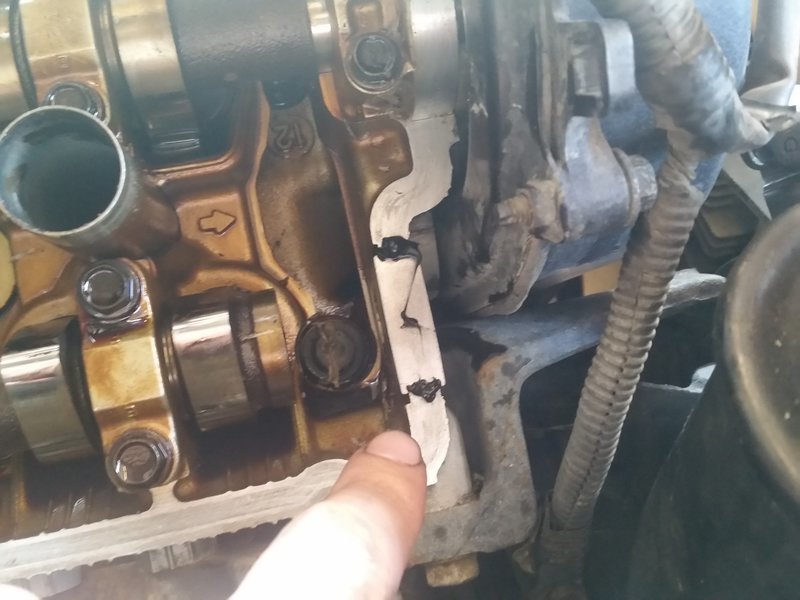
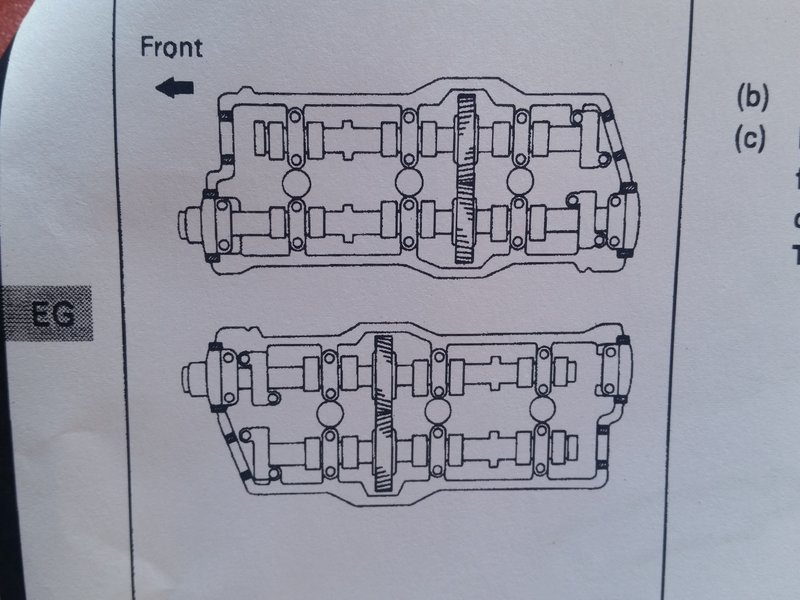
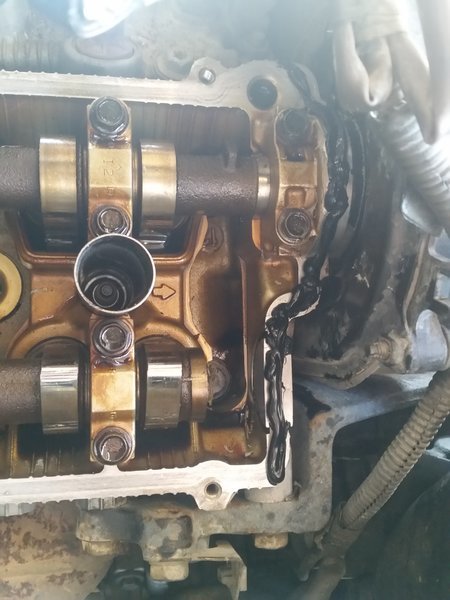
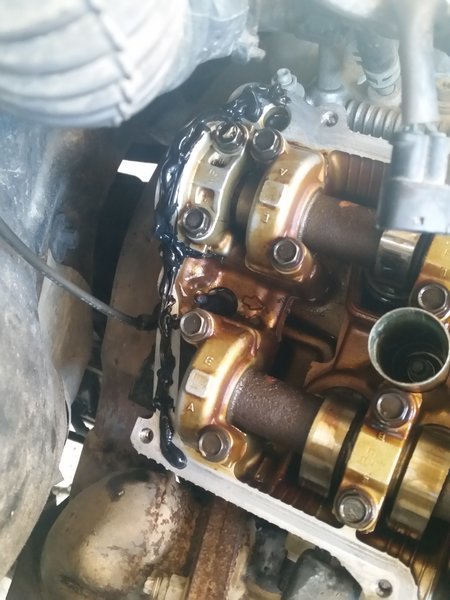
Notice the areas that will need seal packing, this is where the FIPG goes. Be generous. Don't skimp out, you want a nice noticeable ooze when you sit it on the head:


Install with new camshaft plug:

 
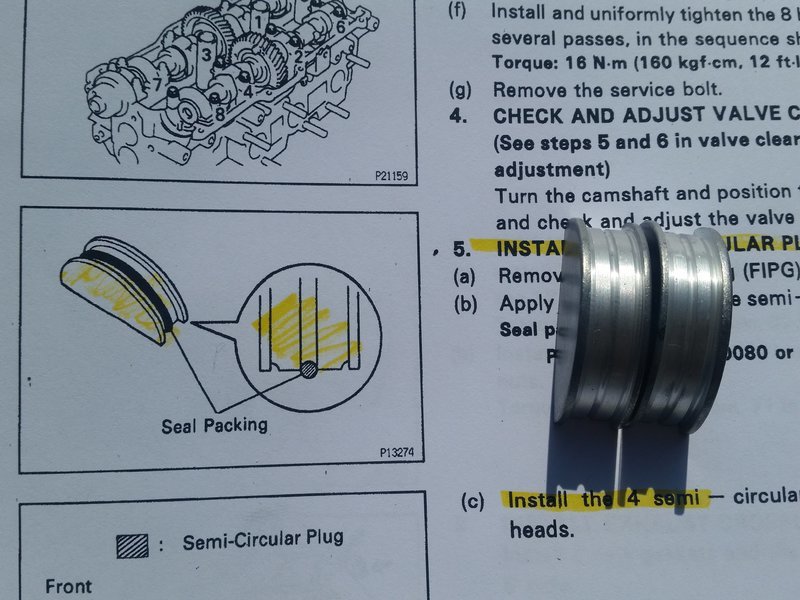
Now goes the halfmoon plugs:


Same procedure, a nice noticeable ooze:


The Toyota manual indicated to add extra FIPG to the indicated locations:


I made sure it was on there :D


Set the cover on carefully:


Torque the valve cover bolts down to


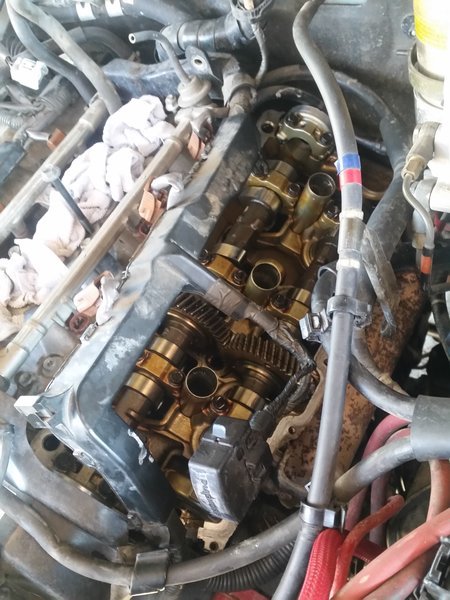
The procedure for the driver's side is the same as the left, with the exception of a wiring harness section going above the valve covers:


I didn't chase down the harness to see what it was for, I just worked around it.

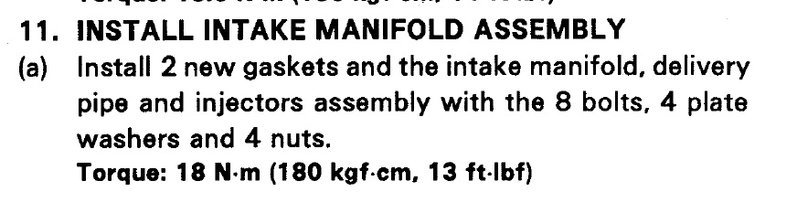
Once the driver's side is done, install everything as it was removed. Replace the plenum gaskets between the manifolds.


Done!
 
Damn, you've been quite busy this morning! 4Runner looks great, keep up the excellent work! I'll be referencing some of these write-ups in the future :thumb:
 
It's about time you got one of these up & it's good to see you venture out of the group buy forum! :loco: I listen to AM radio too, news, traffic reports & sports, it's a must!
 
Those are some fantastic write ups! Write ups with tons of pics like yours really help illustrate what you are doing. Thanks for taking the time to contribute.

That Savage rear swing out bumper might come in real handy if I ever get my waiting list call from them. lol. What do you think of the bumper and swing out so far? Anything downsides that you have come across yet? This is my top contender for rear swing out options. Do you notice much or any flex when it is open?

Great build page, and keep up the good work!
 
Those are some fantastic write ups! Write ups with tons of pics like yours really help illustrate what you are doing. Thanks for taking the time to contribute.

That Savage rear swing out bumper might come in real handy if I ever get my waiting list call from them. lol. What do you think of the bumper and swing out so far? Anything downsides that you have come across yet? This is my top contender for rear swing out options. Do you notice much or any flex when it is open?

Great build page, and keep up the good work!

The rear savage is AMAZING - I get compliments everywhere I go.

I am anxious about their secondary swingout arm attachements that they will be offering later this year..

:becky:
 
So glad you moved your build thread over here. I can now delete my external bookmark to your build. I remember bouncing out of here to your build when you had a GB for the Bussman boxes a while ago. Nice job.
 

Members online

Forum statistics

Threads
278,316
Messages
3,554,120
Members
248,016
Latest member
Advally Service

Trending content

Back
Top