Replacing Side Molding on 4th Gen 06

JP4RNR

New member
Anyone know how the body molding is attached to the body? Is it just clips and adhesive or are there nuts that need to be loosened from the inside of the body panel? Mine is scratched and it is actually cheaper to buy it already painted than it is to take to a body shop
 
Register to hide this ad
JP4RNR said:
Anyone know how the body molding is attached to the body? Is it just clips and adhesive or are there nuts that need to be loosened from the inside of the body panel? Mine is scratched and it is actually cheaper to buy it already painted than it is to take to a body shop

There are 7 or 8 clips and one bolt which is
at the lower corder of the door covered by black plastic.
Remove the bolt and carefully pull the molding to unclip it.

How much did you get charged for molding?
 
Re: Re: Replacing Side Molding on 4th Gen 06

How much did you get charged for molding?

It was the rear left quarter panel molding. It lists for 150.00 from my local Toyota Dealer but I got it for 50 bucks less at 1stToyotaparts.com online for $100.14.

Does the left rear quarter panel molding have a bolt?
 
Re: Re: Re: Replacing Side Molding on 4th Gen 06

JP4RNR said:
It was the rear left quarter panel molding. It lists for 150.00 from my local Toyota Dealer but I got it for 50 bucks less at 1stToyotaparts.com online for $100.14.

Does the left rear quarter panel molding have a bolt?

I am not that sure about the rear part. As far as I know there is one bolt or metallic clip on the corner as well.
 
There are 7 or 8 clips and one bolt which is
at the lower corder of the door covered by black plastic.
Remove the bolt and carefully pull the molding to unclip it.

How much did you get charged for molding?

I found this old thread, so I'm resurrecting it rather than start a new one. My left front molding is loose in the forward section of it. The parts counter sold me some clips and warned me there was a bolt (or bolts) behind the molding also. How do I get to the nut/bolt to remove the molding to install new clips? Or is there another way I should be going about installing new clips into the front section of the molding? I saw a diagram on here, but that didn't answer my questions unfortunately. Any help would be appreciated, I'm hoping to not have to pay a body shop to do this, but I don't want to damage anything.
Thanks!
 
I pulled both of my fronts to have them repainted. First let me tell you it was a PITA!

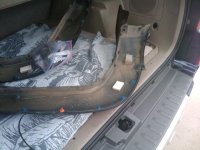
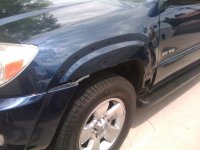
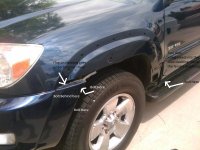
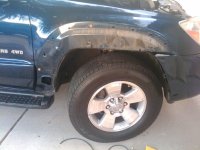
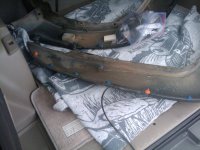
It's been a while but you need to pull/remove the fender liner. That will help you to get at the back of the clips. Here are some pictures I took of the job. The last pic is labeled. And yes on the passenger side those are the clips/mount that busted off trying to remove it. Fixed them with JBL per the body shop and they seem fine now.

Edit: Just realized that you have an '06. Not sure how different the mounting is in the '04 but I'm guessing very similar.
 

Attachments

  • 2010-07-14 19.11.18.jpg
    2010-07-14 19.11.18.jpg
    64 KB · Views: 21,426
  • 2010-07-15 10.44.14.jpg
    2010-07-15 10.44.14.jpg
    71.7 KB · Views: 17,814
  • 2010-07-15 10.44.20.jpg
    2010-07-15 10.44.20.jpg
    66.1 KB · Views: 17,958
  • 2010-07-15 11.17.36.jpg
    2010-07-15 11.17.36.jpg
    62.6 KB · Views: 18,159
  • 2010-07-15 11.17.42.jpg
    2010-07-15 11.17.42.jpg
    128.4 KB · Views: 20,488
This helps alot. Going to be removing my passenger side flare to trim it to fit a tlc80 snorkel kit. Everything seems to line up beside a little bit of the flare. Thanks for the pics for guidance.
 
This helps alot. Going to be removing my passenger side flare to trim it to fit a tlc80 snorkel kit. Everything seems to line up beside a little bit of the flare. Thanks for the pics for guidance.


Please post pics of the process and end result. I'm sure quite a few 4th gen owners are tired of waiting for a snorkel and considered either a Tacoma or LC80 snorkel..:hatsoff:
 
New to 4Runner here, just picked up a 2003 for running to the local home improvement store :D

Quick question. I am tempted to repaint the plastic body panels because they all look like crap (early 2003 unpainted). From what I am reading here, it doesn't seem to be worth the effort but I did find several clips broken and some panels are not very secure. Does anyone know where I can buy the plastic clips, and also if it's possible just to replace some clips selectively without taking off the whole panel?

Thanks.
 
Last edited:
Glad to see these instructions. I am about to take apart ALL my rocker panels and wheel arch moldings and sand and paint them. I got factory spray paint and clear coat ready to go.

Can someone share any instructions on how the door rocker panels come apart? Just clips or are there any bolts? If bolts, I have to take apart the inside panel of the door to access the bolts?

Some pics would be very very helpful, thanks so much in advance.
 
As I'm typing this, I'm currently in the process of removing the fender flares on my 2005. Afterwards, I'll be removing the trim panels on all four doors. The two fender flares on the front are a pain in the ass to remove without breaking any clips. I happened to get a hold of the factory service manual for the 2005 model year. The trim pieces on the front doors don't seem all that hard to remove as they're held on with clips just like the fender flares. You'll have to remove the door panels to get to the clips. The trim pieces on the back doors are held on by clips as well as three rivets. Here are the PDF's. Good luck!
 

Attachments

Last edited:
I broke all my clips when I removed my moulding. I removed all the broken old clips and bought a set of new clips from the Toyota dealer. I was removing the moulding to repair and paint it after it got a nasty scrape.

When reinstalling the moulding, do I put the new clips in the body and snap the moulding onto the clips, or do I put the clips in the moulding and snap it onto the body?

Thanks
 
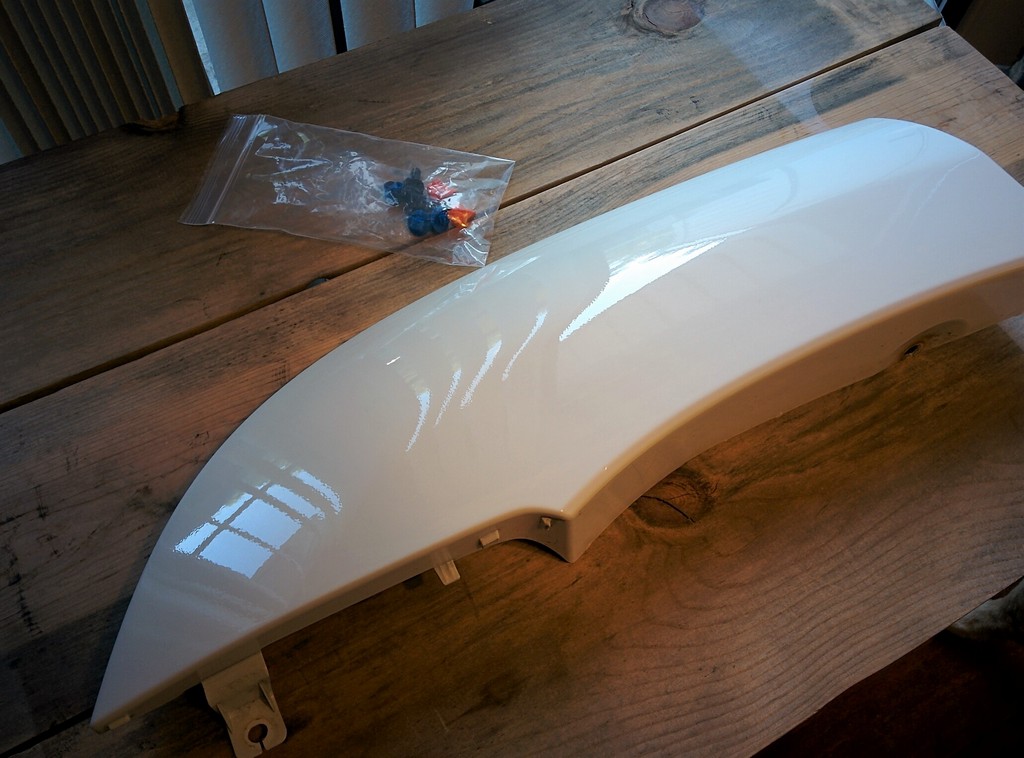
This is the body trim moulding (over the right rear wheel) that I pulled off, body-filled, primered, re-painted, and clear coated.

IMG_20170826_101213_rs.jpg


My first attempt at paint and clear. There's a bit of orange peel as you can see in the reflection, but it looks better in-person and I can probably sand it with 3000 grit and buff and polish it. It looks 1000x time better than it did before, it had a deep 4-inch gash running vertically down it.

I used Dupli Color spray can for the base paint (3 coats) and USC 2K spray can (4 coats) for the clear top coat.

I'm ready to mount it back on my 4Runner, but just need to know if I put the clips on the moulding and snap it onto the body, or put the clips on the body and snap the moulding onto the body. Any idea?
 
I didn't attach it yet, but just try-fitted it.

ARGGGGH! The color doesn't match!

I used Dupli Color "056 Natural White" which is the paint code for my 4Runner. It is WAAAAAY off!

Now I gotta sand it all down again and try a different paint brand to try and get the color right. Maybe I'll buy another paint brand and spray a piece of scrap plastic and hold it up to the 4Runner to see if it matches better.

Dupli Color is terrible! Doesn't match, like 5 shades off!

But the 2K clear coat I used was awesome. I put on 4 coats of USC SprayMax 2K Glamour Gloss, 10 minutes between each coat, and it looks awesome. $20 bucks a spray can, and you gotta use it in 48 hours after you push the activator button on the bottom.

Well, time to order some other paint and try and get this done better... If I keep going, it will might be cheaper to just buy a factory moulding that's already painted (Toyota part number 75653A)

IMG_20170826_113023_rs.jpg
 
Sorry the color didn't match, when I saw your post earlier I was going to ask how well the Duplicolor matched your paint, again sorry to hear the answer!

I do know there're 2 different white paints for the 4th gens, are you sure you know which your's is, or if they indeed sent the correct one?
 
Sorry the color didn't match, when I saw your post earlier I was going to ask how well the Duplicolor matched your paint, again sorry to hear the answer!

I do know there're 2 different white paints for the 4th gens, are you sure you know which your's is, or if they indeed sent the correct one?

Yep, my 4Runner color code is "056 Natural White". The Dupli-Color color code is "Natural White (056)"

Doesn't match.

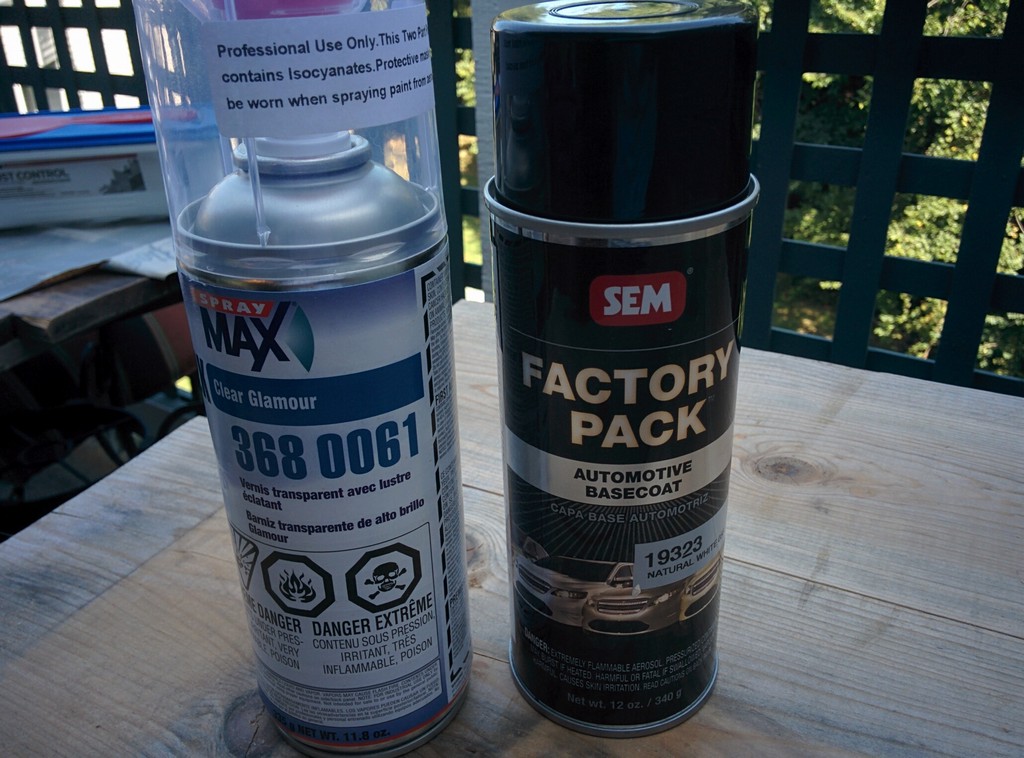
I'm going to try the SEM Products Factory Pack paint which costs like $20 for a spray can (plus I need to spend another $20 for the spray can of 2K clear).

IMG_20170826_113405_rs.png
IMG_20170826_165157_rs.png
 
Yep, my 4Runner color code is "056 Natural White". The Dupli-Color color code is "Natural White (056)"

Doesn't match.

I'm going to try the SEM Products Factory Pack paint which costs like $20 for a spray can (plus I need to spend another $20 for the spray can of 2K clear).
IMG_20170826_113405_rs.png
IMG_20170826_165157_rs.png

Thanks for the reply, I need some touch up paint for my T4R plastics and hadn't heard from anyone how well the Duplicolor was on matching the factory colors, I guess Duplicolor should change the name from "Perfect Match" to "Somewhere In The Spectrum"!!!LOL

Please follow up here on your next attempt, if you get a decent match I would be interested in the brand!
 
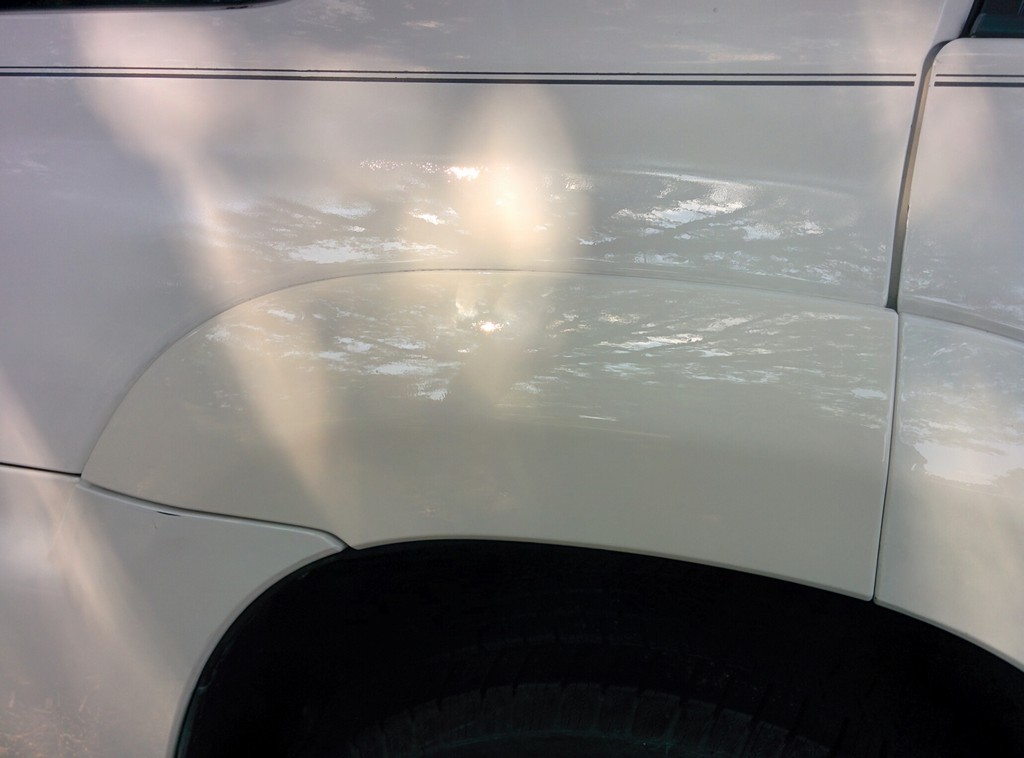
I sanded and re-painted and re-cleared the body moulding fender flare with "SEM Factory Pack 19323 (Natural White 056)" base coat (about $20/can) and "Spray Max 2K Glamour Gloss" clear coat (about $20/can).

Darn near perfect match! In fact, I'm going to have to buff it with some rubbing compound to take down the perfect shine to match the rest of the car.

IMG_20170904_111402_rs.jpg

IMG_20170904_112212_rs.jpg


SEM Factory Pack base coat is a darn near perfect match for my color code Natural White 056. That Dupli-Color garbage goes where it belongs, in the garbage.

Here was my process, after repairing the deep 4" gouge with body filler and spraying with primer.
  1. Remove piece from car. Broke all (5) plastic clips, had to buy new ones from Toyota dealer
  2. Sand entire piece with 220 grit sand paper to take off the clear coat
  3. Use 600 grit and sand side-to-side
  4. Doubled the grit to 1200 grit and sand up-and-down, to take out the 600 grit scratches
  5. Doubled the grit to 2500 grit and sand diagonal, to take out the 1200 grit scratches
  6. Wipe off dust with clean damp cloth. Dry with dry cloth.
  7. Spray a light coverage base coat. Wait 5 minutes
  8. Spray second base coat, full coverage. Wait 10 minutes
  9. Spray final base coat, full coverage. Wait 10 minutes
  10. Spray 2K clear coat, full coverage. Wait 10 minutes
  11. Spray second 2K clear coat, full coverage. Wait 10 minutes
  12. Spray final 2K clear coat, full coverage, heavy. Wait 24 hours to dry before handling!

As you'll notice with the sanding, I alternated between sanding side to side and up and down and diagonal so that the scratches from the previous grit would be sanded out.

Great info from https://www.youtube.com/customspraymods

BTW, to answer my question about whether to install the plastic clips on the body moulding or the car body when attaching the moulding -- I snapped the clips into the body moulding first, then snapped the whole piece onto the car body. I had to press hard over the (5) areas where the clips were to get them to snap into the car, but it worked fine.
 
Last edited:

Members online

No members online now.

Forum statistics

Threads
278,309
Messages
3,554,071
Members
248,016
Latest member
Advally Service

Trending content

Back
Top