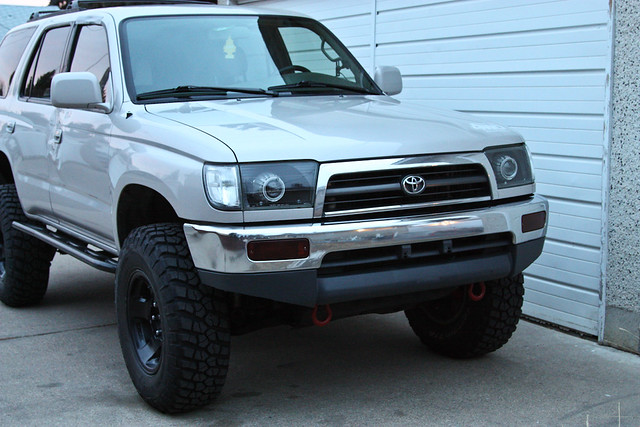
Rickashay's Projector Retrofit Thread

ahh...makes me think of my retrofit days but boy was I glad when they were finished :D

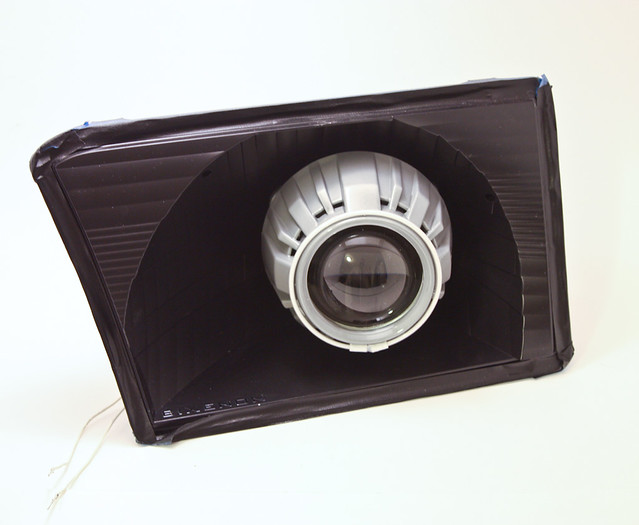
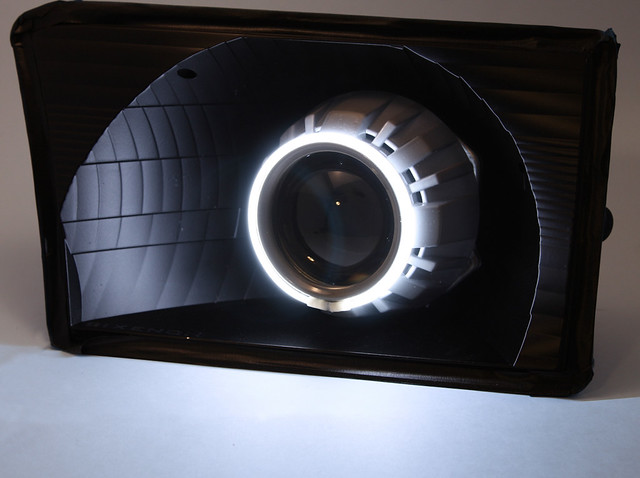
anyway, just a reminder to cover up some holes you might have before you add your shroud so you don't have any light leakage into the blacked out reflectors. it definitely makes a world of a difference

this
<a href="http://s77.photobucket.com/albums/j67/saadqasim/?action=view&current=DSC03259.jpg" target="_blank"><img src="http://i77.photobucket.com/albums/j67/saadqasim/DSC03259.jpg" border="0" alt="Photobucket"></a>

vs
<a href="http://s77.photobucket.com/albums/j67/saadqasim/?action=view&current=DSC03260.jpg" target="_blank"><img src="http://i77.photobucket.com/albums/j67/saadqasim/DSC03260.jpg" border="0" alt="Photobucket"></a>
 
ahh...makes me think of my retrofit days but boy was I glad when they were finished :D

anyway, just a reminder to cover up some holes you might have before you add your shroud so you don't have any light leakage into the blacked out reflectors. it definitely makes a world of a difference

Yah it's funny you say that cause a lot of people neglect this step. I do projector retrofits as a small business and I always cover the gaps to avoid light leakage.

I have noticed though how fast I am getting at this... I have done more retrofits now than I can count and I am getting the process very dailed. Sure is easier than the first time around, thats for sure!

Thanks guys!
 
This is looks more and more like something I want to do in the future. Thanks for the great instructions!
 
This is looks more and more like something I want to do in the future. Thanks for the great instructions!

No Problem! The results are worth it in every way!

The lights are now painted, and mocked up. I just need to install the lights on my truck and make some final adjustments to the horizontal alignment. Once I get the cutoff dailed-in, I'll be sealing these back up and getting them on the Duster!


20111210-IMG_0808 by Headlight Hookup, on Flickr


20111210-IMG_0813-2 by Headlight Hookup, on Flickr
 
I was right there with you, until the Halo's came out. I LOVE everything else though! Could you please take a few more photos of the BACKS of the housings? The part that worries me most about doing my own retrofit is that I have NO idea how these things are mounting up.

I am going to do my wifes car first, that way if I screw up, I don't have to worry about hurting my baby =p
 
OoOoOo... Shiny!

Very nice Sir, very nice.

Thanks Dave!

I was right there with you, until the Halo's came out. I LOVE everything else though! Could you please take a few more photos of the BACKS of the housings? The part that worries me most about doing my own retrofit is that I have NO idea how these things are mounting up.

I am going to do my wifes car first, that way if I screw up, I don't have to worry about hurting my baby =p

haha yeah Angel Eye's arent for everyone. I personally think they look good in certain applications. To each their own though.

I will get some photos of the rear for yah, I try to keep it as factory as possible. On these, I just mounted the projectors with 4x2" bolts. I didnt have room to make any fancy custom projector mounts...
 
The part that worries me most about doing my own retrofit is that I have NO idea how these things are mounting up.

Awilson,
I watched as my retrofit was done by someone and the process is intense. It wouldn't be that be tough if you use a "drop-in" projector kit but I ordered the bigger Lexus projectors. They are very nice but required a lot of cutting and aligned by Will who did mine.
 
I got around to doing a full test-fit on my truck. I made sure that the horizontal alignment was correct once the lights were fitted to the truck. I took the lights back out, and did the final assembly. I thread-locked the mounting bolts and silicone'd off all of the holes, and ran all of the wiring. Unfortunately I dropped one of the shrouds and smashed the angel eye. Not cool, as they were 98% done and going to be installed in the truck last evening. Now I have to wait for the replacement part. What a piss-off.

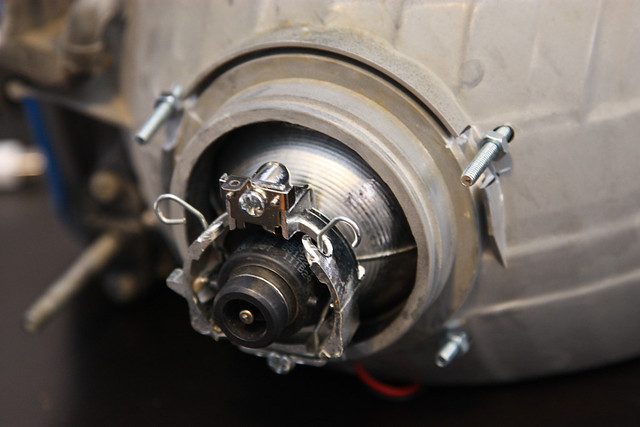
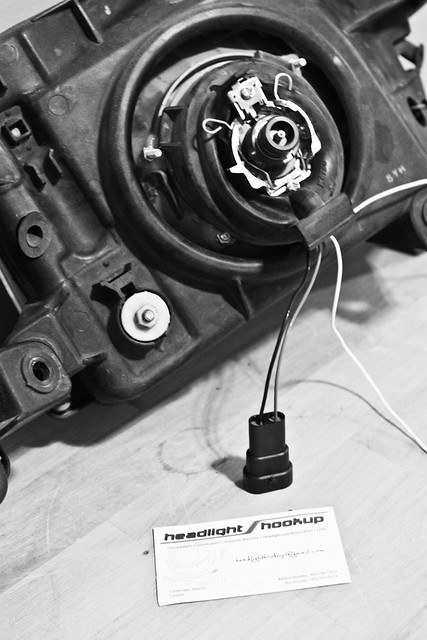
I grabbed a shot of the rear of the housing to show how it is mounted. Keep in mind this was initially and the final fitment uses thread-lock and two nuts on each bolt. And I retained the factory rubber seal to cover up the rear of the projector.


20111214-IMG_0815 by Headlight Hookup, on Flickr

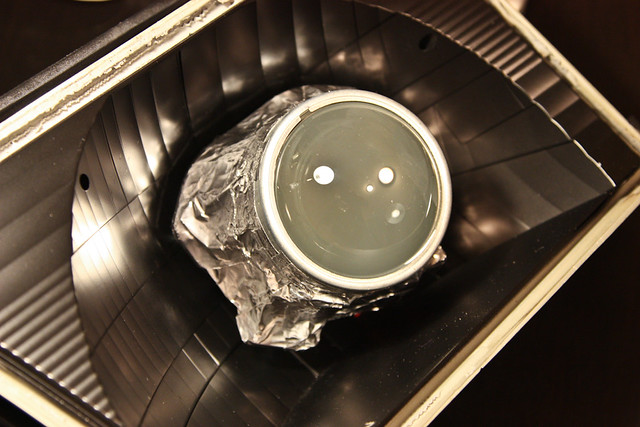
I also made sure no light would be escaping when the projectors are on. I sealed the projector up with some foil tape, which gets covered by the shroud.


20111214-IMG_0816 by Headlight Hookup, on Flickr


Now.... I wait for parts before I can use these things!!!
 
man these things are clean! that sucks about dropping the shroud. I think my buddy dropped my whole headlight (without the glass) when we did mine and i had to put it all back together. lucky nothing was really broke/

so whats up with the projector looking all cloudy like that? is that just something you have in there?
 
man these things are clean! that sucks about dropping the shroud. I think my buddy dropped my whole headlight (without the glass) when we did mine and i had to put it all back together. lucky nothing was really broke/

so whats up with the projector looking all cloudy like that? is that just something you have in there?

Thanks man, I've been pretty adiment about keeping these things as clean as possible. Just can't wait to get to use them on the highway, my stockers are chipped to hell!

Not sure why they look foggy, must have just been the angle and the weird lighting in that room.

Those are tits. I really like what you've done here, and it looks like you covered all the angles.

Thanks a lot man! Just wait until you see some final wall/output shots! They will blow your mind.... Lol
 
Looking good! Can't wait to see them on your truck.

What color are those shrouds? They don't look like chrome. Did you paint them?
 
Looking good! Can't wait to see them on your truck.

What color are those shrouds? They don't look like chrome. Did you paint them?

Thanks! No, I painted the shrouds. Kind of a weird process... sanded, primed, and painted with some Duplicolor Chrome paint. The "Chrome" spray paint looks more like a pearl color but shiny-er, definitely not chrome. Then I did three coats of high temp. clear coat. Up close they look like a battleship grey color with a little pearl to them. Pretty cool IMO.
 
Post some pics of them mounted up!

I am painting mine housings today (in 1 hr) satin black. I finally have a working oven.

What type of plane is that on your mantel? I see Red/White/Blue and figured it was an American WWII plane but you are Canadian correct?

:fishing:
 
Did you have to cut the house in a conical pattern? I can't get the projector lined up like you did and I'm using the same projectors as you. This is how the housing looks right now. Do I have to smooth / round it off more?

7d8f8b06.jpg~original


I did paint it like the JDM style but left the reflector chrome.

Nevermind I'm an idiot. This is why you shouldn't be working on stuff like this early in the morn. Your thread was what inspired me to go through with this by the way. Thanks!
 
Last edited:
Post some pics of them mounted up!

I am painting mine housings today (in 1 hr) satin black. I finally have a working oven.

What type of plane is that on your mantel? I see Red/White/Blue and figured it was an American WWII plane but you are Canadian correct?

:fishing:

Sorry I missed this! good luck on your housings, Im going to go look at your build thread now after this and see if yours are done!!

Not sure on the plane, it's my cousins picture... maybe a Spitfire? No clue. And yes, I'm Canadian, eh.

Did you have to cut the house in a conical pattern? I can't get the projector lined up like you did and I'm using the same projectors as you. This is how the housing looks right now. Do I have to smooth / round it off more?

7d8f8b06.jpg~original


I did paint it like the JDM style but left the reflector chrome.

Nevermind I'm an idiot. This is why you shouldn't be working on stuff like this early in the morn. Your thread was what inspired me to go through with this by the way. Thanks!

Thanks! Looking forward to seeing some others use the EvoX-R's! Post up some pics of your retrofit completed??

Update - FINISHED

Wow, long overdue. I finally got the broken parts replaced when I got home from holidays and had time to wrap these headlights up. Overall I'm pretty impressed and I am liking the look. I just need to do something with my clear corners, maybe tint the like SQ.MD did. I'll get some output pics up soon too, the high beams on these things are UNREAL, more than I even expected.

The back all closed up. Stock?

20120102-IMG_0882 by Headlight Hookup, on Flickr

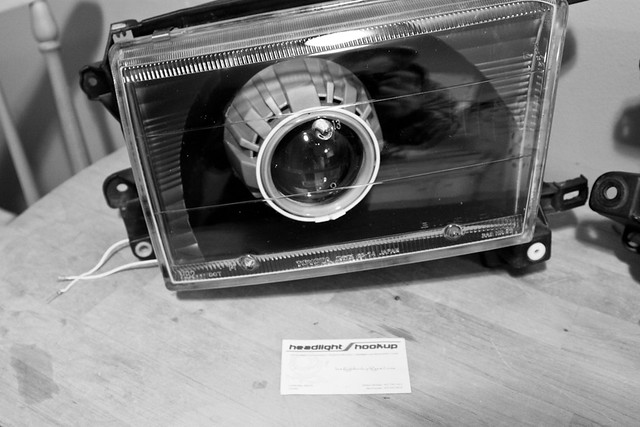
Front:

20120102-IMG_0884 by Headlight Hookup, on Flickr

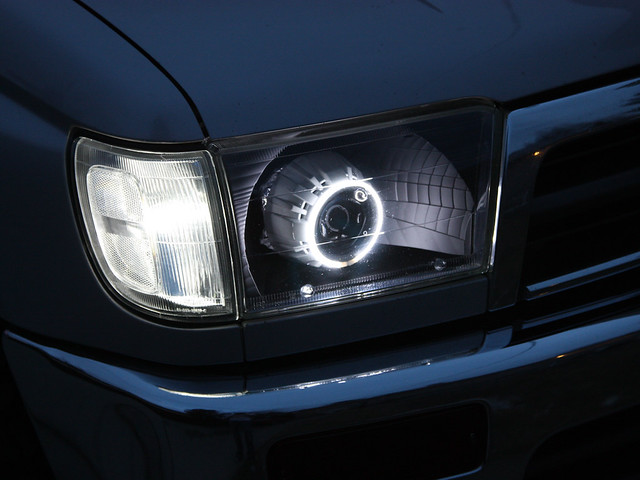
On the truck with Angel Eyes and LED corner markers on:

20120103-IMG_0916 by Headlight Hookup, on Flickr

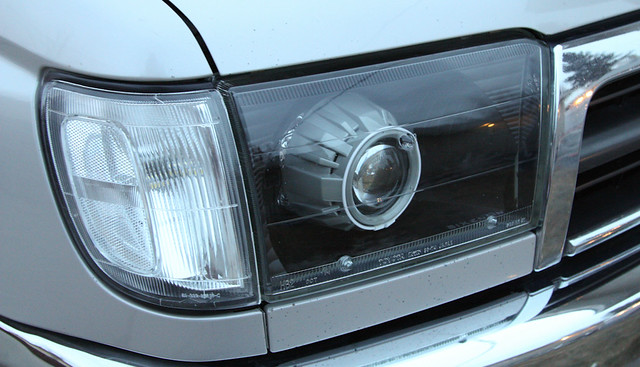
Lights off:

20120103-IMG_0904 by Headlight Hookup, on Flickr

Ignore my body damage please...lol

20120103-IMG_0902 by Headlight Hookup, on Flickr

new face:

20120103-IMG_0905 by Headlight Hookup, on Flickr
 
man that looks pretty awesome! good work :)

and your clear corners actually don't look too bad since they sorta match your white 4runner. But tint away my friend!
 
man that looks pretty awesome! good work :)

and your clear corners actually don't look too bad since they sorta match your white 4runner. But tint away my friend!

They they look OK, but I think it would flow better with the headlights if they were tinted. I was even thinking of doing something a little different and maybe tinting the corners yellow with some lamin-X. But, we'll see what I decided when I get around to it!
 

Members online

No members online now.

Forum statistics

Threads
278,312
Messages
3,554,083
Members
248,016
Latest member
Advally Service

Trending content

Back
Top