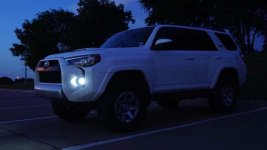
Rigid Industries DOT Dually Fogs Installed

I have the same DOT/SAE ones you got. Thanks for letting me know!

[MENTION=115334]Mistaken[/MENTION] idk if you are installing from underneath bumper or not. But if you are, I agree with Kevin and I found it much easier to remove 4 bolts from the wheel well plastic shroud and install from the side also. The driver side you could install from underneath but taking the shroud off helps a lot. And for the passenger side, you have to remove that plastic cover behind the fog light like sovat4r said in other thread. There's three tabs you holding it in, you can access it from the front fog light shroud (if you take out the white plastic chip above the back fog light cover so there's more wiggle room on the front fog light shroud. I have pics to make this make more sense and I can post if you want.

And thanks [MENTION=120150]TotalAutomotiveLV[/MENTION] for the adapter!


Did you happen to get them aimed? This thread is filled with great information. Thanks for posting everyone.

Thank you for the business, enjoy the fog lights!
 
I have the same DOT/SAE ones you got. Thanks for letting me know!

[MENTION=115334]Mistaken[/MENTION] idk if you are installing from underneath bumper or not. But if you are, I agree with Kevin and I found it much easier to remove 4 bolts from the wheel well plastic shroud and install from the side also. The driver side you could install from underneath but taking the shroud off helps a lot. And for the passenger side, you have to remove that plastic cover behind the fog light like sovat4r said in other thread. There's three tabs you holding it in, you can access it from the front fog light shroud (if you take out the white plastic chip above the back fog light cover so there's more wiggle room on the front fog light shroud. I have pics to make this make more sense and I can post if you want.

And thanks [MENTION=120150]TotalAutomotiveLV[/MENTION] for the adapter!

Sure! Post away. The more pics the better. :popcorn:
 
Did you happen to get them aimed? This thread is filled with great information. Thanks for posting everyone.

Thank you for the business, enjoy the fog lights!


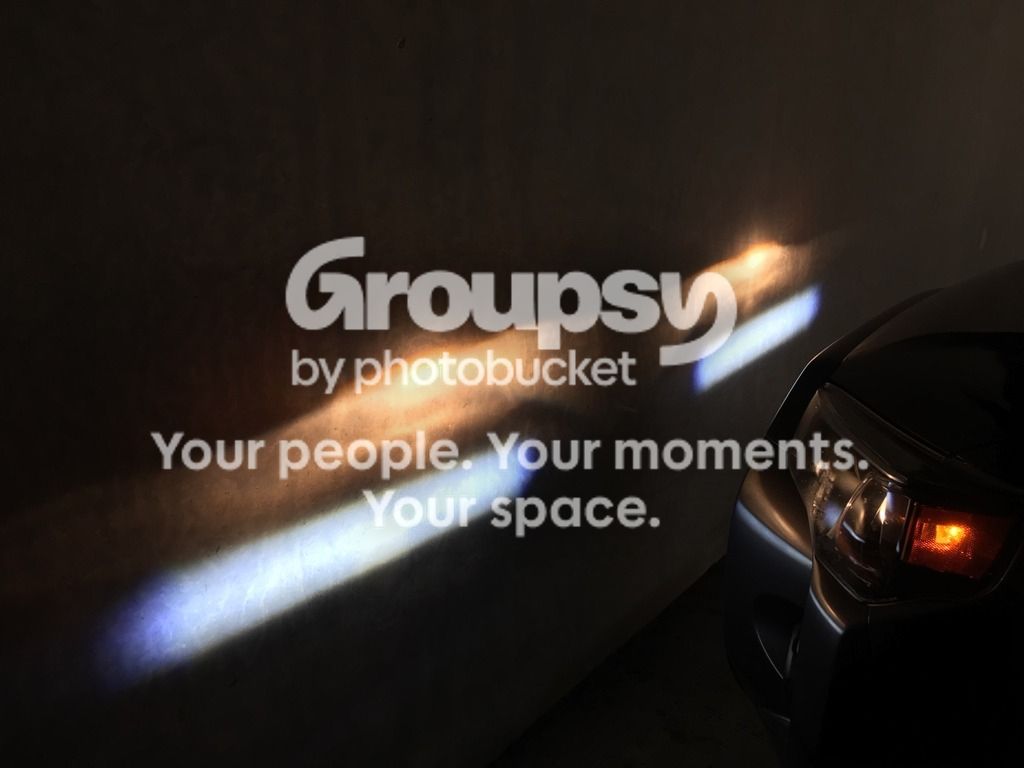
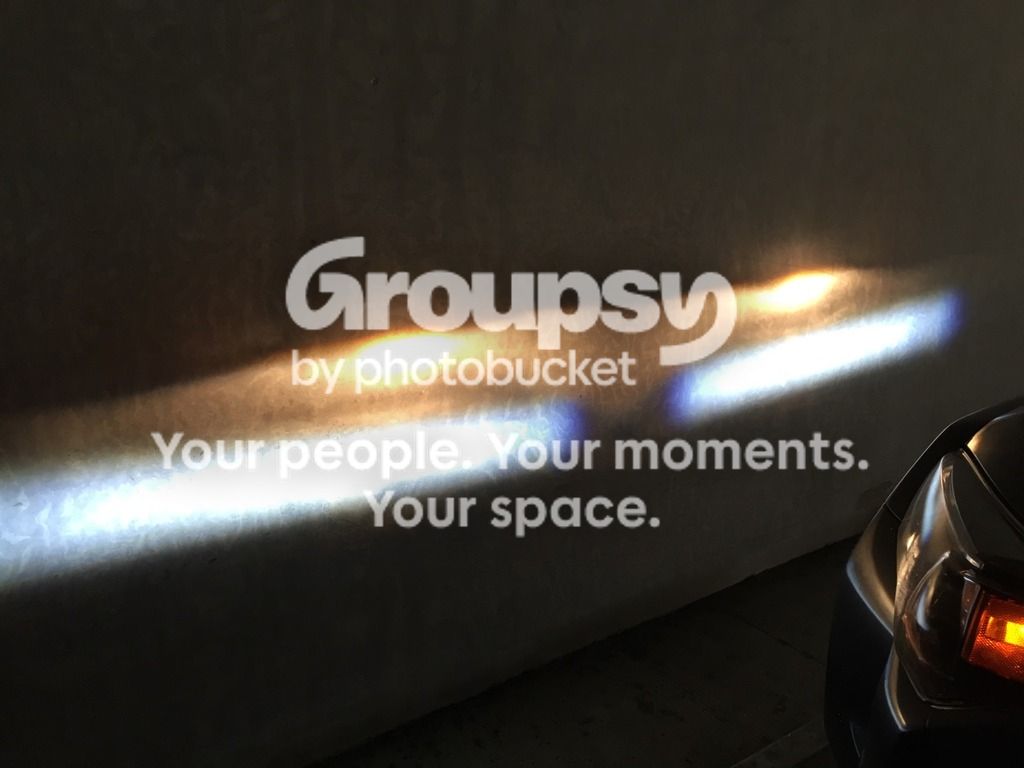
Well it didn’t make too much of a difference. Actually I made it a bit worse cause the driver’s side is angled up now so I need to fix that. Judging from other forums, it seems my fog lights are roughly aimed about the same distance underneath the headlight beam.

2.5 feet
IMG_4701%20copy_zpshoz8nnar.jpg~original


4 feet
IMG_4698%20copy_zpsi74h8plb.jpg~original


However when I go further back, about 30 feet away (disregarding the angled up driver’s side fog light), you can see the fog light cut off start to be around the headlight beam cut off. I’ll have to adjust it a bit more.
IMG_4693%20copy_zpsjnutj566.jpg~original
 
Okay so installation from underneath the bumper as best as I remember. Other people please correct me if I am wrong, or if you had a better way/think of a method that is more helpful.

All the tools I used were: hex keys, socket wrench, different length Phillips screwdrivers (I have one about the size of a house key that has a magnetic tip which came in handy when I screwed the rigid lights in), flat head screwdriver, zip ties, and a flashlight. Also I wore eye protection. And disconnected the battery.

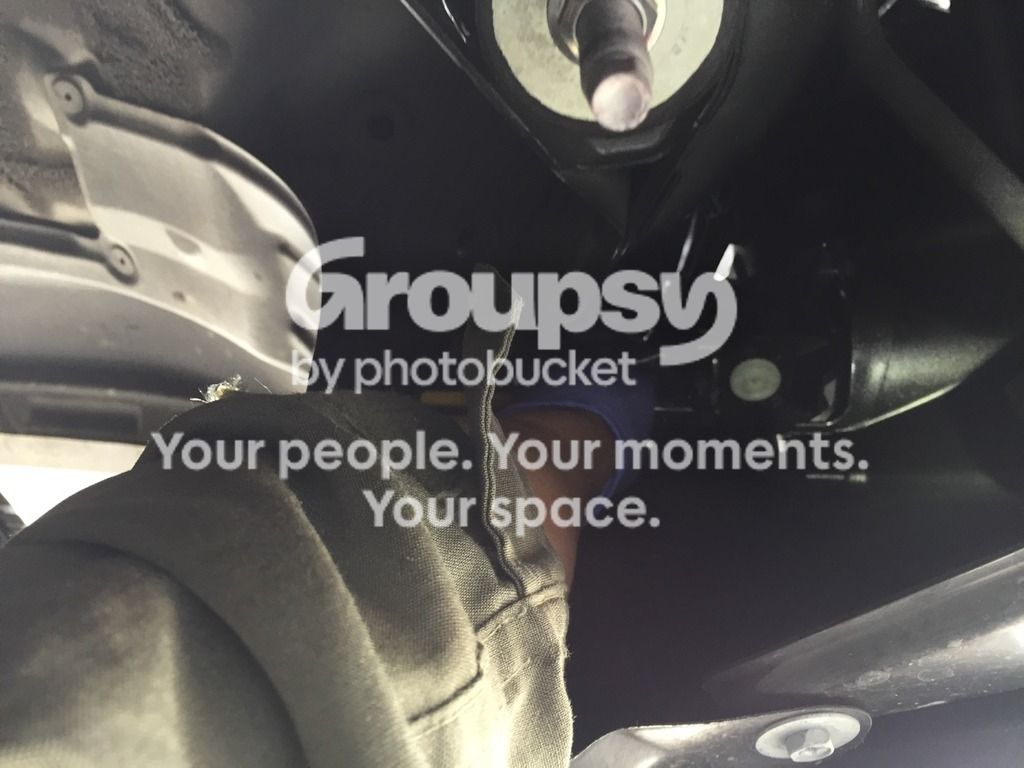
Note: I found myself working underneath the vehicle looking up and also sitting up with one arm inside the wheel well opening and the other arm manipulating the fog from the outside of the bumper.

Driver’s side fog:

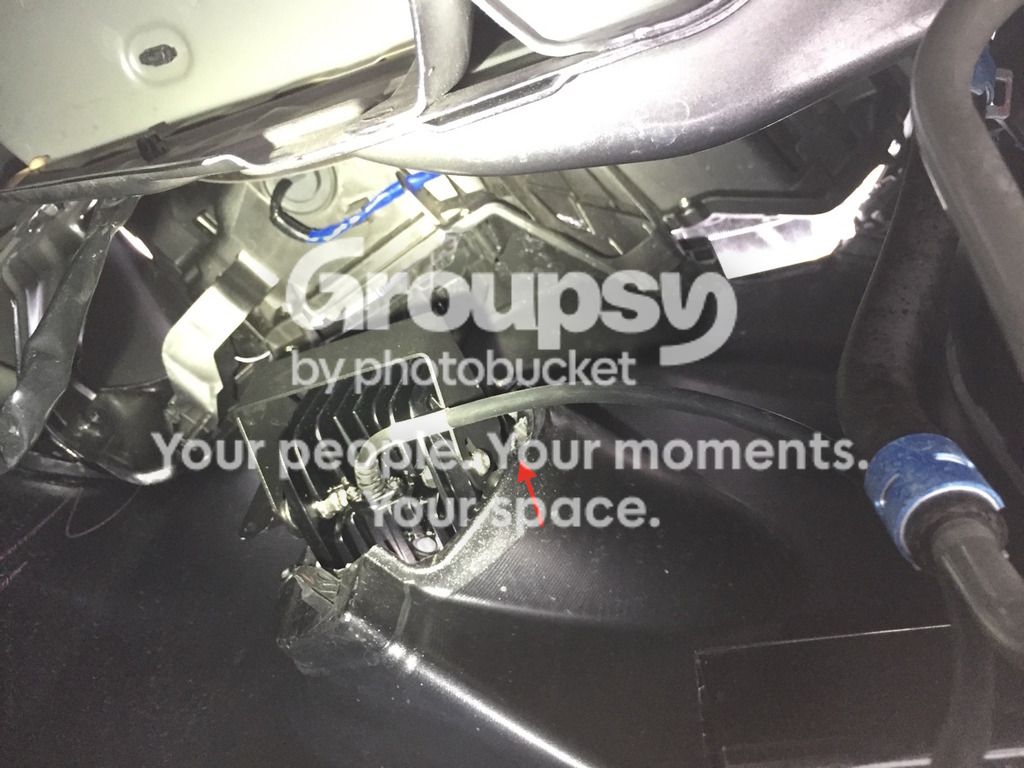
Although you can work from under the car on this side, I recommend removing the wheel well plastic liner. Just removed the bottom screw and then the following 3 screws going up the side of the wheel well.

The amount room you have to work from under the car:
IMG_4650%20copy_zpsoljzmmpg.jpg~original

Not terrible.

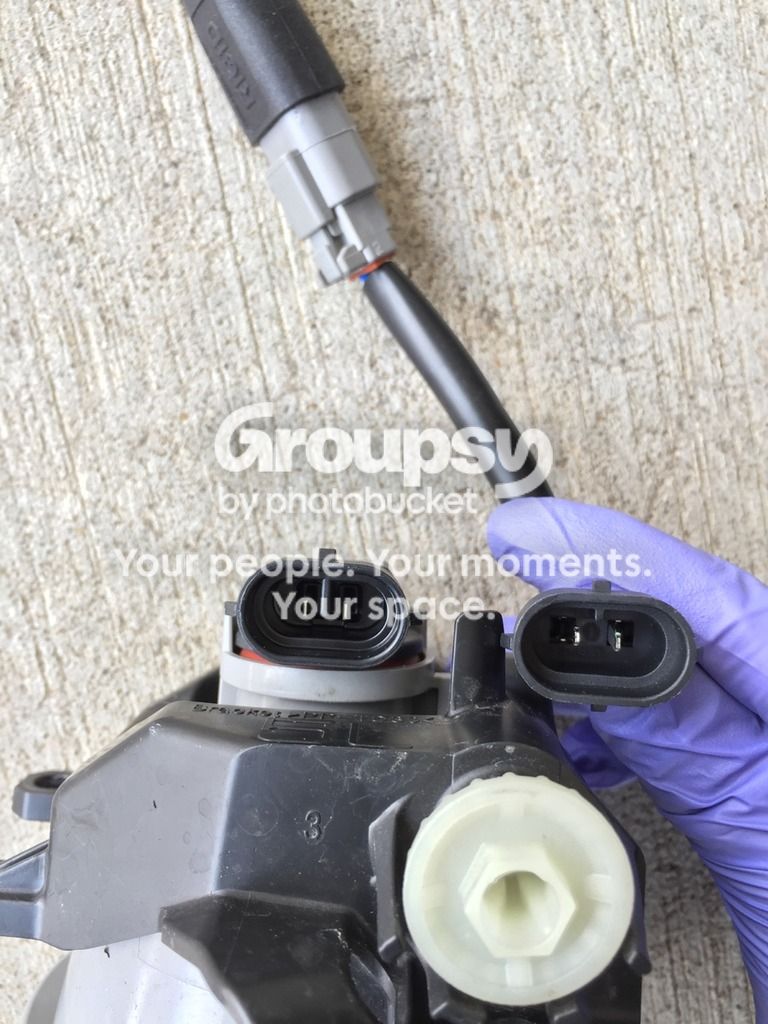
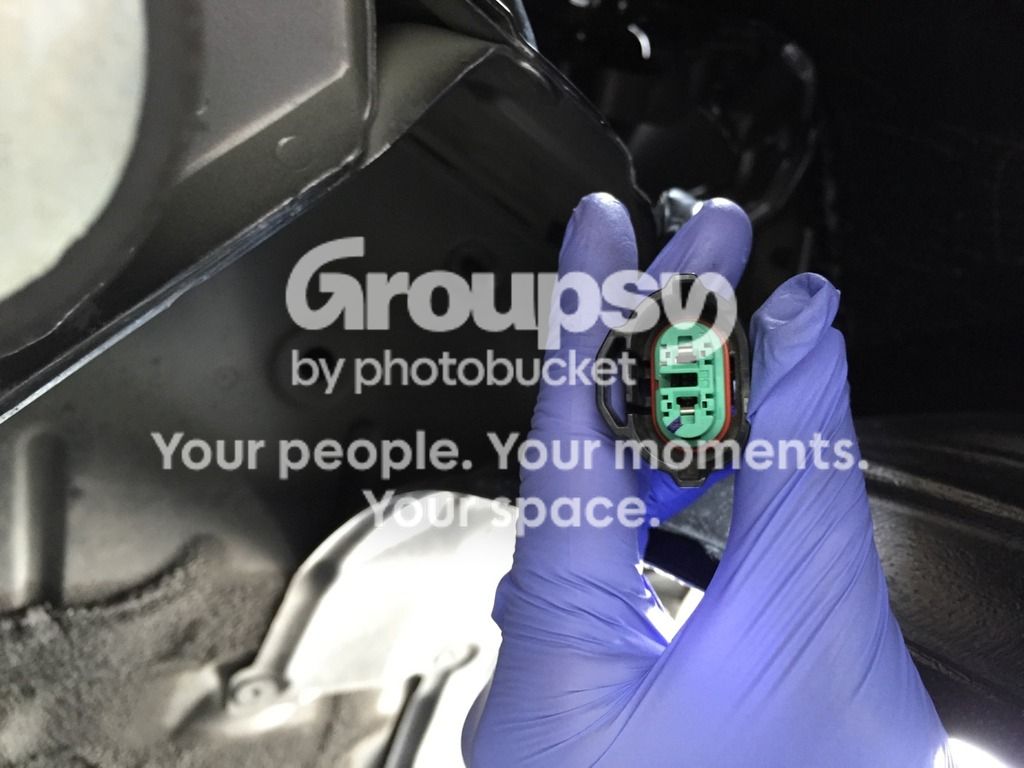
If you use the MRT harness form TotalAutomotiveLV, it plugs right in like this.

OEM H16 connector on the left, H16 adapter on the right.
IMG_4655%20copy_zpspbda5eew.jpg~original


Match the “groove” to the vehicle fog light H16 plug.
IMG_4657%20copy_zpscc2w5f4s.jpg~original


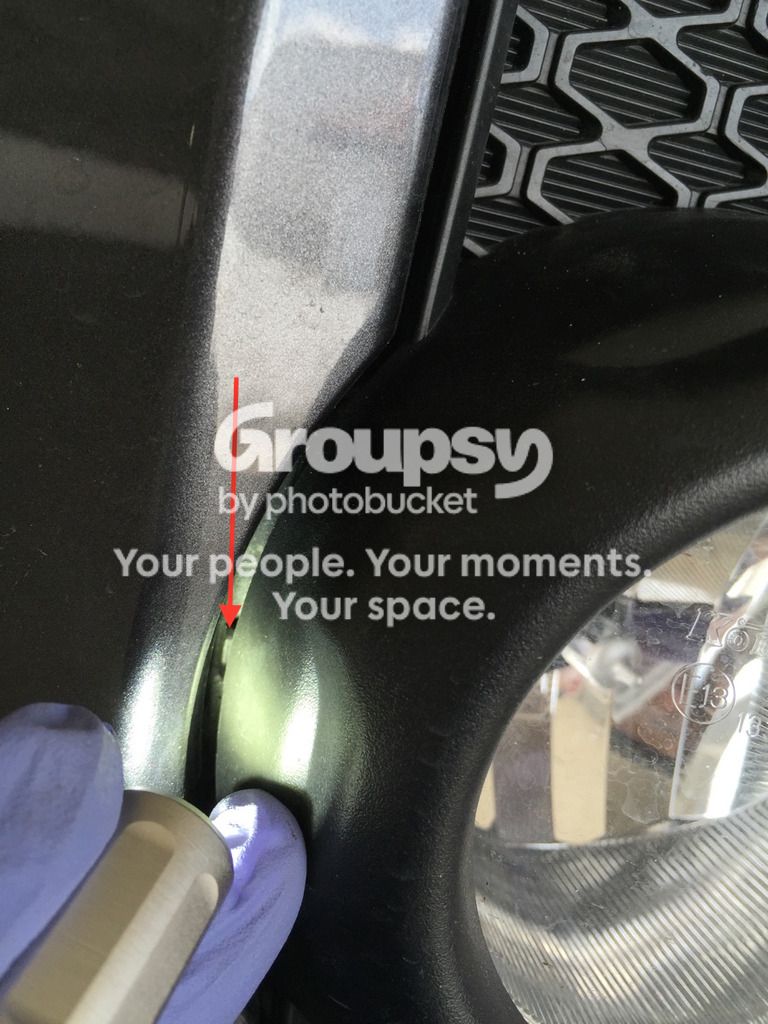
This is the “plastic fog light housing groove” you want the Rigid bracket tab to insert “in front of”/anterior to:
IMG_4668%20copy_zpsw0rylpn7.jpg~original


I didn’t take a picture of the front view of the driver's side “plastic fog light housing groove” but I’ll show the front view of the PASSENGER side
IMG_4673%20groove%20copy%20_zpsexf3iitm.jpg~original


Check if the fog light works. Then move on to the next side.

Passenger’s side fog:

I tried removing the OEM fog light from under the car on this side – very difficult. I’d go ahead and remove 5 screws on the wheel well plastic liner. Like on the driver's side wheel well, removed the bottom screw and then the following 3 screws going up the side of the wheel well, BUT ALSO remove another screw on top (it will be above the actually bumper).

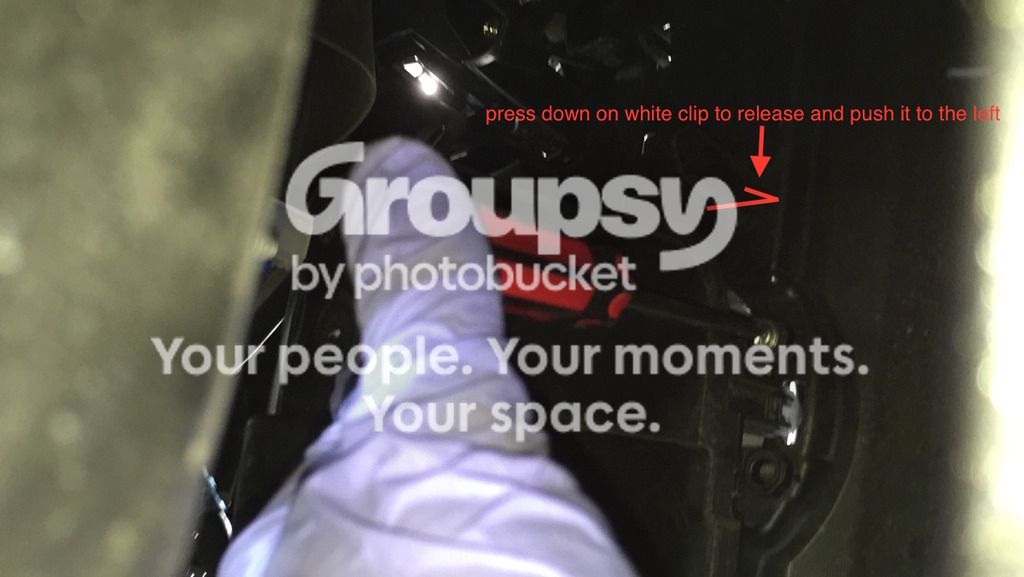
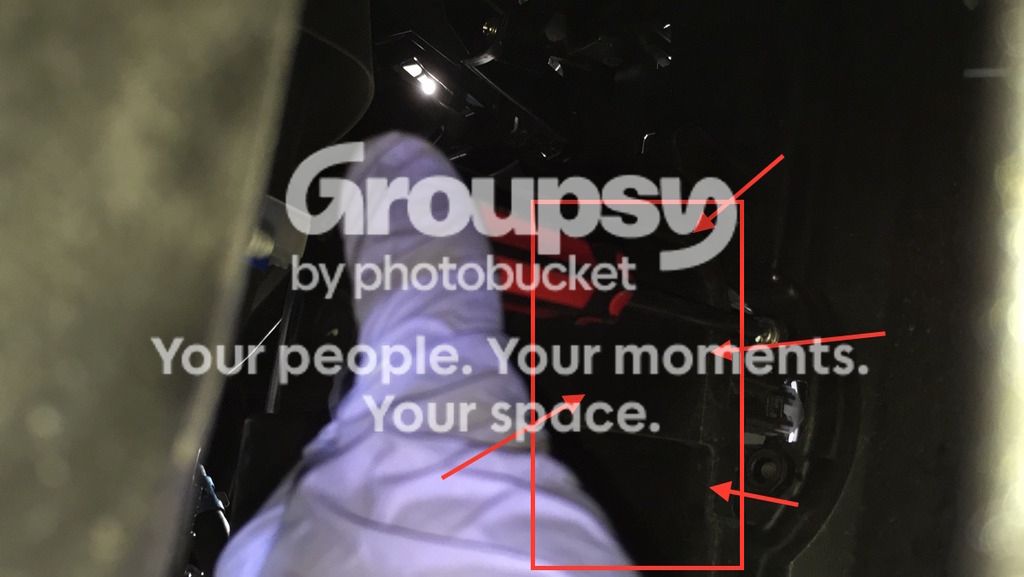
Looking towards front of car from inside the passenger side wheel well. This will be the white clip that helps hold in the “front boomerang plastic piece” of the outside of bumper. (red imaginary clip in the picture because I took out the real white clip before I snapped the photo)
IMG_4670%20copy_zpsv6xqazvy.jpg~original


**In hindsight maybe it was better to take the “boomerang piece” out in the first place like kevinmai712 did. I didn’t so I can’t tell you how to, but I don’t imagine it to be too difficult.

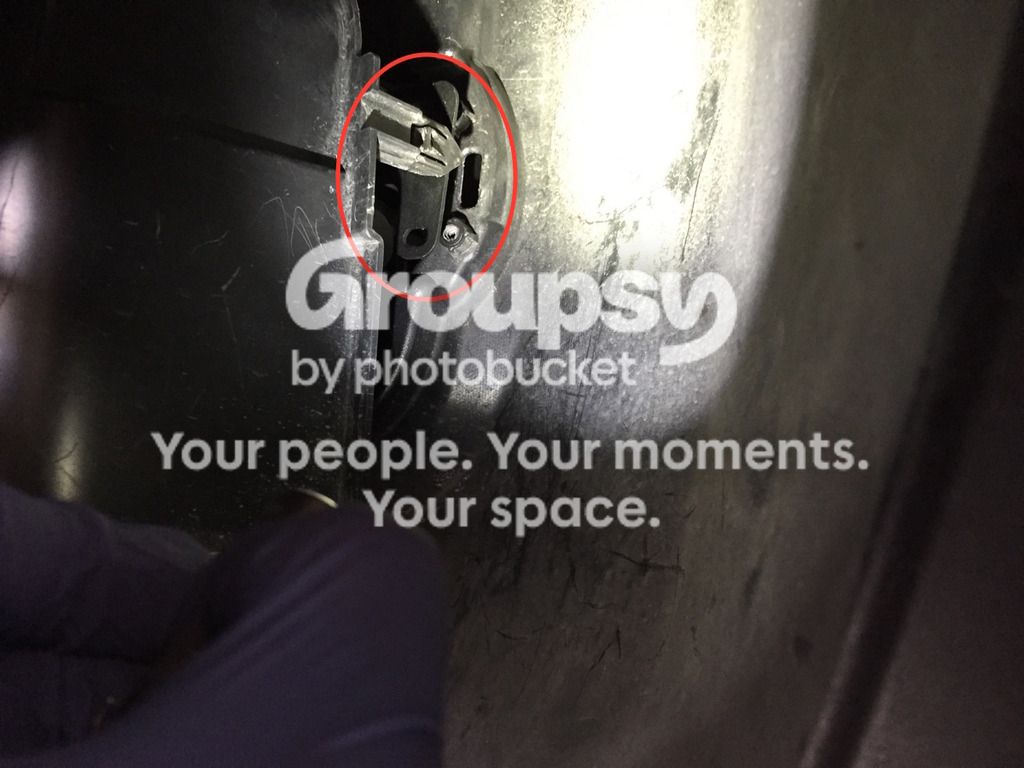
Remove the white clip so you can wiggle the “boomerang” more easily. Then you can access the retainer tab of the “back passenger fog light cover” on the left (left as in when you are facing the front of the car). I used a screw driver to press down on the retainer tab to release it. Be careful not to scratch your car.
the cover retain tab:
IMG_4669%20copy_zps1jc8t7fq.jpg~original


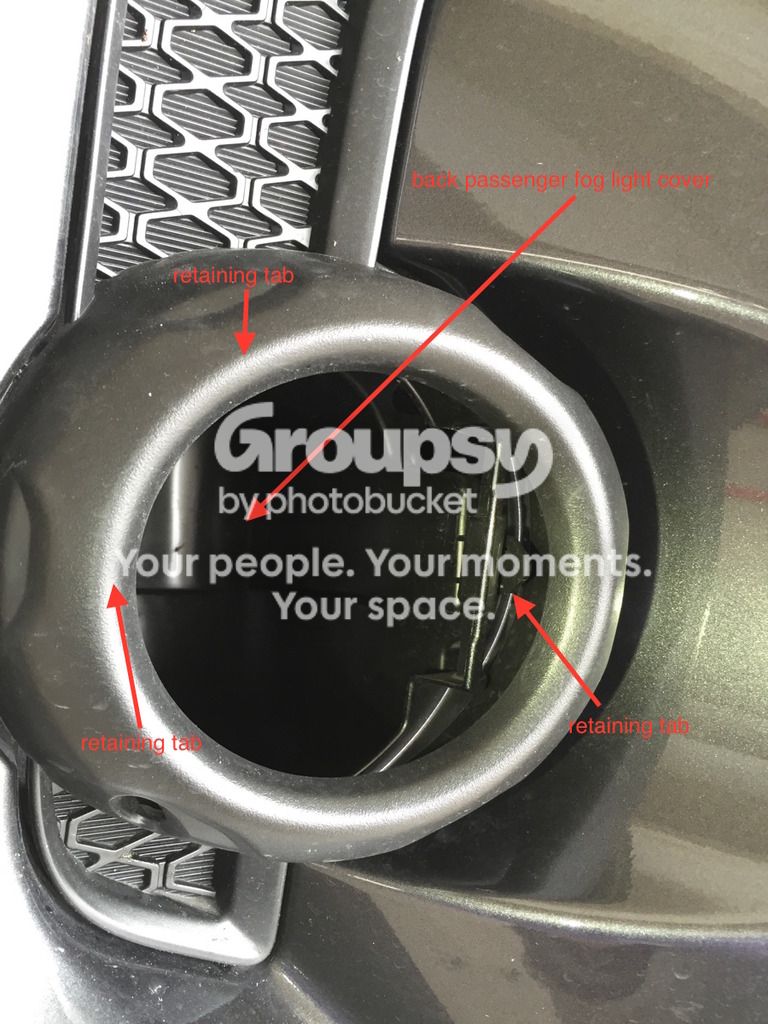
Back passenger fog light cover (view from back):
IMG_4671%20copy_zpsa8mgtwjc.jpg~original


After you release this retainer tab, you should be able to take the passenger OEM fog light out now.

With the stock fog light out, you see the “back passenger fog light cover” still in the fog light opening from the front.
IMG_4673%20copy_zpstmh1qjah.jpg~original


As someone else said you can’t put the “back fog light cover” back on because the new bracket covers where the retaining tab inserts.
IMG_4674%20copy_zpsddscjoys.jpg~original


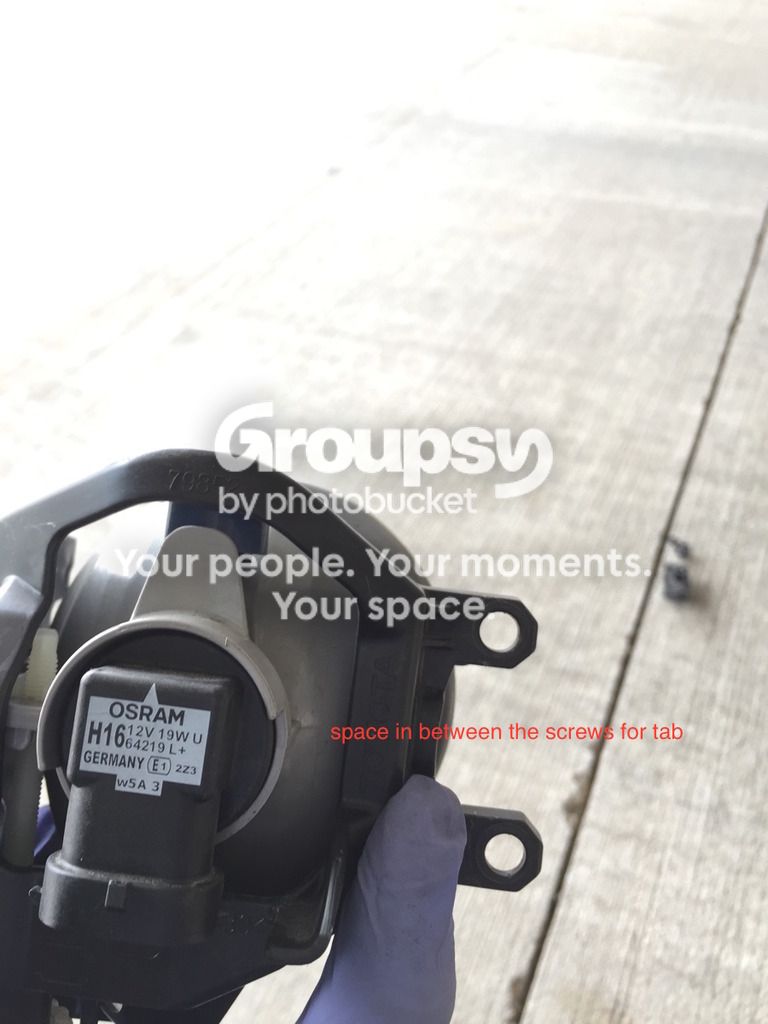
The OEM bracket has space for the retaining tab.
IMG_4675%20copy_zpsmjuxk2r5.jpg~original


That’s pretty much it. You gotta shimmy and work with the fog light once inside the housing. Then put the two screws in the rigid bracket. Zip tie the excess wiring as needed.

Hope this helps. Good luck!

 
Well it didn’t make too much of a difference. Actually I made it a bit worse cause the driver’s side is angled up now so I need to fix that. Judging from other forums, it seems my fog lights are roughly aimed about the same distance underneath the headlight beam.

2.5 feet
IMG_4701%20copy_zpshoz8nnar.jpg~original


4 feet
IMG_4698%20copy_zpsi74h8plb.jpg~original


However when I go further back, about 30 feet away (disregarding the angled up driver’s side fog light), you can see the fog light cut off start to be around the headlight beam cut off. I’ll have to adjust it a bit more.
IMG_4693%20copy_zpsjnutj566.jpg~original

I would aim the fogs a lot lower, it look like it started to blend in with the headlight. Also very nice on the detail photos of the install.
 
Let's look to the guy known for lighting expertise on aim: Daniel Stern. here

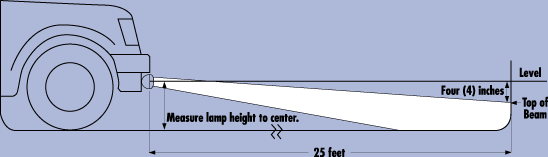
If the fog light is 28" or more from the ground, then a 4" lowering at 25ft is appropriate. If the fog light is 18.5"-28" from the ground, then it is only 3". I'm not going to measure it out right now, but those are the regulations.
 
when I was installing mine the driver side was correct level and the passenger was pretty high up, it was hard to adjust the passenger side cause it was rubbing against the fog trim up front. What I did, I took out the plastic cover in the front of the bumper and adjusted and tighten the screw and then reinstall the front fog covers. If I remember I parked the t4r about 2-3feet away from garage door and the top of the fog beam was about 13-15" from the ground

This helped a lot! I was able to correctly aim my fog lights. What I also did that helped was adjust the mounting bracket where it screws into the rigid foglight itself - I had it too far forward initially.

Thanks to everyone for the aiming tips
 
The only pre-packaged kit we have put together is the one with the DOT/SAE Dually. If you want a different light, no problem! You just have to add the following individually.

Amber Dually Flood - Rigid Dually - 20212
or
Amber Dually Spot - Rigid Dually - 20222
or
Amber Dually D2 Driving - Rigid Dually D2 - 50232

PNG Conversion Harness - PNG Harness by MRT Motorsports

Rigid Fog Bracket (Does not fit limited models) - Toyota 4Runner Fog Light Kit 46540


Add the items youd like to the cart, then enter the code LIGHTME to get our forum discount. If we can be of any help, call 702.979.1577. Thanks!
 
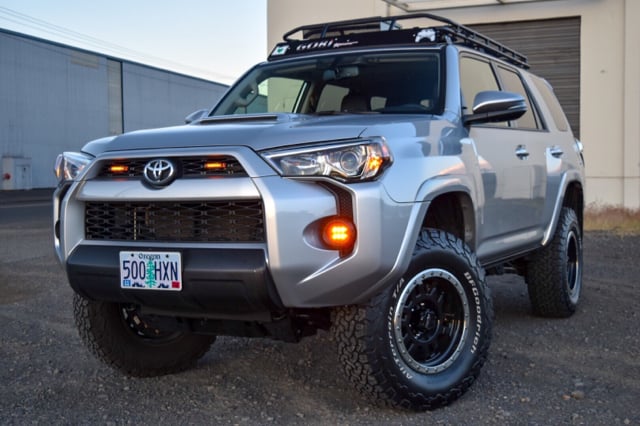
Went D2 Amber Driving... Throws serious light in a true drive light beam pattern...fairly wide and far. Not something to use for daily around town, but these will crush on trails, bad weather etc...

57ed21567f0fb7f9664b2aba7eb66195.jpg
 
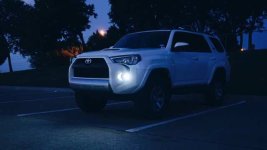
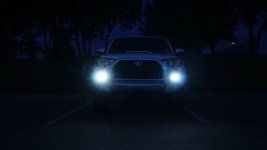
Image1465886065.534658.jpgImage1465886074.532160.jpgImage1465886091.152266.jpg
Few more shots of the fogs


Sent from my iPhone using Tapatalk
 

Attachments

  • Image1465886065.534658.jpg
    Image1465886065.534658.jpg
    13.3 KB · Views: 4,472
  • Image1465886074.532160.jpg
    Image1465886074.532160.jpg
    11.6 KB · Views: 4,047
  • Image1465886091.152266.jpg
    Image1465886091.152266.jpg
    13.8 KB · Views: 4,054
Went D2 Amber Driving... Throws serious light in a true drive light beam pattern...fairly wide and far. Not something to use for daily around town, but these will crush on trails, bad weather etc...

57ed21567f0fb7f9664b2aba7eb66195.jpg


Thinking of ordering a pair of ambers and mount it behind the lower grill just for trail use


Sent from my iPhone using Tapatalk
 

Members online

Forum statistics

Threads
278,313
Messages
3,554,090
Members
248,016
Latest member
Advally Service

Trending content

Back
Top