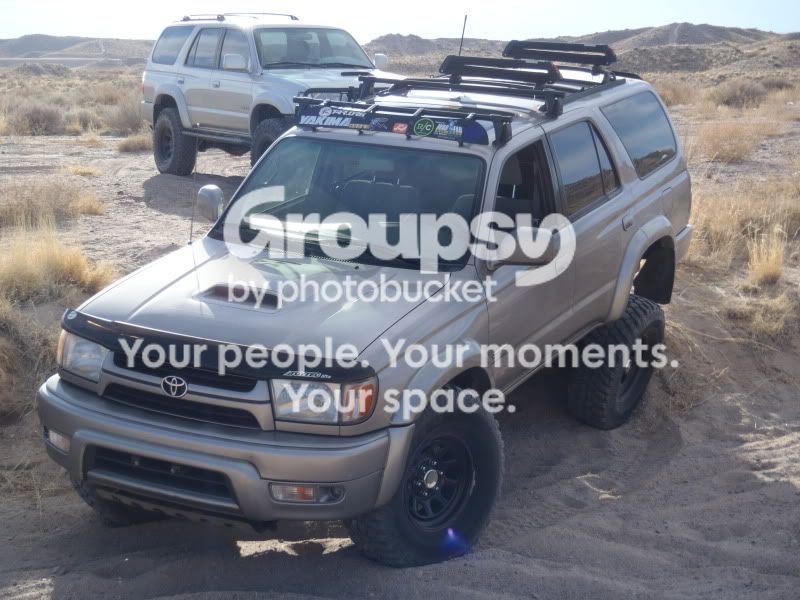
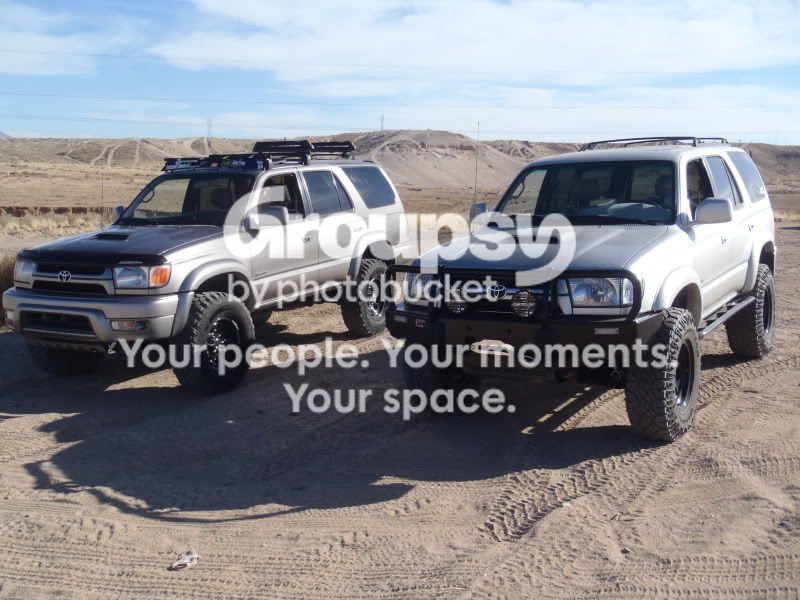
4-Ripcord
New member
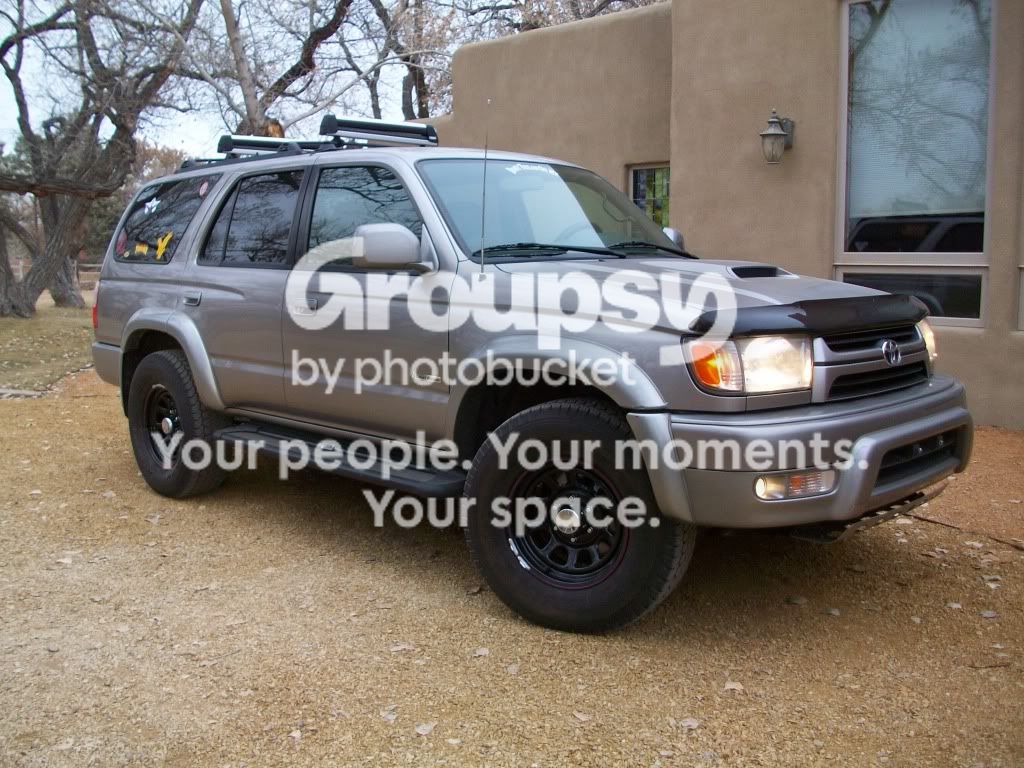
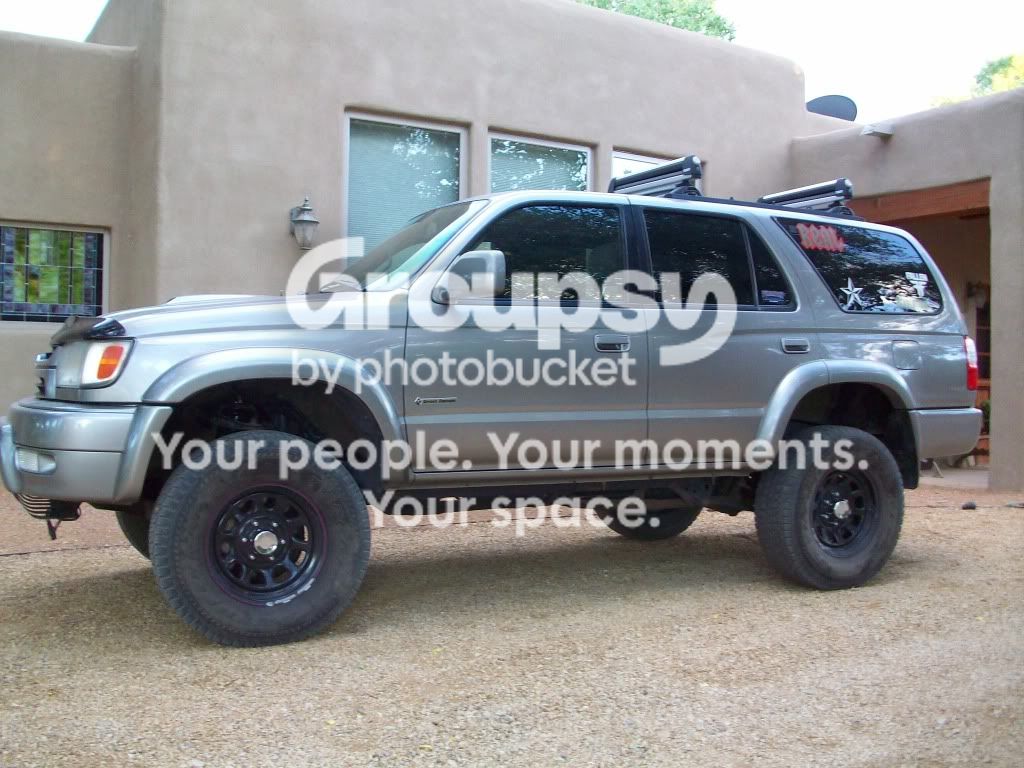
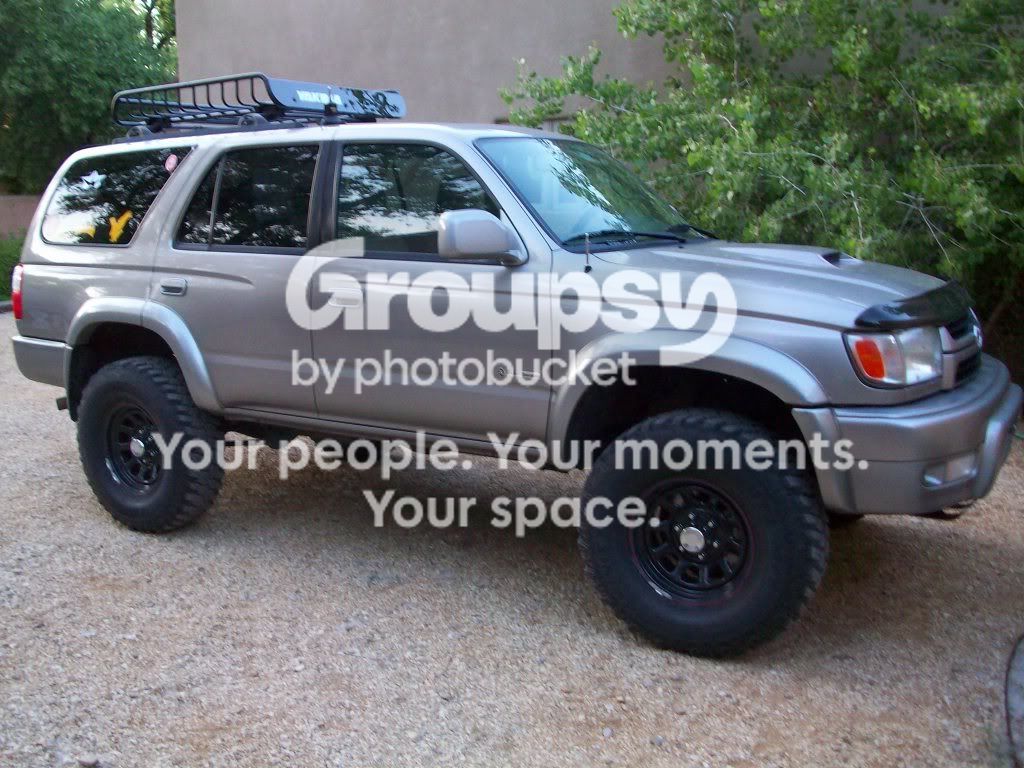
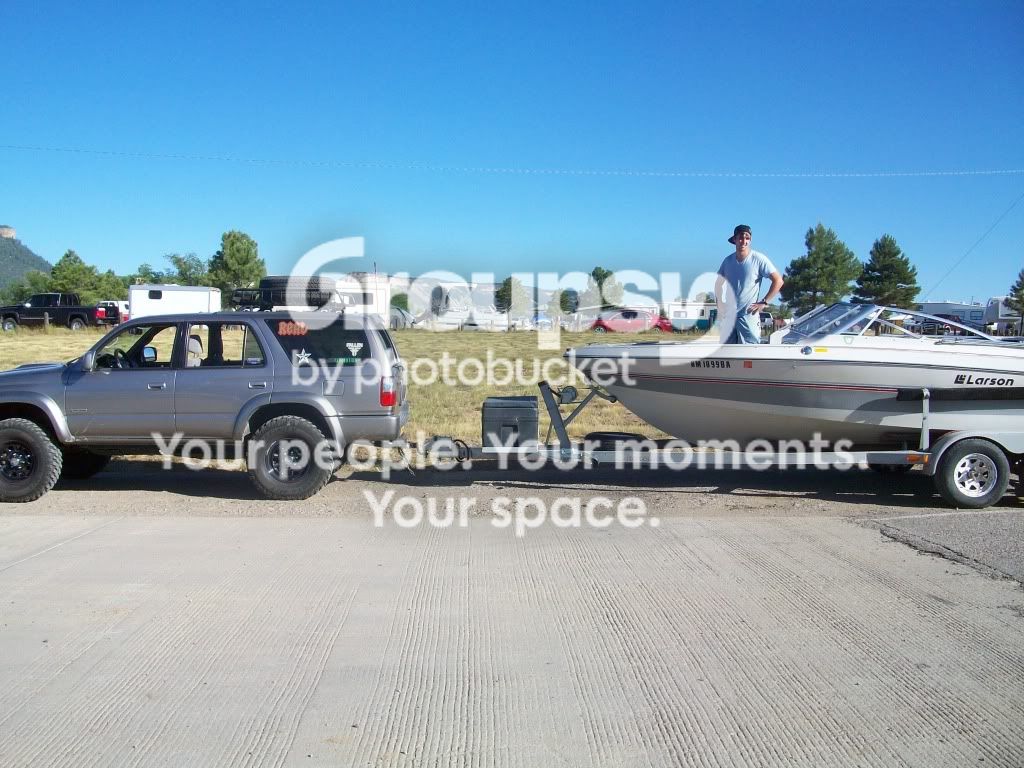
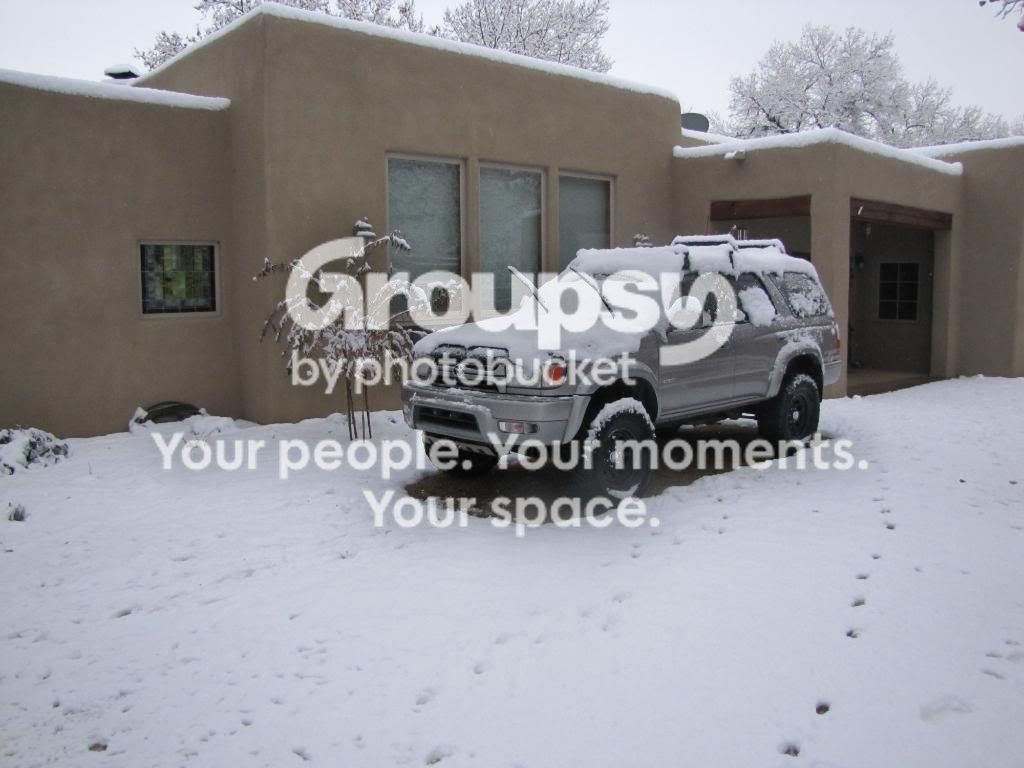
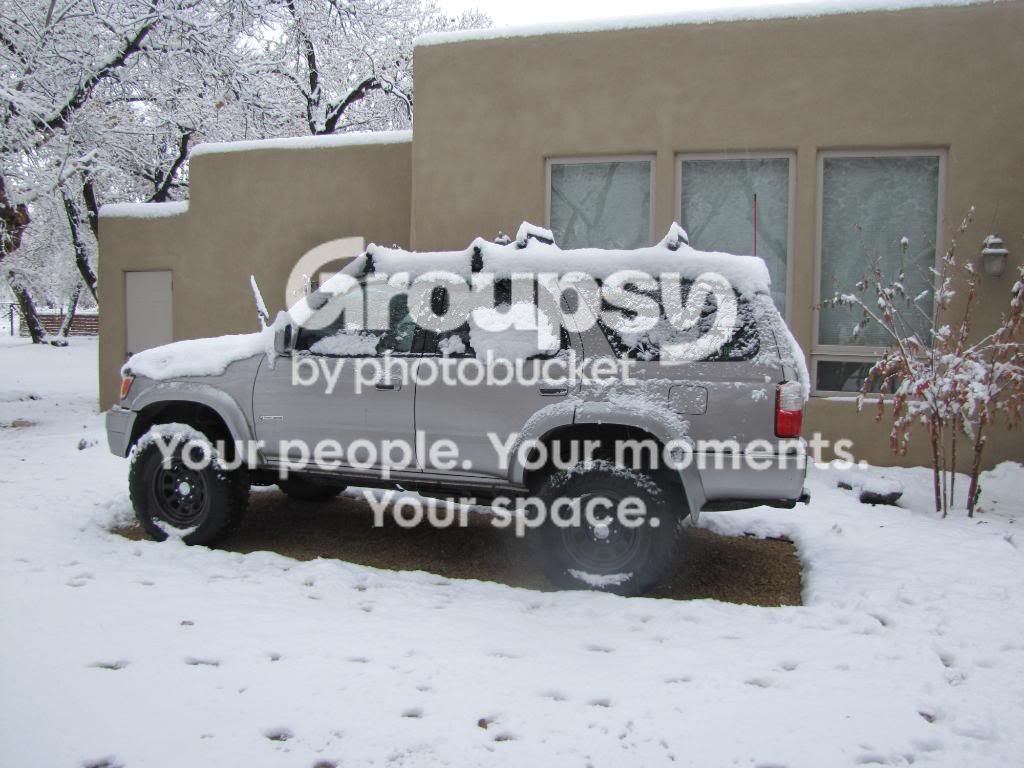
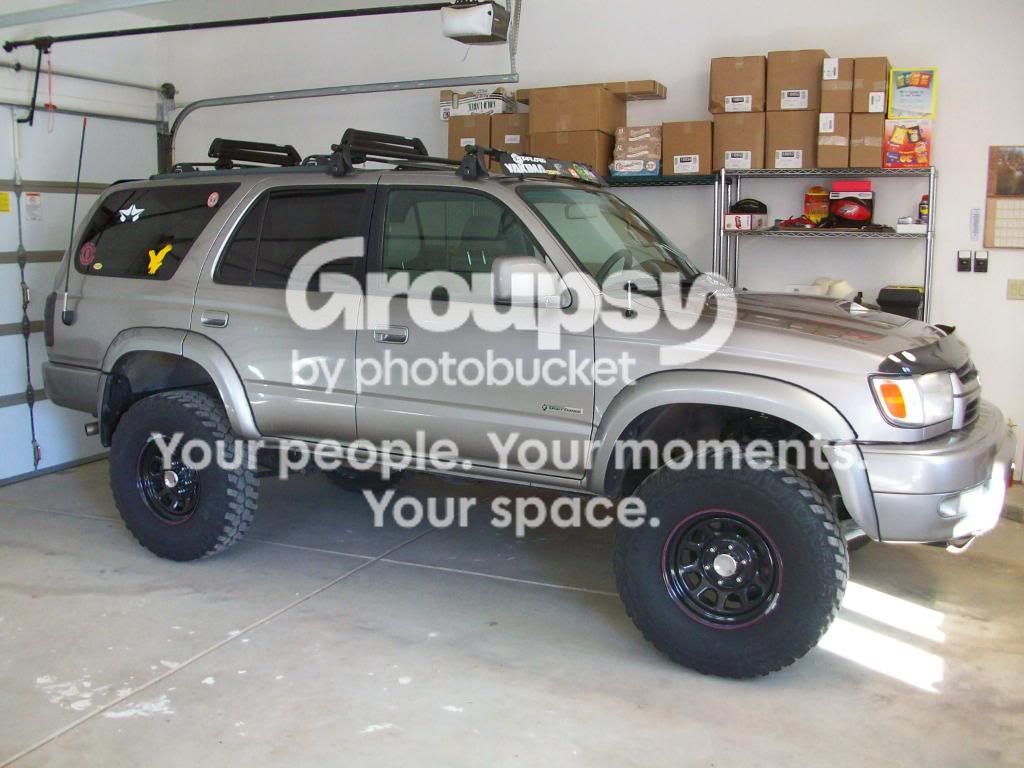
2002 TOYOTA_4RUNNER 4x4 SPORT EDITION
Thundercloud Metallic Grey
TRD Supercharged 3.4L V6 5VZ-lFE
4-Speed A340lF Automatic Transmission
Multi-Mode 4x4
4.30:1 Differential Gears w/ E-locker
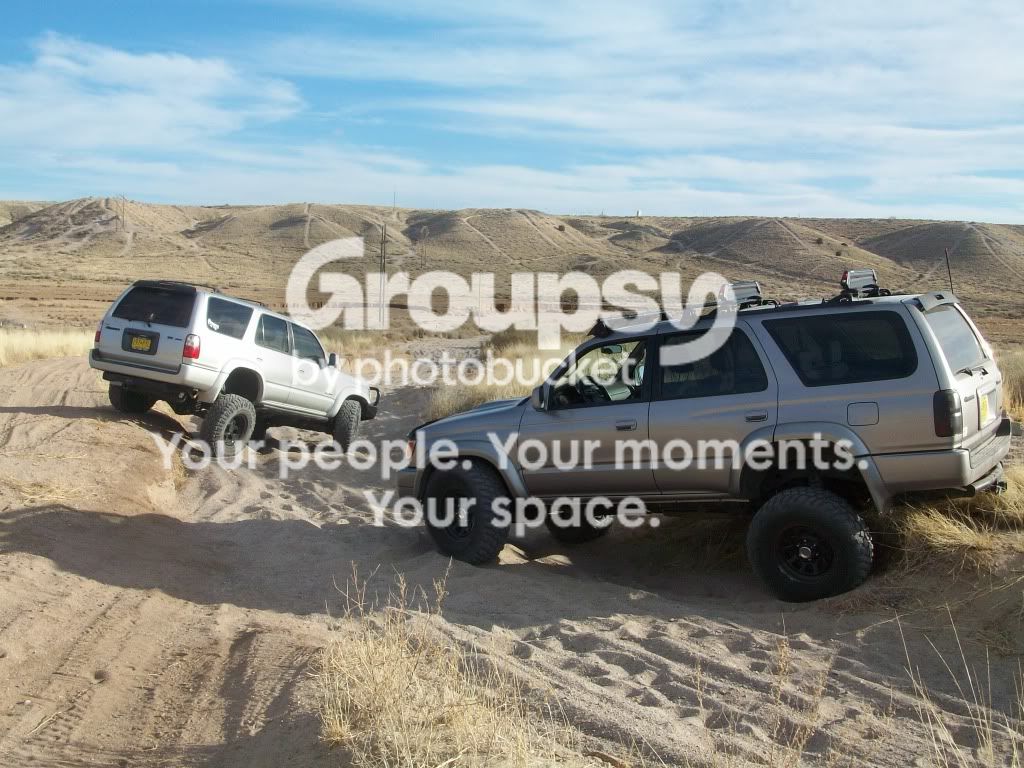
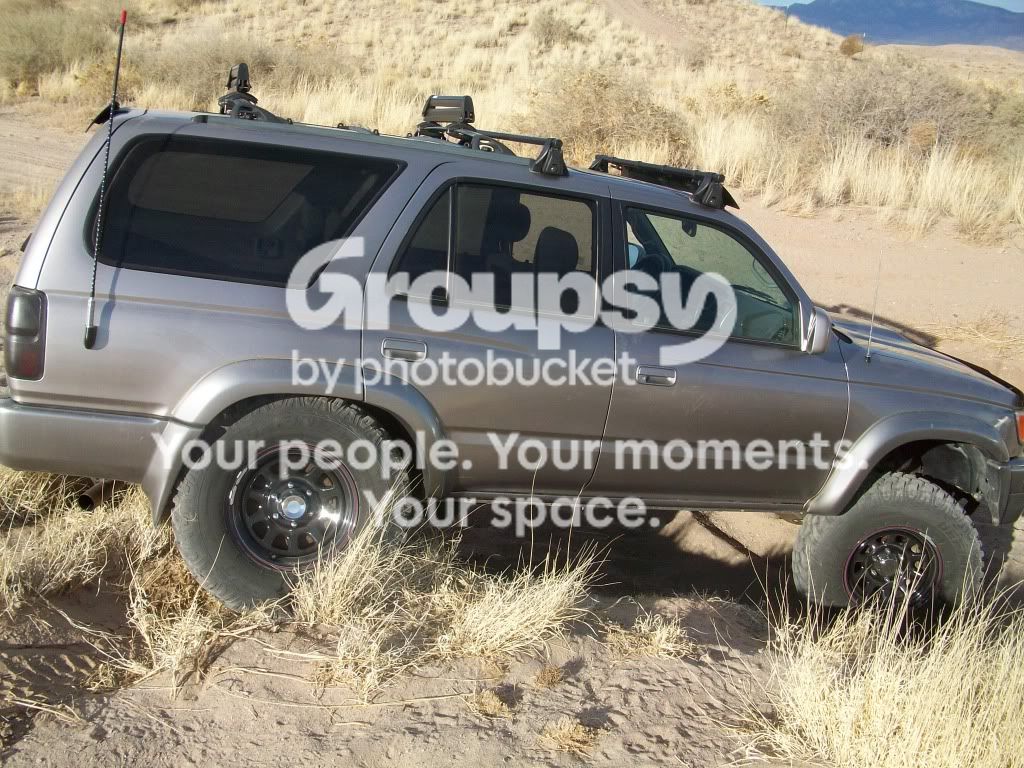
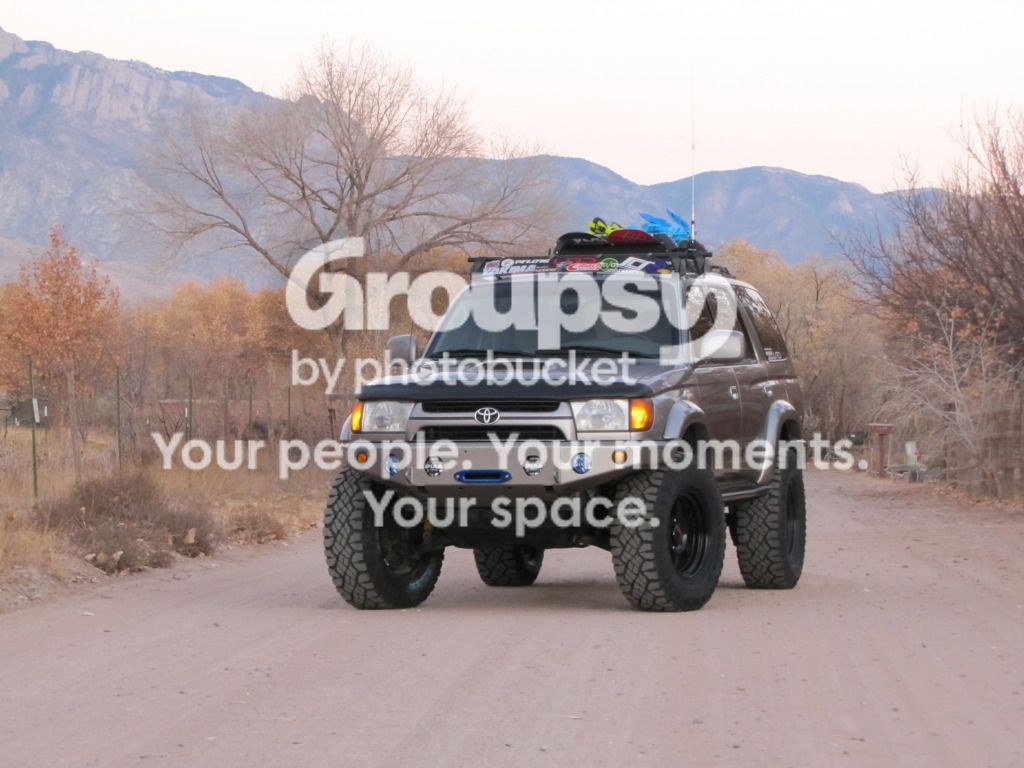
Most recent picture as of December, 2012:
~~~~~~~~~~~~~~~~~~~~~~~~~~~~~~~~~~~~~~~~~~~~~~~~~~~~~~~~~~~~~~~~~~~~~~~~~~~~
++++++++++++++++++++++++++++++++++++++++++++++++++++++++++++++++++++++++++++
|June, 2008|
-I bought my 4runner for $13,200 in Golden, Colorado (original owner). At that time it had just over 74k miles.
The truck had PERFECT maintenance records, all of which was dealer performed. (They even tracked each tank of gas for the first 50k miles..)
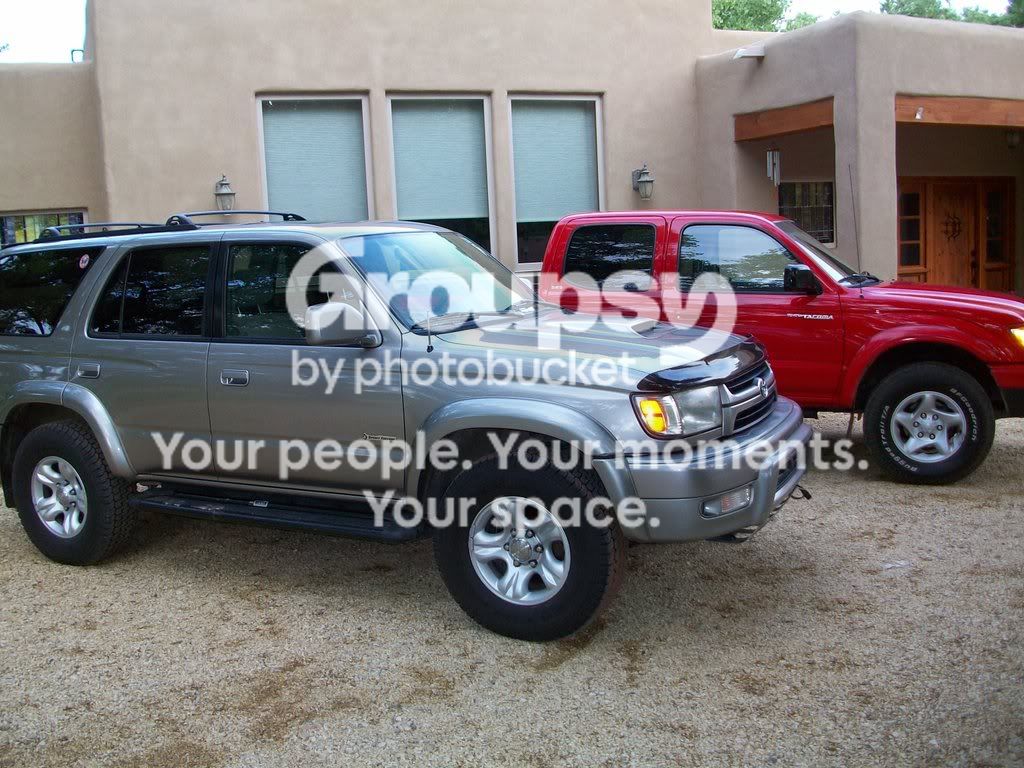
Right after I drove home, parked next to my 2001 Tacoma that I was working on selling. (2wd, e-locker)
===============================================================================
UPGRADES & MODIFICATIONS - As of March 28th, 2013.
Links to pictures/Write-ups can be found next to each item.
Suspension:
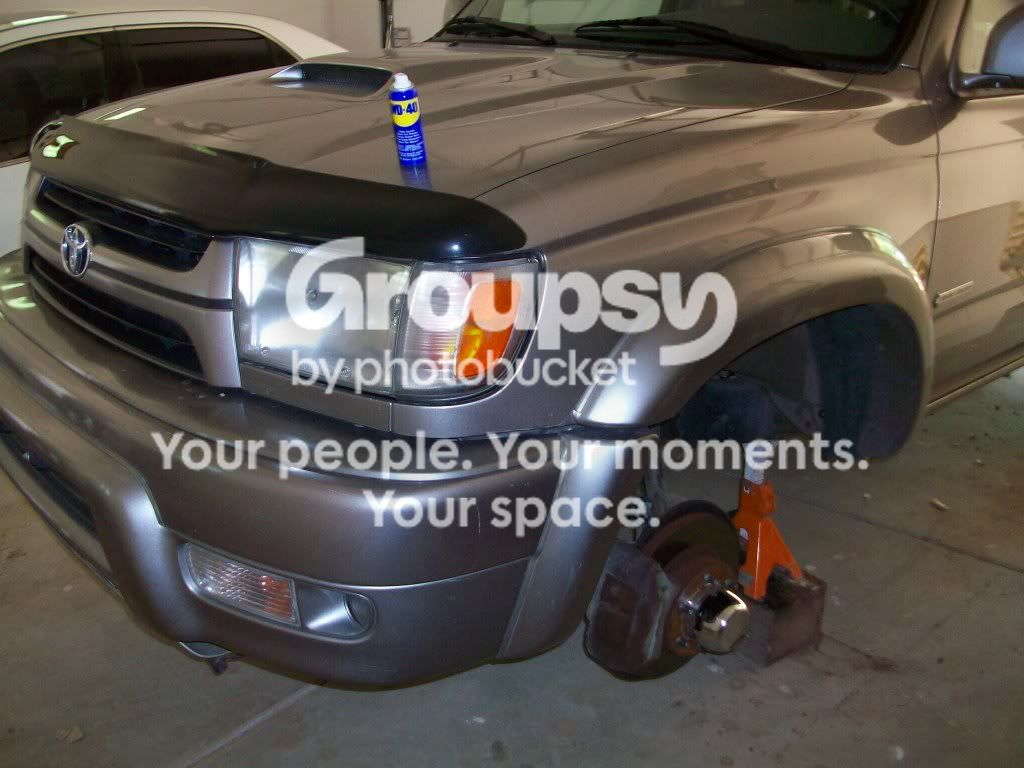
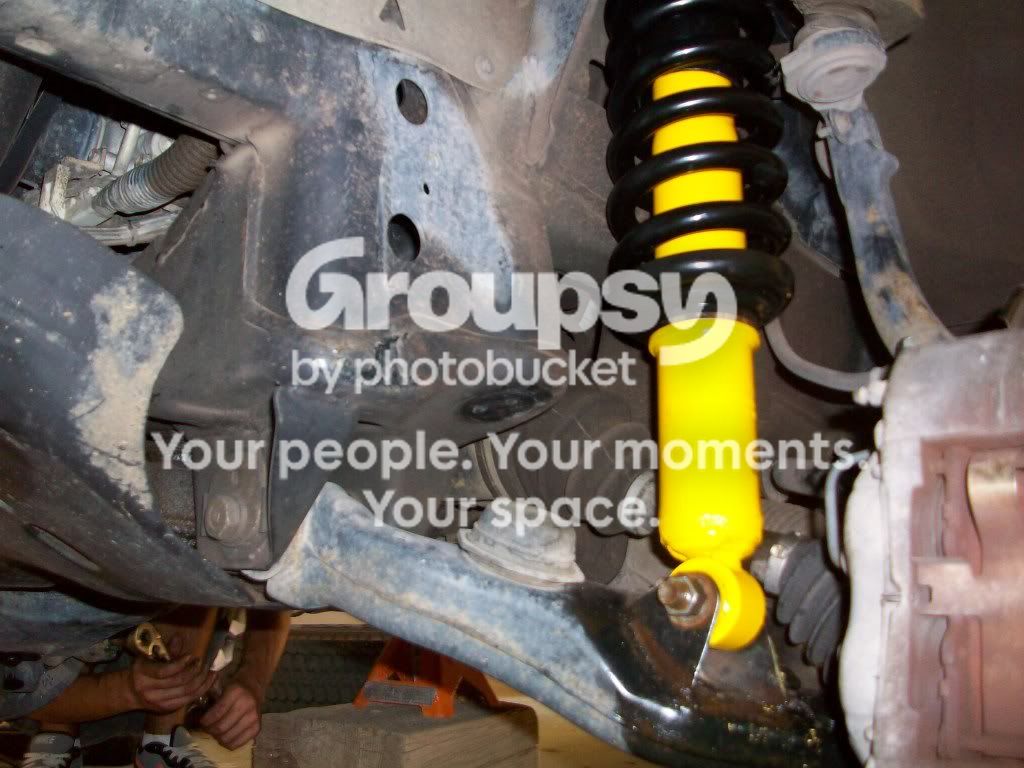
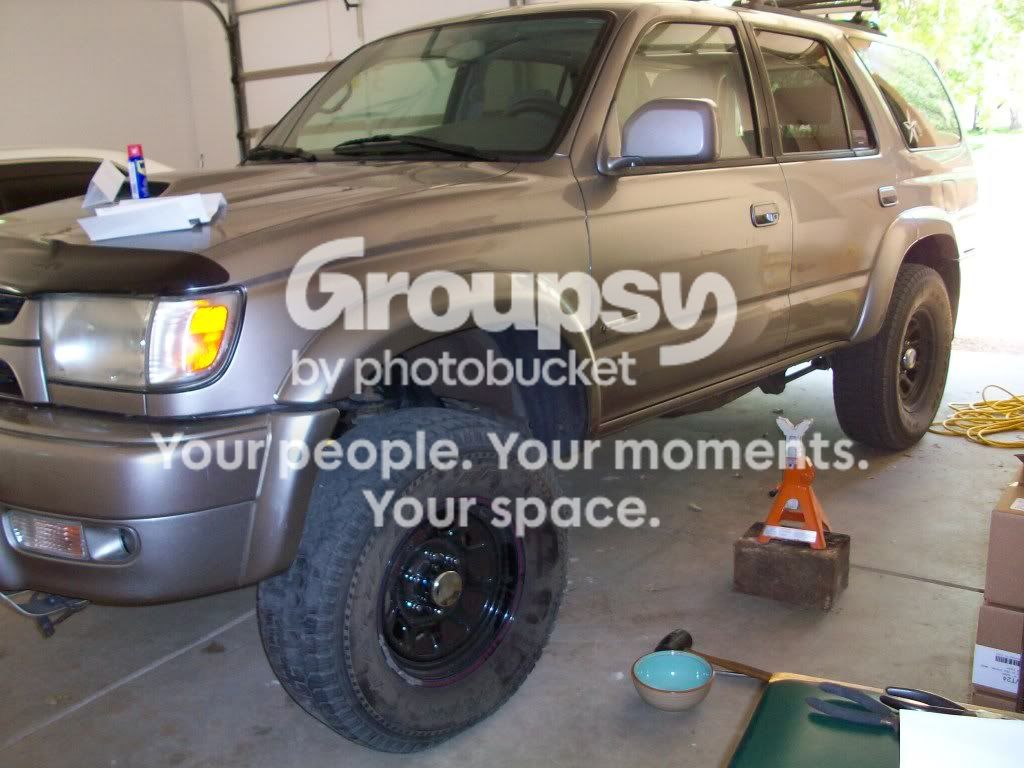
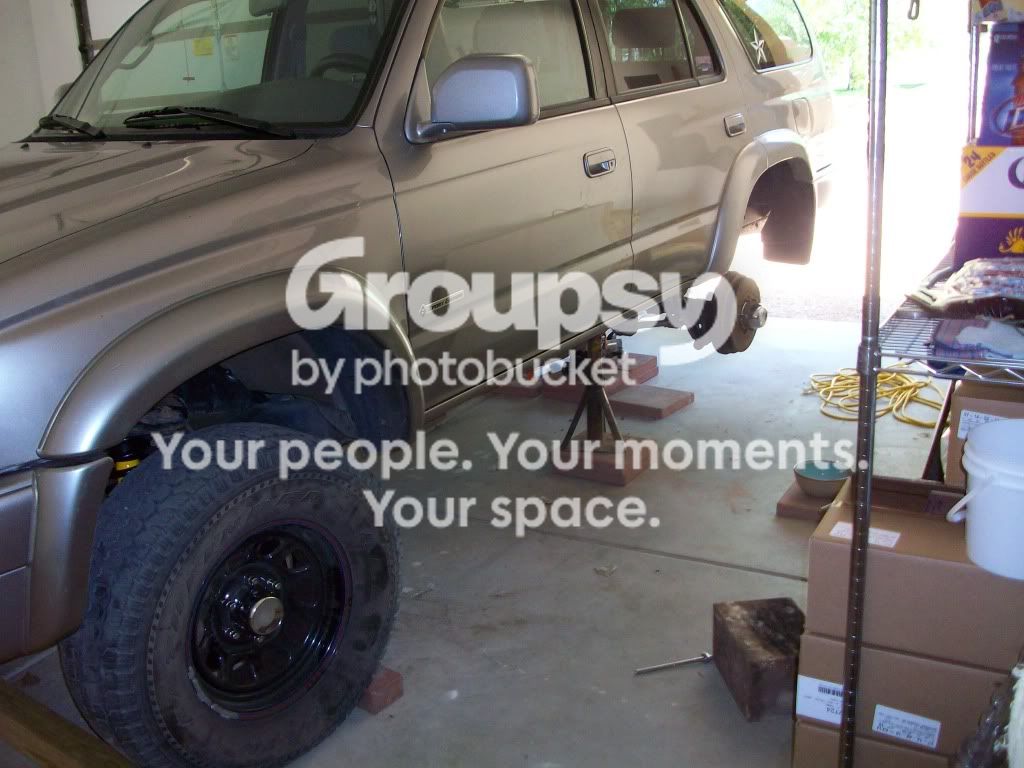
Front:~3" lift
-OME 883 Coils (PG. 1/ Post 2)
-OME 90004 Nitrocharger shocks (PG. 1/ Post 2)
-Toytec 1" Differential Drop
-Energy Polyurethane Sway-Bar Bushings
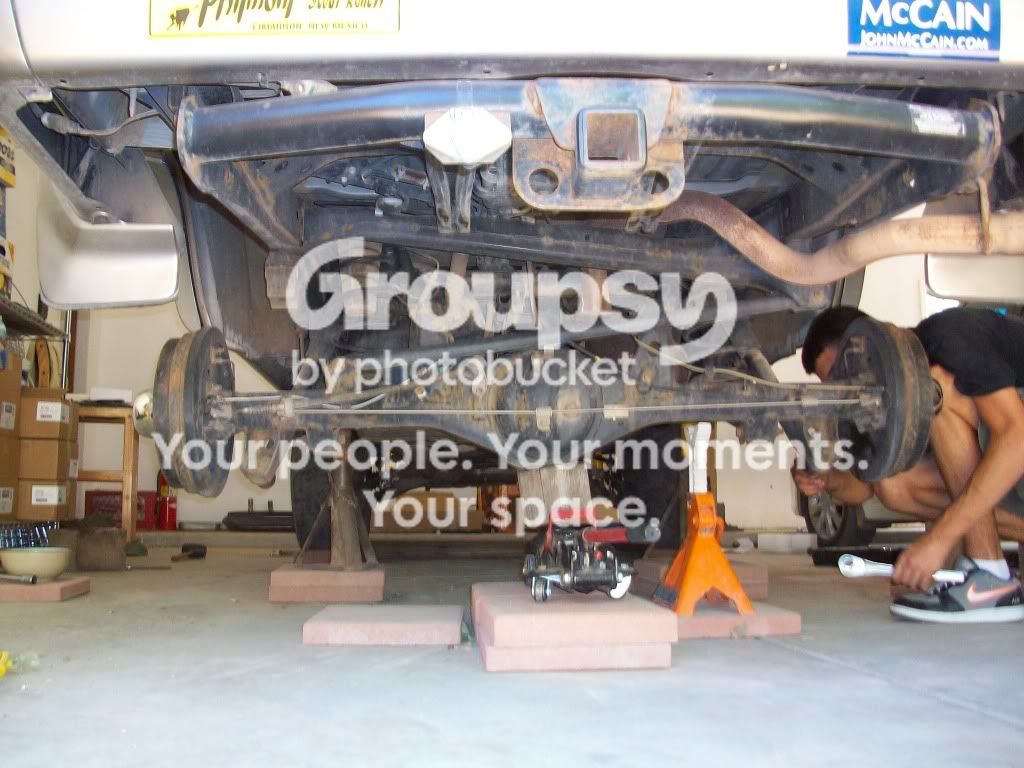
Rear:~3" lift
-OME 890 Coils (PG. 16/ Post 227)
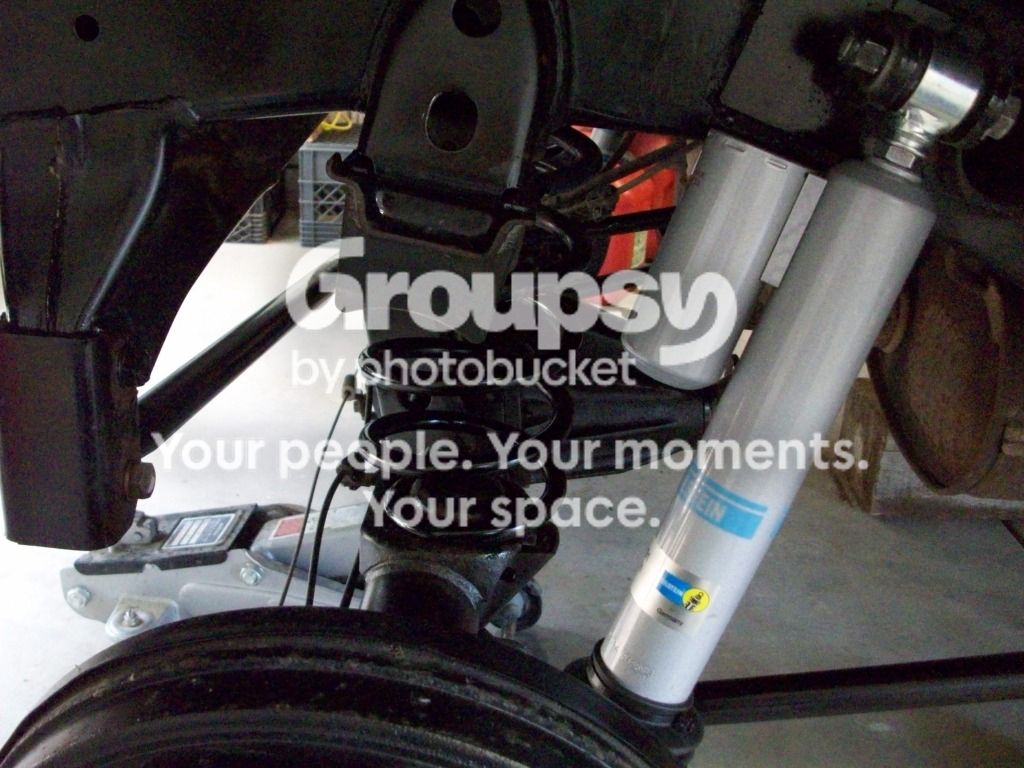
-Bilstein 5150 reservoir Rear Shocks (PG. 42/ Post 630)
-Custom Rear Upper shock mount (PG. 16/ Post 227)
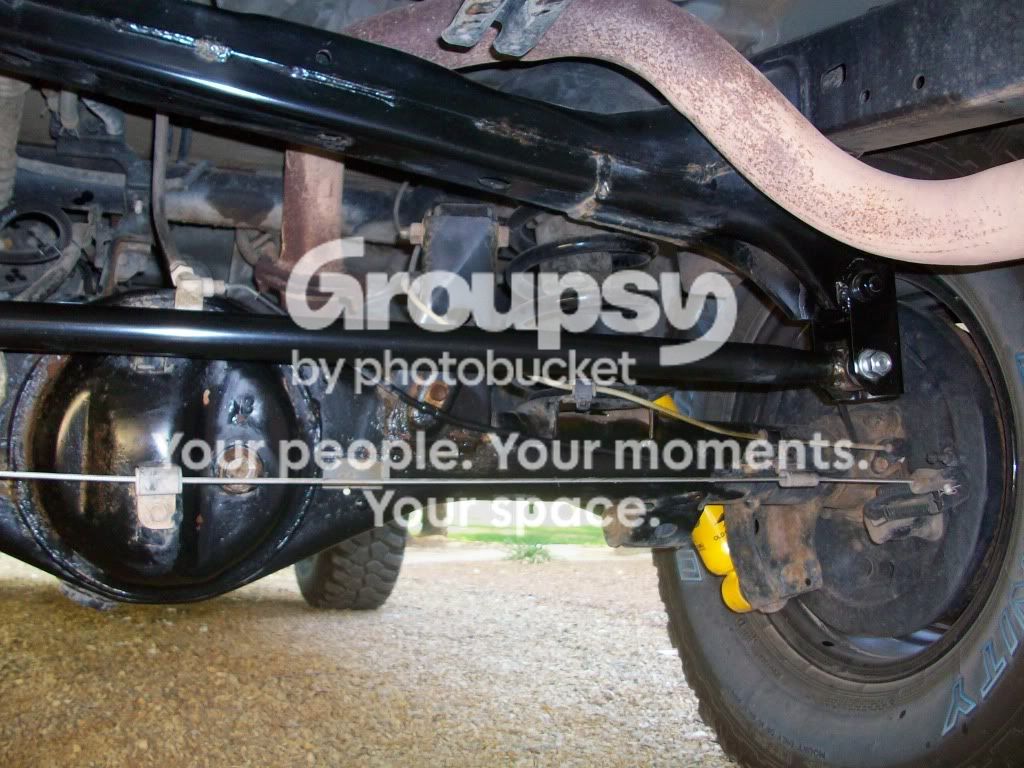
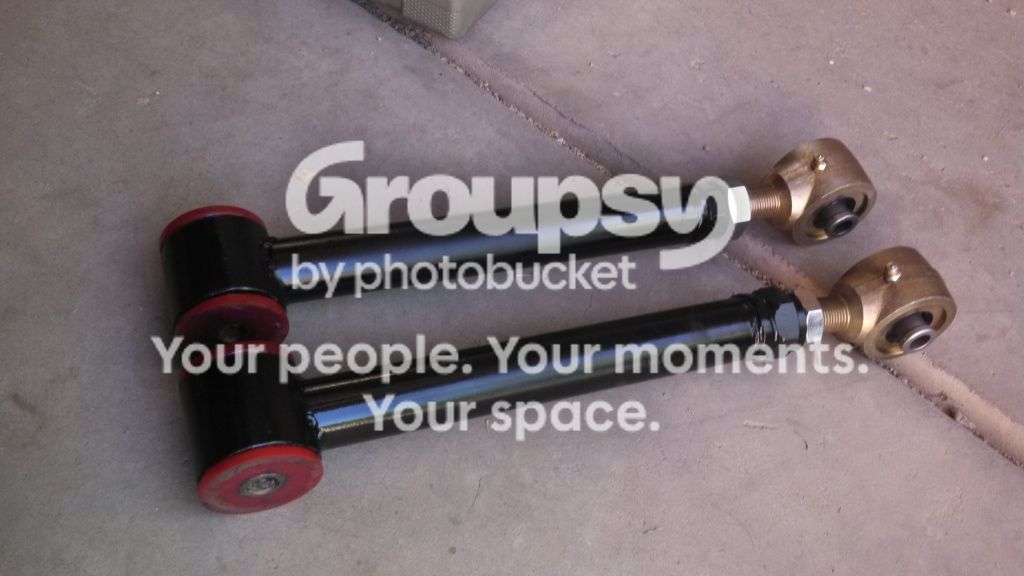
-Custom HD DOM Rear Upper control arms (PG. 66/ Post 985)
-Toytec Panhard Bar Drop Bracket (PG. 1/ Post 2)
-Energy Polyurethane Sway-Bar Bushings
Wheels & T!res:
-17x8 Konig Countersteer Type-X (PG. 8/ Post 117)
-285/70/17 Goodyear Wrangler Duratracs (PG. 51/ Post 752)
Load range "D"
-Custom low-profile red "TRD" Center Caps (PG. 14/ Post 209) | Re-Done in Blue (PG. 63/ Post 965)
-Blue Lug Nuts w/Locking lugs (PG. 63/ Post 965)
Engine & Performance Upgrades:
-TRD Supercharger (2nd/4th gen Black) | Install - (PG. 17/ Post 246) | Rebuilt Nose cone- (PG. 25/ Post 365)
-URD 7th injector Kit (PG. 17/ Post 246)
-URD 2.2" S/C Pulley (PG. 25/ Post 365)
-TRD Dynamic Tensioner (PG. 39/ Post 578)
-190 LPH Fuel Pump (PG. 17/ Post 246)
-aFe Pro Dry S filter (PG. 25/ Post 365)
-Deckplate Mod (PG. 1/ Post 4)
-ISR (Intake Silencer Removal) (PG. 1/ Post 4)
-Air-Elbow Mod
-Stant 170* Theromstat
-KOYO Rad!ator (PG. 34/ Post 506)
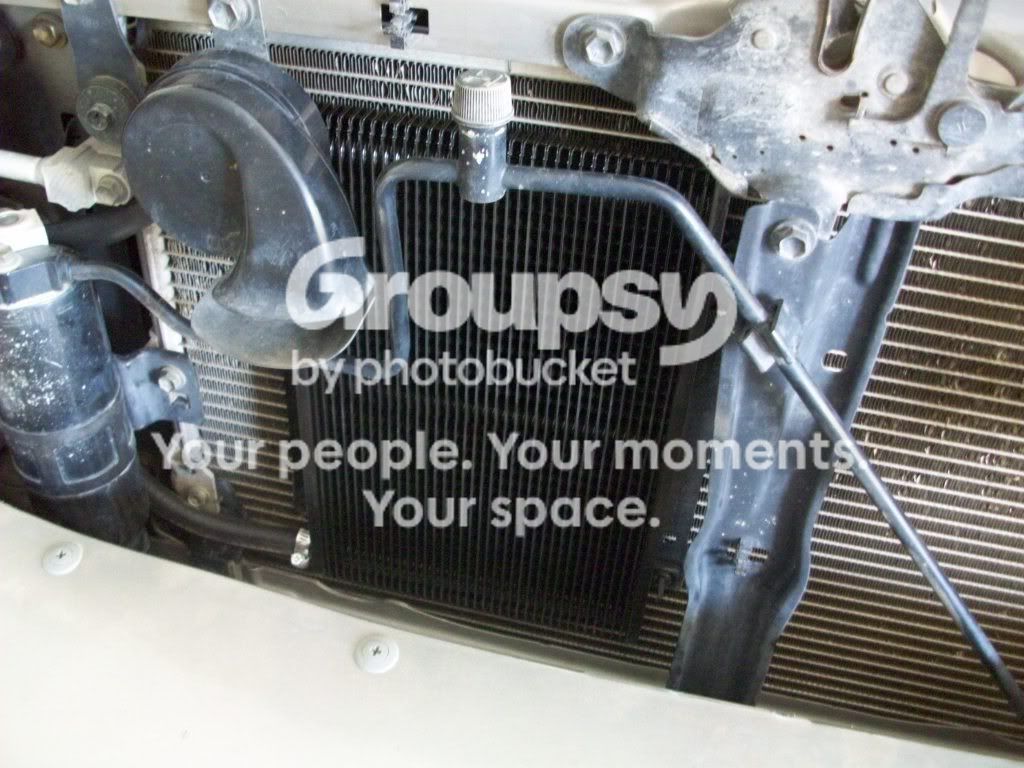
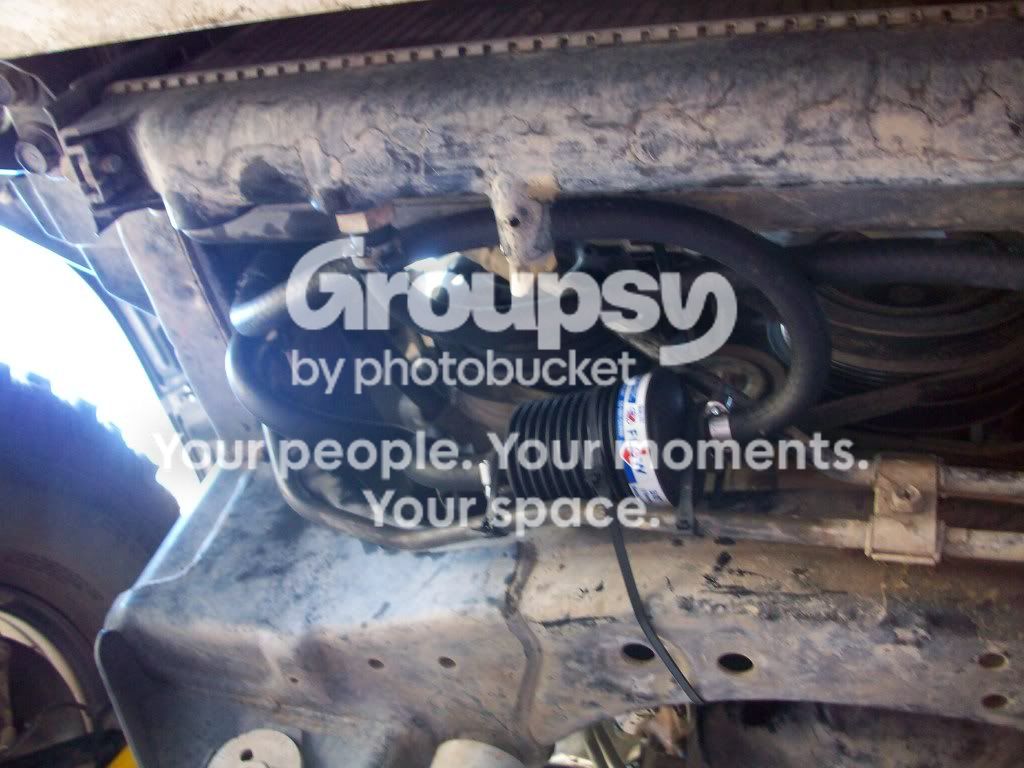
-B&M 70268 Supercooler Transmission cooler (in-series w/ Rad!ator) (PG. 2/ Post 18)
-Block Heater
-Mobil 1: 5W-30 Full Synthetic Motor Oil
-OEM filter
Undercarriage / Drive Train Upgrades:
**Front End**
-Tundra 231mm Brakes (13WL) (PG. 9/ Post 113)
-Energy Polyurethane Steering rack Bushings
-4.30 gear Ratio (PG. 48/ Post 709)
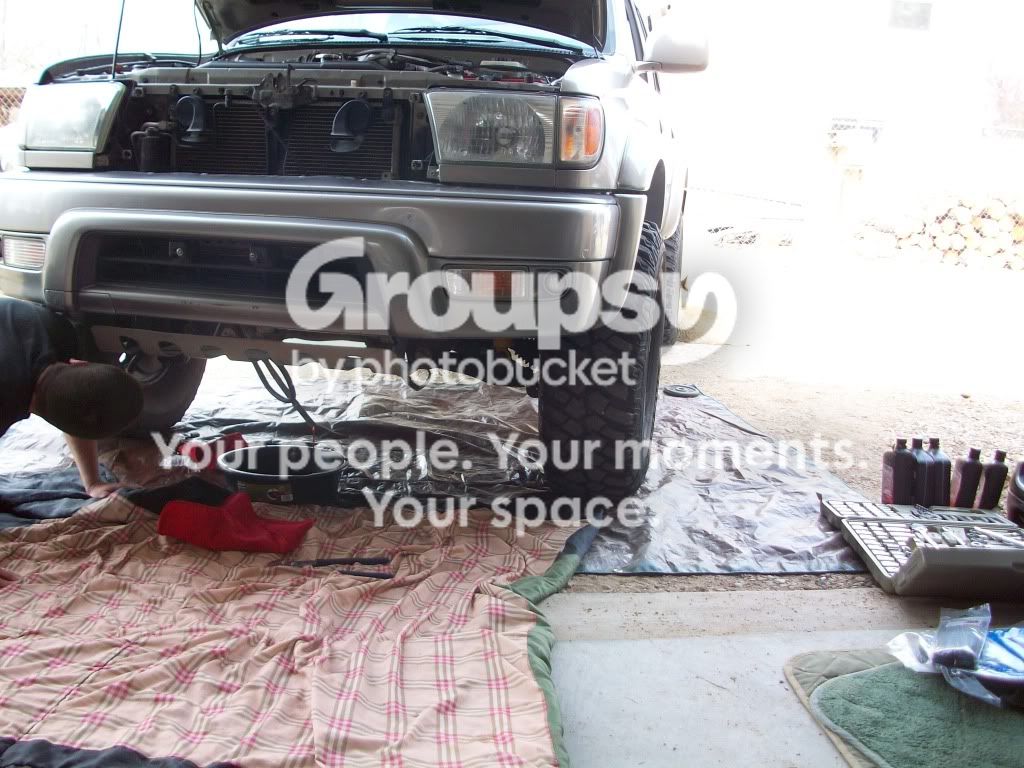
-Mobil 1: 75W-90 Full Synthetic Gear Oil
**Rear End**
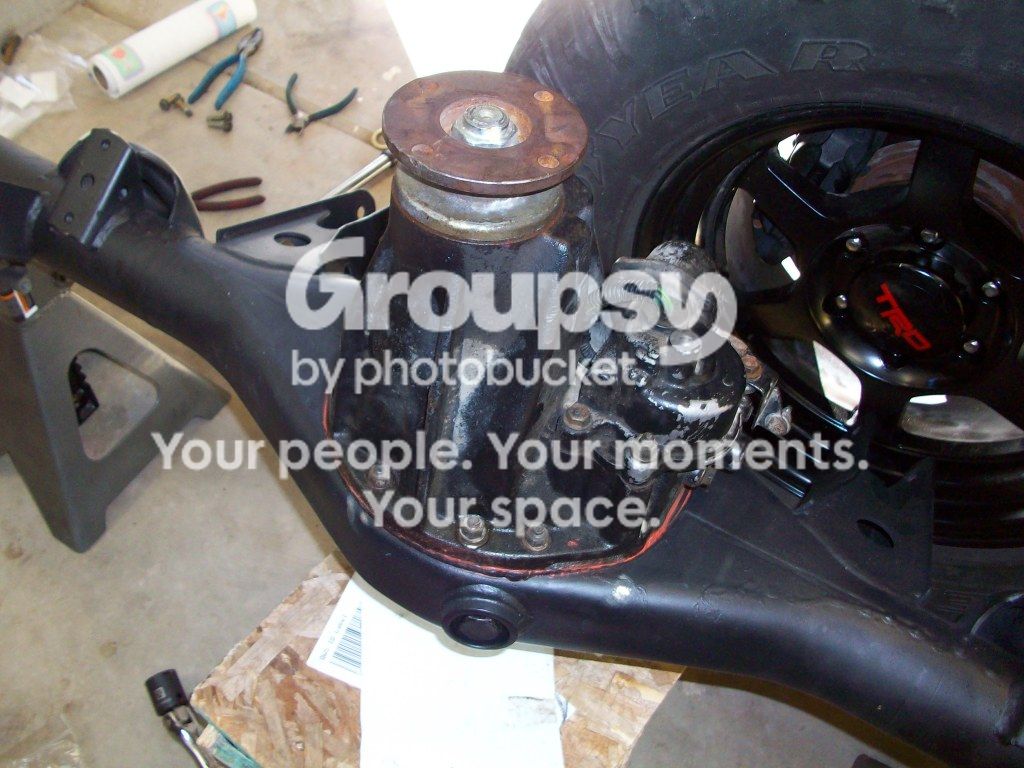
-E-locker Retrofit: 4.30 gear Ratio (PG. 48/ Post 716)
-Custom-Built Drive shaft (PG. 42/ Post 630)
-Extended rear differential breather
-Low Profile wheel well bolts (PG. 34/ Post 506) toward the bottom
-Mobil 1: 75W-90 Full Synthetic Gear Oil
Electrical Modifications:
-Extra 12v outlet (PG. 3/ Post 43)
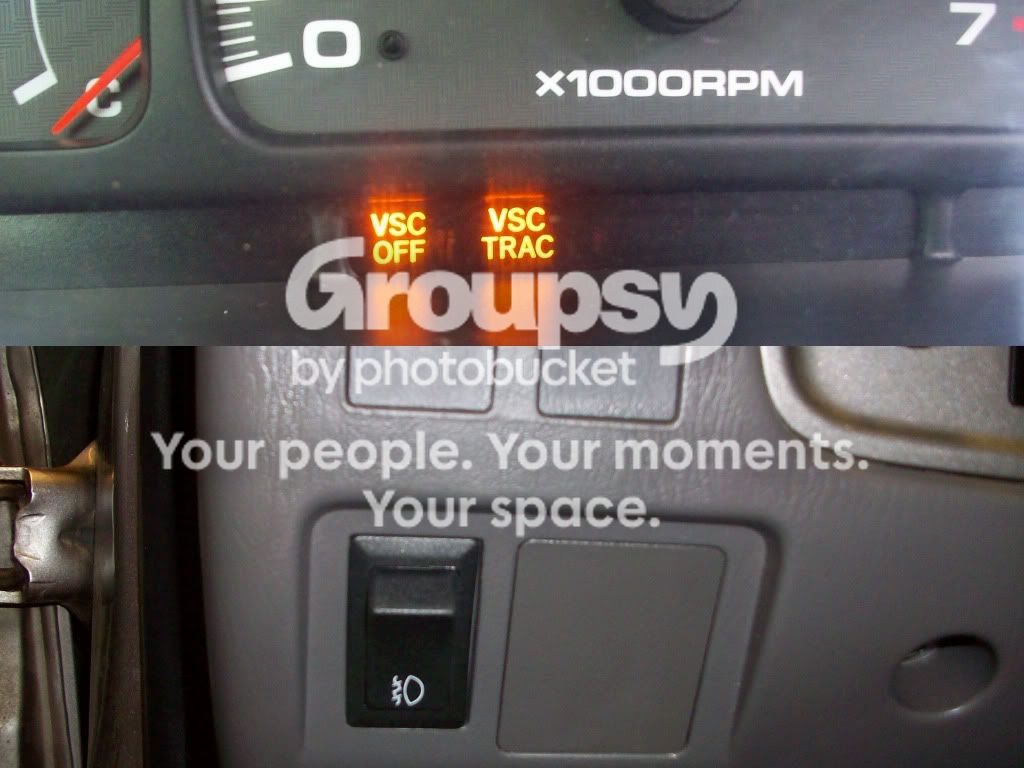
-AndyMod 2.0 (To disable TRAC & VSC) (PG. 1/ Post 4)
-Disabled Daytime Running Lights (PG. 1/ Post 4)
-Fog Light Mod (PG. 23/ Post 344)
-Duralast Gold Battery
-Tridon EP35 flasher relay (for the LED blinkers) (PG. 34/ Post 507)
Interior Upgrades:
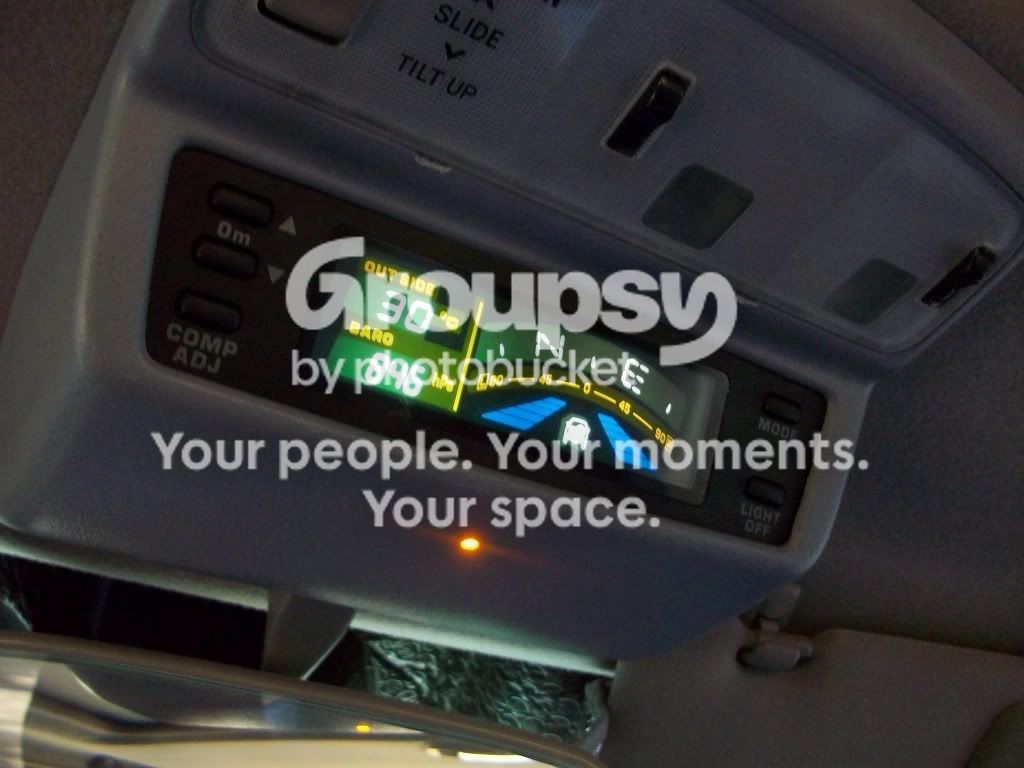
-JDM Hilux Surf Field monitor (PG. 5/ Posts 62 & 63)
-Custom Cargo / Storage box Build (PG. 33/ Posts 481 & 482)
-Scangauge II (PG. 11/ Post 162)
-Transmission Temp gauge (PG. 4/ Post 51)
-'Hardwired' Cobra Radar Detector (PG. 3/ Post 43)
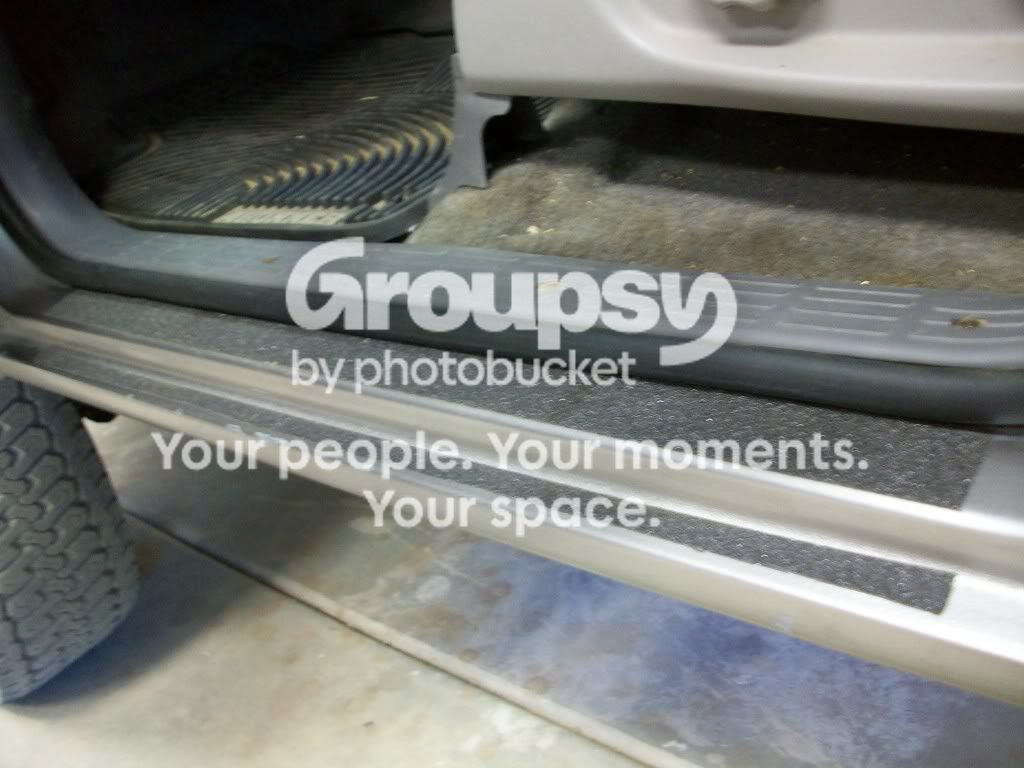
-Griptape door sills (PG. 1/ Post 4)
-Additional driver’s grab handle (PG. 3/ Post 43)
-Weathertech Digital-Fit Floor liners
**Interior Lighting**
-LED Nighttime Accent Lighting (Amber) (PG. 8/ Post 112)
-LED Dome lights - Passenger/Cargo area
**White LED Console lighting** (PG. 2/ Post 17)
-LED Gauge lighting
-LED Center console lighting
-LED Key ring light
-LED lit stereo pocket
Stereo/ CB/ HAM:
-Kenwood Excelon single-DIN Head Unit (PG. 1/ Post 3)
-Kenwood Premium speakers
-Combined Front+Rear Antennas (PG. 11/ Post 156)
-Tacoma OEM whip antenna (PG. 11/ Post 156)
**CB Radio** (PG. 1/ Post 3)
-Uniden Pro 520xl CB Radio in the ashtray spot
-PA speaker
-3’ Black Firestik Firefly CB antenna
**HAM Radio** (PG. 40/ Post 588)
-Yeasu FT1500M HAM Radio
-Diamond k9000LRM Motorized mount
-35" Diamond Antenna
Exterior Upgrades:
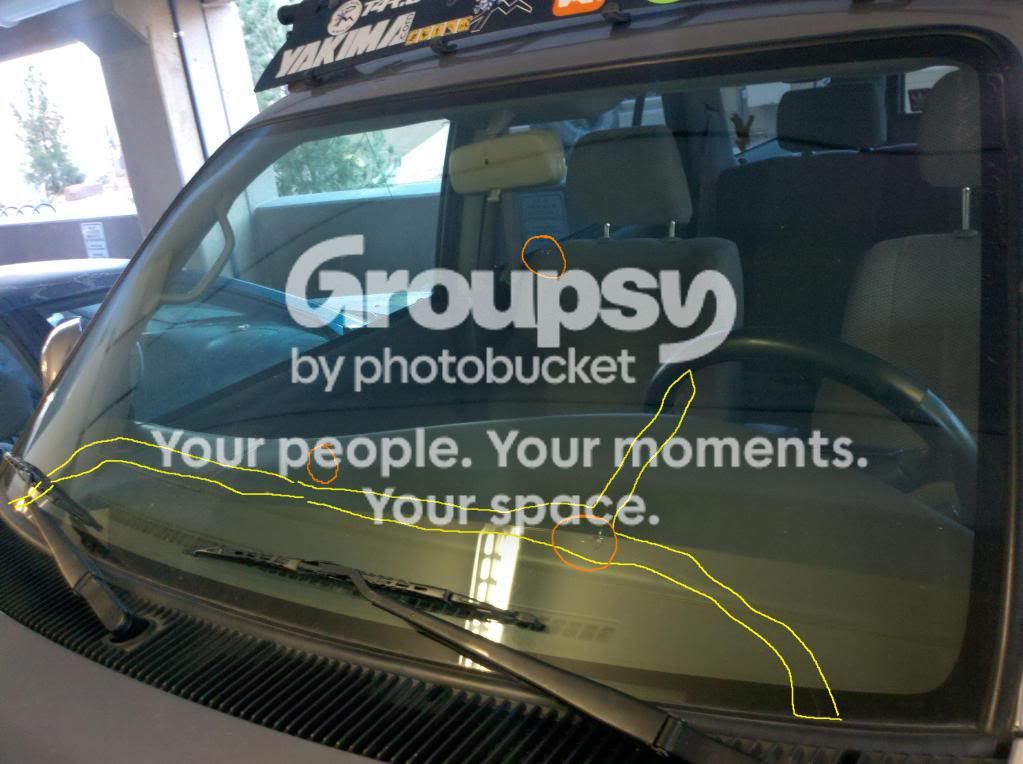
-20% tint, 5% windshield banner (PG. 2/ Post 28)
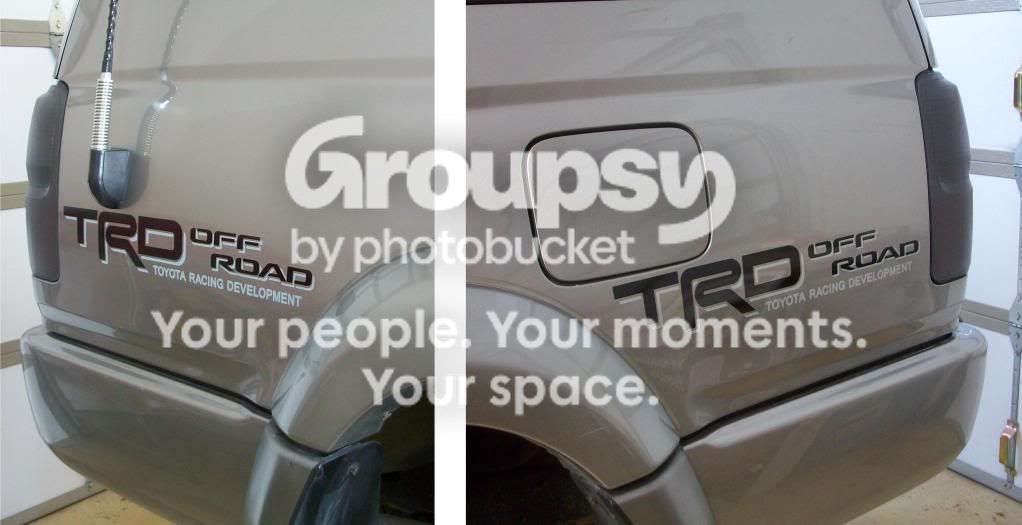
-Black/Silver TRD off road decals. (PG. 1/ Post 6)
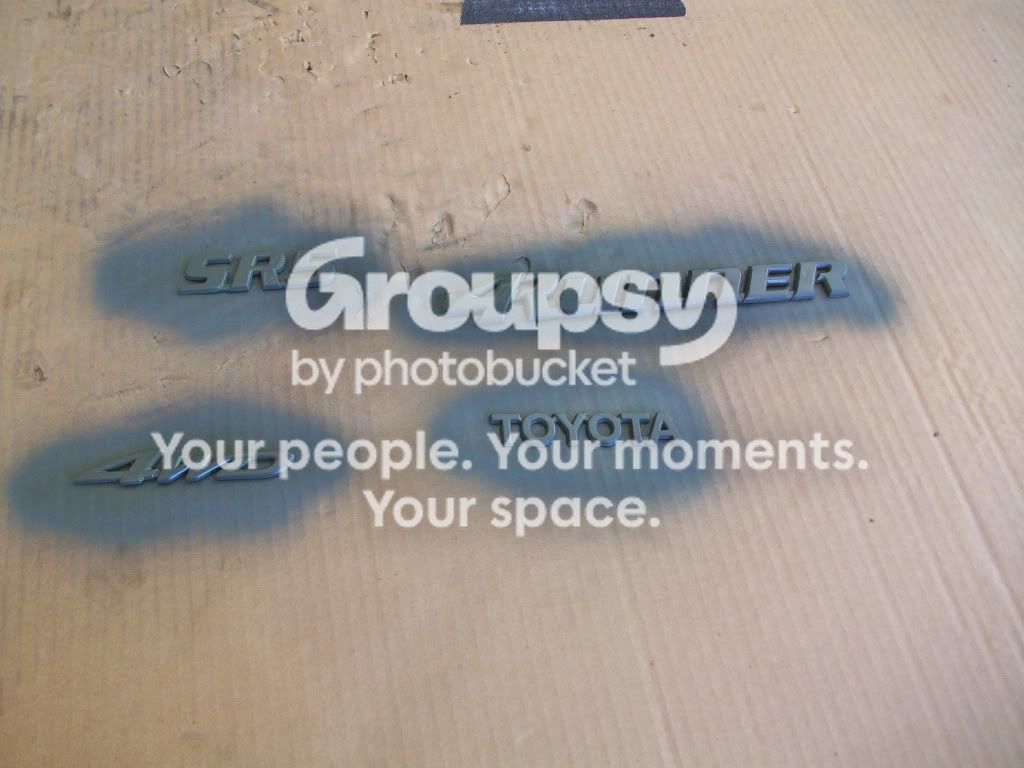
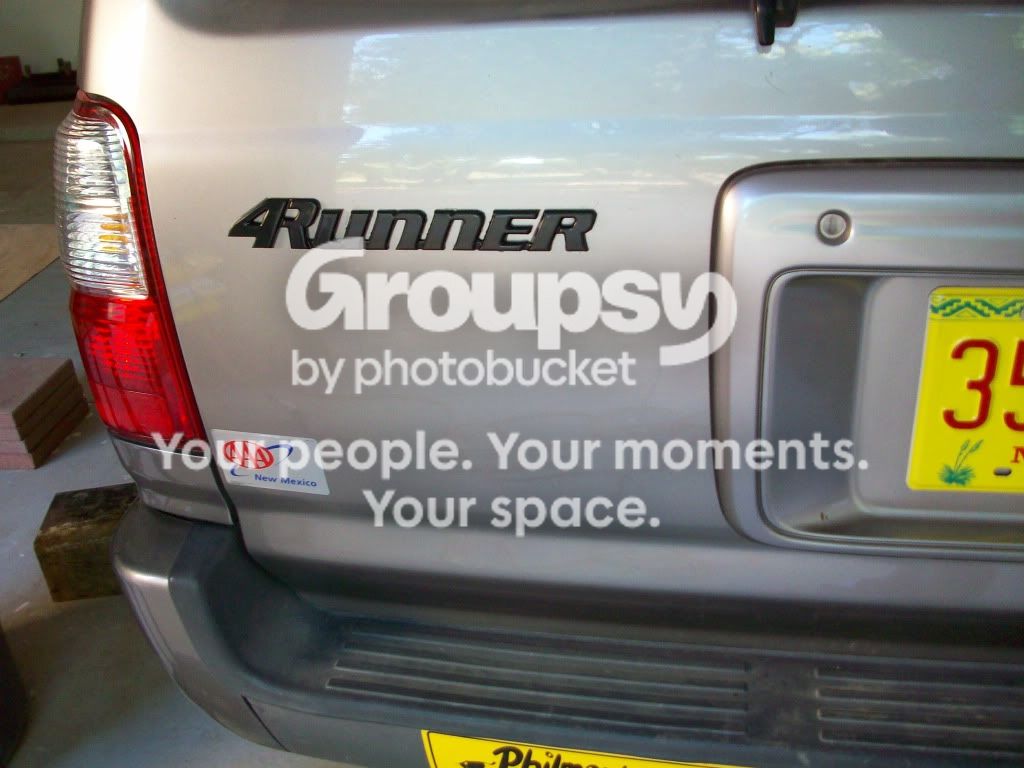
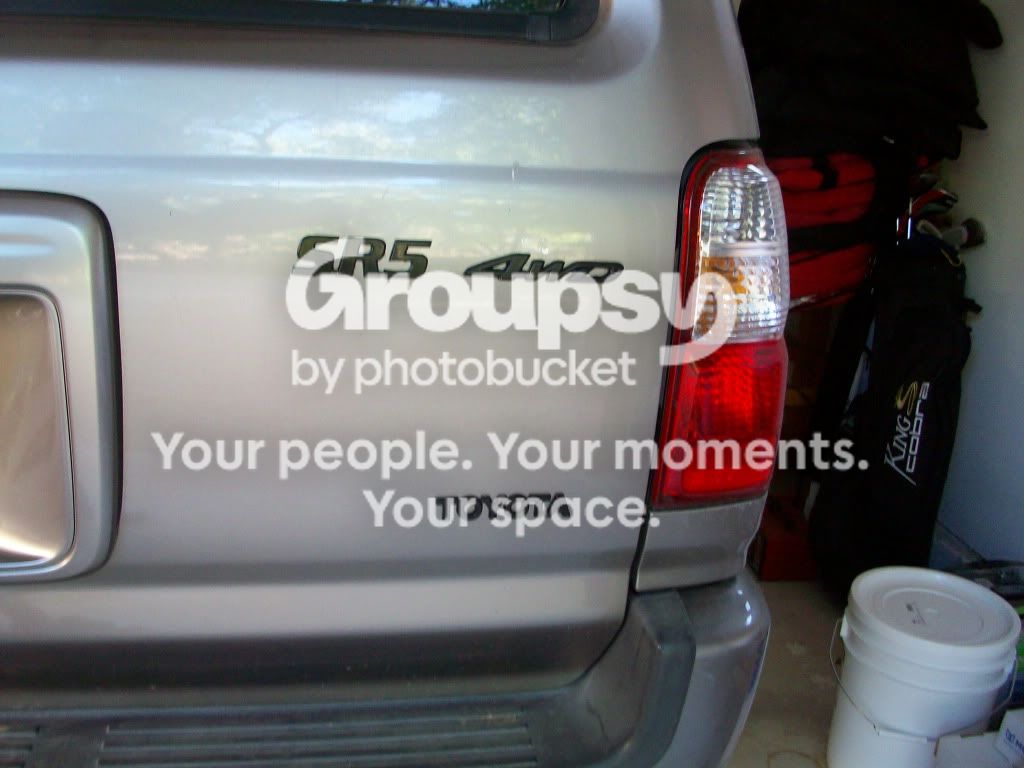
-Black Emblems (PG. 1/ Post 4)
-Removed Running boards
-Highland Contura front splash guards (pending install)
-Trimmed rear mudflaps
**Yakima System** (PG. 1/ Post 6)
-Yakima Q-62 towers (4)
-Yakima 48” crossbars (2)
-Yakima 44” wind fairing w/decals
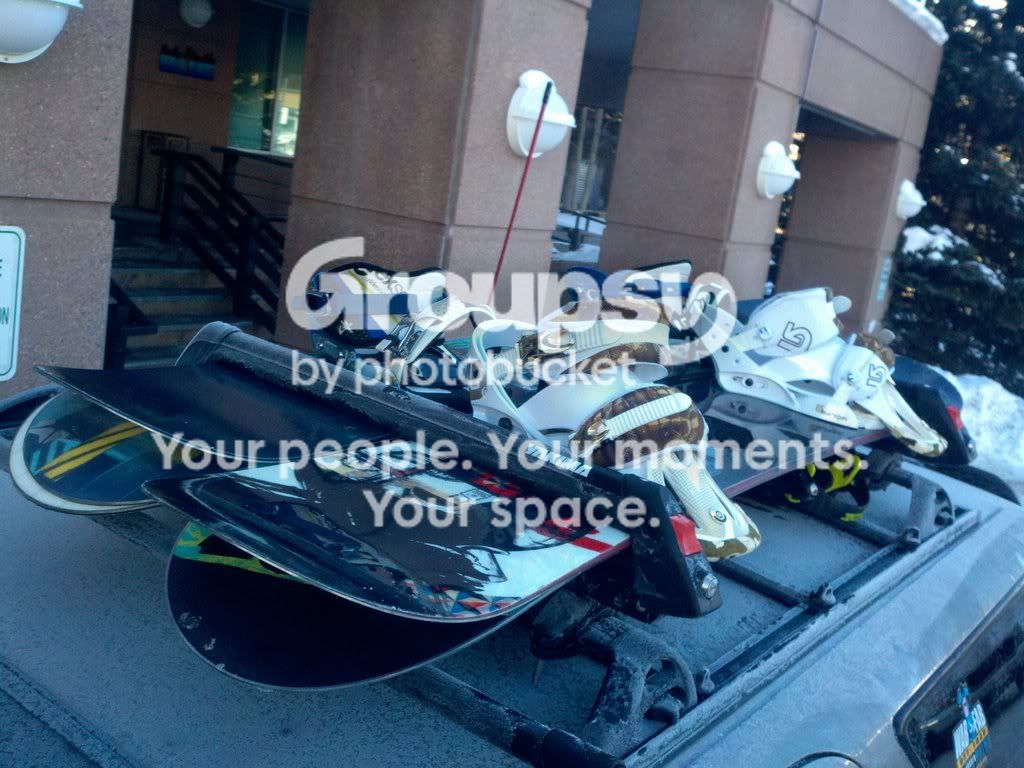
-Yakima Buttondown Aero snowboard rack
**Exterior Lighting**
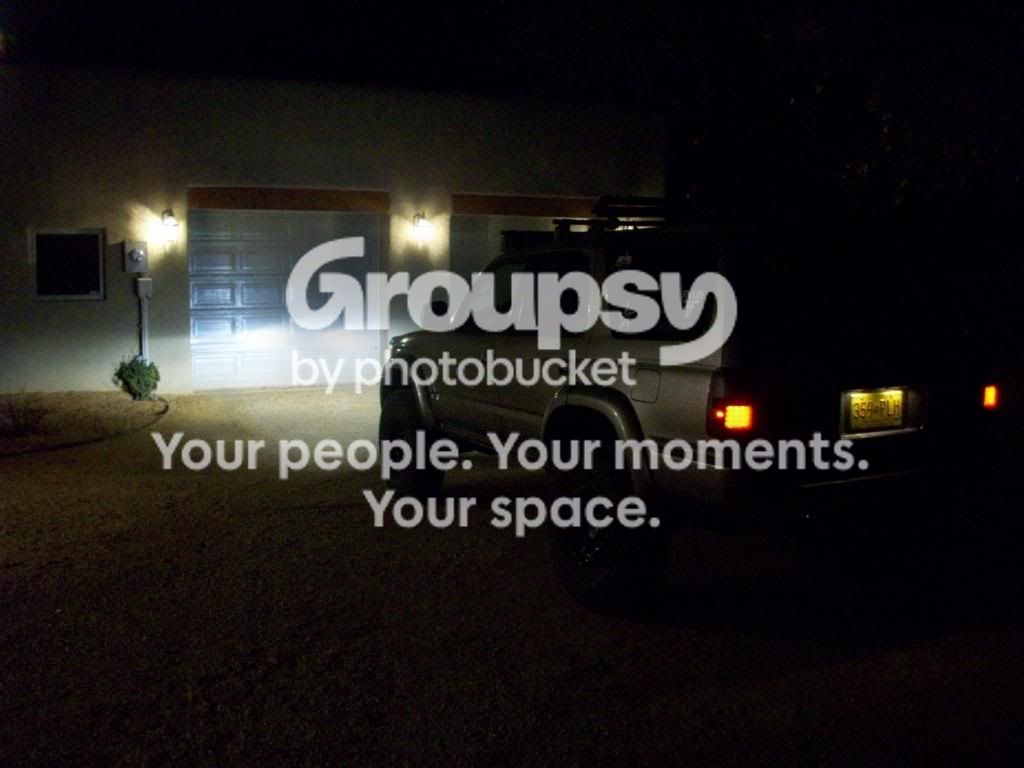
-Sylvania Silverstar Ultra headlights (PG. 1/ Post 6)
-LED Tail Lights (Black & smoked) (PG. 1/ Post 6)
-LED License Plate Lights (PG. 9/ Post 113)
-LED Corner Lights (smoked) (PG. 9/ Post 113)
-LED Front Turn signal
-PIAA 510 ATP Fog lights - In front bumper (PG. 34/ Post 507)
-Pilot 4" Fog Driving lights - In front bumper (PG. 34/ Post 507)
**Armor**
-4x Innovations Front bumper - No hoops. (PG. 34/ Post 507)
-Modified / Strengthened Bumper mounts (PG. 45/ Post 672)
-4x Innovations Sliders - HREW w/kickout. (PG. 34/ Post 507)
Possible Future Purchases/ Projects:
Projector retrofit
Re-do Shock system in the rear
Sound Deadening
Hood & Hatch lifts
Full exhaust system with Hi-flow CAT
Toytec/ Bilstien Coilovers
Off Roading Trip Picture Galleries
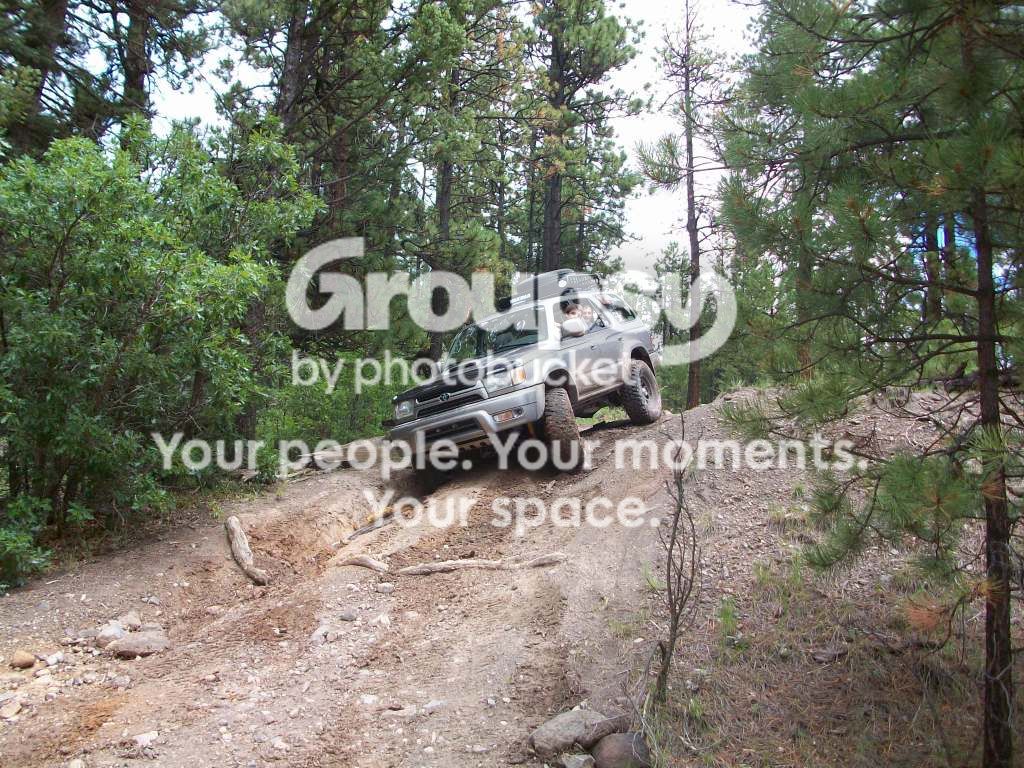
Summer 2010 trips (when I was just starting out) - (PG. 1/ Post 5)
March 11, 2011 - Montessa Park with BigFishAllDay - (PG. 2/ Post 18)
March 26, 2011 - Rio Puerco with Tacoma friend - (PG. 4/ Post 49)
Sept. 4, 2011 - Rio Puerco with Large Tacomaworld group - (PG. 19/ Post 273)
May 20, 2012 - MOAB (4 days) with tons of Tacomaworld guys - (PG. 35/ Post 522)
September 22, 2012- (PG. 47/ Post 694)
A quick summary of my more notable mods..
Supercharger.

White LED console lighting.

CB, lit stereo pocket.

JDM Hilux surf Field monitor.
Custom Upper shock mounts and Bilstien 5150s.
Custom Build Cargo box

E-locker Retrofit.
====================================================
Current Mileage: 119,227 miles (as of: March 28th, 2013)
-Most recent oil: 119,227 miles (March 28th). -Mobil 1 Full synthetic.
Maintenance/ Service Records:
116,160 miles: New Tires 285/70-17 Duratracs
113,889 miles: E-locker Retrofit, new front differential/ fresh diff fluids
112,727 miles: New 5150 shocks/ New custom Drive shaft
111,050 miles: Replace radiator, flush coolant
108,484 miles: Replace S/C Nose cone - URD 2.2"
108,484 miles: New aFe Dry air filter
108,484 miles: New Denso O2 sensor
105,133 miles: TRD Supercharger/ URD 7th Installed
105,133 miles: Seafoam Treatment/ Spark plugs
105,133 miles: Differential fluids changed- M1 Synthetic
105,133 miles: Fuel Filter/ pump Replaced
103,858 miles: Power steering Flush/ Bushings
103,582 miles: All New Tundra Brakes
102,500 miles: Different Wheels/ Tires
101,337 miles: Transmission Flush/ B&M cooler
96,000 miles: Spark Plugs
92,950 miles: Suspension Lift install
86,512 miles: Timing belt/ Water pump
37,432 miles: Lower Ball Joint (Recall)
Upcoming maintenance items:
Fix TRAC/VSC system
Rear bumper carnage fix?
Shampoo Carpet
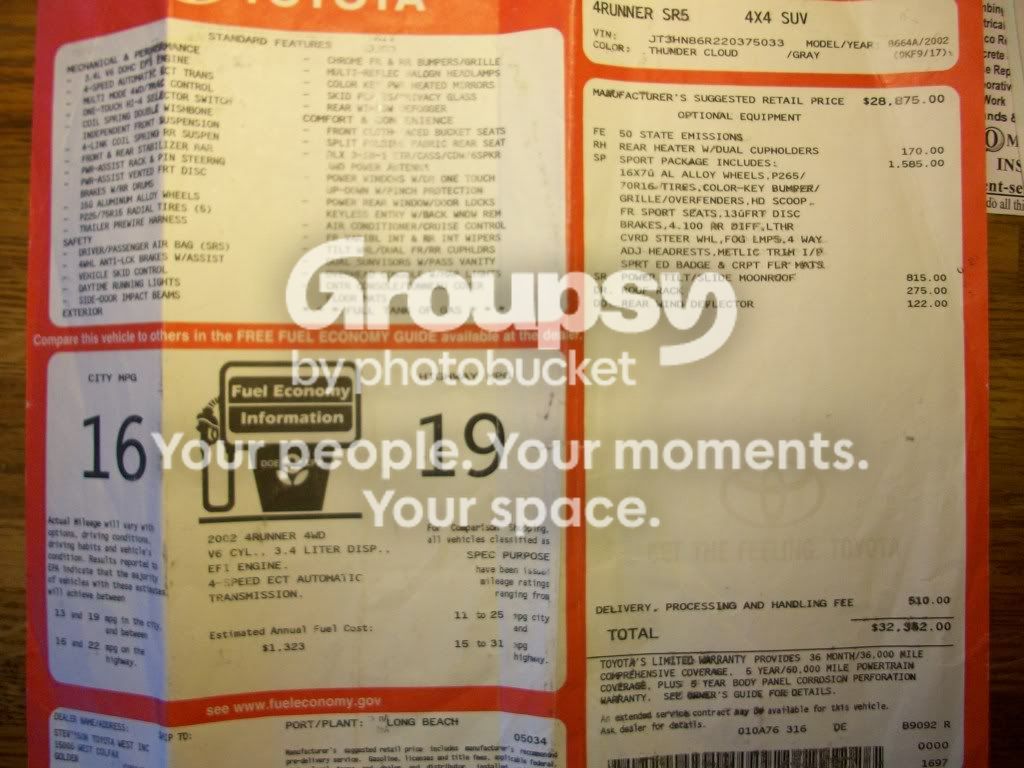
Original Window Sticker: $32,352
Be sure to see my Photobucket album for all of the pictures in this thread and many, many more!
4Runner pictures by jim4x4runner - Photobucket
Most of the pictures are in the sub-albums. (on the side of the page)
Thundercloud Metallic Grey
TRD Supercharged 3.4L V6 5VZ-lFE
4-Speed A340lF Automatic Transmission
Multi-Mode 4x4
4.30:1 Differential Gears w/ E-locker
Most recent picture as of December, 2012:
~~~~~~~~~~~~~~~~~~~~~~~~~~~~~~~~~~~~~~~~~~~~~~~~~~~~~~~~~~~~~~~~~~~~~~~~~~~~
++++++++++++++++++++++++++++++++++++++++++++++++++++++++++++++++++++++++++++
|June, 2008|
-I bought my 4runner for $13,200 in Golden, Colorado (original owner). At that time it had just over 74k miles.
The truck had PERFECT maintenance records, all of which was dealer performed. (They even tracked each tank of gas for the first 50k miles..)
Right after I drove home, parked next to my 2001 Tacoma that I was working on selling. (2wd, e-locker)
===============================================================================
UPGRADES & MODIFICATIONS - As of March 28th, 2013.
Links to pictures/Write-ups can be found next to each item.
Suspension:
Front:~3" lift
-OME 883 Coils (PG. 1/ Post 2)
-OME 90004 Nitrocharger shocks (PG. 1/ Post 2)
-Toytec 1" Differential Drop
-Energy Polyurethane Sway-Bar Bushings
Rear:~3" lift
-OME 890 Coils (PG. 16/ Post 227)
-Bilstein 5150 reservoir Rear Shocks (PG. 42/ Post 630)
-Custom Rear Upper shock mount (PG. 16/ Post 227)
-Custom HD DOM Rear Upper control arms (PG. 66/ Post 985)
-Toytec Panhard Bar Drop Bracket (PG. 1/ Post 2)
-Energy Polyurethane Sway-Bar Bushings
Wheels & T!res:
-17x8 Konig Countersteer Type-X (PG. 8/ Post 117)
-285/70/17 Goodyear Wrangler Duratracs (PG. 51/ Post 752)
Load range "D"
-Custom low-profile red "TRD" Center Caps (PG. 14/ Post 209) | Re-Done in Blue (PG. 63/ Post 965)
-Blue Lug Nuts w/Locking lugs (PG. 63/ Post 965)
Engine & Performance Upgrades:
-TRD Supercharger (2nd/4th gen Black) | Install - (PG. 17/ Post 246) | Rebuilt Nose cone- (PG. 25/ Post 365)
-URD 7th injector Kit (PG. 17/ Post 246)
-URD 2.2" S/C Pulley (PG. 25/ Post 365)
-TRD Dynamic Tensioner (PG. 39/ Post 578)
-190 LPH Fuel Pump (PG. 17/ Post 246)
-aFe Pro Dry S filter (PG. 25/ Post 365)
-Deckplate Mod (PG. 1/ Post 4)
-ISR (Intake Silencer Removal) (PG. 1/ Post 4)
-Air-Elbow Mod
-Stant 170* Theromstat
-KOYO Rad!ator (PG. 34/ Post 506)
-B&M 70268 Supercooler Transmission cooler (in-series w/ Rad!ator) (PG. 2/ Post 18)
-Block Heater
-Mobil 1: 5W-30 Full Synthetic Motor Oil
-OEM filter
Undercarriage / Drive Train Upgrades:
**Front End**
-Tundra 231mm Brakes (13WL) (PG. 9/ Post 113)
-Energy Polyurethane Steering rack Bushings
-4.30 gear Ratio (PG. 48/ Post 709)
-Mobil 1: 75W-90 Full Synthetic Gear Oil
**Rear End**
-E-locker Retrofit: 4.30 gear Ratio (PG. 48/ Post 716)
-Custom-Built Drive shaft (PG. 42/ Post 630)
-Extended rear differential breather
-Low Profile wheel well bolts (PG. 34/ Post 506) toward the bottom
-Mobil 1: 75W-90 Full Synthetic Gear Oil
Electrical Modifications:
-Extra 12v outlet (PG. 3/ Post 43)
-AndyMod 2.0 (To disable TRAC & VSC) (PG. 1/ Post 4)
-Disabled Daytime Running Lights (PG. 1/ Post 4)
-Fog Light Mod (PG. 23/ Post 344)
-Duralast Gold Battery
-Tridon EP35 flasher relay (for the LED blinkers) (PG. 34/ Post 507)
Interior Upgrades:
-JDM Hilux Surf Field monitor (PG. 5/ Posts 62 & 63)
-Custom Cargo / Storage box Build (PG. 33/ Posts 481 & 482)
-Scangauge II (PG. 11/ Post 162)
-Transmission Temp gauge (PG. 4/ Post 51)
-'Hardwired' Cobra Radar Detector (PG. 3/ Post 43)
-Griptape door sills (PG. 1/ Post 4)
-Additional driver’s grab handle (PG. 3/ Post 43)
-Weathertech Digital-Fit Floor liners
**Interior Lighting**
-LED Nighttime Accent Lighting (Amber) (PG. 8/ Post 112)
-LED Dome lights - Passenger/Cargo area
**White LED Console lighting** (PG. 2/ Post 17)
-LED Gauge lighting
-LED Center console lighting
-LED Key ring light
-LED lit stereo pocket
Stereo/ CB/ HAM:
-Kenwood Excelon single-DIN Head Unit (PG. 1/ Post 3)
-Kenwood Premium speakers
-Combined Front+Rear Antennas (PG. 11/ Post 156)
-Tacoma OEM whip antenna (PG. 11/ Post 156)
**CB Radio** (PG. 1/ Post 3)
-Uniden Pro 520xl CB Radio in the ashtray spot
-PA speaker
-3’ Black Firestik Firefly CB antenna
**HAM Radio** (PG. 40/ Post 588)
-Yeasu FT1500M HAM Radio
-Diamond k9000LRM Motorized mount
-35" Diamond Antenna
Exterior Upgrades:
-20% tint, 5% windshield banner (PG. 2/ Post 28)
-Black/Silver TRD off road decals. (PG. 1/ Post 6)
-Black Emblems (PG. 1/ Post 4)
-Removed Running boards
-Highland Contura front splash guards (pending install)
-Trimmed rear mudflaps
**Yakima System** (PG. 1/ Post 6)
-Yakima Q-62 towers (4)
-Yakima 48” crossbars (2)
-Yakima 44” wind fairing w/decals
-Yakima Buttondown Aero snowboard rack
**Exterior Lighting**
-Sylvania Silverstar Ultra headlights (PG. 1/ Post 6)
-LED Tail Lights (Black & smoked) (PG. 1/ Post 6)
-LED License Plate Lights (PG. 9/ Post 113)
-LED Corner Lights (smoked) (PG. 9/ Post 113)
-LED Front Turn signal
-PIAA 510 ATP Fog lights - In front bumper (PG. 34/ Post 507)
-Pilot 4" Fog Driving lights - In front bumper (PG. 34/ Post 507)
**Armor**
-4x Innovations Front bumper - No hoops. (PG. 34/ Post 507)
-Modified / Strengthened Bumper mounts (PG. 45/ Post 672)
-4x Innovations Sliders - HREW w/kickout. (PG. 34/ Post 507)
Possible Future Purchases/ Projects:
Projector retrofit
Re-do Shock system in the rear
Sound Deadening
Hood & Hatch lifts
Full exhaust system with Hi-flow CAT
Toytec/ Bilstien Coilovers
Off Roading Trip Picture Galleries
Summer 2010 trips (when I was just starting out) - (PG. 1/ Post 5)
March 11, 2011 - Montessa Park with BigFishAllDay - (PG. 2/ Post 18)
March 26, 2011 - Rio Puerco with Tacoma friend - (PG. 4/ Post 49)
Sept. 4, 2011 - Rio Puerco with Large Tacomaworld group - (PG. 19/ Post 273)
May 20, 2012 - MOAB (4 days) with tons of Tacomaworld guys - (PG. 35/ Post 522)
September 22, 2012- (PG. 47/ Post 694)
A quick summary of my more notable mods..
Supercharger.
White LED console lighting.
CB, lit stereo pocket.
JDM Hilux surf Field monitor.
Custom Upper shock mounts and Bilstien 5150s.

Custom Build Cargo box
E-locker Retrofit.
====================================================
Current Mileage: 119,227 miles (as of: March 28th, 2013)
-Most recent oil: 119,227 miles (March 28th). -Mobil 1 Full synthetic.
Maintenance/ Service Records:
116,160 miles: New Tires 285/70-17 Duratracs
113,889 miles: E-locker Retrofit, new front differential/ fresh diff fluids
112,727 miles: New 5150 shocks/ New custom Drive shaft
111,050 miles: Replace radiator, flush coolant
108,484 miles: Replace S/C Nose cone - URD 2.2"
108,484 miles: New aFe Dry air filter
108,484 miles: New Denso O2 sensor
105,133 miles: TRD Supercharger/ URD 7th Installed
105,133 miles: Seafoam Treatment/ Spark plugs
105,133 miles: Differential fluids changed- M1 Synthetic
105,133 miles: Fuel Filter/ pump Replaced
103,858 miles: Power steering Flush/ Bushings
103,582 miles: All New Tundra Brakes
102,500 miles: Different Wheels/ Tires
101,337 miles: Transmission Flush/ B&M cooler
96,000 miles: Spark Plugs
92,950 miles: Suspension Lift install
86,512 miles: Timing belt/ Water pump
37,432 miles: Lower Ball Joint (Recall)
Upcoming maintenance items:
Fix TRAC/VSC system
Rear bumper carnage fix?
Shampoo Carpet
Original Window Sticker: $32,352
Be sure to see my Photobucket album for all of the pictures in this thread and many, many more!
4Runner pictures by jim4x4runner - Photobucket
Most of the pictures are in the sub-albums. (on the side of the page)
Last edited: